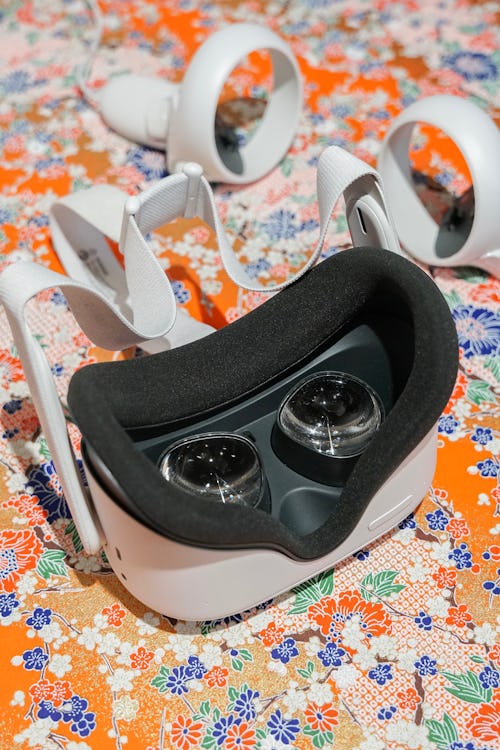
The Meta Quest 2 is the hottest virtual reality headset on the market now and it’s loaded with fantastic video games and productivity apps. There are plenty more games on the way, too. And Meta is already starting to work on its next VR headset, codenamed “Project Cambria.”
If you’re ahead of the curve and already jumping into the metaverse solo, all the power to you. VR is mainly a solo experience (it’s strapped to your face and your face only), but the Meta Quest 2 comes equipped with a few easy casting options so you can share your VR view with an audience.
With casting, you can host a Beat Saber party night with friends on a TV or show off your virtual whiteboard to a client on their phone. There’s no tutorial built-in to the Quest 2 that explains casting, but we’ve tested out a few methods for you.
How to cast your Meta Quest 2 to a PC or Mac
- Make sure your Quest 2 and your PC are on the same Wi-Fi network.
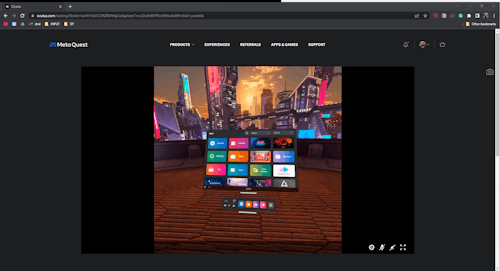
- On your PC, open a Google Chrome or Microsoft Edge browser.
- Go to Meta’s Oculus casting portal in your browser and log in.
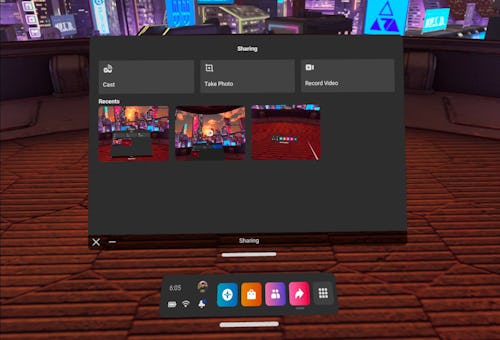
- On your Quest 2, press the Oculus button on your right Touch controller to bring up the universal menu. On the bottom toolbar, select “Sharing” (the arrow icon).
- In the Sharing menu, select “Casting.”

- On the next page, there might be several casting options depending on what devices you have connected to your network. Select “Computer.”
- Select “Done” at the bottom of the menu. There will be a red dot in the top right-hand corner of your field of view on the Quest 2 to indicate that you’re casting to your web browser.

How to cast your Meta Quest 2 to a phone
You can cast your Quest 2 to a phone using the companion Oculus mobile app on iOS or Android. Once you have that, log in to the same account you’re using on your headset, and make sure both devices are on the same Wi-FI network.
- With both devices on, open the Oculus app on your smartphone.
- In the app, go to the bottom toolbar and tap on the “Menu” button.
- On the “Menu” screen, tap on “Casting.”
- In the “Casting” menu, you’ll see a list of all the VR devices you have connected to your account. Find and tap on your Quest 2 headset. This will connect the devices over Wi-Fi.
- Next, tap on the “Start” button below your headset. A cast will start immediately and you’ll be able to see your Quest 2 activity on-screen.
Unlike the other casting options that require menu navigation through the headset, phone-casting is controlled entirely on your mobile device. Unfortunately, there’s no way to view the Quest 2’s natural 1:1 field of view through phone casting. You’ll have to settle for a slightly cropped widescreen view.
How to cast your Meta Quest 2 to a TV using Chromecast
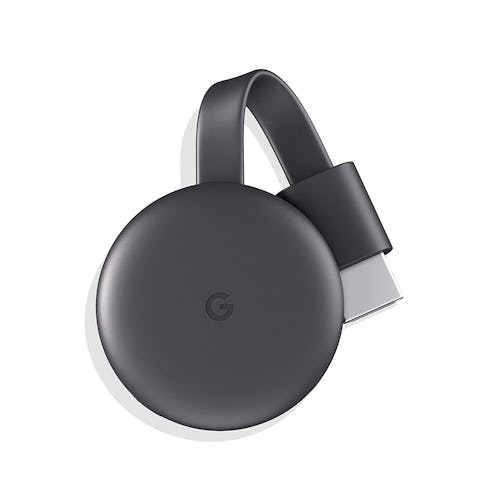
Casting your Quest 2 to a TV is by far the most enjoyable experience for a larger audience. To do so, you’re going to need a Chromecast or a TV with built-in Chromecast capabilities.
Input may receive a portion of sales if you purchase a product through a link in this article. We only include products that have been independently selected by Input's editorial team.

Once you have your Chromecast connected to your TV and Wi-Fi network using the out-of-box instructions, flow these steps to cast your Quest 2 using the device:
- On your Quest 2, press the Oculus button on your right Touch controller to bring up the universal menu. On the bottom toolbar, select “Sharing” (the arrow icon).
- In the Sharing menu, select “Casting.”
- Your Chromecast should appear here as an available device. Select it.
- Select “Done” at the bottom of the menu. There should be a red dot in the top right corner of your field of view indicating that casting has started. Your Quest 2 activity should be immediately visible on your TV.


