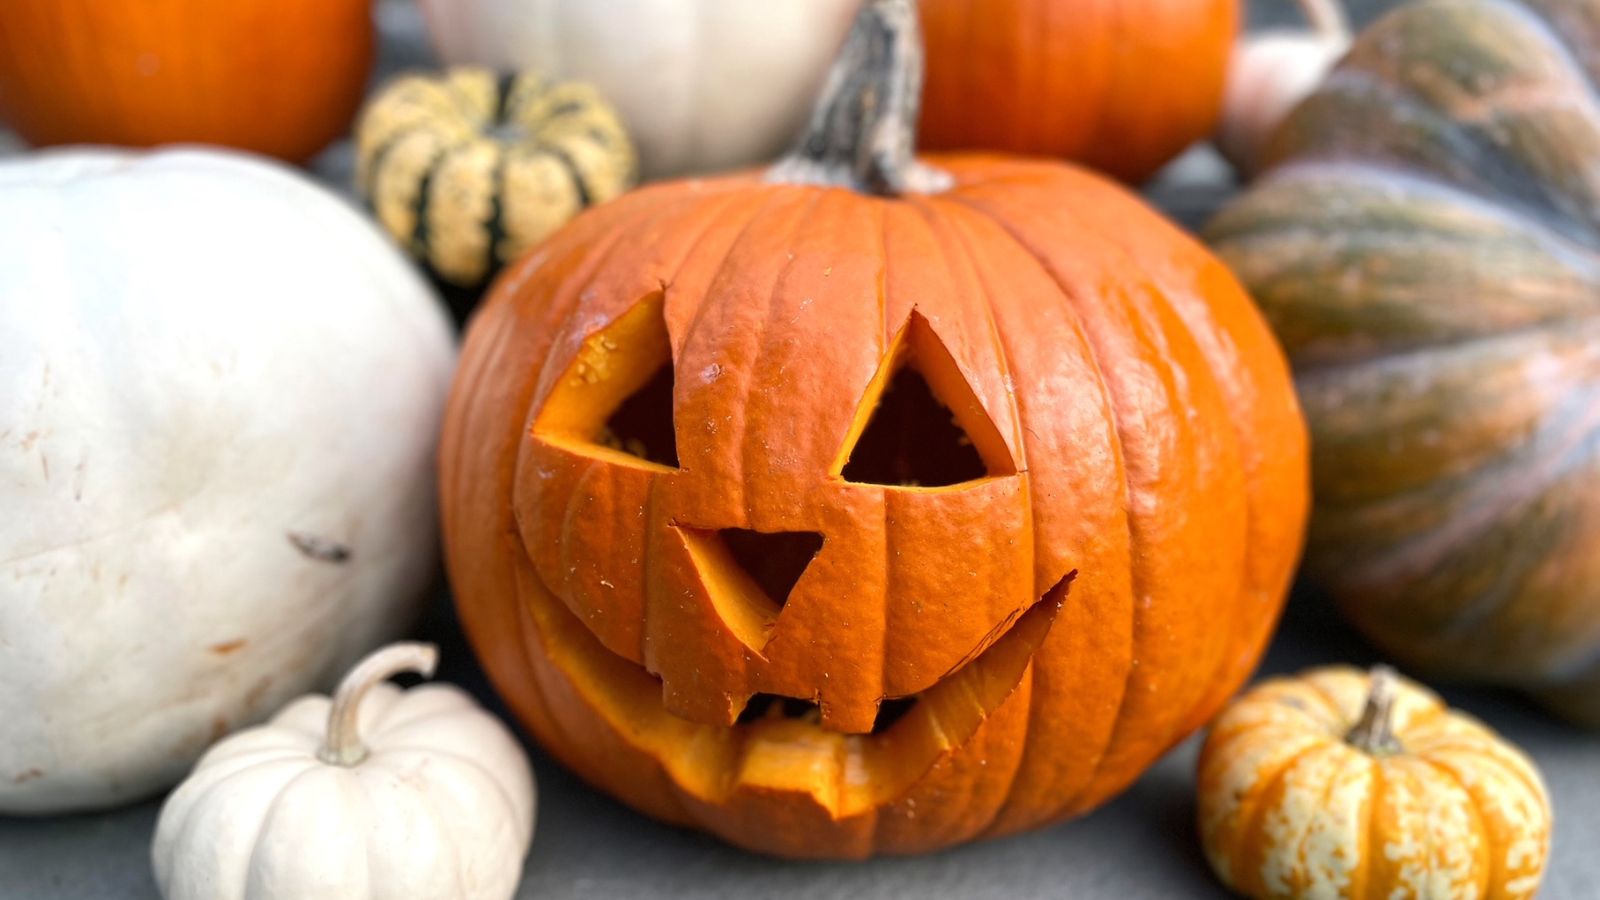
Learning how to carve a pumpkin is the key to mastering one of Halloween's most revered traditions: the art of the jack-o'-lantern.
Perhaps you've never carved a pumpkin before and aren't sure where to start, or maybe you've carved your fair share, only to wind up with a jack-o'-lantern that looks more sad than spooky?
The right pumpkin carving ideas, techniques and tools can elevate your Halloween decor, so if you're looking to create gorgeous gourds, look no further than our expert-led guide.
How to carve a pumpkin
Before you consider those outdoor Halloween decor ideas, know that carving a pumpkin successfully starts with choosing the right one, says pumpkin carving artist Jamie Jones.
'I avoid supermarket pumpkins and find a local farm,' she says. 'The pumpkins tend to be much bigger from farms. I also always try to find a pumpkin with a long firm stem, as a soft stem is a sign the pumpkin is starting to rot or has a fungus infection and won't last very long.'
Finally, says Jones, go for a bigger pumpkin over a smaller one. Not only will a bigger pumpkin be a more impactful part of your Halloween porch decor, it will also be easier to carve, since smaller ones tend to be too firm. Most importantly, 'find a shape you can work with,' says sculptor Kevin Caron. 'Fat and round, tall and columnar, or whatever. Think about what you want to carve on the pumpkin, such as a face, and make sure one of the surfaces will work for that.'
What you'll need
- 1 large pumpkin
- A pumpkin carving toolkit: Such as the Pumpkin Masters Plastic All in One Pumpkin Carving Kit available at Walmart, recommended by horticulturist and CEO of London Gardeners Samuel Davis, or a small serrated knife and a large metal serving spoon.
- A plastic trash bag: To clean the pumpkin on (cut it open and spread it out for more work room). We recommend the Hefty Strong Large Trash Bags available at Amazon, as they're puncture and tear resistant.
- A small LED candle: we love the #1 bestselling Homemory Flameless LED Tea Lights available at Amazon, as they have a realistic flickering warm glow without speeding up the pumpkin's rotting time.
- Pumpkin stencil or pumpkin punchers such as the Halloween Drawing Stencils set available at Amazon, which has 36 spook-tacular designs.
- Bleach or vinegar
- Water
How to carve a pumpkin in 7 steps
1. Prepare your workspace
With your pumpkin selected, it's time to get carving! Prepare your workspace on a large flat surface, such as a table, or the floor works well too if you are carving with kids. Make sure you move any rugs or soft furnishings first, though, as pumpkin stains.
'Place newspapers or plastic sheeting down before you carve to catch the mess,' says Davis. 'Use a bowl to collect the seeds and guts; you can dry those out and roast them for a great snack later,' which is an autumn recipe I love.
2. Wash your pumpkin
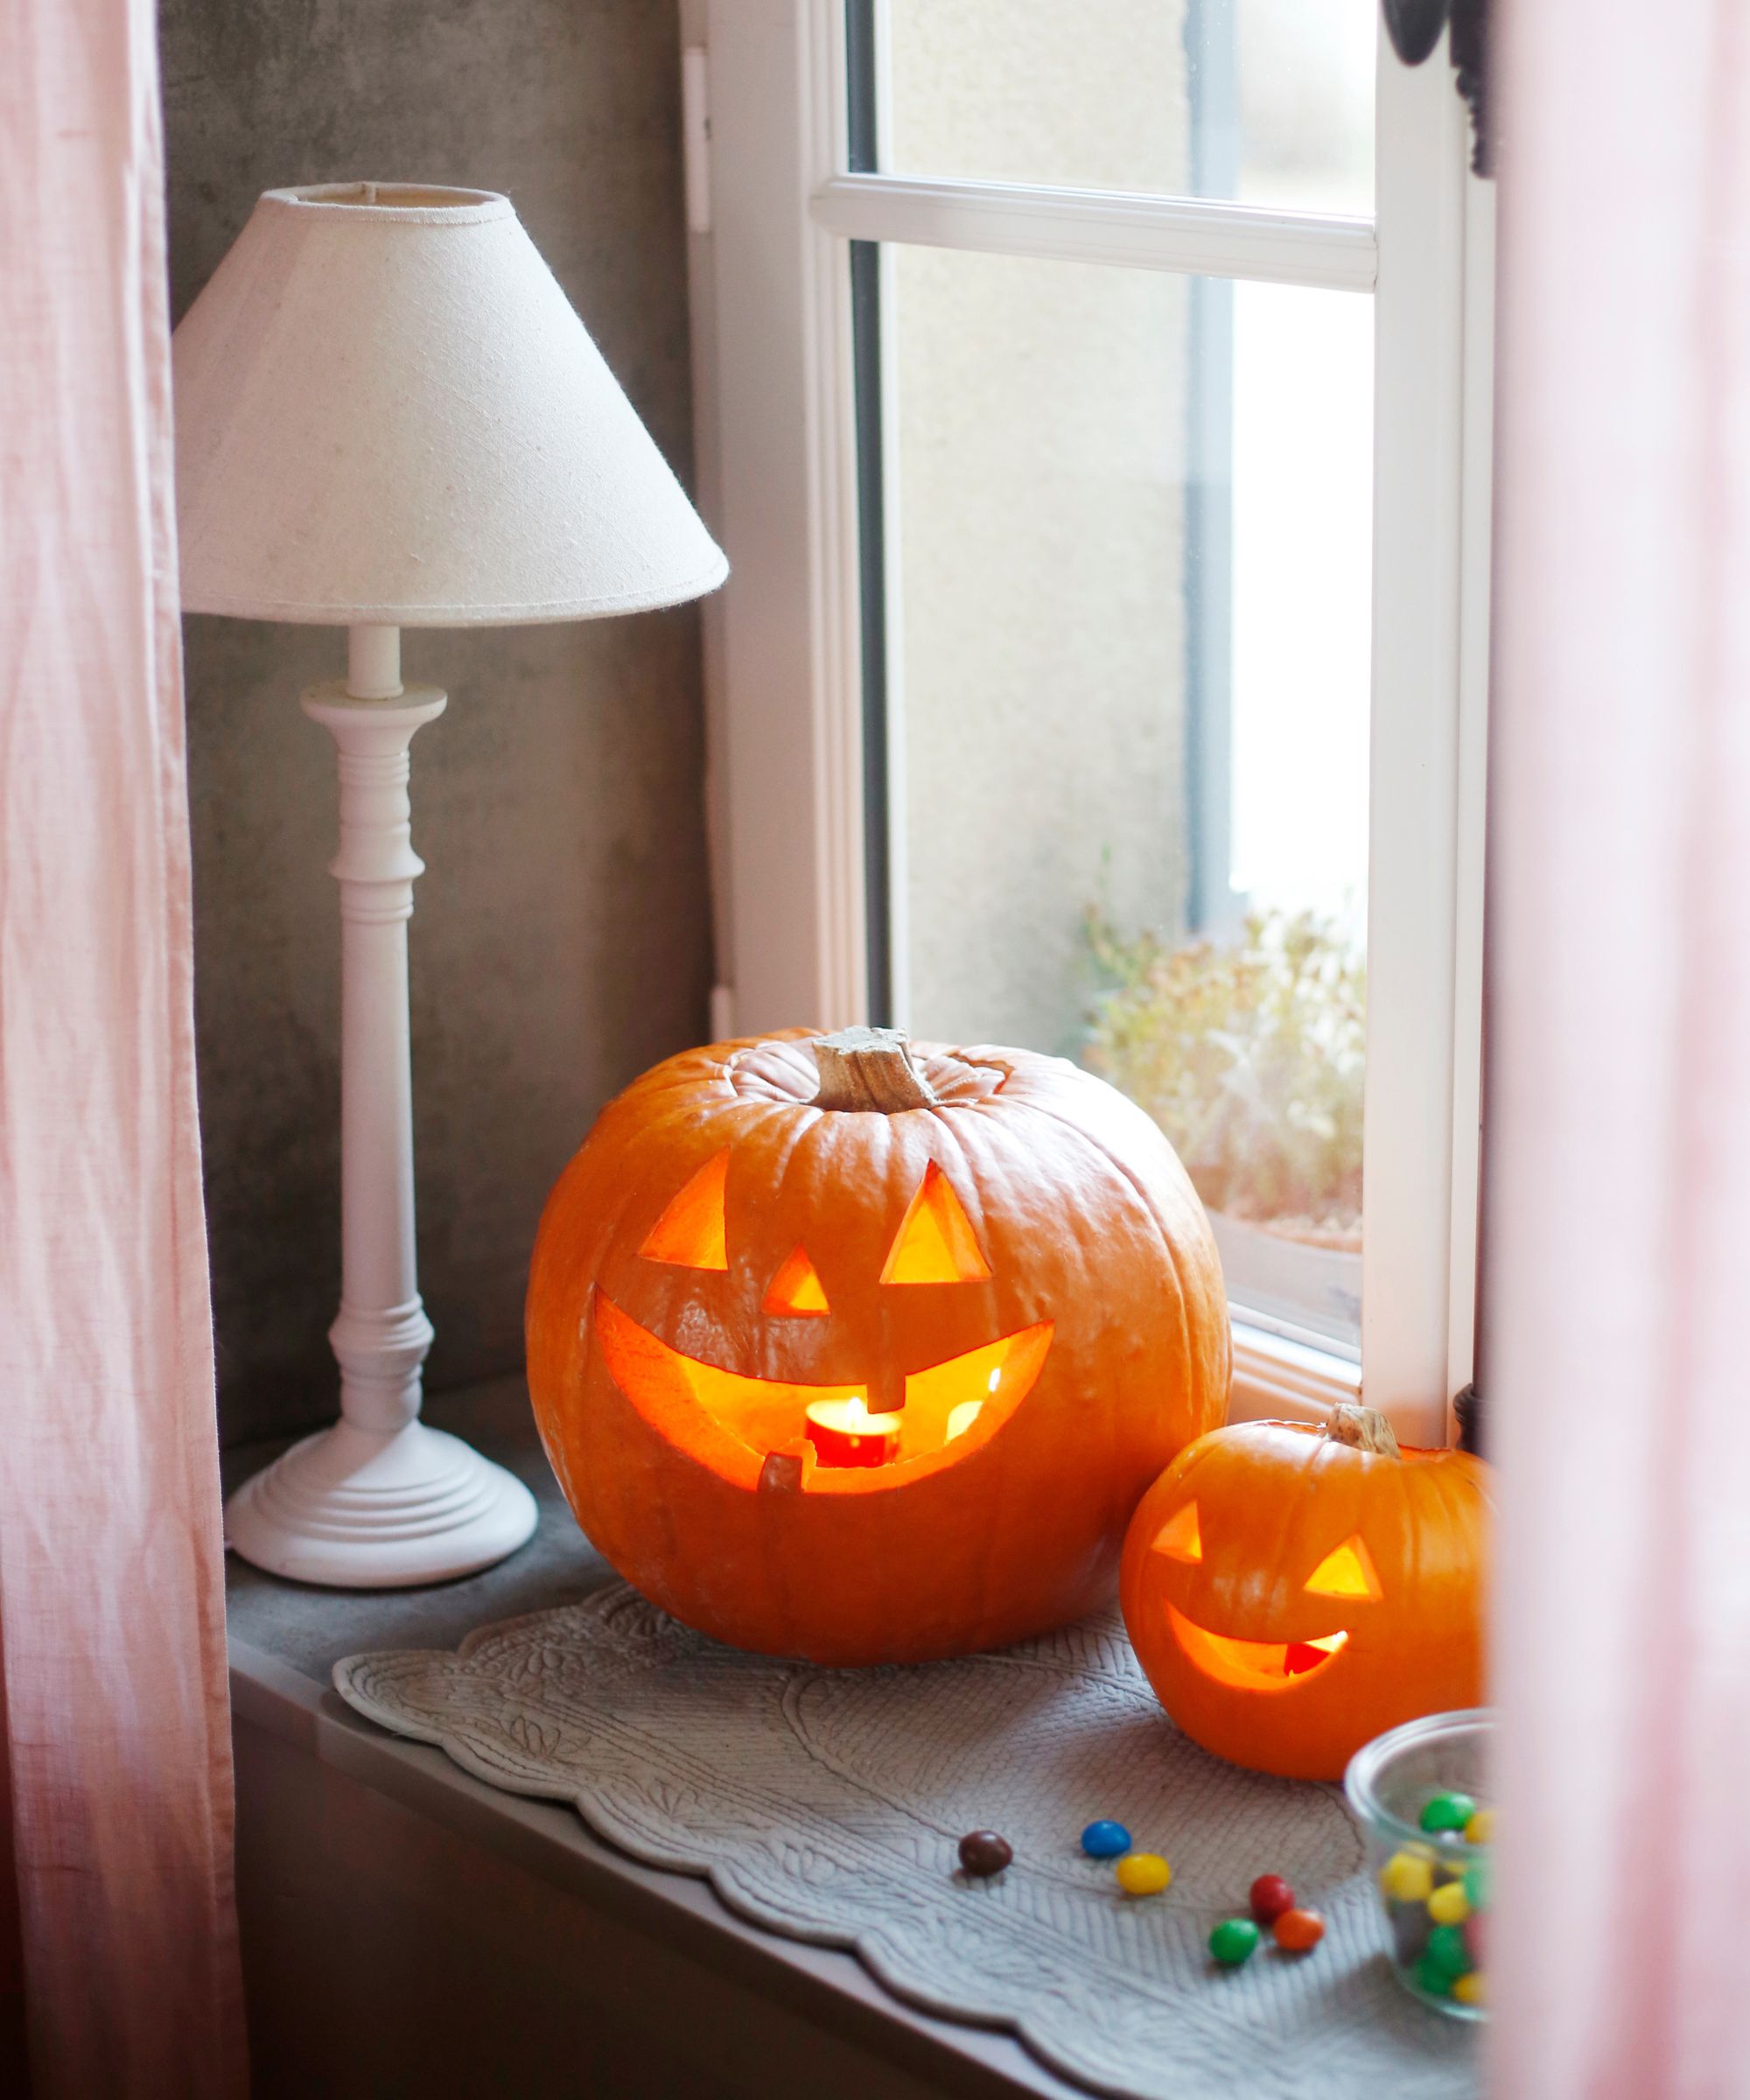
Washing your pumpkin before carving is a great way to stop them rotting prematurely, and we recommend using vinegar to prevent this as it kills bacteria and mold spores.
'Wash your pumpkins with dish soap and vinegar,' says Kimberly McLeod, kids craft and activity expert, and author of The Best Ideas for Kids. 'This may help slow the decomposition process and make your pumpkins last longer.'
3. Clean out your pumpkin
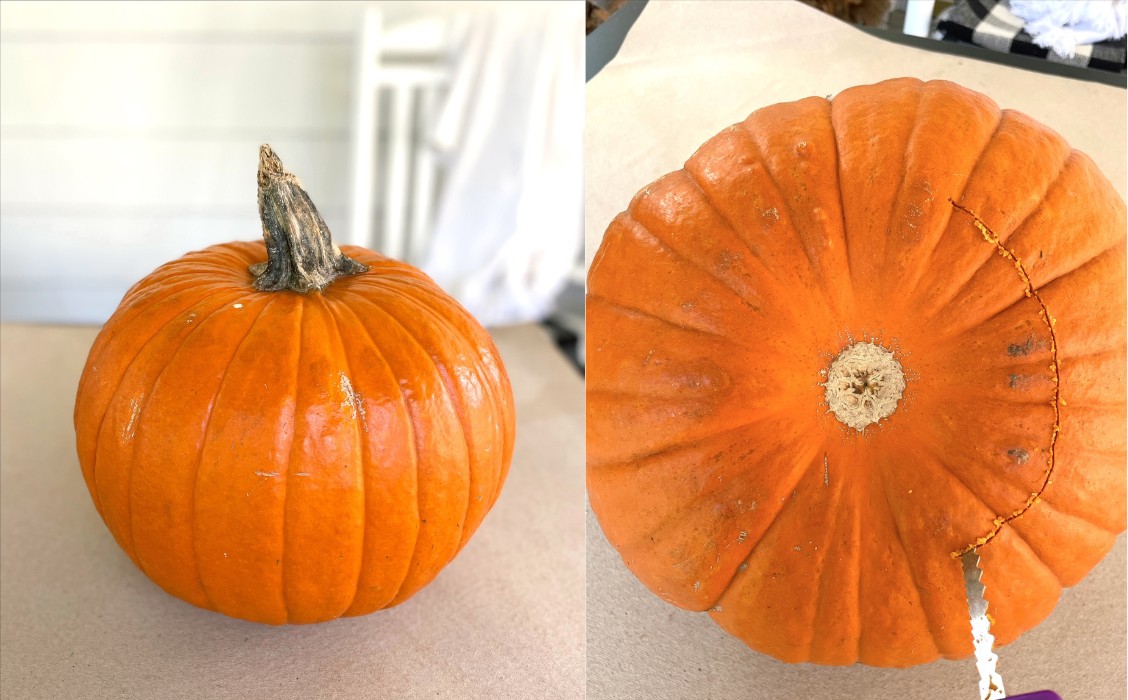
First, you'll need to clean out the pumpkin by scraping out the seeds and pulp. To do this, use a serrated knife to cut around the base of the pumpkin, to create a hole from which you can scrape out the pulp. You can also carve a hole in the back of the pumpkin, if you prefer. Wherever you make your hole, make sure it's large enough to stick your hand or a scraping tool into.
If you clean out your pumpkin from the top, by cutting a hole around the stem, it's time to ditch that practice, says Jones. 'Hollow out your pumpkin from underneath or the back – never the top! The stem still contains some nutrients, cutting off the top will make the pumpkin rot faster.'
Cutting the pumpkin from the bottom also makes the whole job easier, since most of the seeds and pulp are attached to the base. So, when you cut from the bottom, you'll take a lot of the seeds out with you.
'Either way you may want a small hole at the top to let the candle's heat and smoke out,' says Caron.
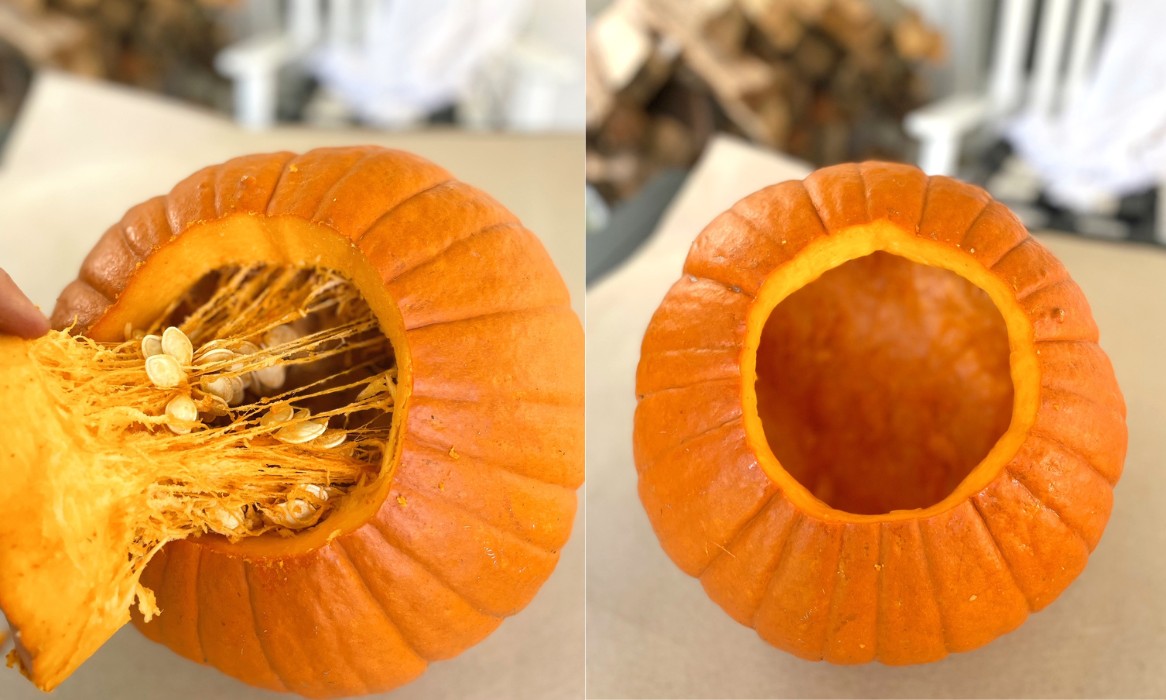
Then, use your hand or your pumpkin scraping tool to scrape out the pumpkin seeds. If you want to speed up the task, you can also purchase a pumpkin-cleaning drill attachment, such as the Dakota Products PG001 Pumpkin Gutter & Carving Tool available at Amazon, or use a hand mixer to loosen them for kids to scoop out, recommends McLeod.
Scrape out the pumpkin as much as you can, which will make it easier to carve.
Scott Groth, chef and founder of I’d Rather Be a Chef recommends wiping off the pumpkin with a paper towel at this point, to remove any sticky residue. We recommend the bestselling Bounty Select-a-Size Paper Towels available at Walmart, as they're more absorbent than other leading brands.
4. Mark out your design
Next, decide on where you'll put your design. Carve the flatter side of your pumpkin, if it has one, as it will be much easier.
If you'll be doing your pumpkin carving freehand, use a fine point pen or orange marker, such as a SHARPIE Permanent Markers available at Amazon, to map out your design before you start carving. This gives you a chance to make adjustments if you run out of room or need to start your design over.
'If you take a little time beforehand to practice on a piece of paper, you avoid making unnecessary marks on the pumpkin itself,' suggests Caron.
If you'll be using a stencil, tape it onto the pumpkin using masking tape, available at Walmart. Then, use a circle punch tool from your pumpkin carving kit (or a push pin or nail) to punch holes along the lines of the stencil, tracing the design onto the pumpkin, without leaving pen marks.
5. Start carving
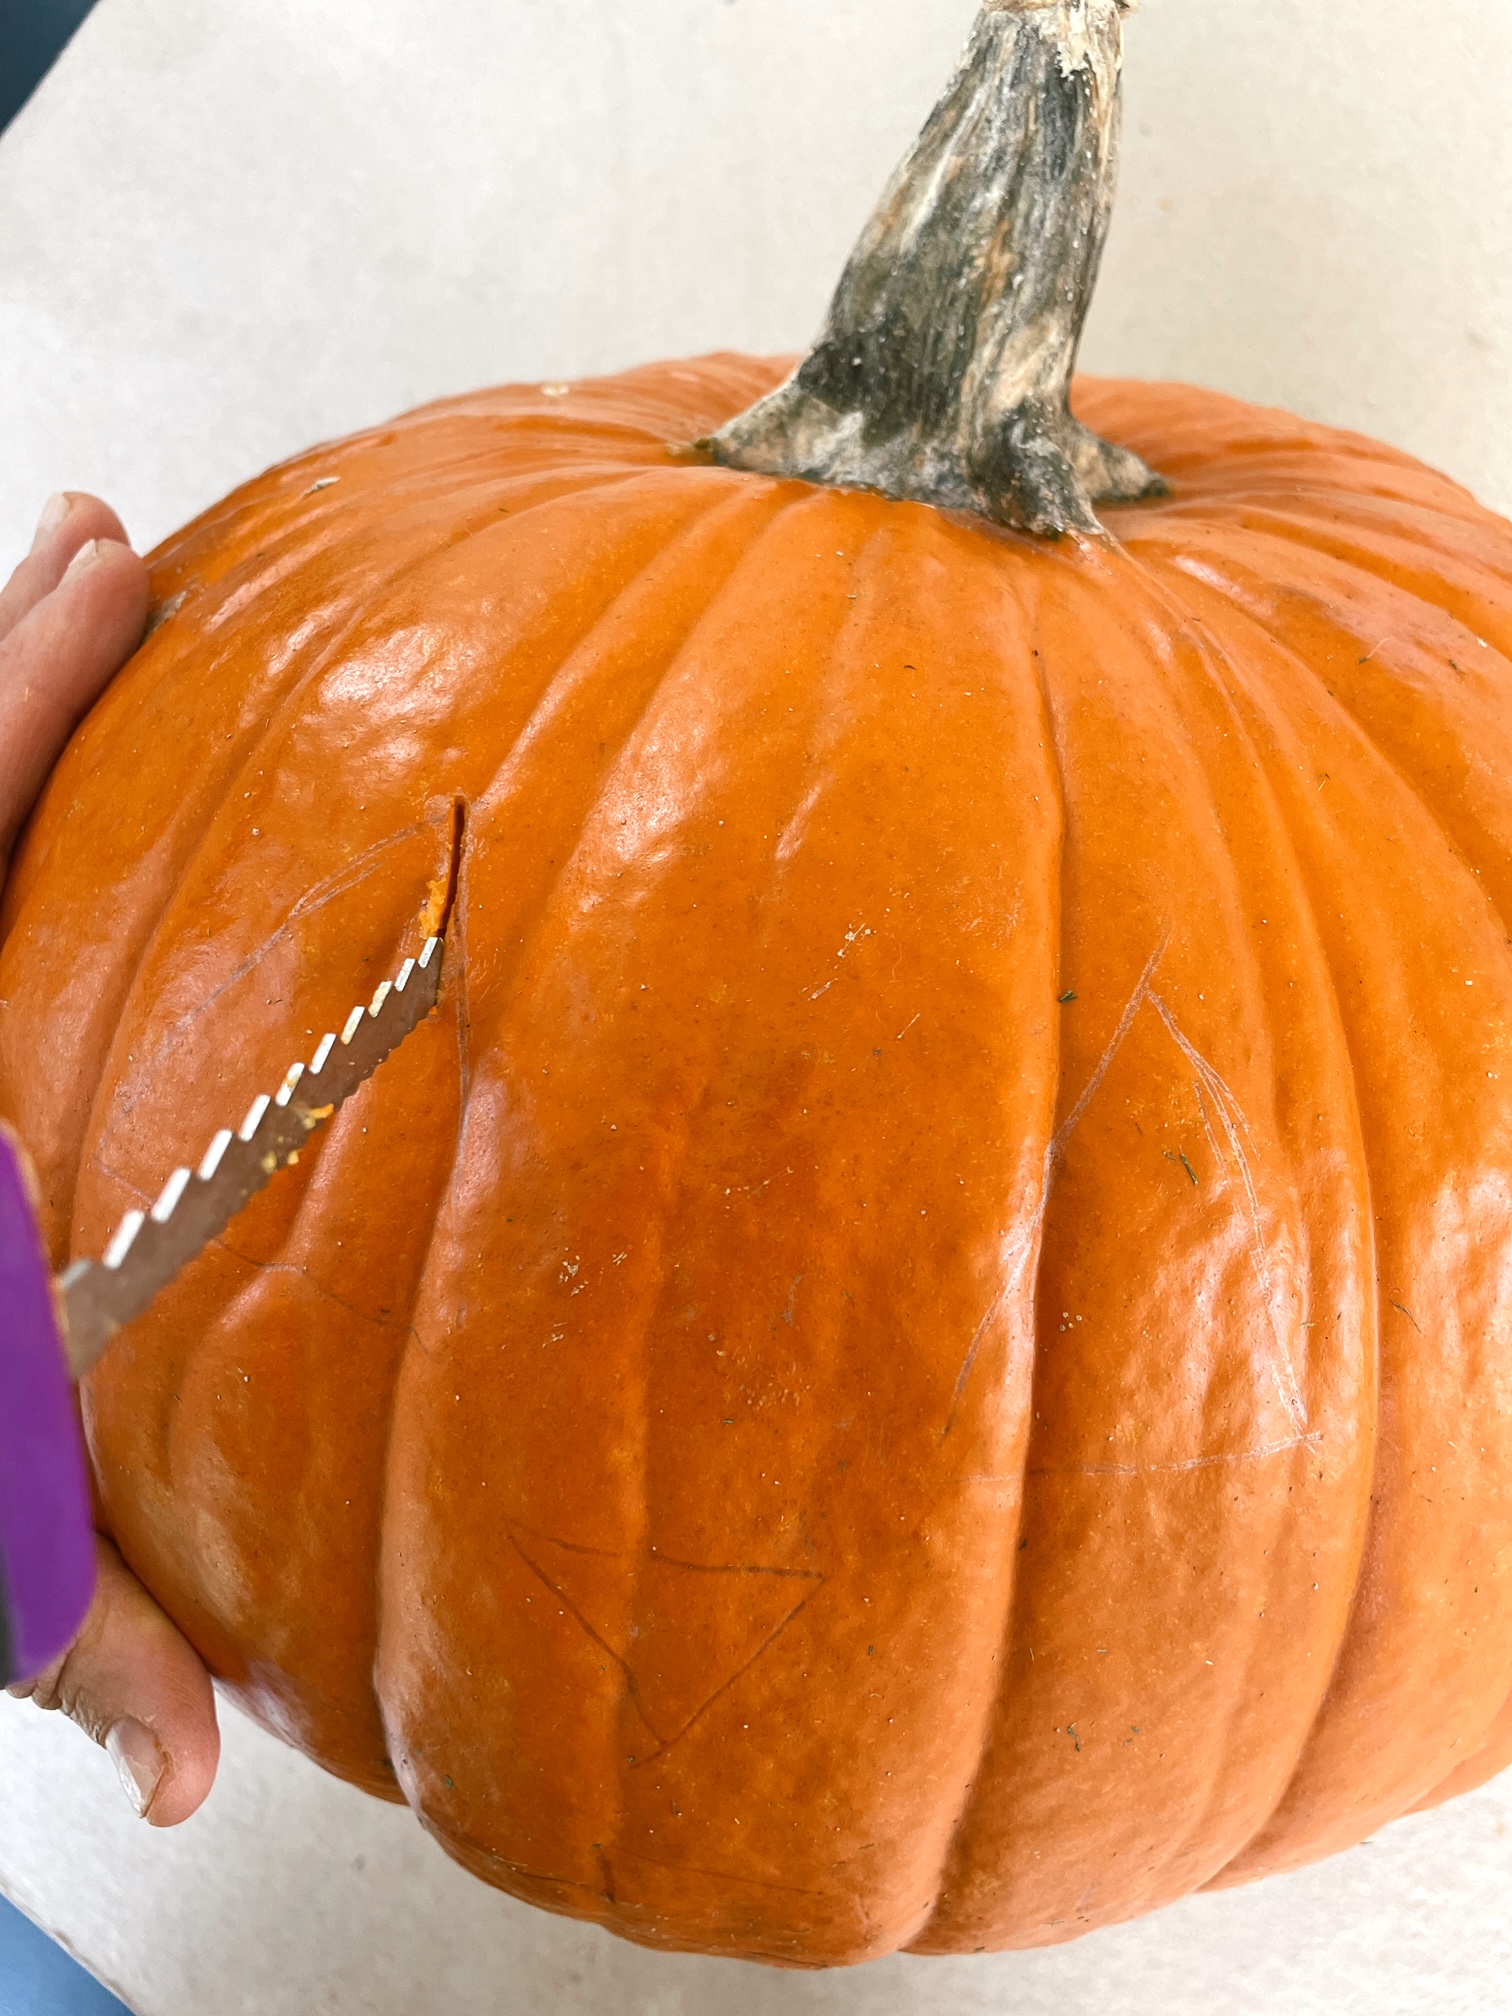
Once your pumpkin carving design is laid out, it's time to start cutting. 'Start carving in the center of the design and move outwards,' recommends John Haryasz, horticulture writer and landscape designer at Privacy Shrubs.
Use your serrated knife to cut the pumpkin along the outline of your design. A sawing motion works best. 'As pieces are cut, it is easiest to push them out from the inside of the pumpkin,' says Groth. 'Discard any cut pieces of pumpkin.
'When you are done carving the pumpkin, I like to use the blade to make the holes slightly larger by opening them up from inside the pumpkin. You will see the cutout more clearly if you do this trick.'
6. Preserve the pumpkin
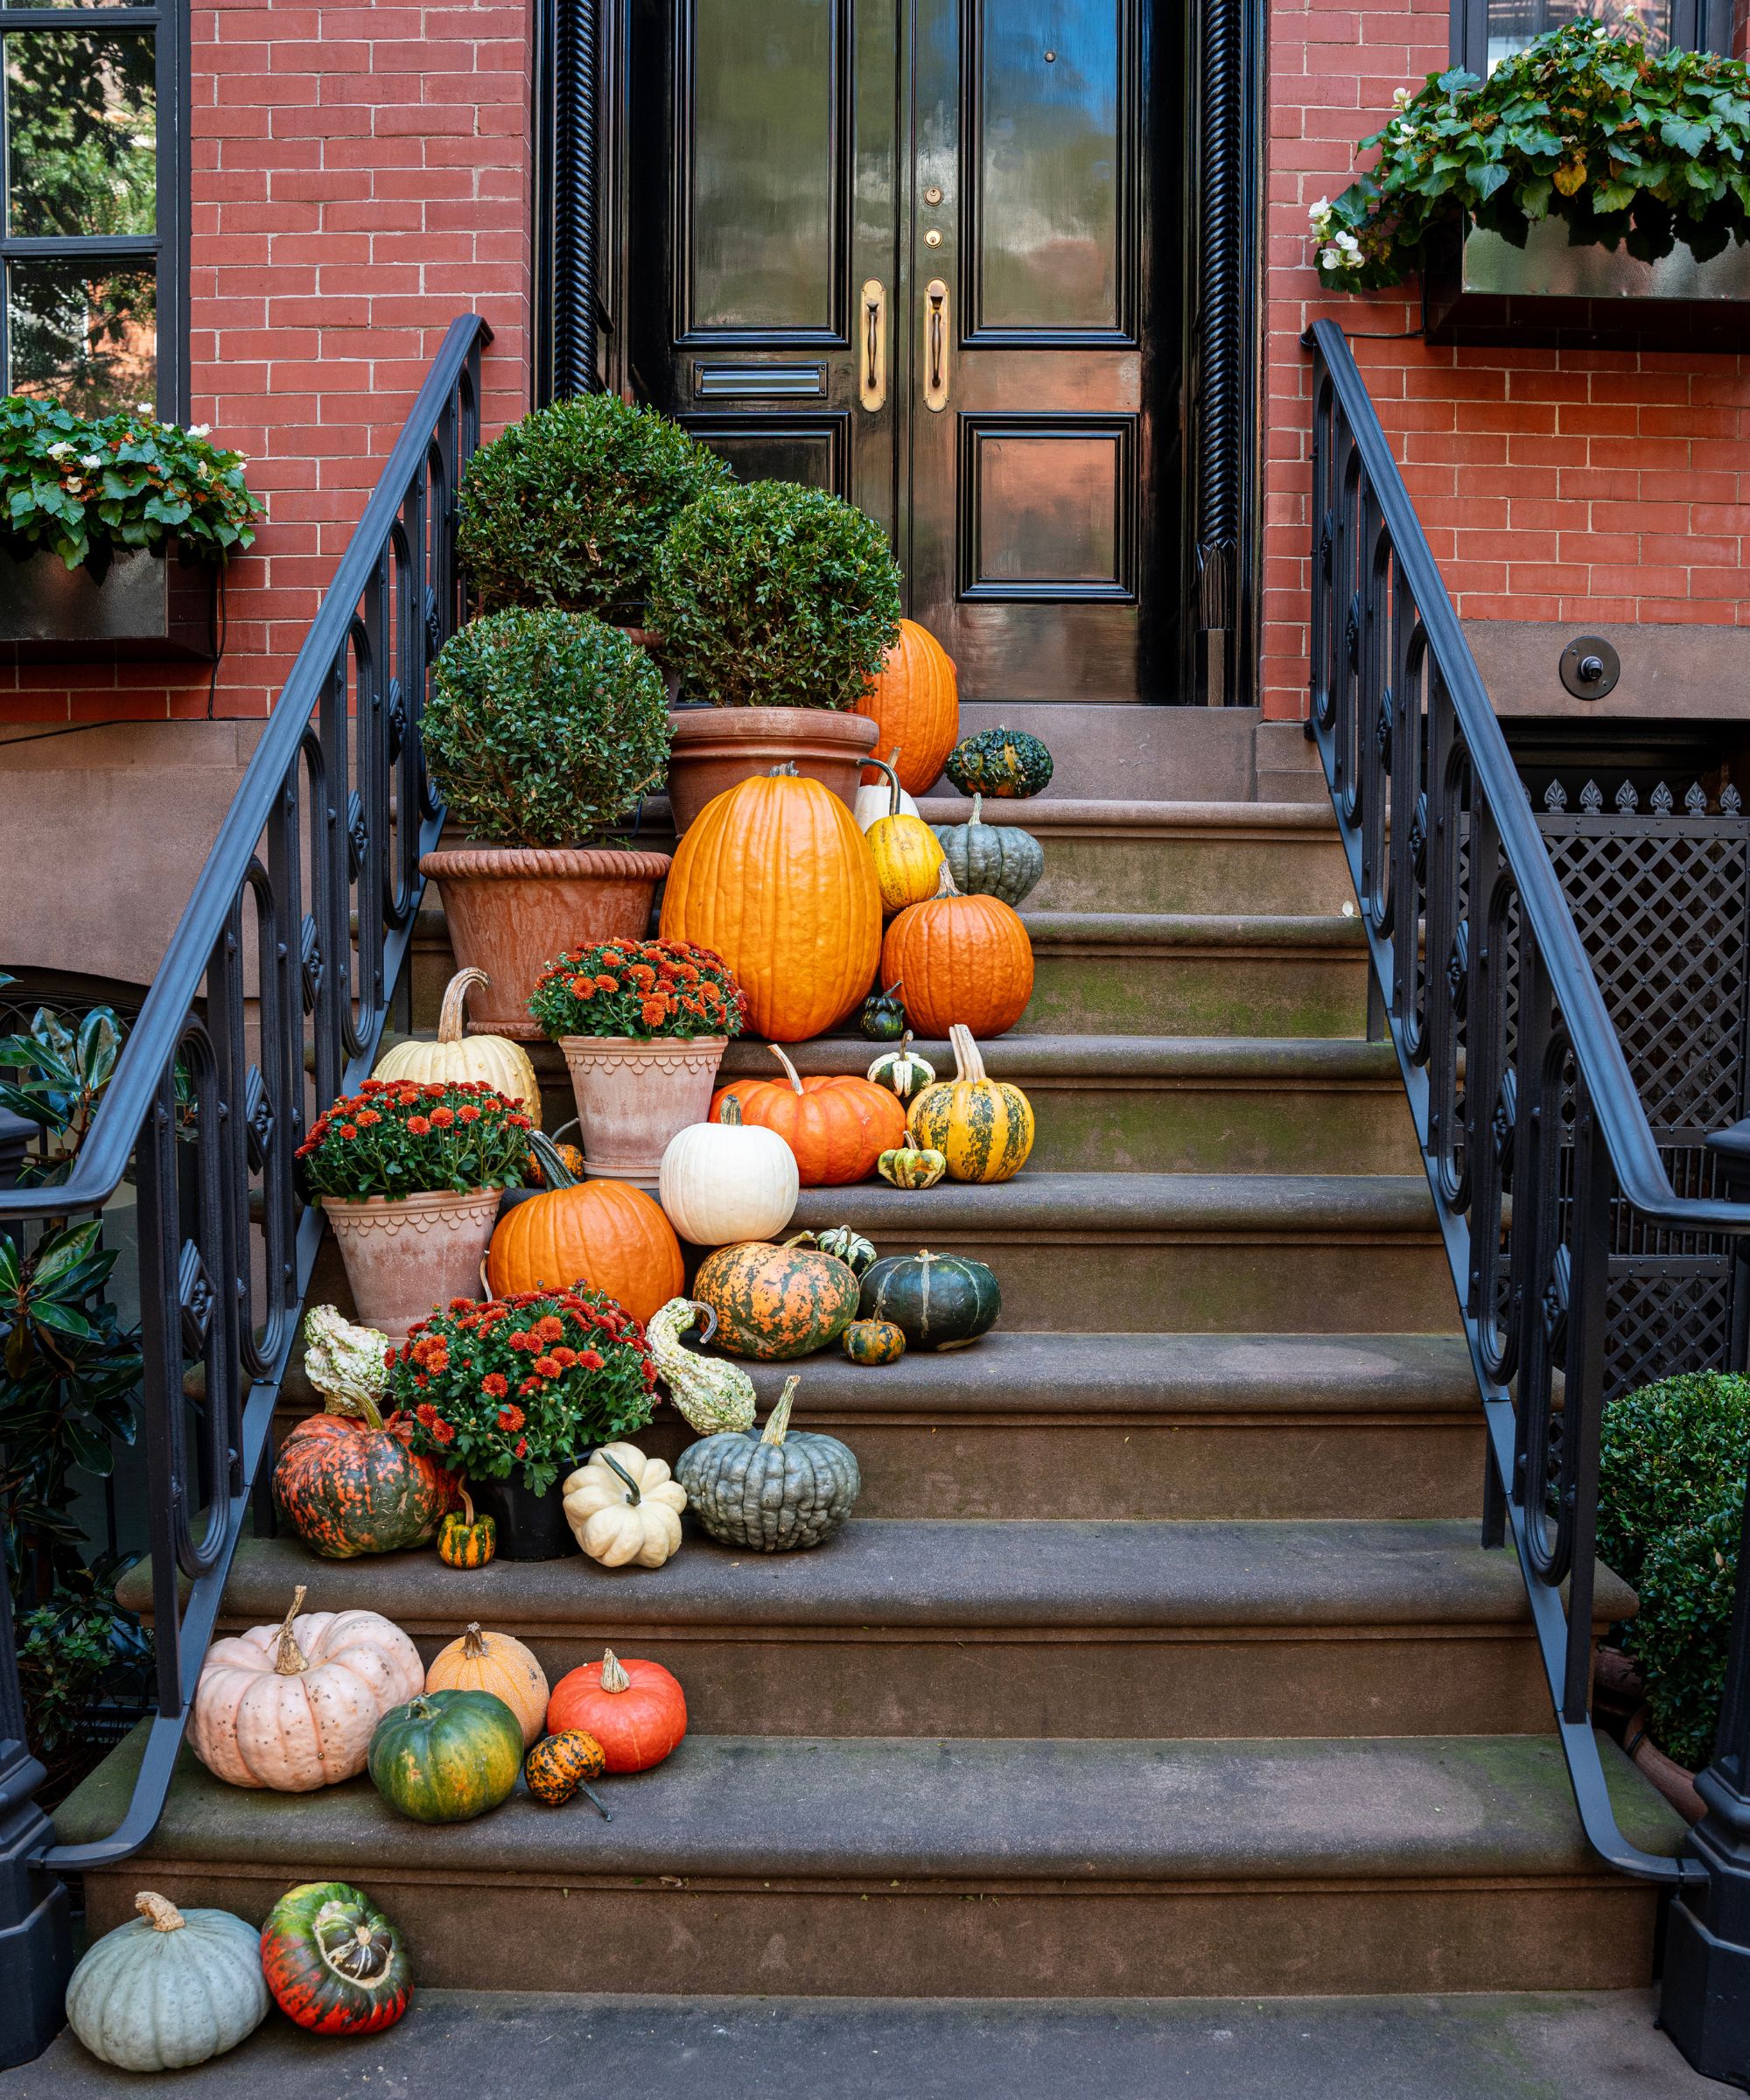
'Once you've finished carving, to make it last longer, wash it with cold water and a little bleach. This will dramatically increase the shelf life of the pumpkin,' says Jones.
The bleach kills mold and bacteria that make pumpkins turn mushy and wilted, which will help them last a few extra days as part of your Halloween table decor. If you prefer to not use chemicals, you can also use vinegar. White vinegar works best, such as the Great Value Distilled White Vinegar available at Walmart, which can be mixed with water in a ratio 1:1 in a spray bottle. We recommend the Equate 8 oz Plastic Spraybottle from Walmart.
And if you're displaying your pumpkin outside, perhaps also consider how to stop squirrels eating your pumpkins to protect your precious designs.
7. Light it up
The final step in carving pumpkin is to light it. Skip candles, which can be dangerous, and choose a small LED light or LED candle instead. They're safer, and you won't have to worry about them blowing out in the wind or rain. To make things even easier, choose LED candles that run on a timer, or buy LED lights that are remote operated.]
Using a real flame speeds up rotting so that's another great reason to switch to LED.
All prices correct at time of publication.
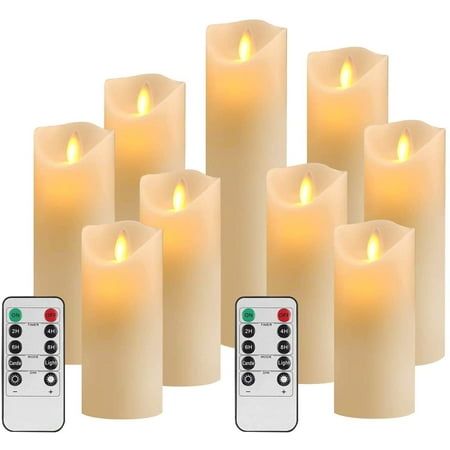
These flameless candles give a spooky, haunted vibe, and can be easily controlled with a remote control and automatic timer. You can also lower and increase the brightness, and change the settings from flickering to full light.
FAQs
What tools do I need to carve an intricate pumpkin?
For more involved carvings, like pumpkin shading or sculpting, Jones suggests advanced tools like clay loops, cutting ribbons, wood carving chisels and lino cutters.
You can also paint a pumpkin, for a unique take on the Halloween favorite.
If you prefer something a little less traditional and a little more wacky this Halloween, 'Use a watermelon!' says Caron. 'They are super easy to carve and a great choice for kids.'
And, if you're wondering what to do with leftover Halloween pumpkins, we've collated the 9 brilliant and best expert suggestions for eco-friendly festivities.


