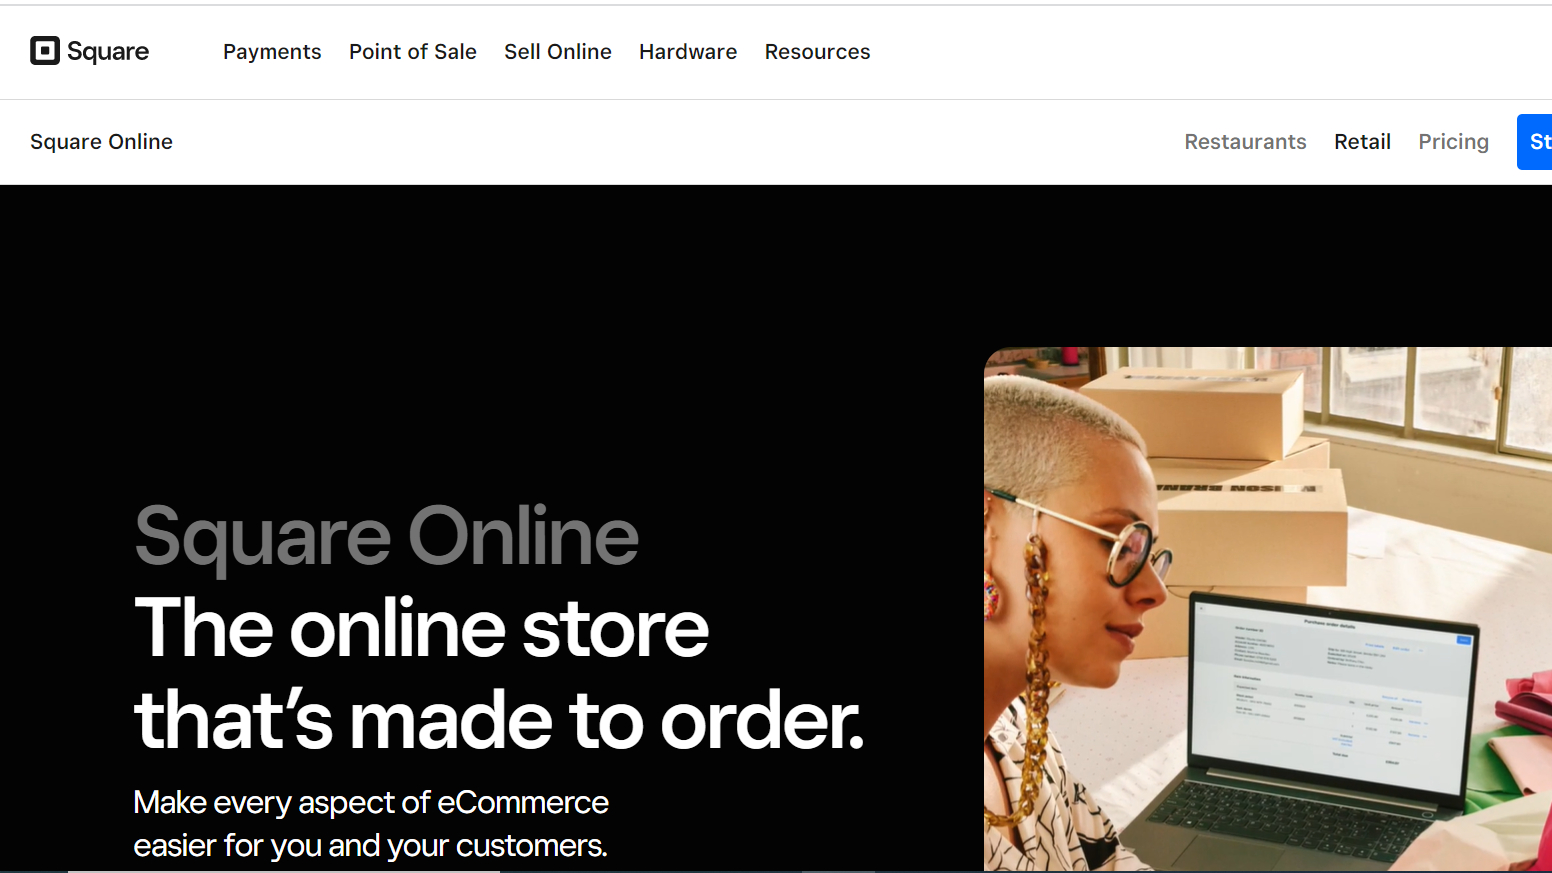
As a business owner, you know that having an online presence is essential for reaching customers and growing your brand. However, for many, the process of building a website from scratch can seem daunting, especially if you have no coding or design experience.
That’s where Square comes in. With its intuitive tools and user-friendly platform, building a website is easier and more accessible than ever.
This guide will walk you through the steps you need to follow to build your own website with Square.
What is Square website builder?
Square website builder is an online tool that allows you to create a professional website without needing advanced technical skills. It is developed by Square, a company that provides a range of financial and business tools, including payment processing, POS systems, and online store management.
The Square website builder offers a user-friendly interface that enables you to choose from a variety of templates and customize your website's design, content, and functionality. You can add pages, create forms, and integrate social media and other third-party services into your site.
Square website builder also includes features like SEO optimization, mobile responsiveness, and secure hosting. It is designed to be an all-in-one solution for anyone who wants to create a professional-looking website quickly and easily.
Steps to building a site using Square
To create a website with Square, here are the steps to follow:
Step 1. Create an account
Creating a website with Square requires having an account on the Square database. To create an account, open your browser and go to the official website of Square. On the website interface, you will find the “Get started” icon and then click on it. In the next window, you will be prompted to fill in your details: email, username, and password.
Next, enter your business details on the "What kind of businesses are you" tab. Also, fill in your business address and number of employees. Once you have finished filling in your business details, you will see your dashboard.
Step 2. Choose a domain for your site
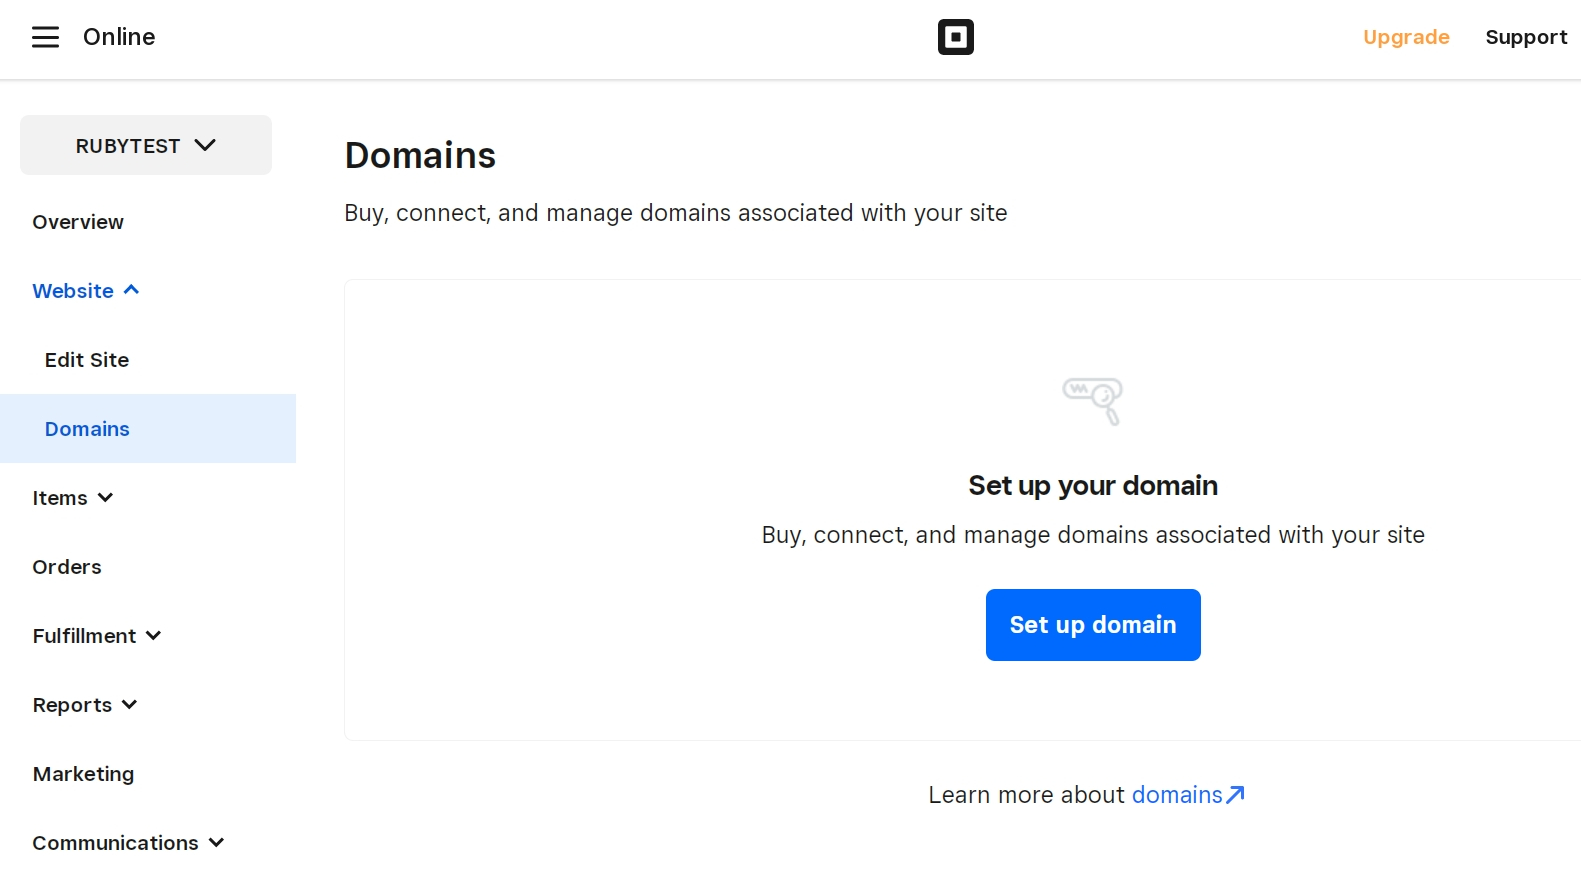
Once you have finished setting up your Square account, navigate to your Square homepage and click on “Website”. Next, click on domains to choose a domain for your website. You can choose the free Square subdomain or upgrade to a custom domain.

Step 3. Choose a style/layout for your site
After choosing your desired domain name, go back to the homepage and click on “Website” and then select “Edit Website”. Here, you will choose your website layout. Once you have chosen a layout or style of your choice, you will see options such as header, main banner, footer, location and hours, footer branding, etc. for any layout you choose.
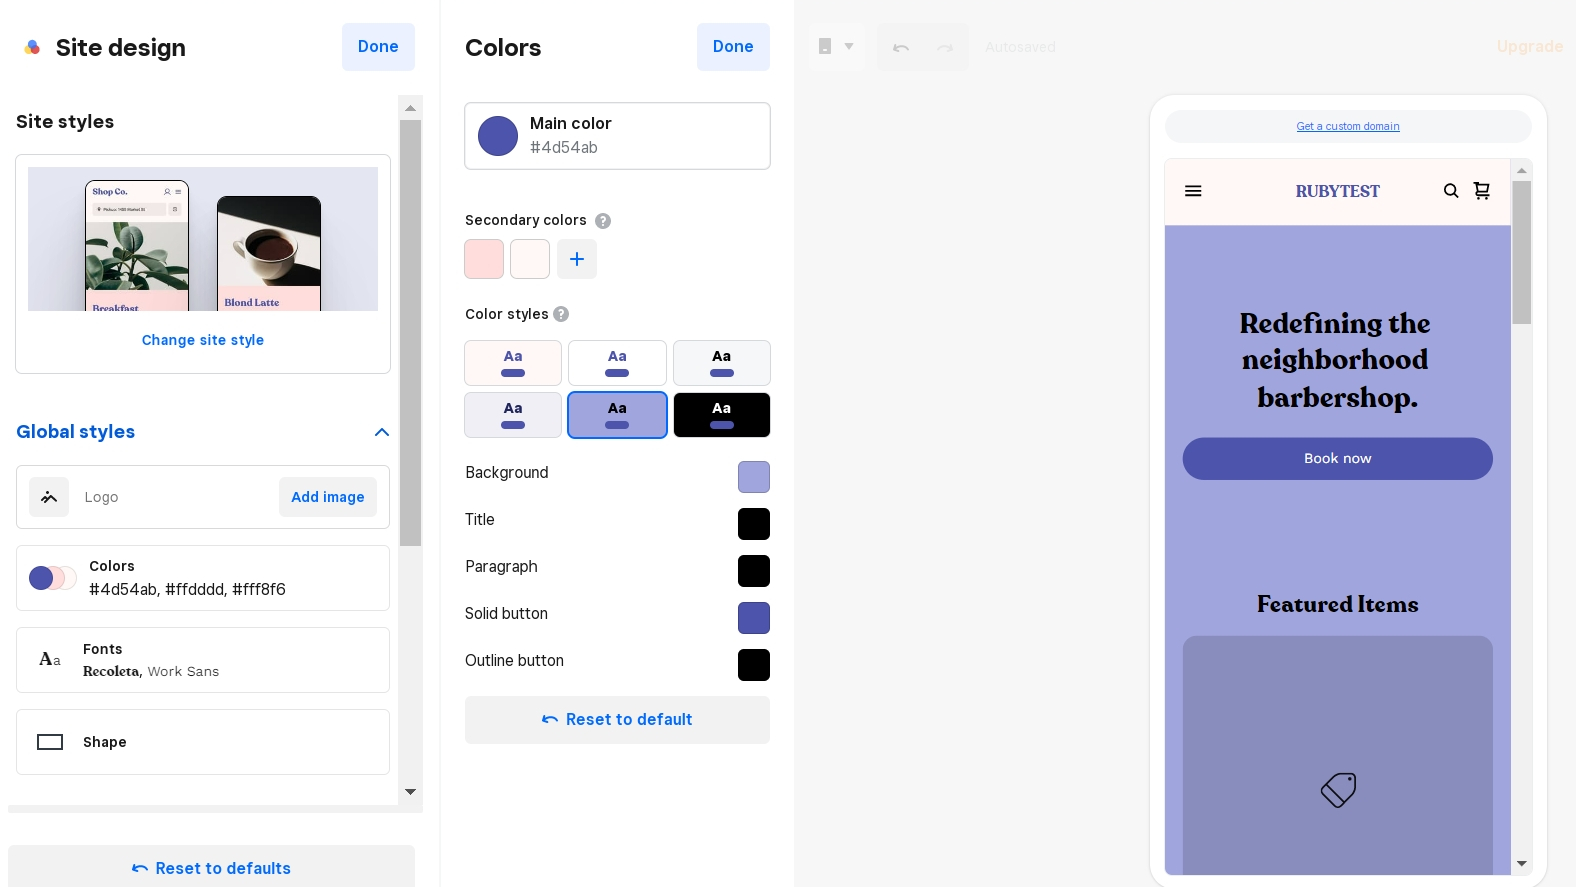
The next step is to begin customizing the interface to your taste. You can edit colors, fonts, and shapes. You can also add site elements like badges, buttons, spacing, icon sets, etc. You can as well change the site style in this section. Once done, click Preview to view the site before publishing.
Step 4. Adding content to your site
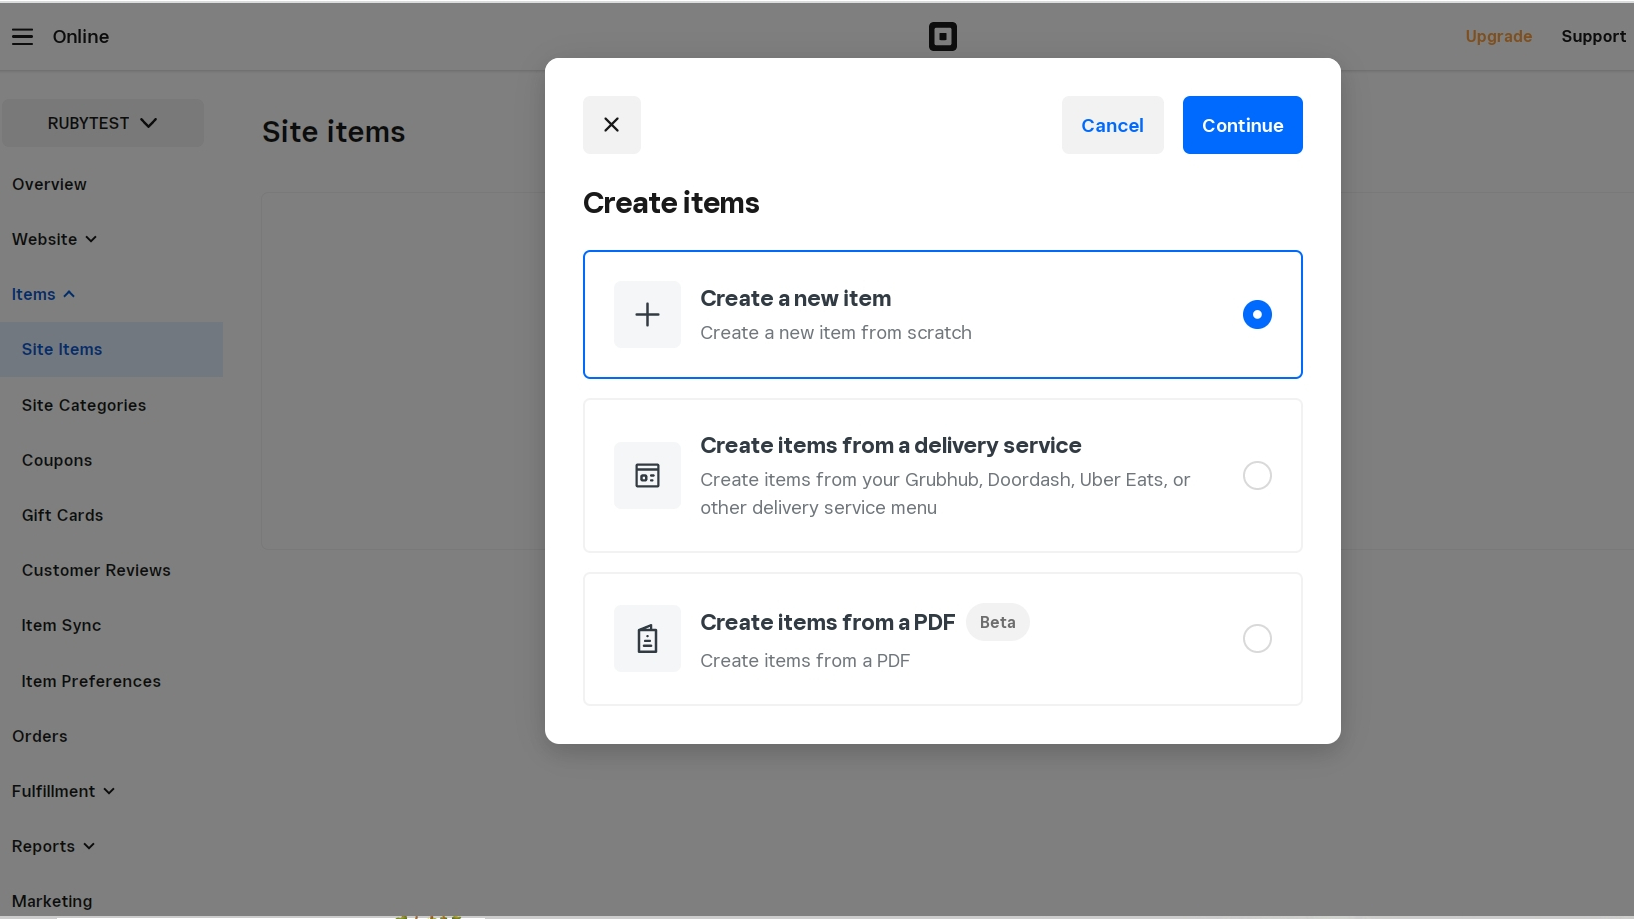
Next, after publishing your site you should add content to it. To do this, go back to the Square homepage and click on Items. On the items submenu, you will find site items, site categories, coupons, Gift cards customer reviews, item sync, item preferences, etc. Here, click on "site items" and you will see a new dashboard. Next, on the "Create items" window, click on "Create a new item" and click "Continue" to add items to your site. Once done, click save.
Step 5. Adding more features to your Square website
If you want to add more features to your Square website, do note that you need to upgrade to a paid plan. Go back to the homepage and scroll down to communications. Here, you can set up an email list of your site users. You can also set up a pop notification for discounts and announcements on your site.
To add fulfilment such as the “Pick up and delivery” feature on your Square website, go to the homepage, and scroll down to fulfilment. You will be taken to a new interface, and from there you can set up Pick up and delivery channels for your online store.
You can also check your site's reports such as summary, site traffic, site activity source, etc. via the reports section found on the homepage. However, note that this feature is only available to paid plans.
Square website builder FAQs
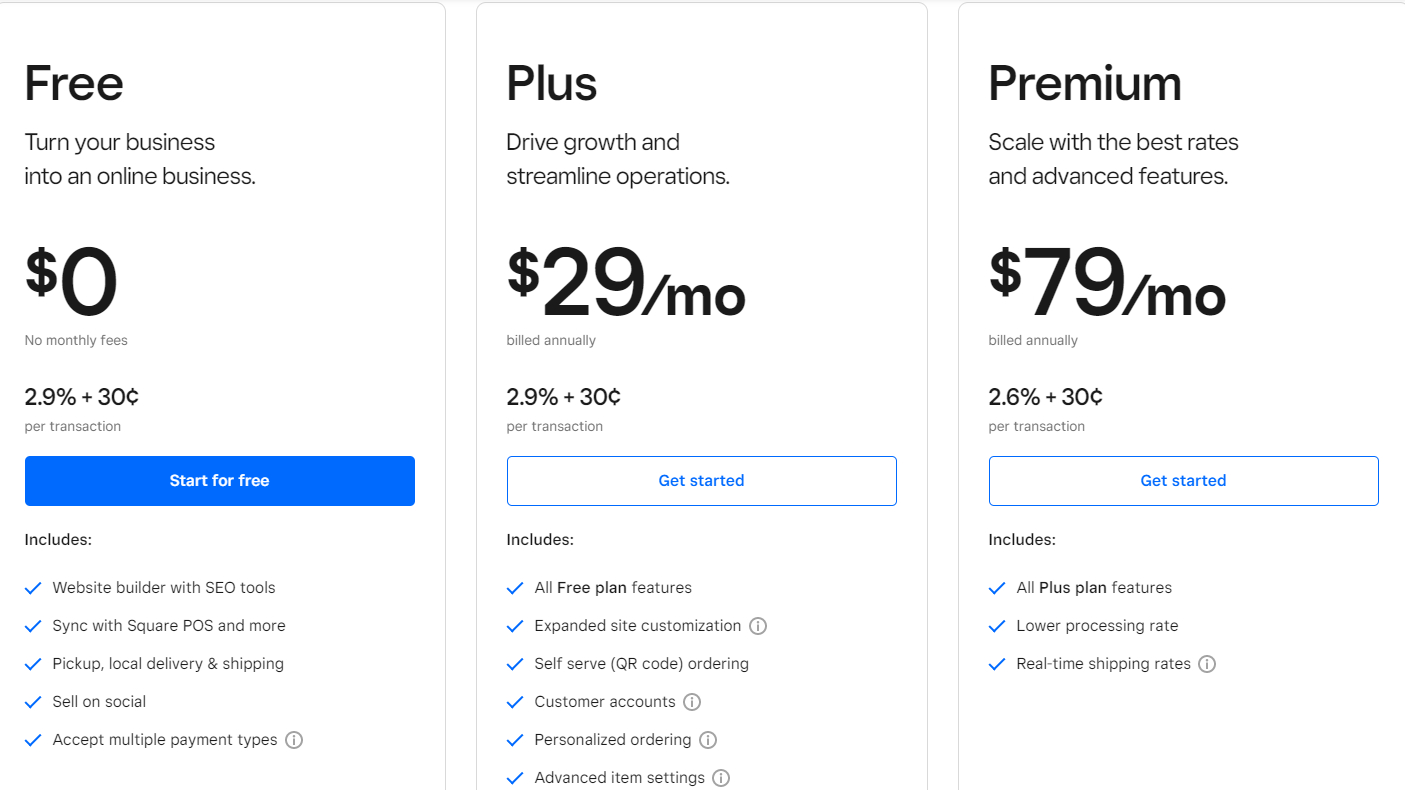
How much does it cost to create a website at Square?
Square offers four pricing plans to cater to different business needs. The Free plan is, as the name suggests, free of charge and comes with basic features like basic SEO tools, pick-up, delivery, and shipping options, adding items to the site, and even supports selling on social media platforms.
The Plus plan costs $29 per month, and it includes all the features of the Free plan plus an added benefit of a custom domain connection and a free domain for the first year, as well as self serve (QR code) ordering.
Lastly, the Premium plan, priced at $79 per month, is the most comprehensive package with the lowest processing rate and a real-time shipping rate calculator.
Is Square good to build a website on?
Yes, Square is a good platform for building a website. With its drag-and-drop website builder, it is easy for anyone who is not tech-savvy to use. The platform is also mobile-responsive, which means your website can be accessed on any device. Additionally, Square allows you to choose from a range of templates or customize your site according to your brand’s needs.
- We also have a list of the best web hosting services out there


