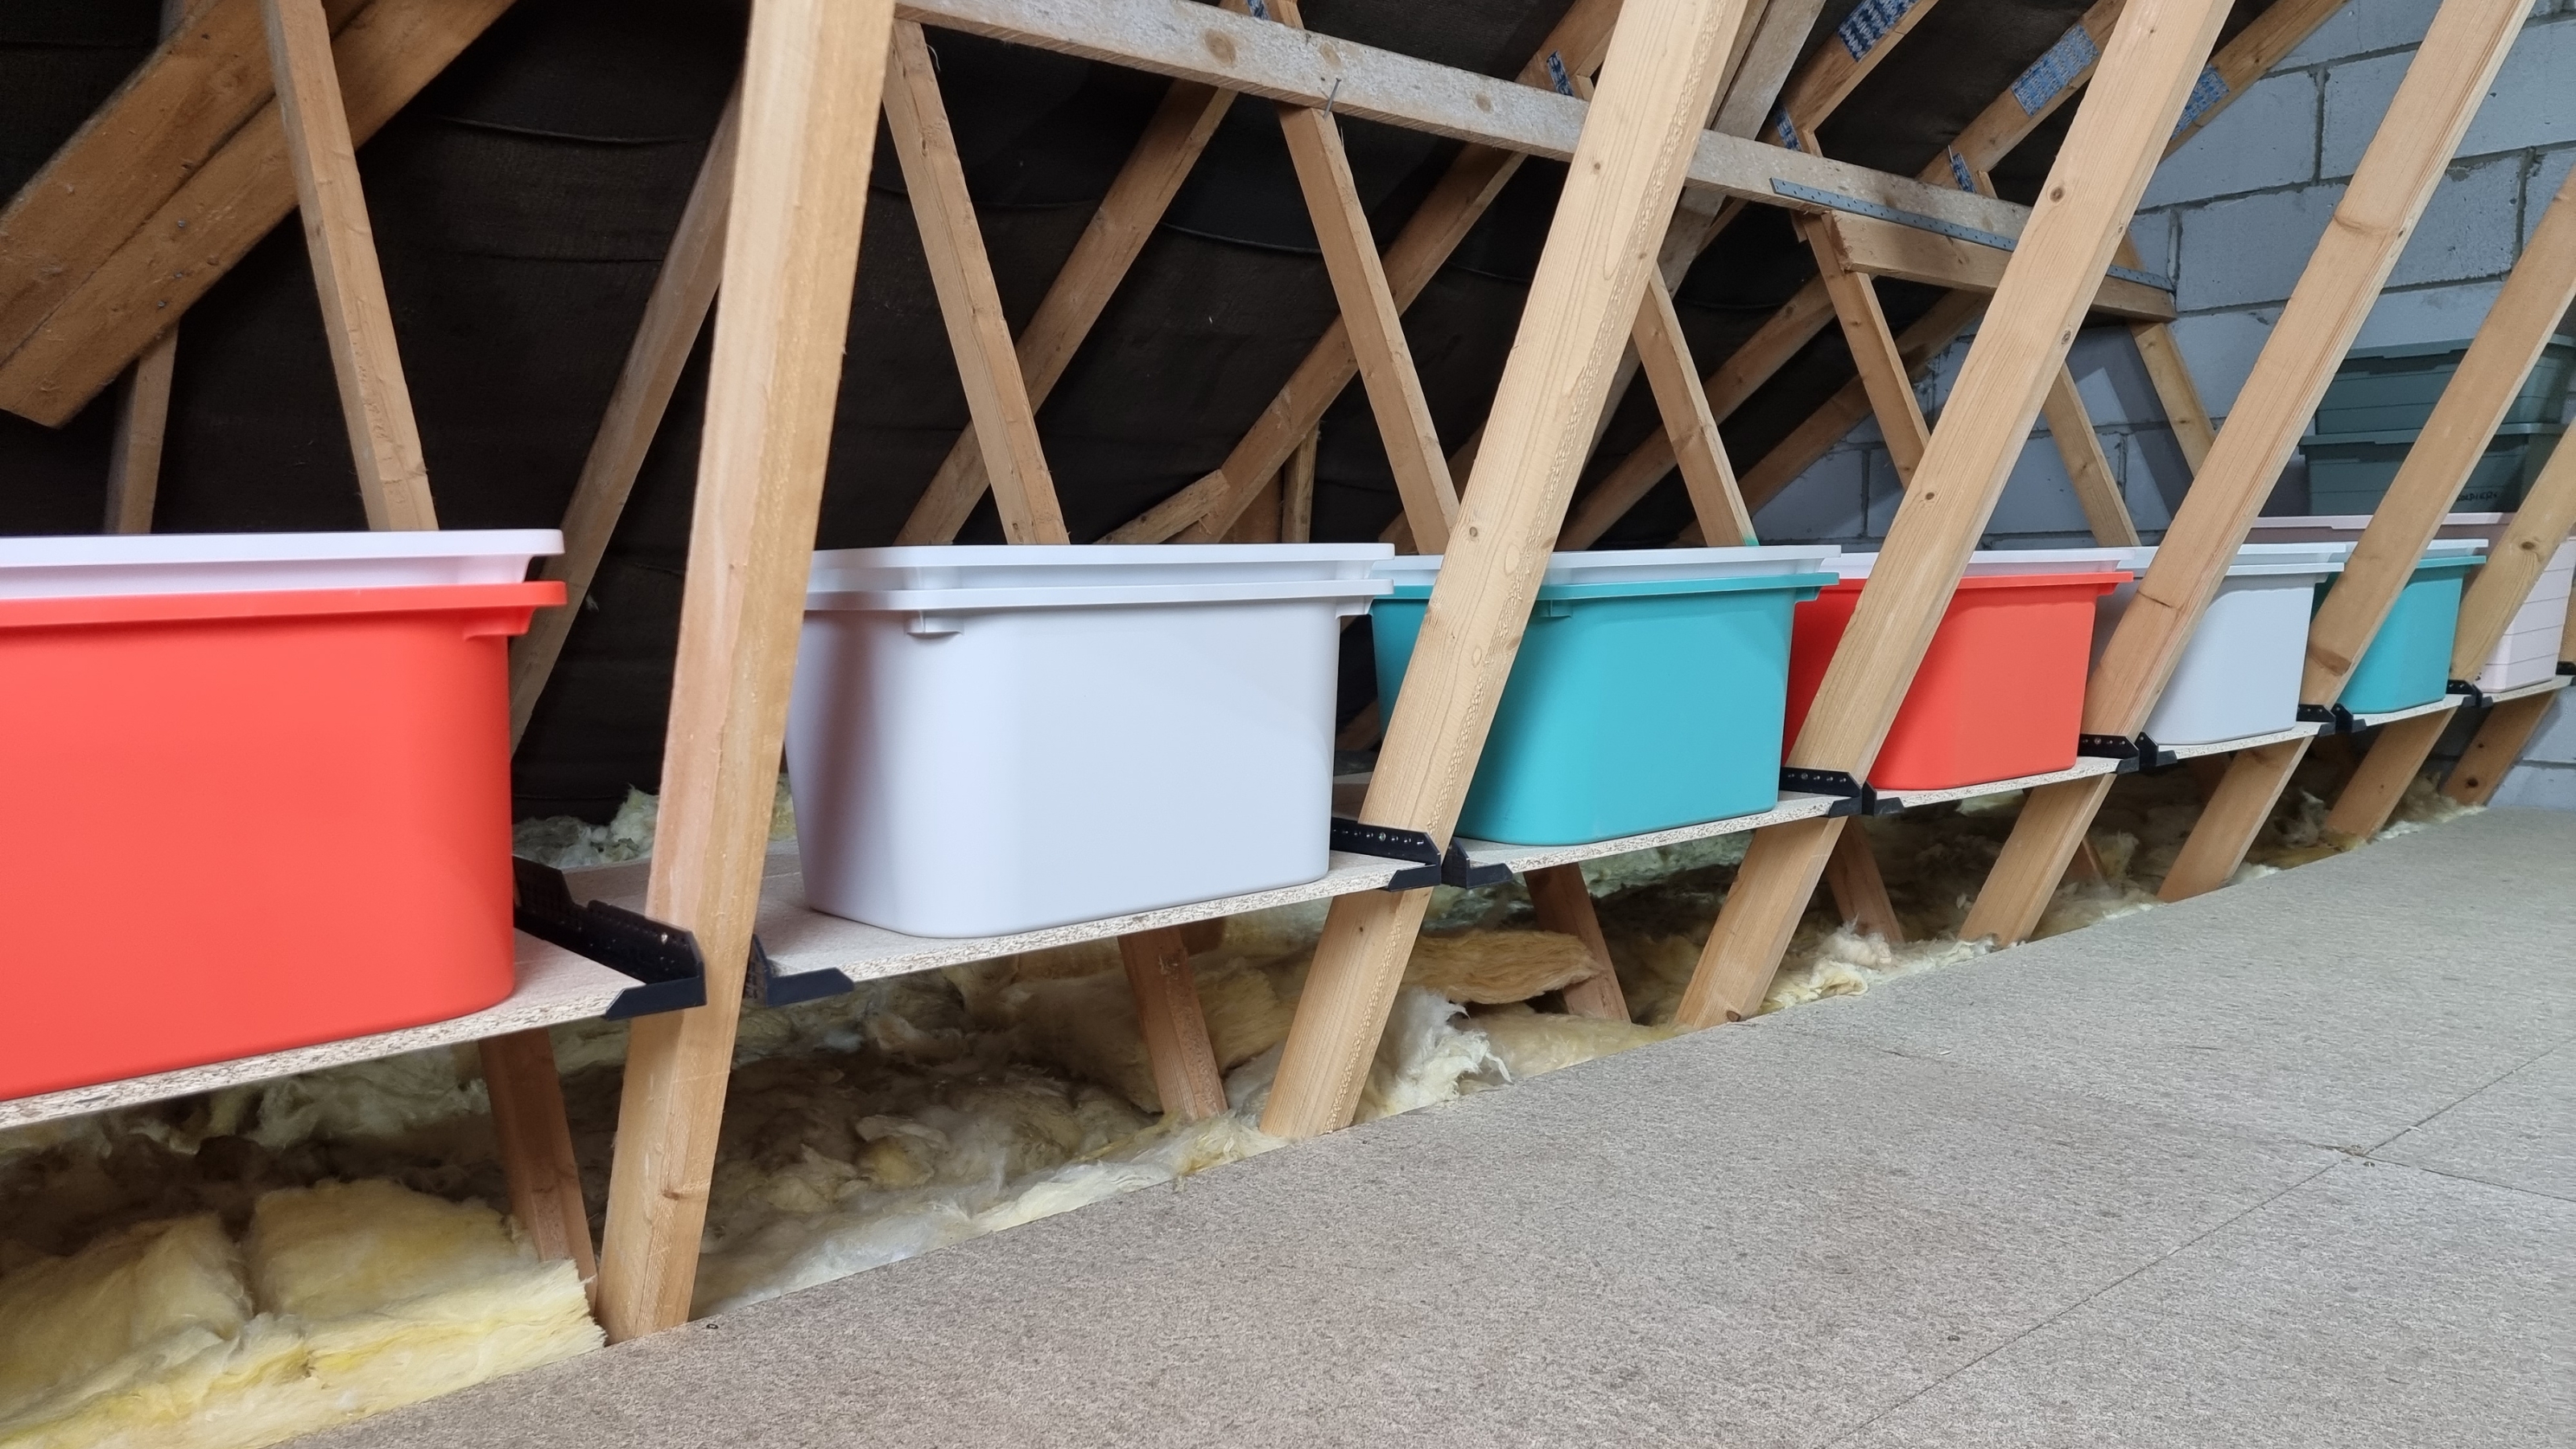
Looking to improve your loft storage? We get it. That space at the top of your home (under the roof), seldom gets the TLC it truly deserves. Whether it's cluttered with Christmas decor or miscellaneous items you've sworn to sort another day — it is rarely invested in. Unless — of course — you're converting the attic into another room.
But what if we told you that you could achieve an organised scheme, all while maintaining the thermal performance of your loft? Put simply, Loft Leg's products will help you to create a tidy raised area, which in the long run can help save money on utility bills.
So rather than scouting the area on a ladder with a torch in hand, you can have an area that you can comfortably roam, with an optimised floorplan that makes things easy to find.
Here are four things you need to turn your loft into a practical space that wastes less energy too...
Loft flooring legs
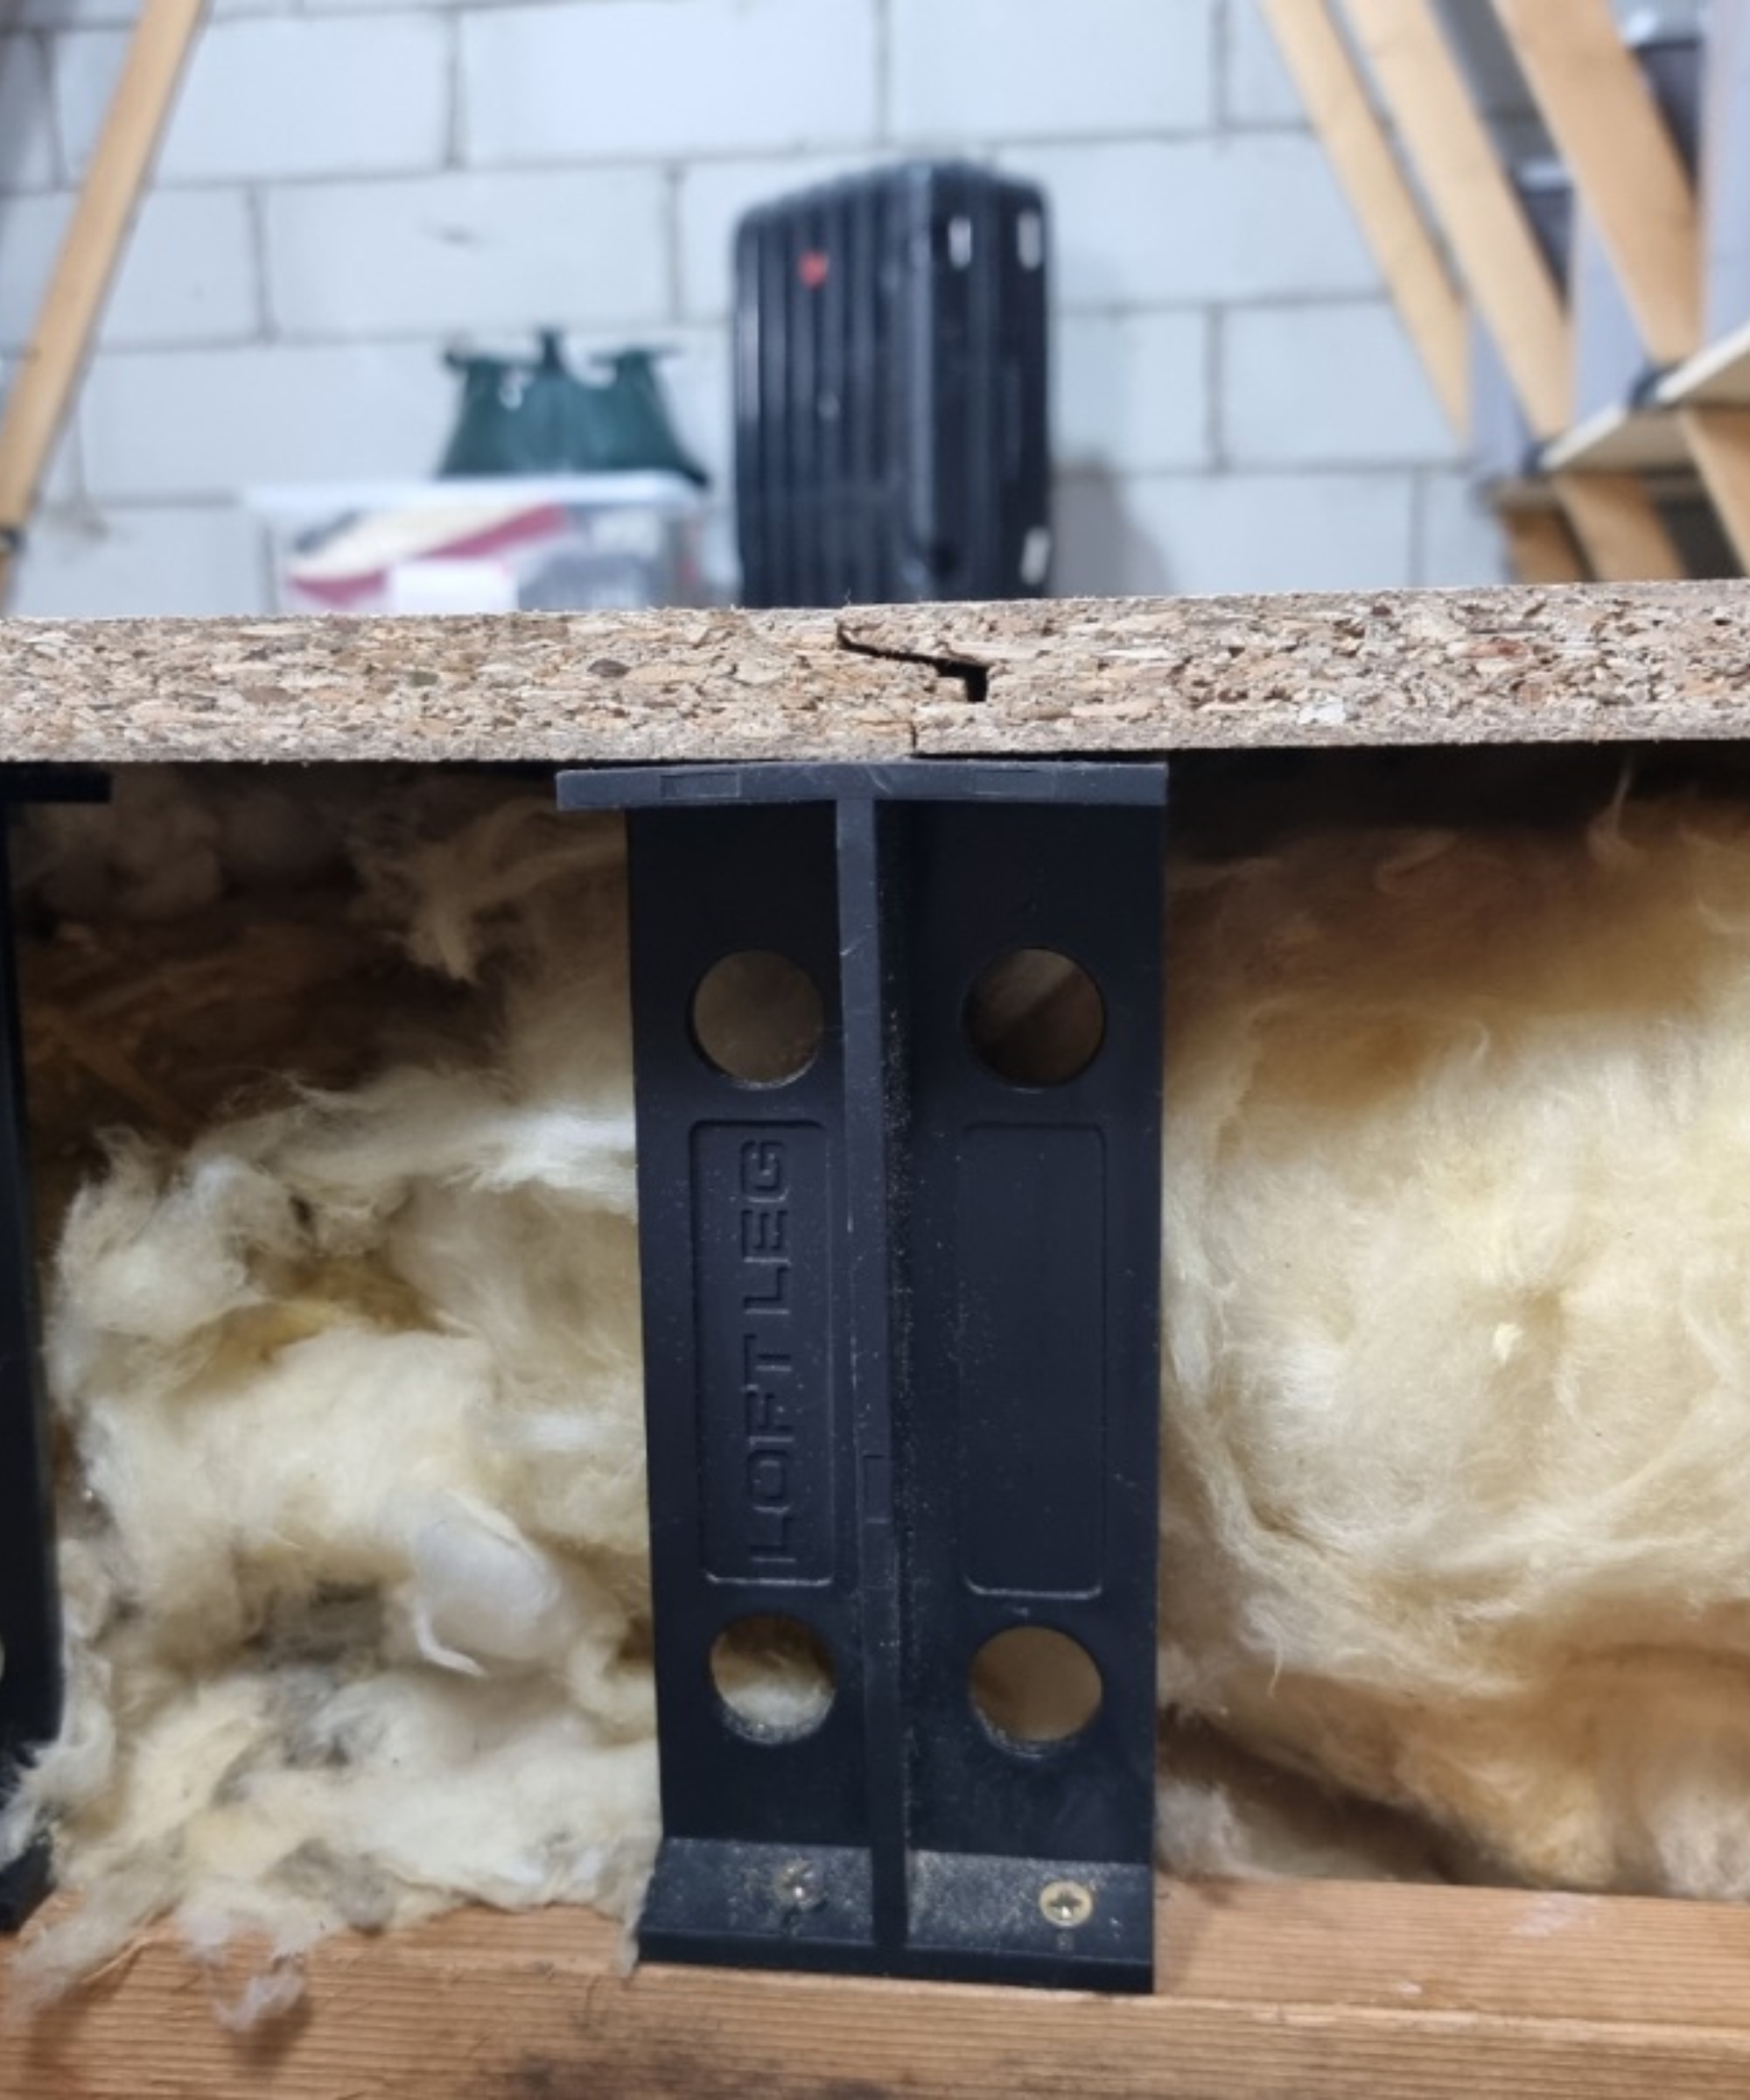
What is a loft flooring leg?
Manufactured in the UK from recycled materials, these fittings raise your loft boards by 175mm, avoiding insulation compression, which in turn saves you energy and money. These raised storage platforms are strong enough to walk on and can store up to 25 kg per square metre.
Sold in packs of 12, these are easy to install and can be fitted using screws from several widely-recognised retailers including Wickes, Toolstation, and, Homebase.
With the help of Loft Legs' four-step guide, an electric screwdriver, multipurpose screws, and a few sheets of 18 mm-thick chipboard (or OSB)*, you can fit loft flooring legs with ease. Prefer to watch along? Loft Leg's video demonstration covers how to board a loft in just over 3.5 minutes. And if you're still stuck, you can always email asklofty@loftleg.com for quick and personable customer service.
Alternatively, if you've got the budget to contract the work out, or prefer to use a professional for reassurance, Loft Leg can provide a list of recommended installers that serve England, Scotland, and, Wales.
Loft Leg ledges
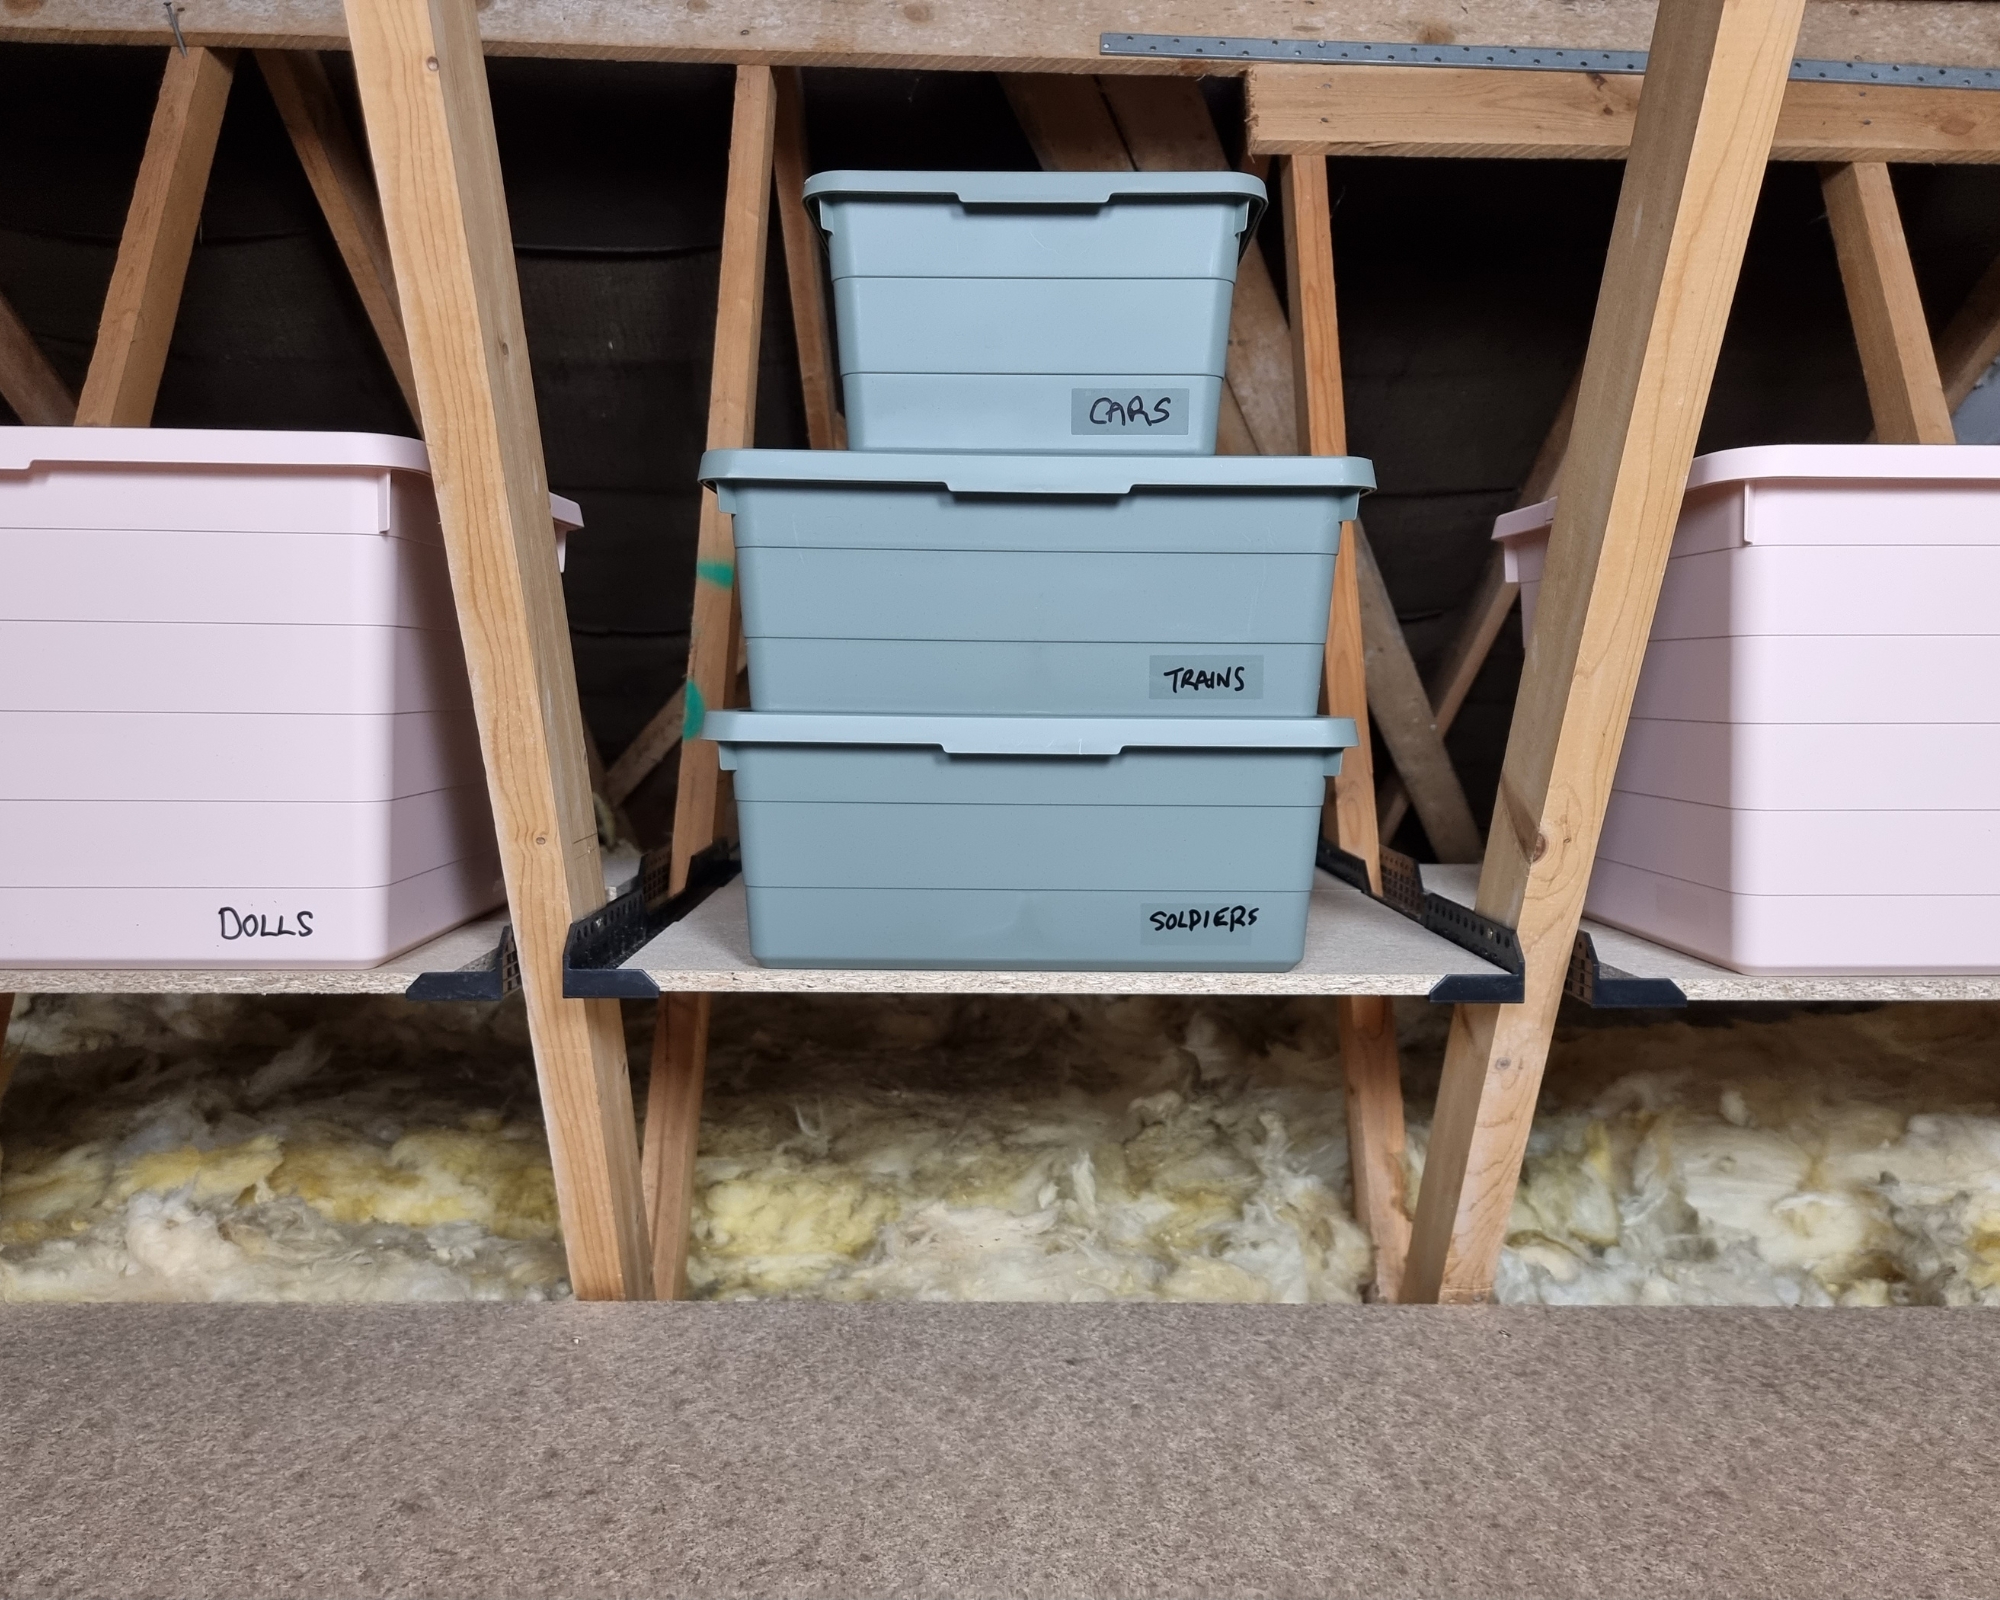
Similar to shelves you put up in your home, a Loft Leg truss shelving kit maximises storage in your loft, creating additional space where it's most needed. The pack includes two brackets, a chipboard shelf, and four screws. So there is no cutting, no mess, and no stress.
In just over a minute, discover how easy it is to install a loft ledge. All you need is a tape measure, a pencil to mark the ledge, and an electric screwdriver. Each ledge creates a 0.53m x 0.53m space to hold boxes and any other materials.
Where to buy Loft Leg ledges
- Buy Loft Leg ledges at Toolstation
- Buy Loft Leg ledges at Wickes
- Buy Loft Leg ledges at UK Build Supplies
Loft Leg lights
What are Loft Leg lights?
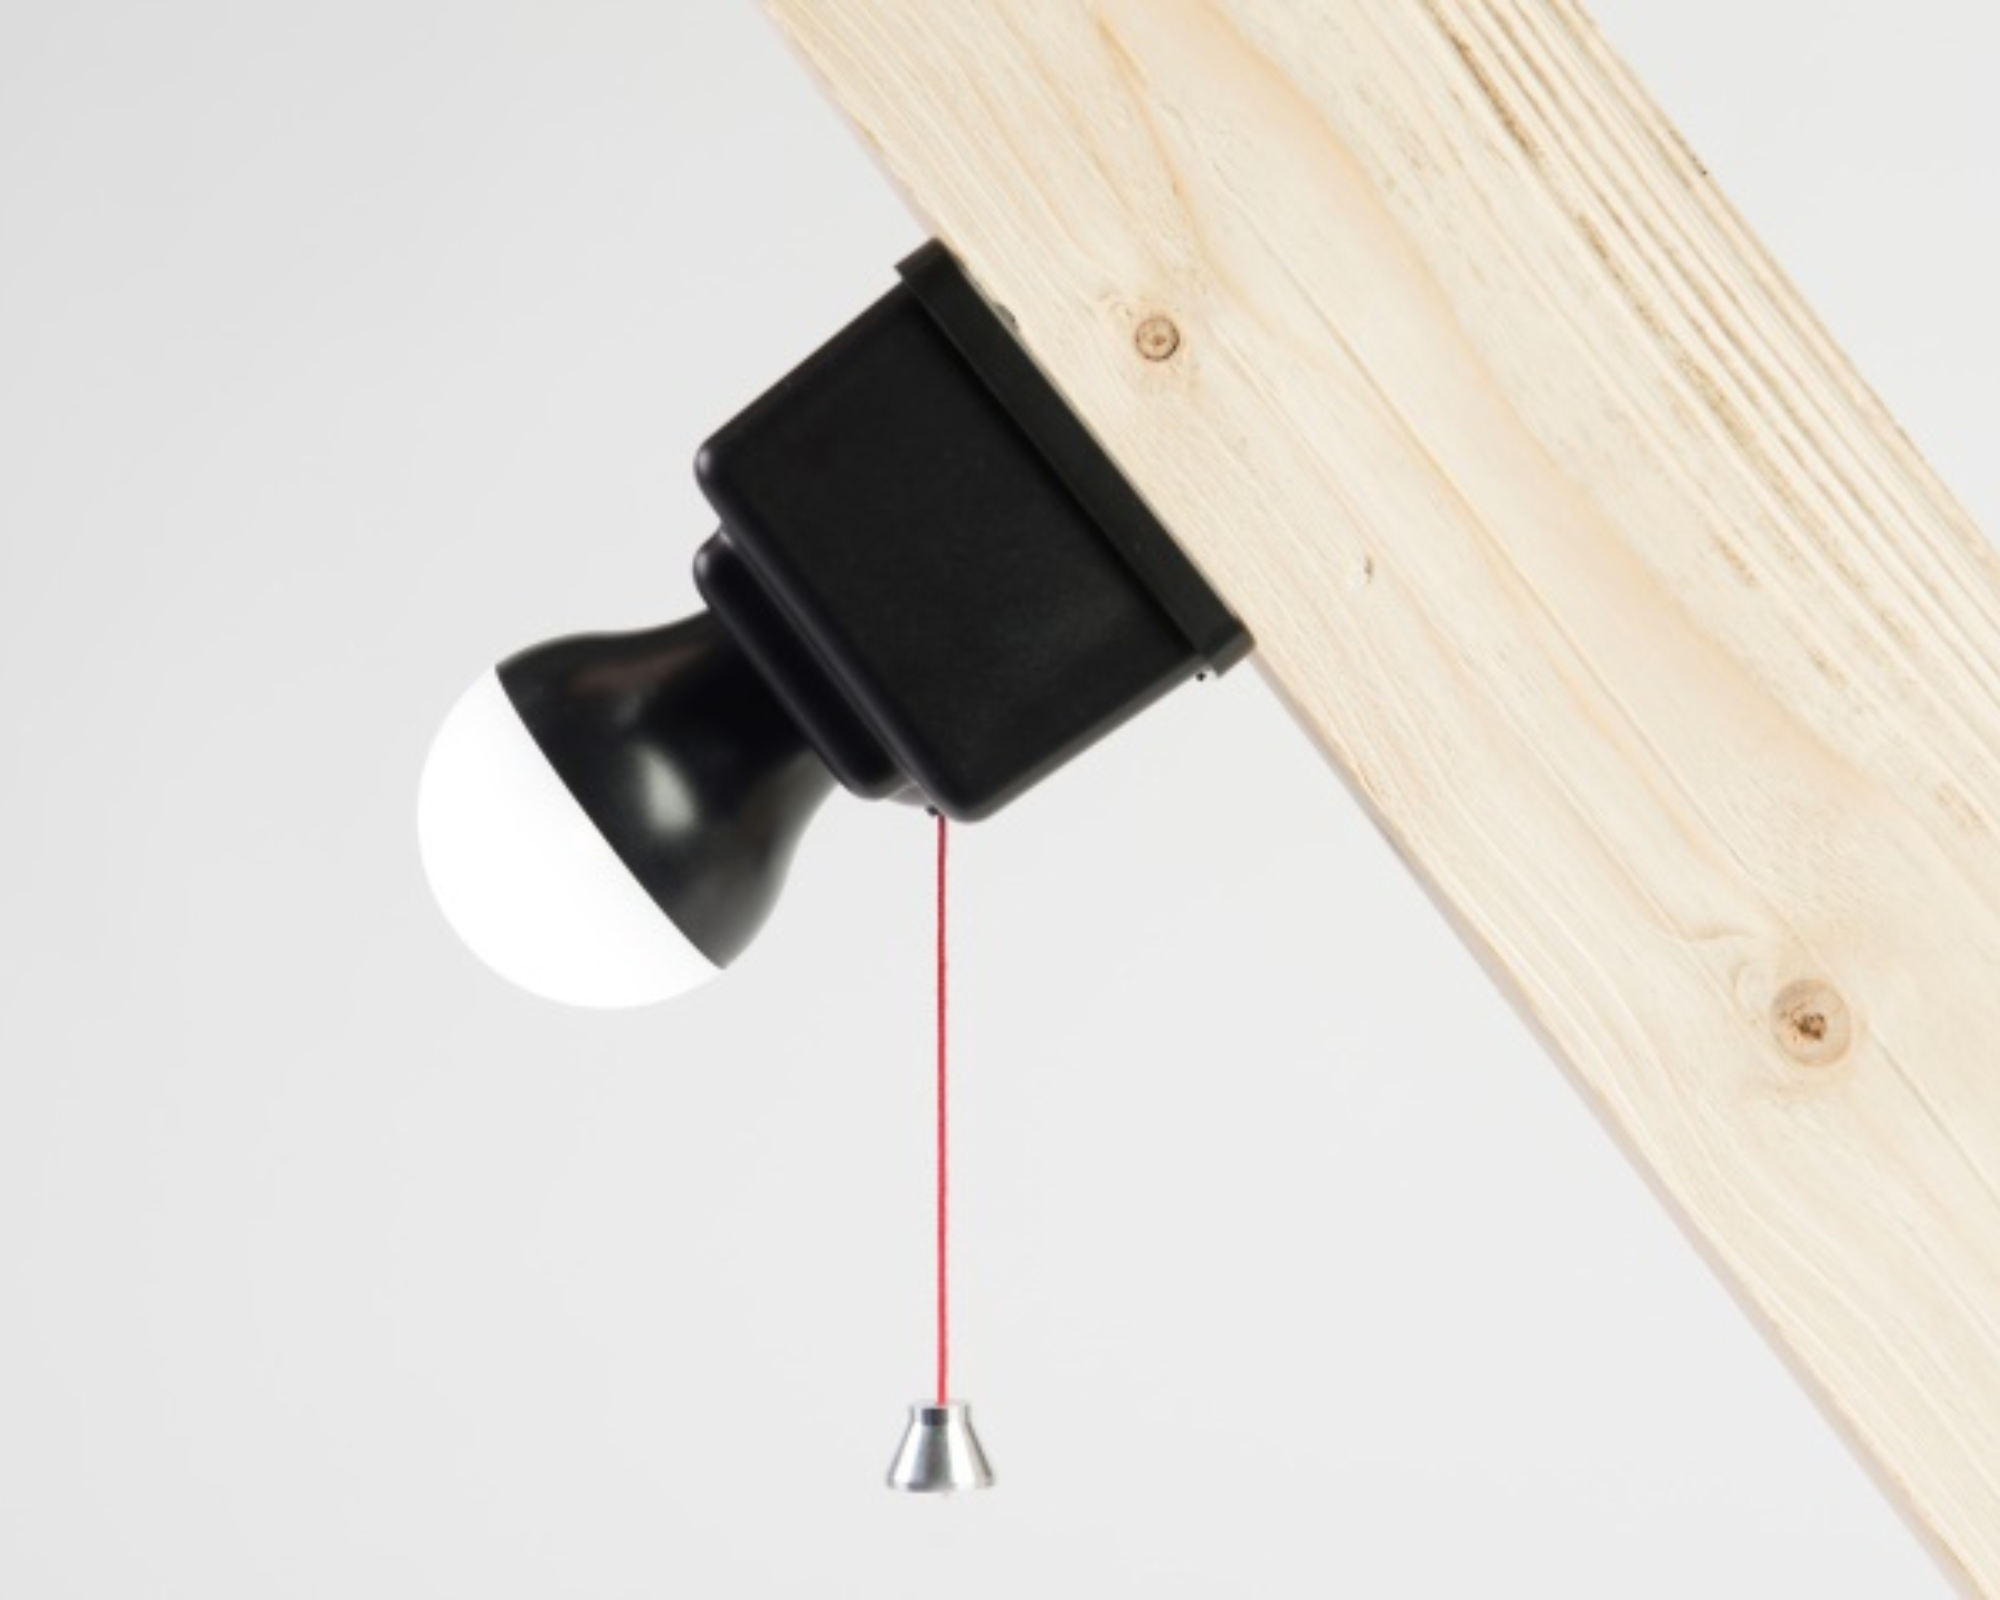
Accessing your loft is half the battle. But once you're up there, poor visibility can not only be frustrating but can also present a number of risks, including injury. So rather than relying on your smartphone torch or a lacklustre lamp — consider investing in some eco-friendly lighting instead. Enter Loft Leg's 320-lumen (equivalent to 32 watts) battery-powered LED light.
With up to four years of use**, the best news is that you don't need any prior electrical wiring experience, and the fitting (inclusive of a 2-metre long pull string, reflective strip, and screws) can be screwed directly to any timber element in the loft, including the truss, rafter, purlin, or noggin. Just three D-type batteries and you're ready to light a 10-metre square area.
And, because safety should be at the forefront of all home improvement projects, rest assured that these loft lights are CE-certified, RoHs, and WEEE-compliant.
How to install a Loft Leg light in six easy steps
- Remove the back cover by pressing the button
- Install batteries in the correct orientation and secure with velcro straps
- Screw through back cover to truss/rafter convenient to loft hatch
- Attach Loft Light to back cover using the location tabs and click into position
- Adjust length of pull string and attach reflective strip
- Once the Loft Light is fitted, pull the string to illuminate!
Watch how easy it is to install the Loft Leg light below:
Loft Leg bulb
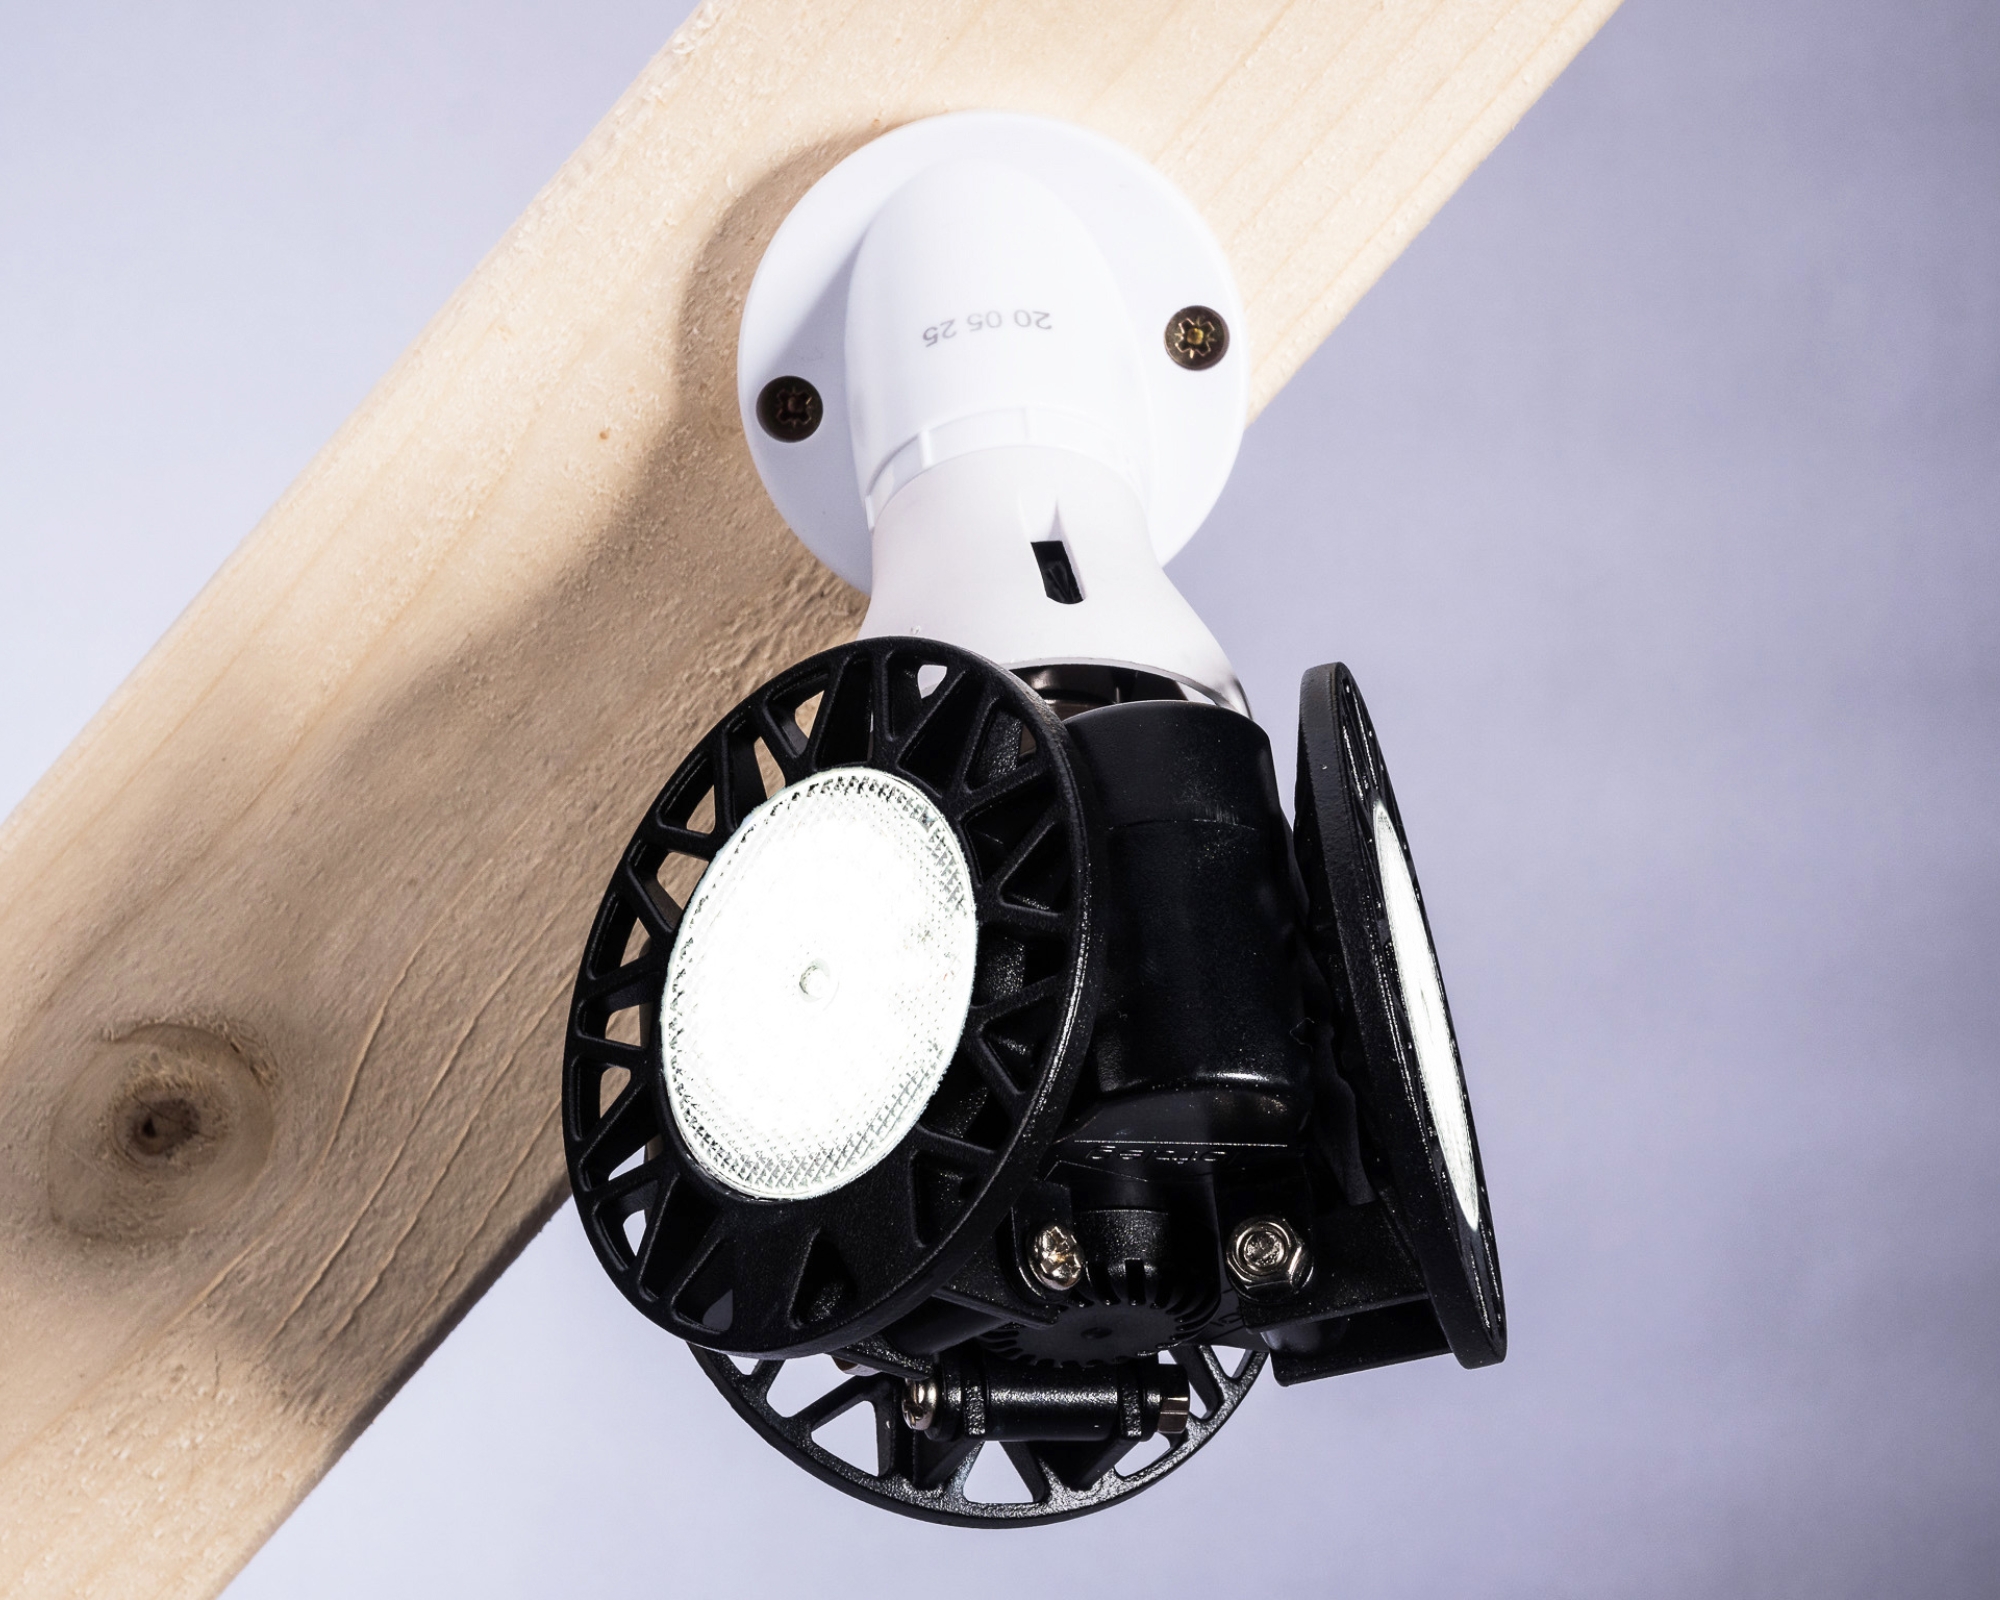
What is a Loft leg bulb?
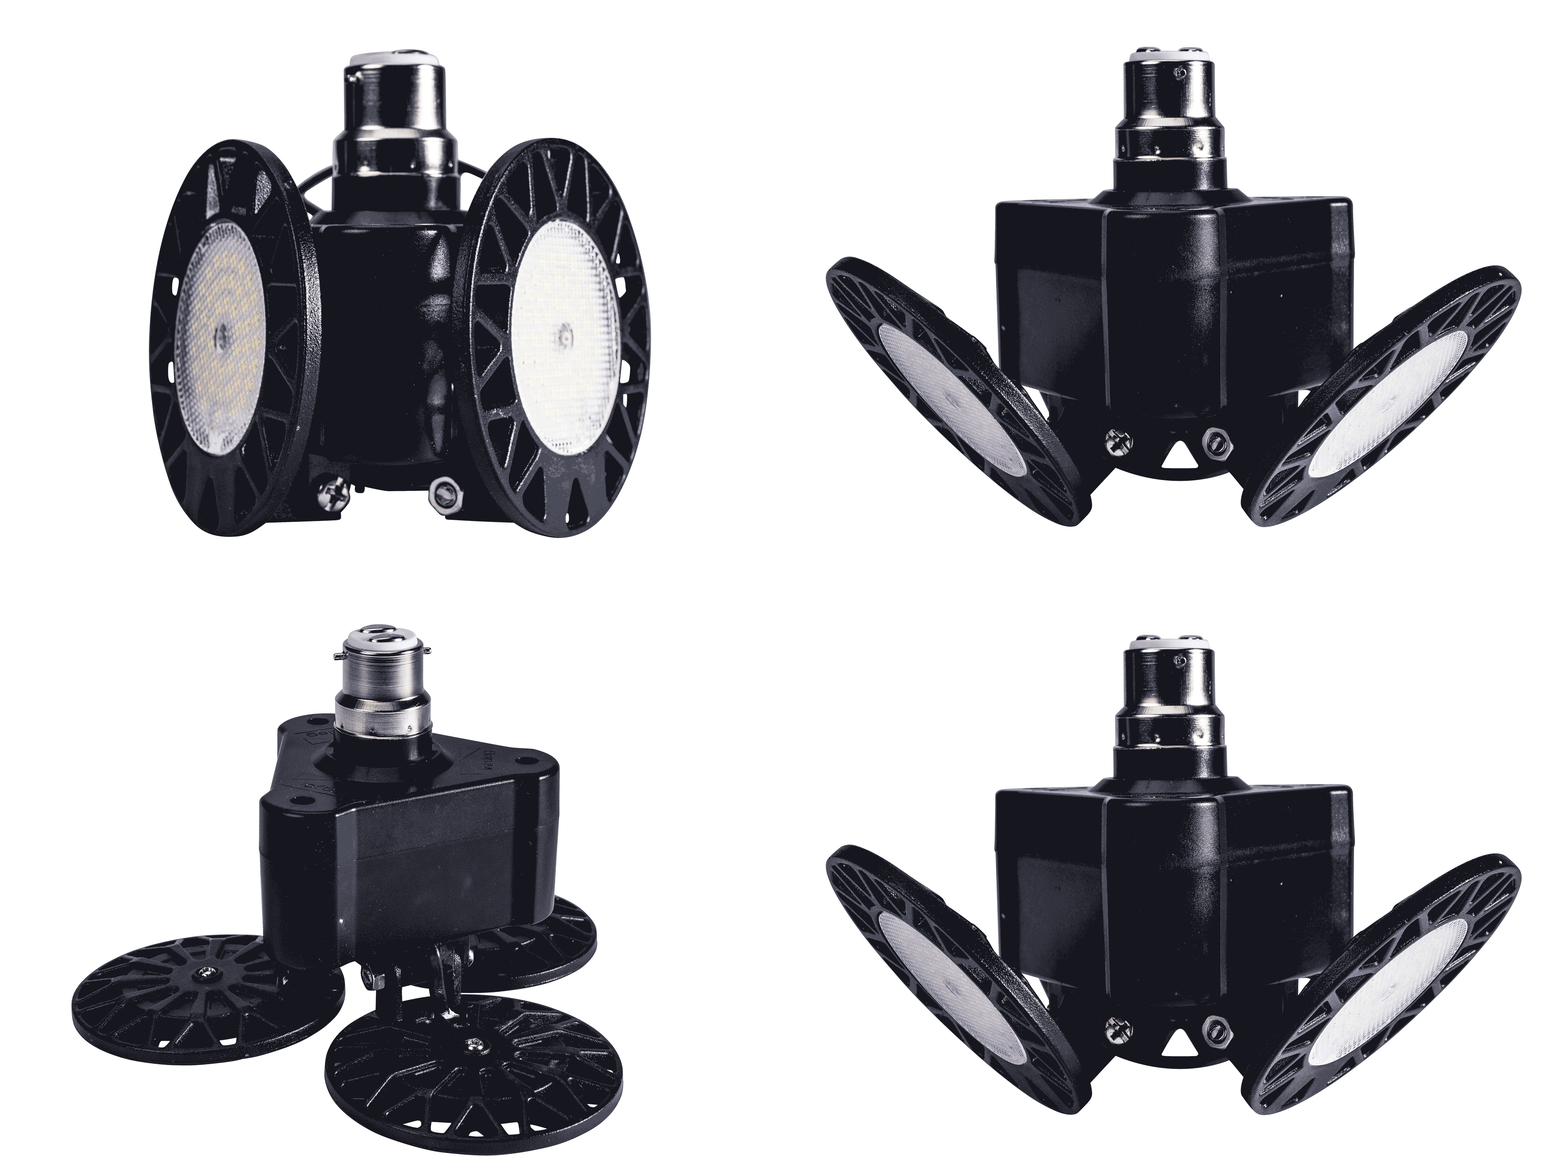
Designed to illuminate hard-to-reach areas, and with a rated life of 15,000 hours, the Loft Leg bulb is a 90-degree adjustable 3-panel, 4000-lumen LED lighting solution. The bulb (comprised of 147 ultra-bright LED bulbs) fits into a standard bayonet lamp holder and effectively directs and spreads light around your loft. And, just like the Loft Leg lights, these meet the same regulations for safety.
See how it compares to a 40-watt light in this short video:
Where to buy
Contact Loft Leg
For more information, head to www.loftleg.com, or call 01282 861001, or reach out to the brand via its social channels:
* Minimum thickness required
** Based on 20 minutes of use per month


