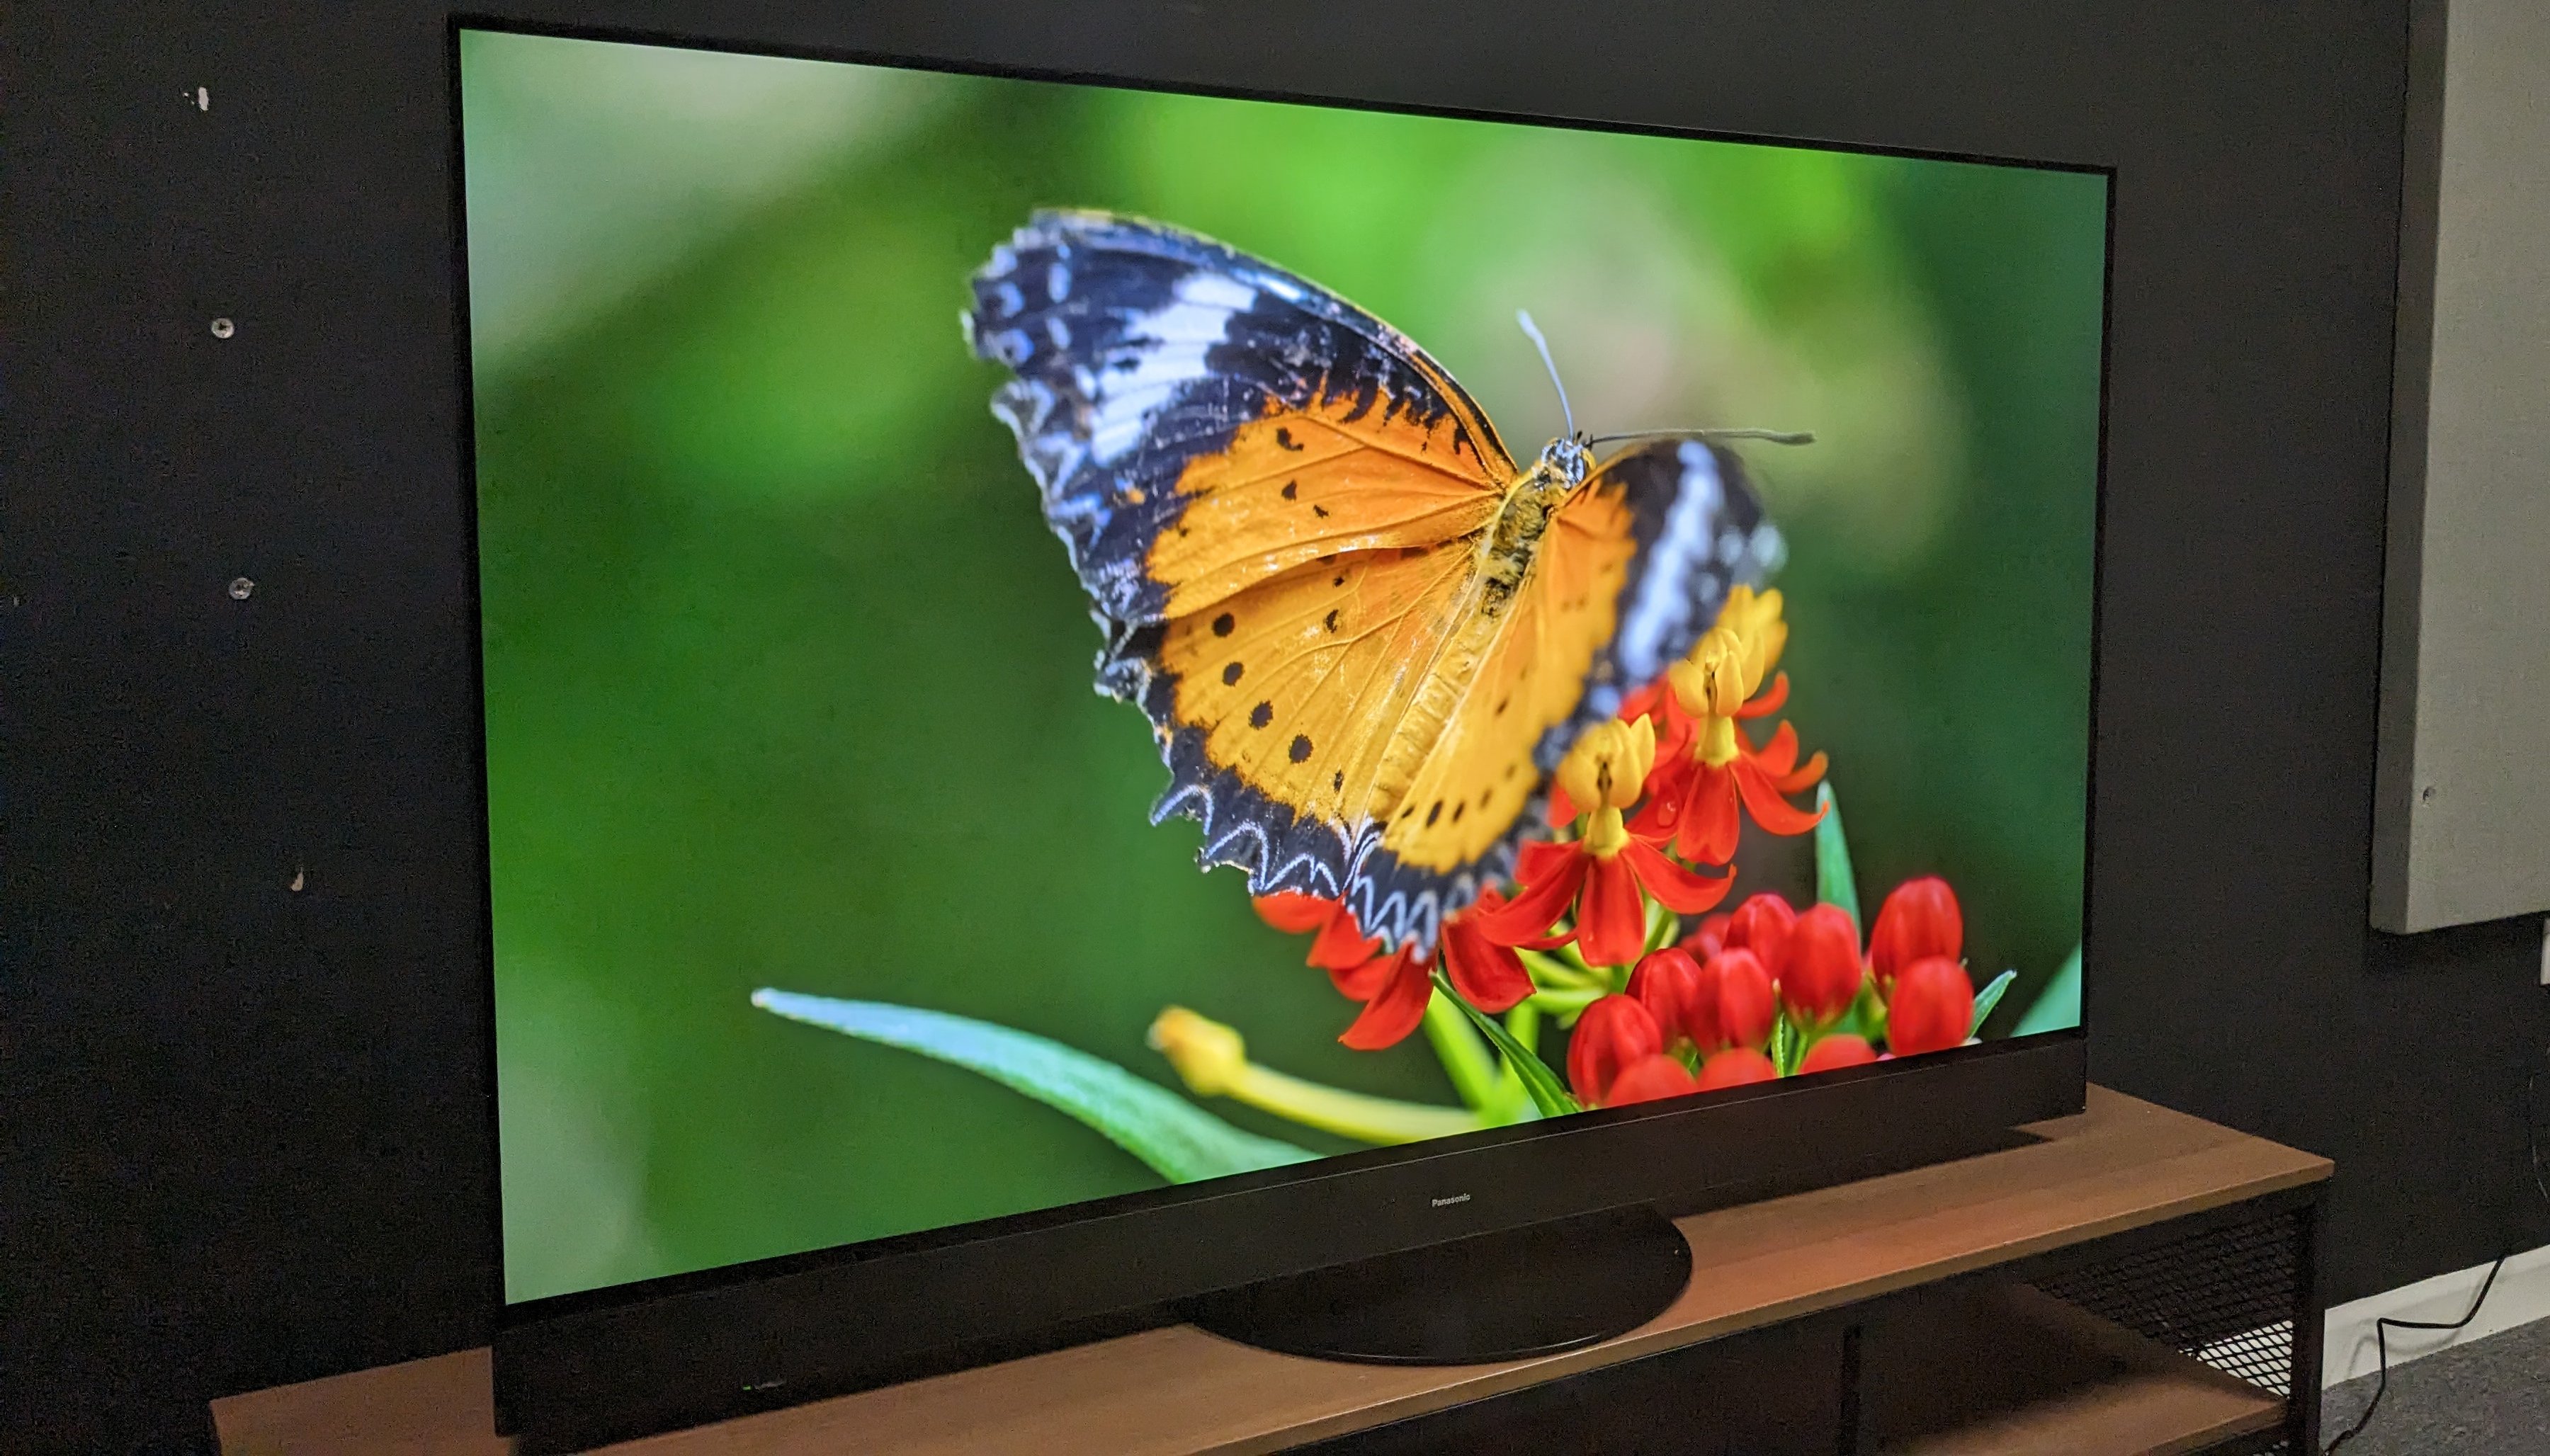
Buying a new TV should be fun. Upgrading from an old set to a fresh one instills excitement as you look forward to better picture and sound quality when watching your favorite movies and TV shows.
But what if you get the TV home, set it up and it doesn’t look how you expected? Well, fear not, because you’re not alone in that experience.
Many obscure settings that affect a TV’s performance are hidden in its menus. This is not just true of budget sets; even the best TVs have some of these annoying settings.
While TV picture settings are generally subjective, with some people preferring a brighter and more colorful image and others a more natural one, some settings should be turned off regardless. Below, I’ve picked six important adjustments people often miss when setting up their new TV, and having worked in AV retail, I know it can take some people quite a while to notice. But, worry not as I’m going to tell you how to change these settings.
For photos, I used the Panasonic MZ1500 OLED and although the menu on your TV will most likely look different, the principle should still be the same.
Turn off Eco and Power Saving Modes
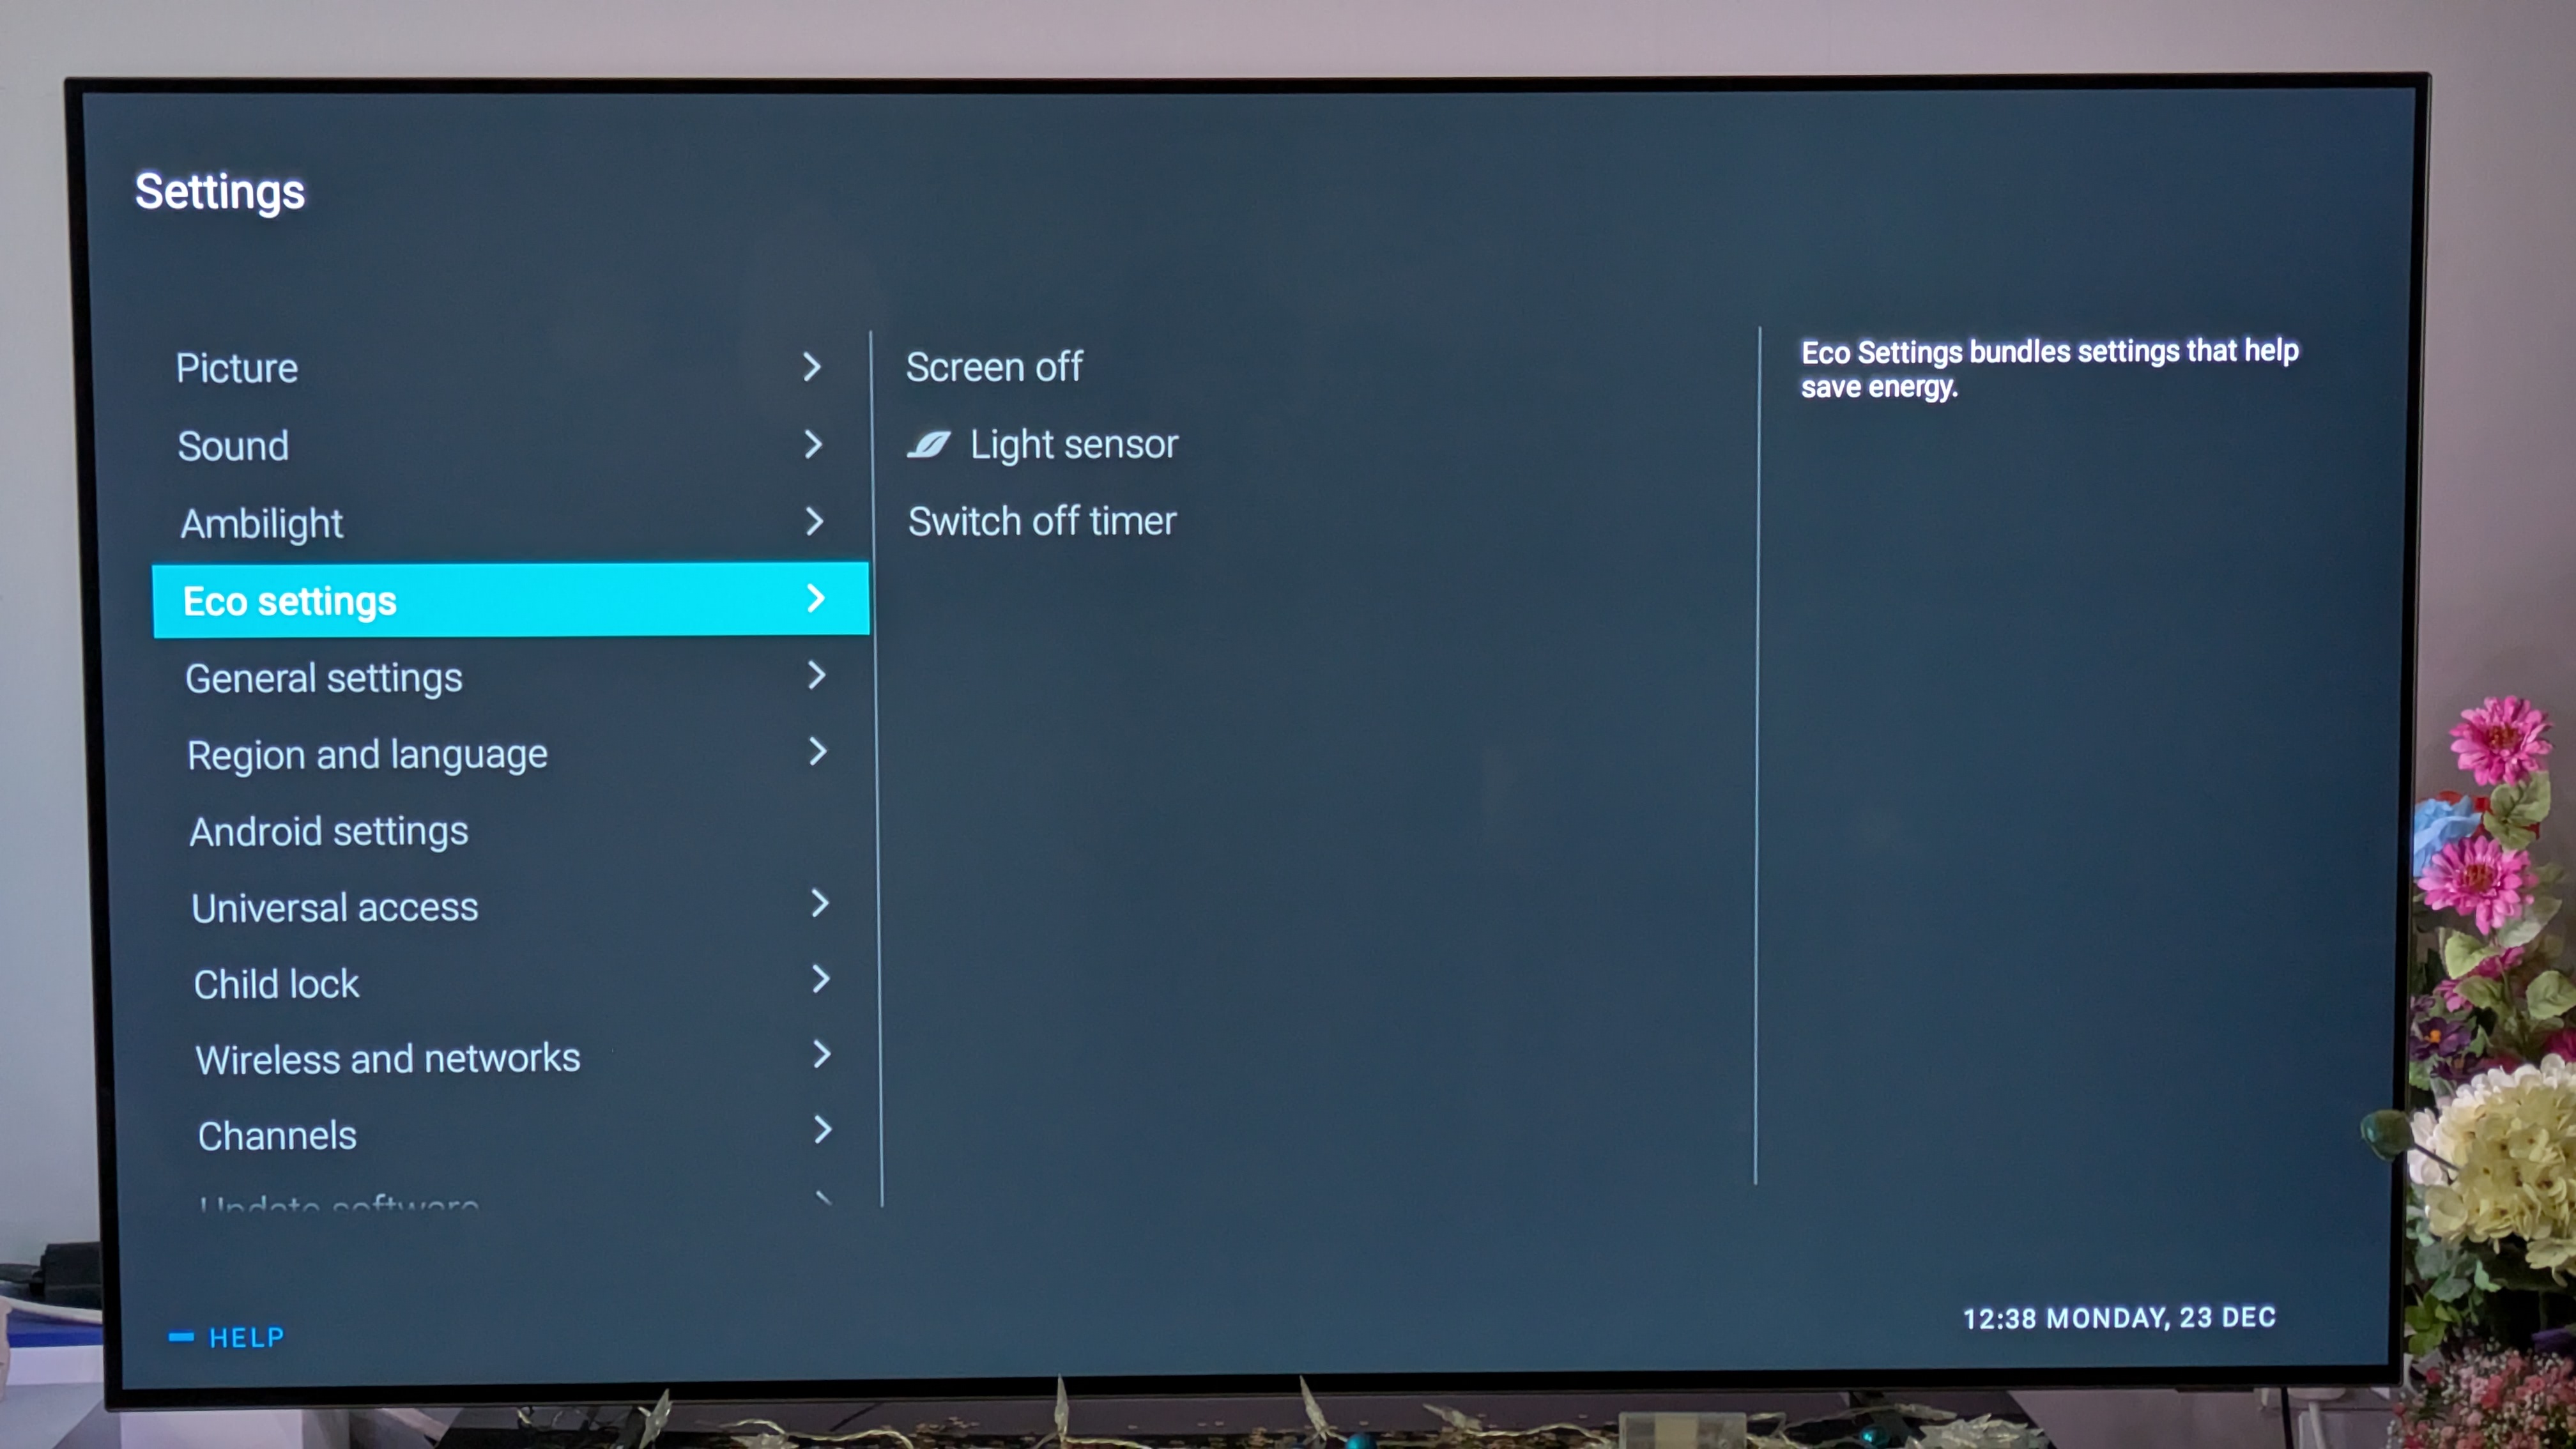
Did you get your new TV all set up and think it looked a little… dull? It’s most likely in Eco mode. The majority of TVs now ship with their picture mode set to Eco out of the box and while this will save you some money on energy costs, it will also affect the quality of the picture.
Eco mode often has an extremely low brightness setting, which takes away the dynamic color and detail from a TV’s picture, making movies and TV shows look drab. To turn this off you’ll need to go Settings and navigate to Picture Settings. There will be a list of Picture Presets (also referred to as Picture Modes) and this will most likely be set to Eco. You’ll want to change this to Movie, Filmmaker or Standard as these are the more accurate and brighter picture modes.
Some TVs have other power-saving modes hidden away as well. If you once again navigate to Settings and then System Settings, there may be a section called Power Saving or Energy Saving. While these will often have to do with timers, there can sometimes be a power-saving setting that you’ll want to turn off.
Take the TV out of Dynamic or Vivid Picture Mode
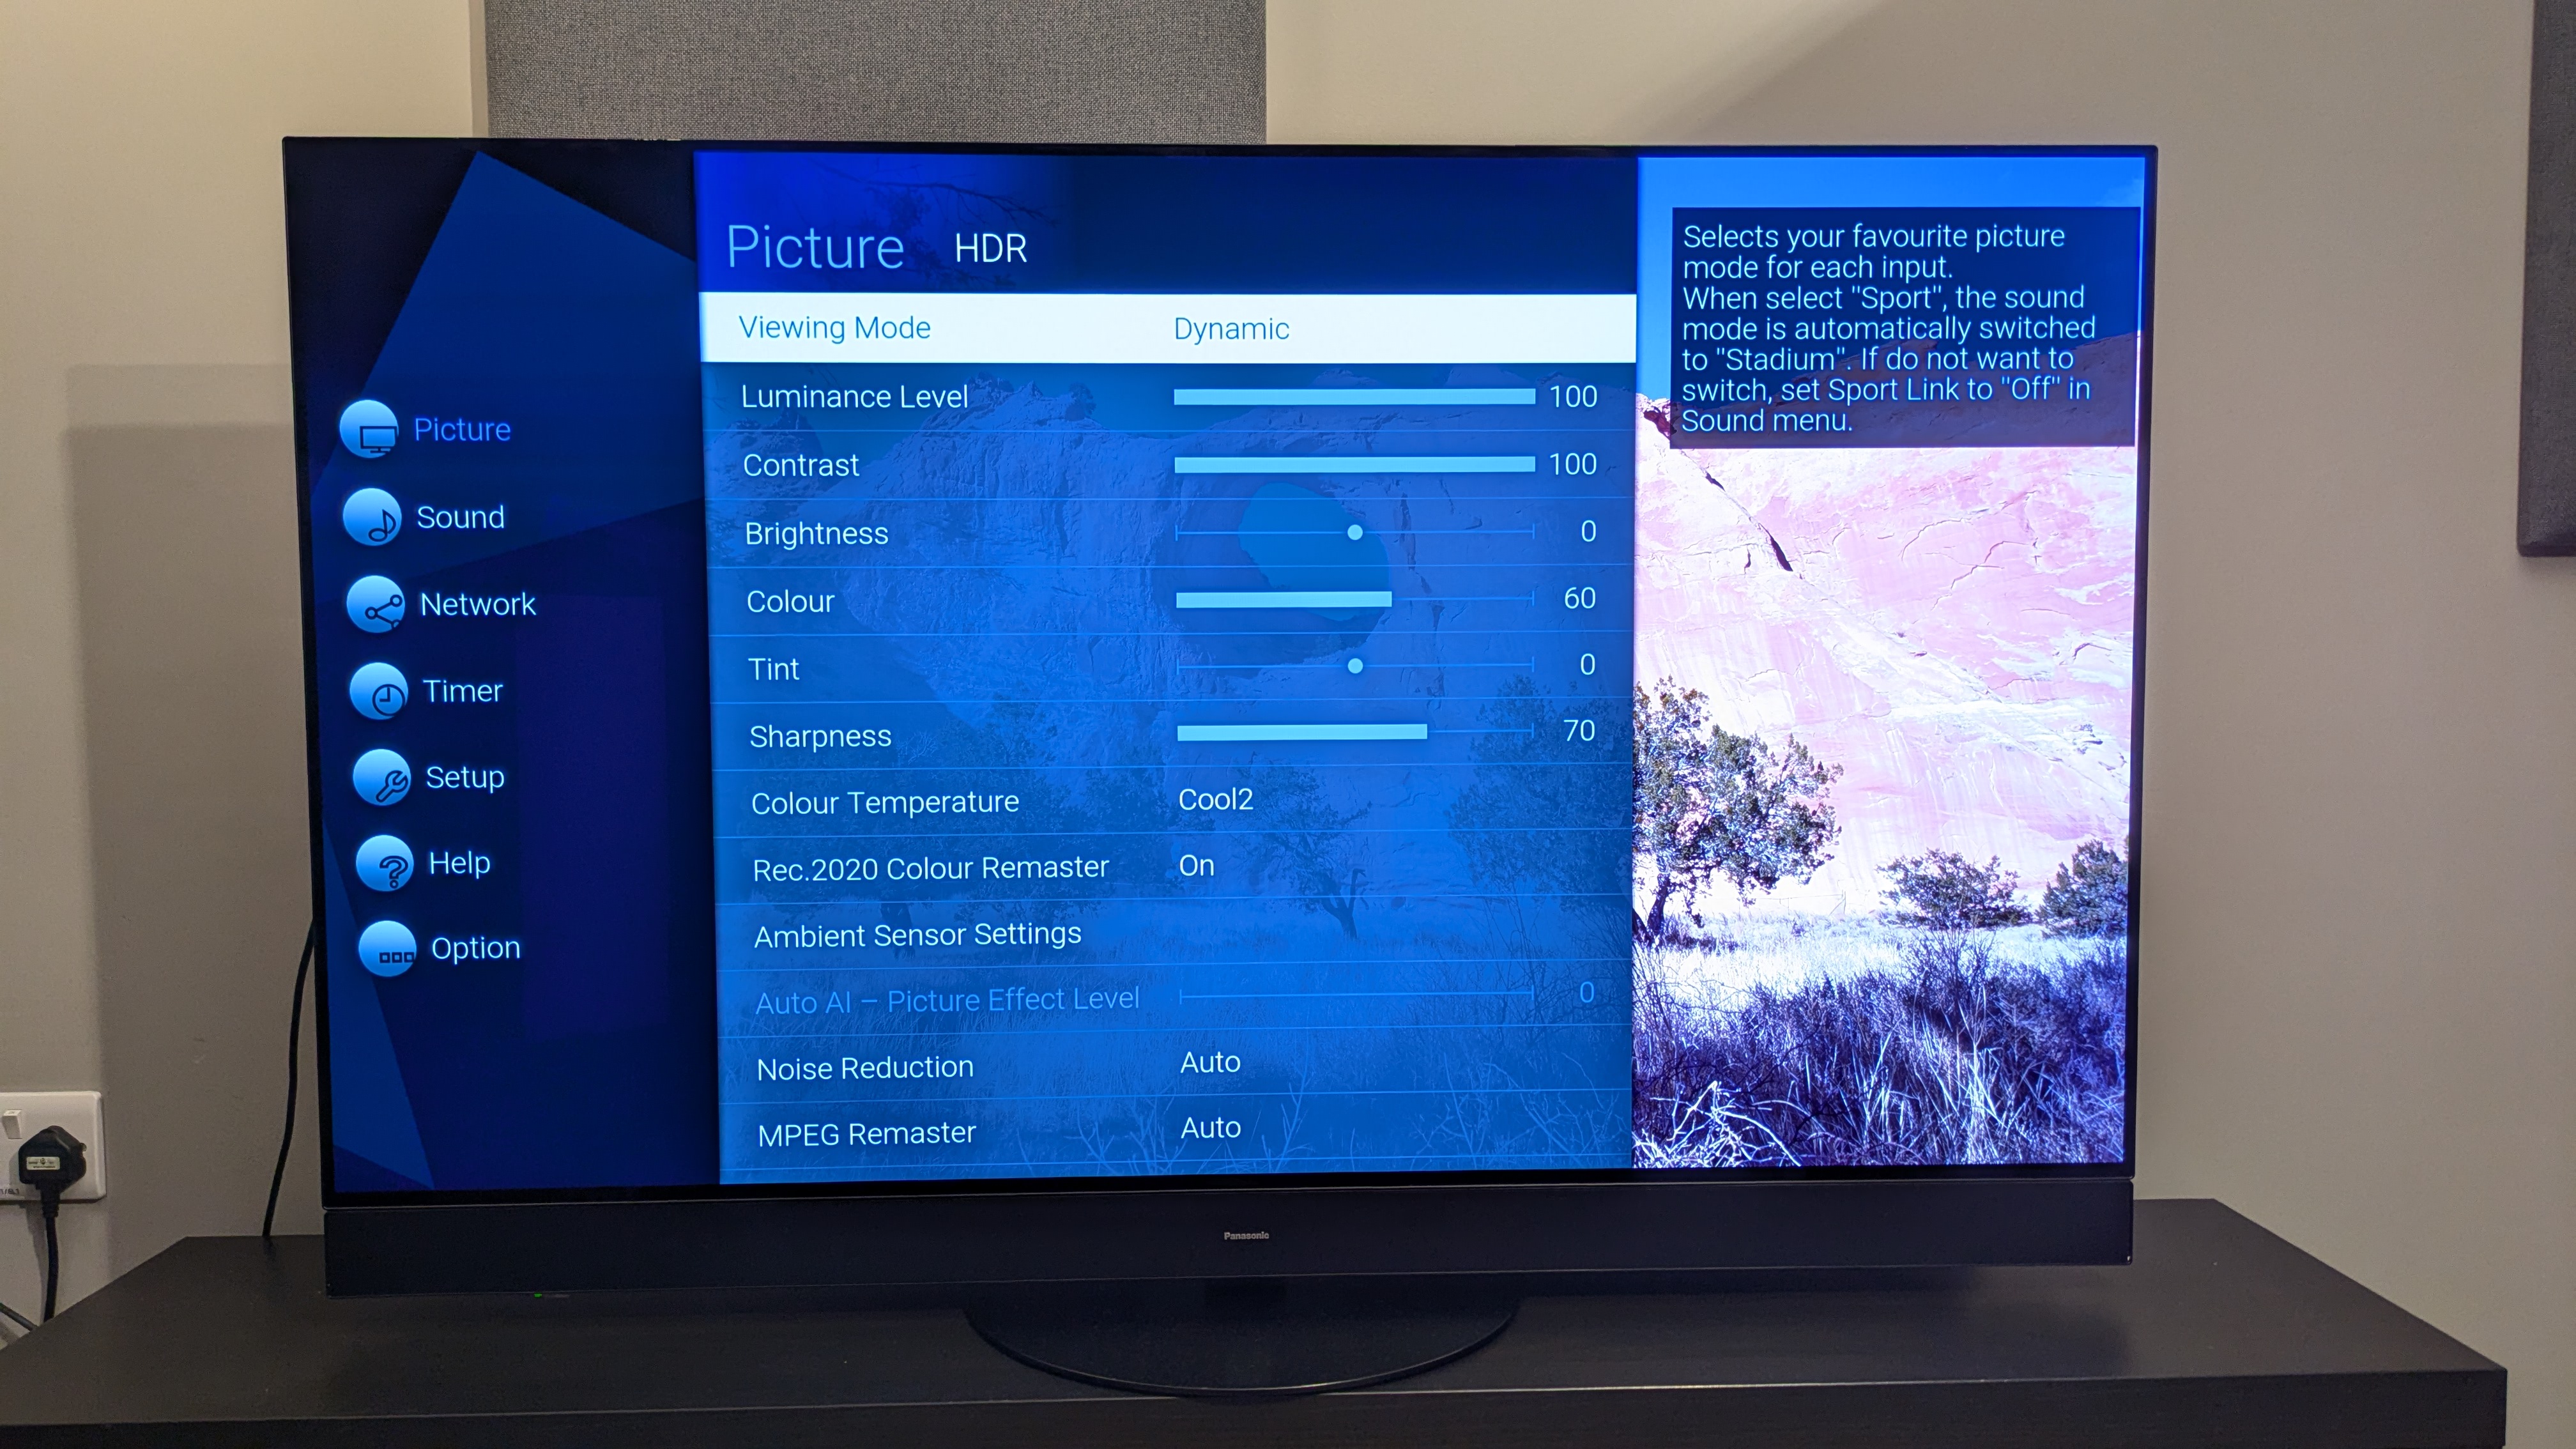
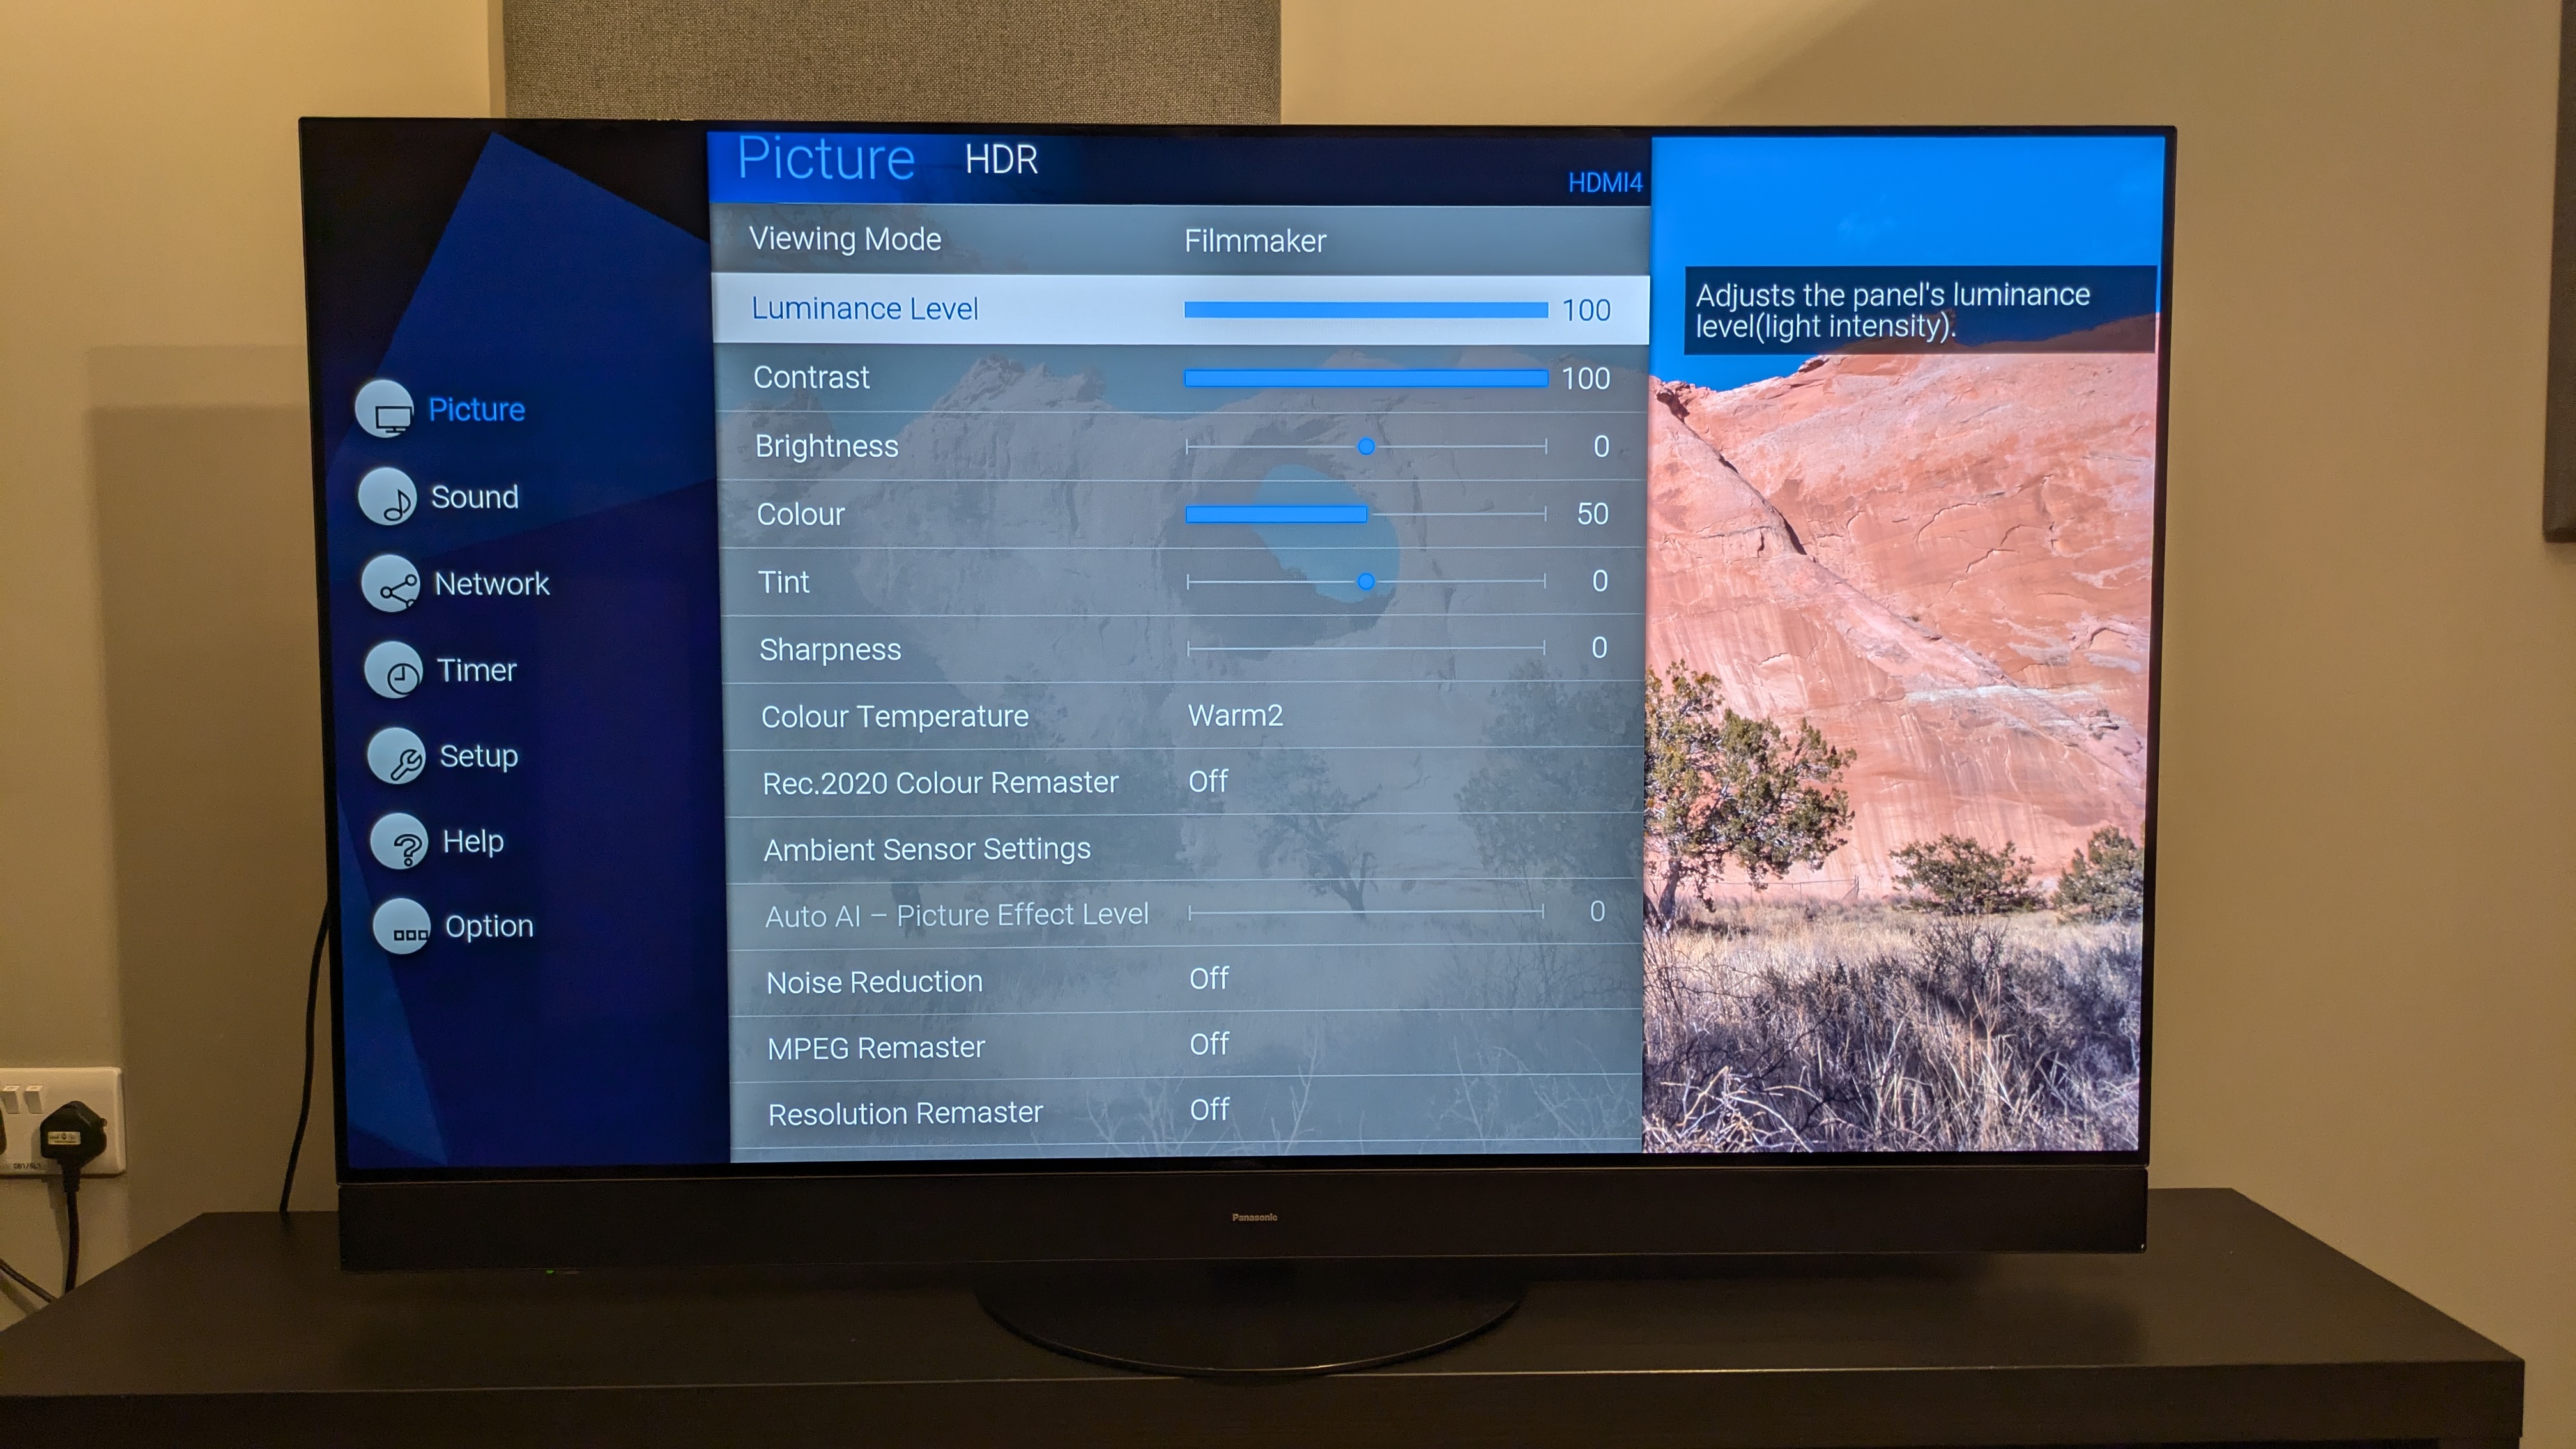
A TV’s Dynamic (also sometimes called Vivid) picture mode is just as bad for picture quality as Eco. Often, it’s the most inaccurate mode and it’s one we are not fans of here at TechRadar. A Dynamic mode offers significantly higher brightness, but with oversaturated colors and exaggerated textures, giving the picture a fake look. If you want your movies and TV shows to look natural, avoid this at all costs.
Brands like Samsung used to swear by the Dynamic mode, but models like the Samsung S95D, its 2024 flagship OLED, and the Samsung QN90D, one of the best mini-LED TVs, look far better in their Filmmaker, Movie and even Standard modes.
Check for the latest software update
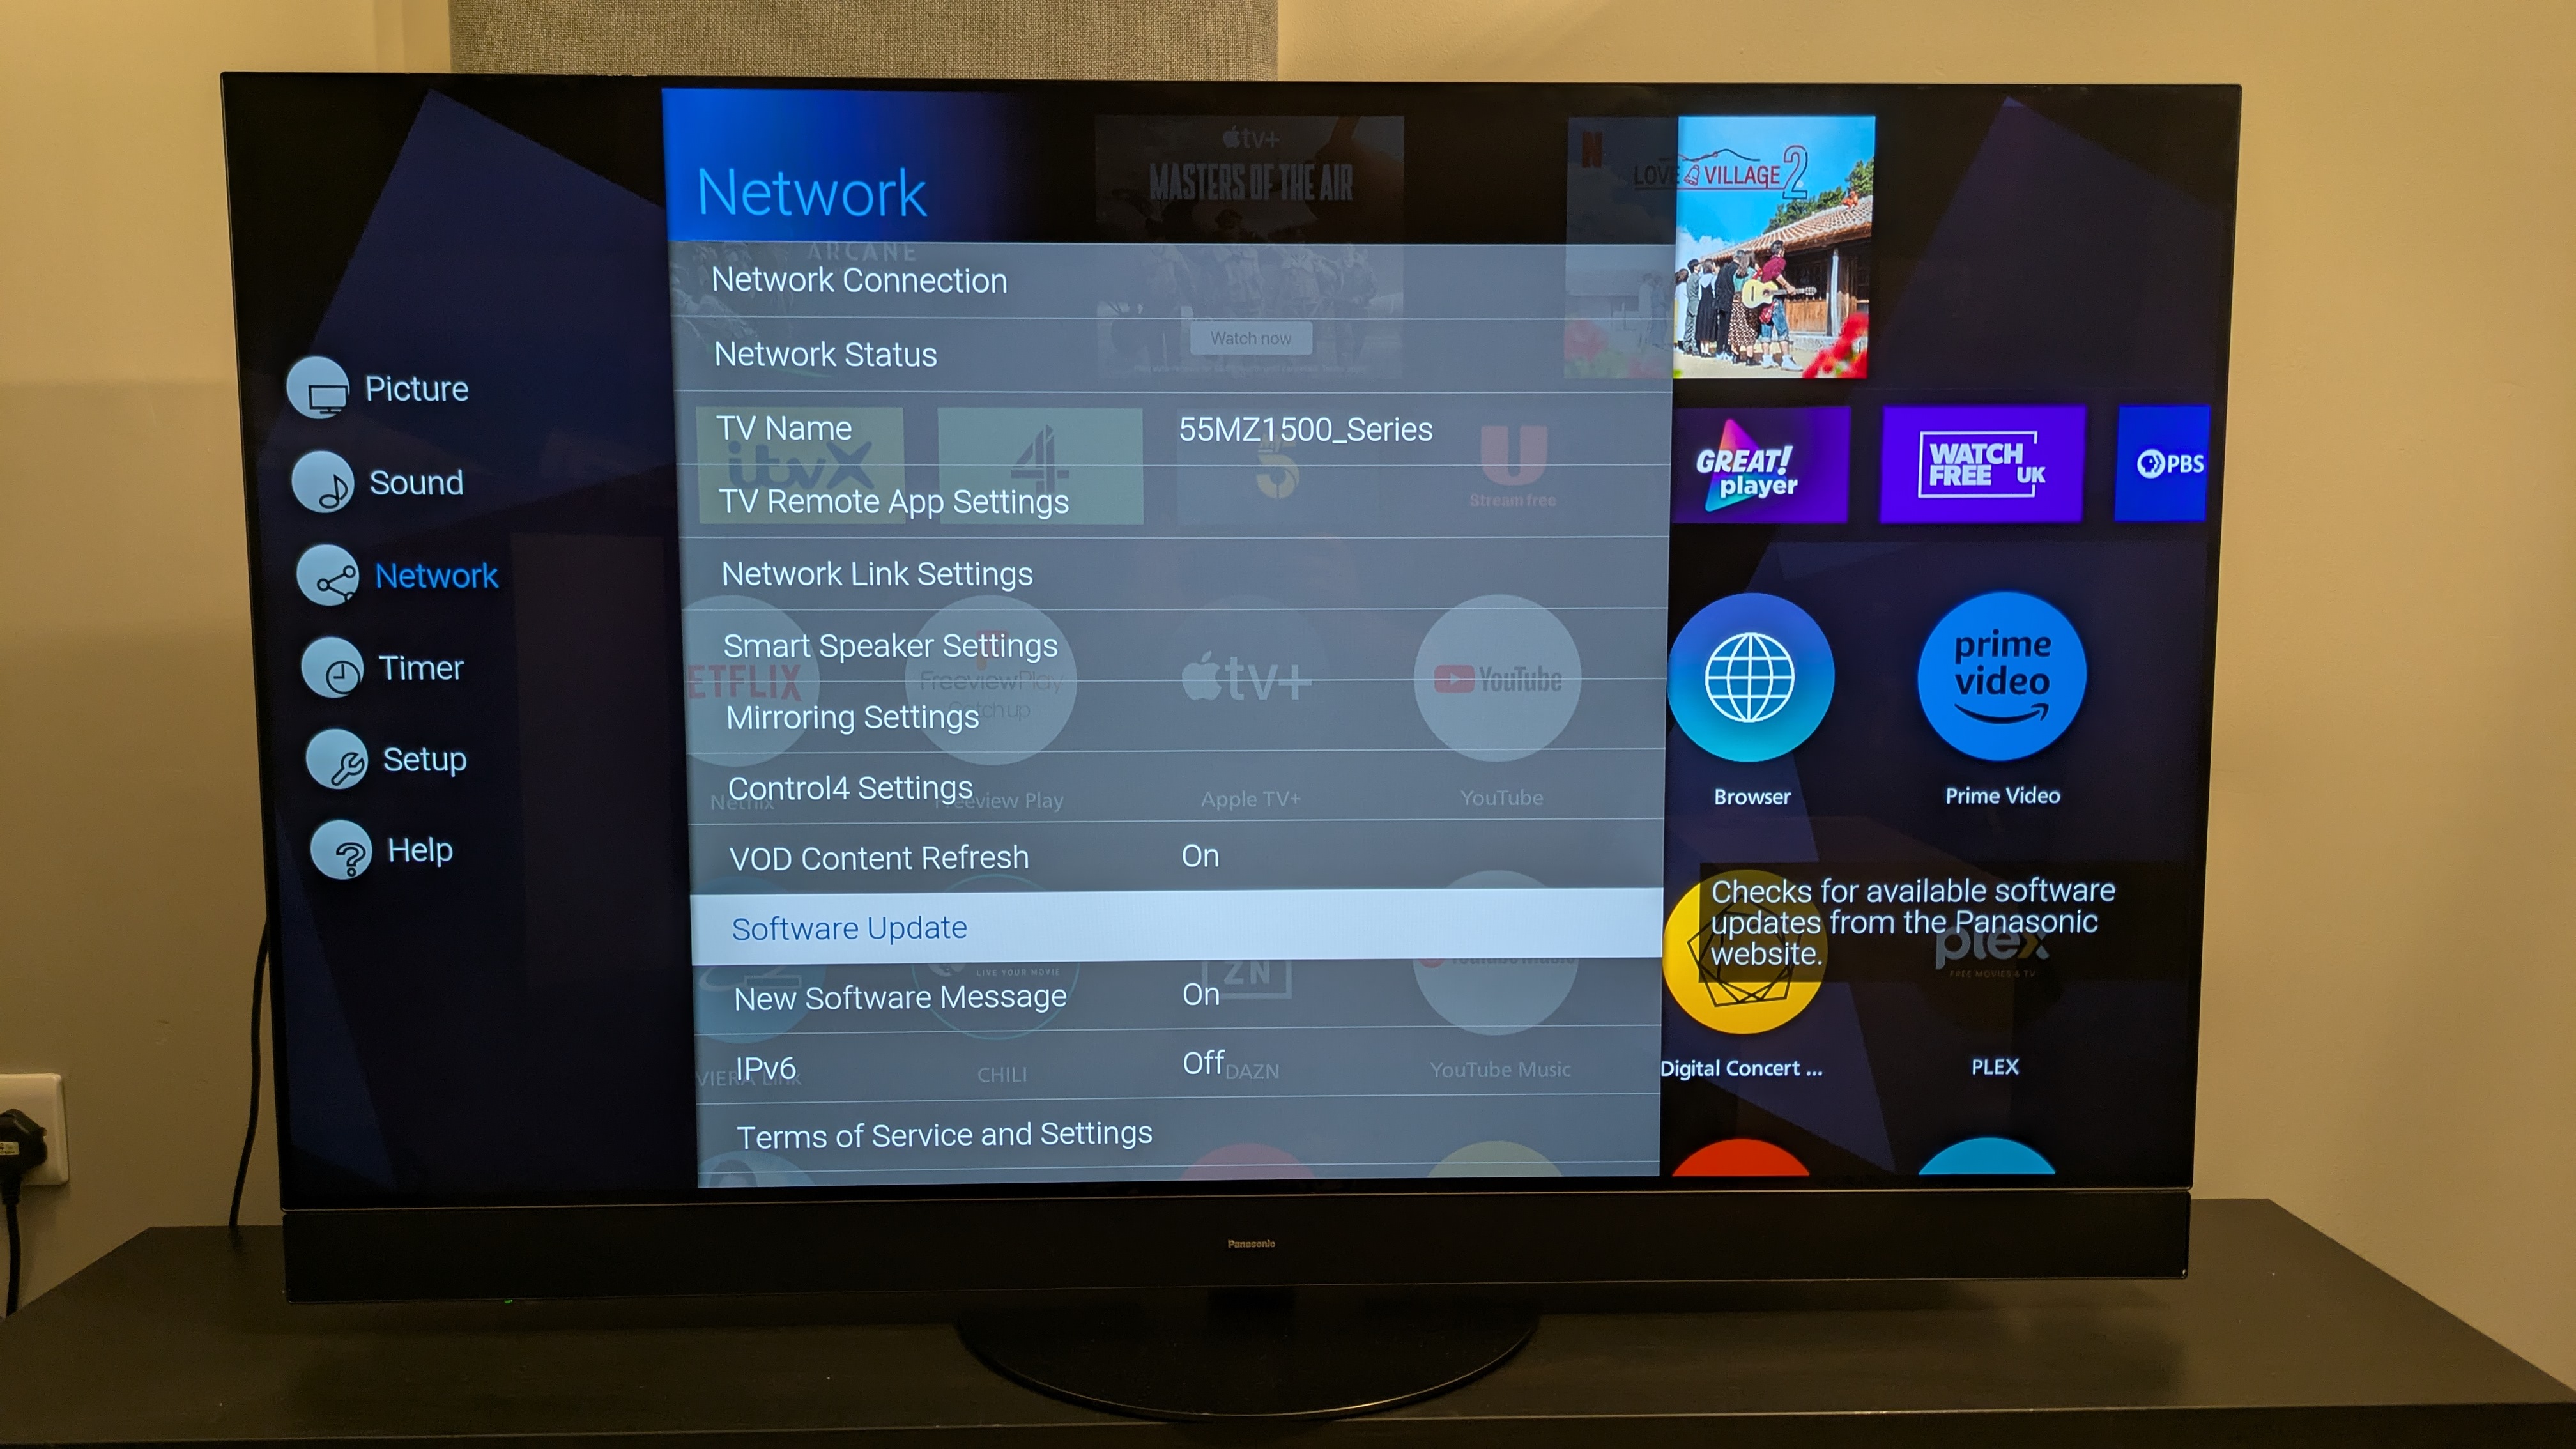
Most TVs will automatically search for the latest software update on the first startup. But I’ve had experiences during my testing where a TV hasn’t done that, so I always go and check for the latest update regardless.
Why is a software update important? Not only does it make sure you have the latest features, with smart TV platforms like Roku, webOS, Tizen, Google TV and more all providing regular free upgrades, but it’s also critical for the security of your TV. Because your TV is connected to the internet, it’s always at some form of risk, but making sure software is regularly updated will reduce that risk dramatically.
To do this, you’ll need to navigate to your TV’s System Settings once again. Thankfully, brands make it obvious by labeling this setting ‘Check for Update’ or ‘Software Update’. Sometimes this can be found in the About TV section, but that varies from set to set.
Changing or disabling motion smoothing
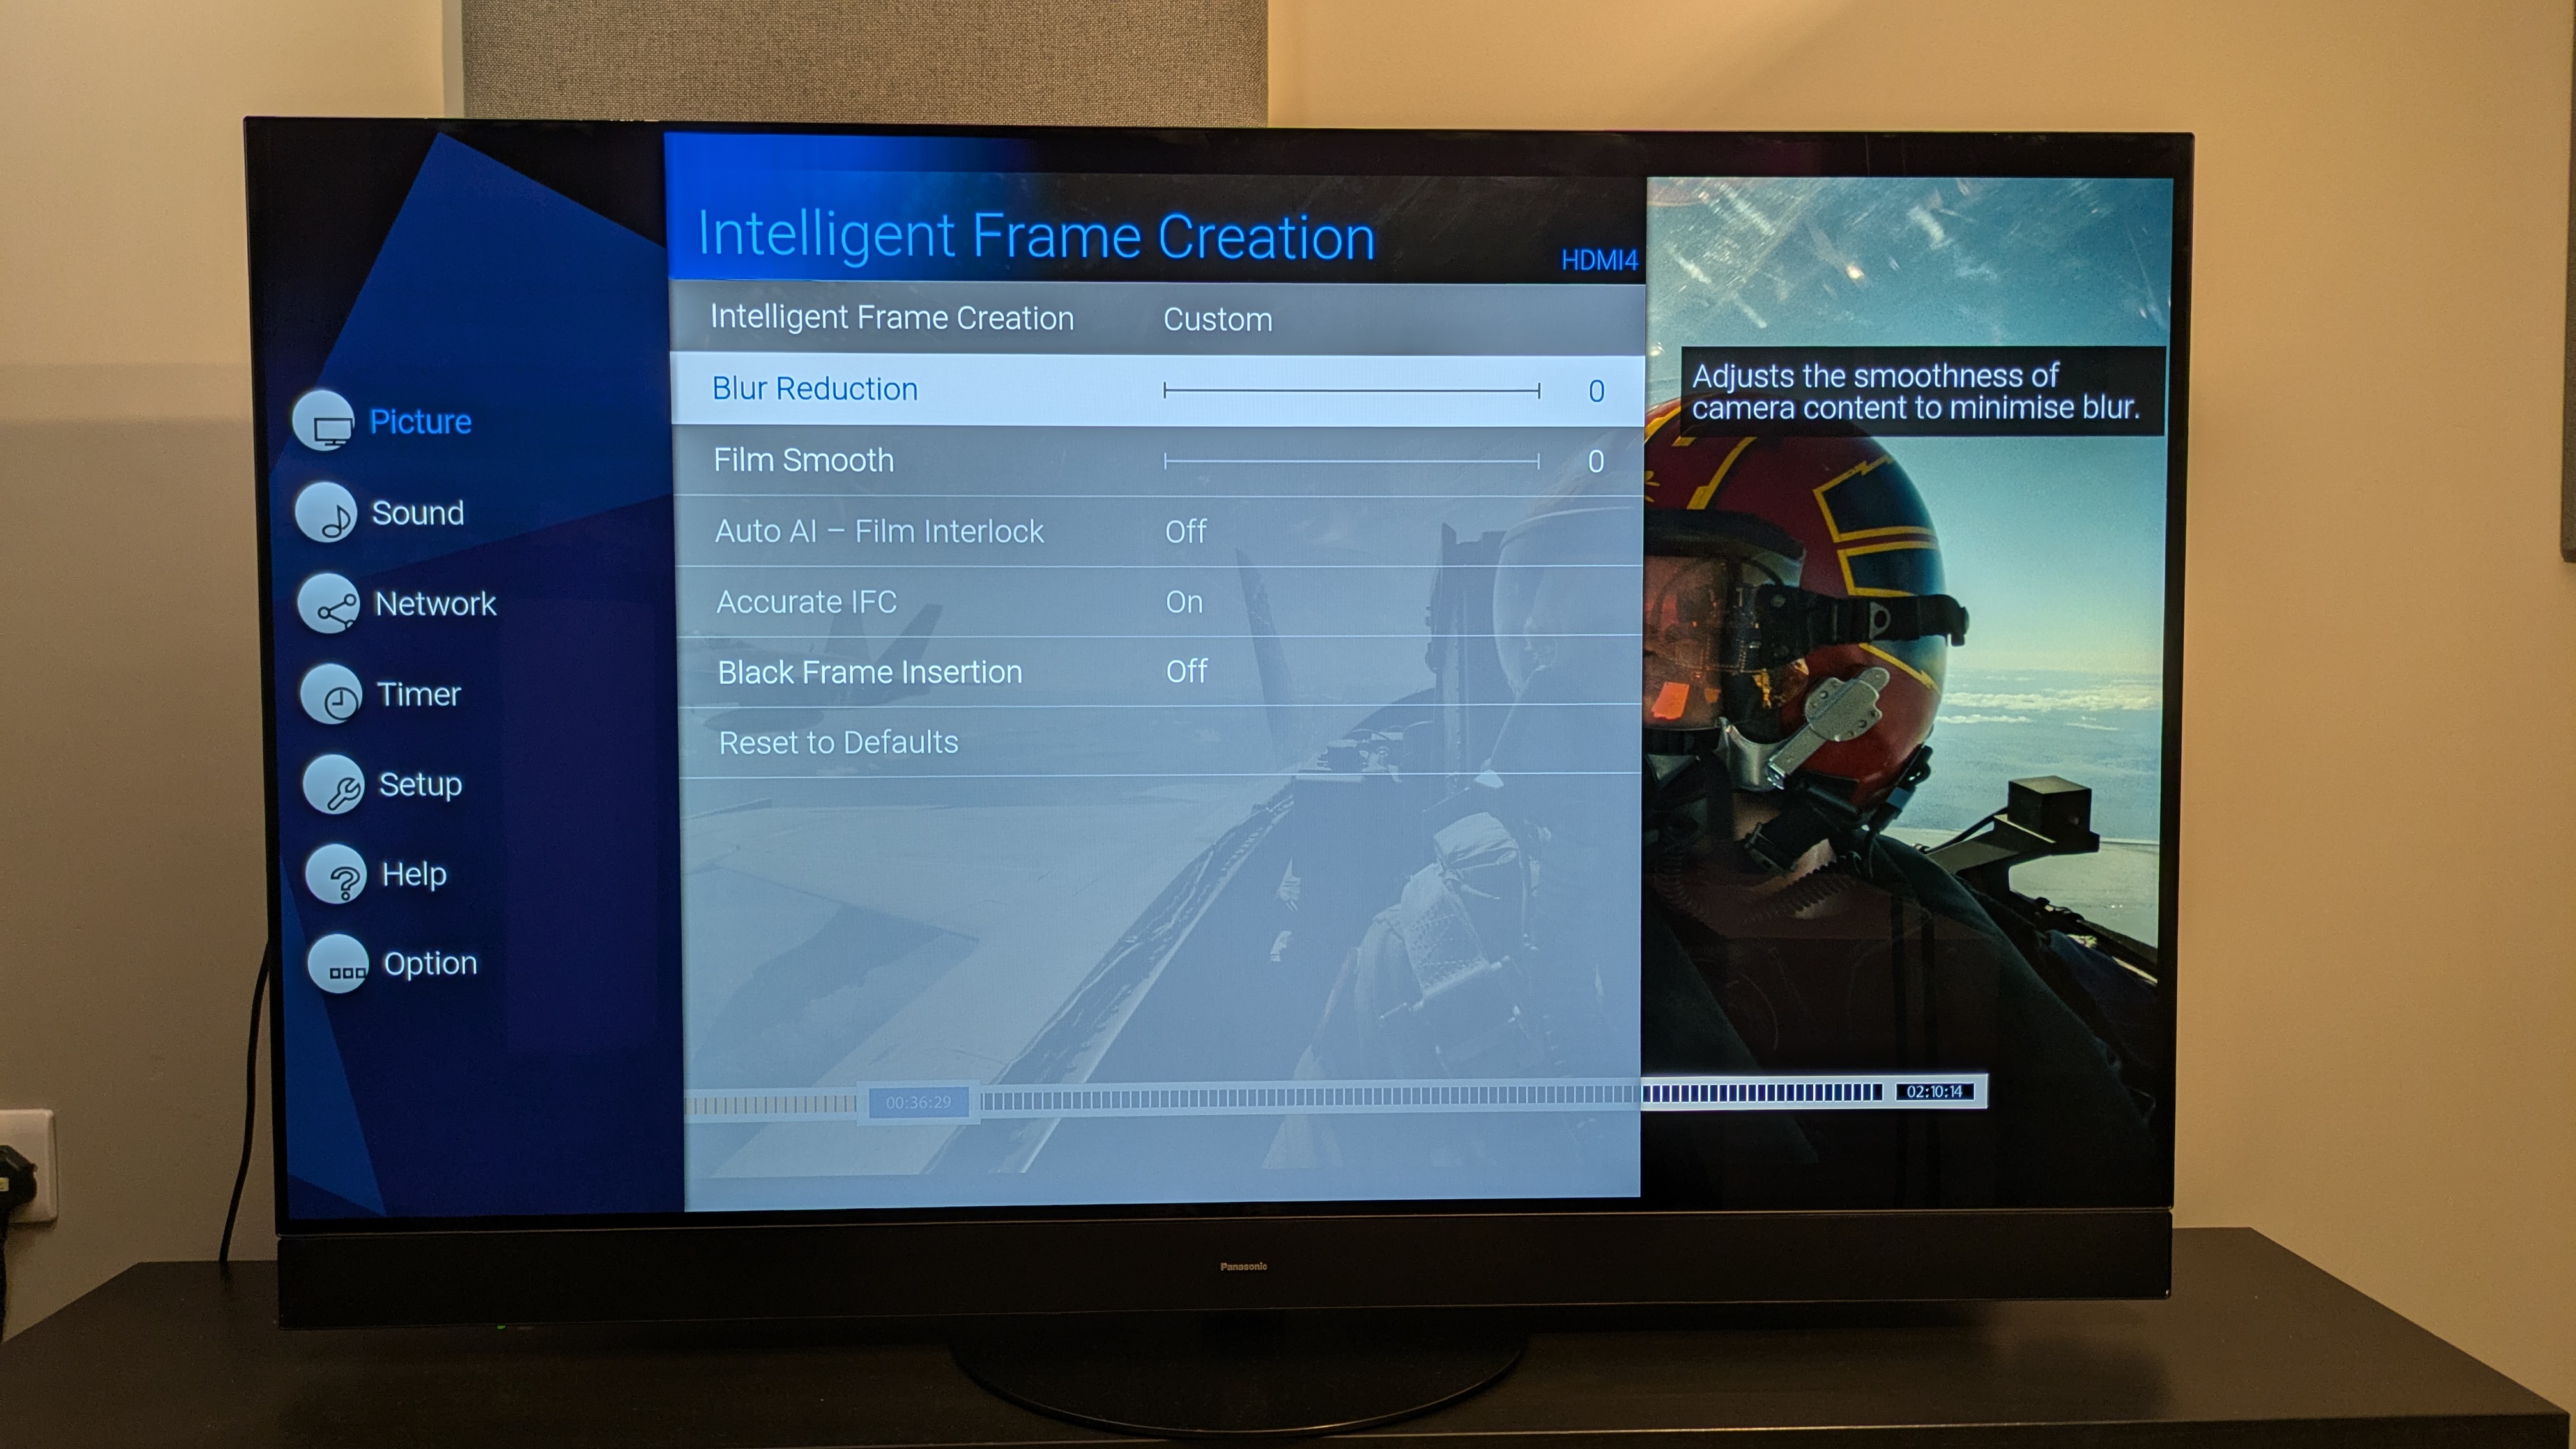
Probably one of the most controversial settings on TVs is motion smoothing or motion interpolation. This is where a TV uses blur and judder reduction to process fast-moving images to give them a smoother appearance. To do this, a TV will analyze the video signal and insert new frames in between the actual video frames to compensate for a faster-moving object, say a ball during a soccer game.
While it can be useful for sports, motion smoothing often makes movies look too smooth, with an artificial quality that can give some a feeling of motion sickness. Tom Cruise personally asked viewers to turn off motion smoothing for Top Gun: Maverick as it ruined the look of the movie. And as someone who regularly uses that movie to test TVs, I agree!
That being said, budget TVs and those with 60Hz panels can struggle with fast-moving pictures and sports, so some motion smoothing can help. To alter or turn off motion smoothing, go to Picture Settings and look for the Motion submenu. There, you’ll most likely find custom Blur Reduction and Judder Reduction sliders along with preset motion smoothing modes (like those found on the Hisense U7N). Depending on your preference, you’ll want to reduce motion smoothing or turn it off altogether for a more natural picture. The level of the settings can also depend if you’re watching a movie or sports.
Set HDMI to Enhanced for Gaming
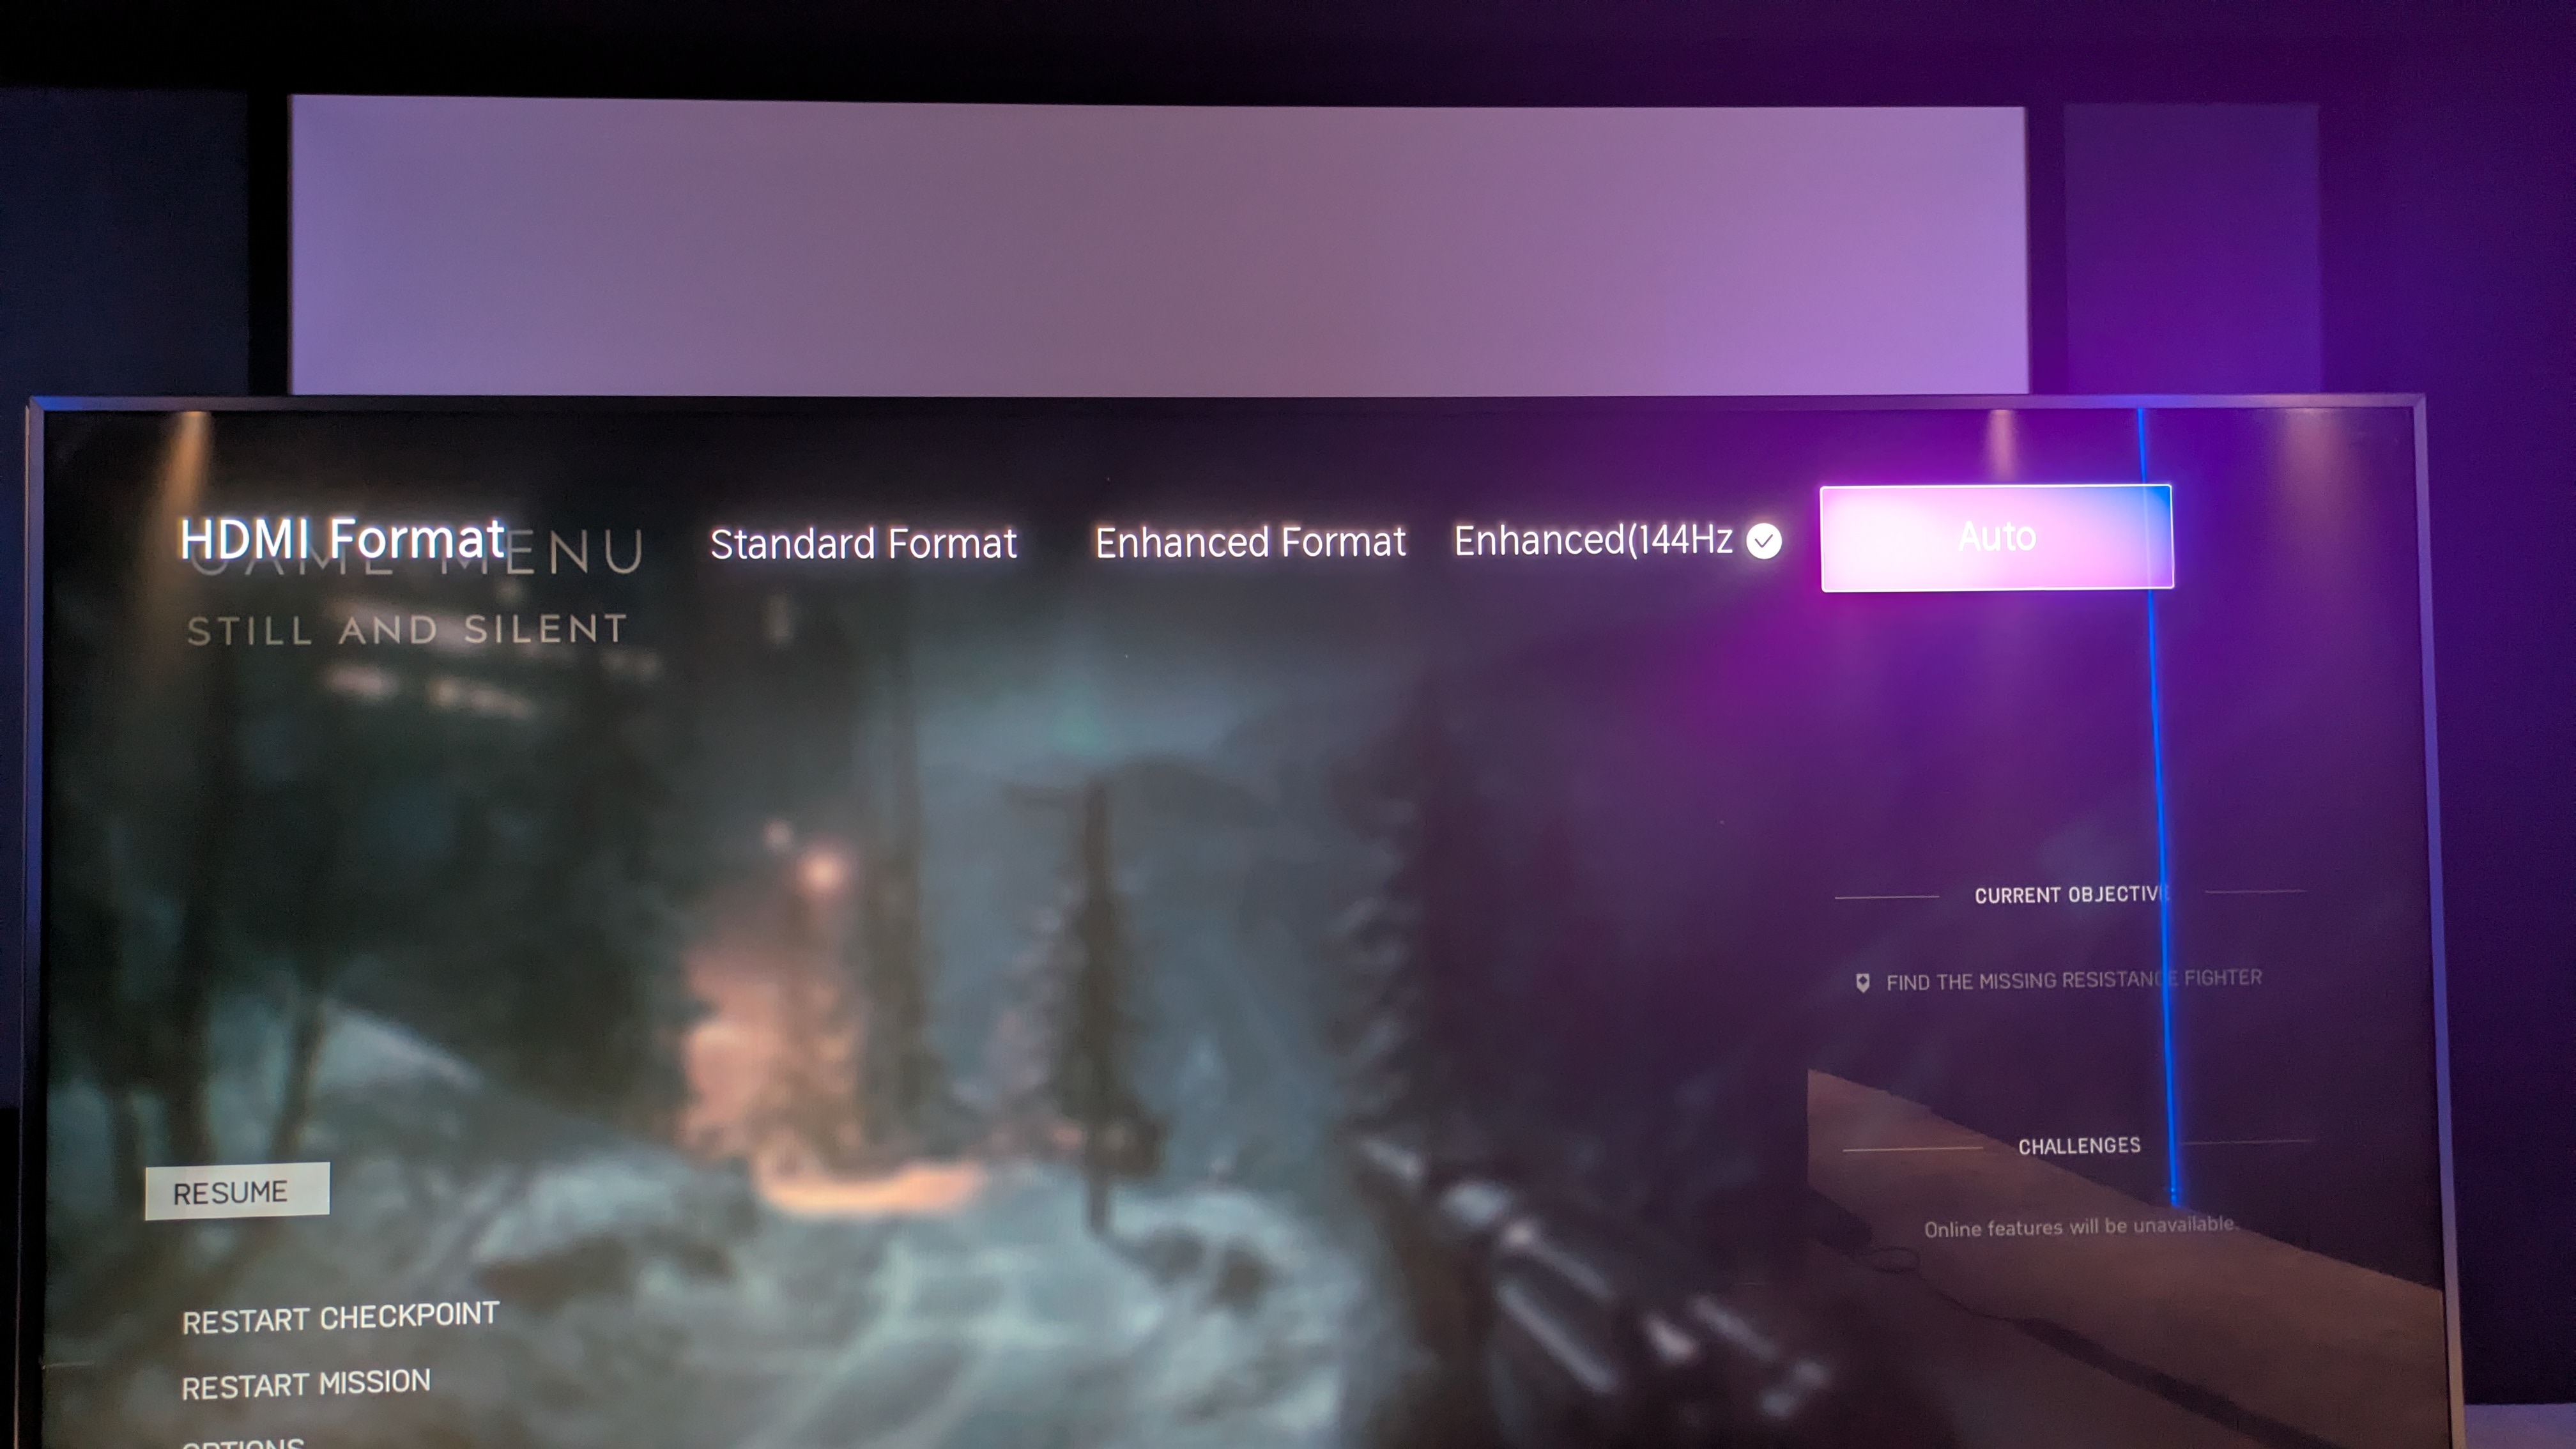
If you’ve bought one of the best gaming TVs, you’ll find it has a Game Mode, whether that’s a picture preset or an option in the settings menu. But despite turning this on, you may find you’re not getting the full 4K 120Hz support you expected if you bought a TV like the LG C4.
Although Game Mode prevents this from happening, there is an important HDMI setting that often goes unnoticed. Go to Settings and look for HDMI Control. Click on that and you should see Standard, Enhanced and possibly other settings. Set it to Enhanced and that should activate the TV’s HDMI 2.1 features, including 4K 120Hz support. This is most often an issue with older TVs, but you can never be sure.
Check sharpness, color and detail enhancement
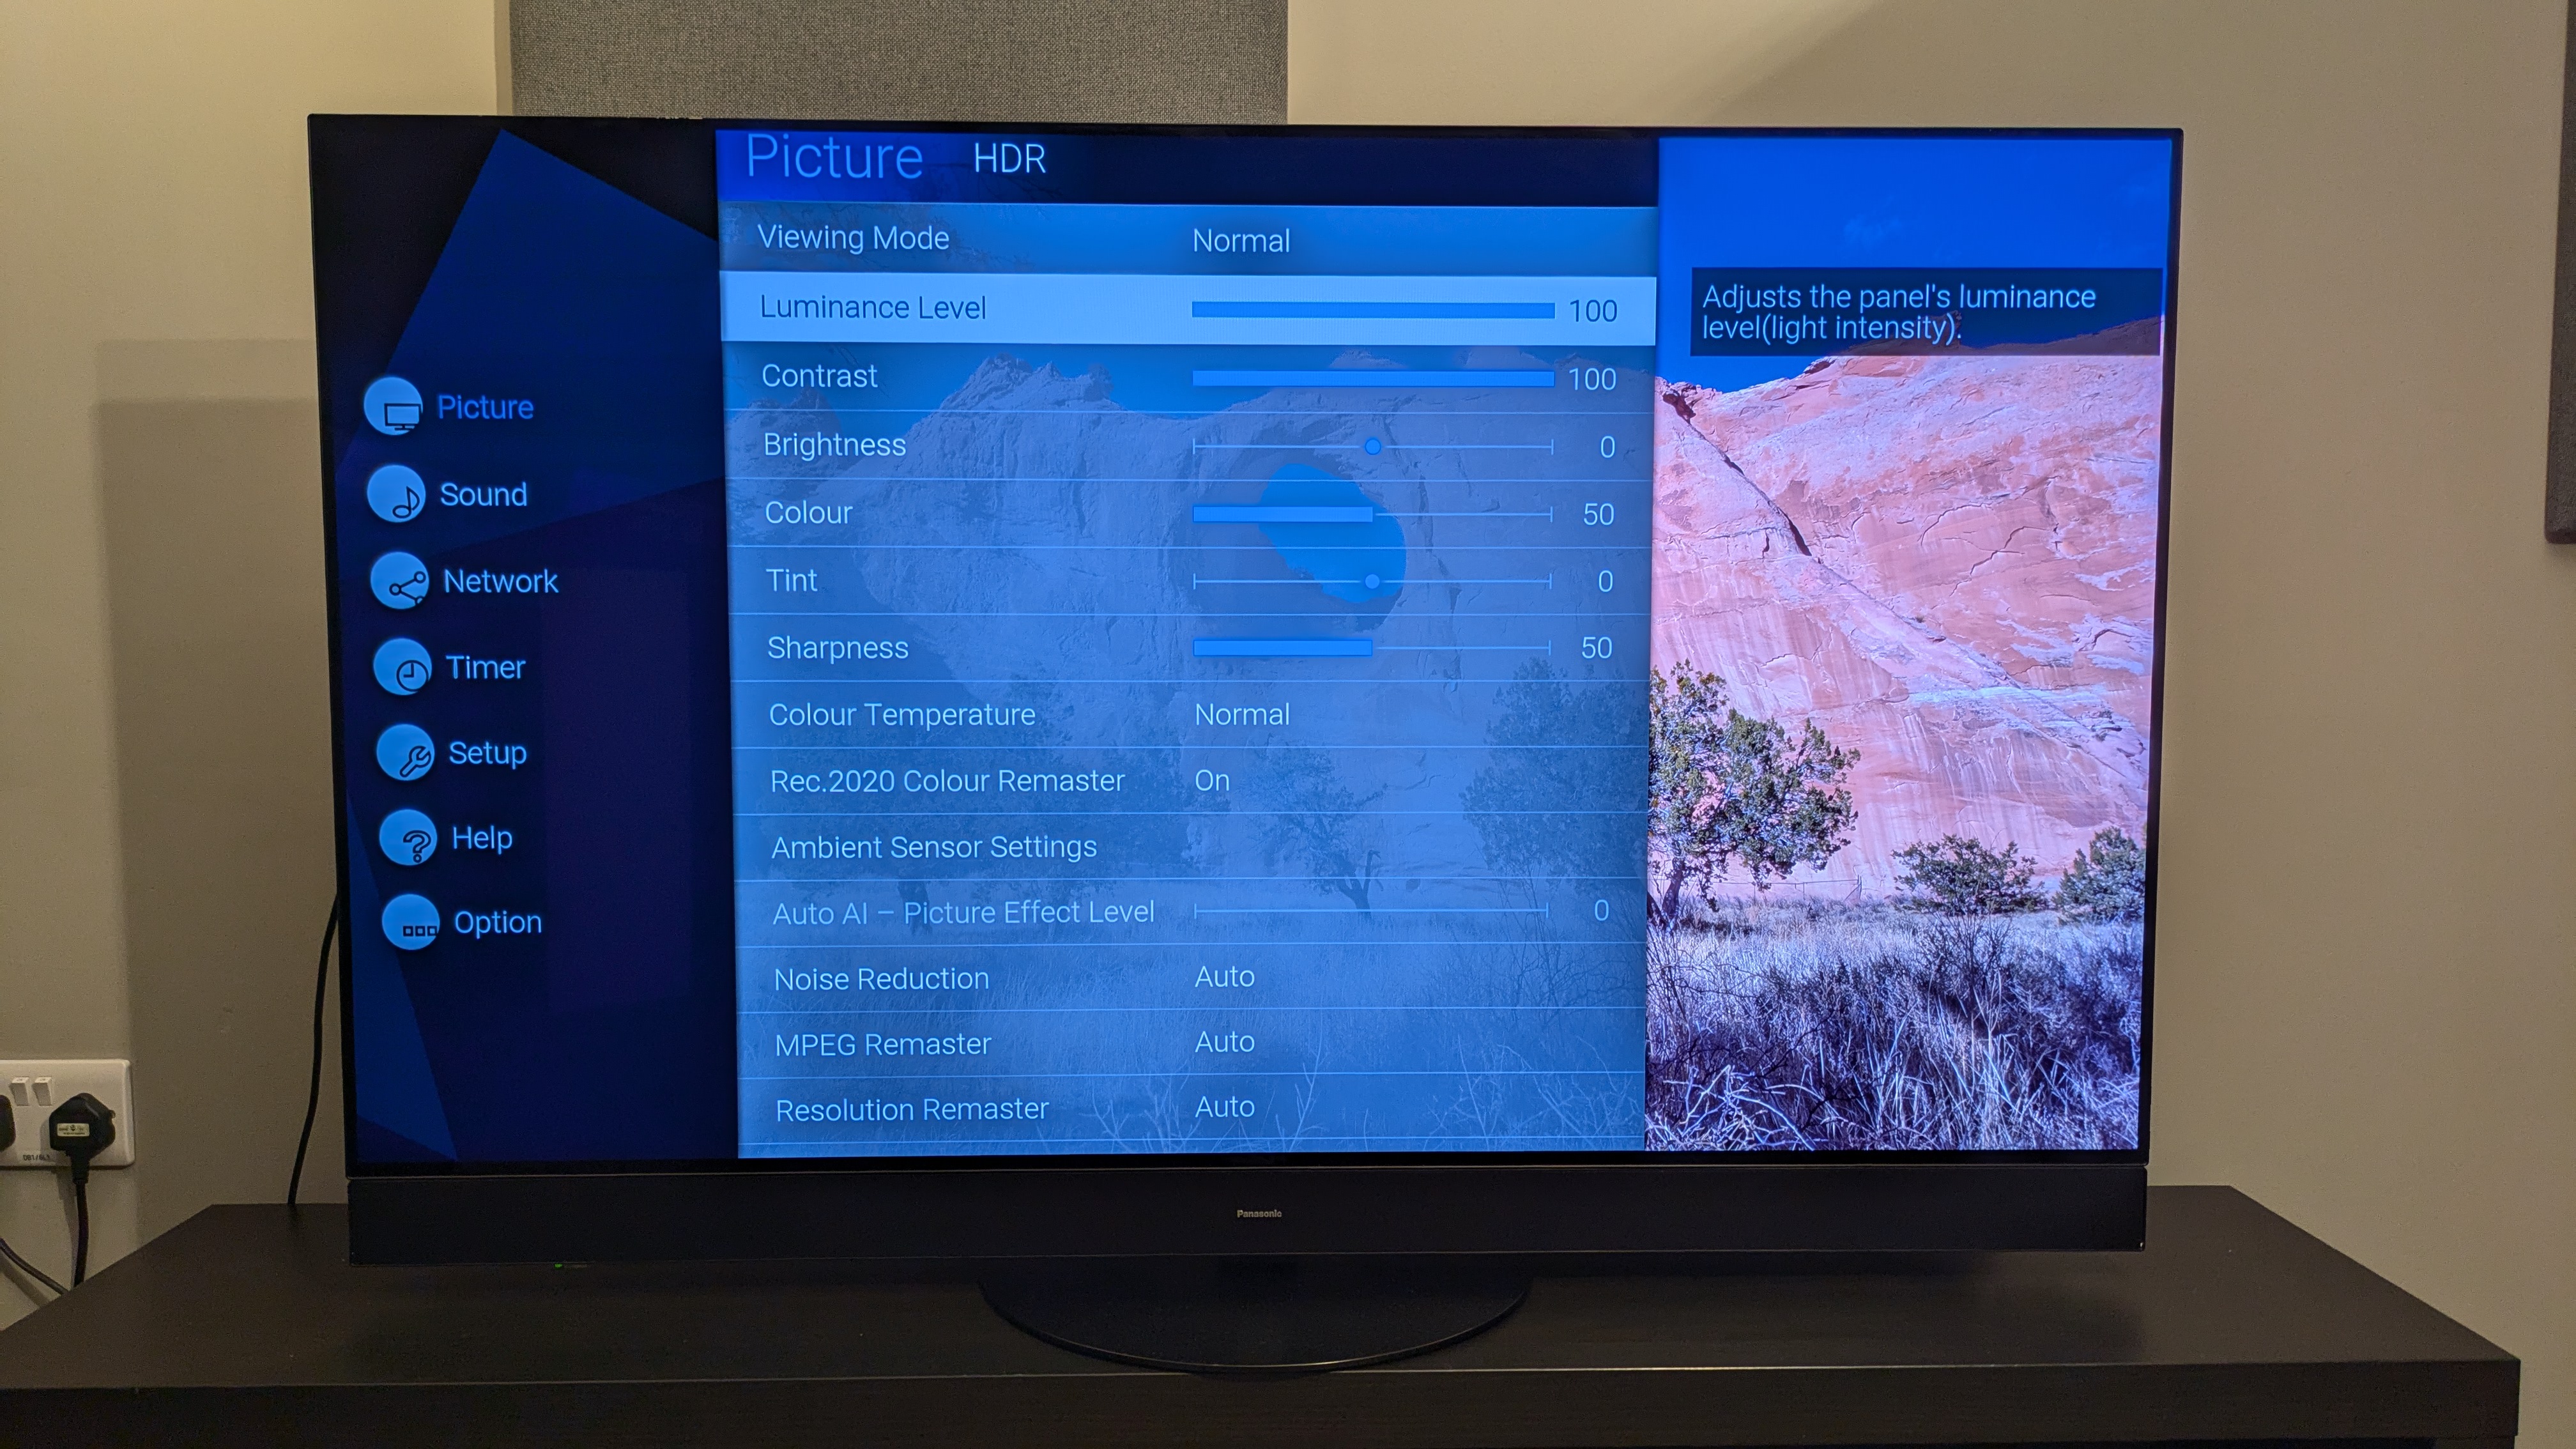
The final settings to check are more of a personal choice than a necessary change. If you explore your TV’s picture settings, you’ll sometimes notice ones that enhance color, sharpness, resolution and more. Some may find they like these but in many cases, they can negatively impact your TV’s picture.
One example is the Super Resolution feature on Hisense TVs such as the Hisense U6N. I have found that having this setting turned on gives textures and details an overly sharp, fake look. But this is just one example, and all TV brands have some related setting that can give pictures an over-enhanced look.
In the images of the MZ1500 above, you can see settings such as Noise Reduction and Resolution Remaster turned on in Dynamic, the most inaccurate mode, and turned off in Filmmaker, the most accurate one.
While you may find you like some of these settings, it’s best to pick a favorite ‘base’ picture preset you like and play around with settings until you get the picture you’re most comfortable with.
You might also like
- Improve your TV's picture - Bought a new 4K TV on Black Friday? Here’s how to adjust it for the best picture
- Get your Dolby Atmos system set up right - How to set up a Dolby Atmos home theater system
- How we test TVs at TechRadar - our testing process for TVs here at TechRadar


