Arriving alongside the Google Pixel 8, Magic Editor is an easy way of tweaking photos on your smartphone, but one that may feel a bit imposing to use. We're here to help with that though.
With the power of Google's AI, Magic Editor will allow you to move objects within your photo around, resize or remove them, alter the colors of your image or have an AI remix of your photo in one of several different art styles. The only real limitation, beyond what Google's AI image processing is capable of, is that you need the photos backed up to Google Photos first, which may make it harder to quickly do some editing while you're out and about shooting photos. Keep this in mind though, and you will find the rest of the process is incredibly easy to understand and use.
In this how-to, we'll show you the basics of using Magic Eraser first, beginning with opening an image for editing and saving those edits, followed by details of the type of edits you can expect to be making with Magic Editor. So grab your Pixel and follow along when you're ready.
How to use Magic Editor on Google Pixel
To begin, you need either a Google Pixel 8 or a Google Pixel 8 Pro, as these are the only phones with this feature enabled right now. Google also asks that users are over 18 years of age before using any AI features.
1. Back up the photo you want to edit to Google Photos
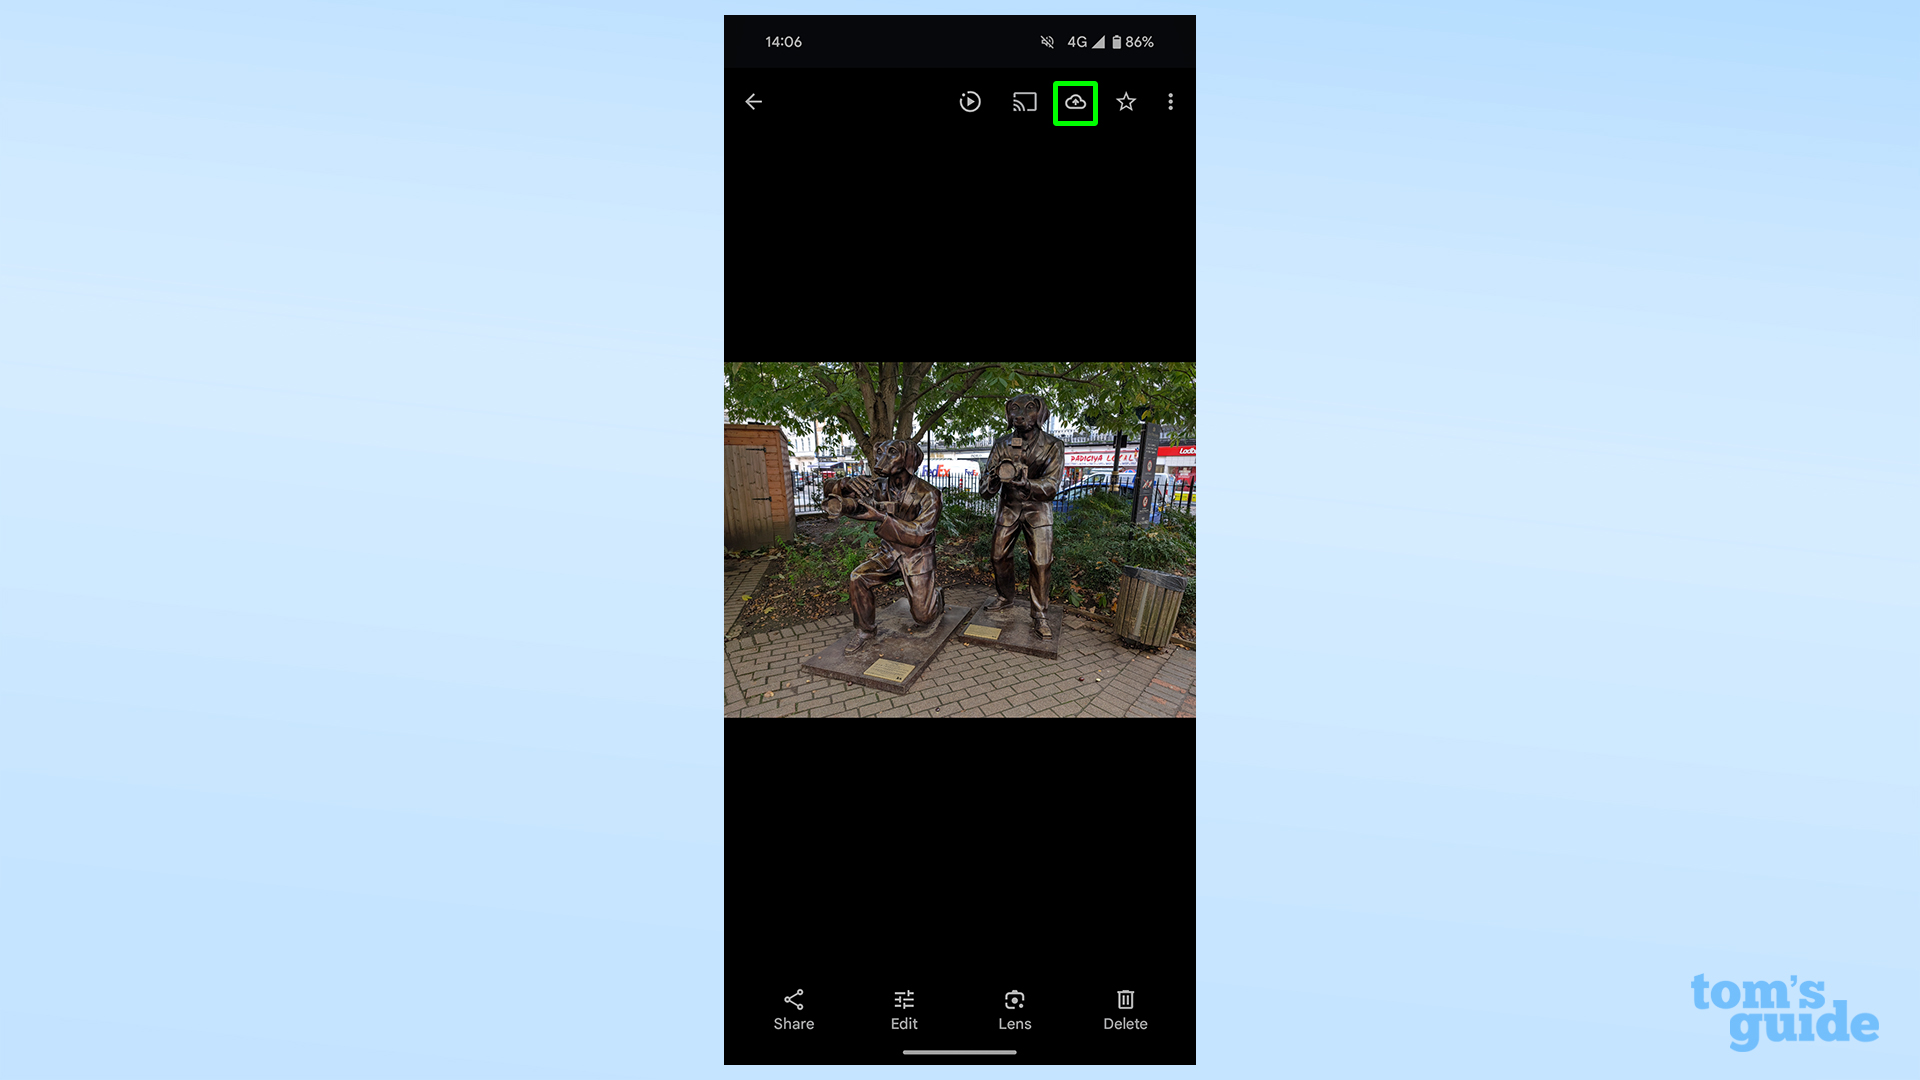
You can't open Magic Editor without having the image you want to edit saved in the cloud. This should happen automatically if you're connected to Wi-Fi, but you can do this manually too over a cellular connection by tapping the upload to cloud button.
2. Open the photo and then Magic Editor
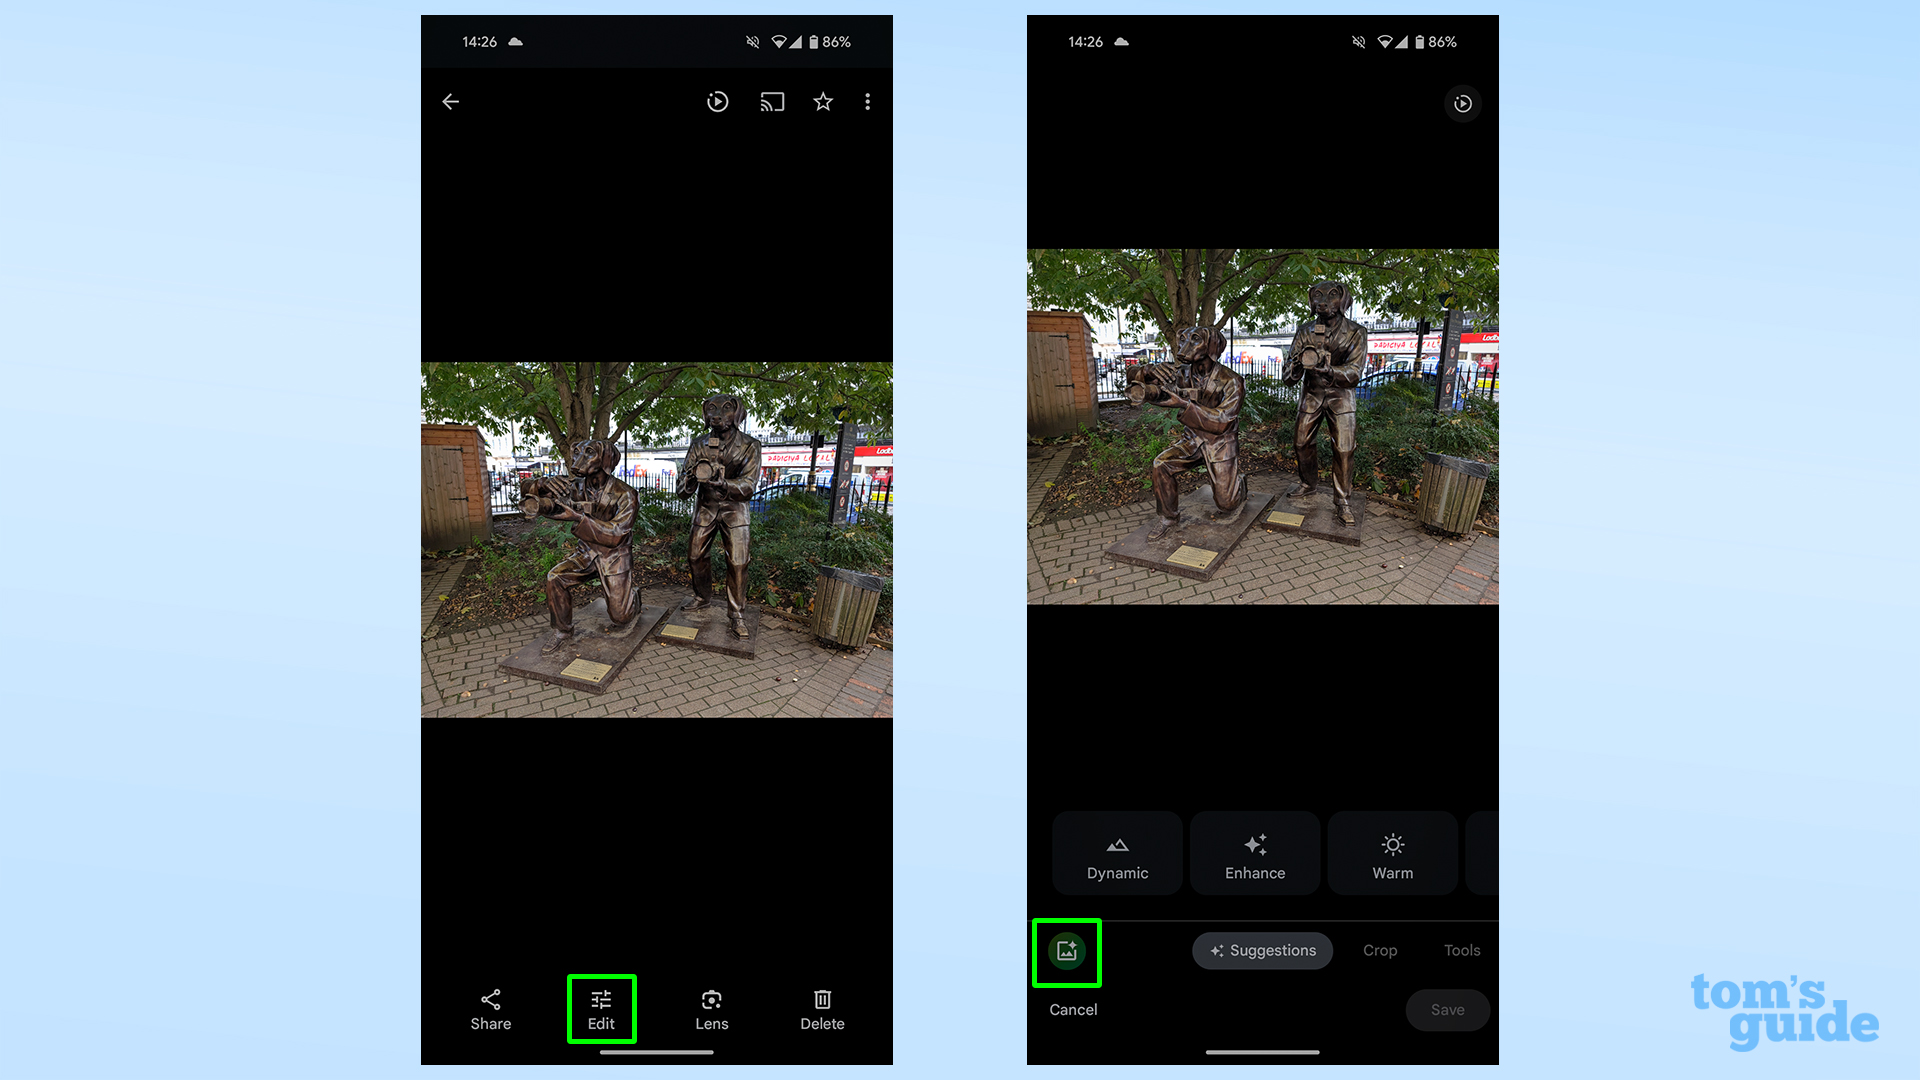
First open the photo in your camera roll and tap Edit, then tap Magic Editor, which is a multi-colored button in the bottom left of your screen.
3. Make your edits and save a copy of the photo
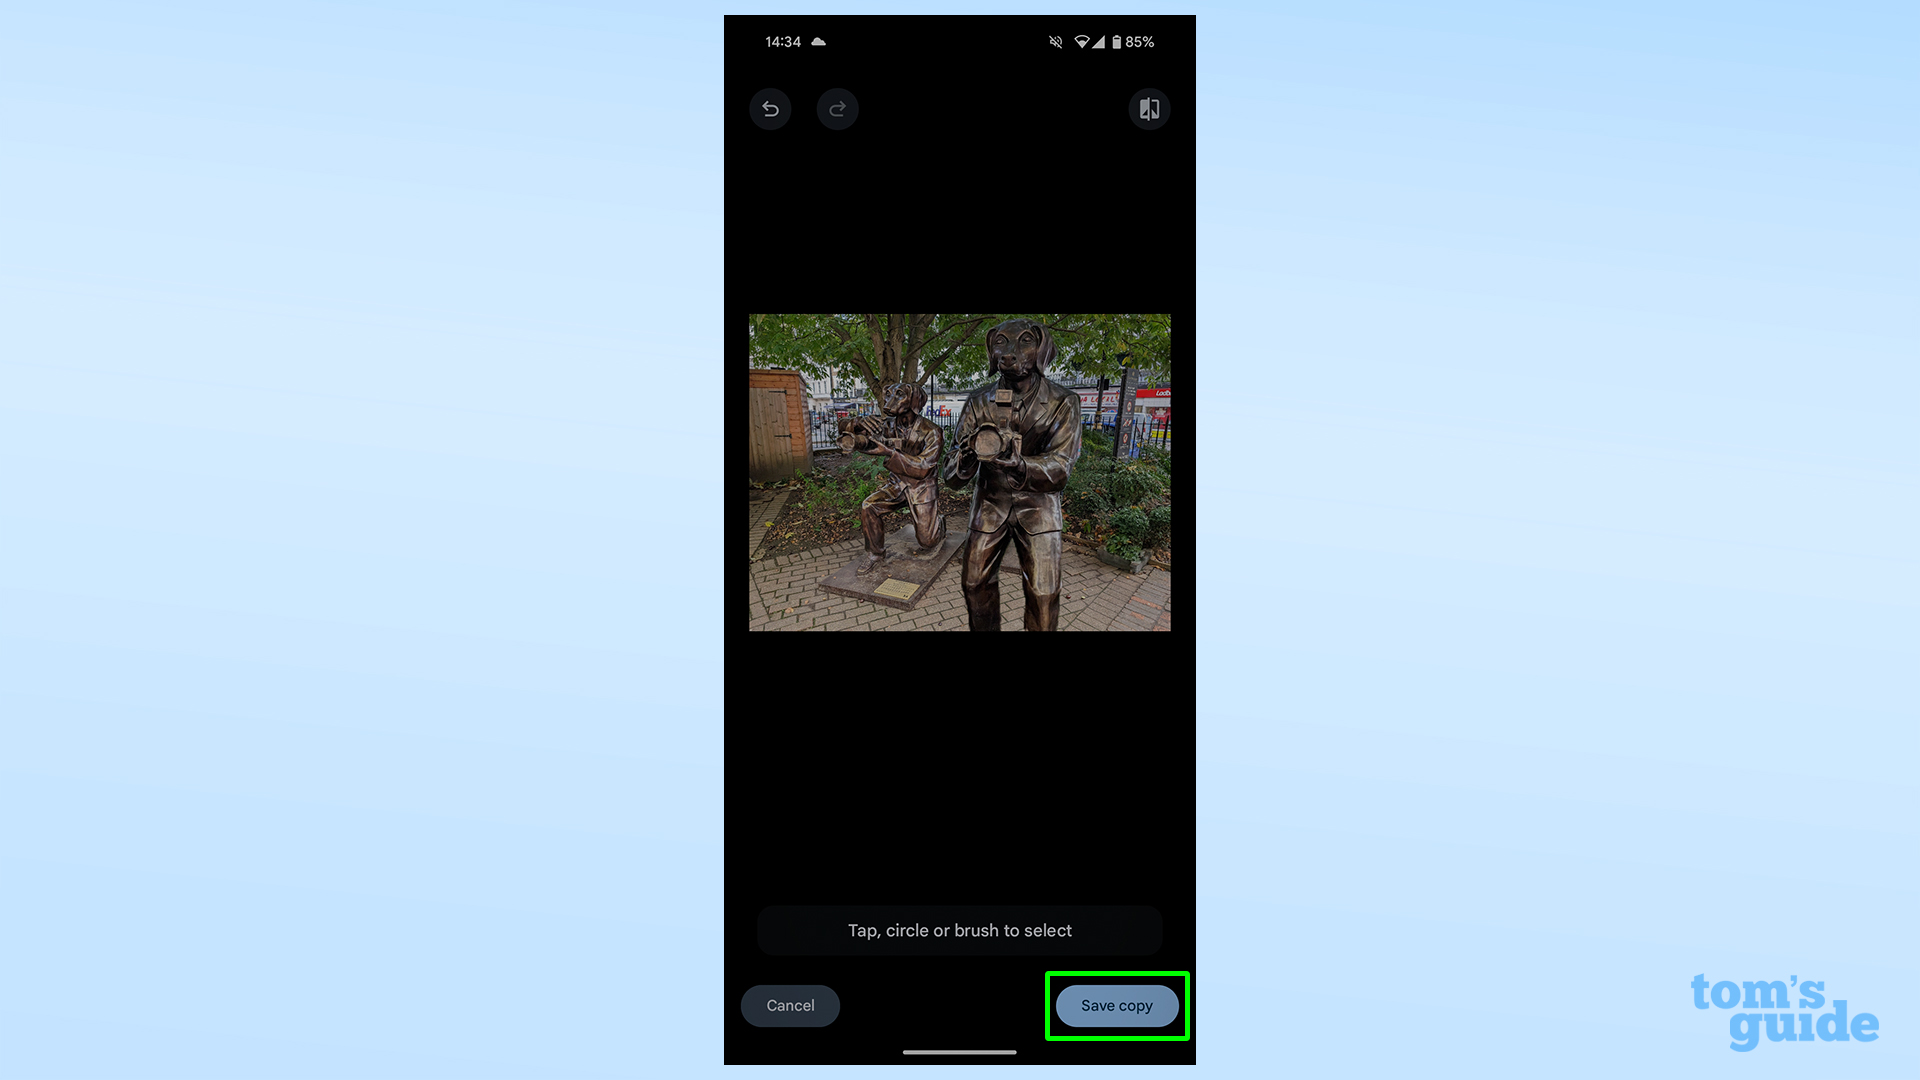
We'll show you the kind of edits you can make below, but let's make sure you know how to finish editing before you start making changes!
Tap the checkmark to approve of whatever change you are making. When you're all finished, hit Save copy. Your original image won't be altered, leaving you free to make more changes from scratch, or just admire the unedited version alongside your new one.
Magic eraser: what you can do
With the basics covered, let's have a look at the kind of things you can do with Magic Editor:
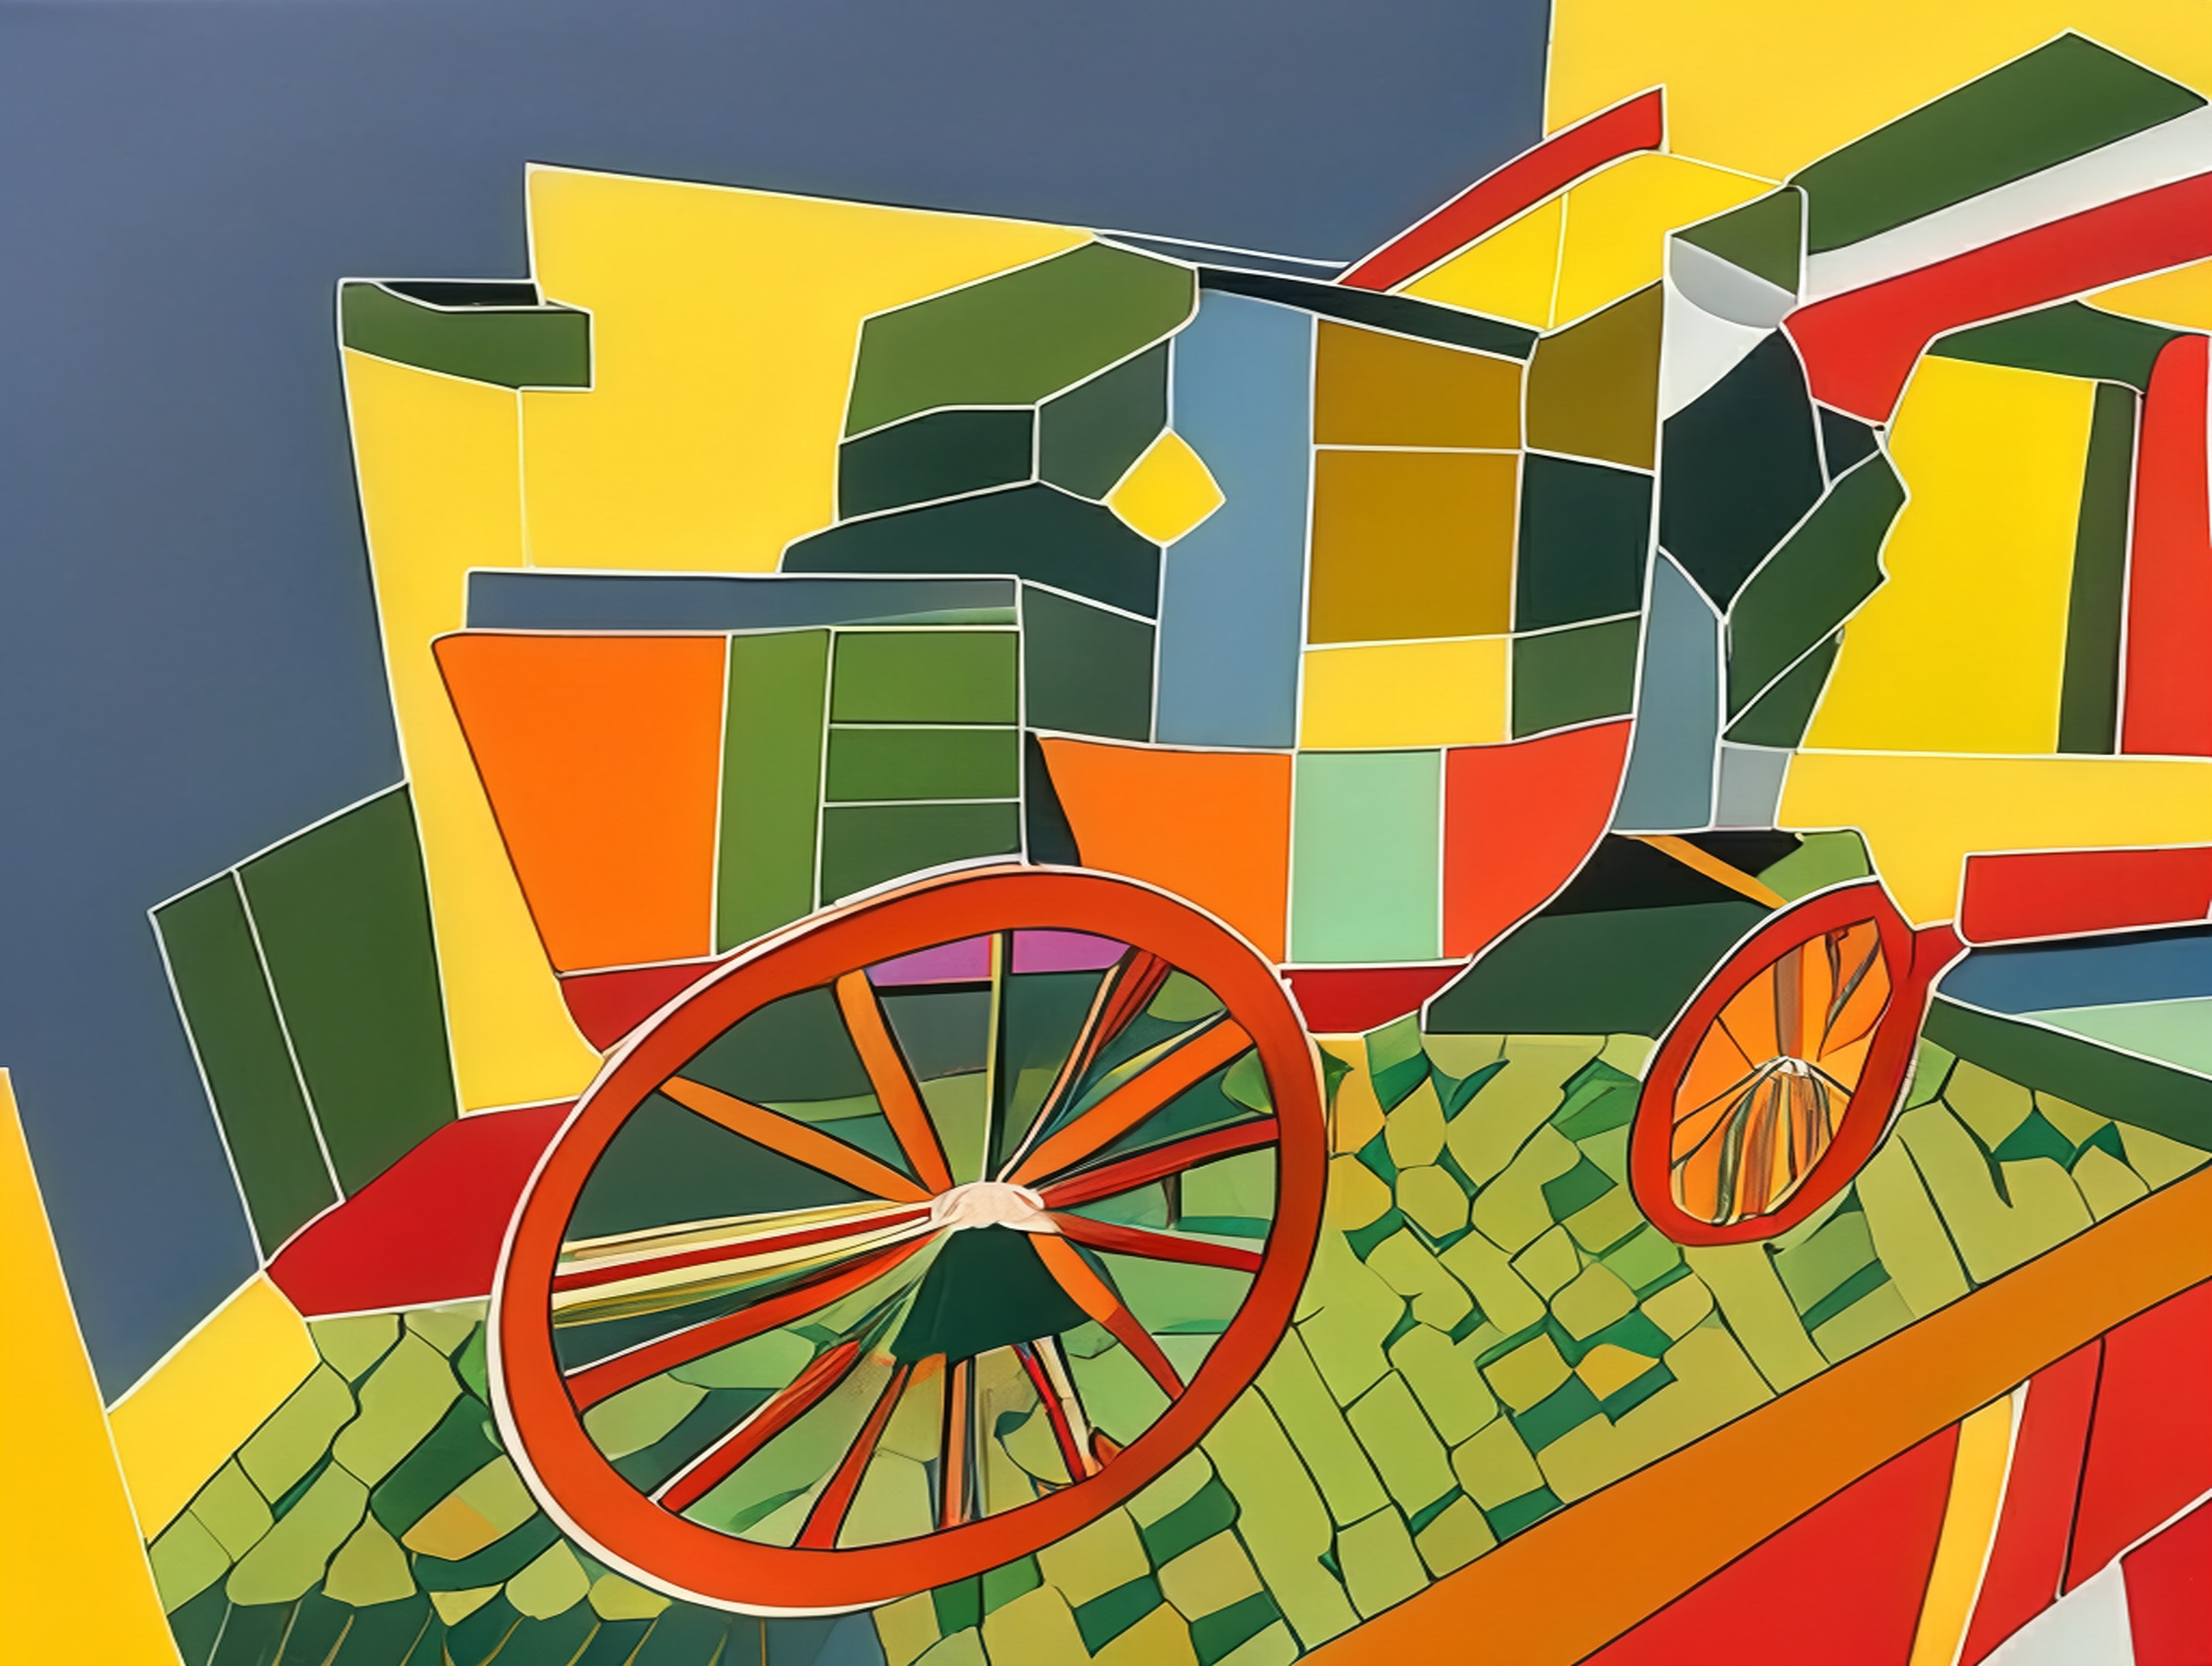
Certain images will offer one or more pre-set options for either recoloring or restyling your images. This can be as simple as recoloring the sky and subtly adjusting the scene's lighting to compensate, or getting a more artistic AI-generated impression of the photo.
You'll find whatever options Magic Editor will offer you by tapping the presets button in the bottom center of the screen. Not all the options will appear for every photo. For instance the photo below only allowed me to edit the sky/photo coloring.
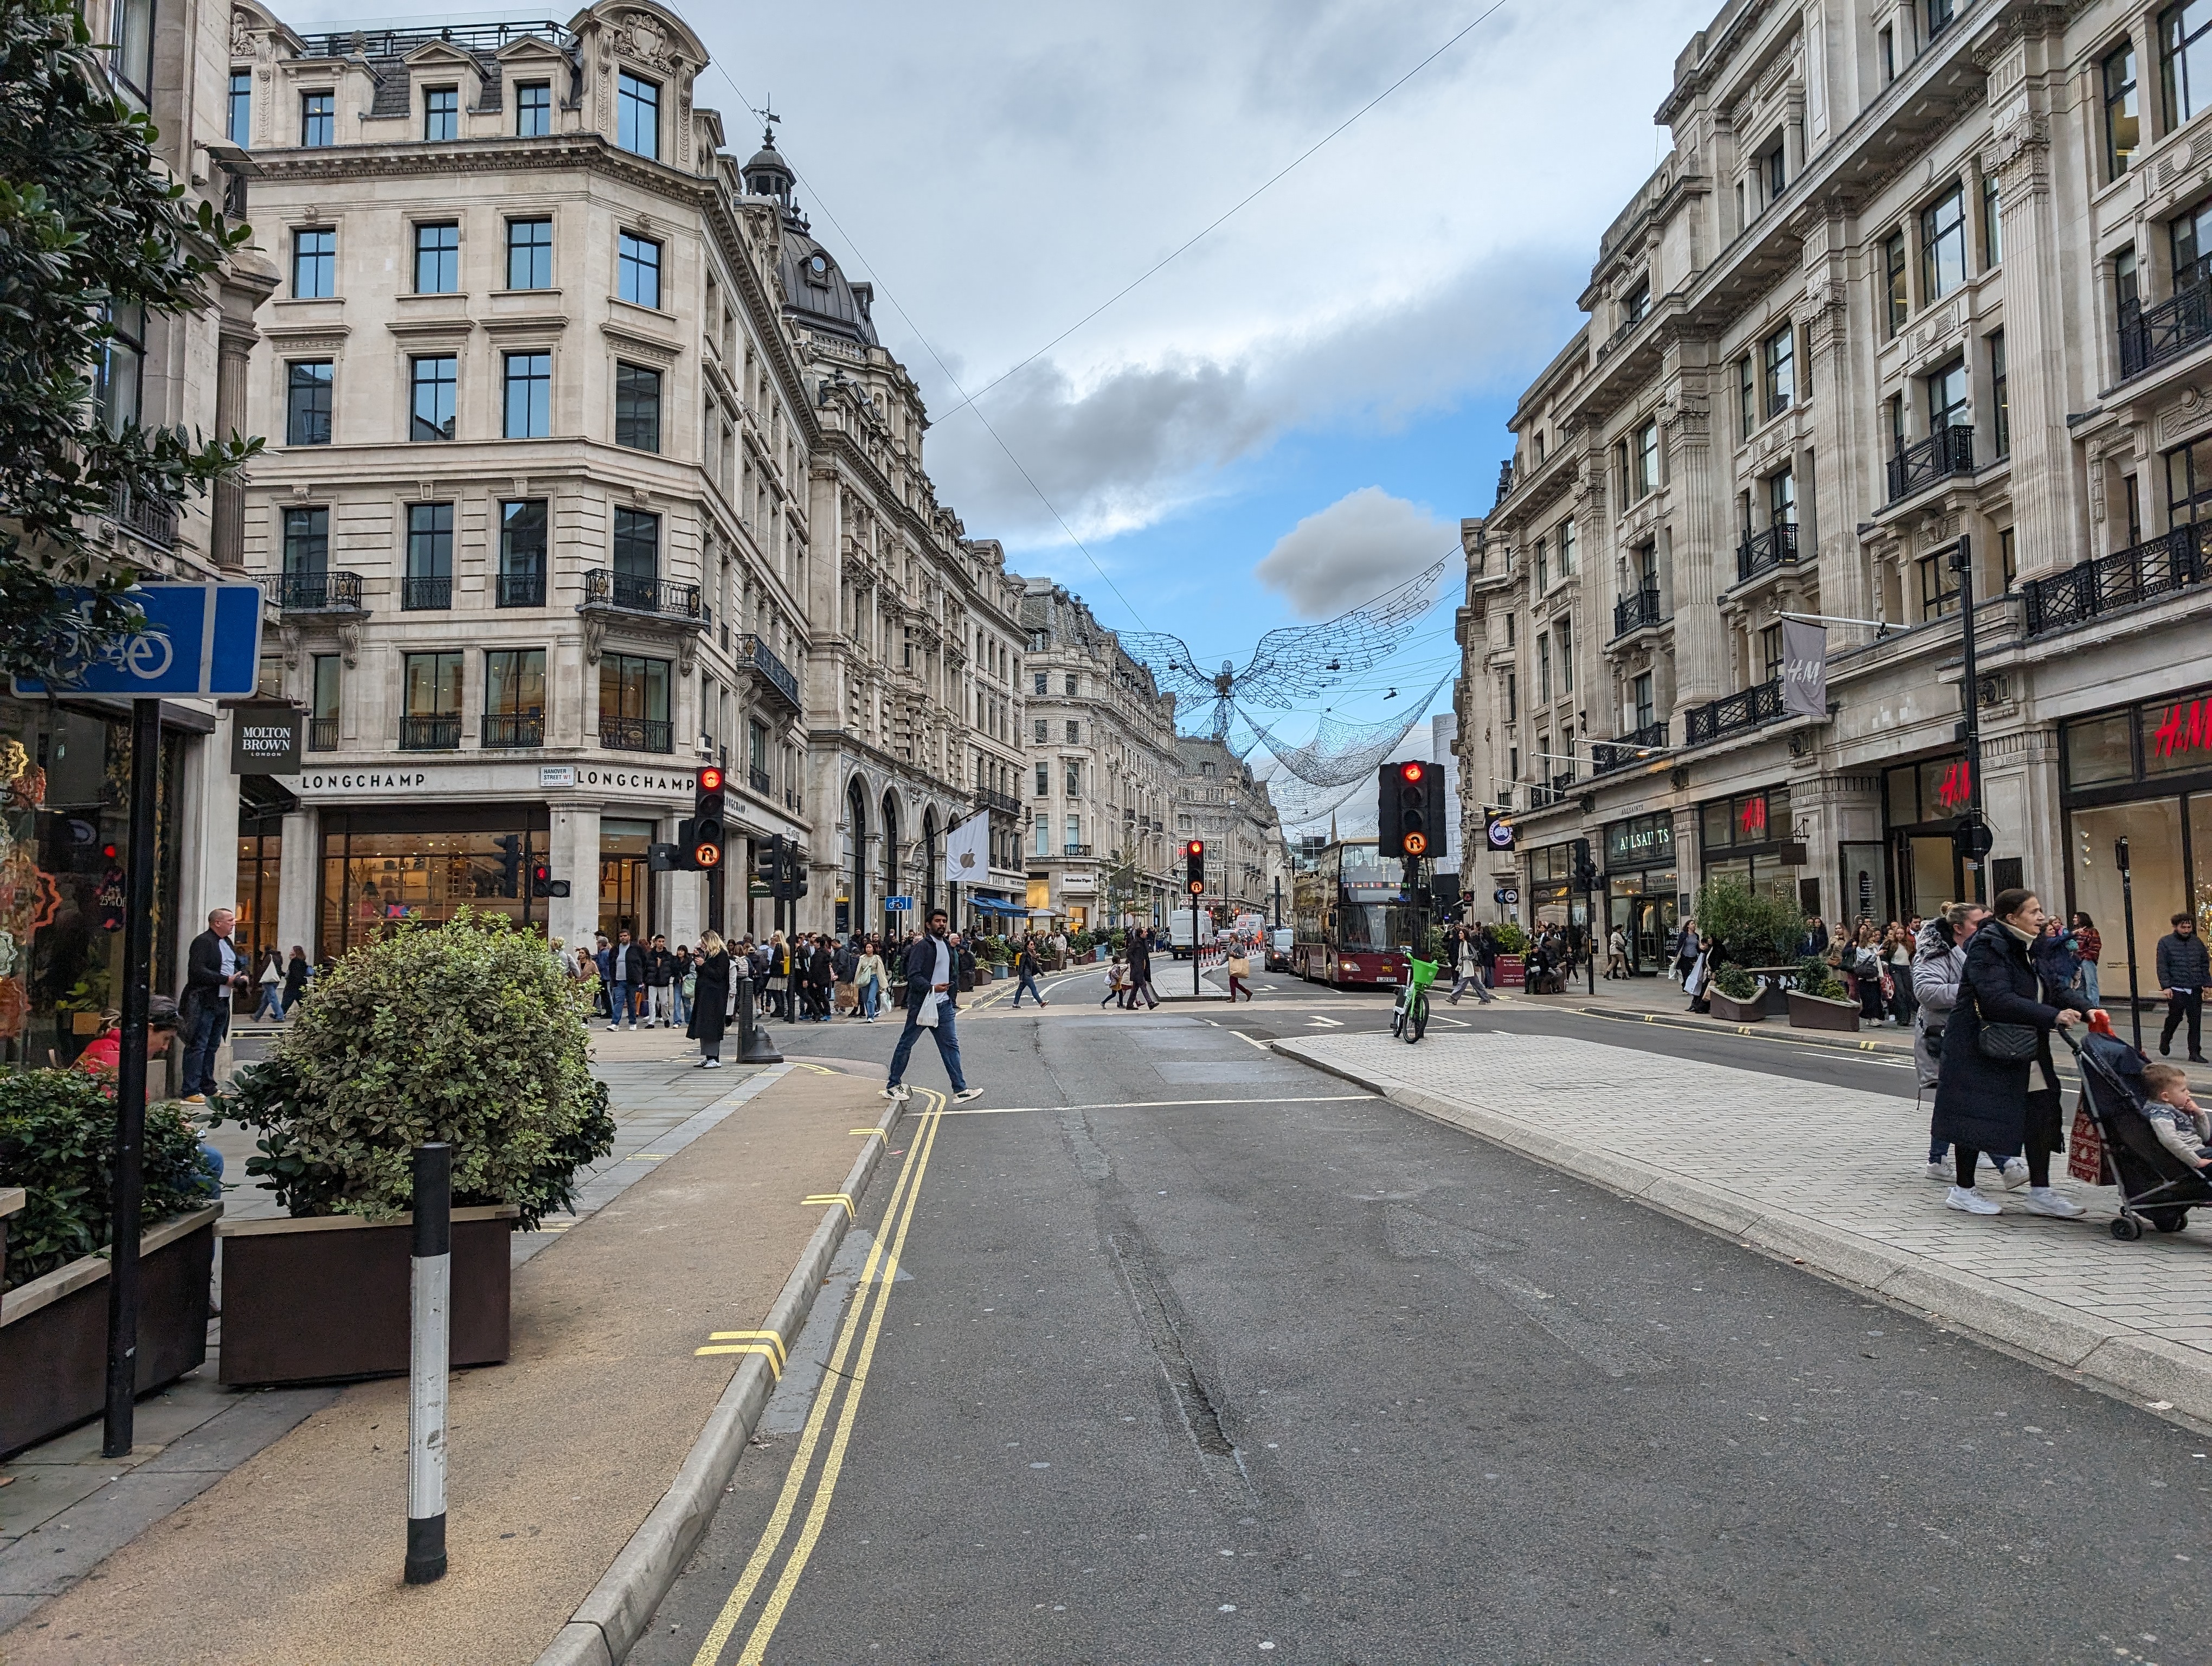
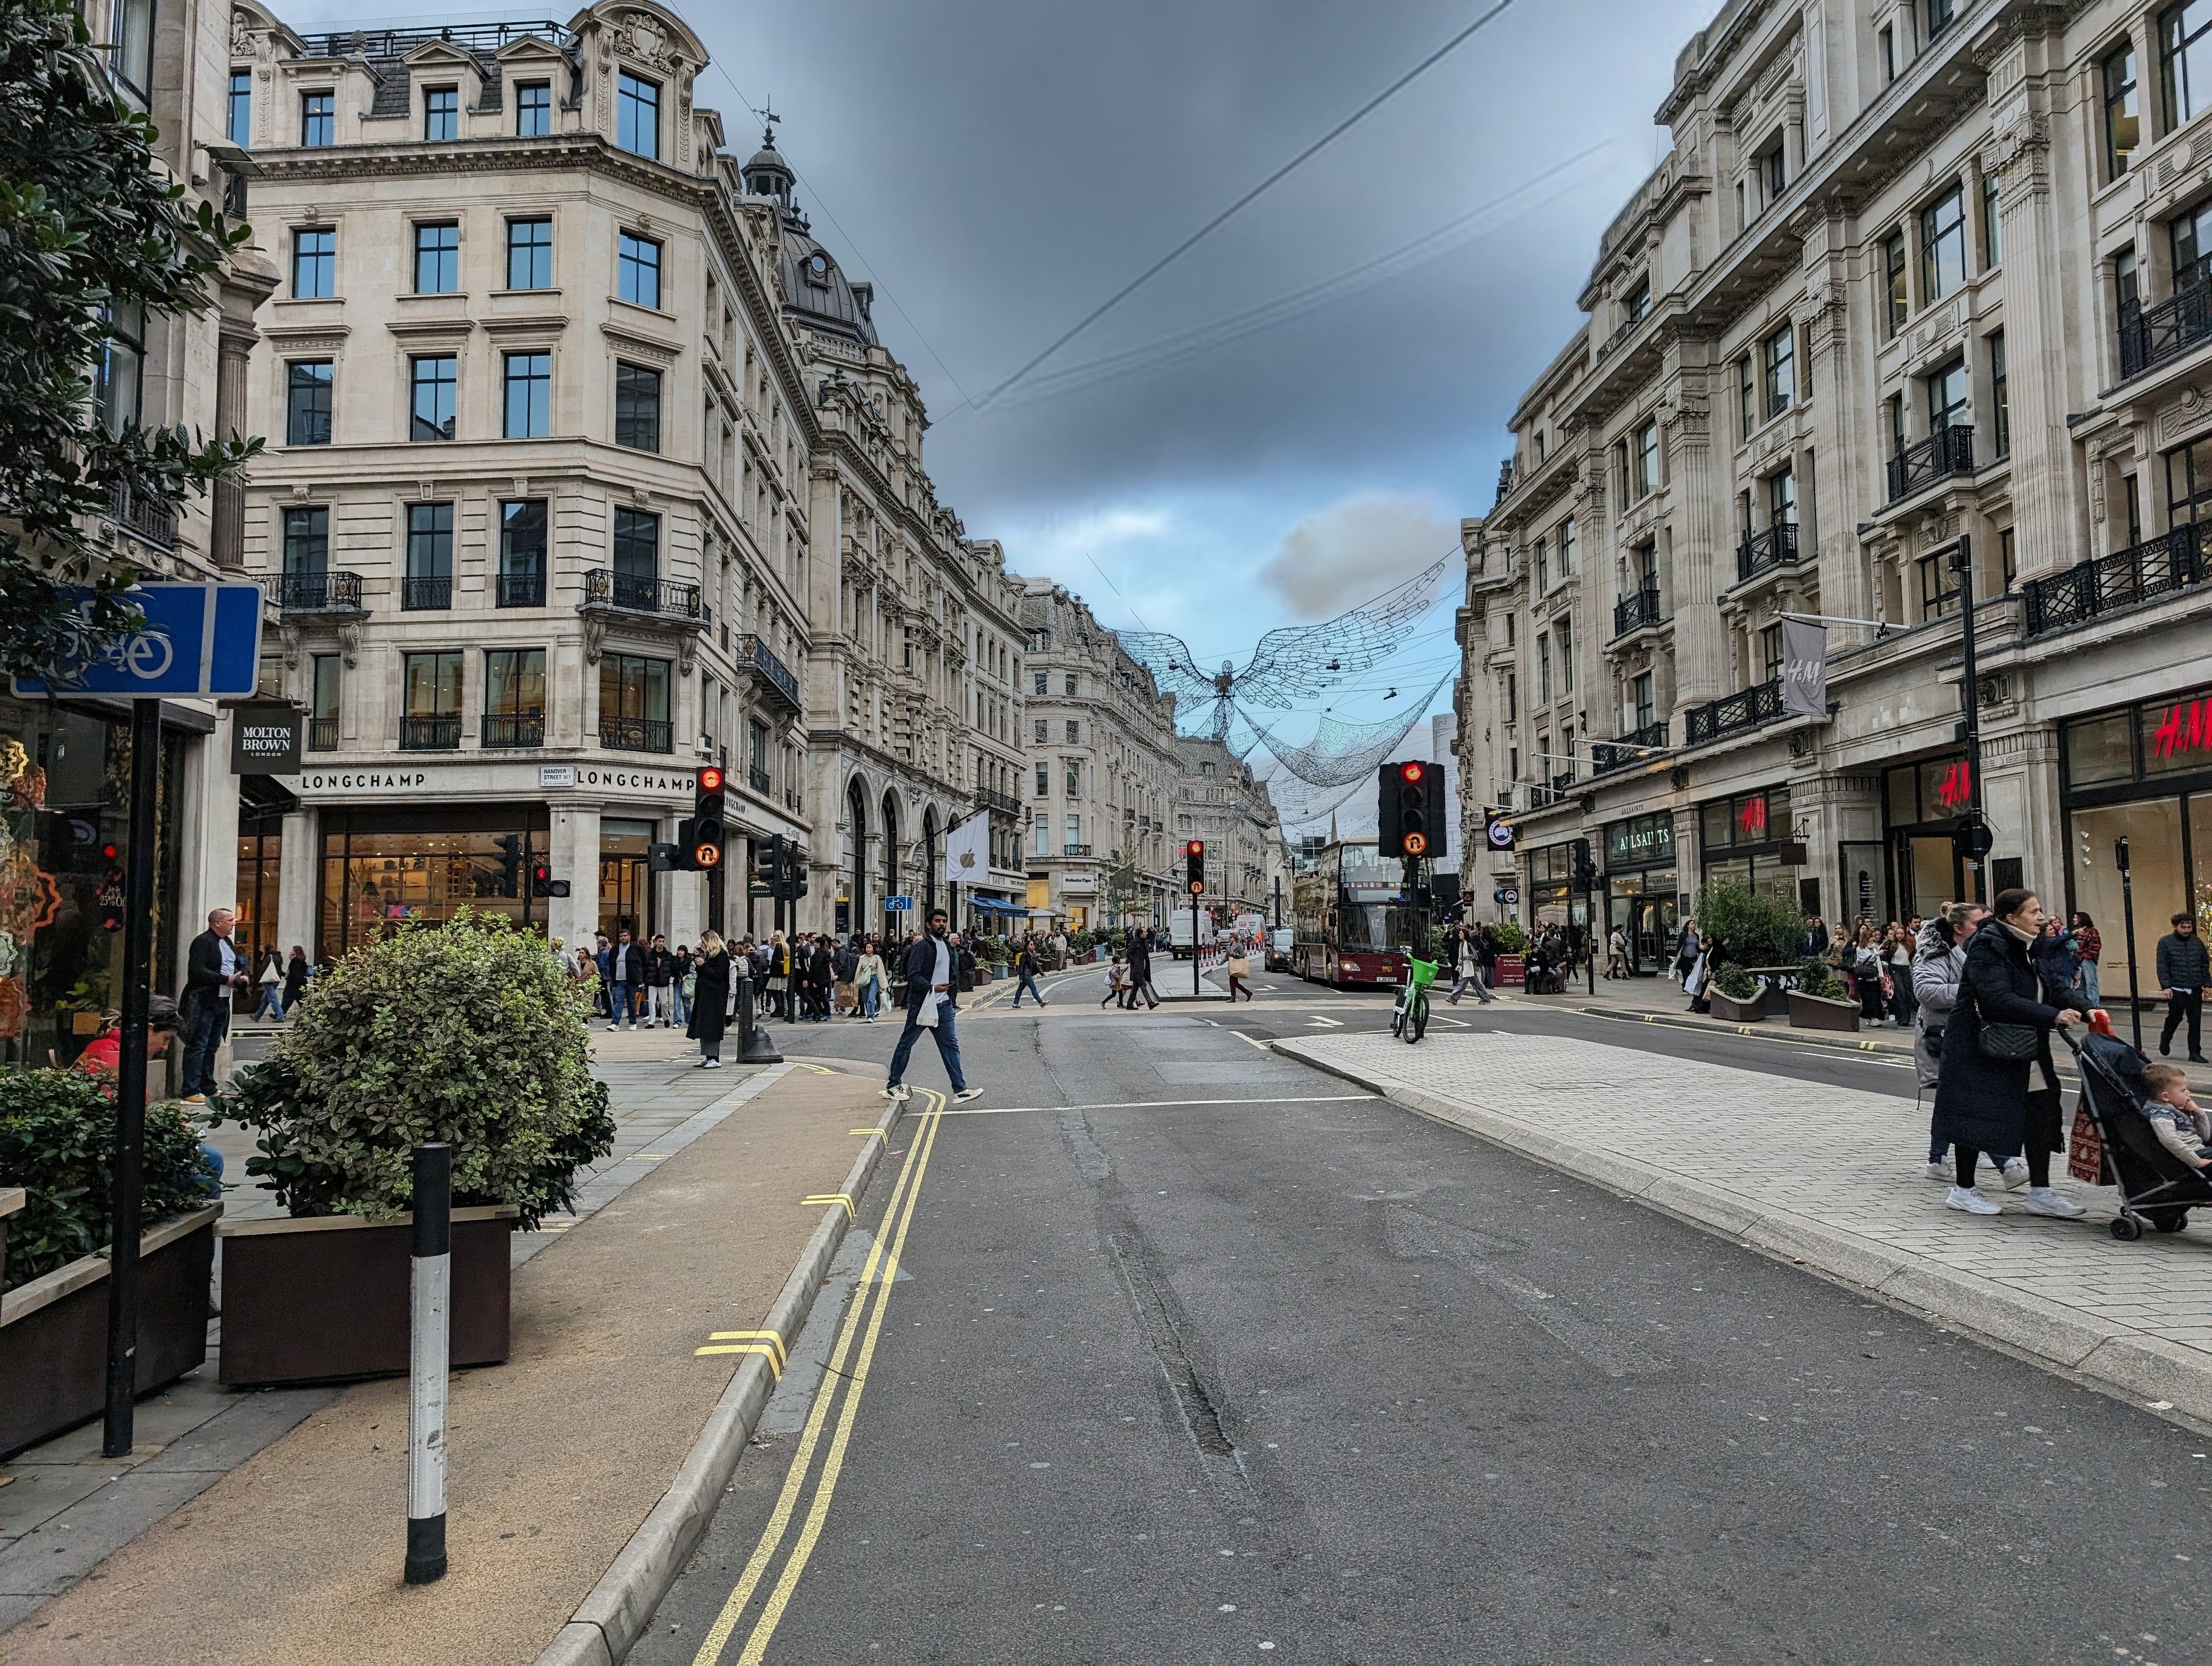
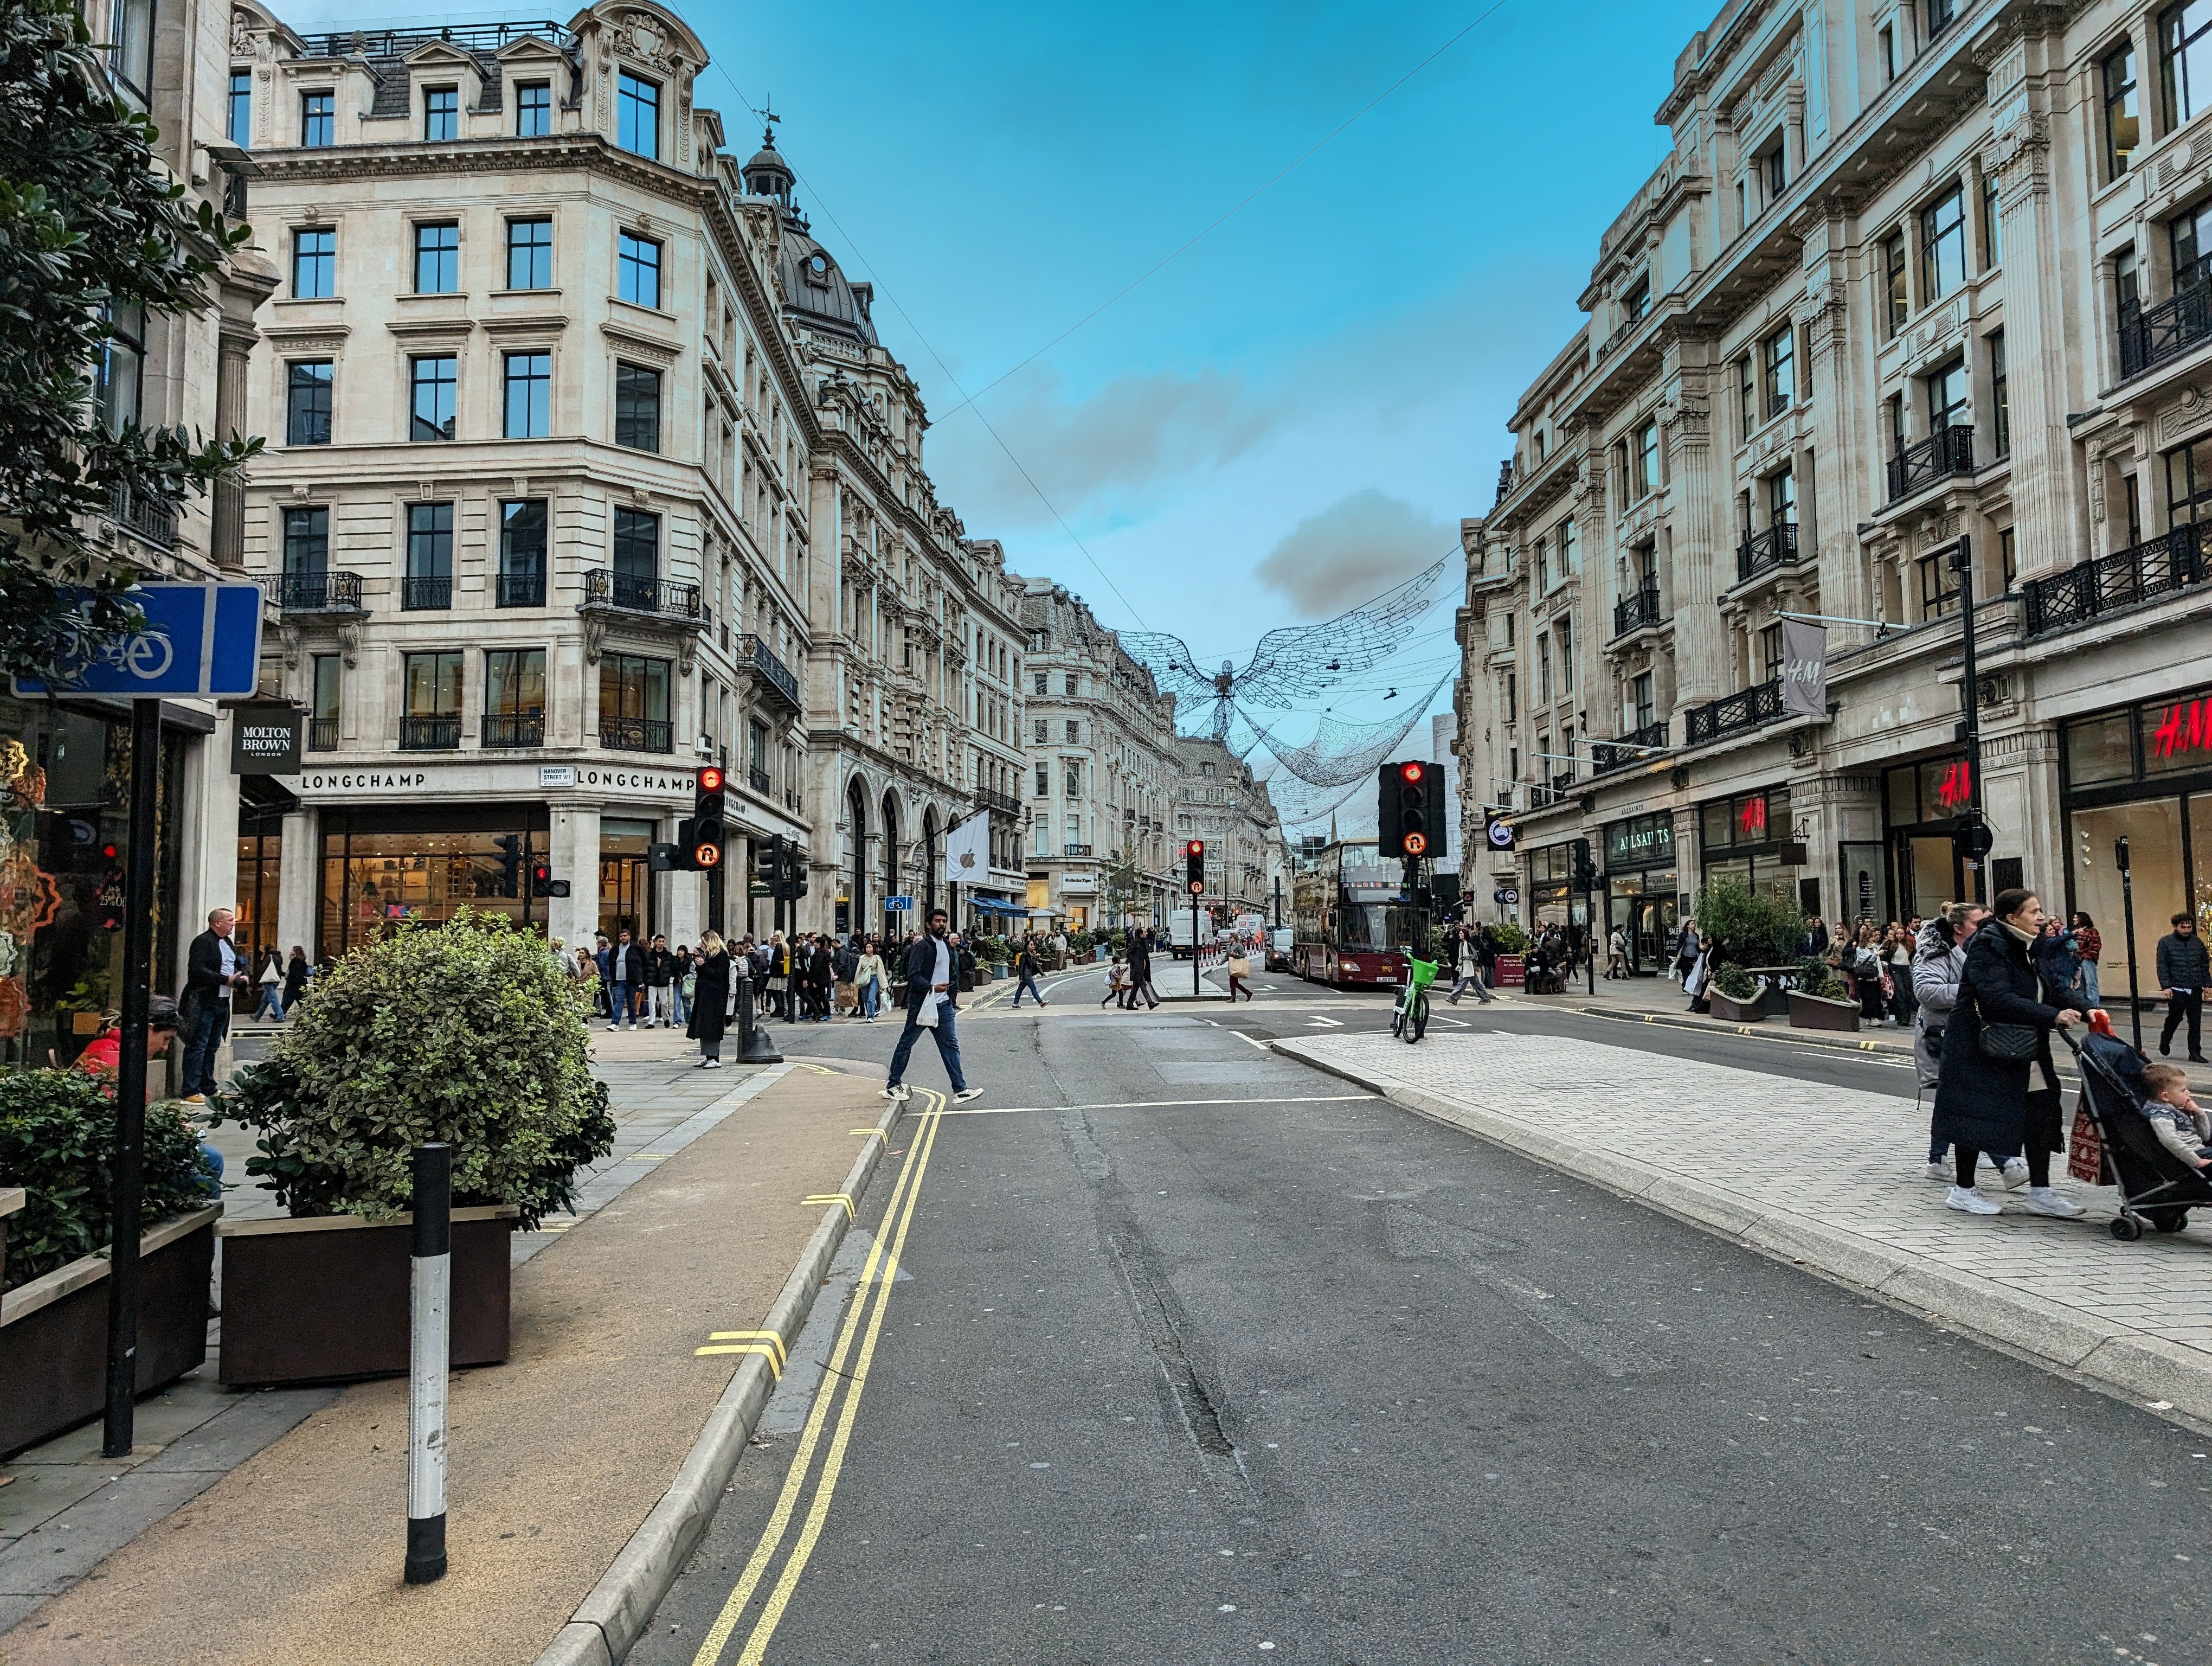
Meanwhile this photo of a horse-drawn coach only permitted the use of "Stylize", which redraws your photo in different art styles.


The other main tool on offer is object selection, which you can then use to move, resize or delete part of your photo. Tapping part of the image will automatically select an element (to the best of the app's ability), but you can also manually paint over or circle an area you'd like to play with. You're free to zoom in too if you need a closer look.
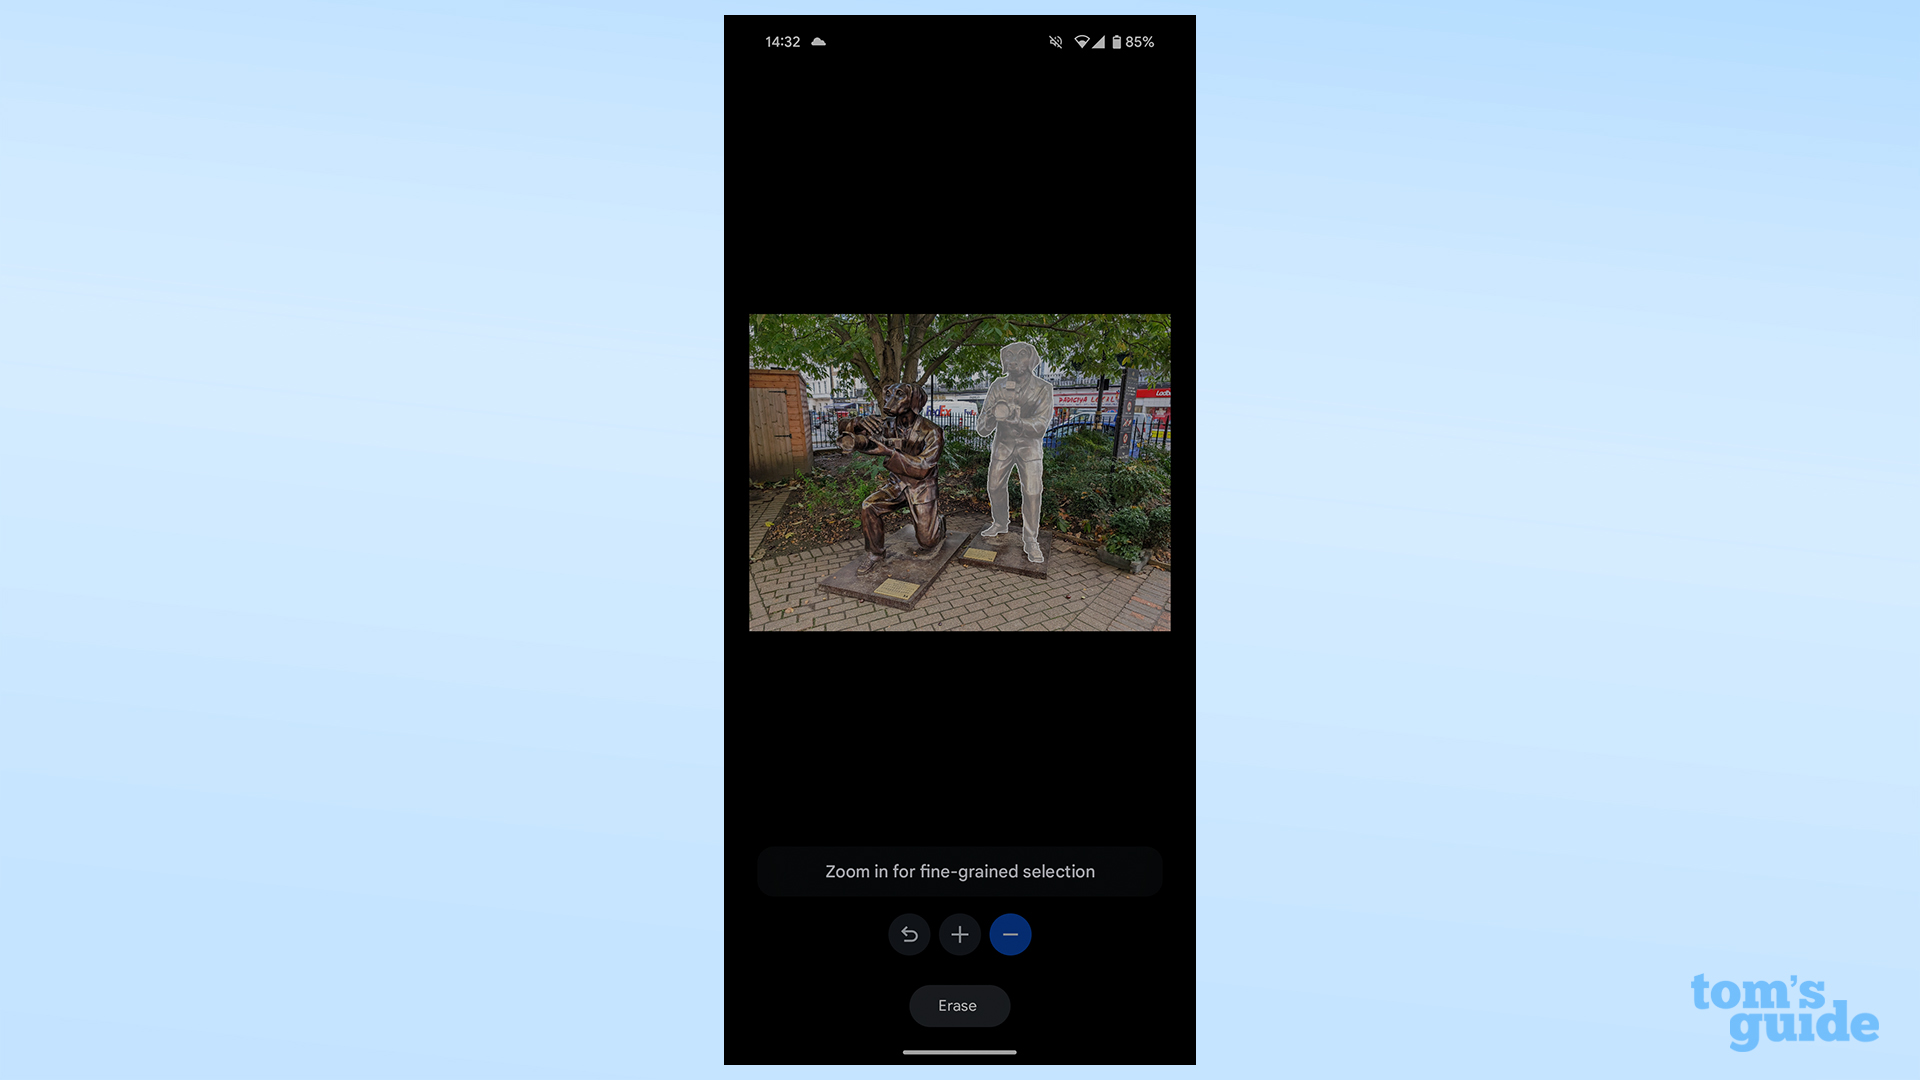
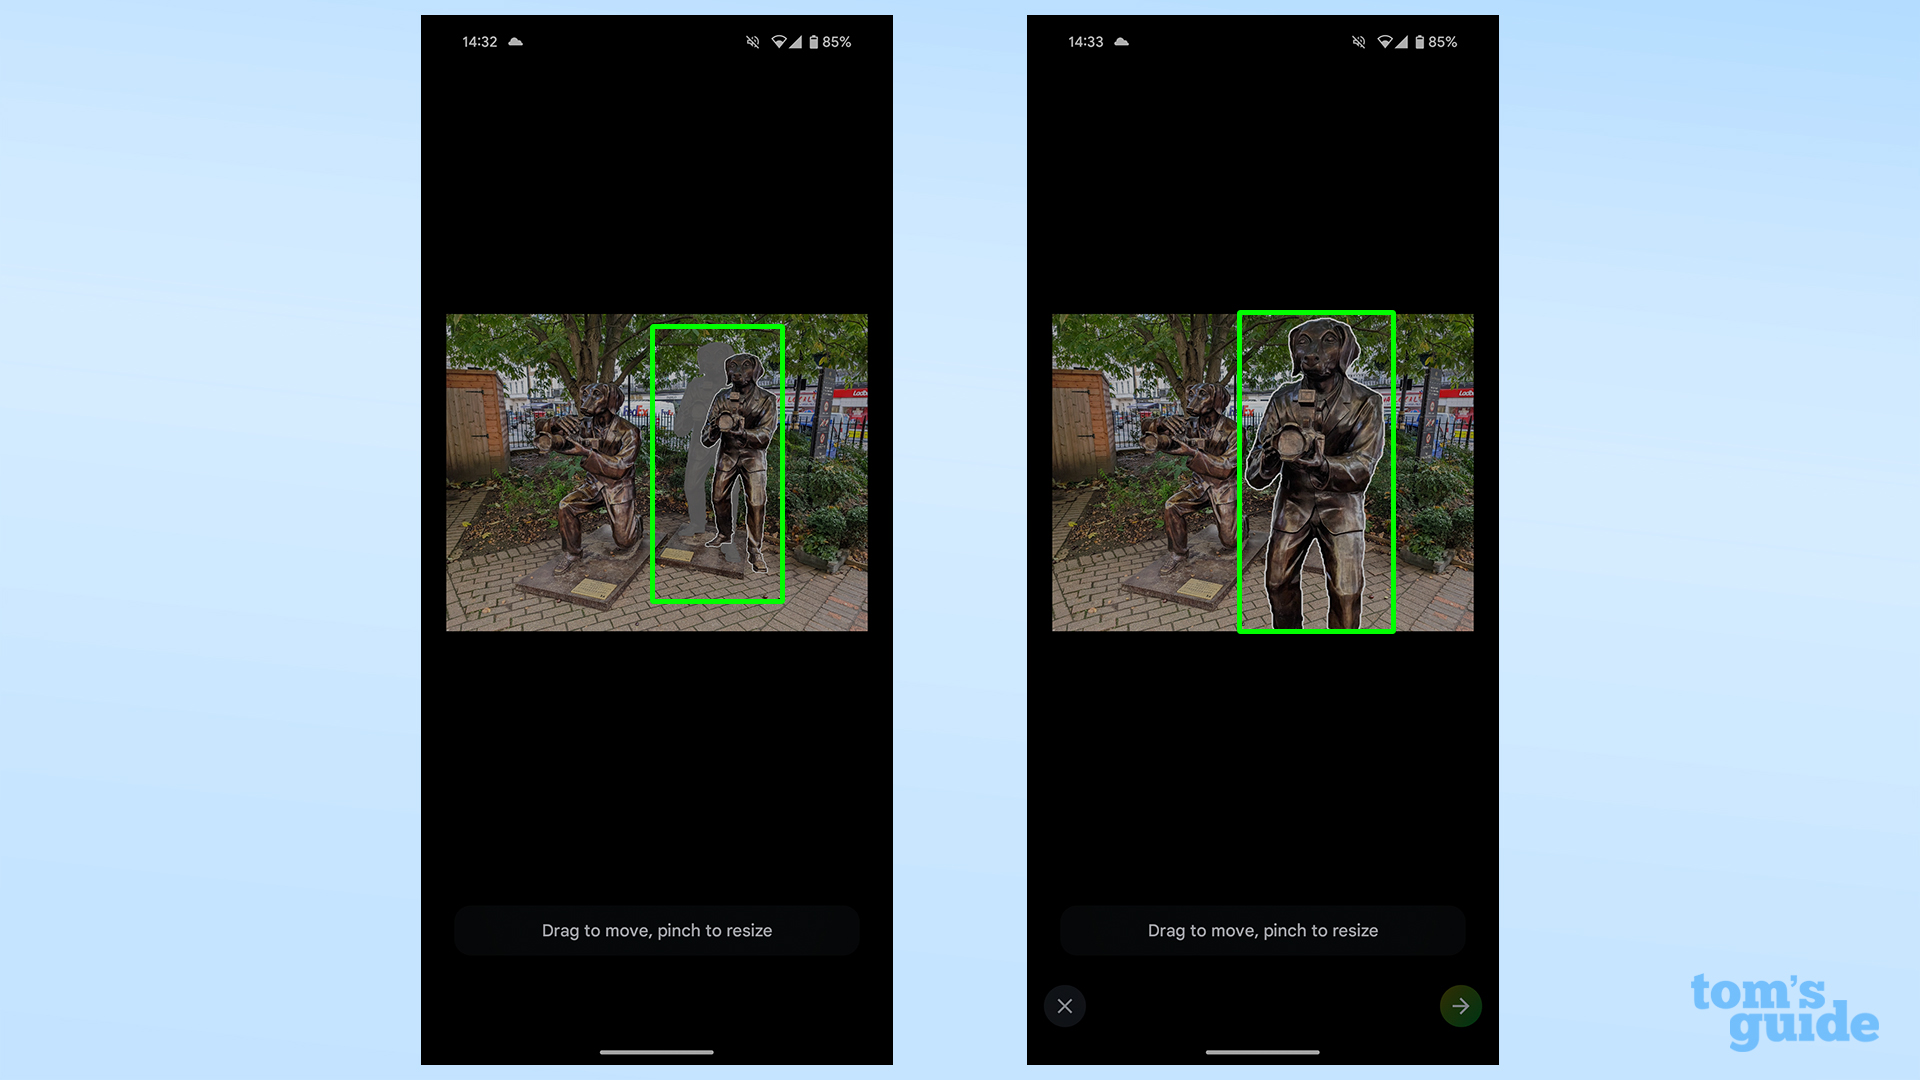
Once you've made your selection, tap and hold, then drag to move the element, tap and hold then pinch to resize it.
You can also tap the Erase button at the bottom of the screen to remove it.
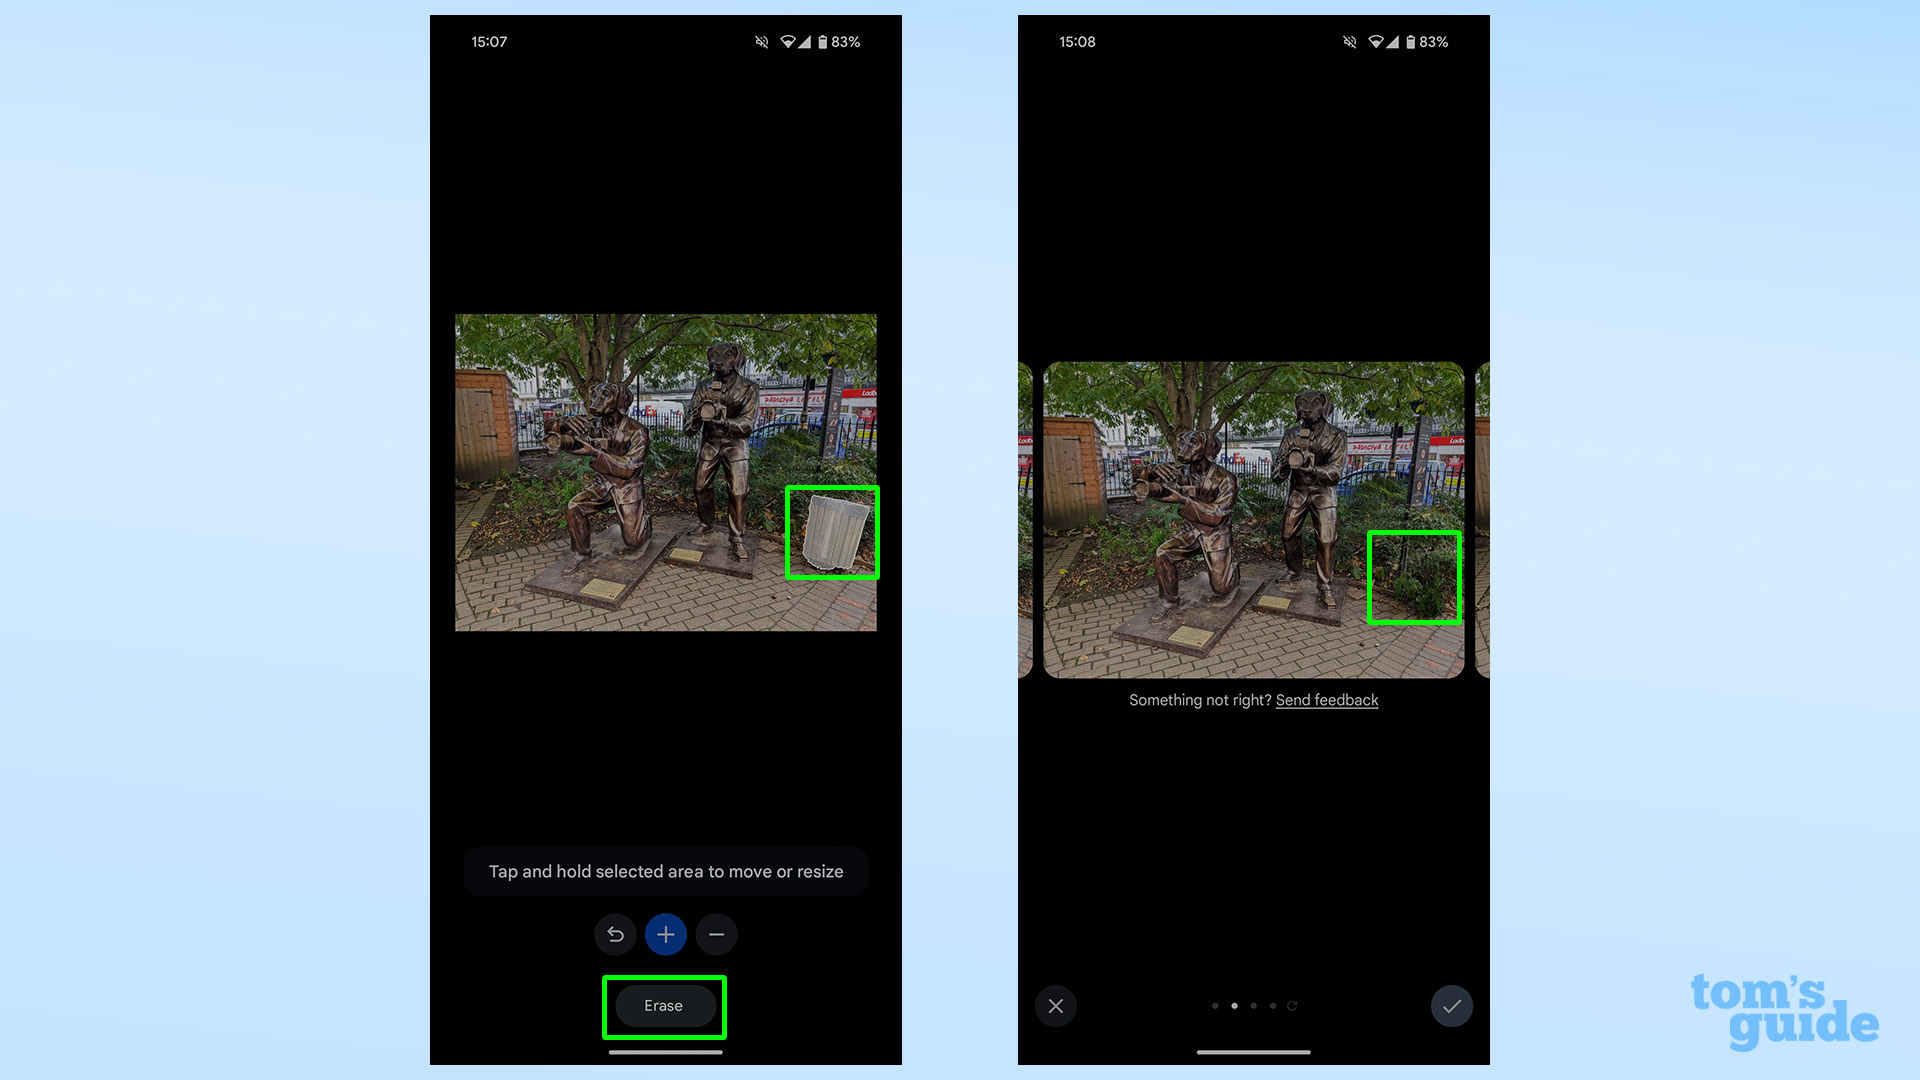
When using any of these options, Magic Editor will show you four possible options for your edit. You can select one of these by tapping the checkmark or scroll all the way to the right and tap Get a new set of results to get some new options.
Once you're finished editing, we've got more suggestions of AI-enhanced fun you can try next. If you're using the Pixel 8, then take a look at how to use Best Take on Google Pixel to improve photos by swapping different expressions in and out. And if you've got access to the latest versions of Android, you could check how to generate AI wallpaper in Android 14. Or if you need a break from all this advanced tech, let's show you how to use Google Bard AI to plan a vacation.


