As of Blender 4.0, it’s possible to dictate which objects in a scene are affected by which lights. Considering Blender is now 30 years old, it’s mind-boggling to think this feature has only just made its way in. Unsurprisingly it’s one of the most requested features, and it’s great that Blender has been able to make it happen.
New to Blender? Read our Blender explainer for all you need to know, check our how Oscar-winning animation Flow used Blender for inspiration. My tutorial here is short and specific, but for deeper advice read our collection of step-by-step Blender tutorials.
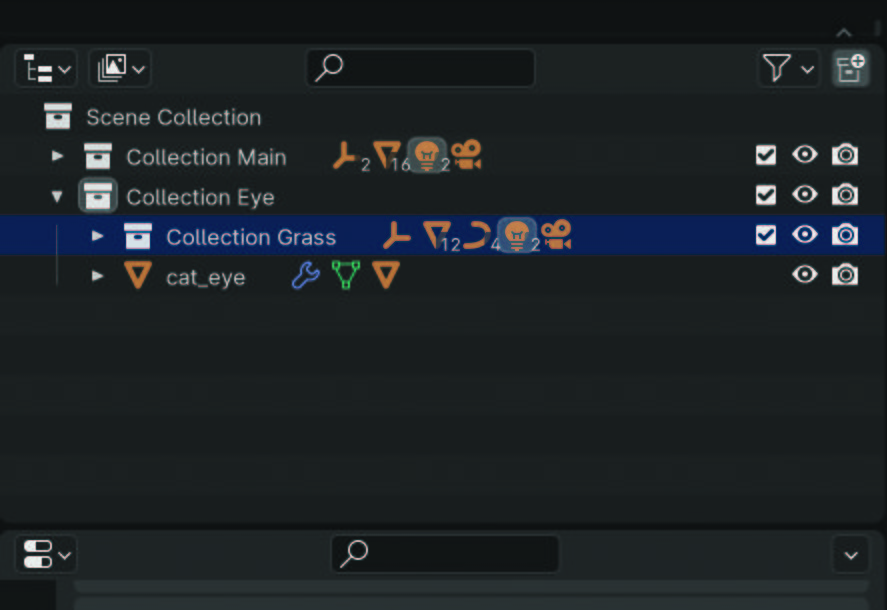
It’s possible to drag and drop objects into these collections from the Outliner, which makes it a quick and seamless process
Blender’s solution is something called Light Linking. It’s currently only available with the Cycles renderer, so any die-hard EEVEE users will have to wait a little longer for this feature implementation, I’m afraid. Even though it took a while, Blender has done a great job of creating an easy and intuitive workflow. It all centers around collections, where objects in the scene are added into specific collections, and then lights are told which collections of objects to affect. It’s possible to drag and drop objects into these collections from the Outliner, which makes it a quick and seamless process.
Alongside Light Linking, Blender has also made it possible to dictate whether an object casts shadows from specific light sources. This means objects within the scene that are casting ugly or unwanted shadows can then be customised to not cast them. This provides a high level of customisation abilities to artists, enabling them to really develop the look and feel of their renders.
It’s possible to operate Light Linking and Shadow Linking with either include or exclude functionality. This means that if only included objects are specified, then the light will affect those objects alone. Conversely, if only excluded objects are specified then the light will affect all the objects that aren’t listed. If there’s a mix, then lights will affect the included objects minus the excluded ones.
A powerful element of collections is that they can be nested so that one collection can sit inside of another. This is ideal for Light Linking where an artist wants to maximize control over what is or isn’t affected.
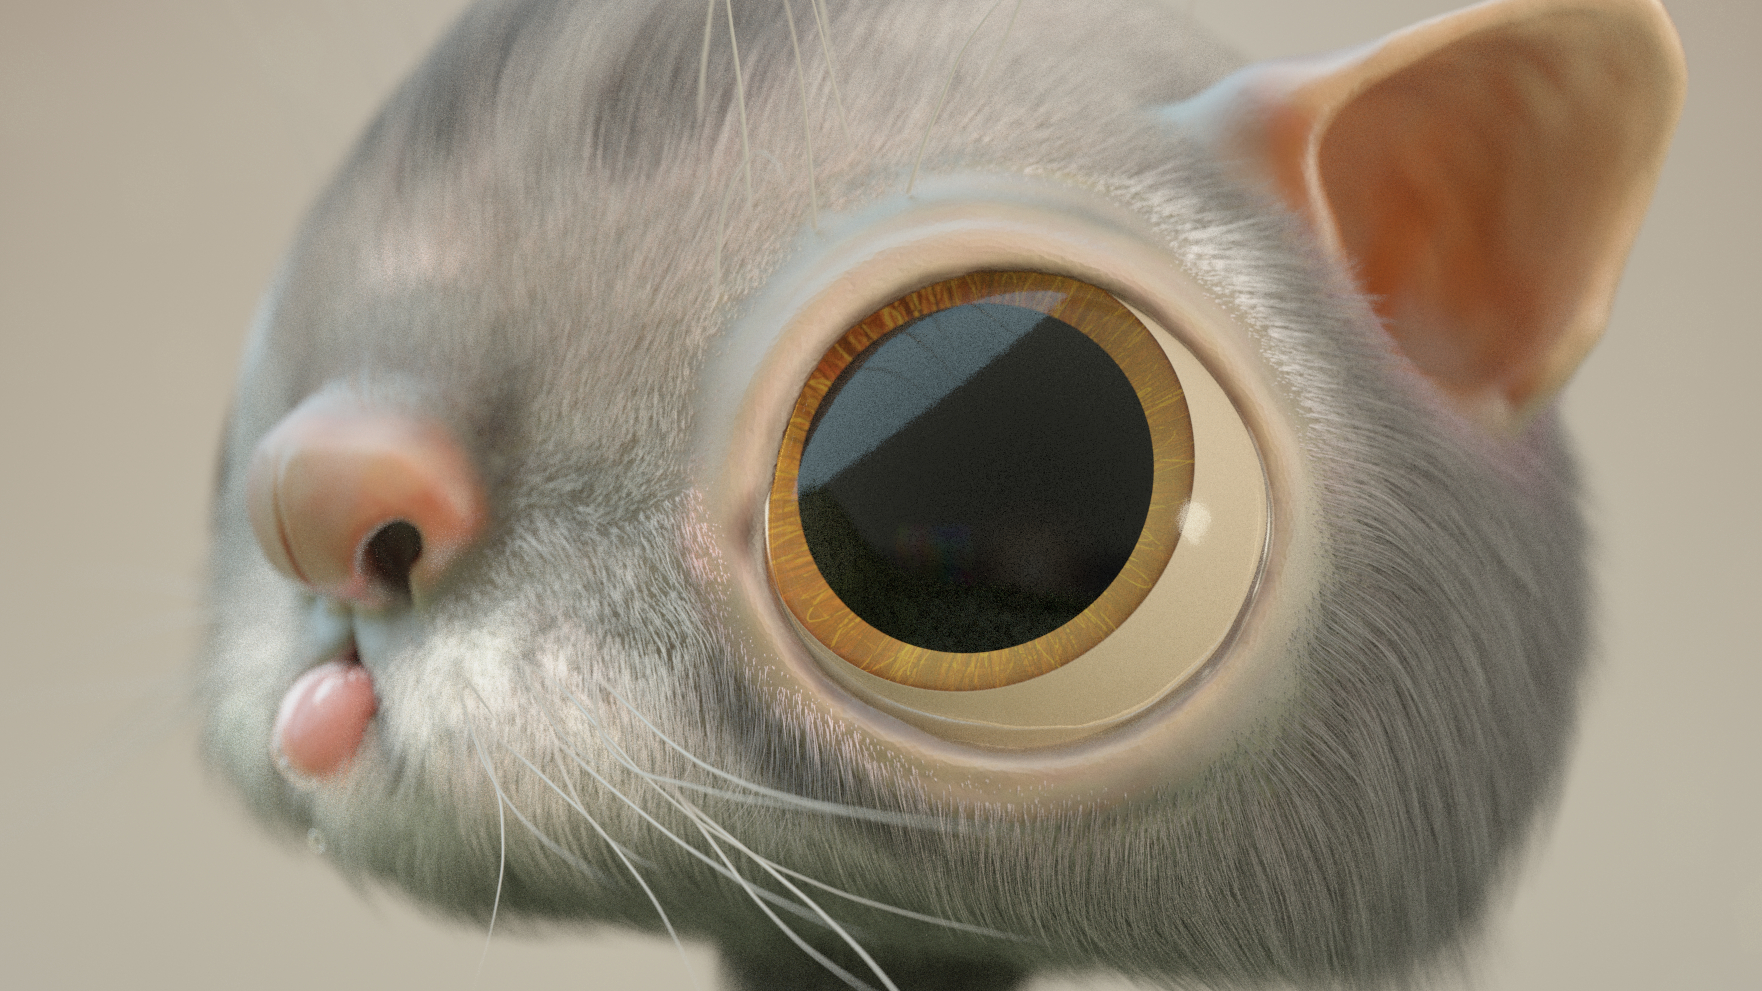
One of the most obvious applications for this new feature is when setting up studio or character lighting. Artists often want products or characters to have rim lights that make them pop off the screen. The downside is that those rim lights are then affecting other parts of the scene and creating undesirable results.
Through this feature, it’s now possible to make rim lights affect just the objects that need them. In the same way, we might not want those rim lights to cast shadows, and achieving this is now possible through the process of Shadow Linking. Read below for my steps to using Light Linking in Blender, and for comparison read our guide to the best animation software and the best 3D modelling software.
01. Setting renders to cycle
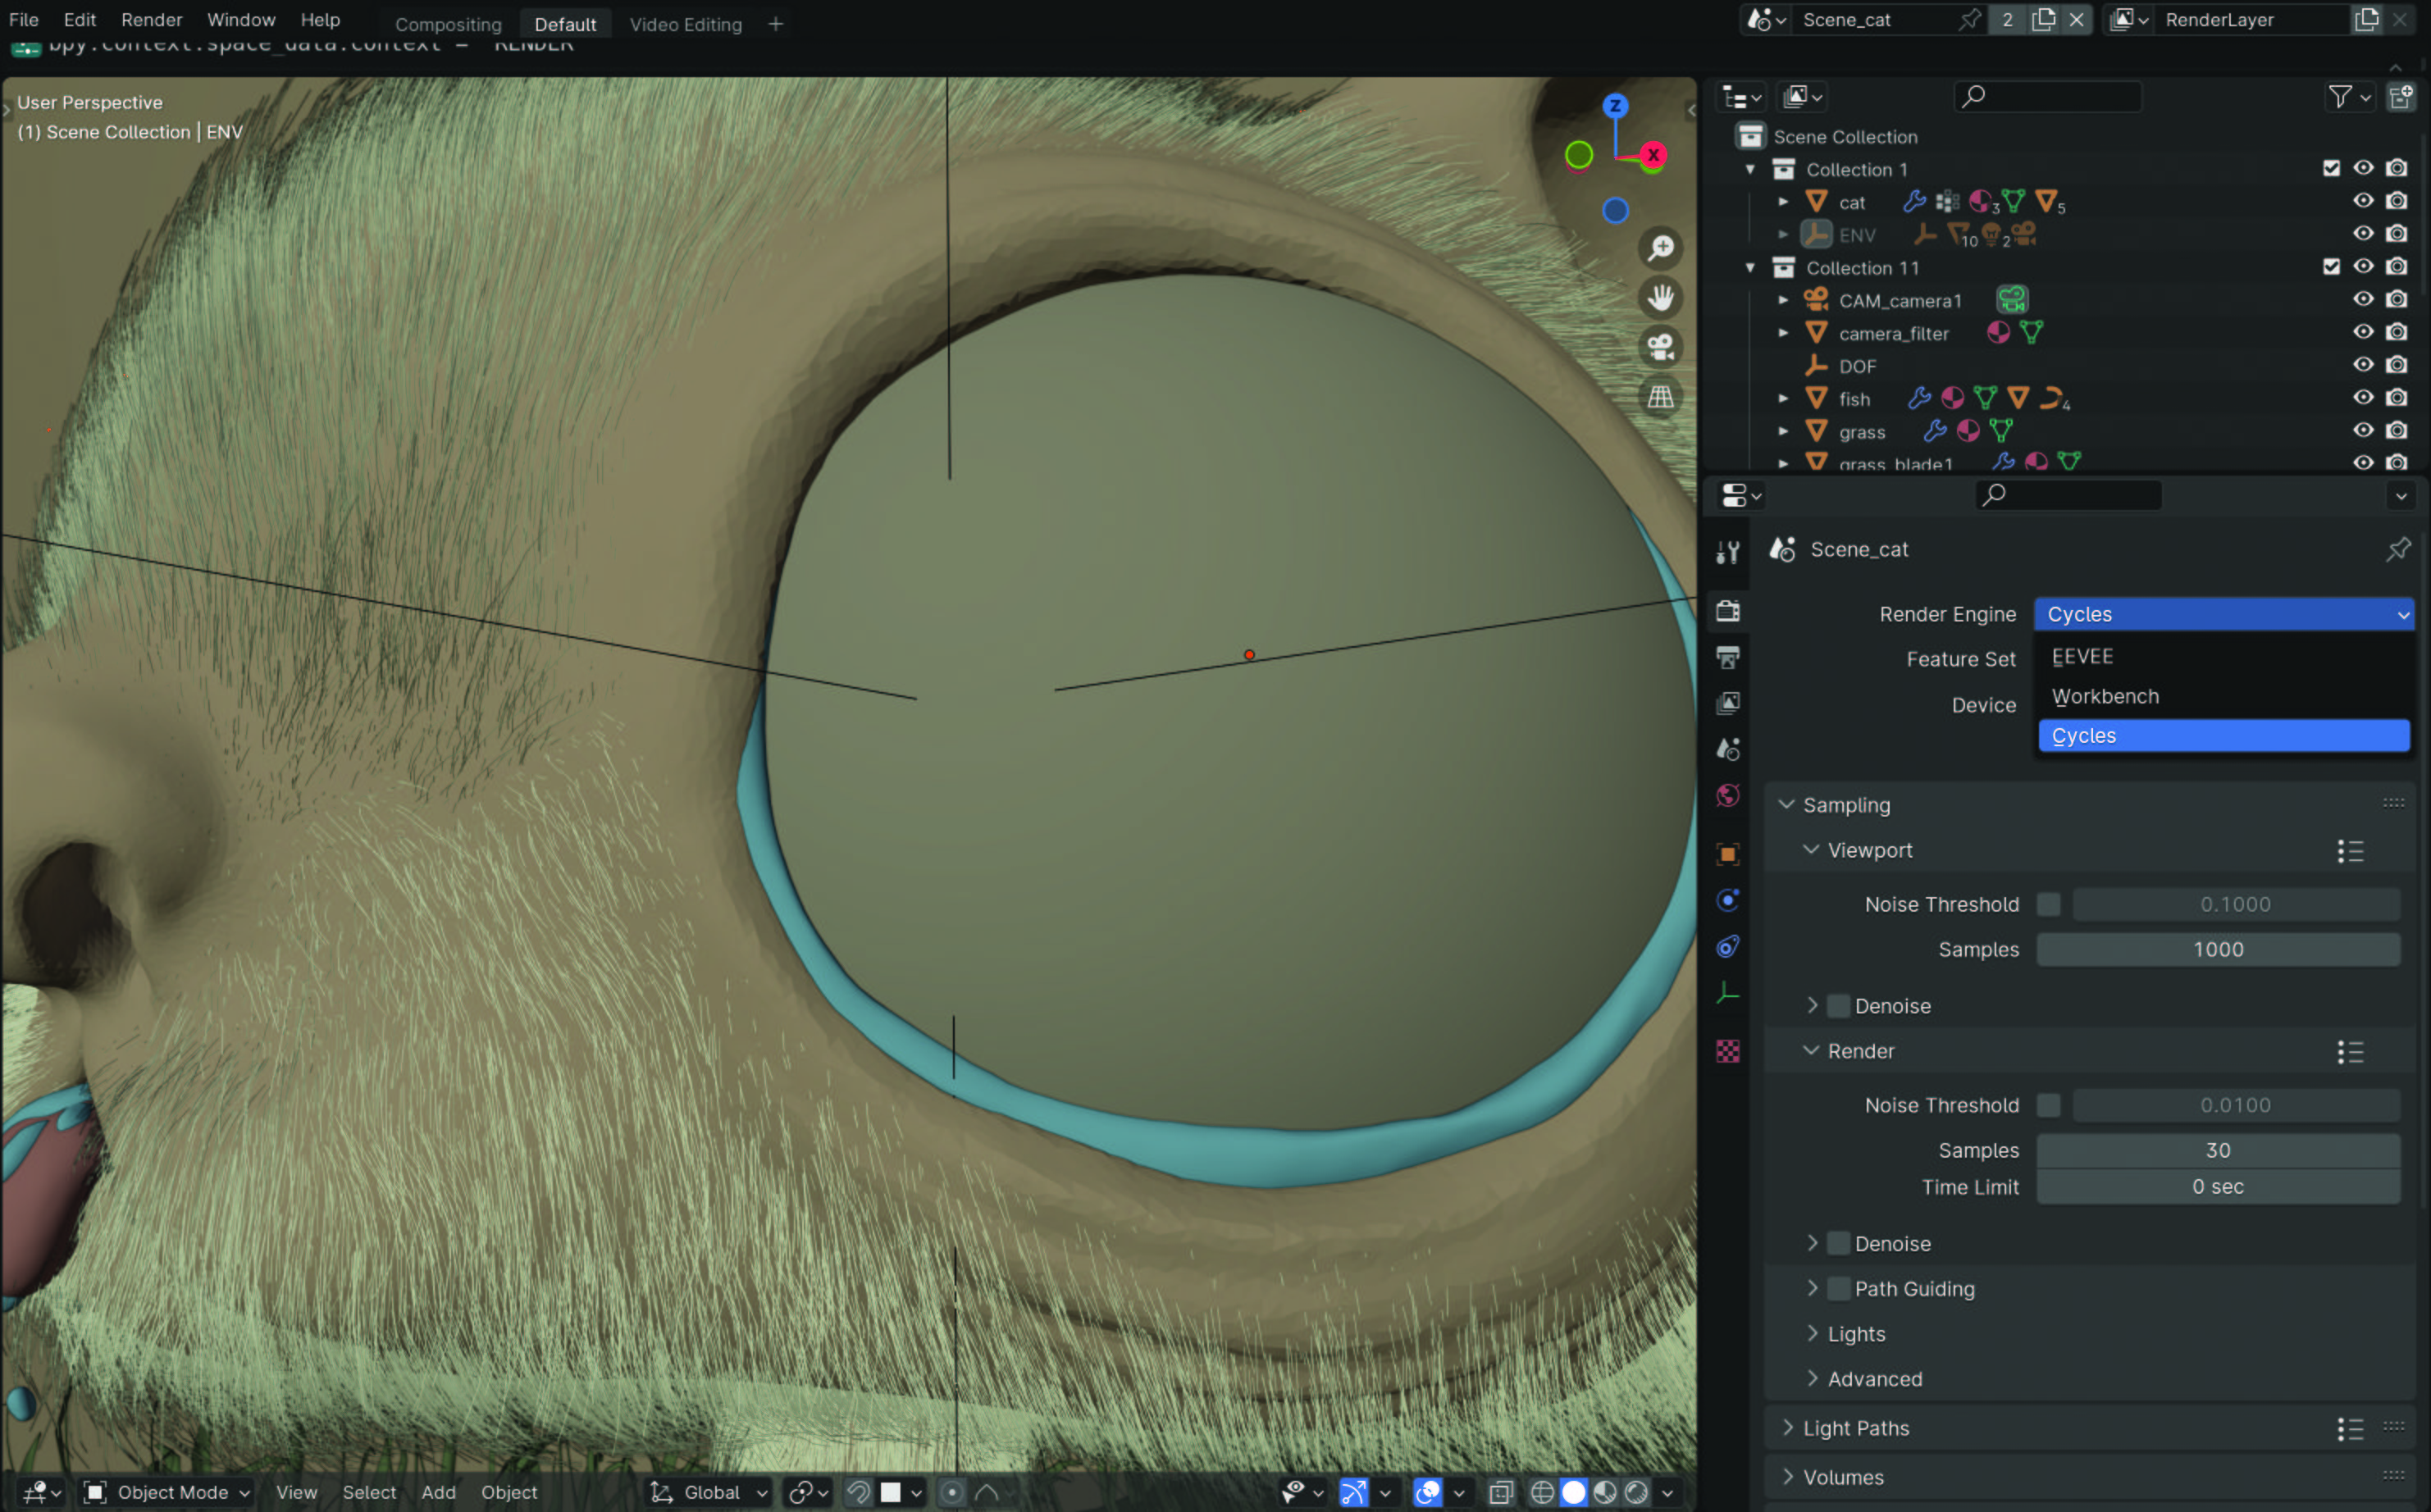
In the Render rollout of the Properties panel, specify your render engine as Cycles. If you try and find the feature when using EEVEE, you’ll be sorely disappointed because the options don’t even appear in the interface. Personally I think the options should still appear, but with a note to change the renderer to Cycles. Otherwise it could be initially confusing for beginners who can’t find the necessary settings.
02. Creating your collections
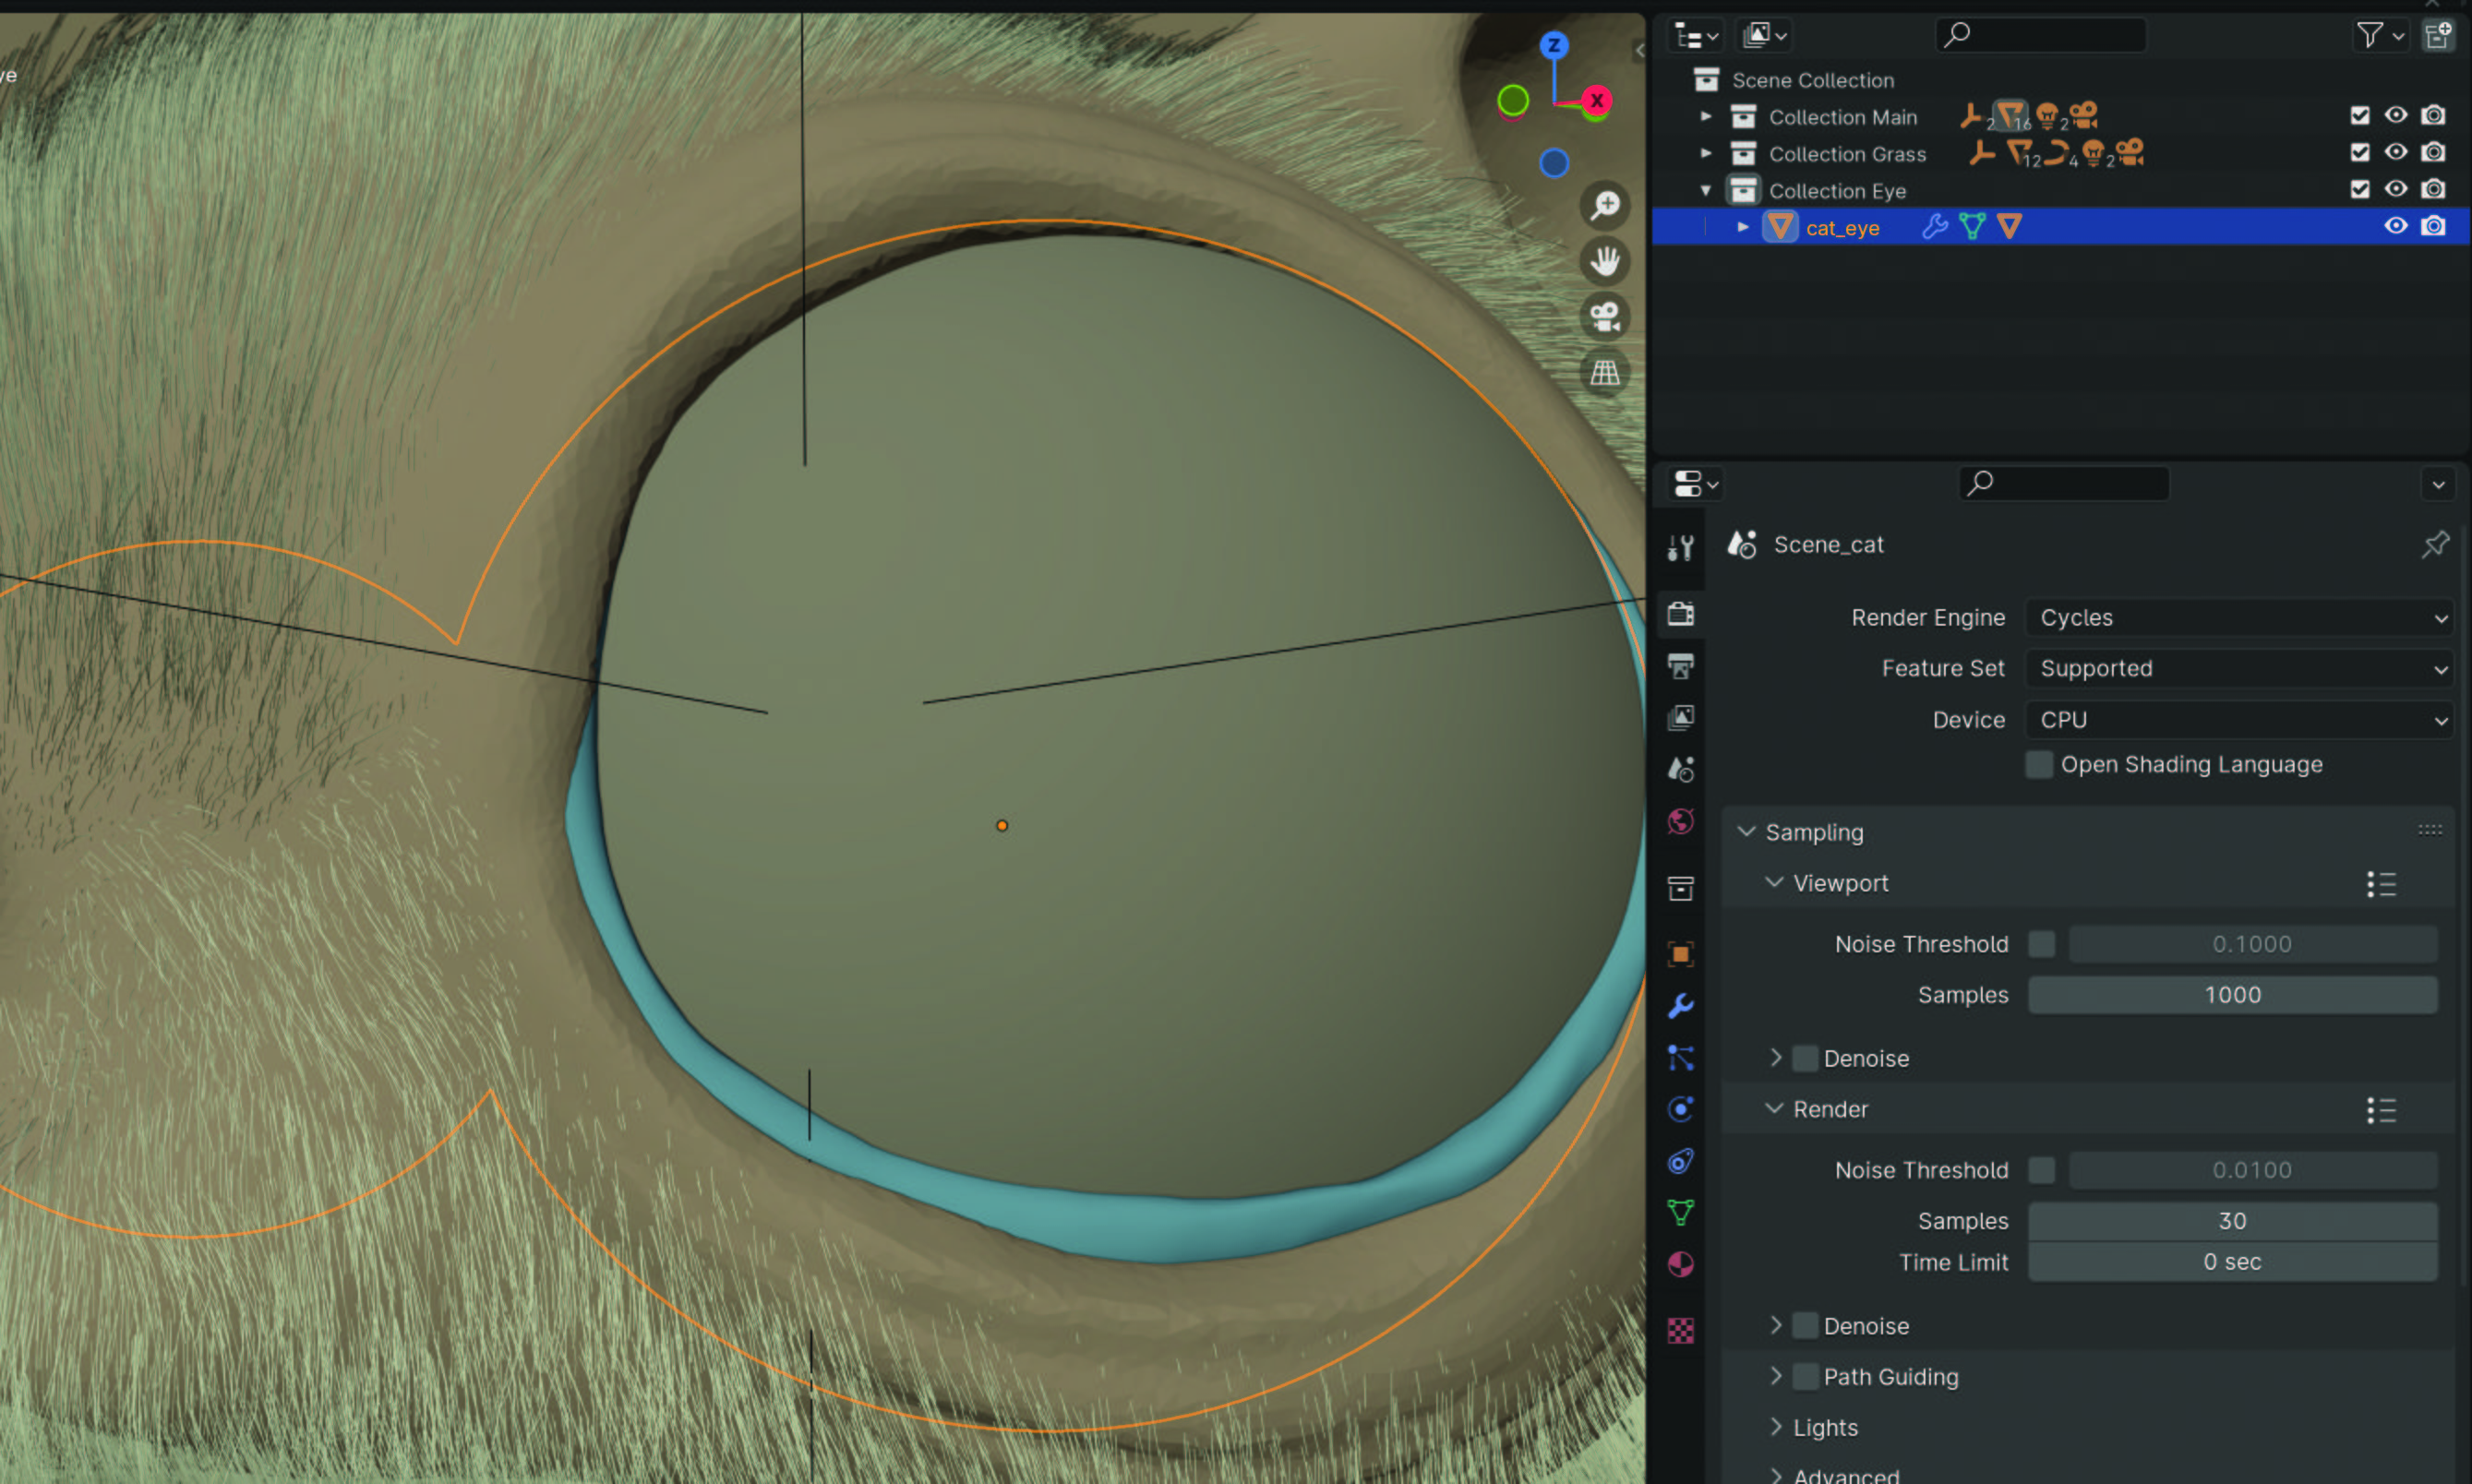
As Light and Shadow Linking operate using collections, we must set these up first. Collections are created by right-clicking in the Outliner and selecting New Collection, with individual objects then able to be dragged into them. Using collections is a good way of keeping your scene organized as well. It’s also possible to create new collections when adding objects into the Light Linking lists.
03. Adding items to Light Linking list
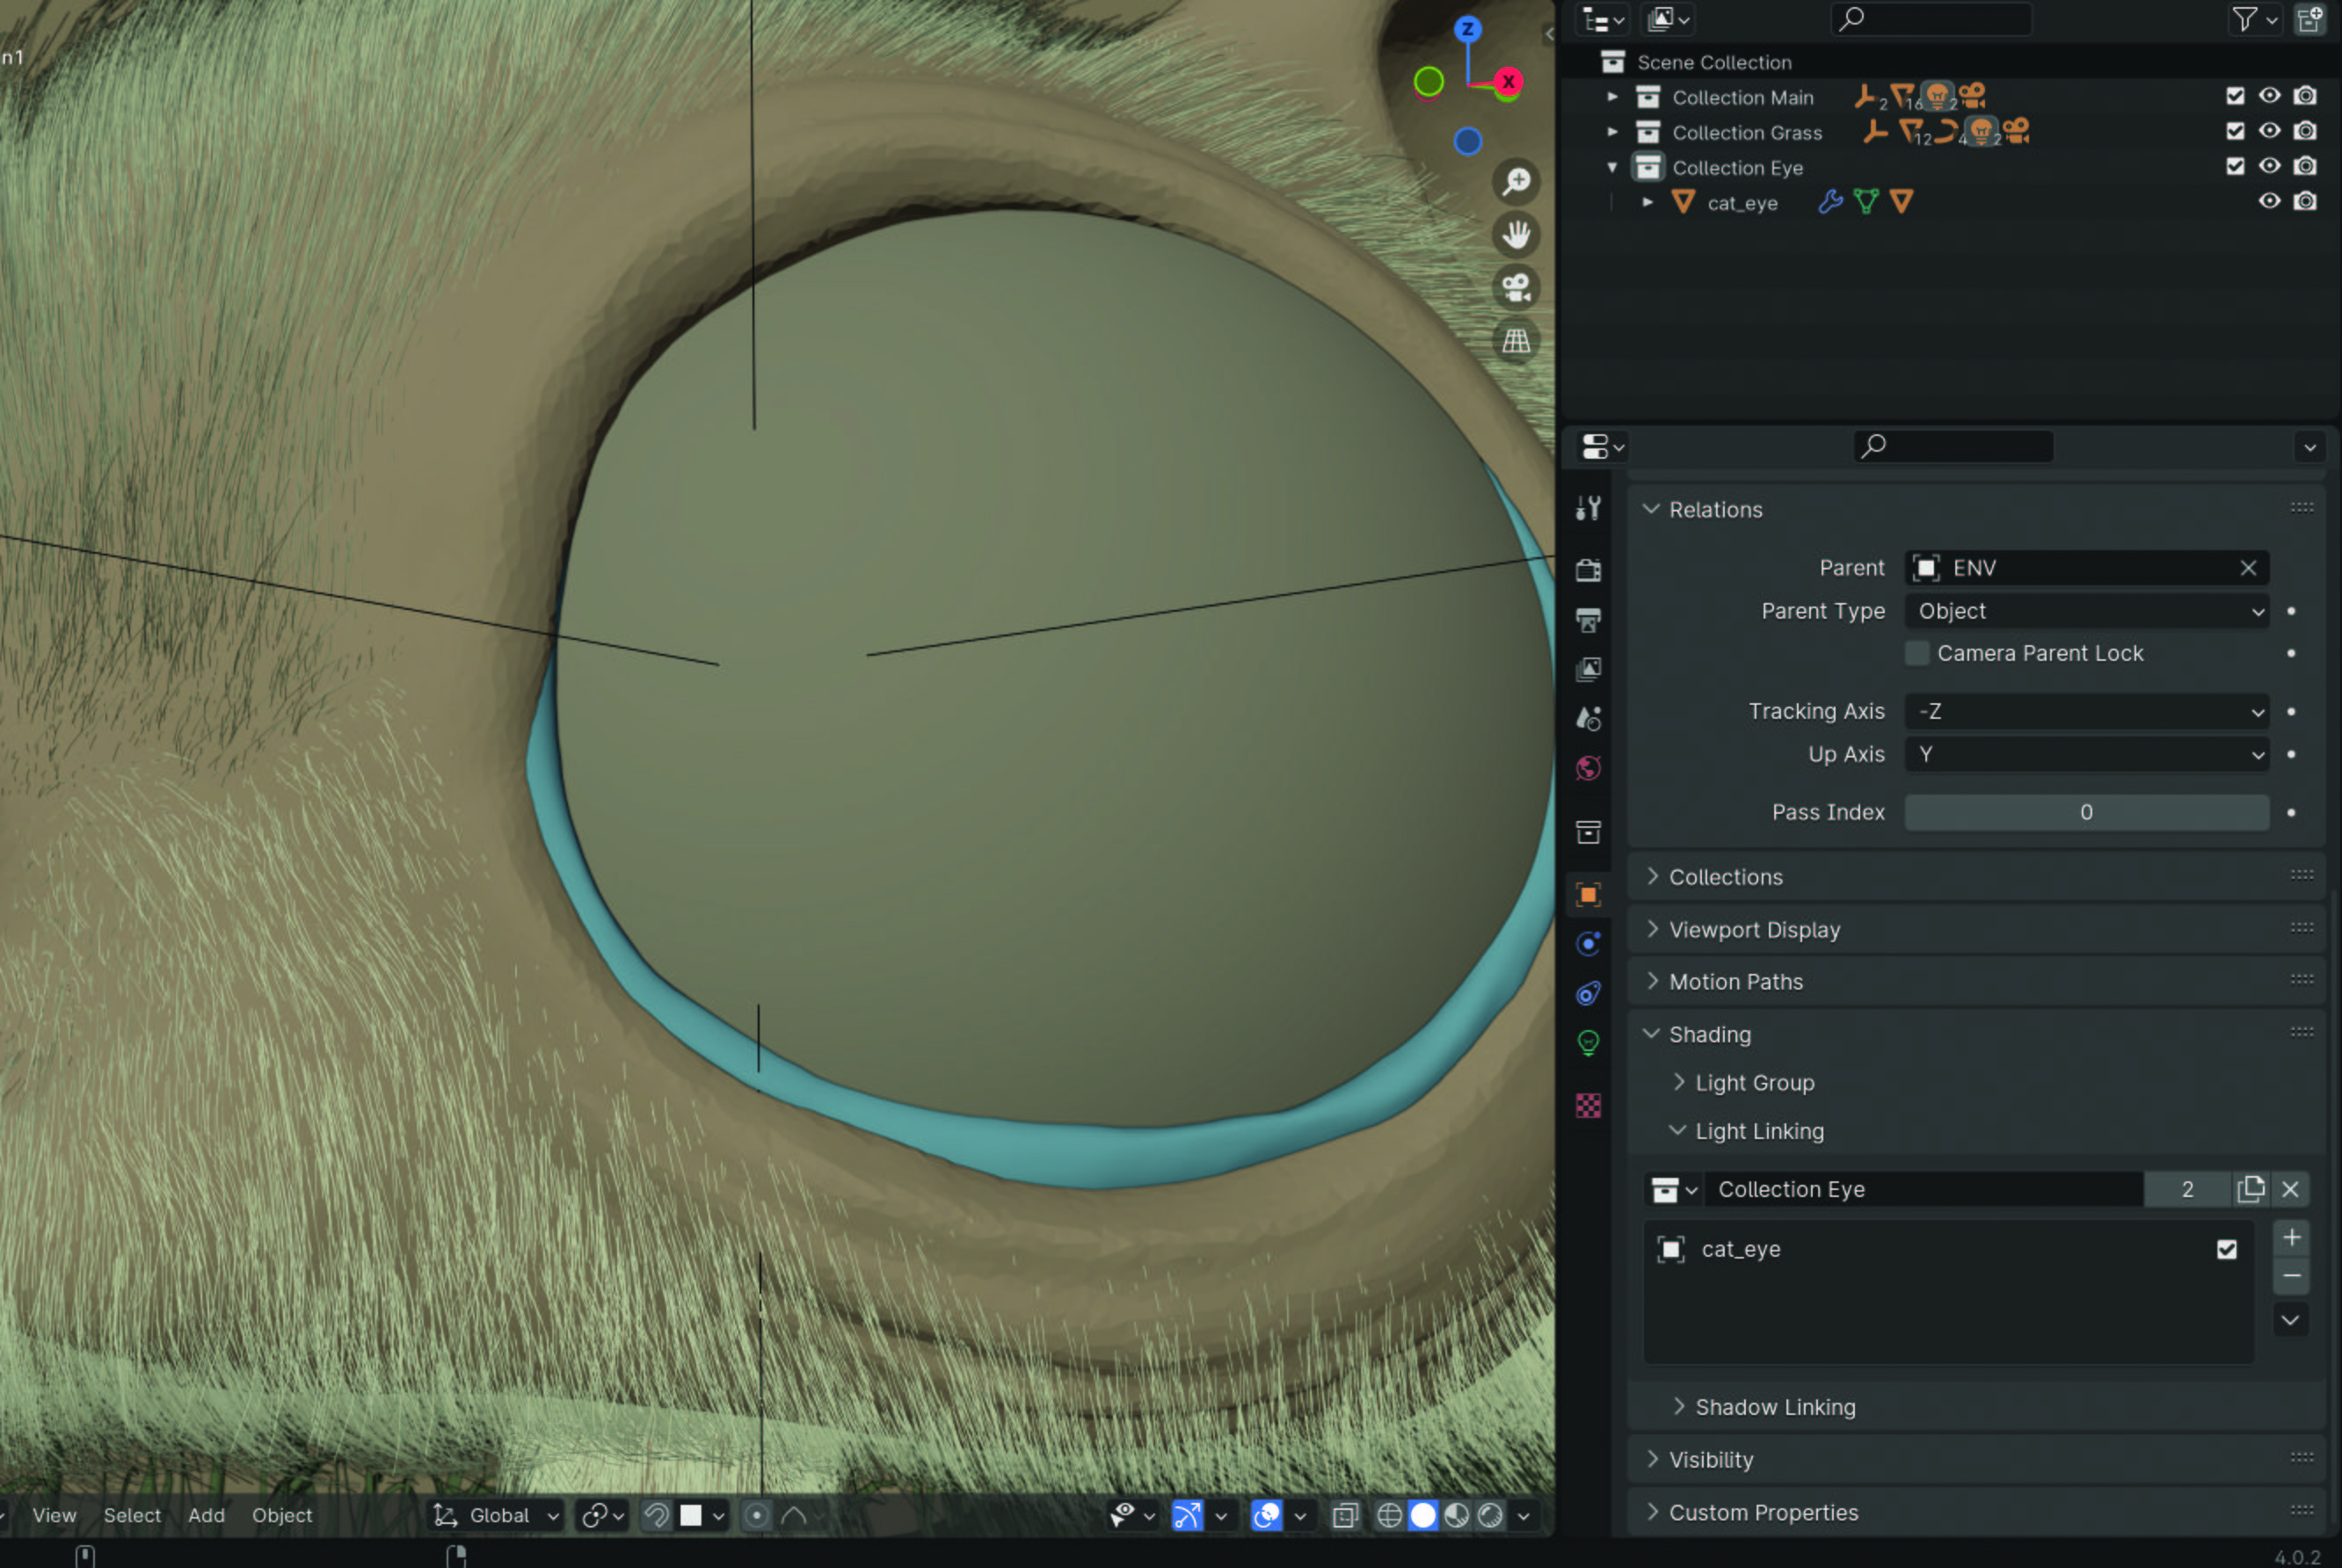
With your light selected, go to the Object panel in properties and scroll to the Shading rollout. In Light Linking you can now drag your collections from the Outliner into the list. Any items in the list will be included. Use the checkbox next to each item to exclude them. Adding collections or objects to the Light Linking list enables Blender to know how to treat them in relation to the given light.
04. Placing items on Shadow Linking list
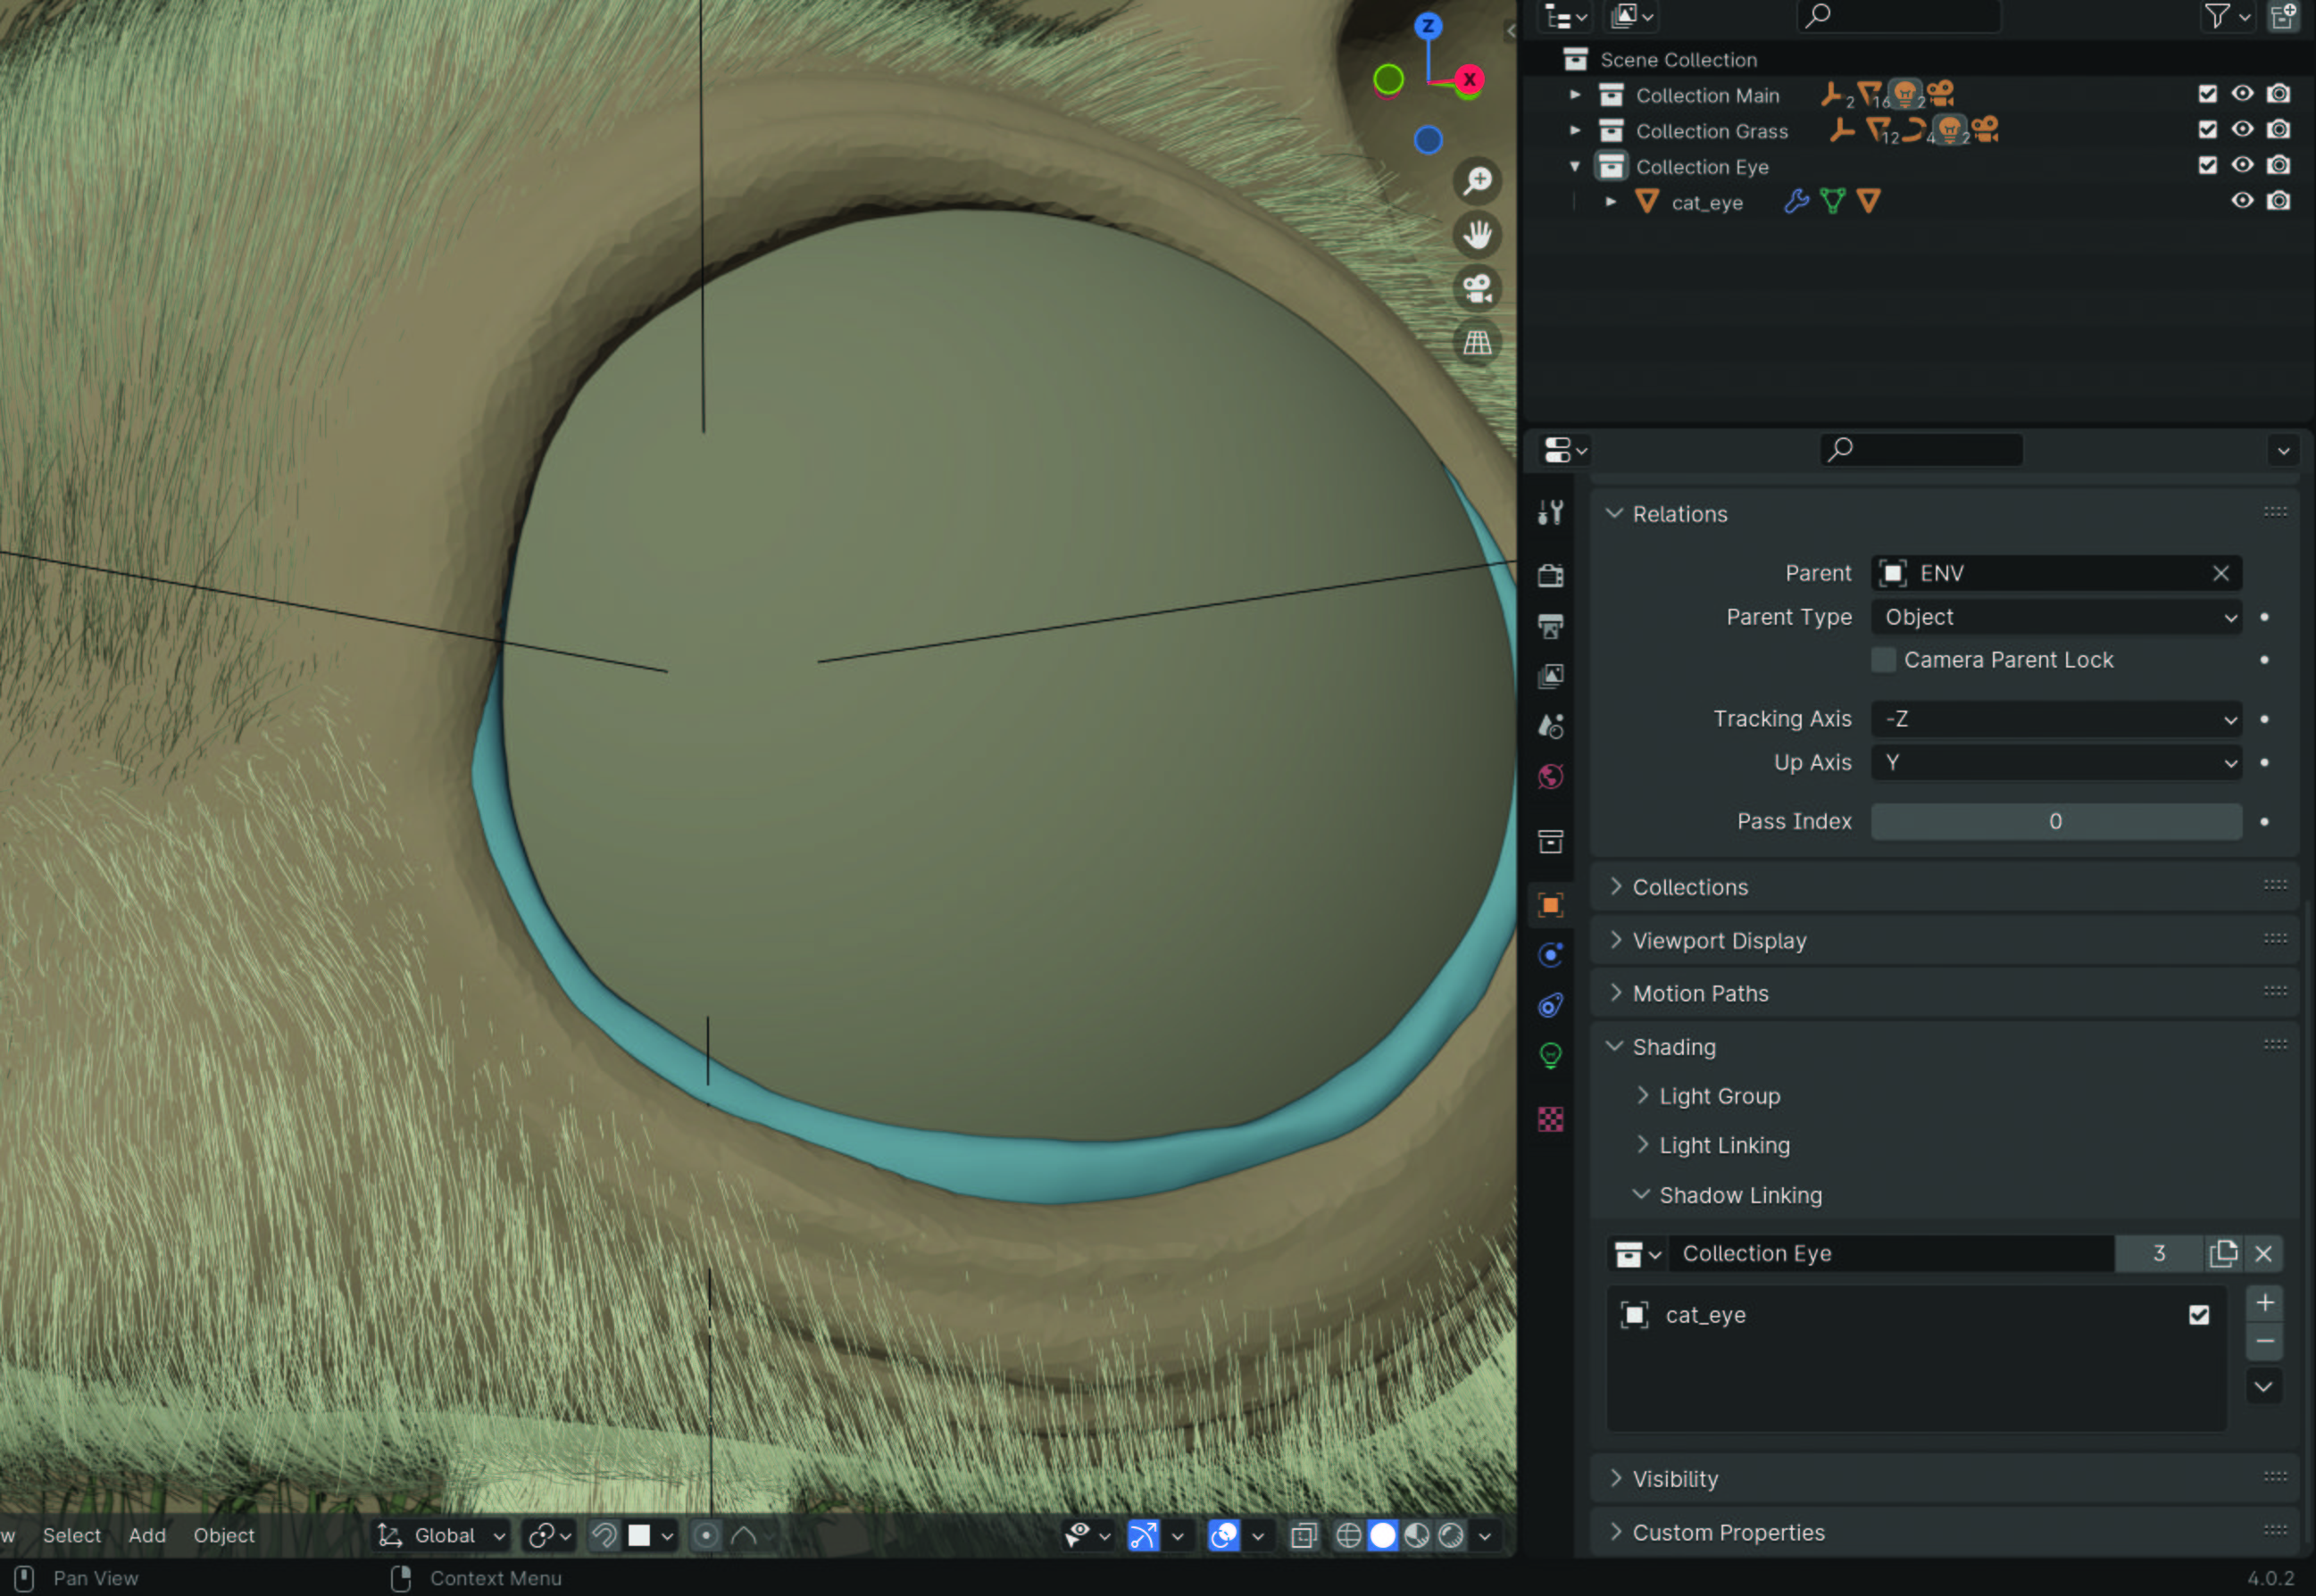
The exact same process applies for adding collections to the Shadow Linking list. You can also click on the ‘New Light Linking Collection’ button and then drag objects from the Outliner into the list, which will then automatically be added to that collection. Ultimately, it doesn’t matter which of these processes you use, as the final results will be the same.
Do you have a 3D trick or hack? Share your advice in the comments below.

.png?w=600)