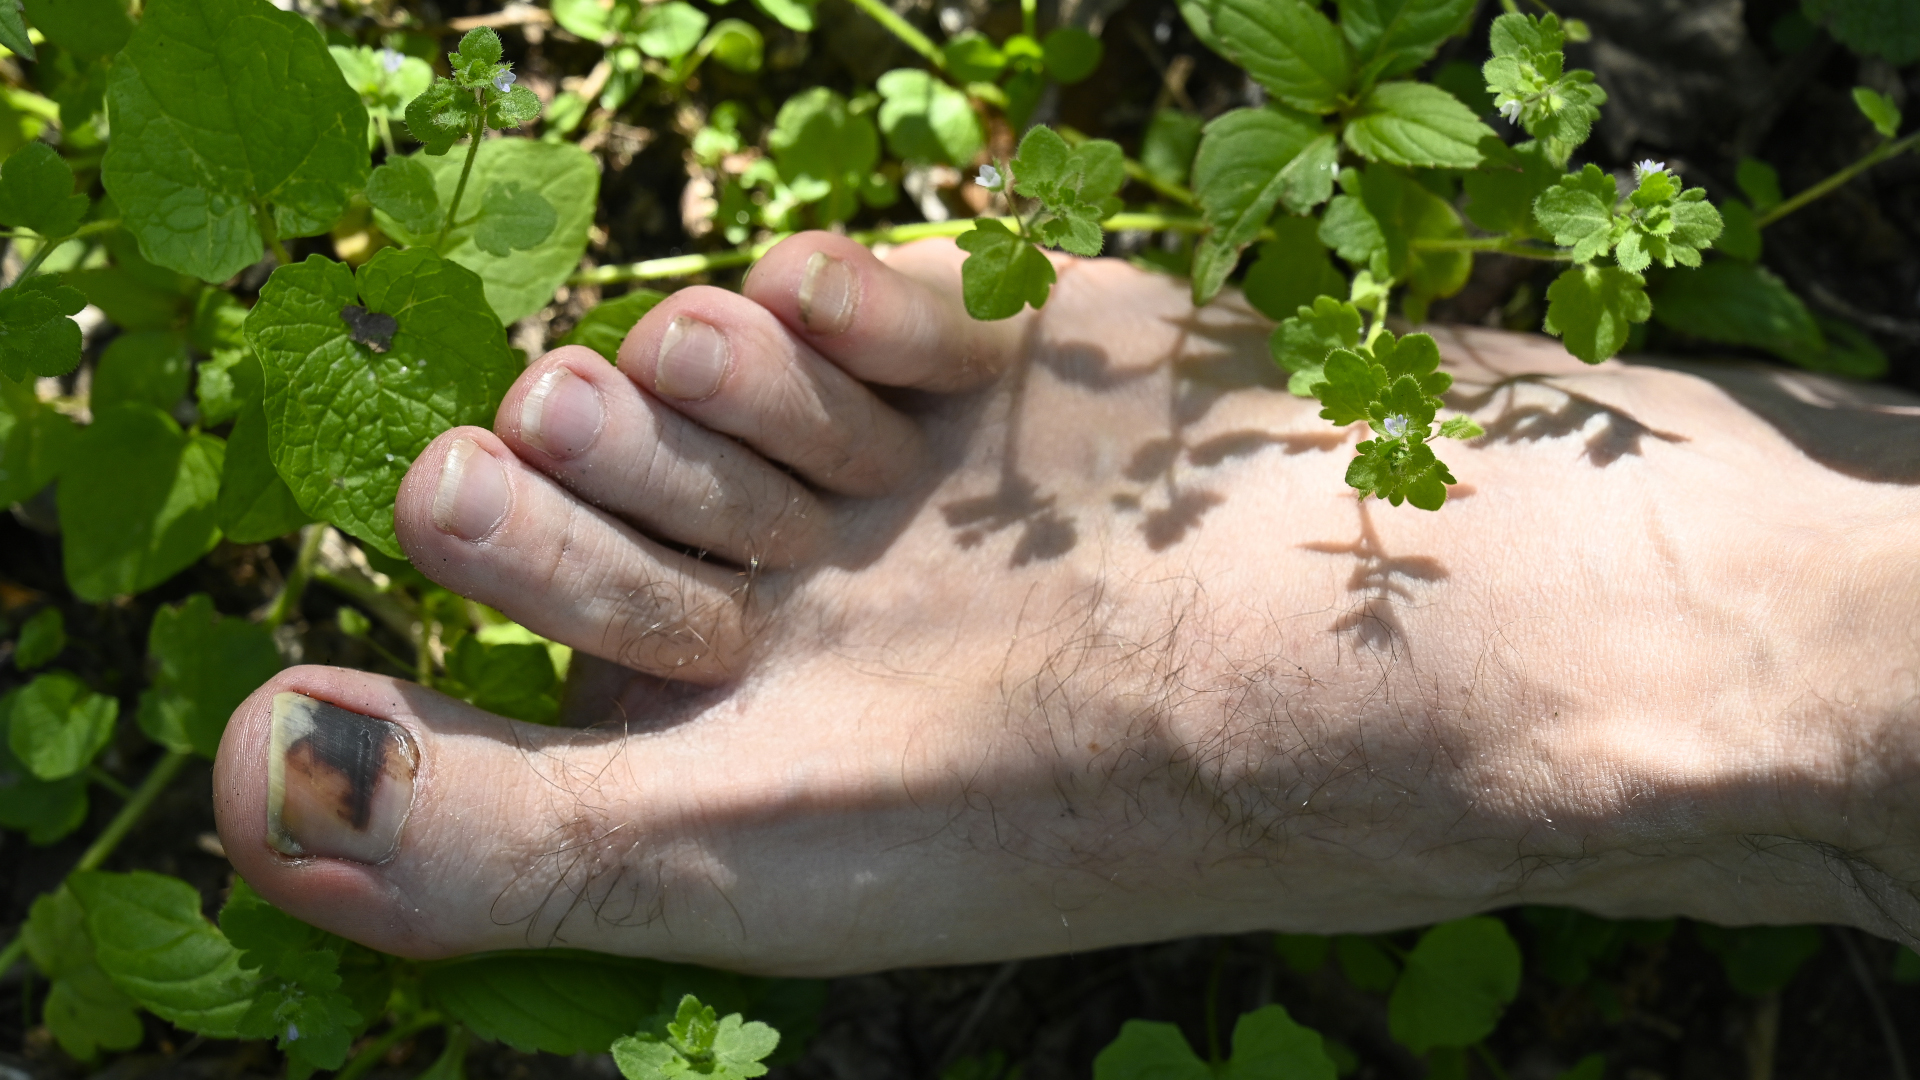
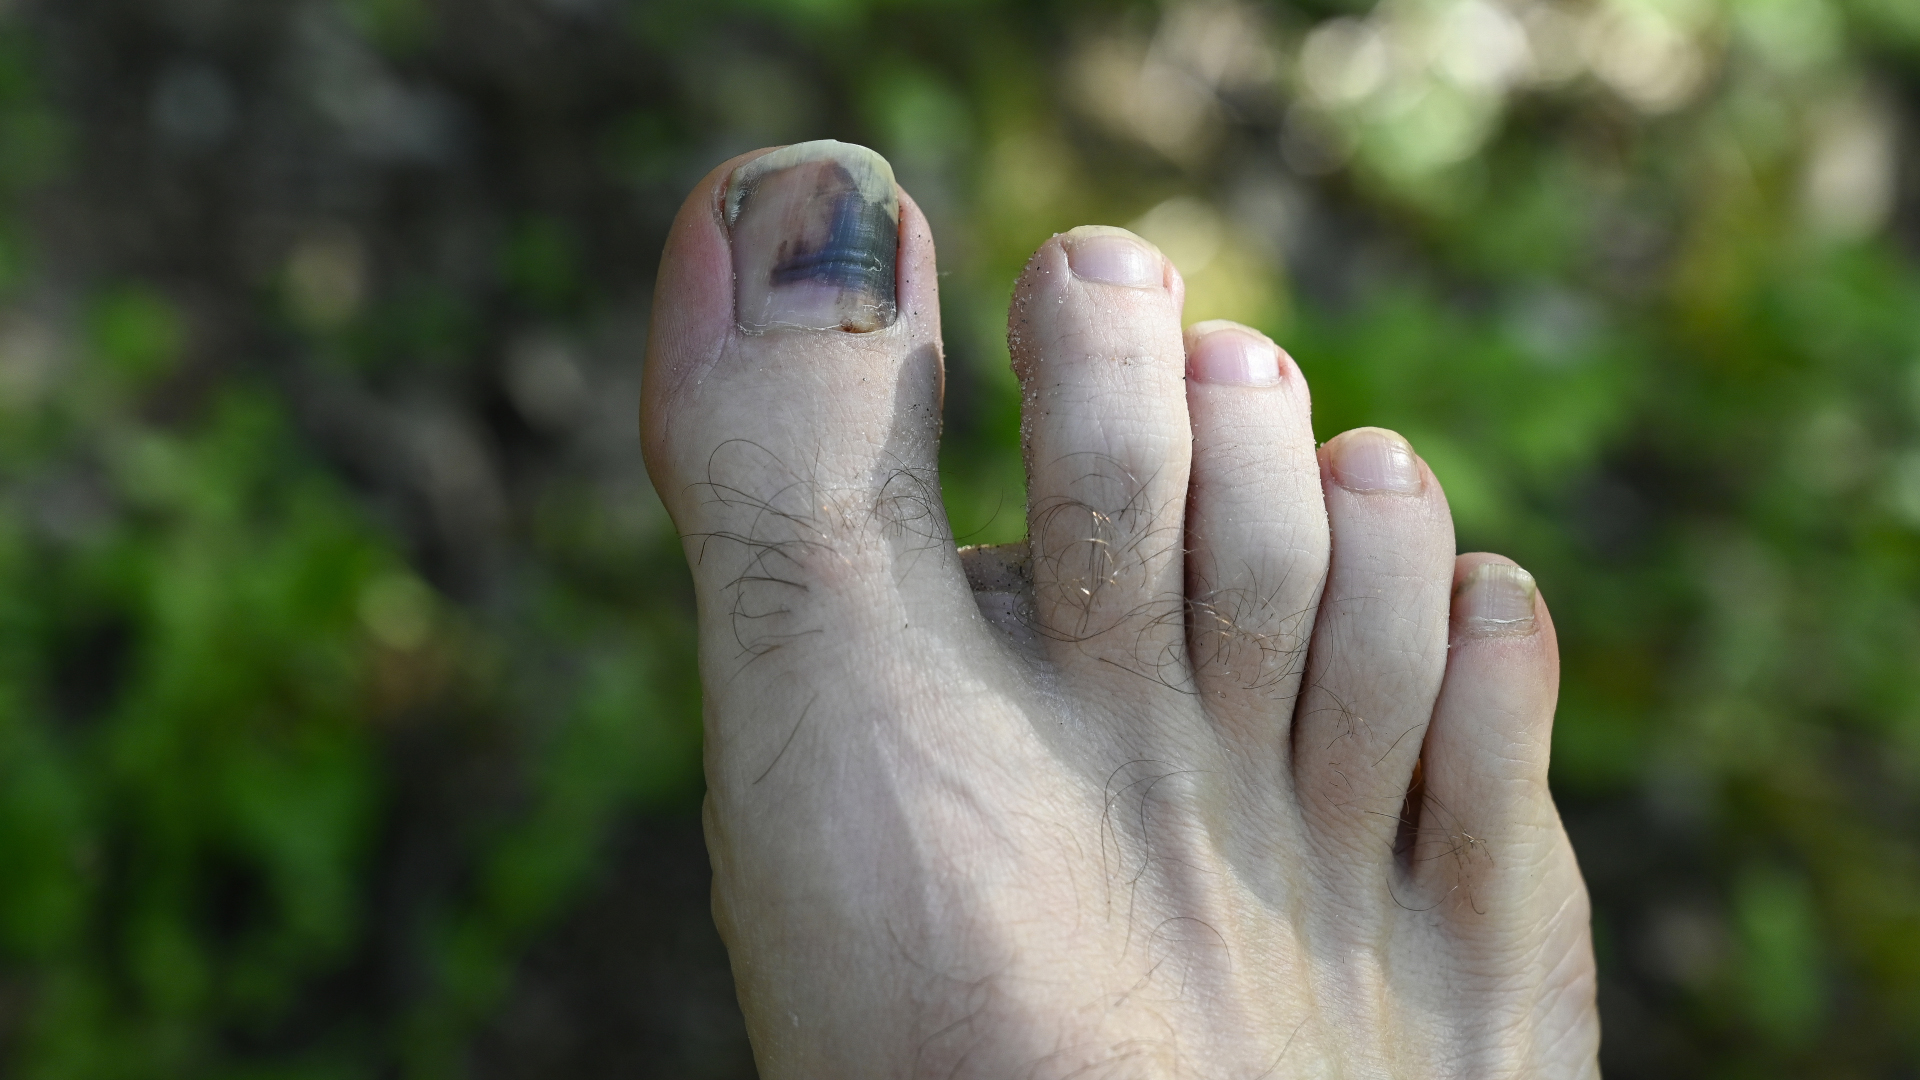
Bruised toenails from hiking are either a badge of honor or completely disgusting, mostly depending on whether you've just finished the Pacific Crest Trail or you've just rocked up to a wedding in sandals. Black, blue, yellow, red, brown – bruised toenails are more common than you might think among long-distance hikers and some even lose them entirely (they grow back – don't worry!).
So, if you suffer from bruised toenails, never fear – our hiking expert is here to help you treat them. However, as prevention is always better than cure, she's also here to guide you on how to protect your toes, particularly when hiking downhill.
How to protect your toes when hiking
Whether you’ve lost a toenail and are keen not to repeat that particular hiking experience, or you’re just fed up with having sore toes after your hijinks in the hills, there are a few preventative measures you can take to protect your toes when hiking downhill. For more detail on each step, see further down this guide:
- 1) Re-lace your hiking boots – loosen things up if your feet start to swell
- 2) Seek some arch support – look for shoes that provide high levels of arch support or add some support with a removable insert
- 3) Size up – for hiking shoes, it's a good idea to go half a size up and look for wide toe boxes
- 4) Trim your talons – long toenails can lead to pain and bruising
Meet the expert
Today's best deals
Why do my toenails hurt after hiking?
- If you get bruised toenails, it's probably because your toes have been ramming into the front of your hiking boots
- This can be exacerbated by carrying a heavy pack over long distances and walking downhill
Basically, if your toenails hurt after hiking it’s because while you walk, your toes are repeatedly ramming into the end of your hiking boots or shoes. This will be increased by hiking longer distances which involve downhill walking while carrying a heavy pack. The result might just be sore toenails, or a light or dark-colored bruise under the toenail which can appear during your hike or a few days later. Like any contusion, this just indicates some damage to the blood vessels that has led to some internal bleeding.
Bruises aren’t typically anything to worry about, but they can hurt, look unsightly and when they’re under your toenails, may result in the loss of the nail after a few days or weeks.
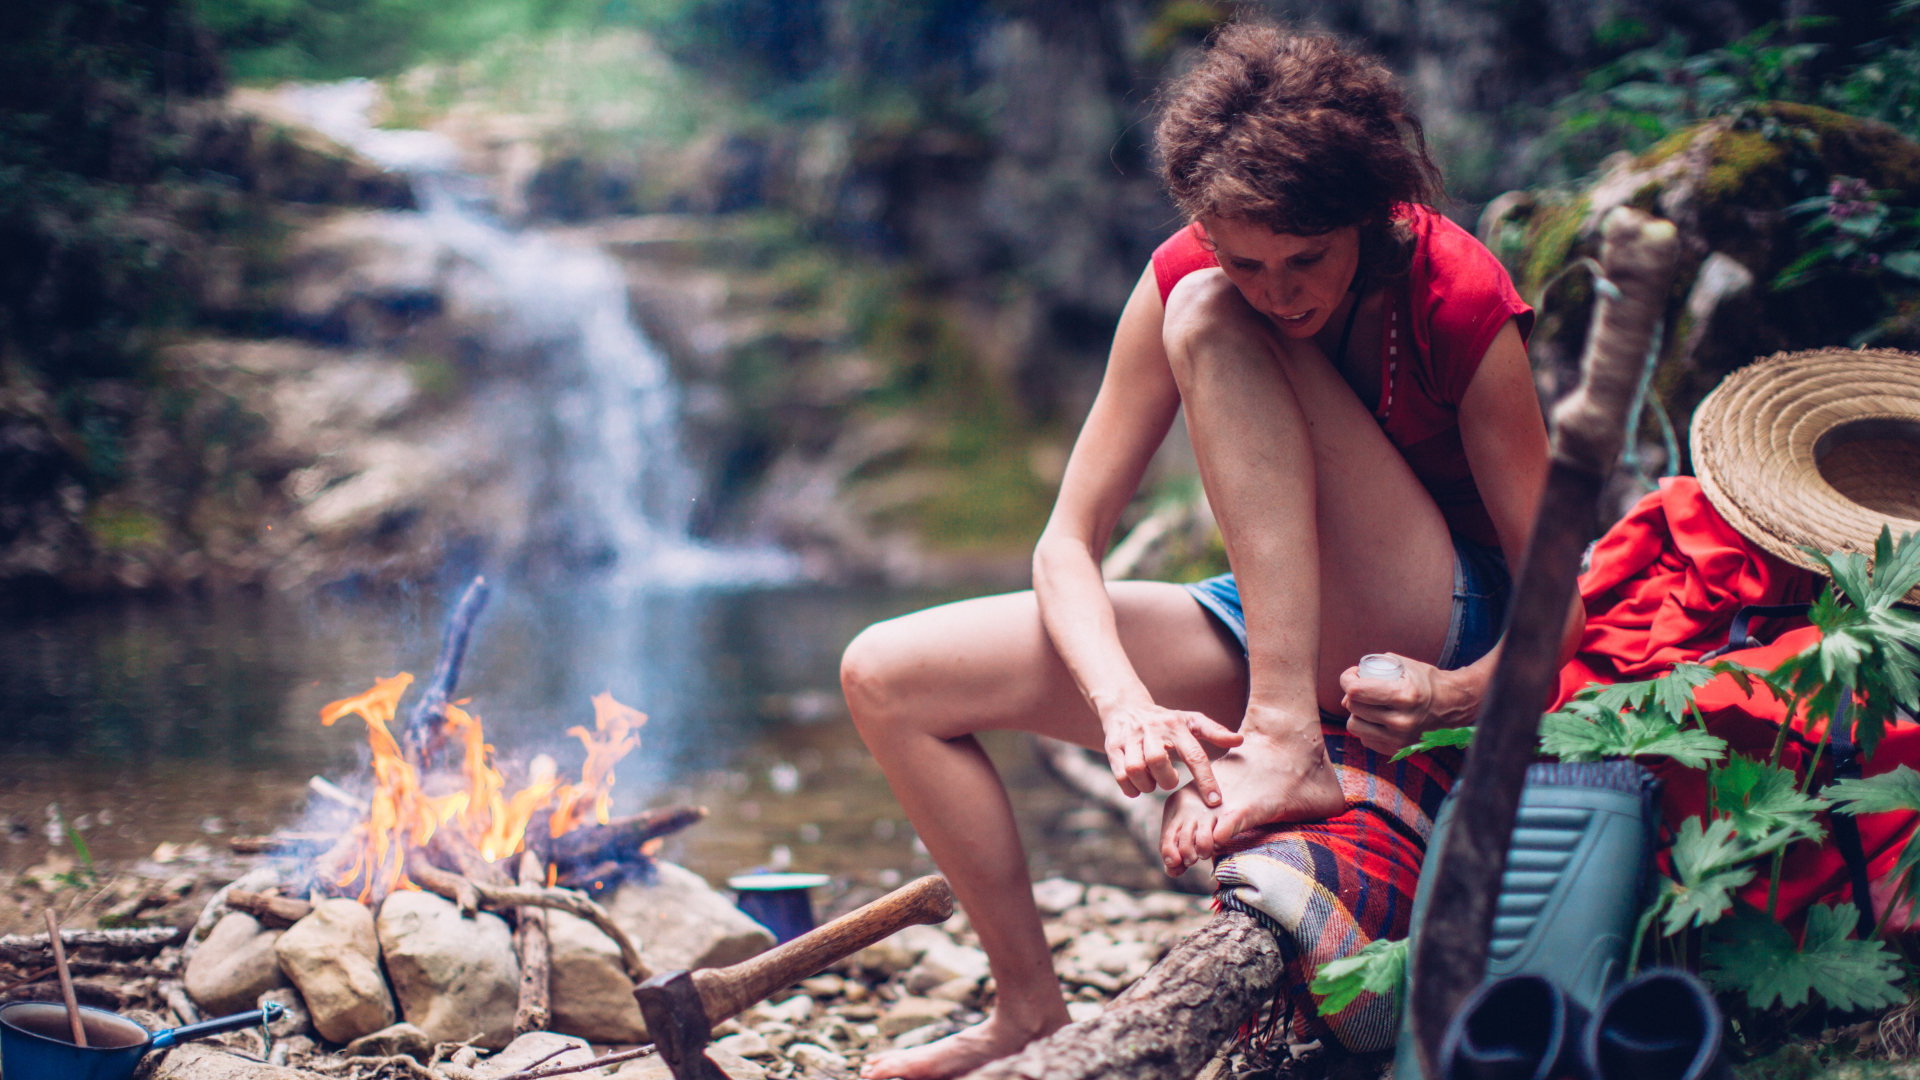
How do you treat a bruised toenail from hiking?
- We do not recommend attempting to pierce anything on your body without medical supervision
- Most bruises will clear of their own accord and there are measures you can take to help
Though there are some sources out there that describe piercing your toenail with a hot needle to release the blood, we absolutely don’t recommend piercing anything on your body without medical supervision, or following instructions to do so from something you read online. If you have a toenail that’s so badly bruised as to be raised and causing you difficulty in walking, or you suspect it’s infected, it’s best to consult a medical provider.
Now that’s out of the way, the Cleveland Clinic advises that most bruises will clear up within a couple of weeks, and you can take the following measures to assist in the healing process:
- Stop hiking and rest to allow your toes to heal.
- Ice your toe for the first 48 hours when the injury is most acute to reduce swelling.
- Apply a hot compress after the first 48 hours to assist circulation.
- Take over-the-counter pain medication as needed.
- If your toenail falls off, keep the area clean and protected with a bandage for a few days – don’t worry, it will grow back.
More detail on how to protect your toenails on the trail
As mentioned, prevention is better than cure. Here's more detail on the steps you need to take to ensure your toes stay happy on the trails.
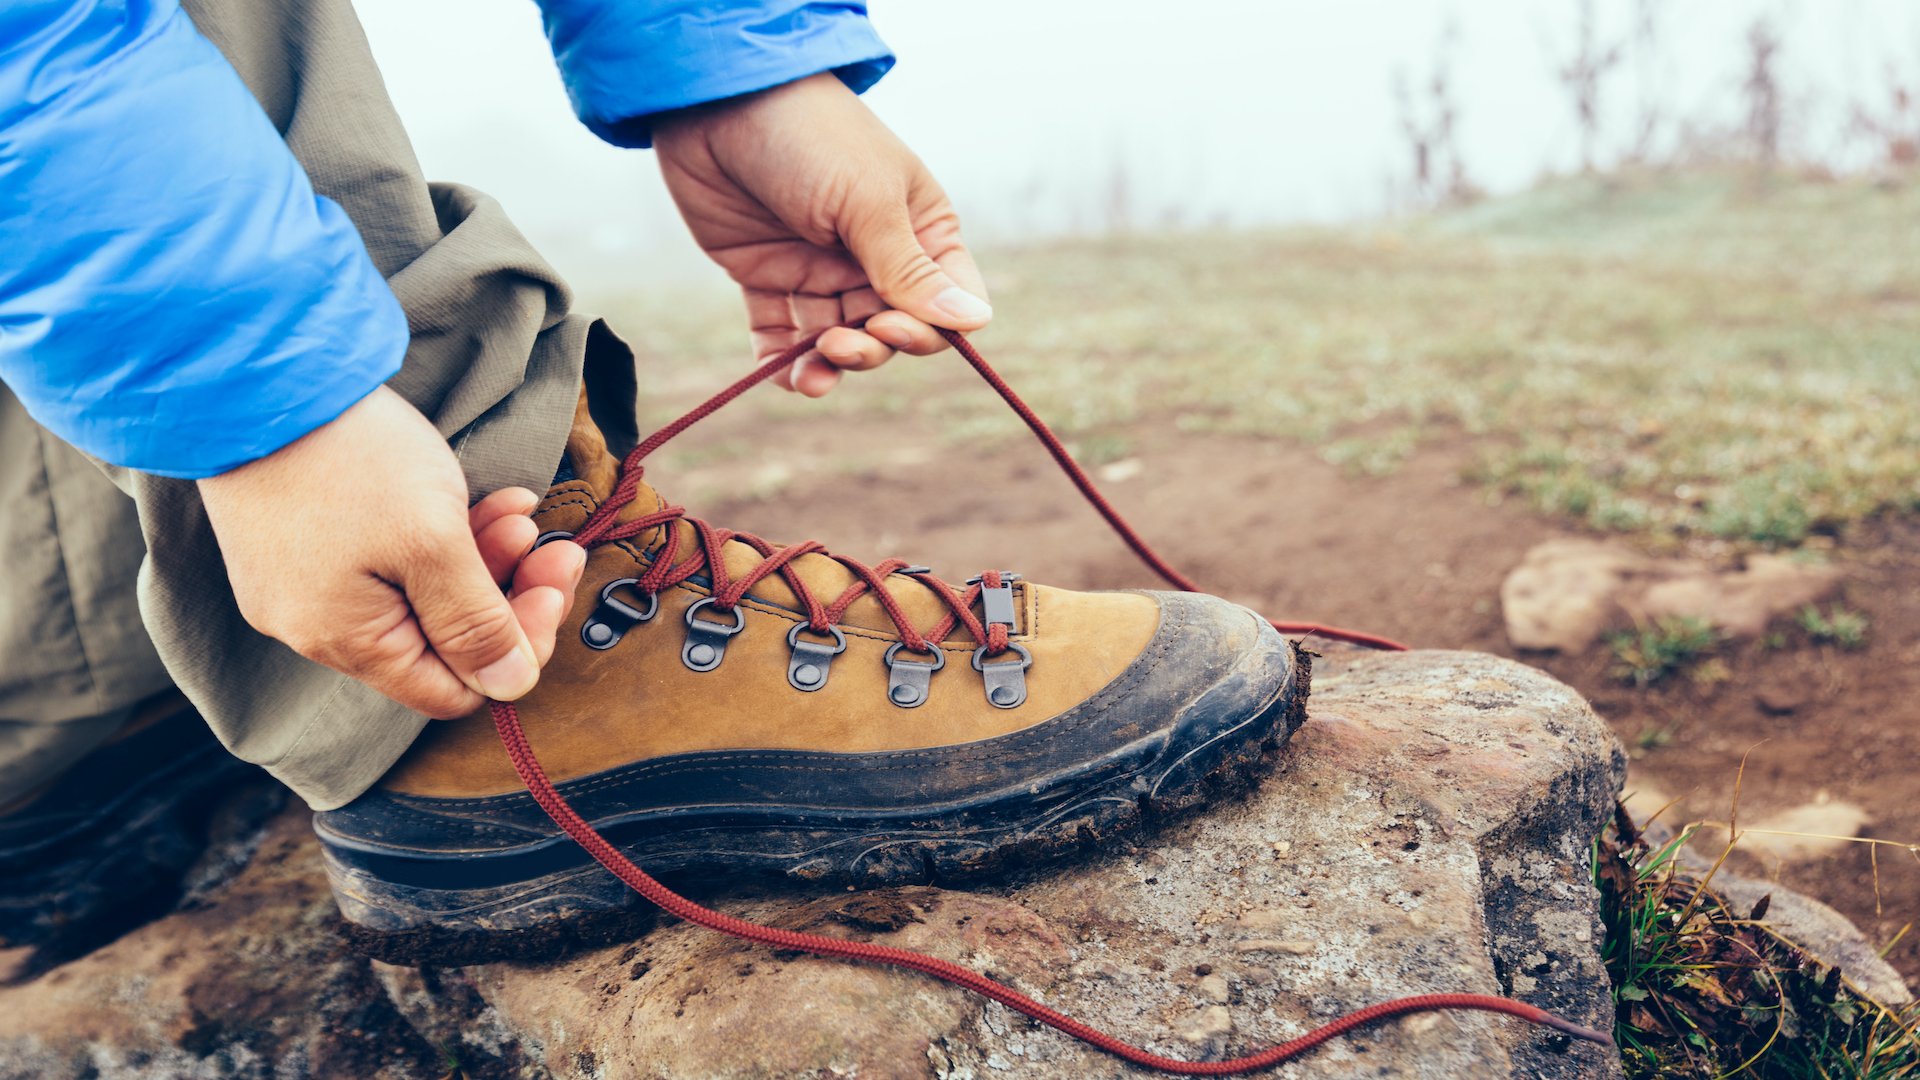
Re-lace your hiking boots
First, you might need to experiment with how to lace your hiking boots properly. When setting off, you want your boots to be tied tightly enough that your feet aren’t moving around too much, as this can cause rubbing and blisters on your heel. Use the extra lacing holes to tie a heel lock to keep your heel as close as possible to the back of your shoe, and therefore your toes away from the toe box.
However, as you walk, your feet will swell. If you start to feel that your feet are bumping up against the toe box of your shoes, loosening this area can alleviate some of that pressure. To do this you can use toe-relief lacing by completely unlacing your boot, then re-lacing but skipping the first set of eyelets.
Seek some arch support
No matter how high your arches are, once you add a heavy backpack, the extra weight will press down on your feet, making them widen and your big toes and pinky toes might start to press into the edges of your boots and shoes. The additional rubbing and pressure here can cause bruising, even when you’re wearing softer hiking shoes or trail running shoes. A possible solution is to add some support to keep your arches lifted and your feet from spreading. Look for shoes with arch support or add some with a removable insert.

Size up
It’s possible that your hiking boots or shoes are the perfect size for you – when you’re sitting on the couch. But once you start striding, heat and gravity cause your feet to swell and your footwear might end up being a little tighter than you’d have chosen back at the gear shop.
For hiking boots and shoes, it’s a good idea to find a pair that are a half size bigger than your normal shoe size. A half shoe size is only about half an inch, so it’s not going to affect your gait, but it will give your feet room to move once they swell up. Start out by lacing them tightly and if they still feel loose, you can wear thicker hiking socks with them (our roundup of the best hiking socks contains some good options).
Further, while you’re looking at new boots, consider going for a pair with a wider toe box to give your tootsies room to spread out. This can be a good argument for choosing hiking boots or hiking shoes, rather than trainers or trail runners which may be narrower.
Trim your talons
Too-long toenails are common among thru-hikers and they don't just ruin your best hiking socks. Long toenails can more easily butt up against the end of your hiking boots or shoes, even if you've sized up, and cause pain and bruising, so clip yours nice and short before you set off, especially the big toenail which tends to be the sturdiest.