There were lots of reasons why I decided to take on so much of the renovation and construction work it took to take my run-down cottage from dark and cramped to light, bright, and spacious. In all honesty, the main factor behind the decision was the budget I working with. I had stepped into this project a little blindly, despite having renovated before.
If you are just starting out on your own fixer-upper, be aware that everything ends up costing more than you think it will and taking longer than expected. I was constantly amazed at how quickly each phase of the renovation gobbled up the money we had set aside for it.
Here, I explain which house renovation jobs I wish we had handed over to someone else and why - in the hope that it will help you choose when to get involved and when to leave well alone.
5 DIY renovation jobs you can skip next time
When previously renovating my Victorian terraced house, I had found it to be the best way to get exactly what we wanted - in short, there was no risk of misunderstanding. In addition, there was also this feeling I had that it just seemed silly to pay someone else to do what I could do myself, especially if I could save money on a DIY project.
When renovating my home, there were jobs I undertook that turned out to be much harder and more complicated than I expected. The results I was left with were not of the standard someone with more experience would have been able to achieve. In some cases, I have since called in professionals to do a better job of certain tasks.
1. Painting the exterior woodwork and render
Our house features quite a few of the original timber windows which, although brilliant at ensuring it is full of period charm, were in serious need of repair and attention when we first moved in. In fact, many of the external features needed TLC, from the original solid wooden front door to the details such as the fascia boards and even the pebbledash render that covers the upper section of the house.
We decided to strip back the paintwork of all the timber elements, which were painted a garish royal blue. We sanded them all down and prepared them for painting. This was a momentous task that took ages and I really don’t think the results were worth all that effort. Around six months later, the paint was peeling and in need of re-sanding and painting - clearly the preparation work we put in hadn’t been up to scratch. In hindsight, perhaps using something like PRESTIGE Paints Exterior Paint and Primer In One from Amazon could have helped speed up proceedings.
We ended up calling in a professional decorator who had the house looking smarter than we could ever have done and doing this to begin with would have allowed us to save time on DIY projects elsewhere.
We very briefly attempted painting the pebbledash but soon found that this is way harder than painting a smooth render. Again, we called in the pros who turned up with specialist equipment which allowed them to seal and spray the whole lot in a couple of days.
2. Fitting windows
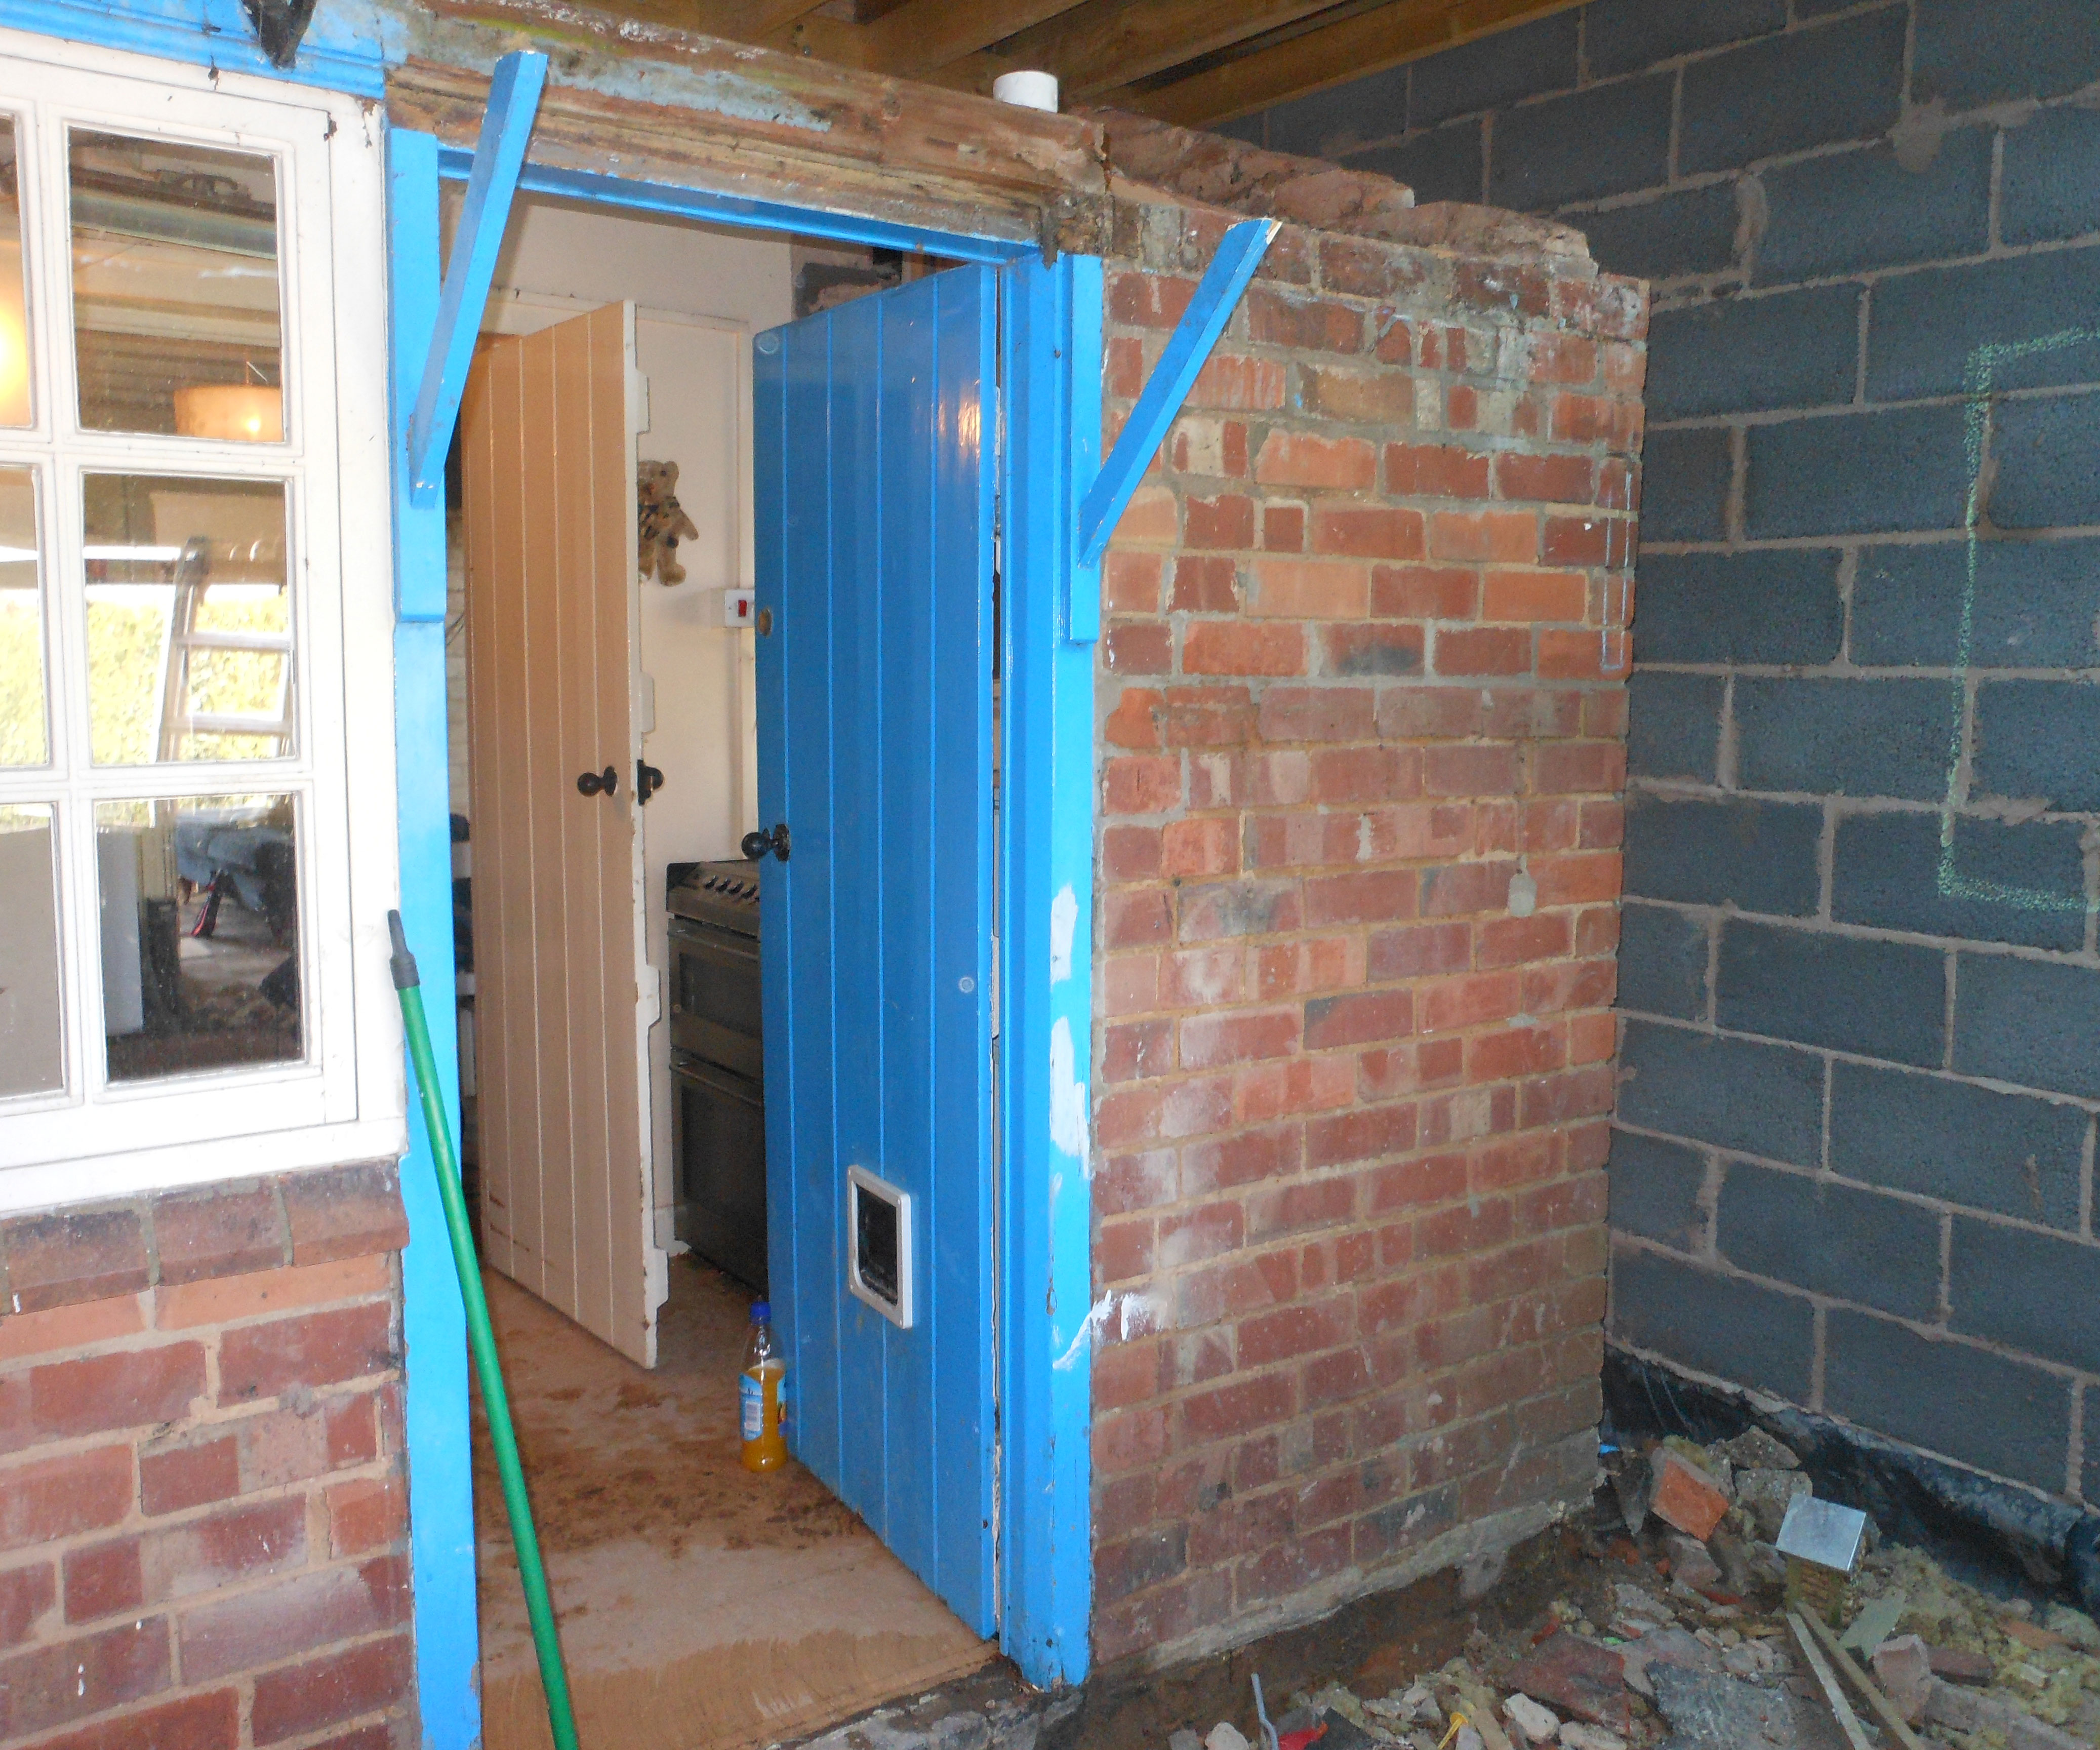
When we moved in, the kitchen was tiny, with just one cabinet and an under-counter refrigerator. It was little more than a lean-to, with a door to outside. The whole thing was demolished as part of the single-story rear extension ideas we were aiming for.
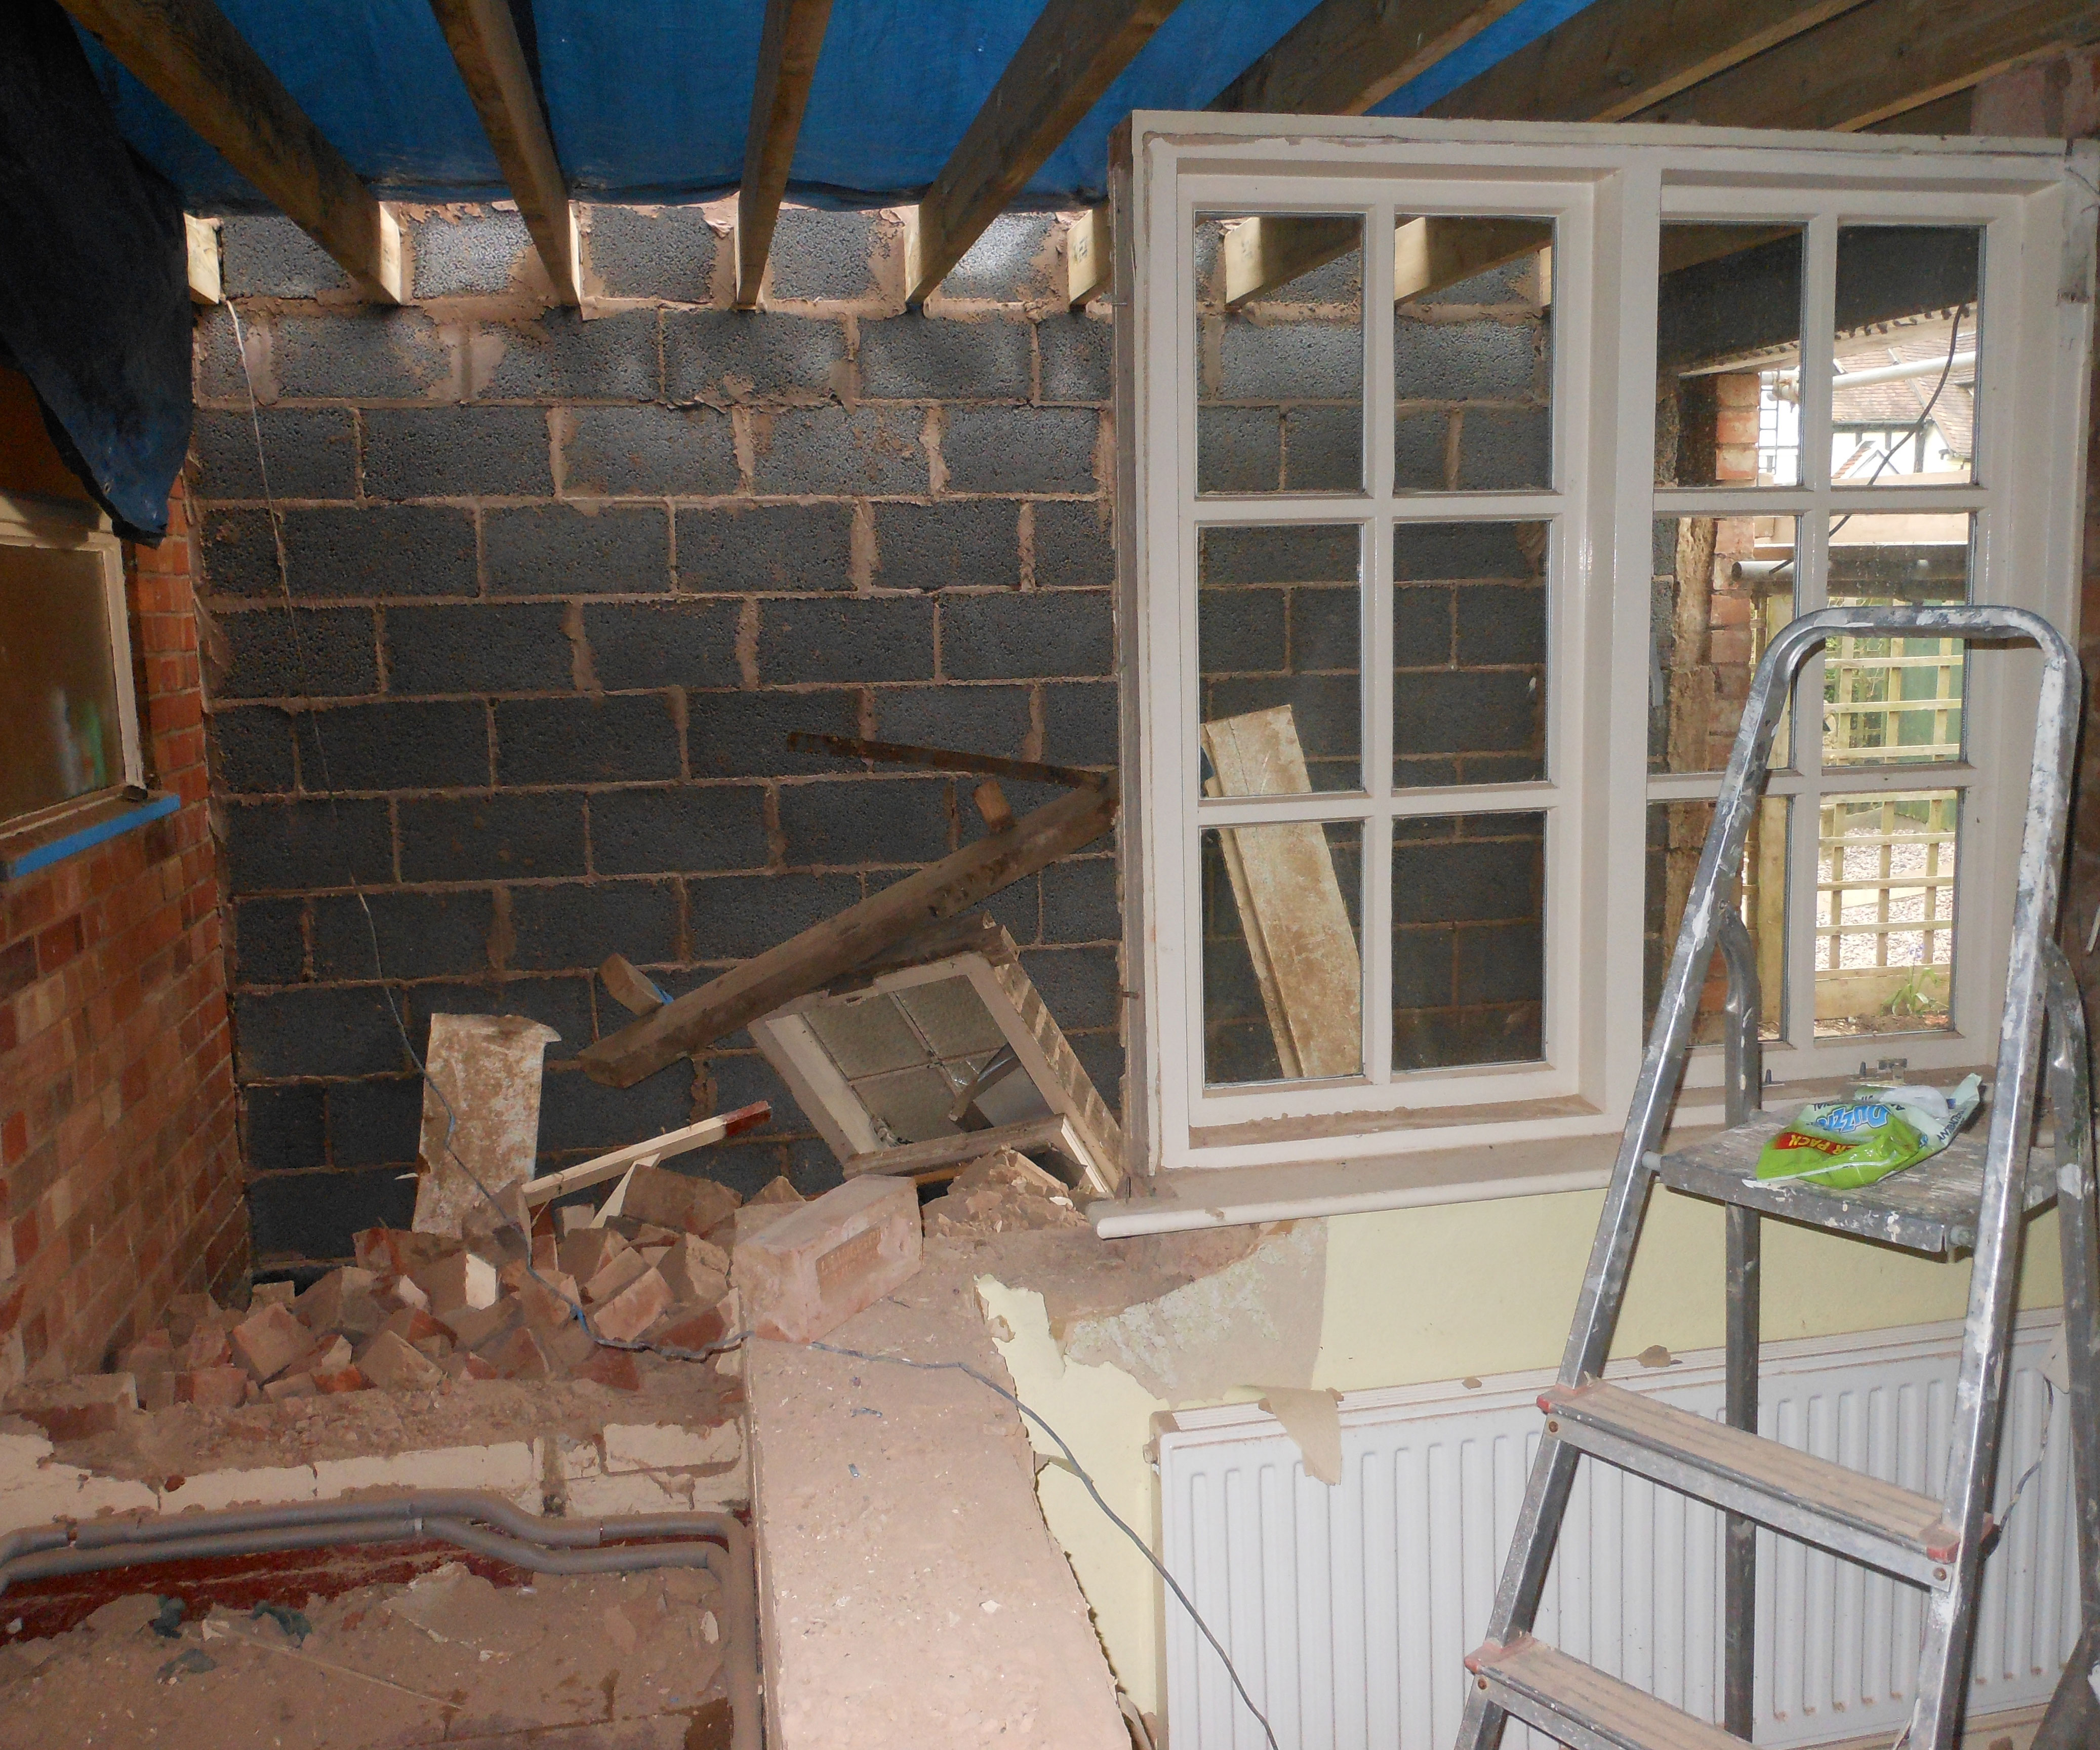
This new kitchen is lit from above by two traditional metal roof lights, a partially glazed stable door, and a new timber window that sits above the sink and looks out over the garden beyond.
We took on the majority of the kitchen ourselves, other than the actual construction of the walls and the digging of the foundations. Most of it went pretty smoothly - but fitting the new kitchen window was far trickier than we had imagined.
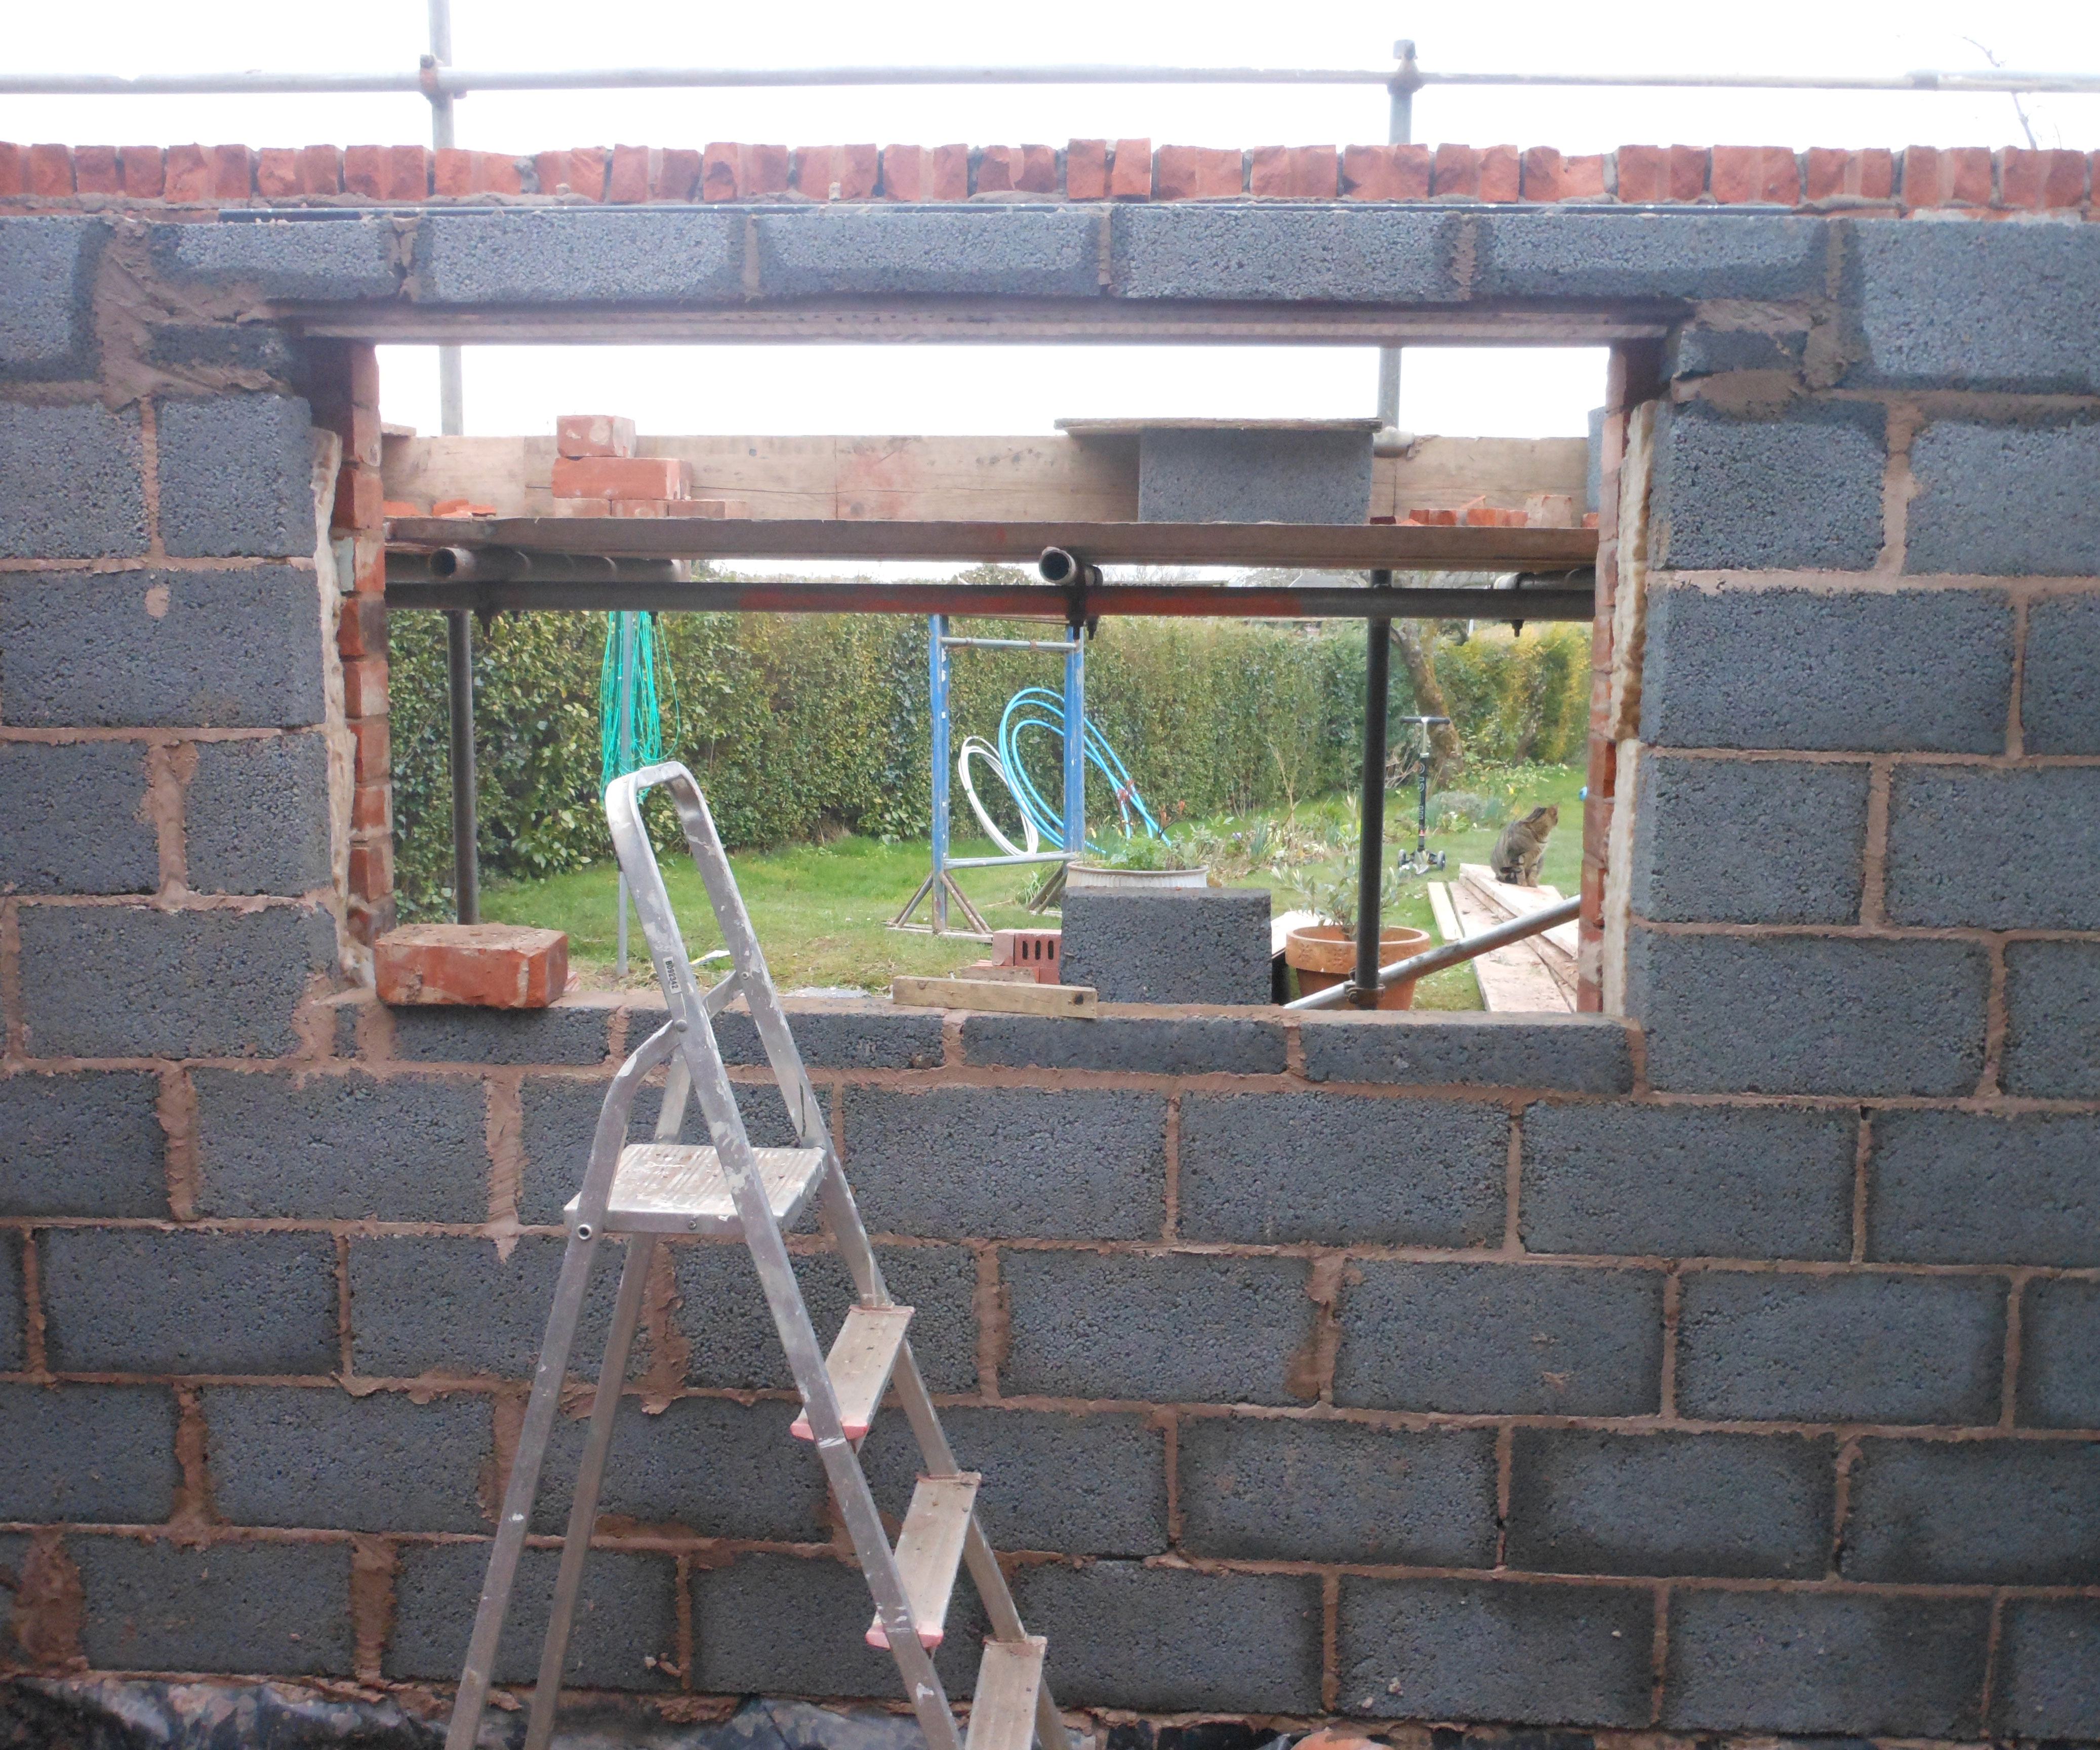
The opening was there, but getting the custom-made window to sit level was way harder than we thought. The opening just didn’t seem to fit the bespoke window, even though the builders had the exact dimensions. There was a lot of tweaking and shouting before we could finally fix the window in place with the window fixings. To add to the issues the window was also really heavy and I don’t think we quite appreciated the weight of a hardwood frame.
Using a metal one-step ladder like this Aluminium Step Ladder from Amazon made life a little easier.
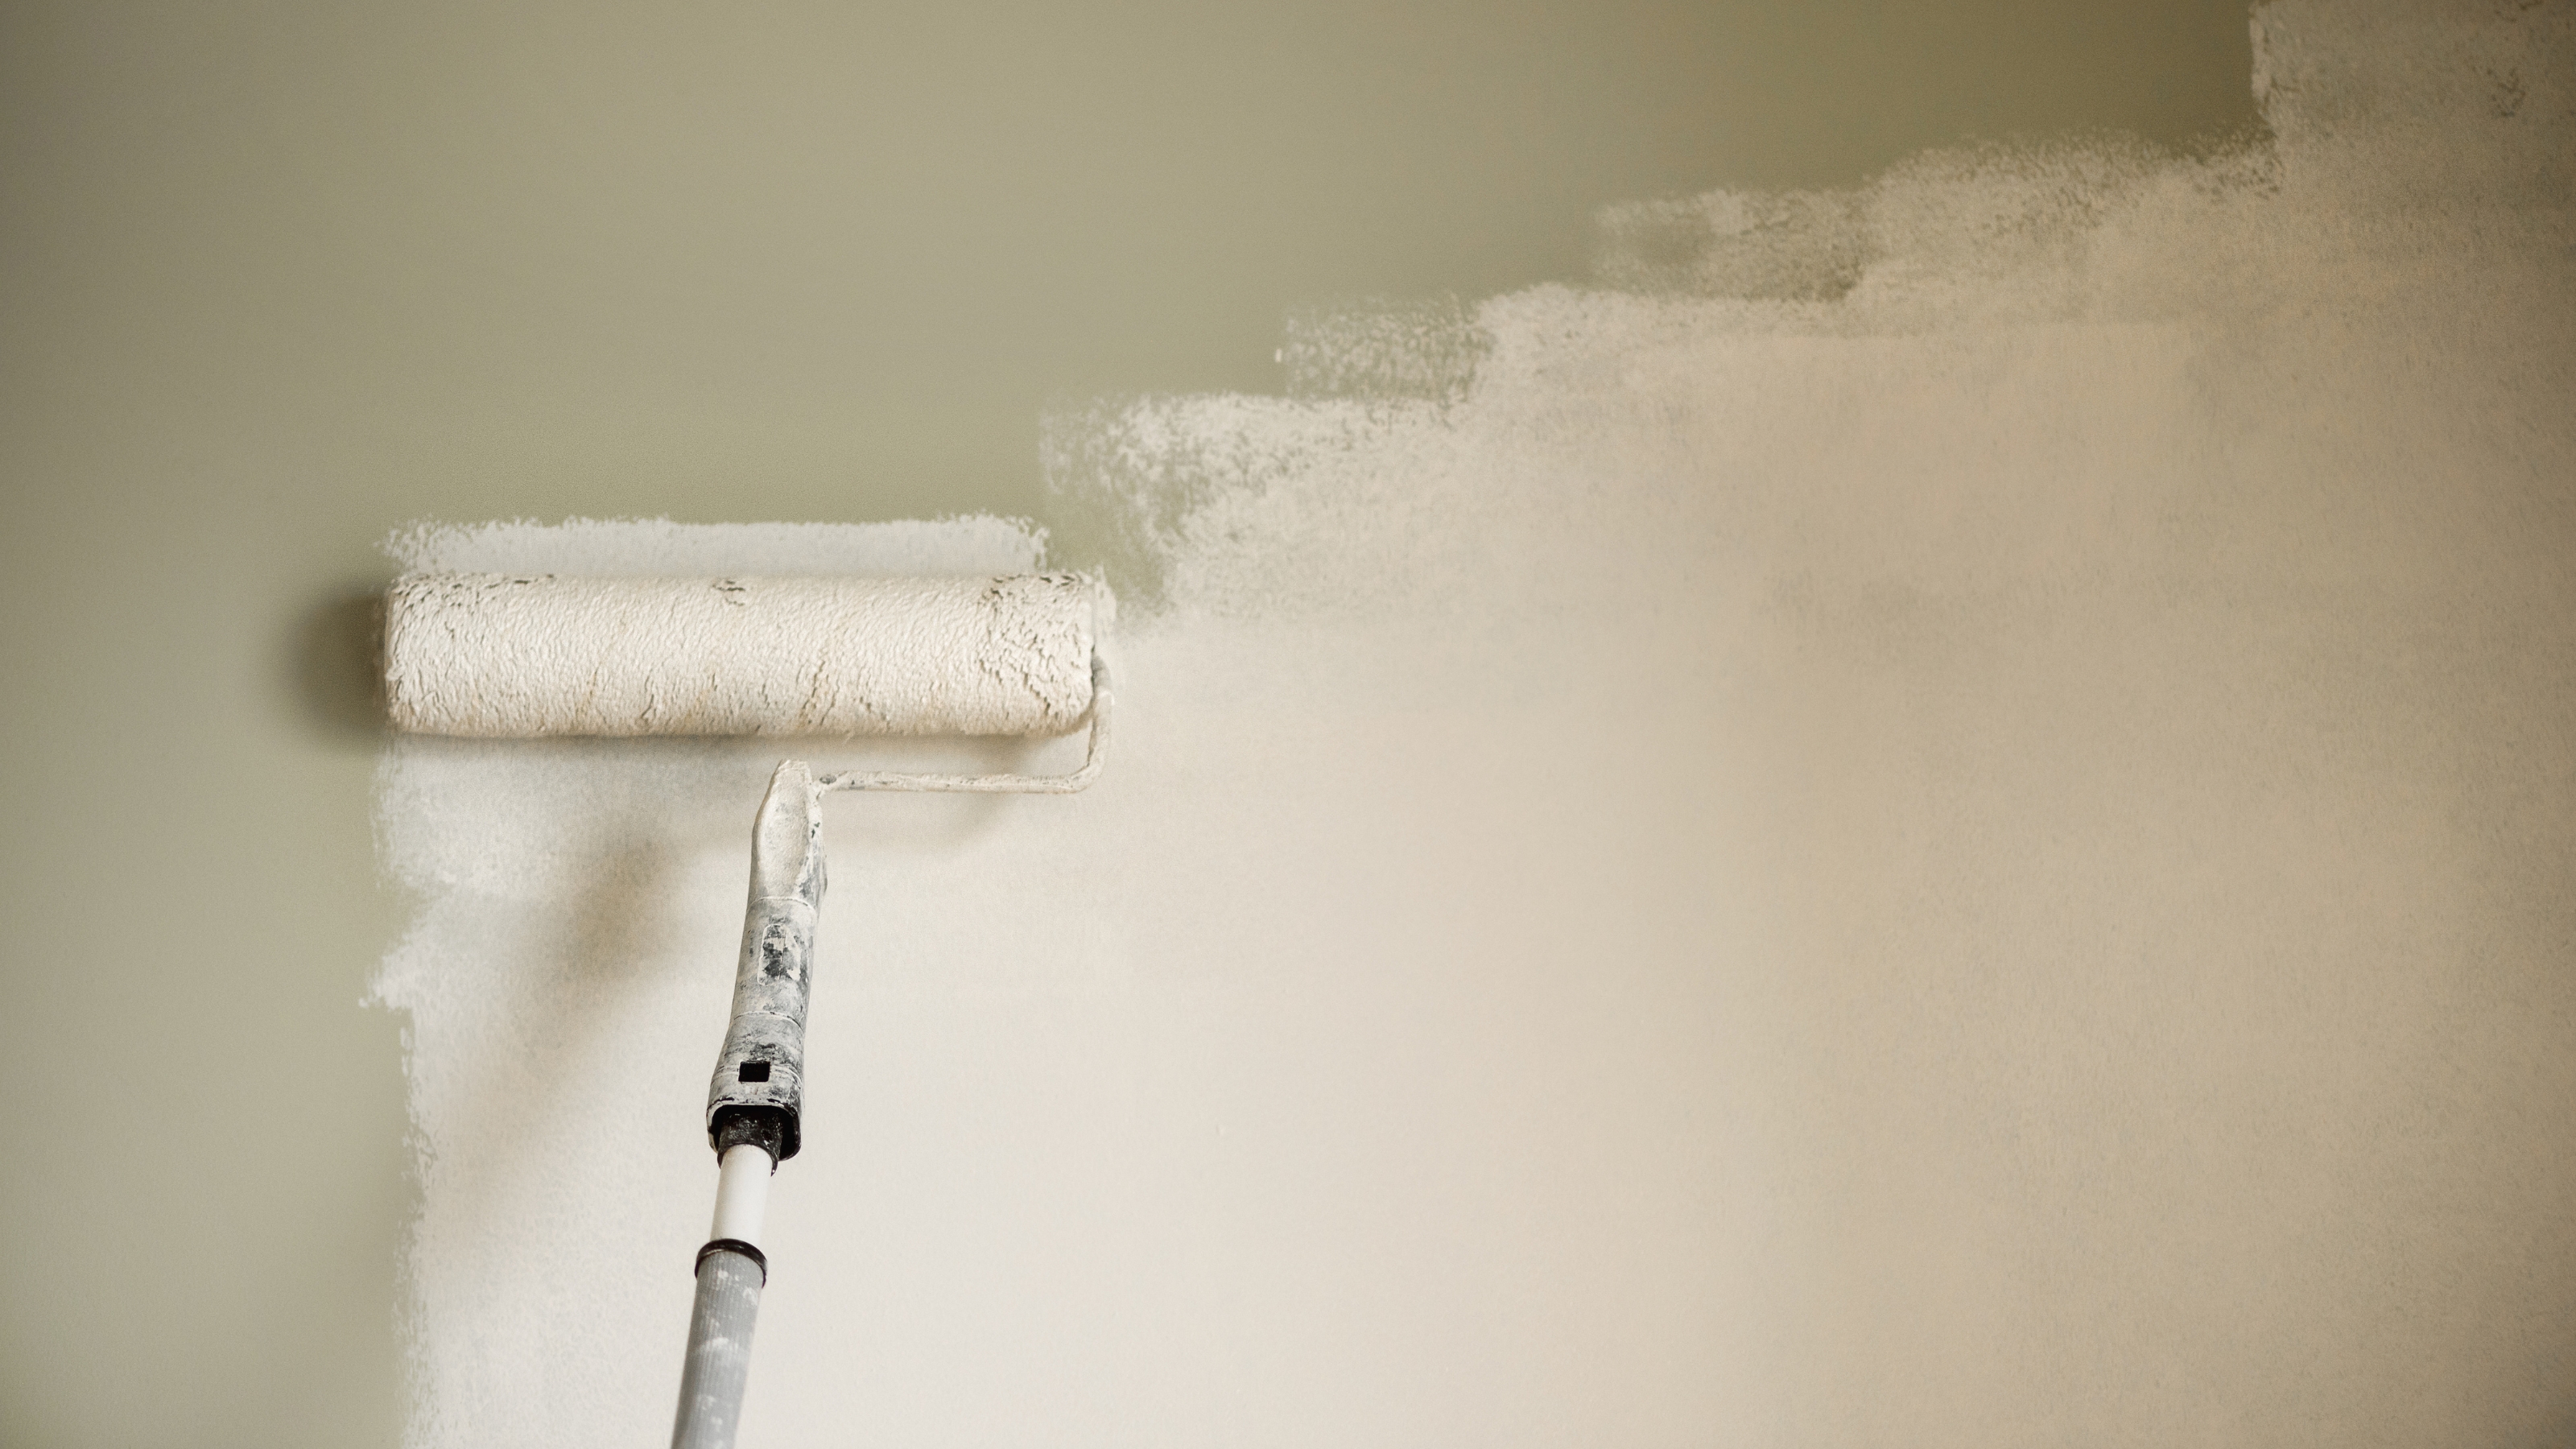
3. Painting - especially the ceilings

I admit that this one might leave you feeling a little puzzled. After all, if there is one job most DIYers take on, it is the finishing off task of painting - what could be so hard? But there were just so many surfaces to be painted - one room is not too tall of an ask, but once you are onto room six or so, enthusiasm and attention to detail can definitely begin to flounder.
There was just so much going on everywhere and, as a homes and interiors journalist with several projects under my belt, I hate to admit it but the paint finishes in the kitchen, dining room, and especially in the downstairs bathroom are pretty patchy - particularly the ceilings. It’s fine if you don’t look too closely, but we did scrimp a little on the paints we used here too which makes the problem worse and there were some things I wish I knew before painting the ceiling, such as the importance of good quality rollers. We should have invested in something similar to these Bates' 11 Piece Home Painting Supplies from Amazon.
Upstairs in the bedrooms, and also in our living room, we called in a professional father and son decorating team and I can’t begin to tell you how perfect the finish in these rooms is compared to the spaces we tackled.
4. Leveling the floors
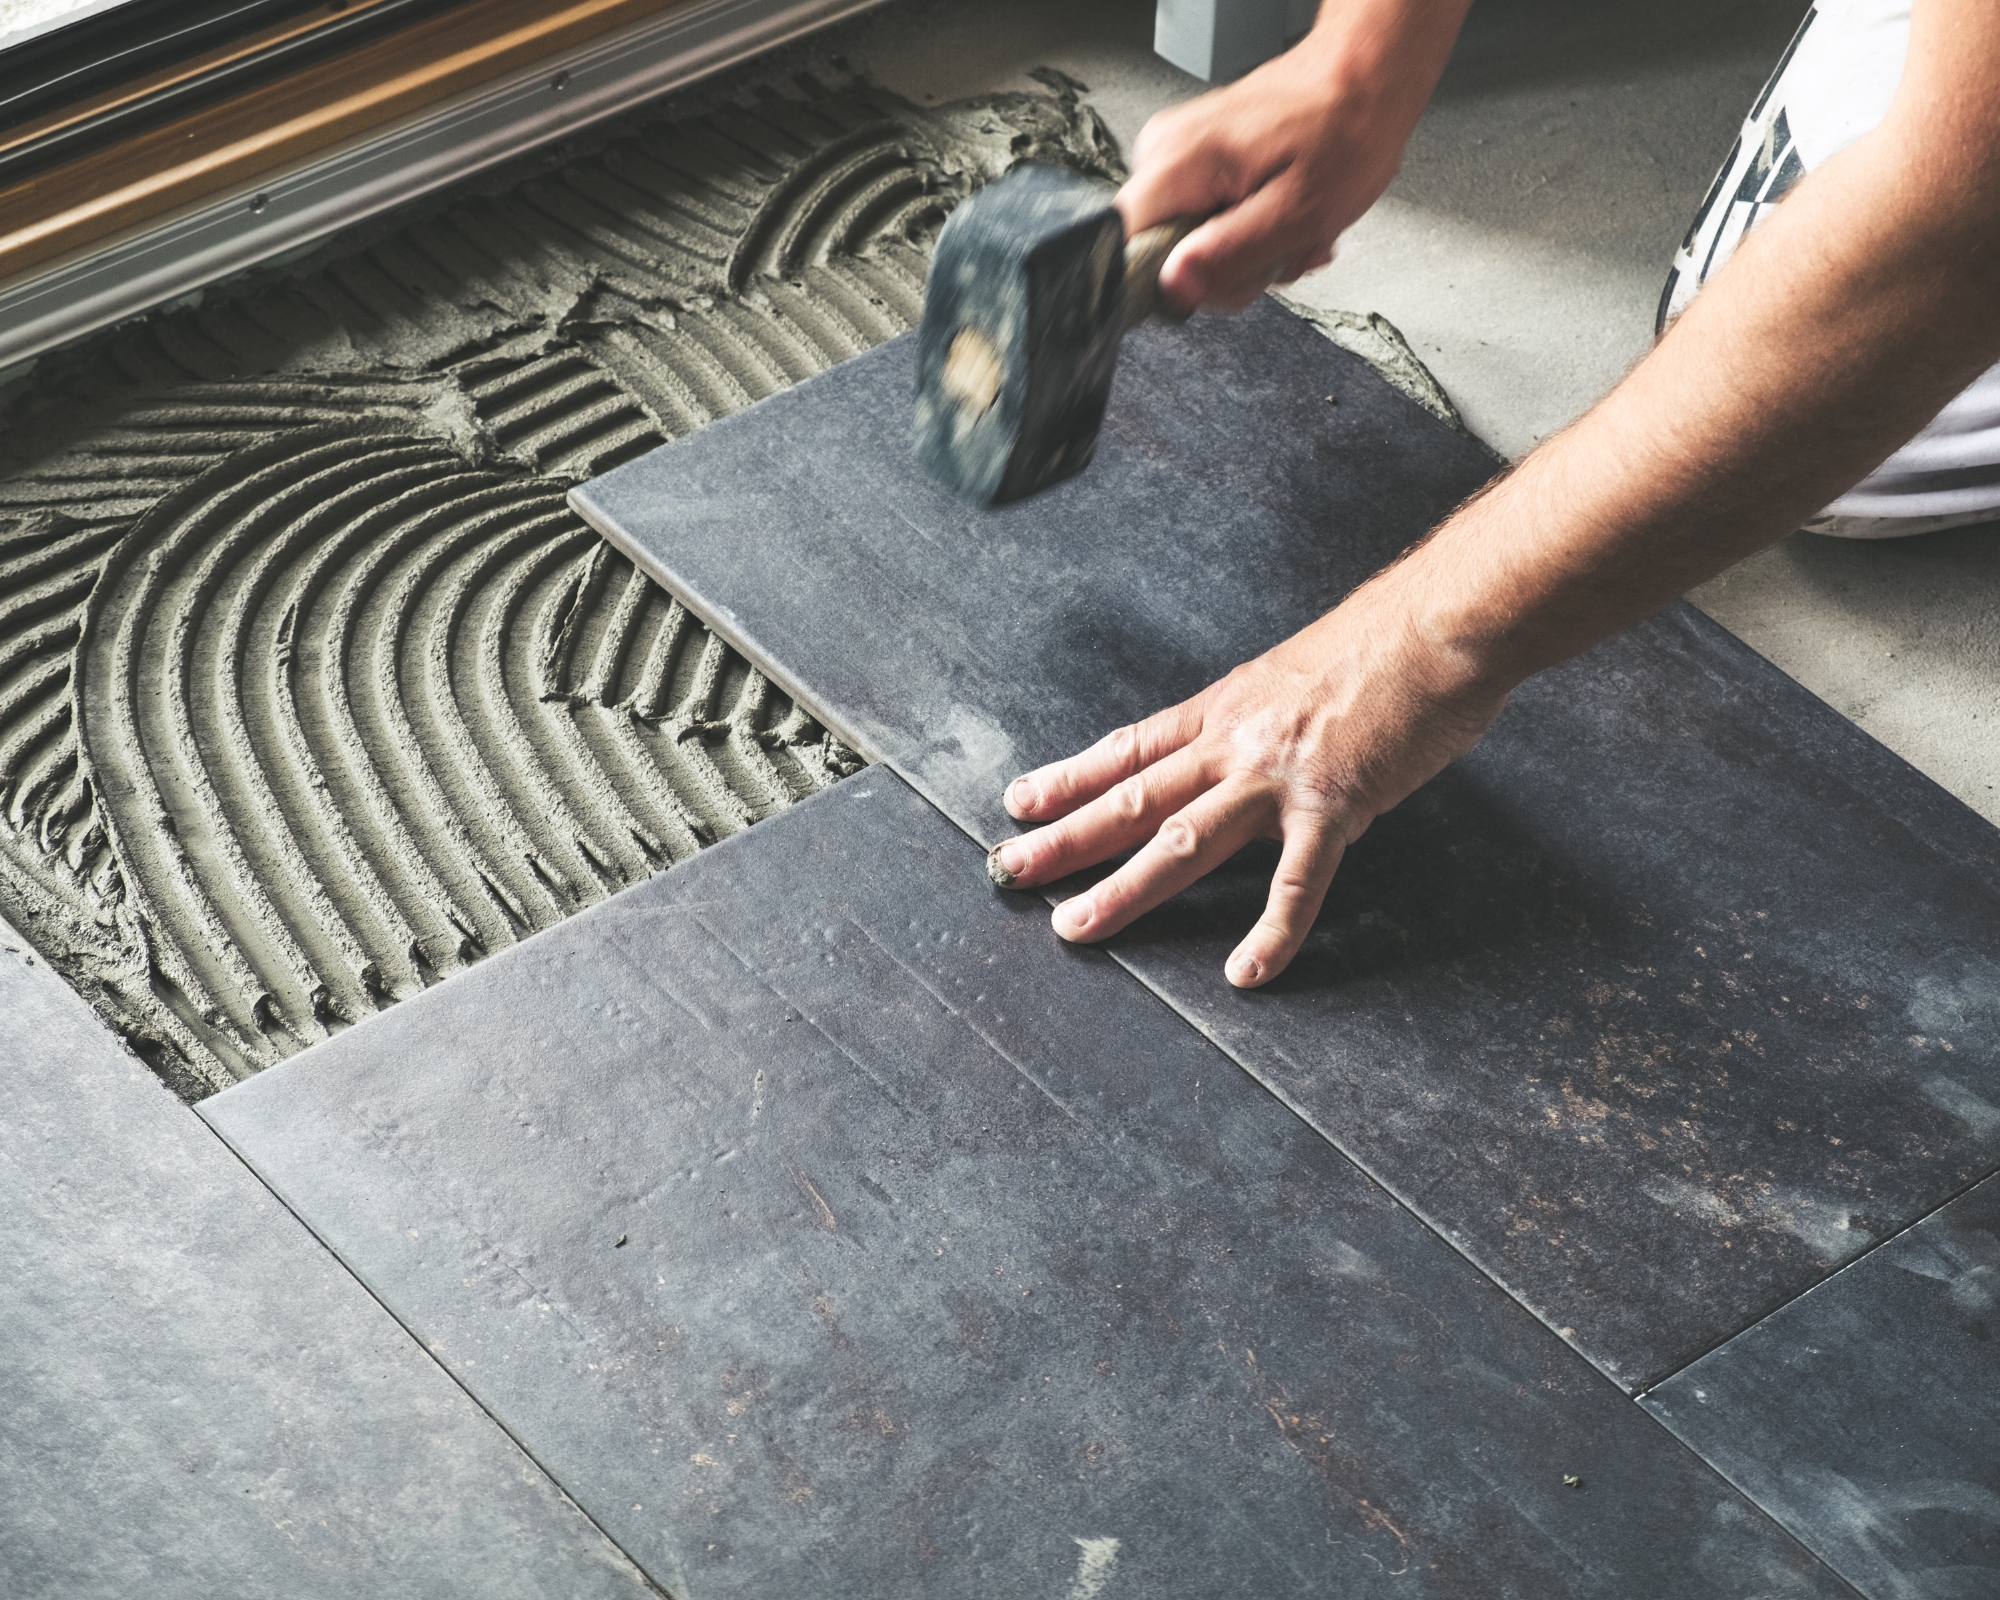
When we moved in, the floors in our dining room were covered in original red quarry tiles, laid directly onto an earth subfloor. These were cold underfoot, a little damp and gave off a very dark feel to the whole space.
We decided to install oak engineered flooring over the top of these, which also runs into the newly constructed snug space that sits next to it. Before we could do this, however, we needed to address the uneven nature of the old floor. There was no way we could have just gone and laid engineered boards straight over the tiles, even with the best underlay in the world we’d have been left with a bouncy, wonky floor.
We used a self-leveling compound in order to achieve a smooth, even finish - a bit like Henry, W.W ARDEX 12063 Pre-Mixed Floor Patch from Amazon. The problem was, we didn’t just need areas patching up - the whole thing needed leveling so it was messy, fiddly, took ages to get right and, in all honesty, there are still a few bouncy spots. We should really have called in the pros who could have screeded and achieved a better finish.
5. Building the floor in the two story extension
In order to create an extra bedroom upstairs, as well as an additional snug/occasional guest bedroom on the ground floor, we gathered together the best double-story extension ideas and built a new addition onto the side of the house. While we left the brickwork and construction of the new roof to the professionals, we chose to build the structure of the new first floor ourselves - another job we had, perhaps, underestimated the enormity of.
The first part of the job was to fit the joist hangers and joists, getting them correctly distanced to meet building codes and also to enable the tongue-and-groove chipboard flooring to be installed easily.
There was a lot of measuring and re-measuring - a DIY mainstay - where a professional would have done this in a quarter of the time. Once the floor joists were in place we then had to install the sheet flooring for the new bedroom, again a lot of time wasted measuring. As we were on a tight budget and these flooring packs only came in the 20s, we took our time with this job, but even then managed to break a few of the ‘tongues’ off the flooring sheets. I am also not entirely sure about our health and safety measures with this one - at one point half of my husband’s body was hanging through the semi-built floor into the space below.
Word of note, a high-quality tape measure such as the CRAFTSMAN 25-Ft Tape Measure with Fraction Markings from Amazon is a must.
Three of the easiest-to-use tape measures
Price: $13.99
This is a great option for those with smaller jobs to tackle and for anyone keen to keep a lid on costs when it comes to buying their DIY toolkit. While it measures shorter distances than some products - 25 feet to be precise - this is a durable, well-built tape measure well worth considering. Its blade features fraction markings to ensure accuracy and the fact that it stays put when pulled out makes life easier. It retracts smoothly and the lock function is really reliable.

Price: $16.29
This one is something of a staple in many pros' toolbelts - and for good reason. It is highly durable, thanks to its impact-resistant case, has a 33-ft blade, and the measurements are easy to read thanks to clear, large markings. The tip of this tape is magnetic which can really help when it comes to keeping it steady. Despite all these useful features, the tape measure is still compact enough to keep on you while you work - plus it won't break the bank so you can splash out elsewhere.

Price: $189
While there is no denying that this is considerably more expensive when compared to manual tape measures if you have undertaken a large-scale project, the cost will be worth the effort it will save you. This laser tape measure is capable of measuring a whopping 165 feet and can also take indirect measurements around corners and up walls. Even better, you can transfer all your measurements to your smartphone or a tablet thanks to Bluetooth technology.
I've tried many DIY projects, including DIY kitchen ideas, and found that some tasks just aren't worth the effort. Save time and effort by avoiding these tasks and instead try these easy, budget-friendly DIY projects instead.