Filling the shoes of Fire Emblem: Three Houses can’t be easy. Now that Fire Emblem Engage is out, it’s likely to attract a lot of players whose first experience of the series was this game’s wildly successful predecessor. But Fire Emblem Engage is a much different game from Three Houses, and some of the changes it makes may come as a big surprise. With that in mind, here are some tips that will help you get the best start on your tenure as the Divine Dragon.
6. Should you choose male or female Alear?
The first decision you’ll make in Fire Emblem Engage is whether to choose a male or female version of the protagonist, whose name is Alear either way. In Three Houses, this was a major decision, as it affected who your character could start a romantic relationship with later in the game.

That’s not the case in Fire Emblem Engage, where you can reach S-rank support with any character regardless of the protagonist’s gender. The only difference this time around is aesthetic, so just choose whichever protagonist you think looks the best.
5. Explore the Somniel
Your base, the Somniel, is full of activities that grant items and other bonuses, but they’re not all available from the start. They unlock fairly quickly, and there’s not always a clear message telling you when new activities become available, so you’ll need to explore to know they even exist.
By Chapter 9, you’ll have all of the most important activities unlocked, which are all clustered around the cafe at the north end of the base. Eating meals here will increase your support level with allies. Behind the counter sits the donation board, which lets you offer large amounts of money to the various nations of Fire Emblem Engage’s world in exchange for better item drops within their territory, plus caches of bonus items.

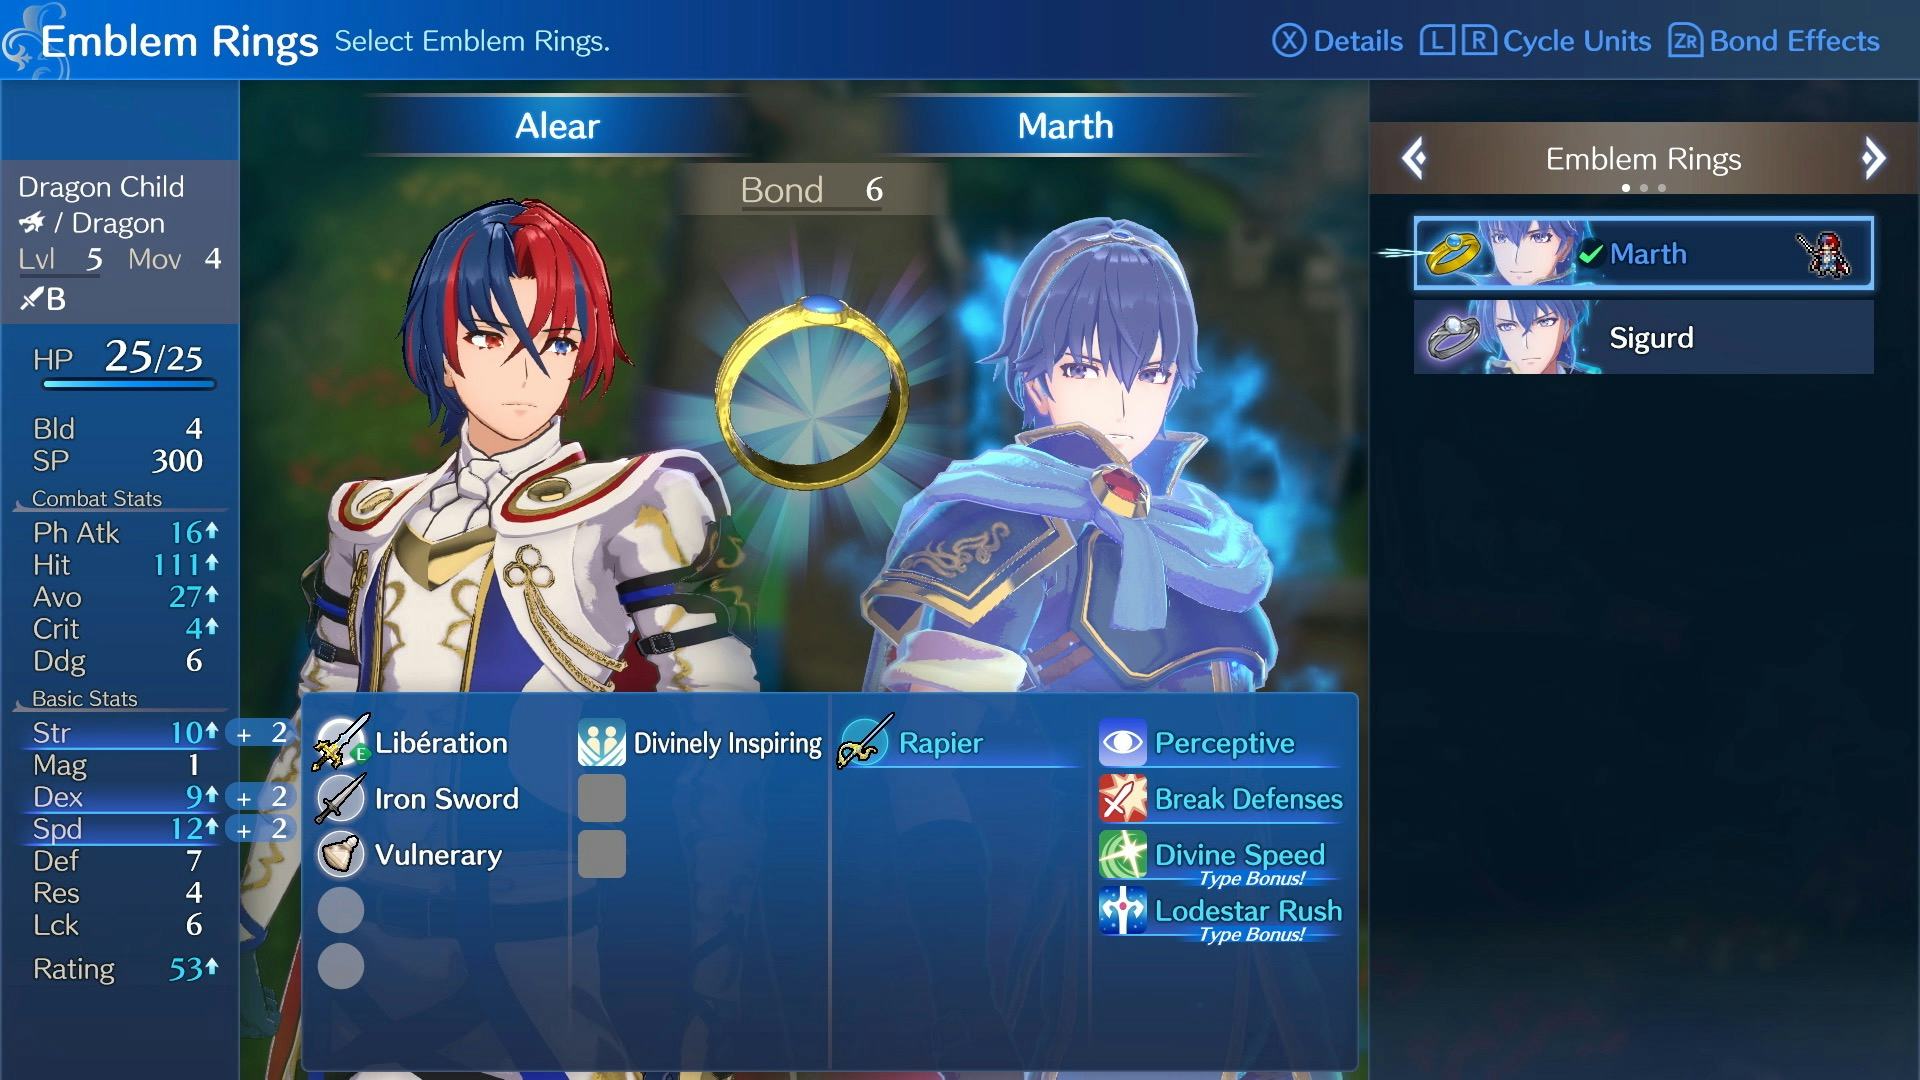
The door to the right of the counter leads to the Arena, where you can earn some quick experience and Emblem bond levels. The door to the left is the Ring Chamber, which lets you forge bond rings to boost your stats and bond even more with Emblems. The cafe and Arena are especially important to visit every time, as you have limited uses of them between each mission, so skipping them means loses out on potential bonuses forever.
Also be sure to head to the Somniel’s south end to unlock the Tower of Trials, which offers optional combat challenges, including online modes.
4. Start a petting zoo
One of the easiest parts of the Somniel to overlook is the farm. After most battles, you can adopt local animals if your donation level with the region is high enough. Back at the Somniel, you can choose which of them to keep outdoors on the farm, and collect a reward from each after every mission.
Most importantly, every dog on your farm will dig up a metal ingot, which are crucial for upgrading your weapons. Filling your farm with dogs is a great way to keep your supplies topped off without having to farm additional battles for them.
3. Check your Reference menu
Battles and a few side activities increase support points between units and bond levels with Emblems. Once you accrue enough, your bond or support will go up a level, unlocking a conversation and stat bonuses.
However, you won’t actually move up a level or start those conversations automatically. To do that, you need to access your Reference menu and choose either Support or Bond to see what’s available. Anyone who’s ready for a conversation will have a small speech bubble icon next to their name. It’s a good idea to check this every chance you can to make sure you’re not missing out.

2. Play the Paralogues
A Fire Emblem tradition, Paralogues are optional side missions that become available as you play through the story. The first few you encounter allow you to recruit additional characters, so if you want to have everyone you can on your team, make sure you play them.
Later Paralogues focus on Emblem characters, giving them a bit more backstory and unlocking their highest bond levels. The battles you face here often have special rules and are some of the most enjoyable parts of Fire Emblem Engage, so they’re definitely worth checking out.
1. Plan for class changes
With only a few exceptions, units can change to a different class once they hit level 10. You’ll need a Master Seal to graduate to an advanced class or a Second Seal to change classes within the same tier, both of which you can buy at the Somniel.
Keep in mind that each class has certain weapon proficiency requirements. Characters can gain proficiencies by partnering with Emblems, so if you want make a big change, it’s a good idea to get them the proficiency they need as soon as you can.


