Price: £285 / approx. $365
Max Lumens: 2800
Weight: 195.2g
Battery Life: 2-36hrs
Gravel riding is always a compromise, whether it’s tyre size and tread, the bike geometry, suspension or rigid; everything is designed to be a middle ground between road and off-road, and lighting is no different. The best bike lights for road riding offer shaped beams and auto-dimming to not dazzle cars, but don’t necessarily have the beam throw that mountain bike lights do in order that you see the big tree coming at you at warp speed out of the darkness.
On the other hand, most MTB lights are overkill for road riding. They can dazzle cars and other cyclists, they’re heavy - often requiring a separate battery pack, something which I hate - and they’re just… big. In the Exposure Race, however, in the course of testing numerous lights, I think I’ve found a real gravelly Goldilocks. Not too big, bright enough to descend at full speed, extremely well made, and useful enough on the road too that it doesn’t have to be a purely gravel-specific product. I’ve been running it on and off-road in recent weeks now that it’s dark so early once again. I’ve commuted with it, and smashed about after work on totally unlit gravel tracks. It is great, and while it is a premium light with a price tag of £285 I think it does well to justify itself.
It is worth noting that I have been testing the Mk17 unit for over a year (with an obvious hiatus in the summer) and Exposure has recently released the Mk18. The changes are minimal between the two though, with 200 more lumens (up to 2,800) on offer with the Mk18. The body, mounting, operation, modes, and LED bulb placement are unchanged.
Design and aesthetics
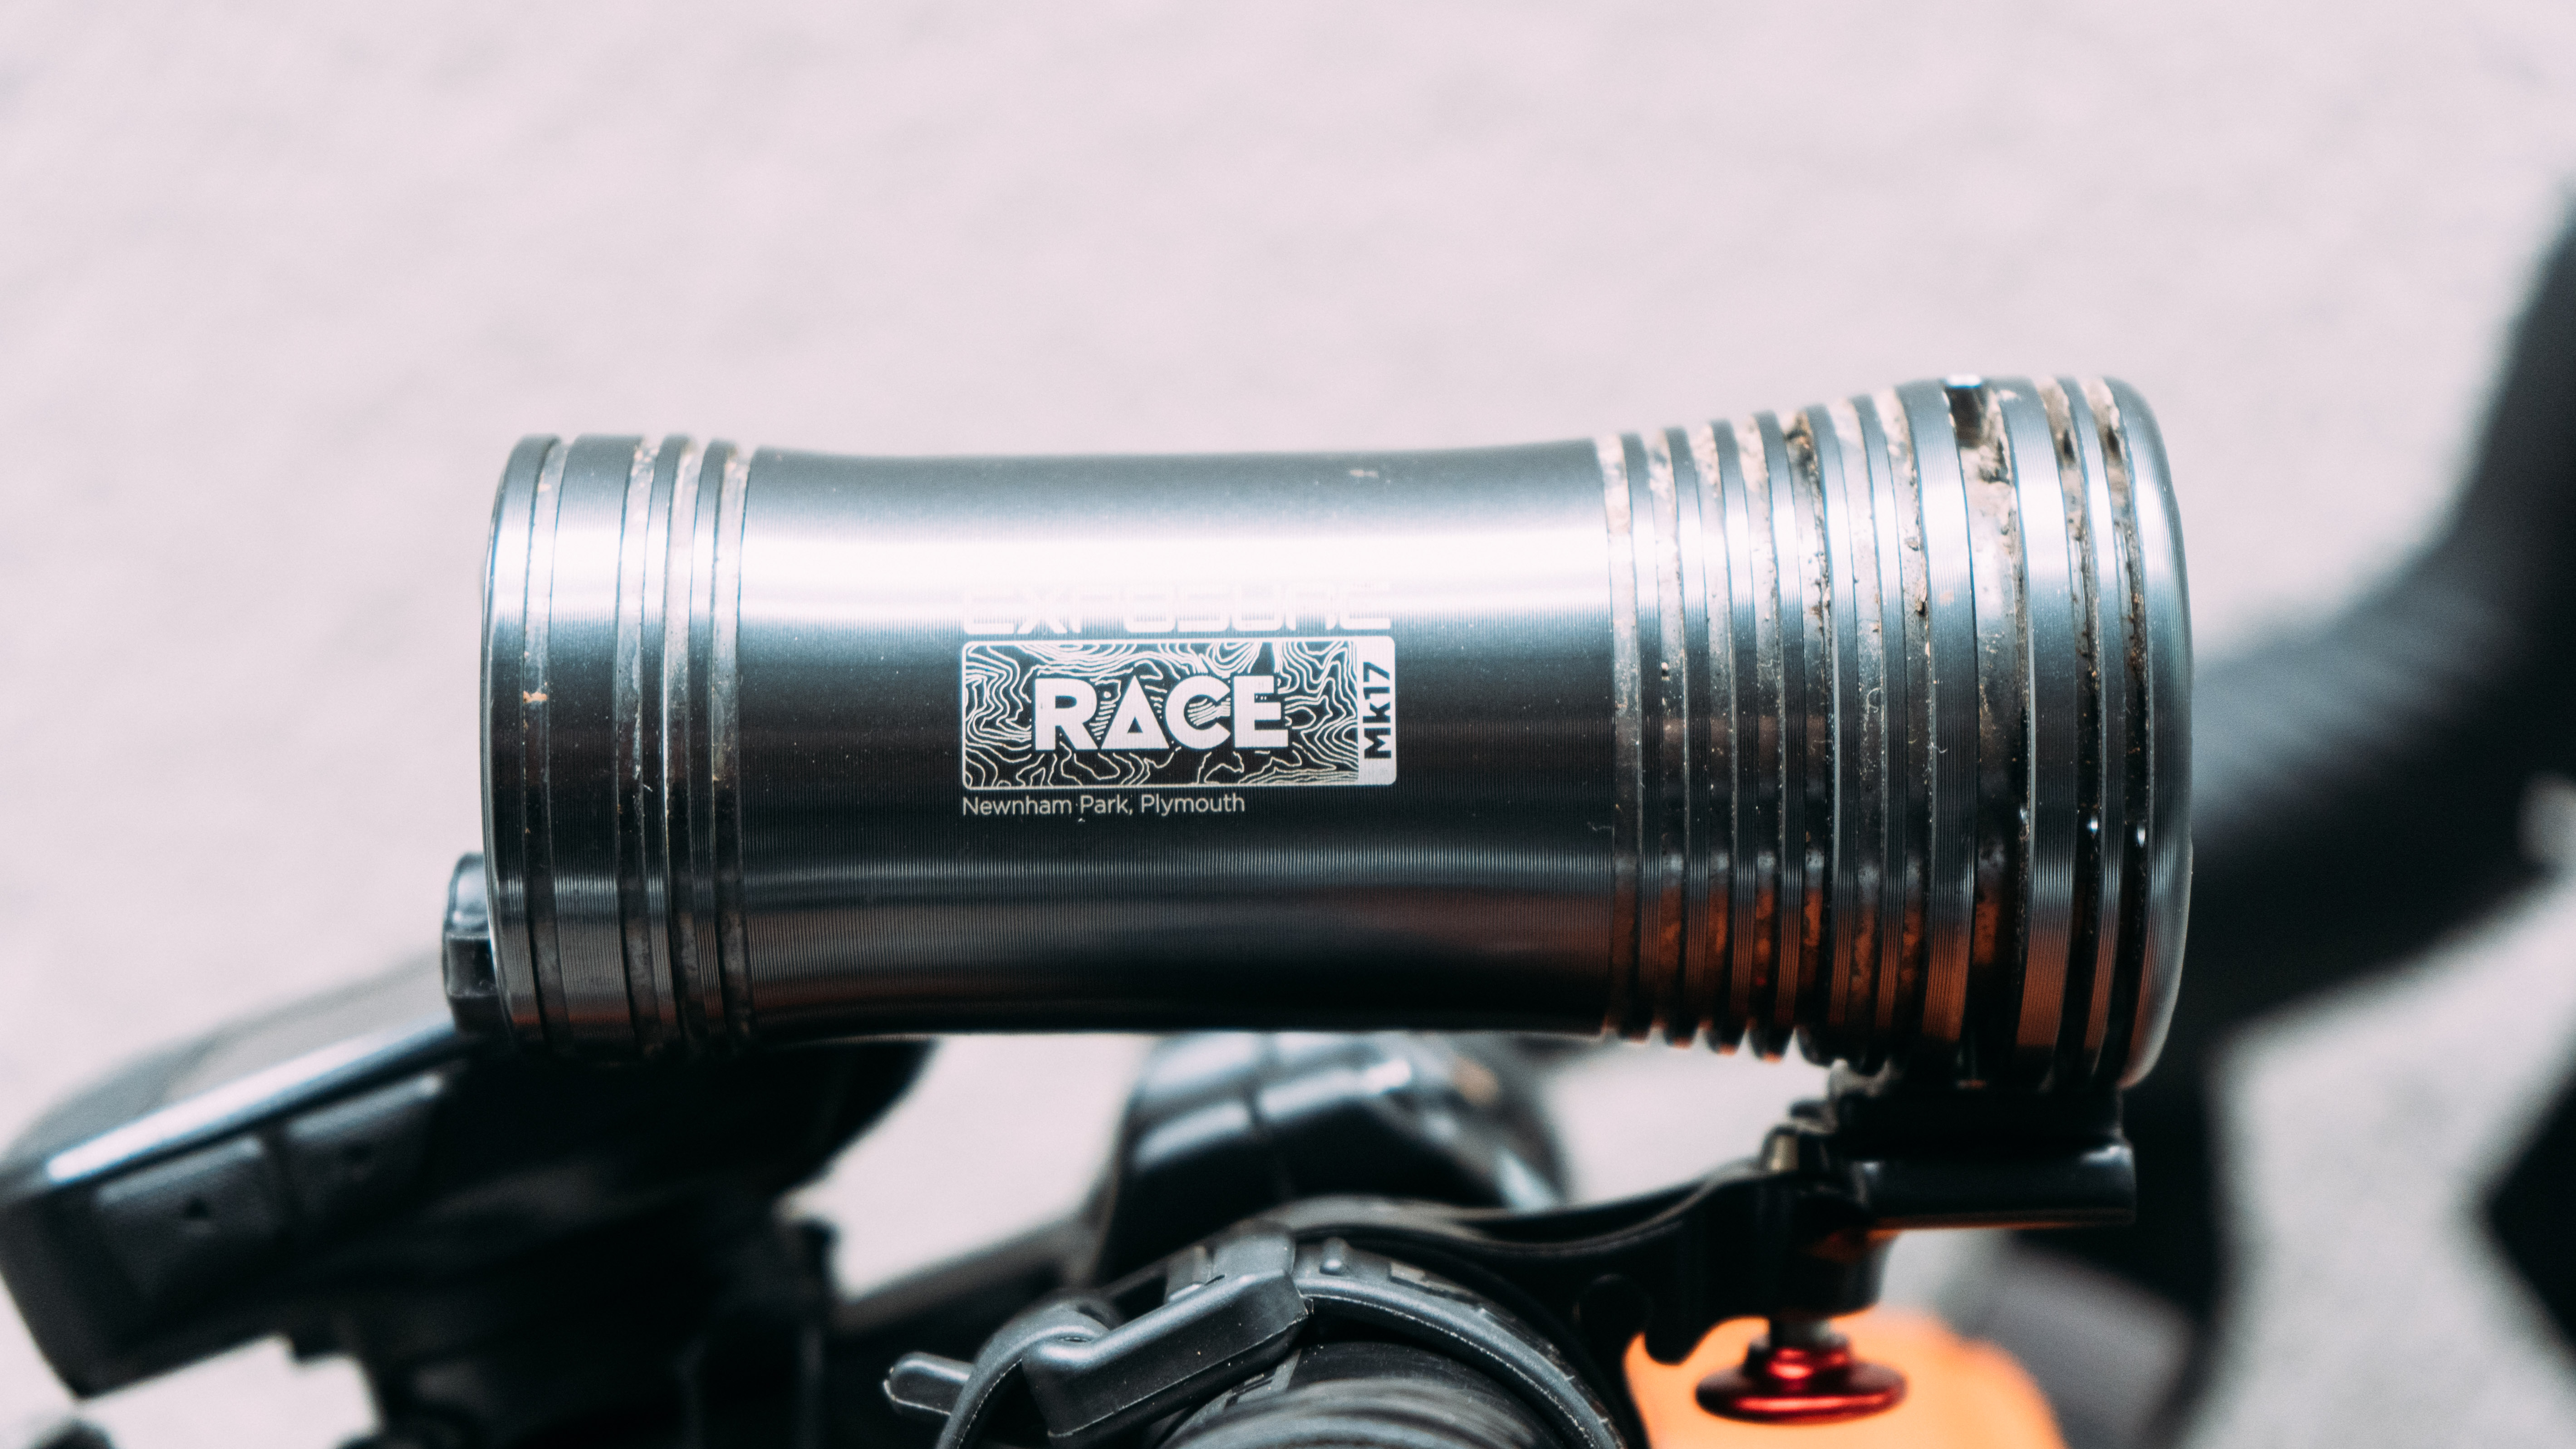
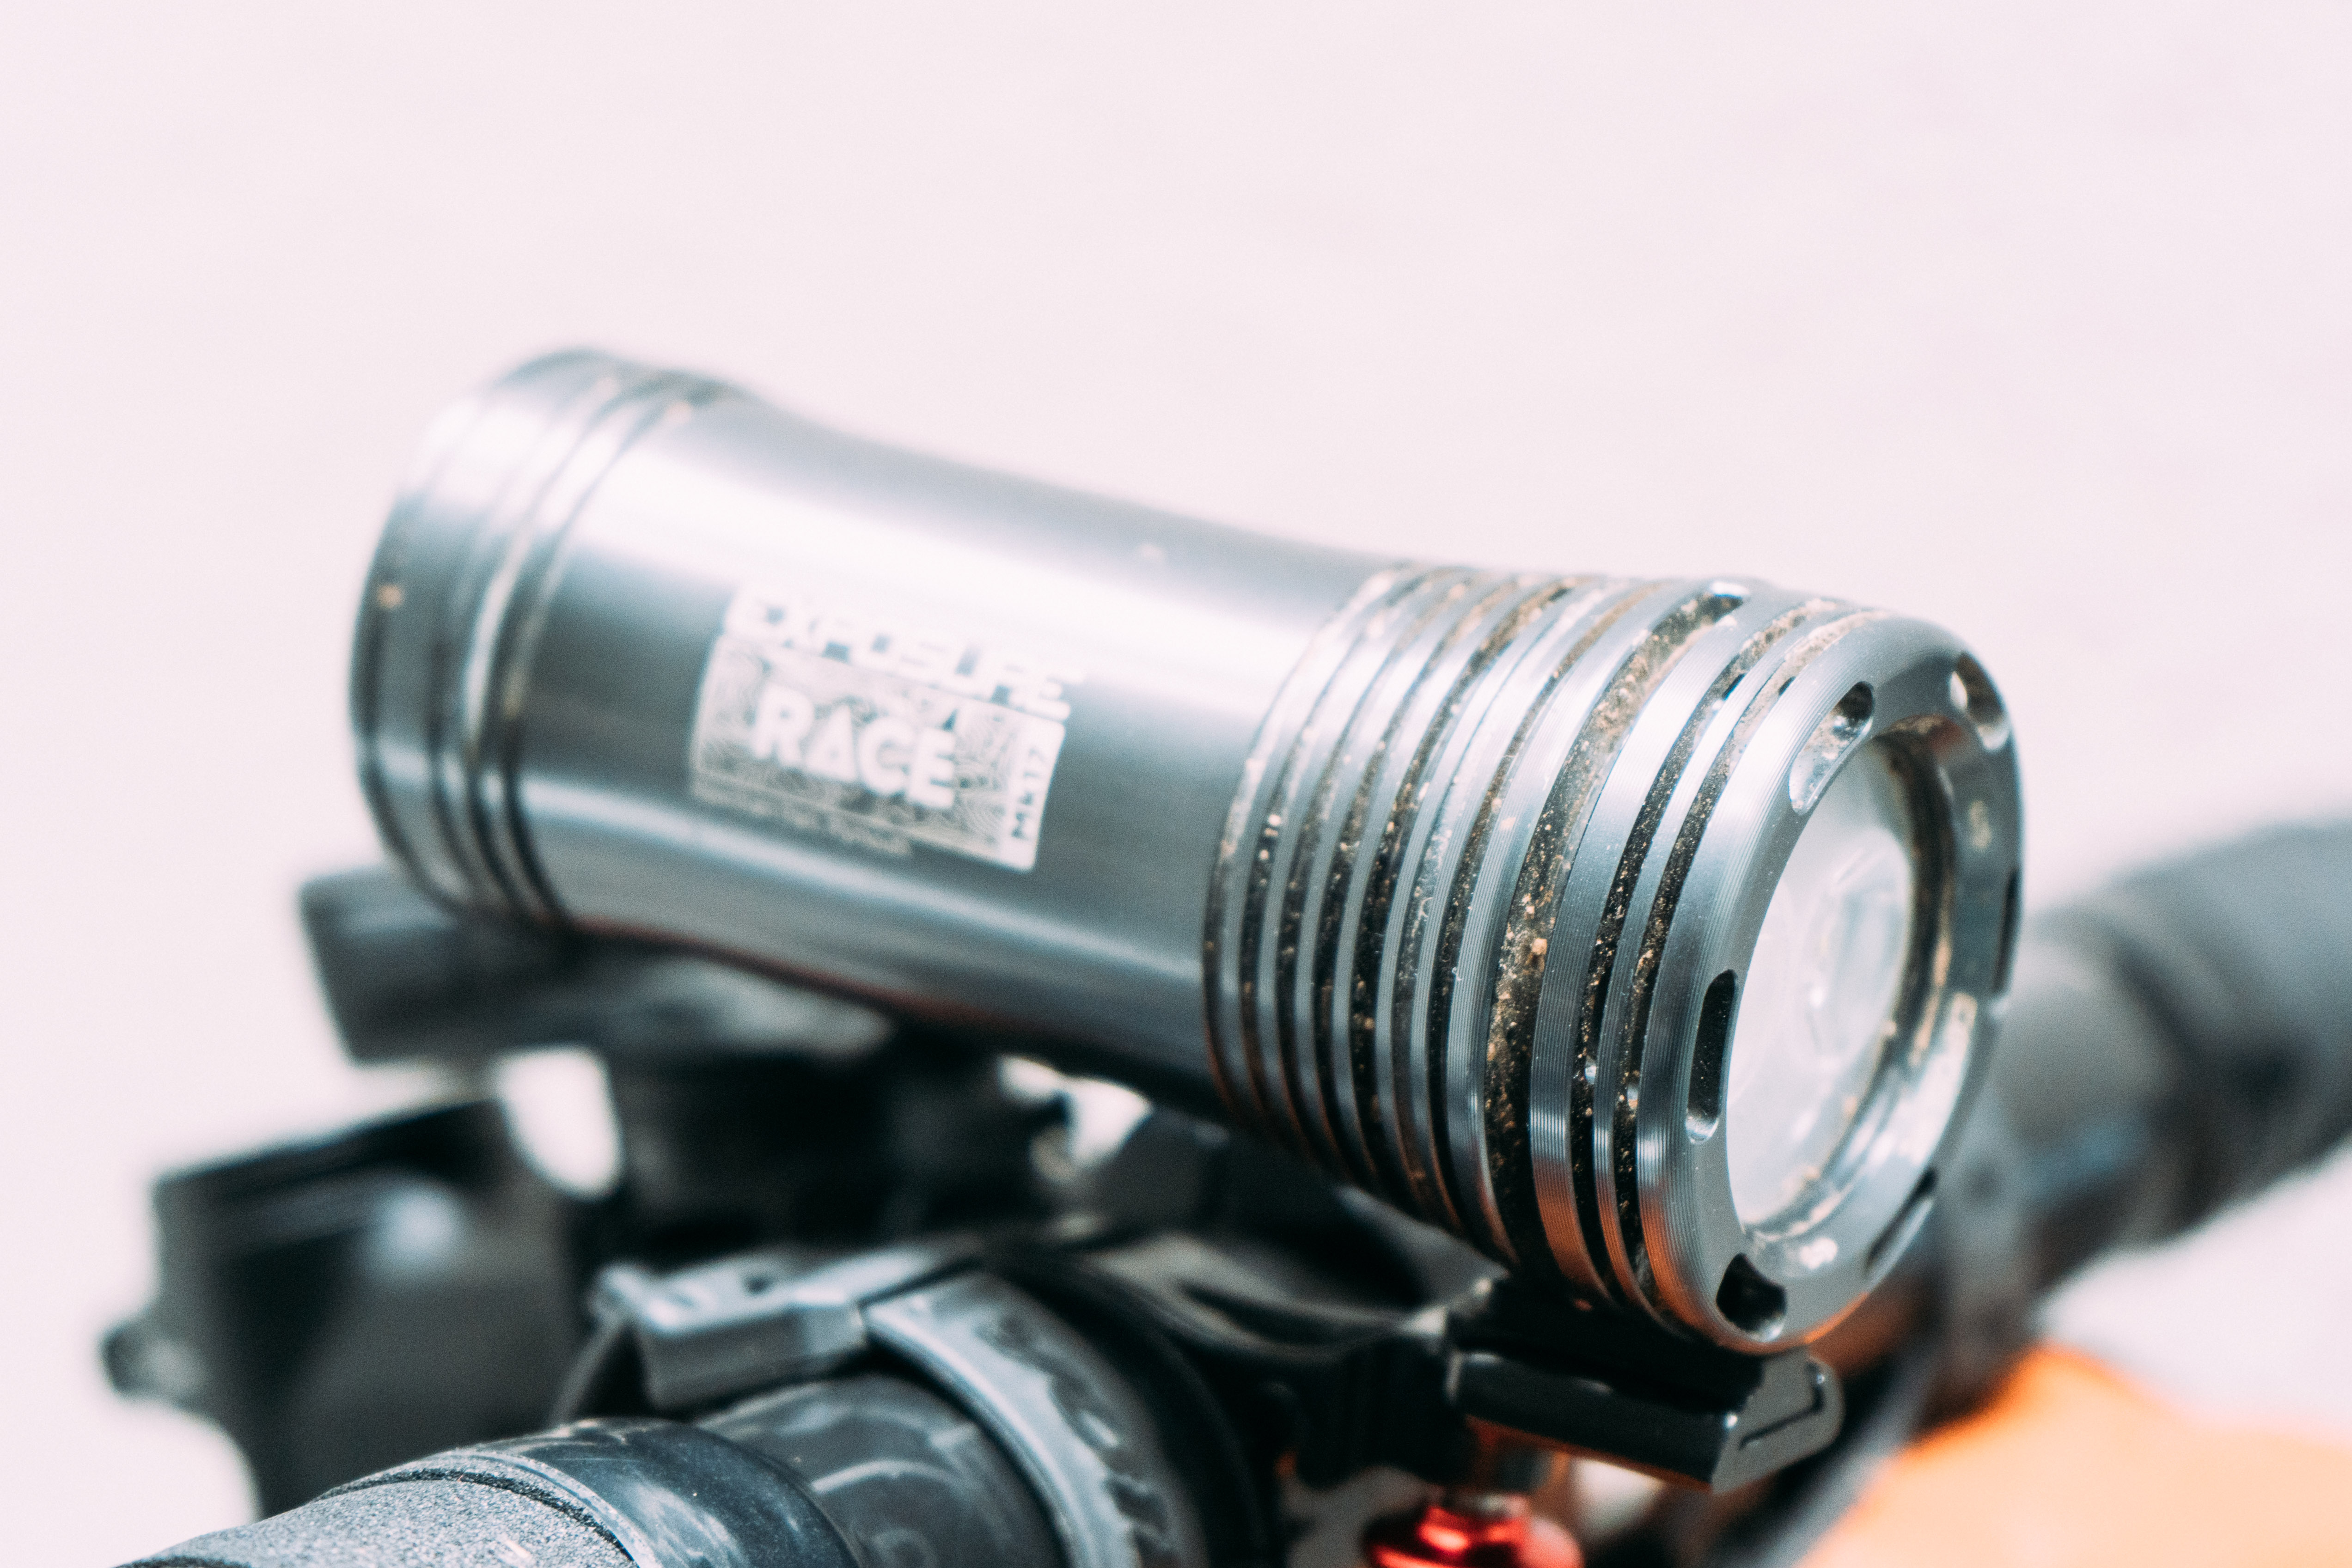
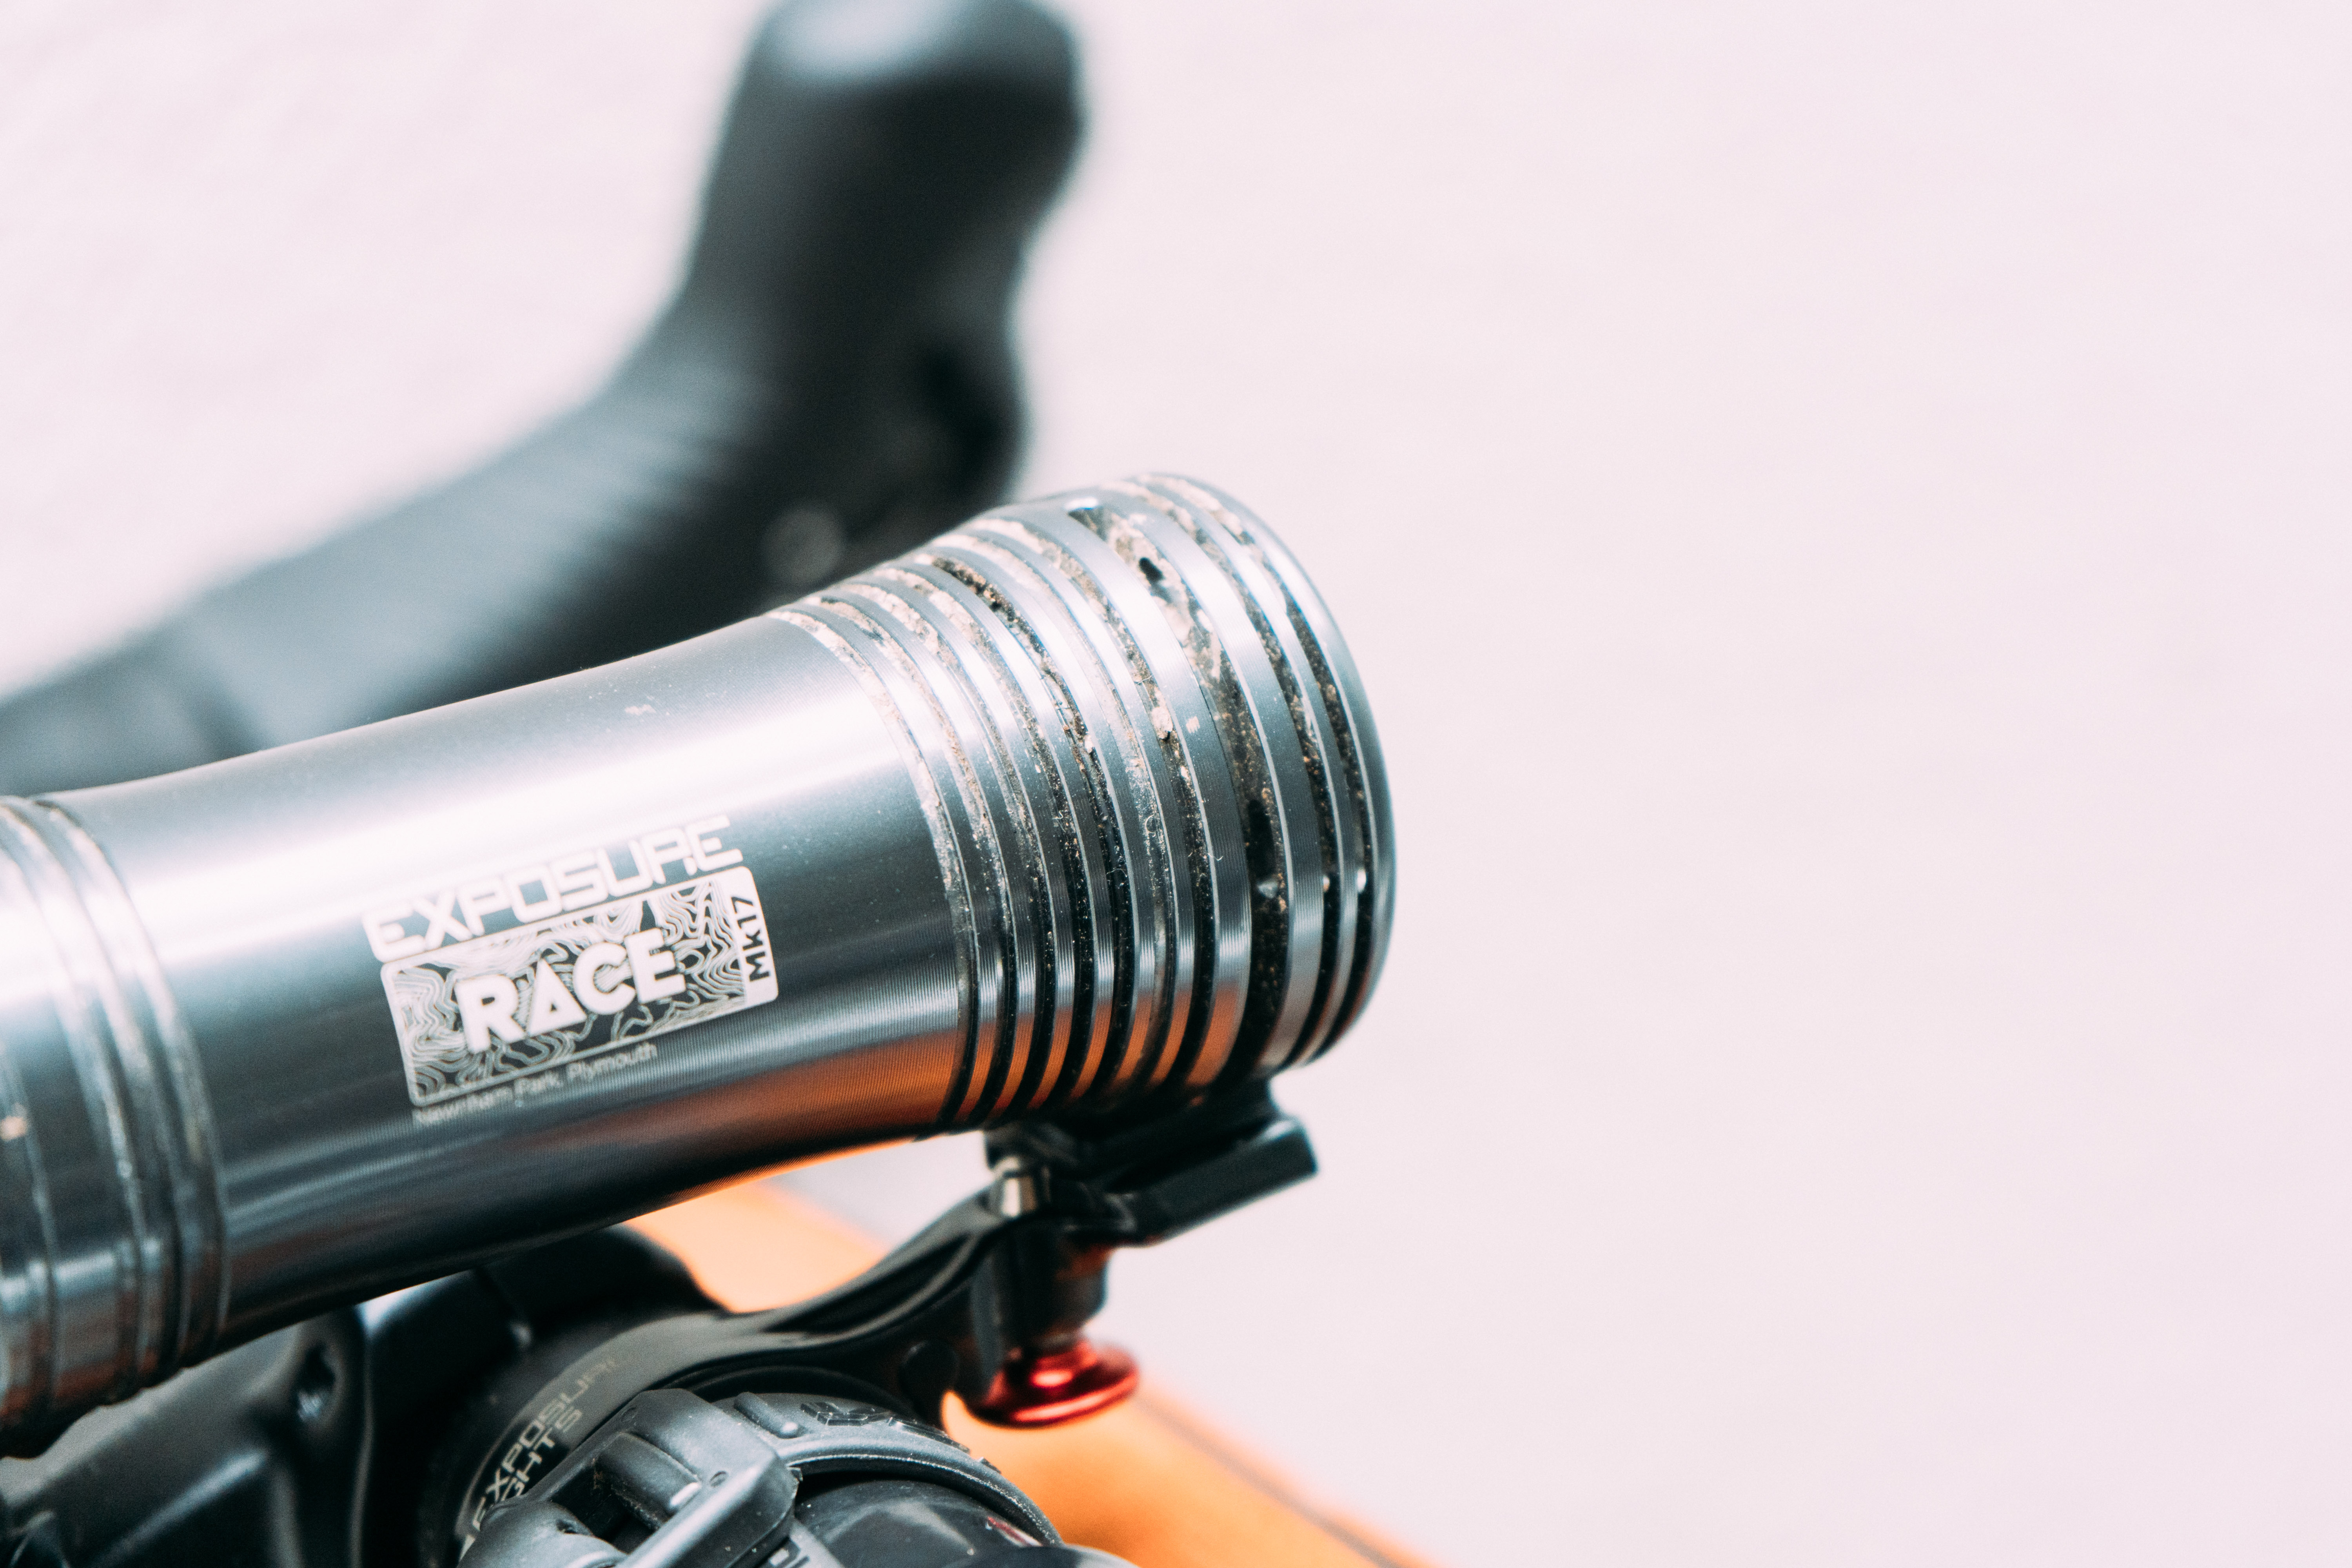
Big silver tube: If you’ve ever seen a bike light that fits that description then chances are it was an Exposure model. The body is beautifully machined from gunmetal grey aluminium, flared at both ends. At the front, a series of ever-deepening cooling fins are worked into the housing to avoid the powerful bulbs getting too hot.
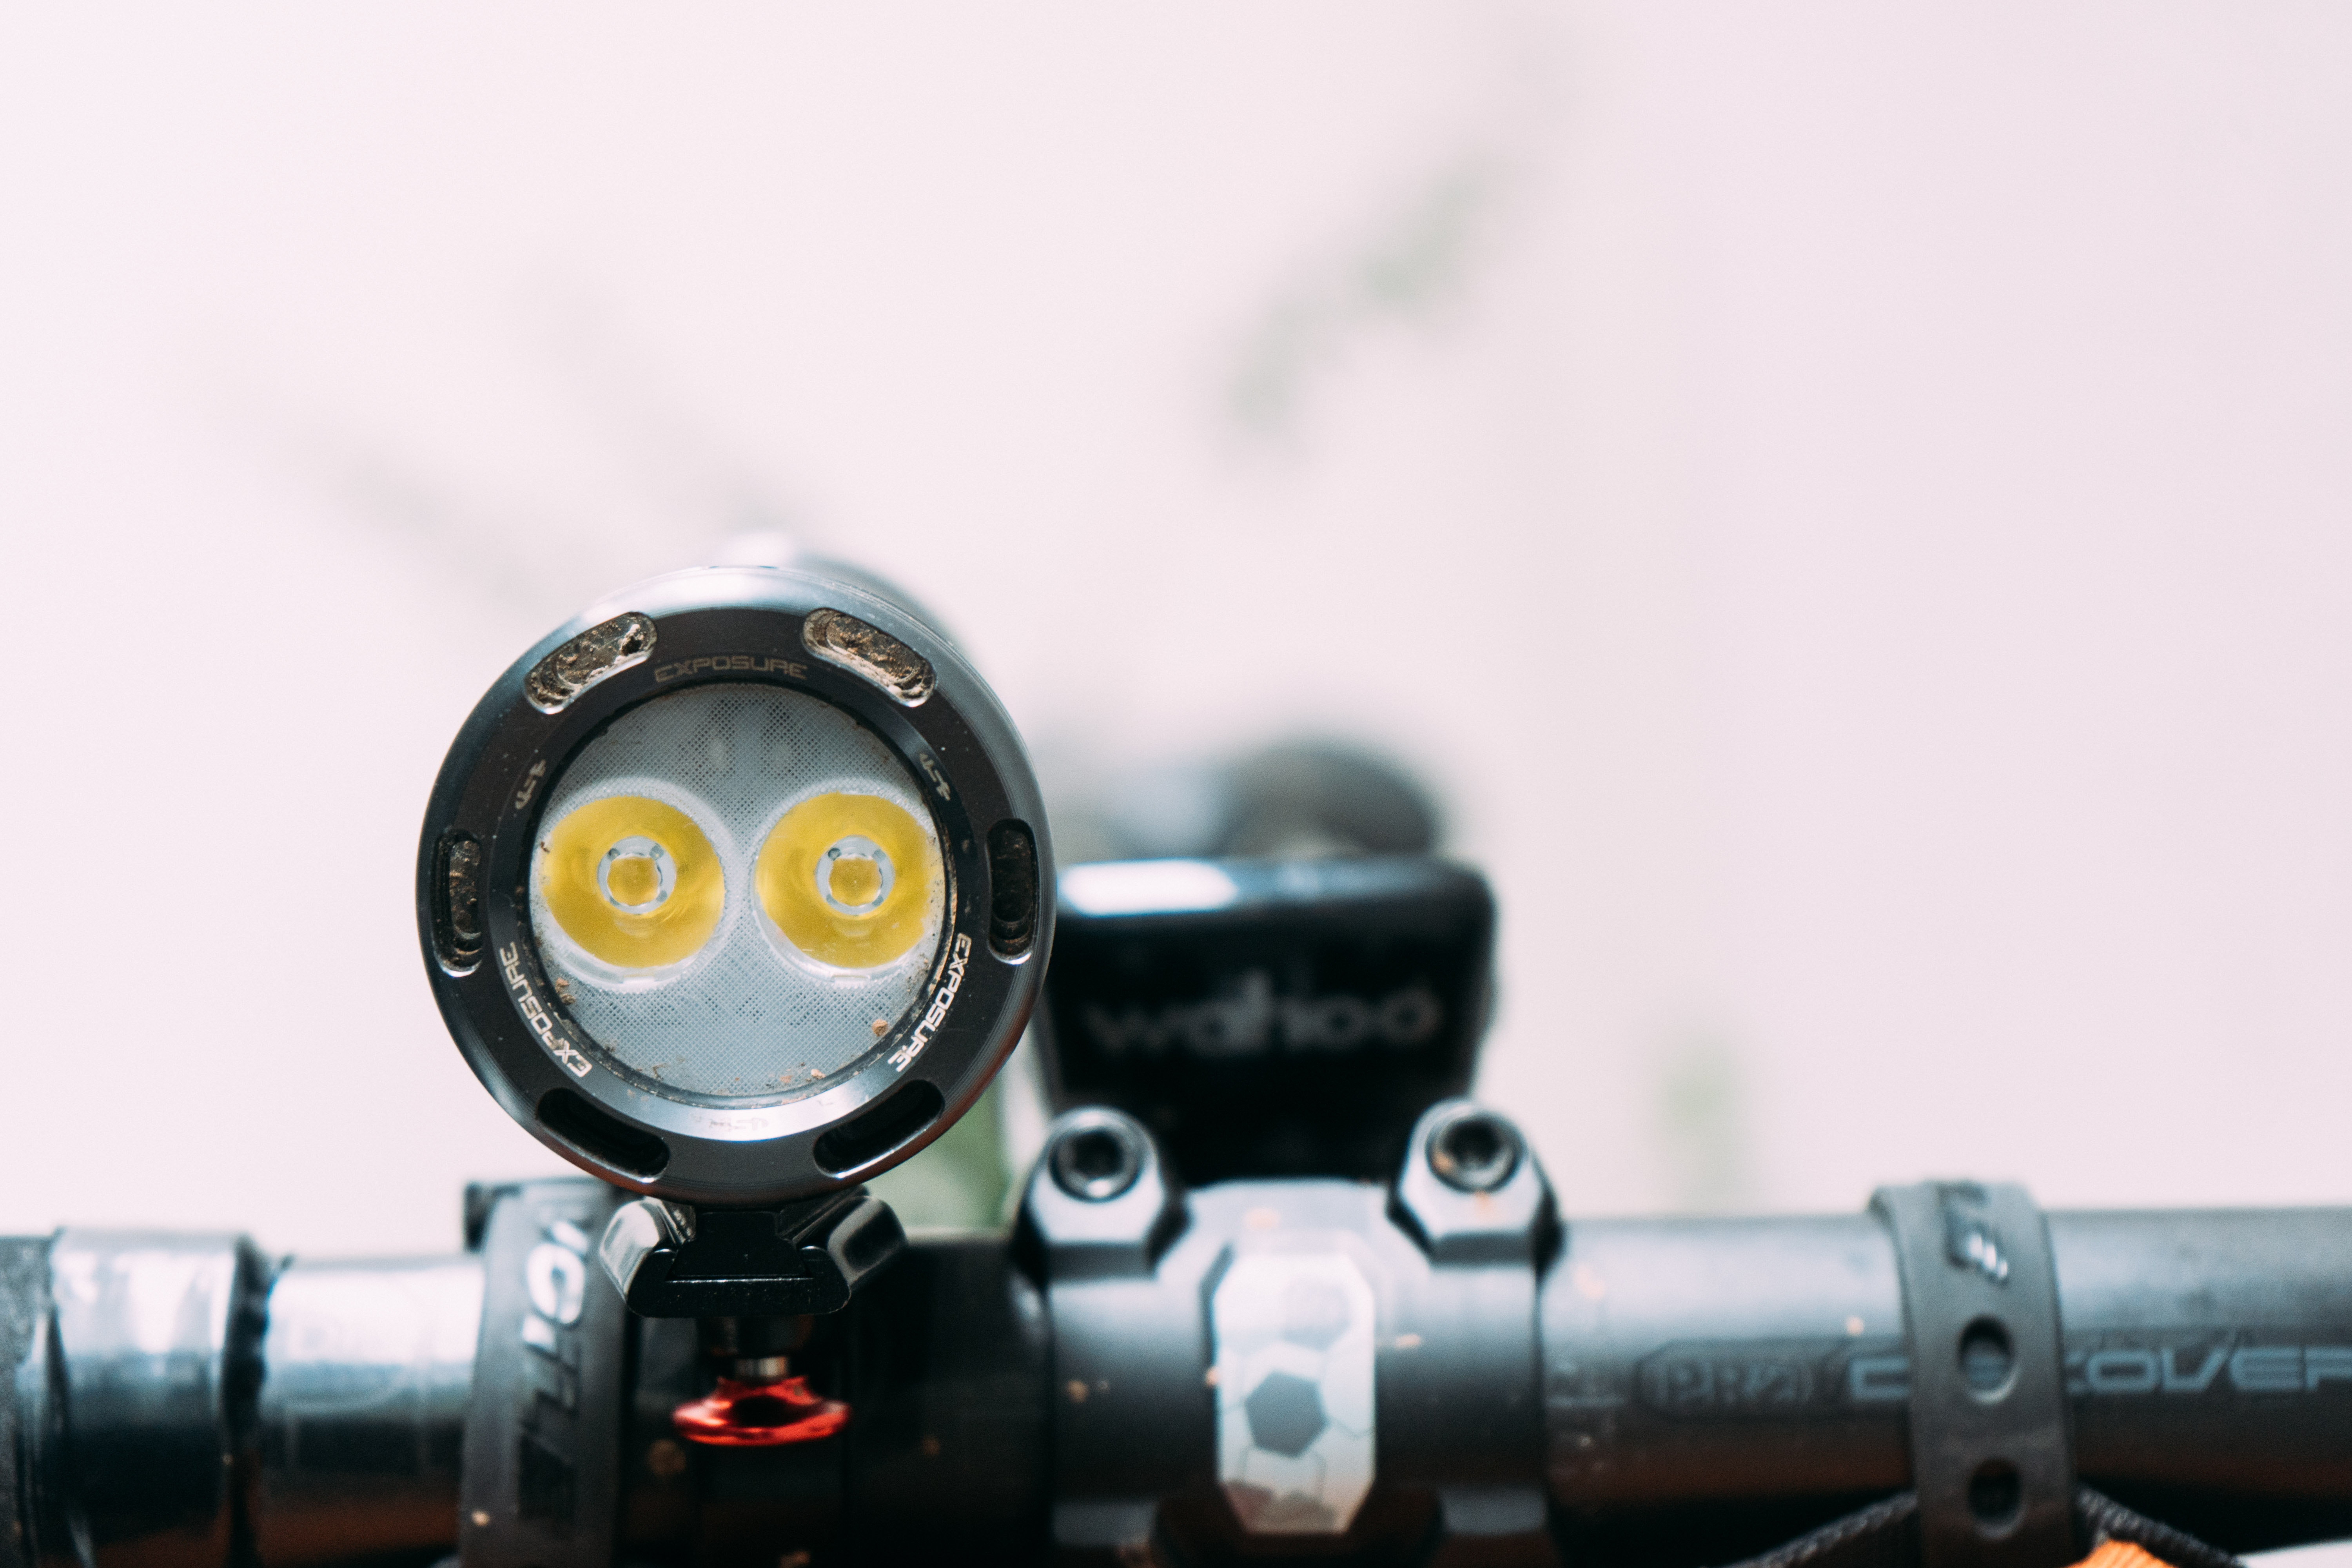
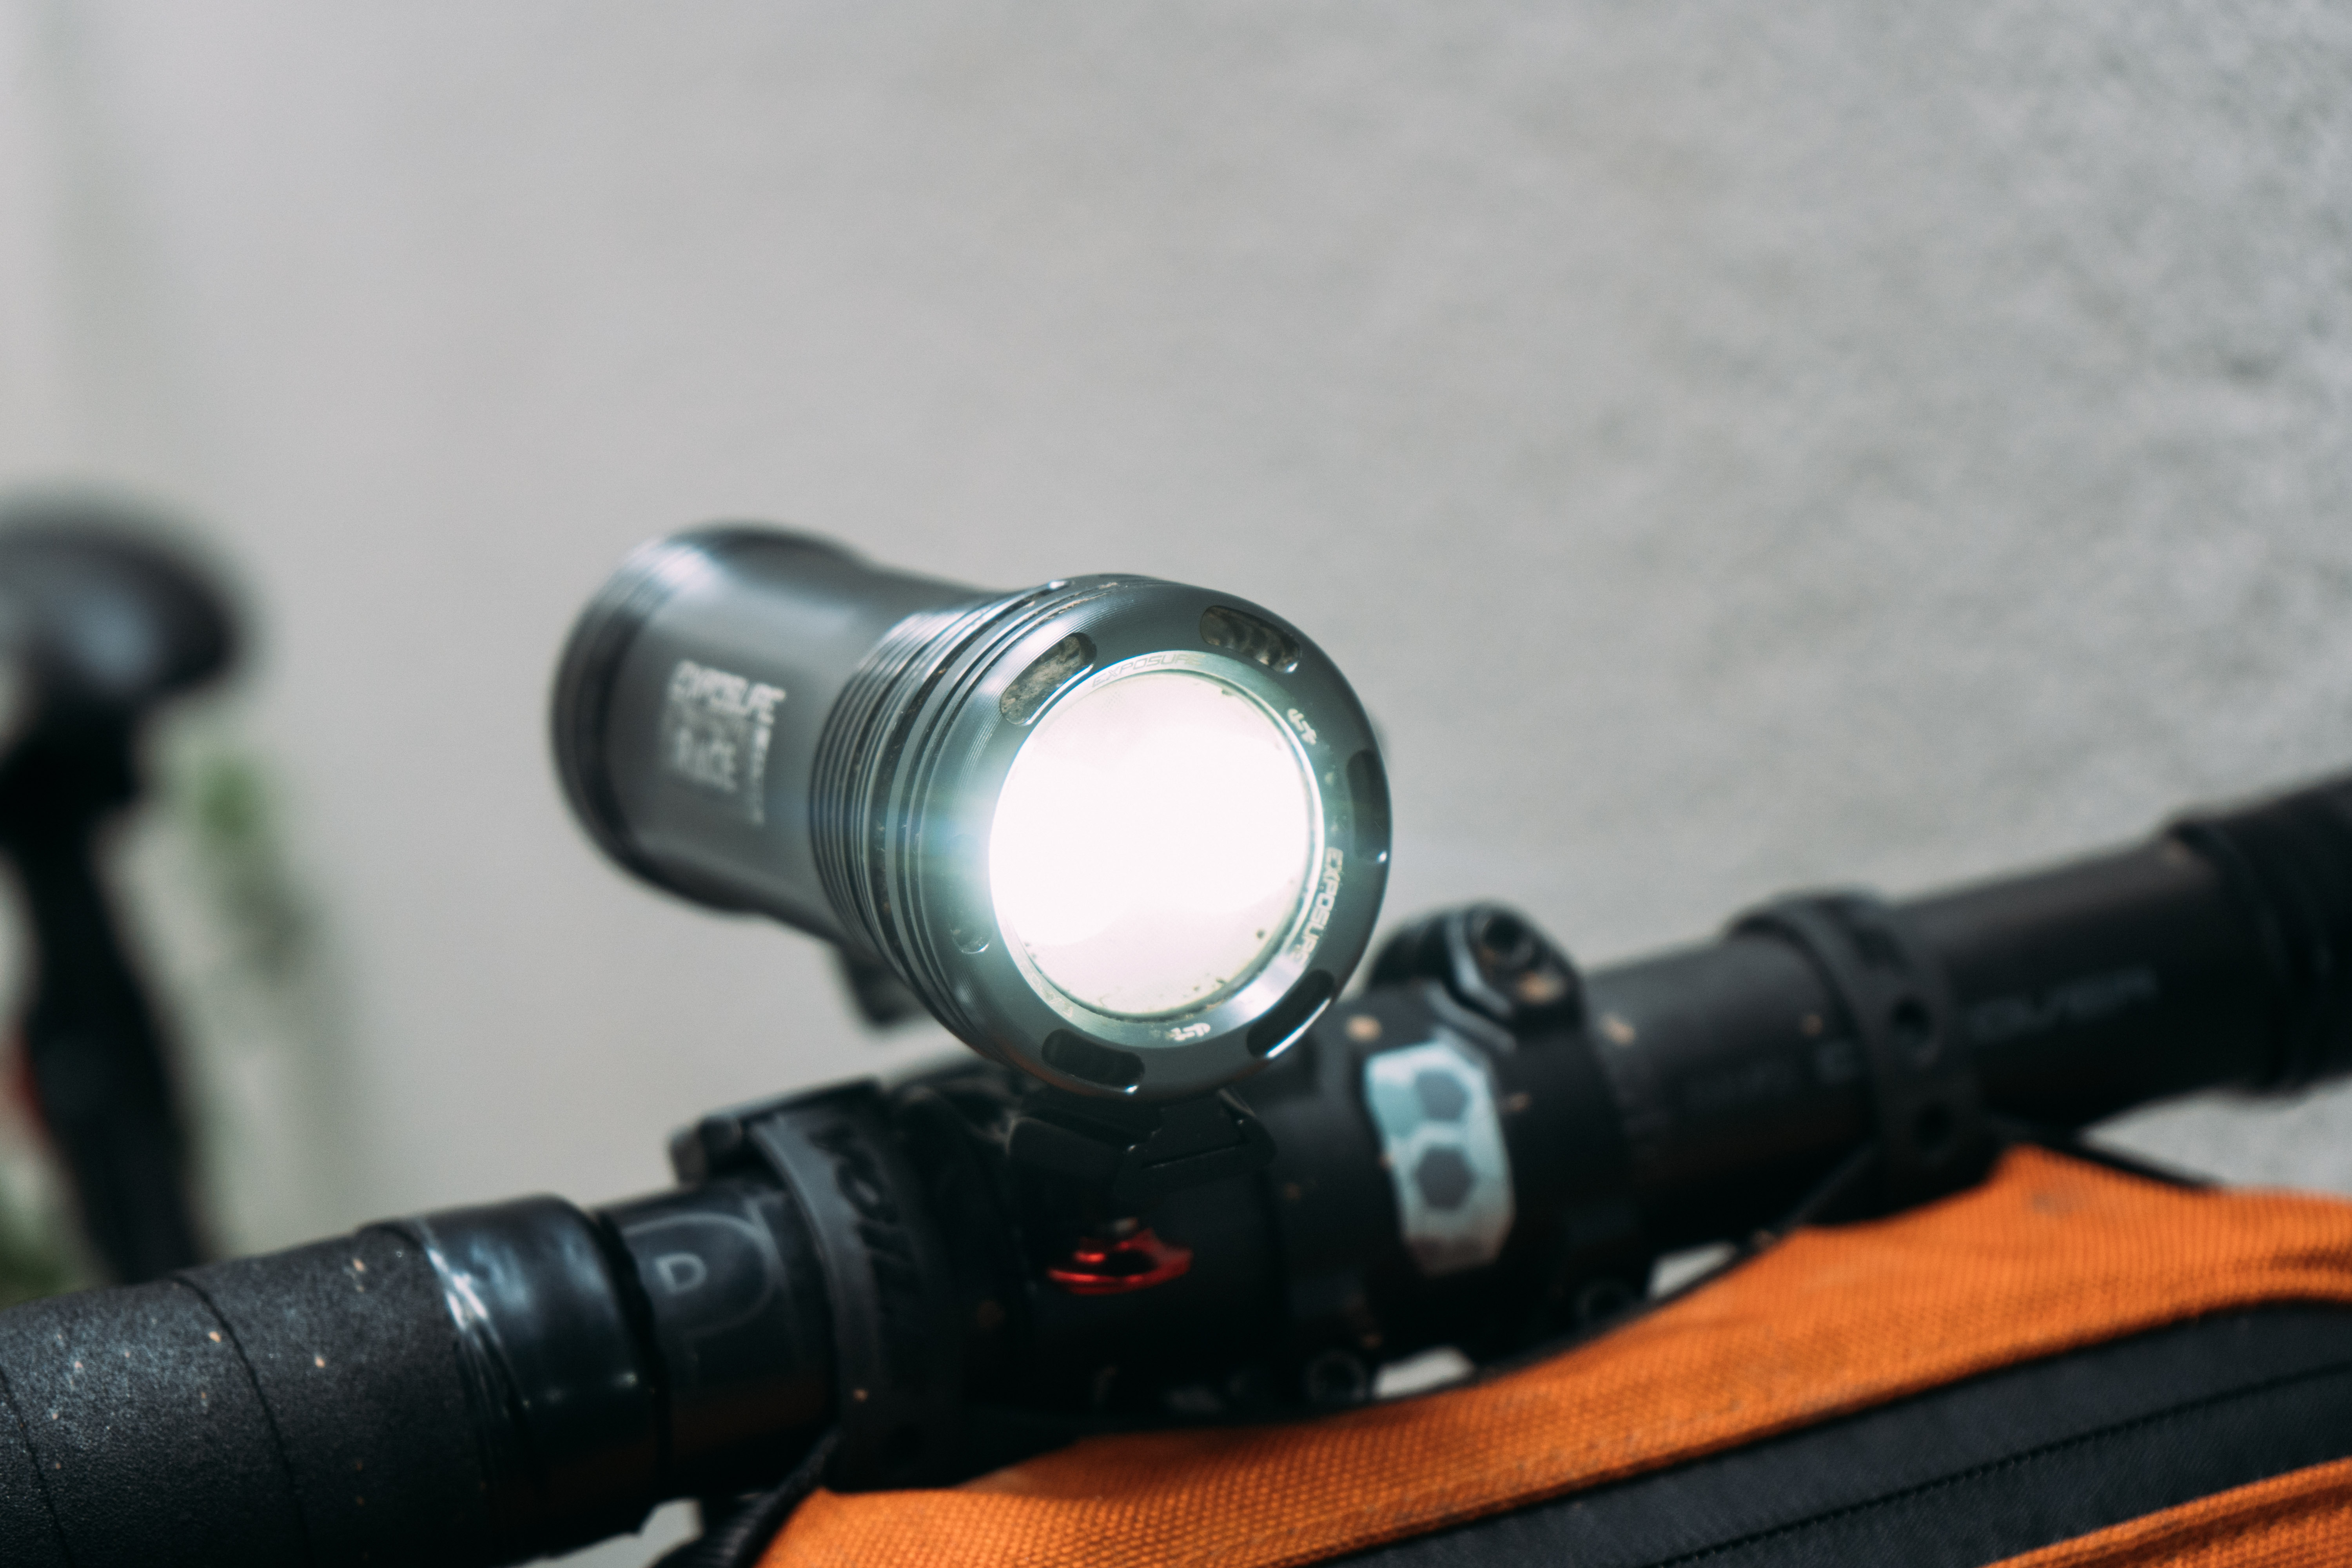
Up front you get a pair of large LED bulbs aligned horizontally. There’s nothing to suggest these bulbs are different to each other, unlike some larger lights from the brand which use a mixture of spot- and flood-lights to create the beam shape. Here it’s just the pair, both working towards the same end goal.
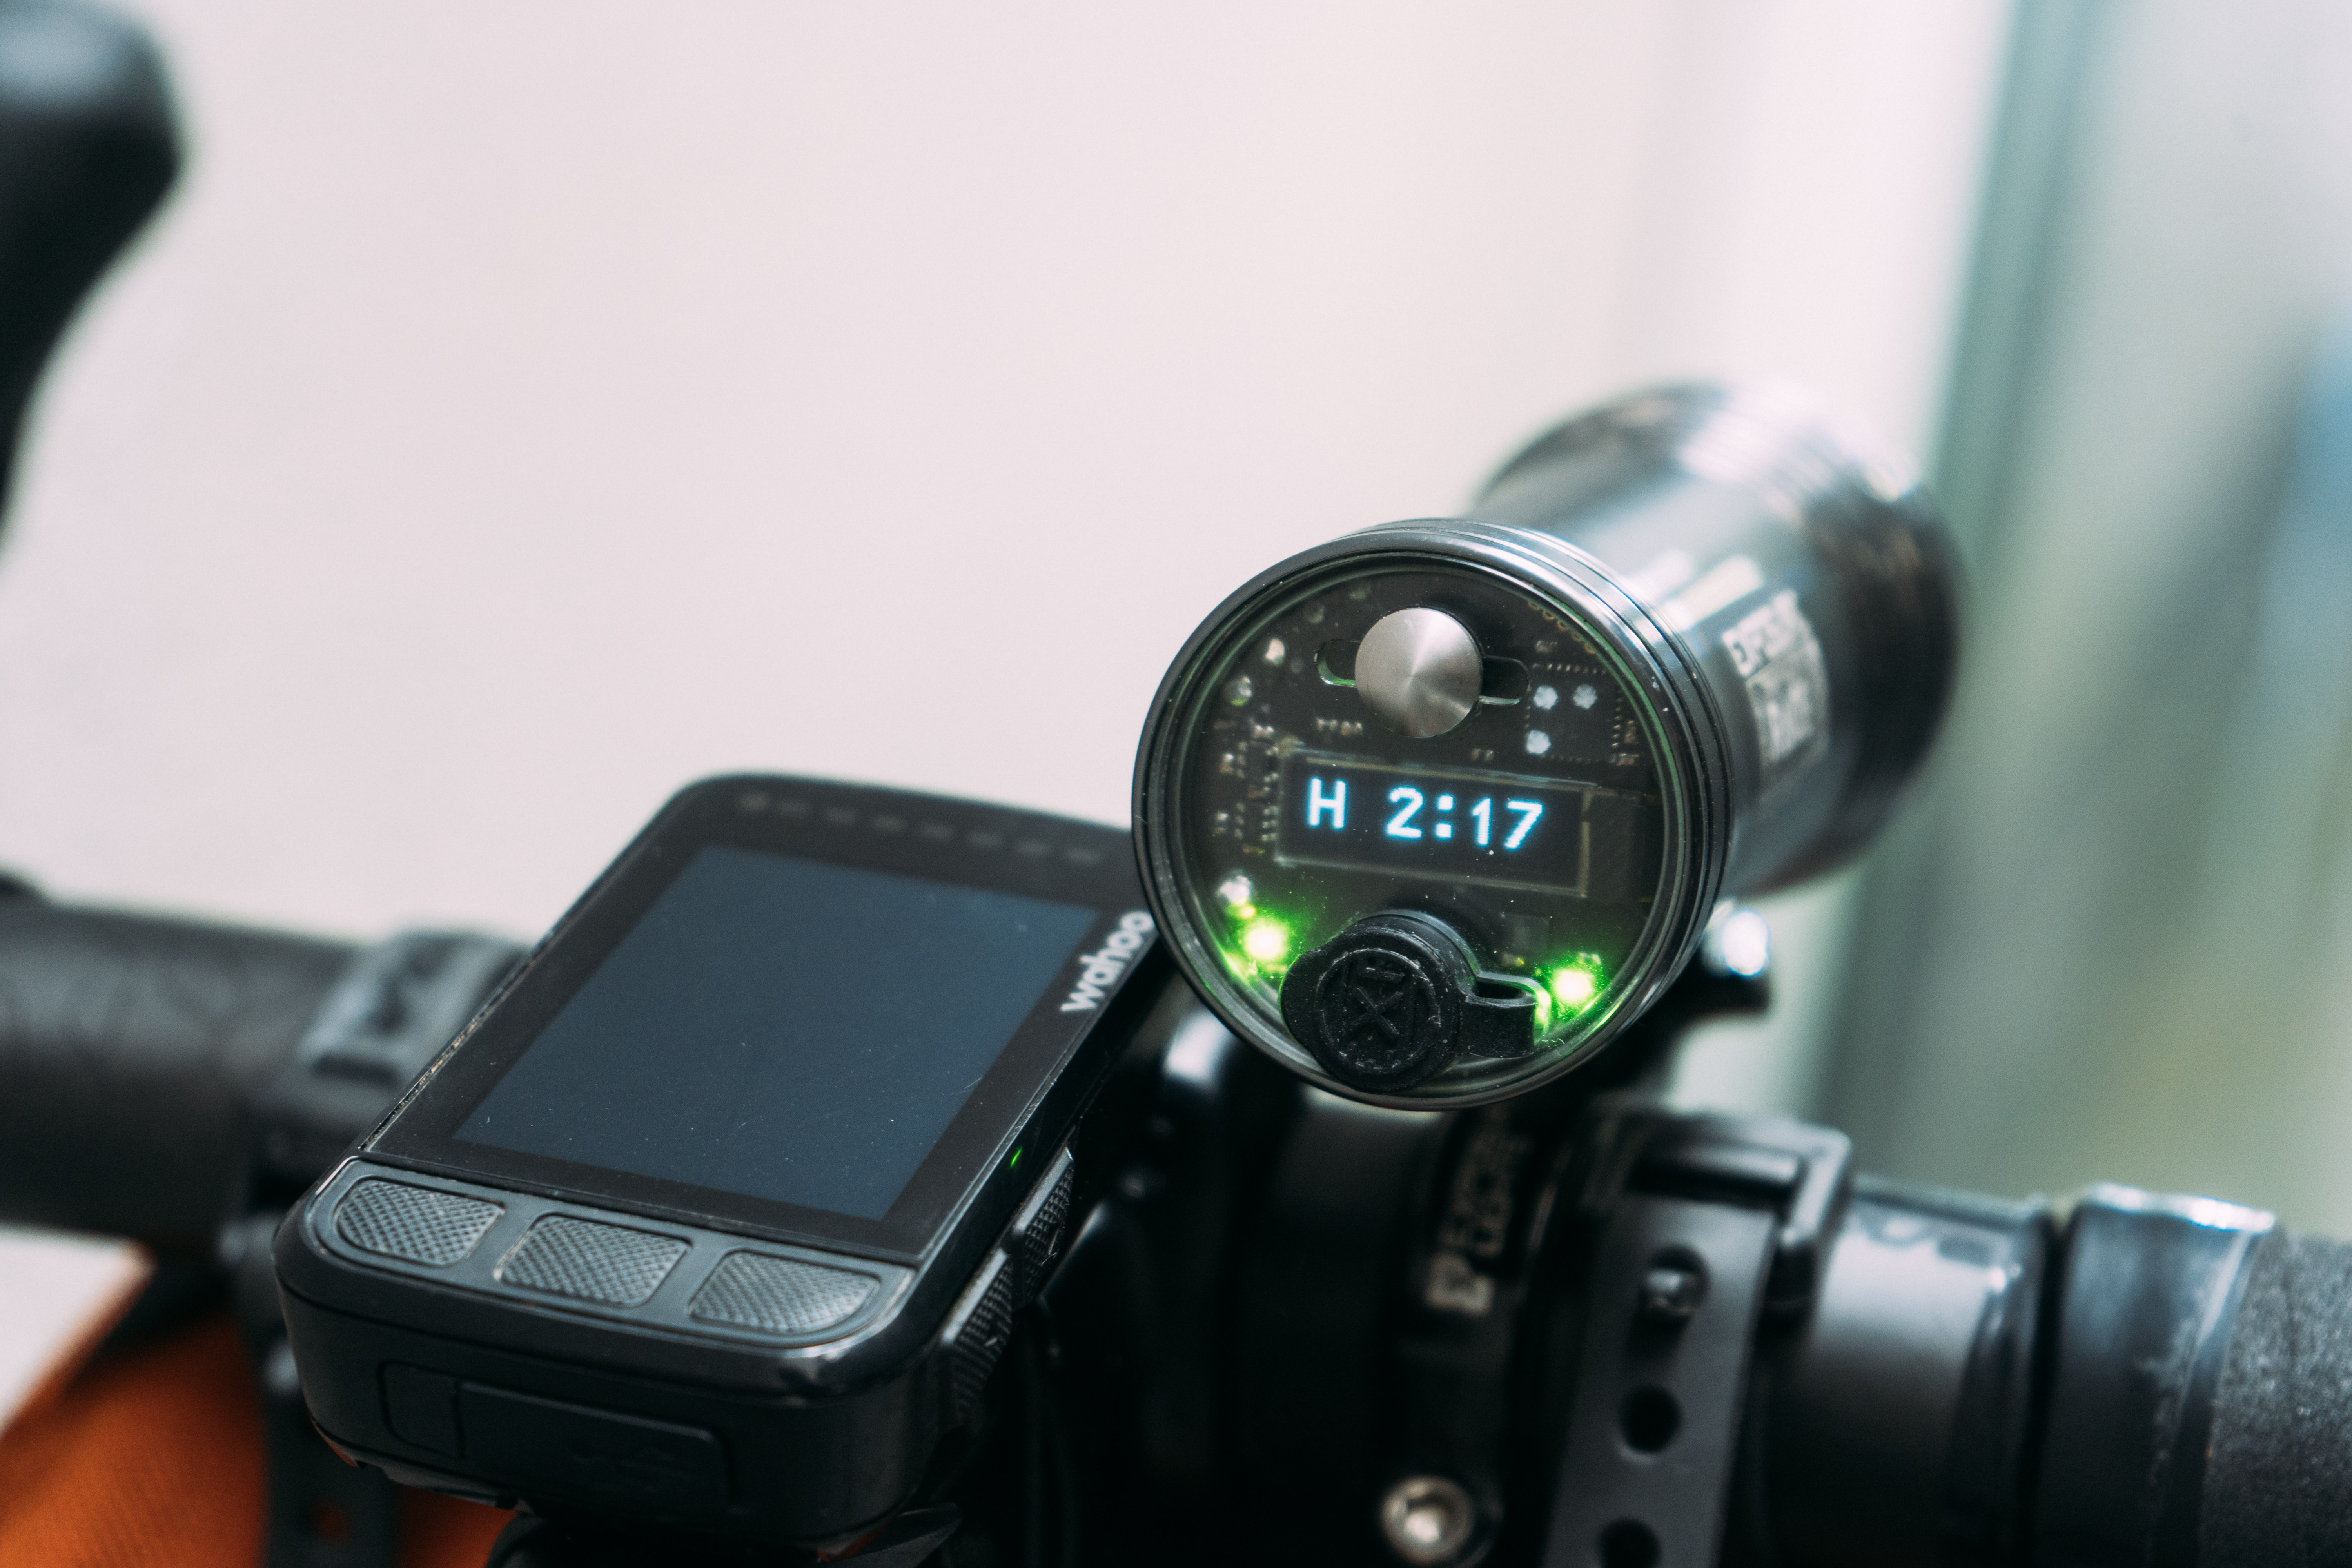
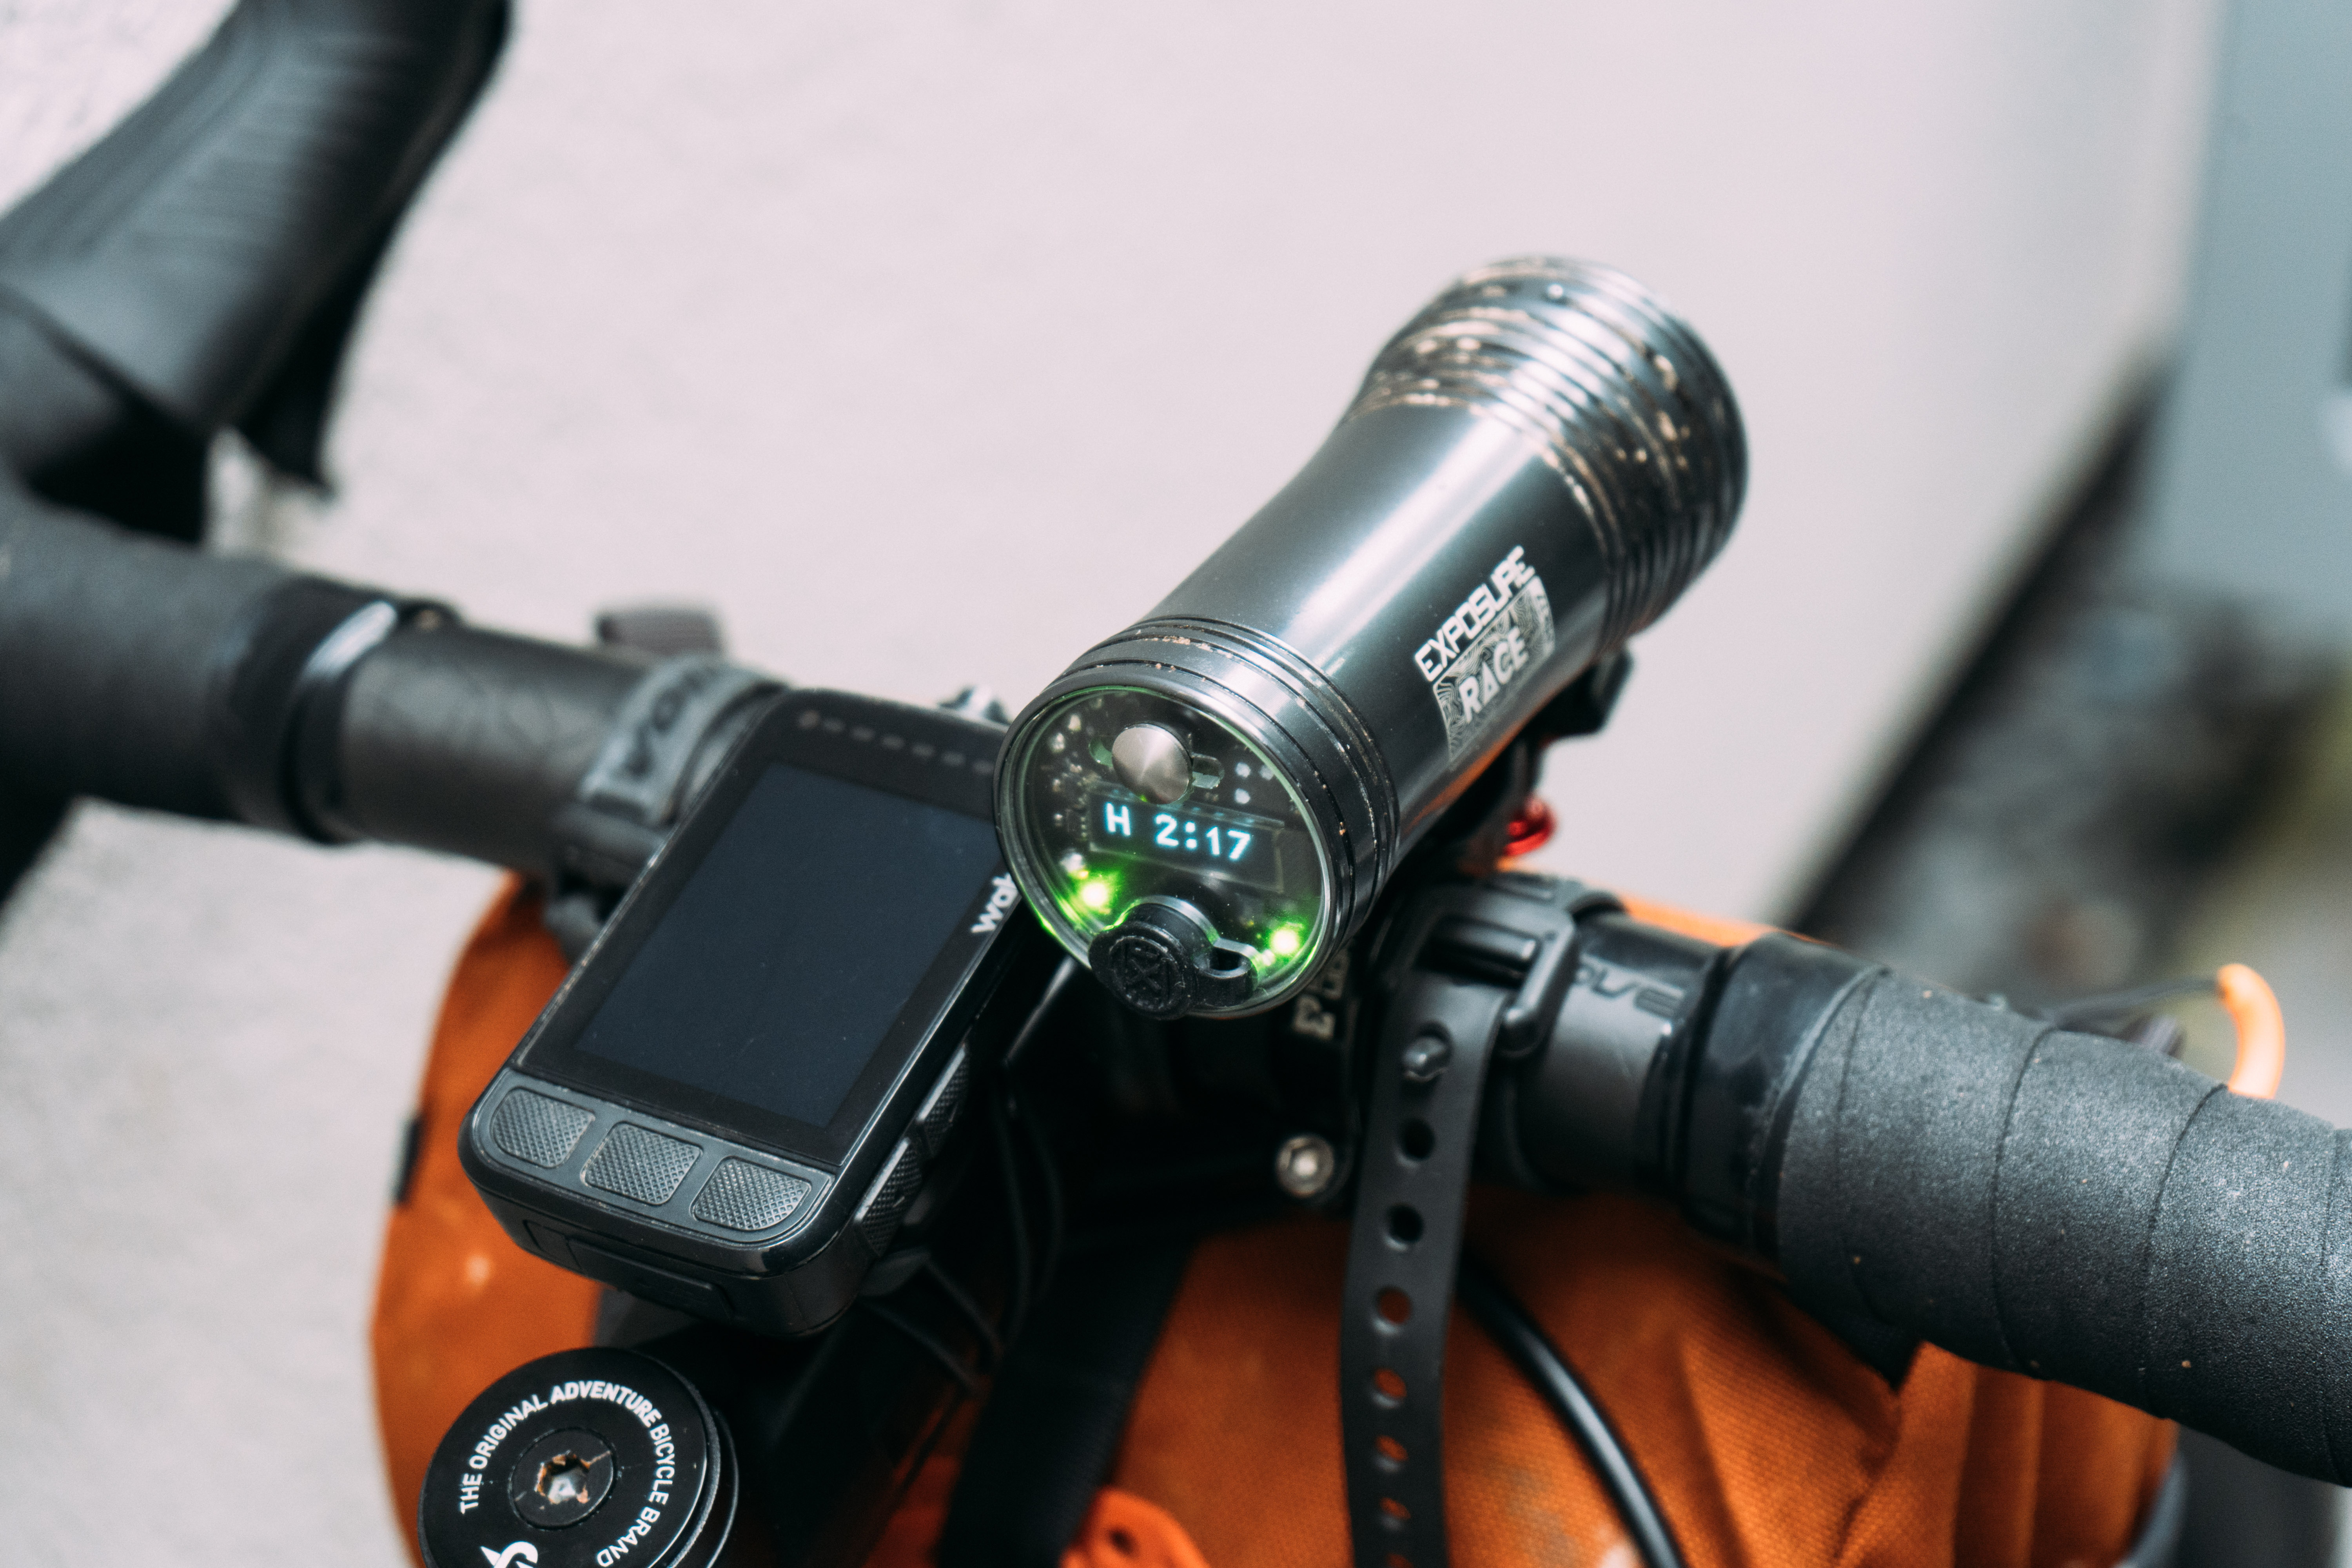
At the back, like all of the larger Exposure models that I’ve tried (Exposure Strada, Toro, MAXX-D, and the Race) you get a clear perspex rear panel under which sits an LCD screen and two red/green indicator LEDs, a large silver button which sits proud, and a proprietary charging port.
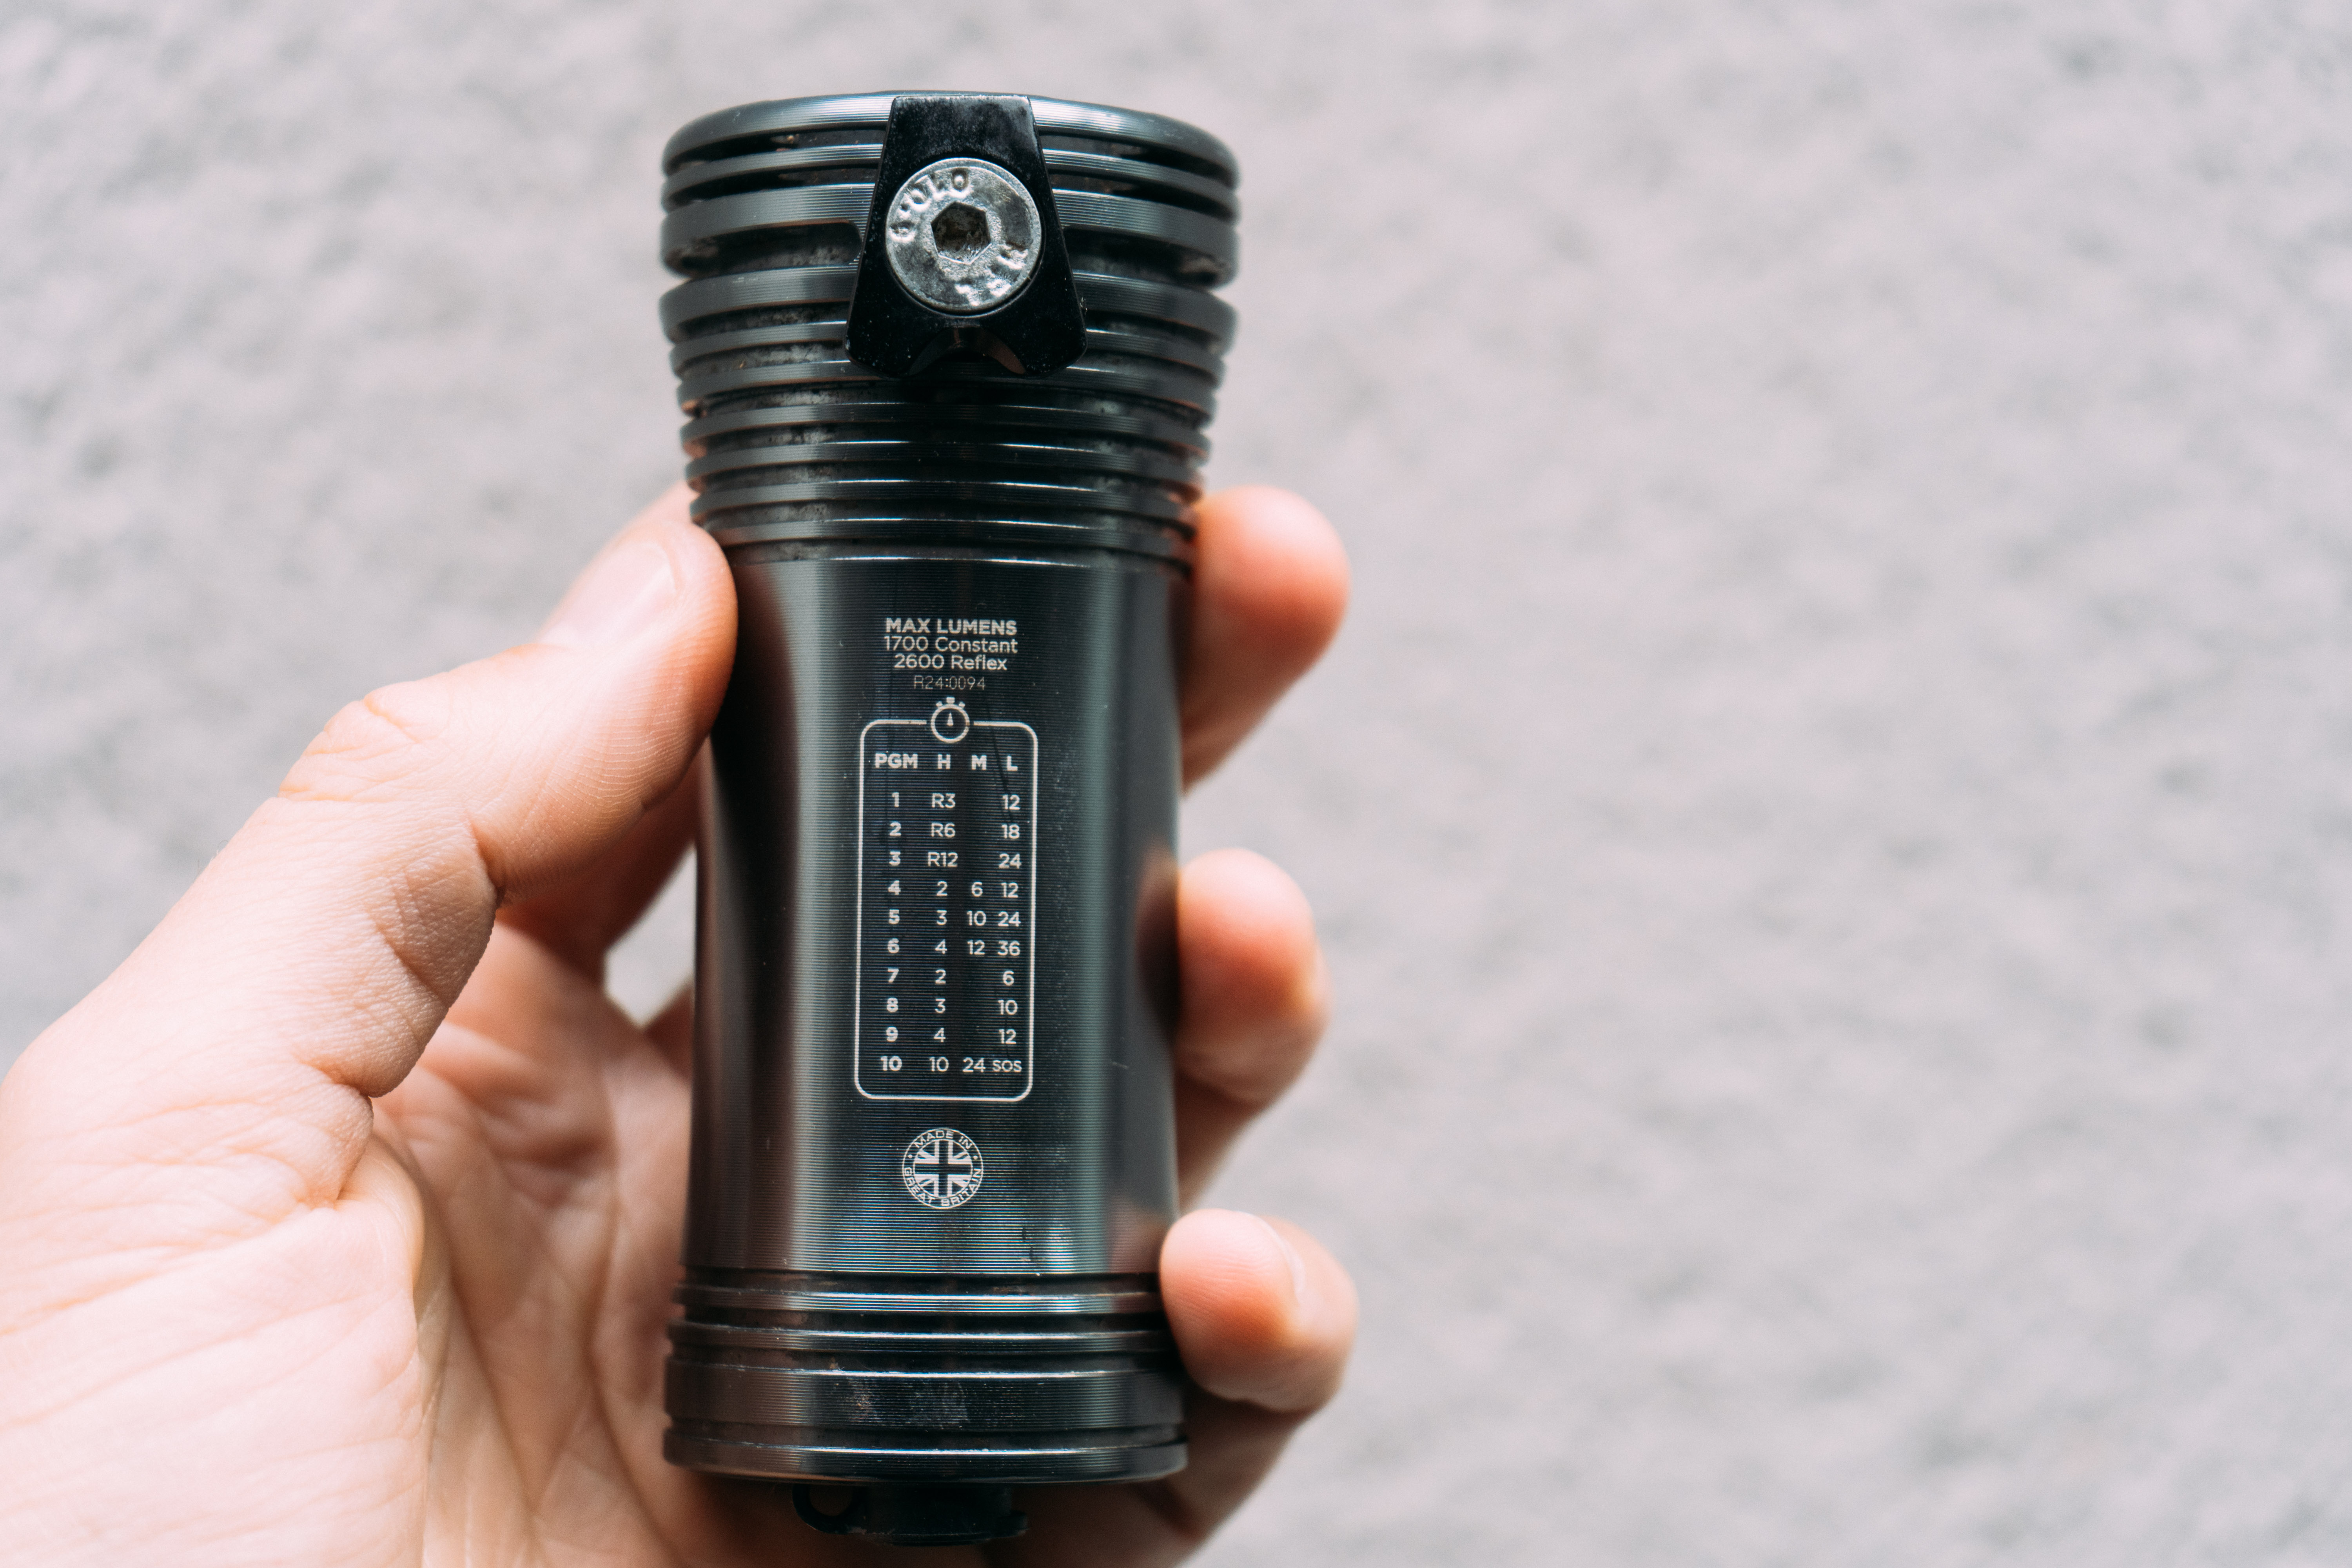
On the underside is etched a series of program modes. You get a menu of 10 to choose from, with each listing the purported burn time at each beam intensity. This is the learning curve that often gets mentioned with Exposure lights, but it is pretty simple. You just use the rear button to load up your preferred pair or trio of intensity options depending on how long you’d like the lights to last, and then while riding you can only cycle between those two or three options.
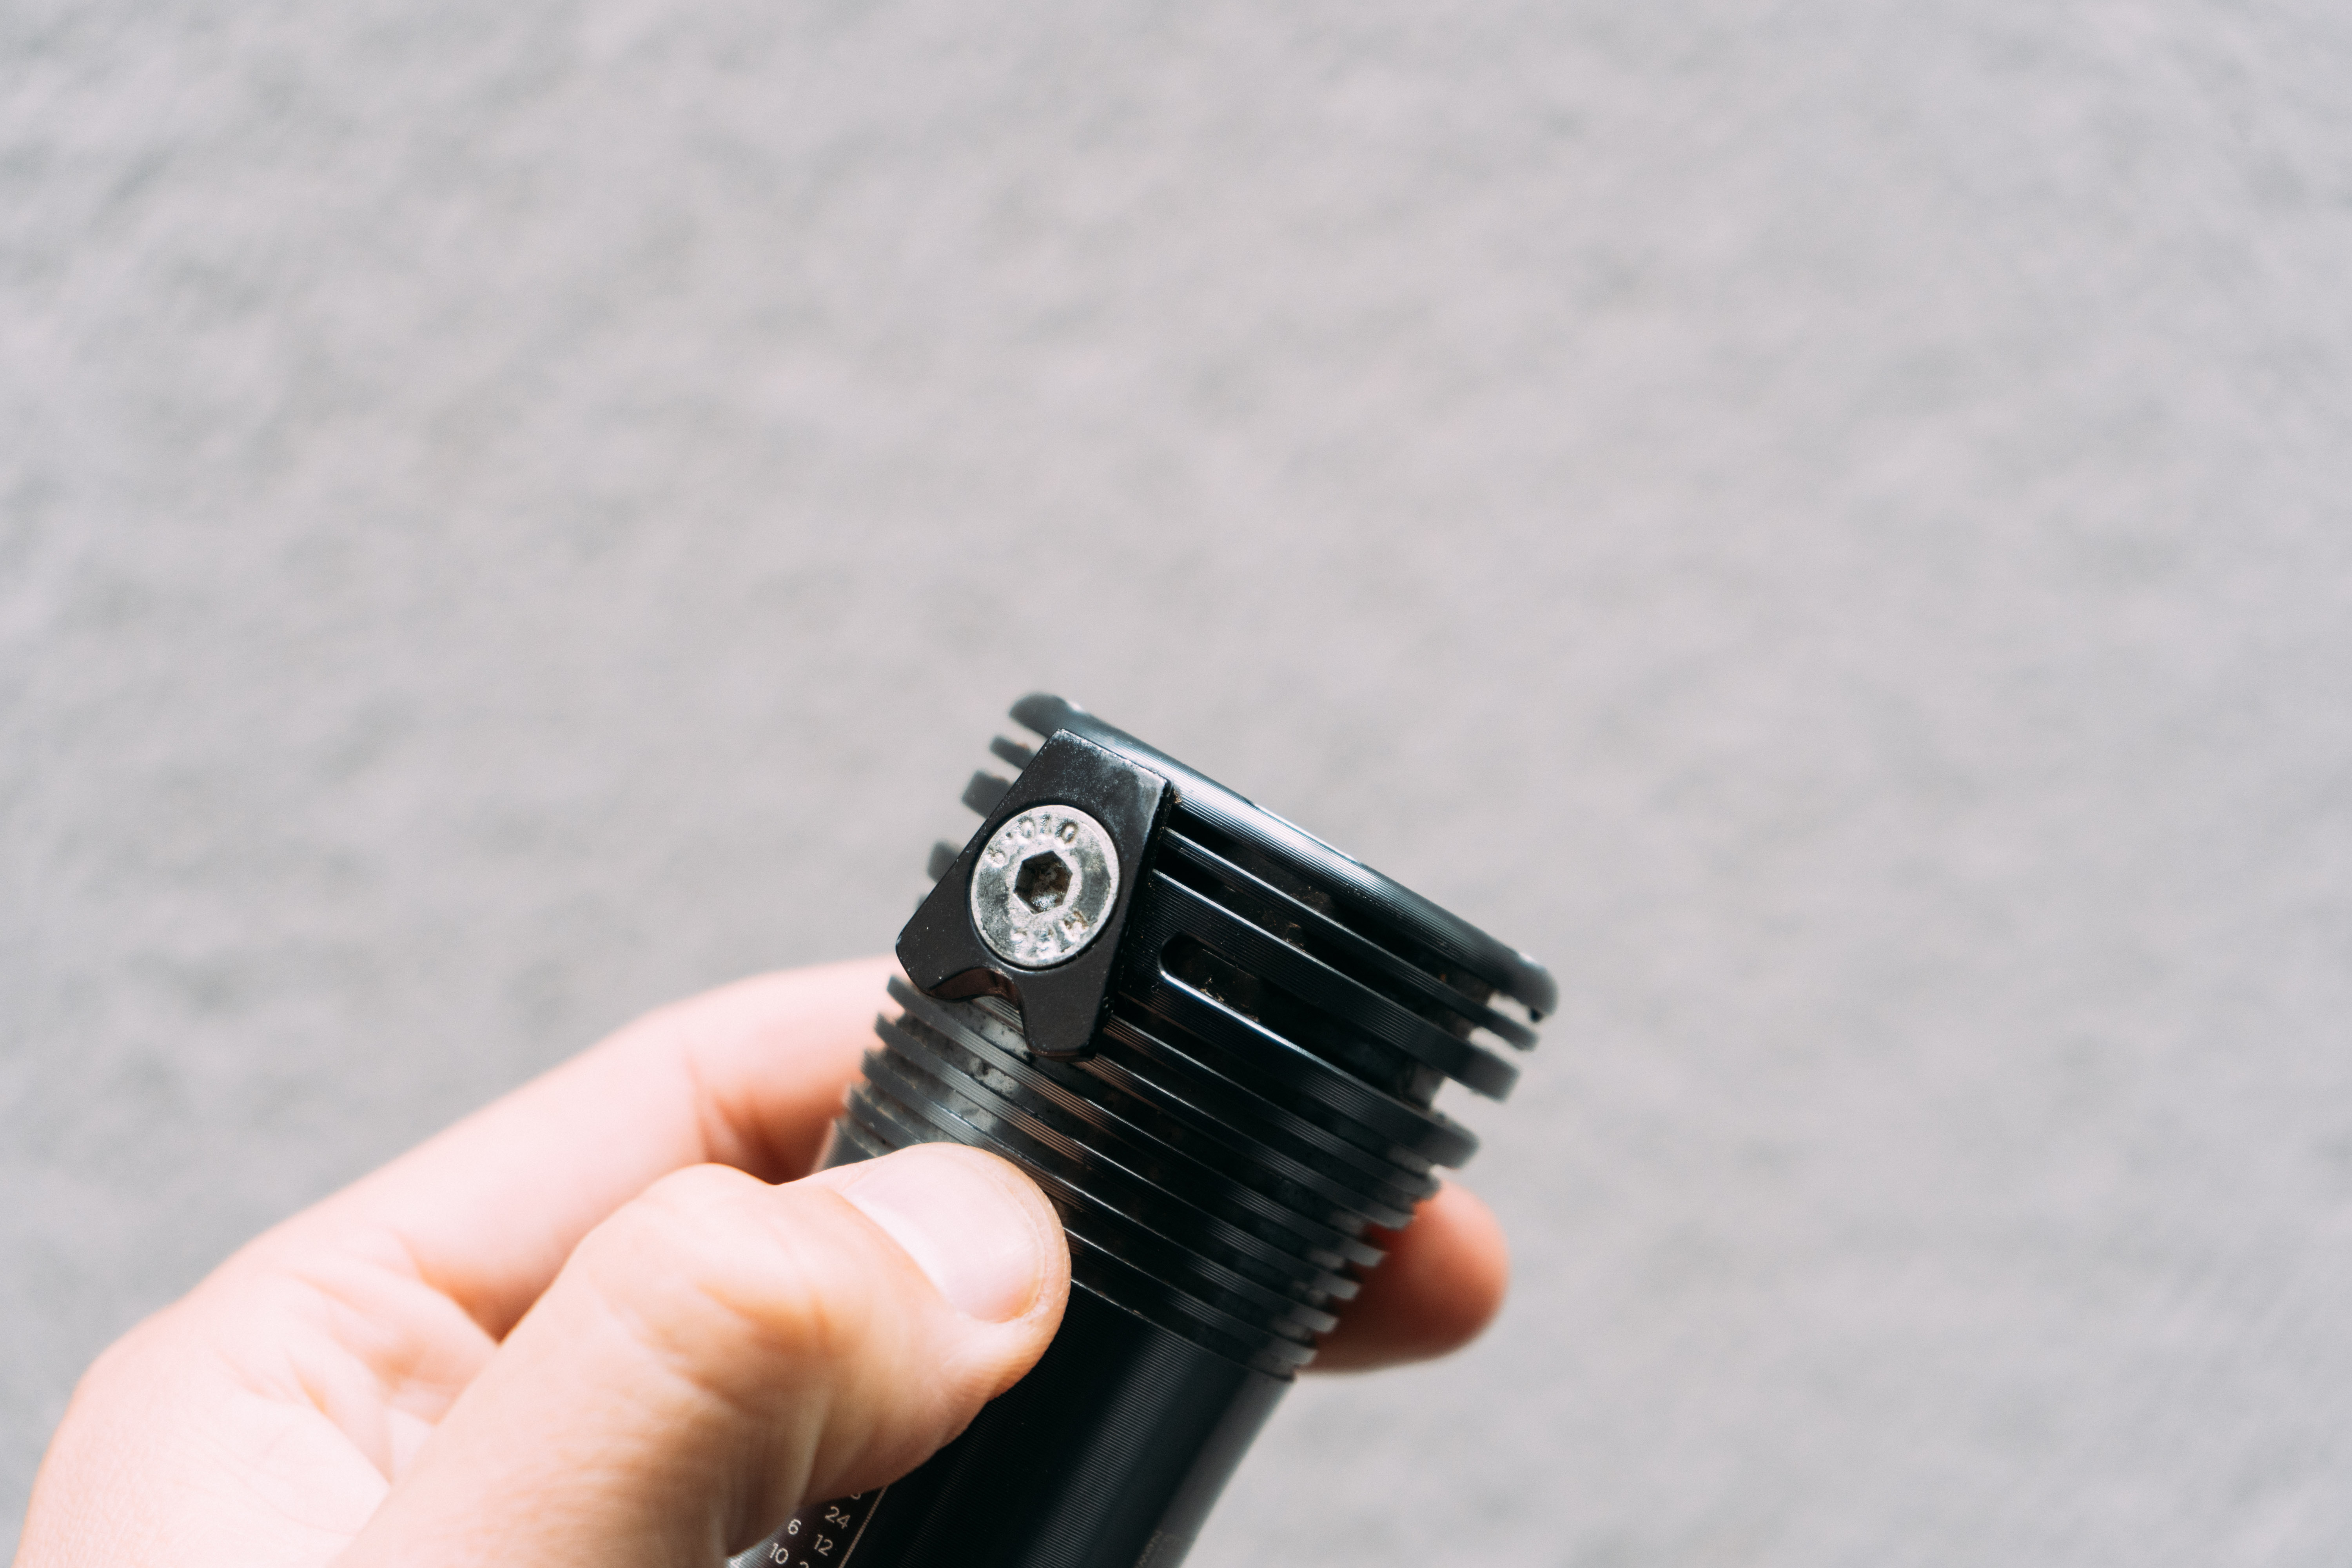
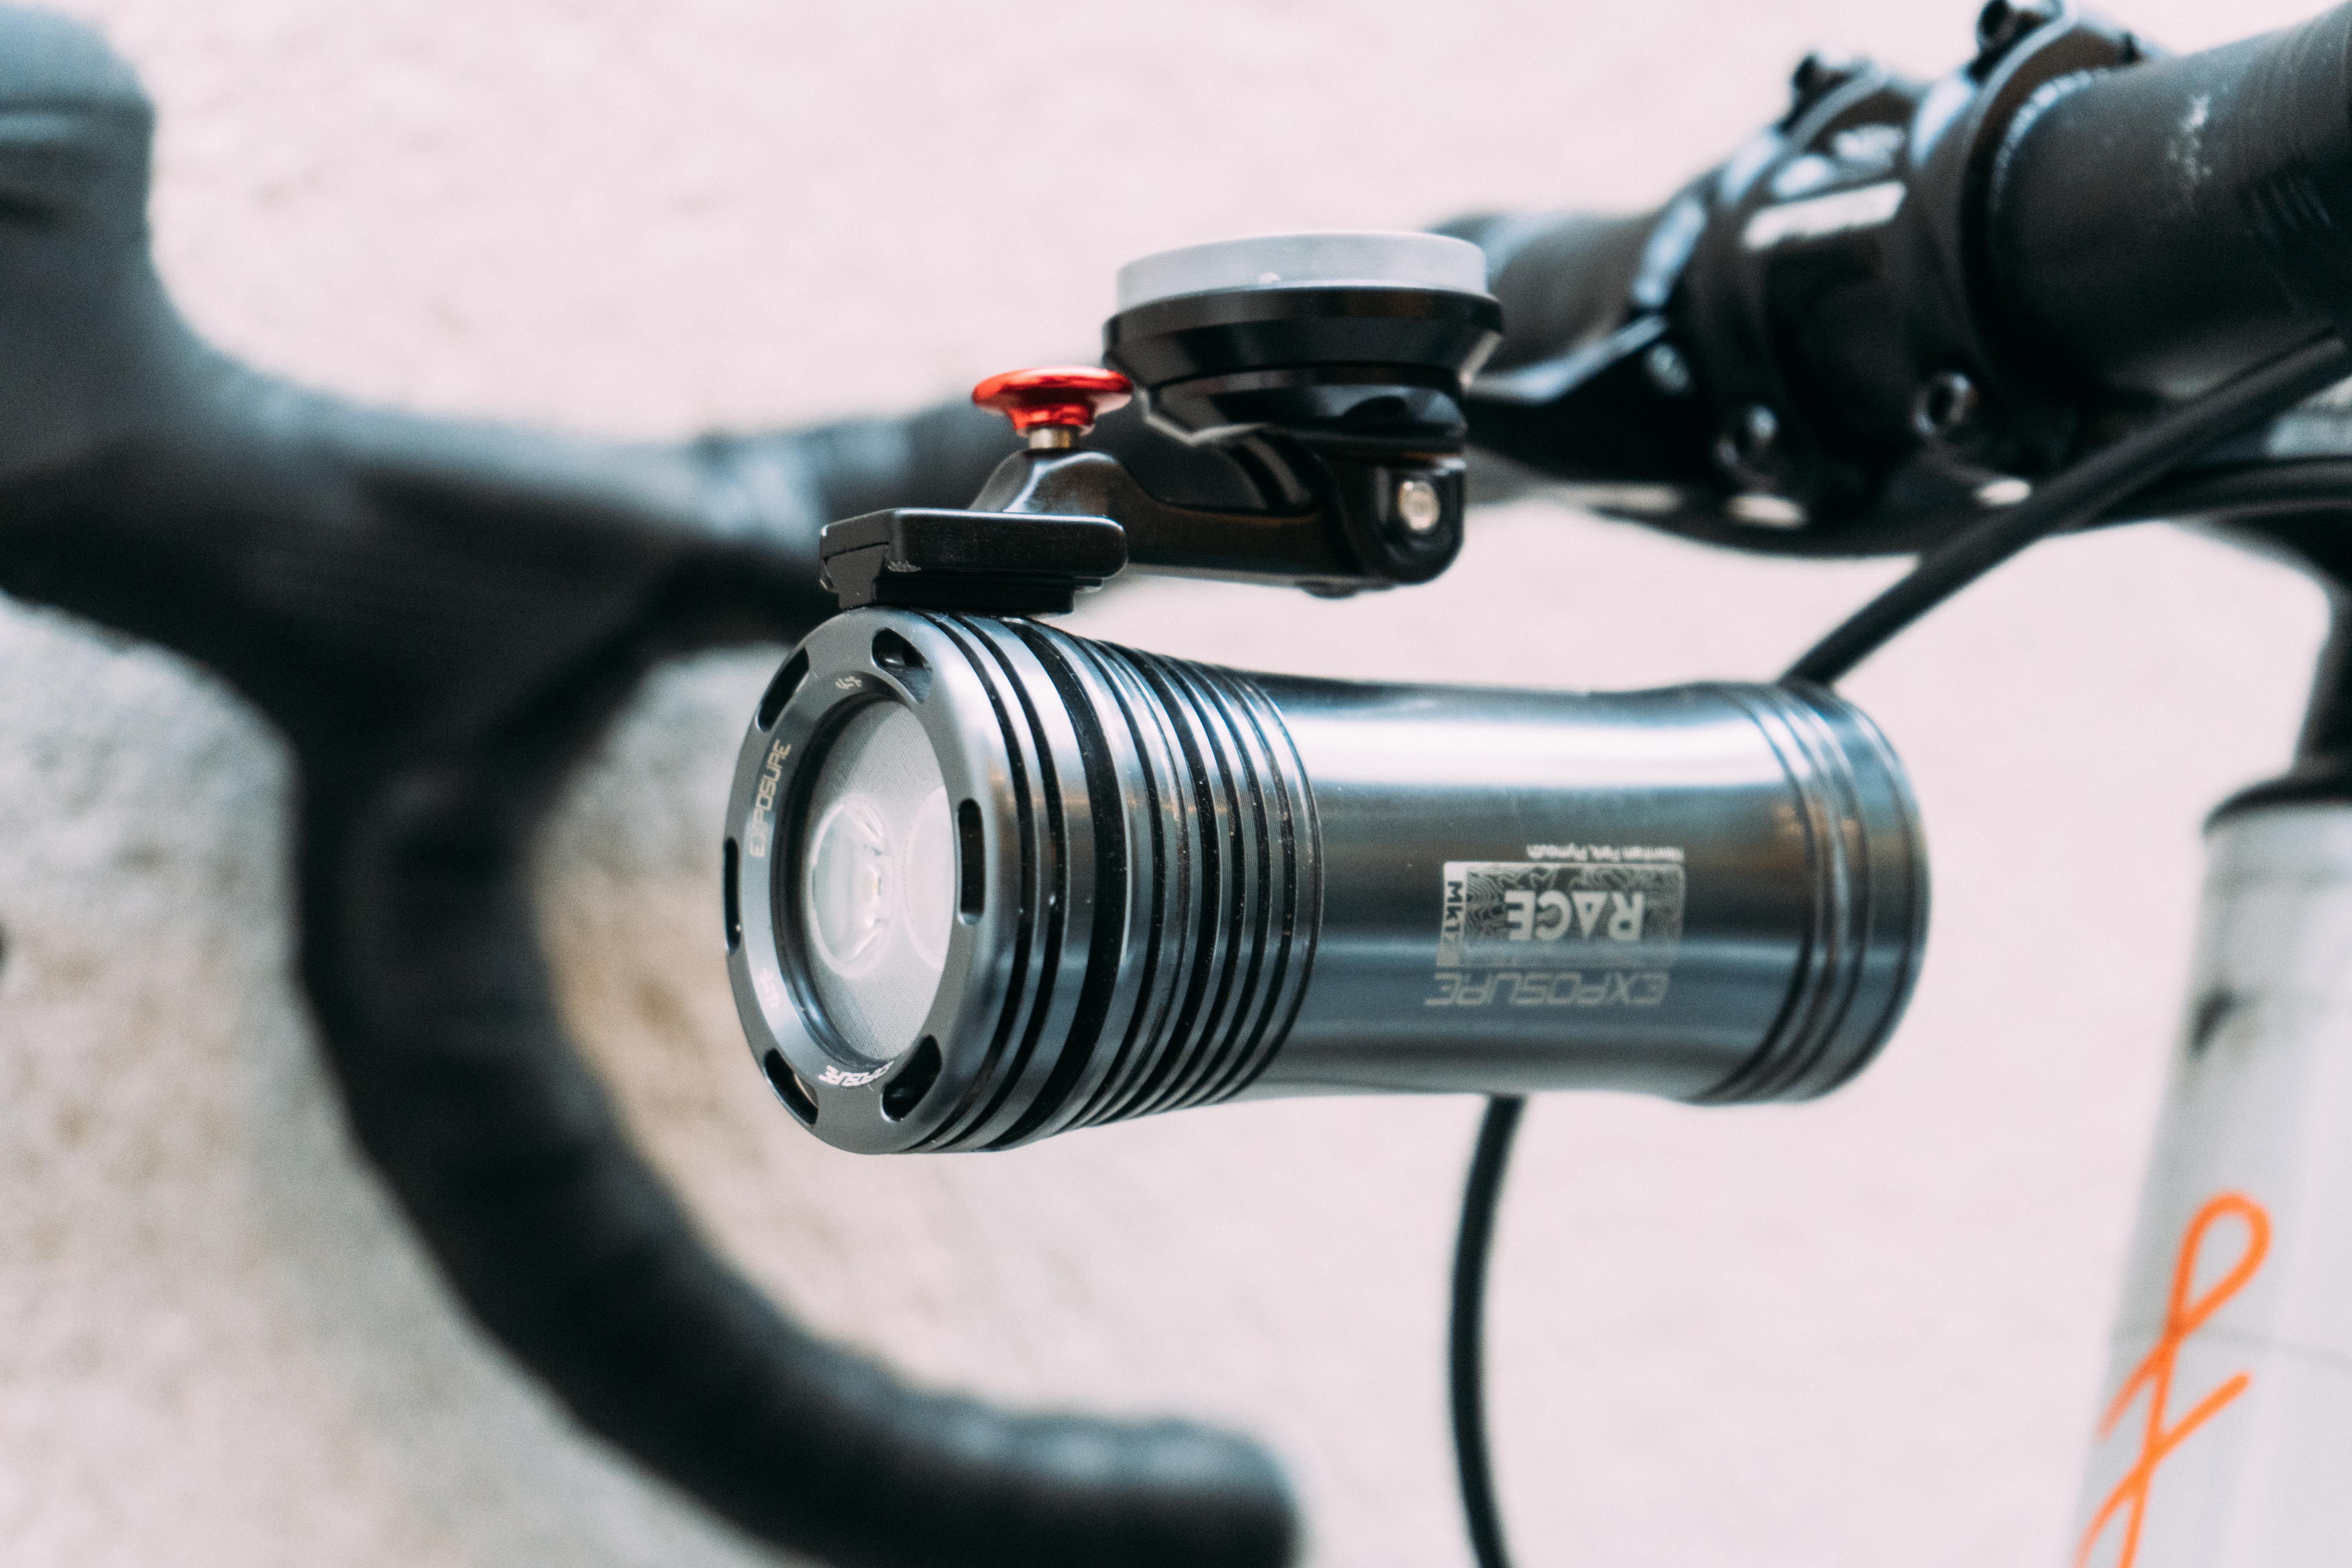
The mounting is also very much an Exposure hallmark. Right at the front of the light you get a triangular, swallow-tailed male part that fits into the corresponding female port on the bracket, held in place by a big red, solid bar so it doesn’t come undone. It seems odd having the mount so far to the front, but when it’s in the mount the mass of the light is centred over the bars (or wherever else you want to mount it) rather than over the bracket itself. You can unscrew the bracket on the light to adjust the angle of the unit, but that’s not something I ever found I needed to do. Make sure to cinch it up tight afterwards, otherwise you risk the light coming loose.
Performance
At full brightness, I cannot foresee any circumstance where, for gravel riding, you would need more light than this. It is shockingly bright for a light of this size, and even on relatively technical, fast sections I never found myself having to back off. The beam shape is also great in this regard, with a lovely mellow cutoff that’s more of a fade to black rather than a hard stop on the beam, so you get pretty excellent peripheral context rather than simply existing in a well-lit box.
The Race, like the Toro and the MAXX-D that I’ve tried, has what’s called ‘Reflex’ mode, whereby the light will automatically adjust the brightness according to your speed. The aim is that it brightens up on descents and dims on climbs, but in reality I never noticed it in action for gravel riding. I did check that it was actually working, and when held in the hand the light is the same brightness in Reflex High as it is on Low, so it does work as it is far brighter on high when in use. Give it a shake and it brightens up, so the brightness is based on vibration rather than velocity. I suspect that it is perhaps more attuned to slower climbing speeds on MTB rides than it is for gravel. There is every chance that it was auto-dimming and auto-brightening in a more subtle way than I noticed, which is perhaps testament to its performance, but in general, even with the Reflex programs loaded, I found I just manually switched the beam to low on the road.
Speaking of switching modes, the one button on the back makes this a doddle. It sits proud, so you can easily press it whether your hands are encased in a glove or not, and it is responsive enough that I never once had to have a second attempt at selecting the mode I wanted. In reality, for me, the most useful modes were those from programs 4, 5, and 6, whereby you have three manually selectable brightnesses with the reflex turned off. Full brightness for fast descents, medium for cruising around, and low to select when oncoming riders or pedestrians approach. At times when I left it on medium, it was clear that was still dazzling other commuters.

The rear LCD screen is particularly useful for seeing at a glance how much battery you have left, especially for those with battery anxiety like myself. The display flips with the orientation of the light, too, so it's never upside down. It isn’t all that possible to see the screen while riding unless you actually contort yourself down somewhat, but it’s easy enough on calm sections to do this. Also, a single press of the rear button when the light is powered off gives an exact battery percentage reading, so you can judge just how many lumens you want to use on your next nighttime raid.
The easiest way to mount the Exposure Race is onto a round set of bars. That way you have easy access to the button and you can see the screen while you’re on the move. I dabbled with mounting it below my computer, as I do with the Exposure Strada, but it does limit its useability somewhat. Cycling between modes is much harder, and the light body is long enough that, if you have one of those computer mounts that bolts directly to your stem bolts, it can limit the downward angle of the light. Also if you are running an out-front computer mount it can dazzle the screen of your computer, so I took to a stem mount instead.
Finally, while I cannot attest to the specifics of this light in particular, as I am unwilling to throw it down a hillside for the sake of a review, the build quality of Exposure lights is legendary. I did have a dodgy computer mount break that was also supporting my Exposure Strada, sending it barrelling down the tarmac at 65km/h and, save for some loose internals, it was still working when I picked it up 50m or so later. I’ve no reason to think the same wouldn’t be true for the Race.
Simply switching the light on and leaving it on until it burns out isn’t a great test of battery life as it isn’t a real-world test. On a 30km gravel ride in pretty cold conditions, manually cycling between the very highest power and a lower intensity as and when required cost me exactly a third of the battery.
Value
An RRP of £285 (approx $365) is certainly a premium price tag. It's certainly not going to be troubling our guide to the best budget bike lights that's for sure. I think it justifies itself well though. You get a beautiful build quality, rock-solid mounts, enough program modes to cover you for rides of almost any length and a screen that will show you exactly how long you have left at your current power. If you want to stay lit for longer, or just want to have brighter lights for a longer time, you can even buy battery boosters that will stuff into a frame or bar bag and increase the run time. Given the lowest setting will see you through 36 hours, I think you’d be hard pushed to find a situation where you’d need more time.
After-sales is something rarely talked about, but as someone who has crashed an Exposure light, it’s also heartening to know that they are repairable and that there is a well-established repair pathway should the worst ever befall yours.
Longevity, too, is something that should also be considered in the value section. It’s a high RRP, but I was riding with someone recently on my final test ride whose own Exposure light was over eight years old and still going strong.
Verdict
The Exposure Race is to my mind the pinnacle of gravel lighting options, though it works best mounted to round bars which may be a limiting factor for those running particularly aero gravel setups. The light even at moderate intensities is bright enough for most gravel riding, and at full power you never need hold back even on the fastest descents. The beam cutoff is gradual so you retain a great peripheral vision, and the build quality is second to none. It’s expensive, but it’s feature-rich, has great battery life, great after-sales care, and works reasonably well for the road too for those looking for a one-and-done solution for all their winter riding. Just be careful to turn the beam down for oncoming road users.


