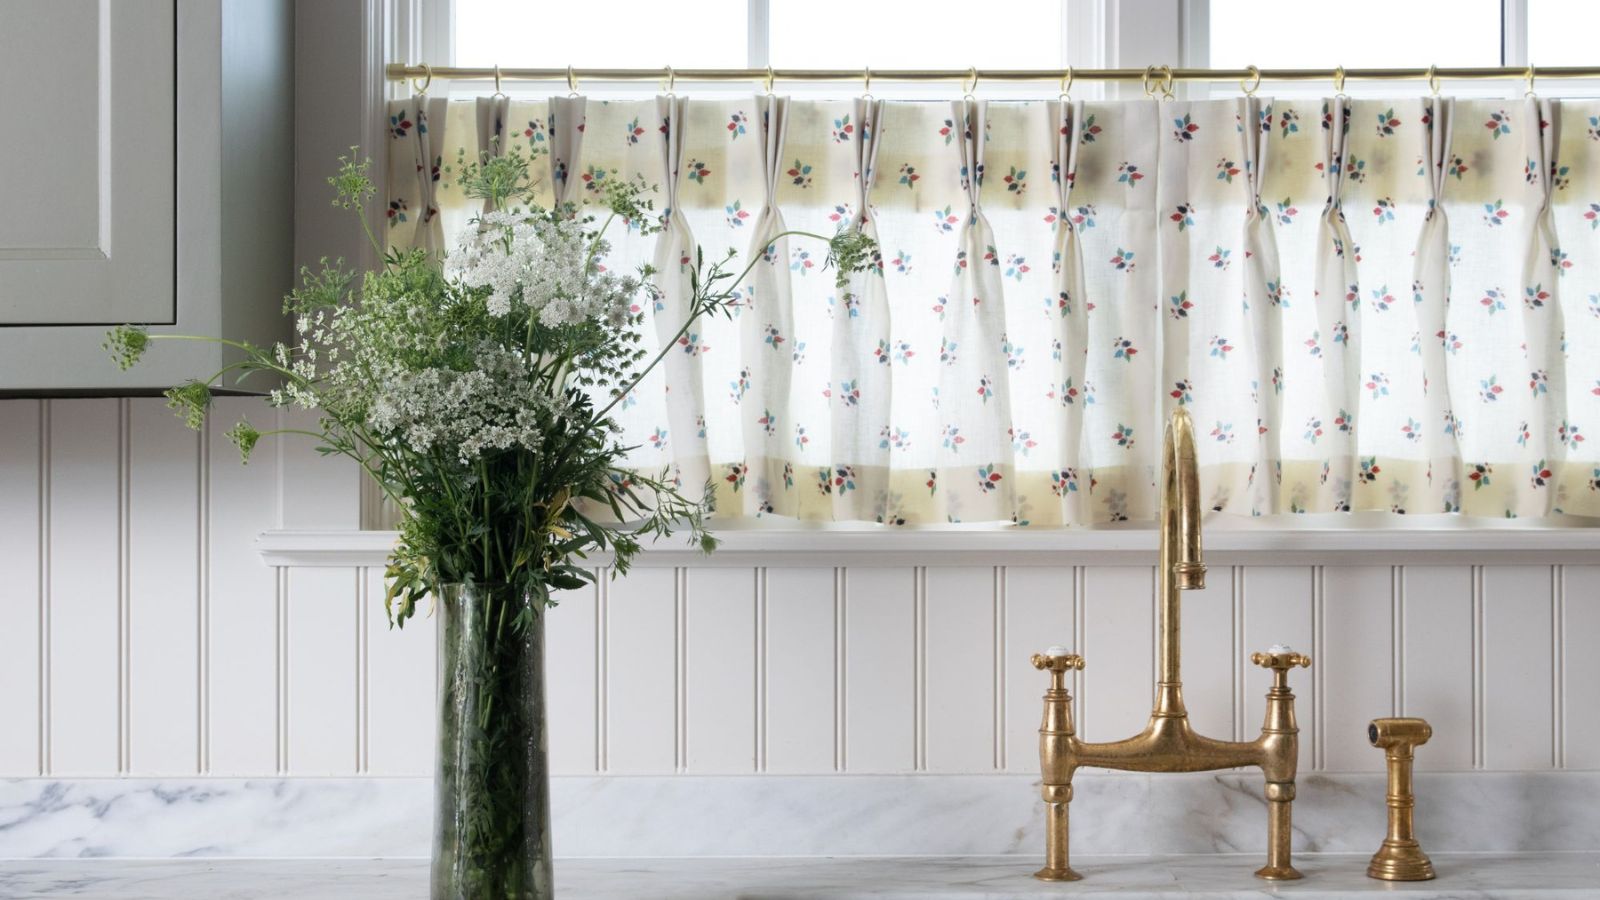
Installing curtains isn't necessarily the most straightforward process, and even more so if you are DIY'ing them. However, Emily Henderson has recently taken to Instagram to show us just how simple making (and hanging) your own curtains can be – all that's required is a few tools and fabric. The result is a vintage French bistro-inspired dream.
The designer has opted for cafe-style curtains, which are increasingly popular thanks to the ubiquity of trends like cafecore (not to mention look chic and timeless). The best part? Her DIY doesn't even require a sewing machine.
'I made these no-sew cafe curtains for my kitchen recently, and they were so easy,' Emily states in the caption of her Instagram post. 'If you have an iron, you can make them too.'
1. Iron and cut fabric
Once you have decided on a fabric, choose your desired measurements based on your window size, and begin to cut them into panels.
'Before cutting each panel, decide on the overall length, where you will hang the curtains from, and take into account the size of the “hem” you want at the top and bottom,' Emily states on her blog. 'For us, about 3″ felt good, like traditional curtains. For the sides of the panels, we allowed for about an inch on each side to give it a clean edge.'
You might want to experiment with scraps first to see which sizing looks best against windows, then go ahead with ironing and cutting them to the perfect length and width.
2. Use heat-activated bonding tape to secure hems
Next, fold over the corners of the fabric to create hems. Emily recommends using iron-on seam tape to seal the hem and hold everything in place.
'This stuff works great and I’ve used it in a number of other projects,' she explains on her blog. 'It gets the job done fast and is fairly forgiving if you mess up or need to start again.'
She continues, 'You place the tape flat in between your fabric folds and press your iron down to create the bond. We used a high heat setting because our fabric was linen, but follow the instructions on the box and according to your chosen fabric type.'
3. Clip rings to fabric
Once your fabric is ready to go, it's time to attach some pinch clips.
'Our fabric was reallllly thin, and the pinch clips didn’t want to stay gripping, so if you run into the same issue, all you have to do is pull the rings apart some to create more tension before you pinch them onto the fabric,' Emily writes.
Space out the clips evenly, and place them on the curtain to achieve equal pleating across the fabric.
4. Attatch to tension rod and install in window
Finally, attach the tension rod to your customized curtain and install. Simple and impactful.
Shop the DIY cafe curtain edit

A curtain essential, these pinch rings are affordable but look luxe thanks to their gold finish. These are the exact ones Emily Henderson uses.
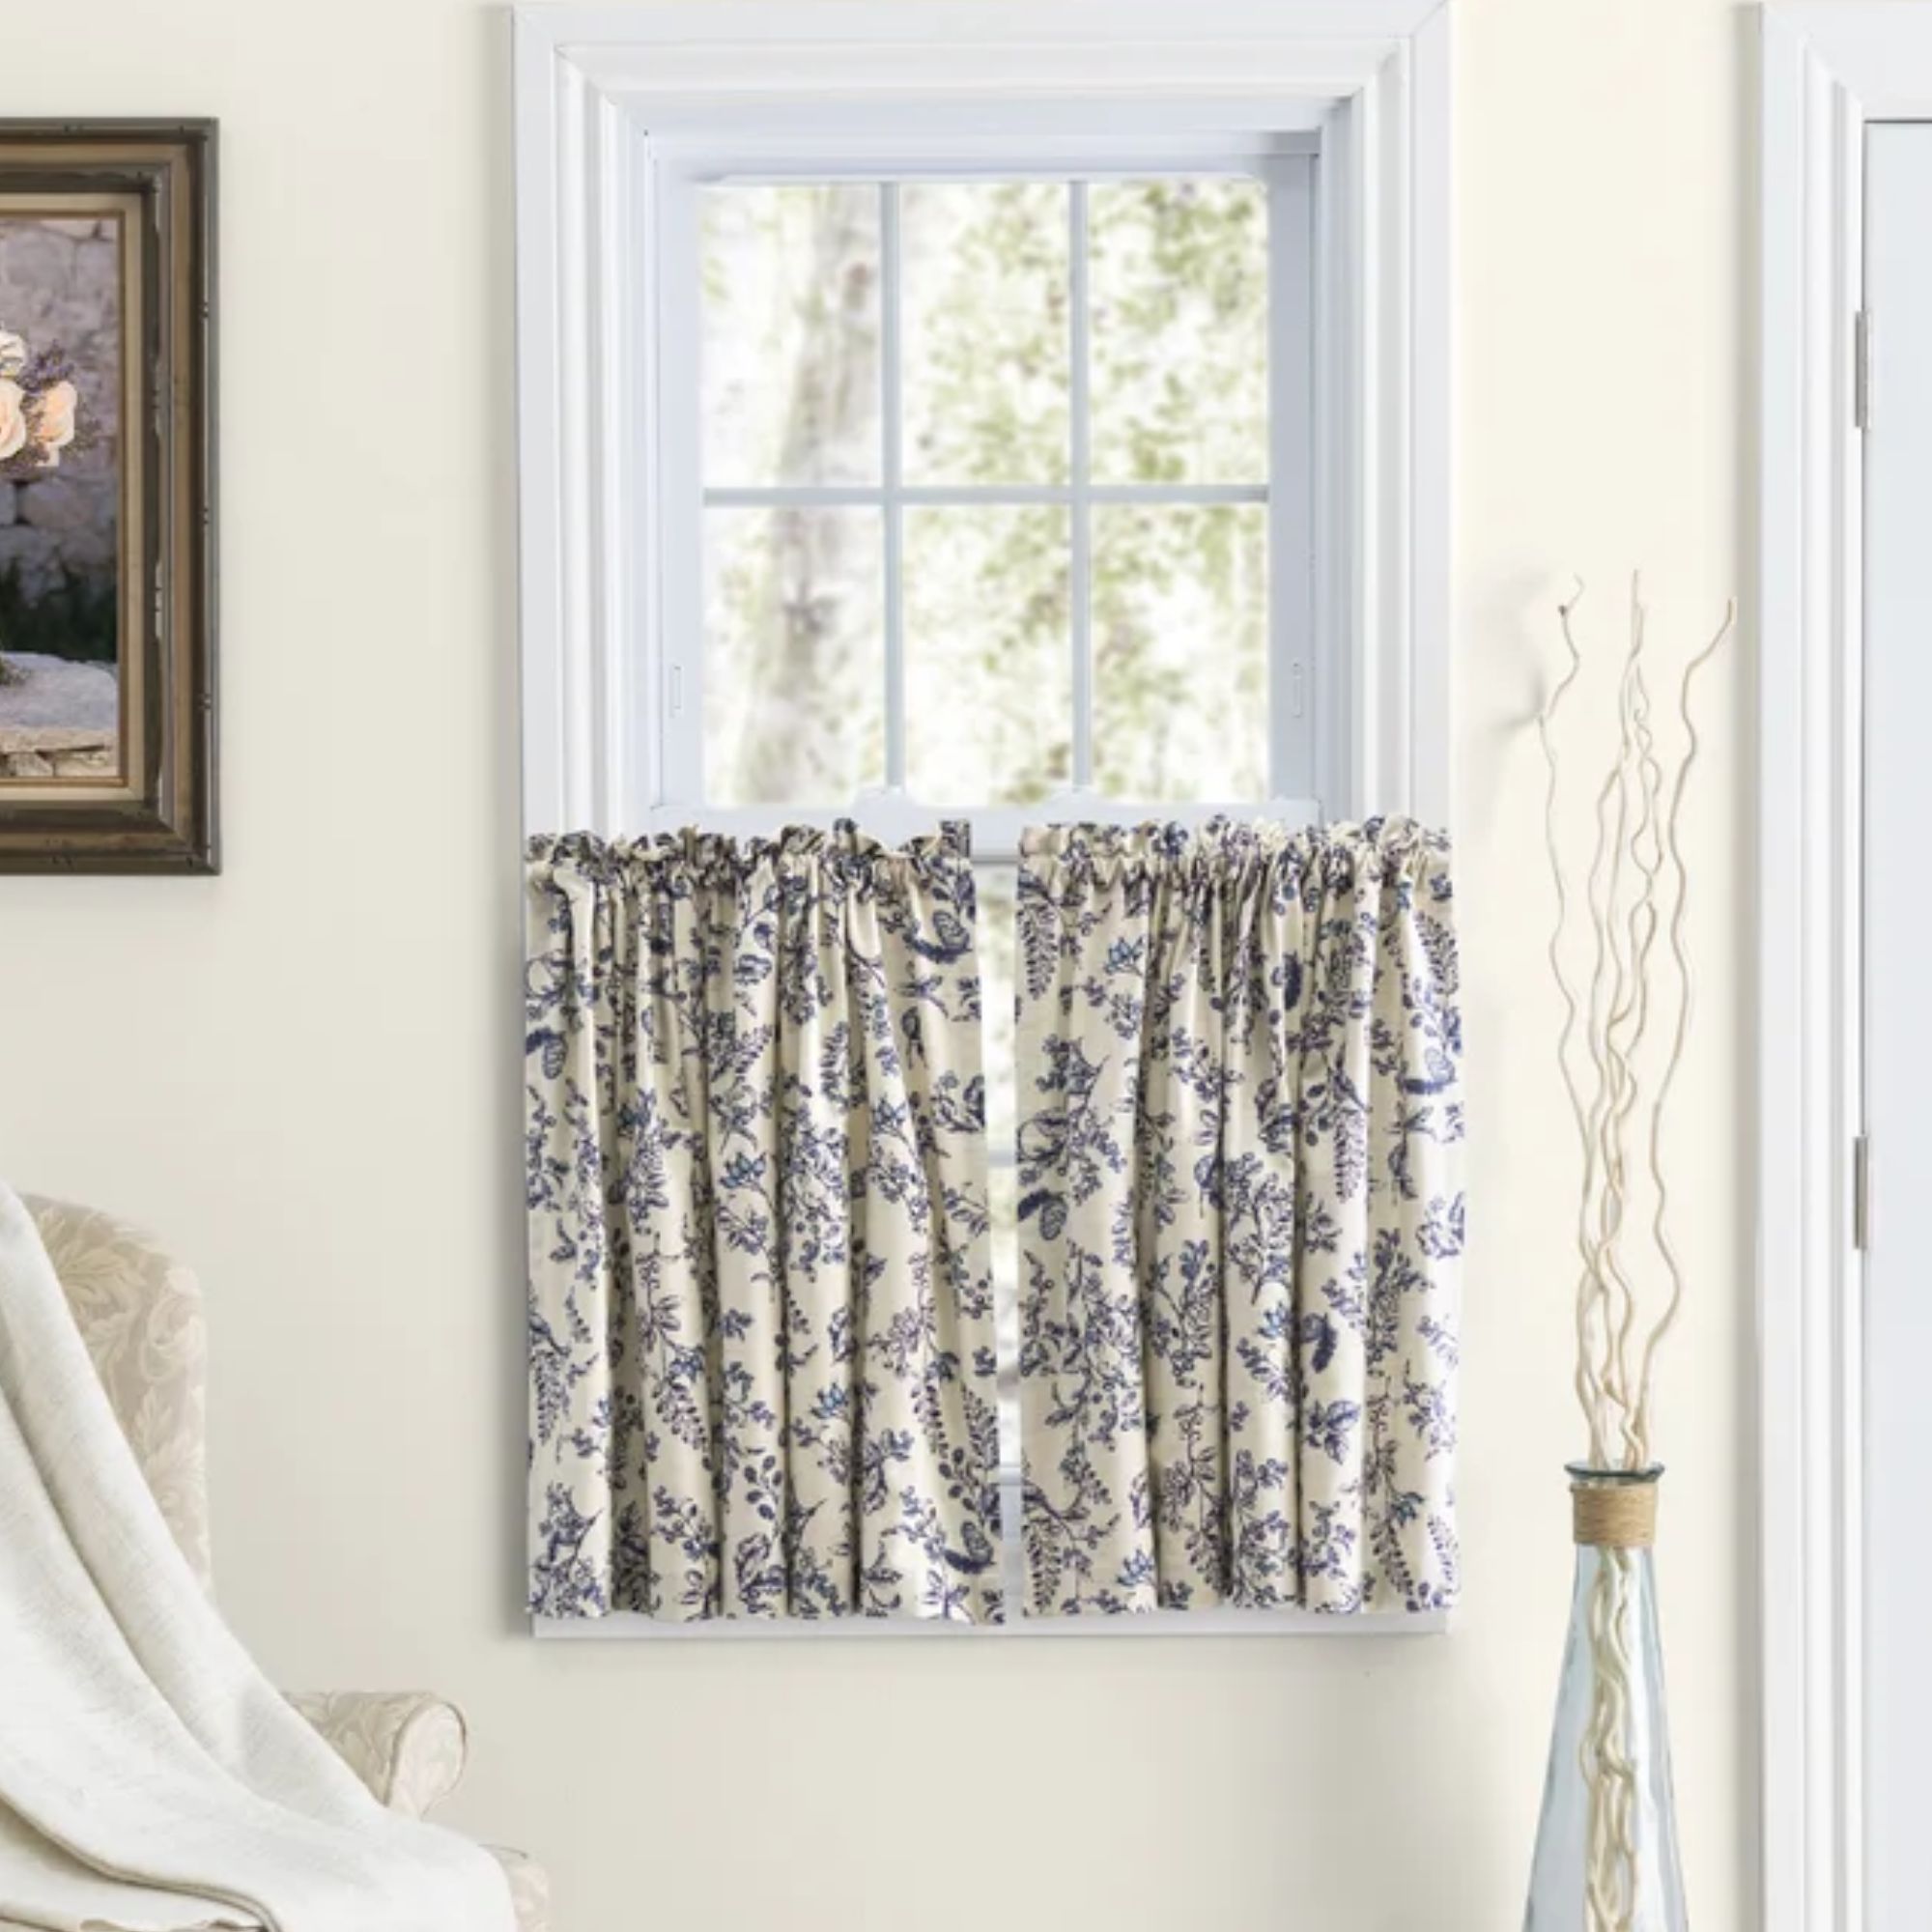
These floral curtains come in a beautiful cream and lilac colorway, adding a touch of springtime to any kitchen.
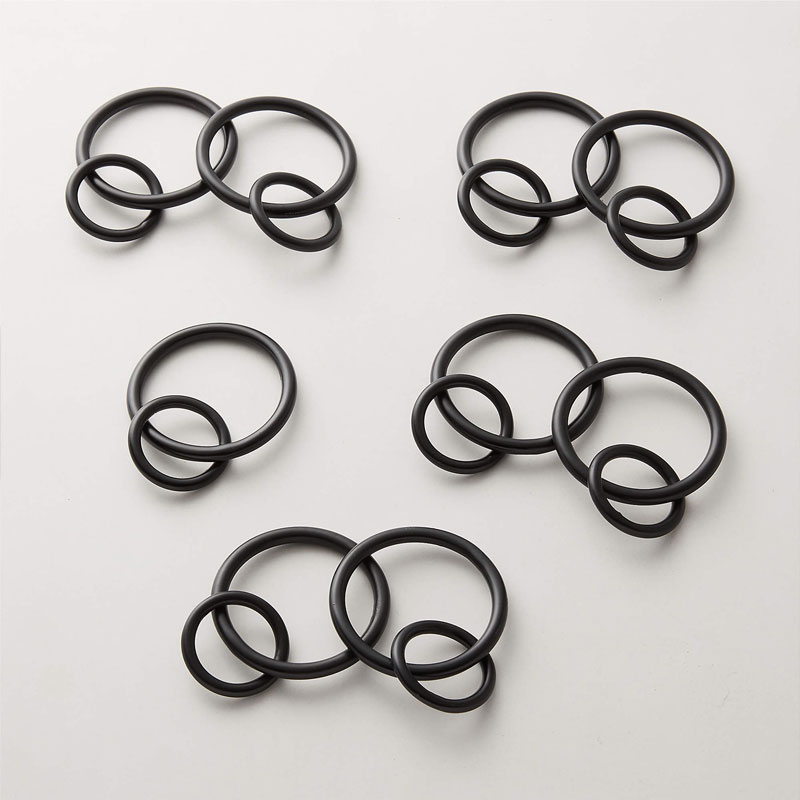
These black drapery rings can subtly elevate the look of any curtains, and they also come in 3 other metal and colored finishes.
With minimal tools needed, this is certainly a DIY we can get behind. We love how customizable it is, and it's a fantastic way to make use of any fabric that might be sitting around the home.