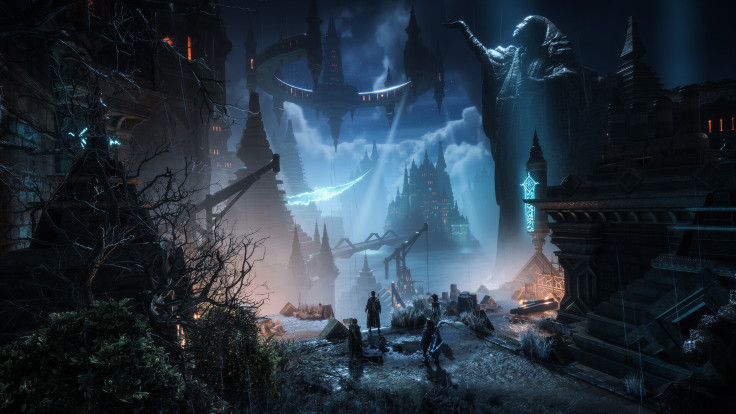
There are a lot of quests and side missions that players can tackle in Dragon Age: The Veilguard. One of these tasks is unlocking the Warden Vault by completing a set of puzzles.
This particular side quest requires players to travel throughout the Warden Castle located in Rivain. During this mission, you will have to solve three different puzzles to open three locks. While the requirement is simple, this quest actually takes a bit of effort to finish.
This guide helps players understand what they need to do and where they need to go in order to unlock the Warden Vault. This article also shows you everything you need to actually start this side quest.
Opening the Warden Vault
You need to complete three sets of puzzles to open the Warden Vault. Every time you crack a particular puzzle, a Grey Warden seal will be revealed. You need to activate all three to get inside the vault itself, according to Games Radar.
The Warden Vault is located under the floor of the main hall at the castle's entrance. To get to it, you need to go down the steps on the west side of the hall.
You will come face to face with an obstructing drakestone that you will need to burn down and then carry to find the sealed doors.
The First Puzzle
The first thing you need to do to unlock the Warden Vault is complete the first puzzle. Start at the Dragon Age Veilguard fast travel beacon. Go to the right and through the small archway and go forward until you see a Gaatlok Barrel next to a cracked stone wall.
You need to ignite it with either the Lyrium Dagger or Taash so that it explodes and breaks the wall. Go into the new area and head left through a tall archway to get into a room that has a lot of wooden barrels, boxes, and wagons.
Keep attacking the stuff in the room until you find three Grey Warden crests against the wall with unlit torches attached. You next have to activate the torches in a specific order; middle, right, left, in order to progress to the next part of the puzzle.
Go up the stairs and keep left until you can climb onto the castle wall and find a door on the right that you can open. You need to kick down the ladder and throw the lever on the left in order to open the gate.
The first Grey Warden seal is just through the gate on the wall that you can activate to open the first lock of the Warden Vault.
The Second Puzzle
The next puzzle you need to finish is the ghost puzzle which you can start by jumping down into the main hall and going south. There may be some enemies that you need to fight in order to progress through this area, Digital Trends said.
After clearing them out, you need to head into the door on the right and you will find a skeleton on the ground that has green butterflies hovering over it. You can interact with it to make a ghost appear that will float through a wall.
You now need to walk back into the main hall, go up the ladder, and continue down the stairs on the left.
You will find another skeleton in the corner that you can interact with to make it move. Follow it and descend down the next set of stairs, go north, and turn to the right.
There will be a ghost here and you can interact with it to make it go away and back to the main hall. After this, you can walk through the main entrance straight ahead where the ghost will be at the back near the statue.
Interacting with the ghost here will unlock a room that has a lever you can pull down to unlock the second lock of the Warden Vault.
The Third Puzzle
The final puzzle you need to complete requires you to go back to where you first started following the ghost from the second puzzle. A little way to the south is another hallway that you need to go to and head south.
You will soon come to an open area that is filled with Antaam and after clearing them out you should go and stand behind the statue that overlooks the courtyard. There is a pot that can explode if you hit it with Taash's ability to knock down a ladder, according to Polygon.
Go right first and immediately turn left to get some blistering drakestone that you need to melt. You then follow the hallway inside until you reach the end. When you get there, Rook will comment that you need to find a wisp.
Go back out and climb the ladder you knocked down to find a wisp at the top waiting for you. After collecting it, go back into the hallway to the skeleton and interact with the lever to unlock the third lock of the Warden Vault.
Warden Vault Rewards
After completing all three puzzles, you can finally enter the Warden Vault and collect the rewards that you worked hard for.
There are three treasure chests and a memento that increases Caretaker's level. You will also receive 500 experience points for finishing the quest.


