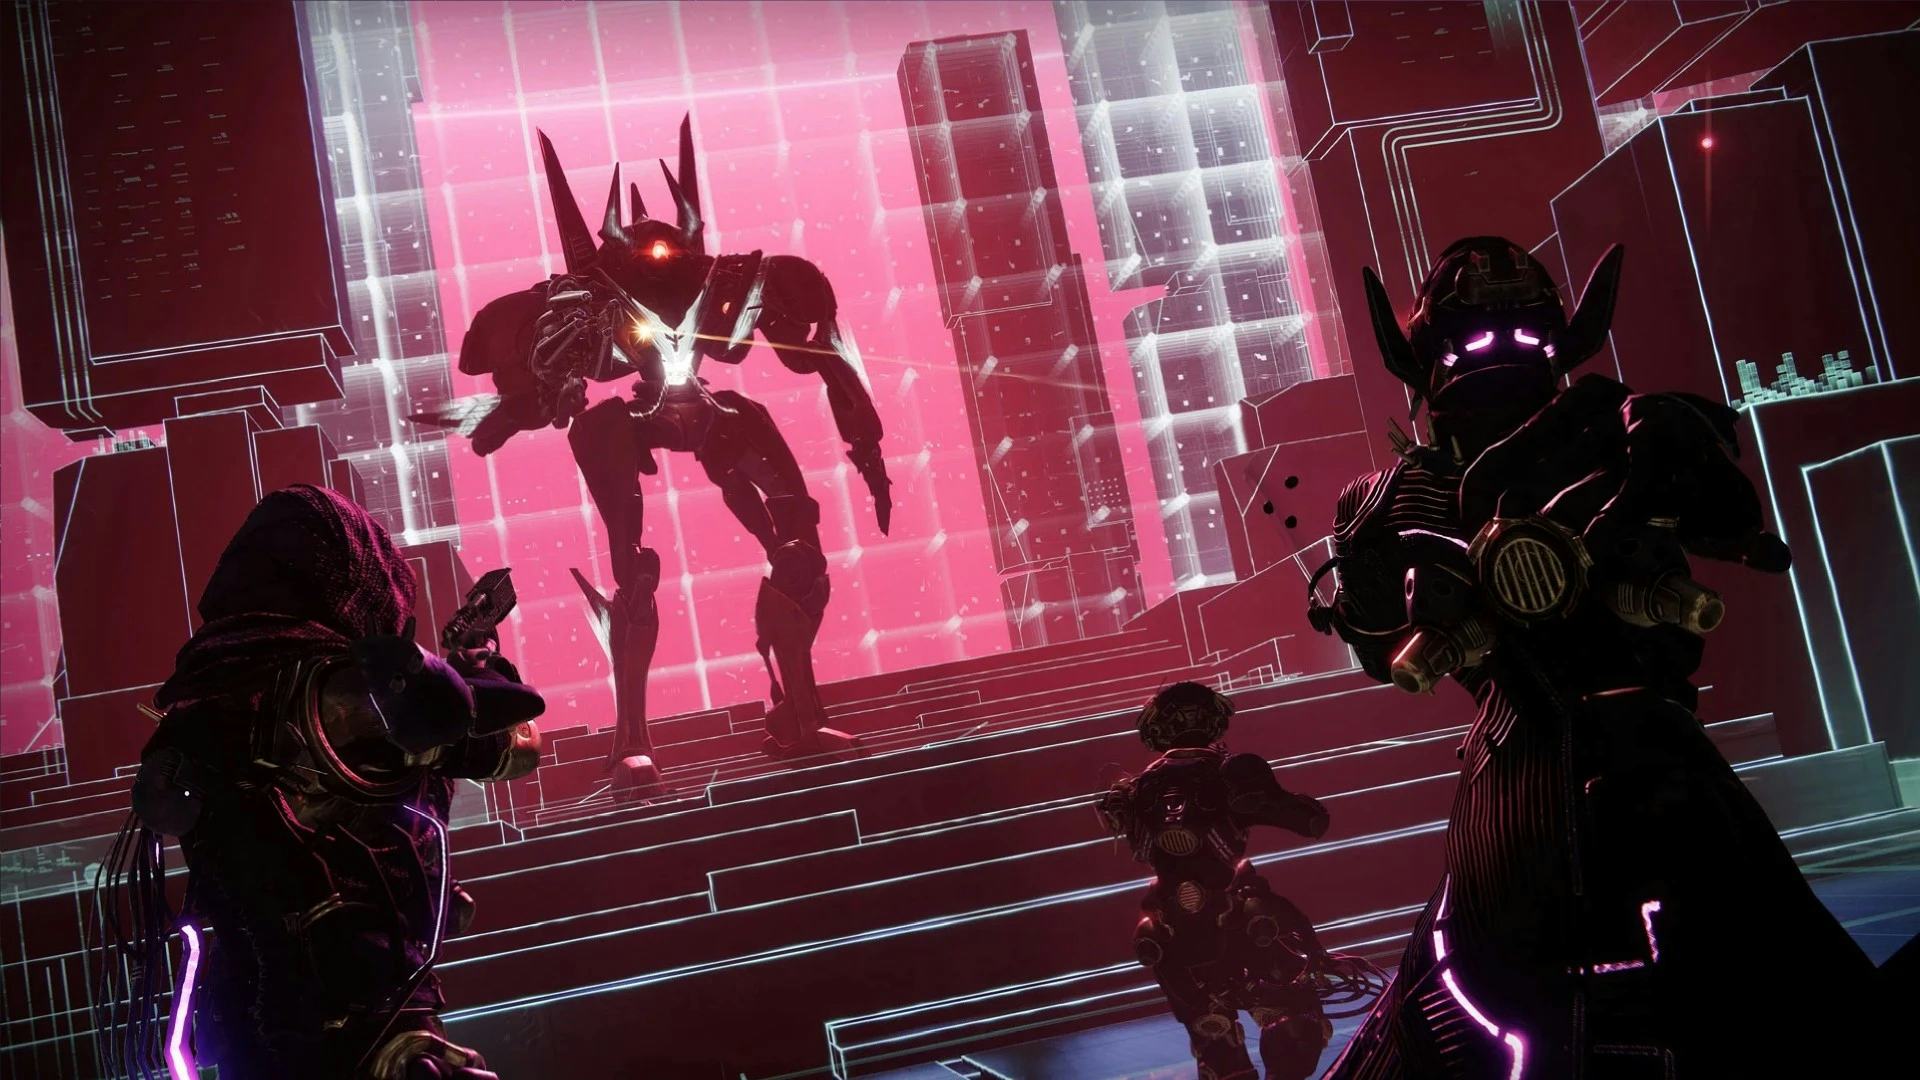
As part of Destiny 2: Lightfall Season of Defiance, Bungie has given players the ability to unlock the Vexcalibur Exotic Glaive. This powerful weapon is highly effective due to its blocking ability, which grants you (and your nearby teammates) overshields, and even gives you more melee damage while the overshield is active. As expected, getting your hands on this weapon is no easy task, but in this guide, we’ll walk you through obtaining it as easily as possible. Here’s how to acquire the Vexcalibur Exotic Glaive in Destiny 2: Lightfall.
How to Get the Vexcalibur Exotic Glaive
Collect Six Nodes
The first step is to visit the Landing Zone in The Gulch. From here, you’ll need to collect six floating nodes hidden around the area to gain access to a cave.
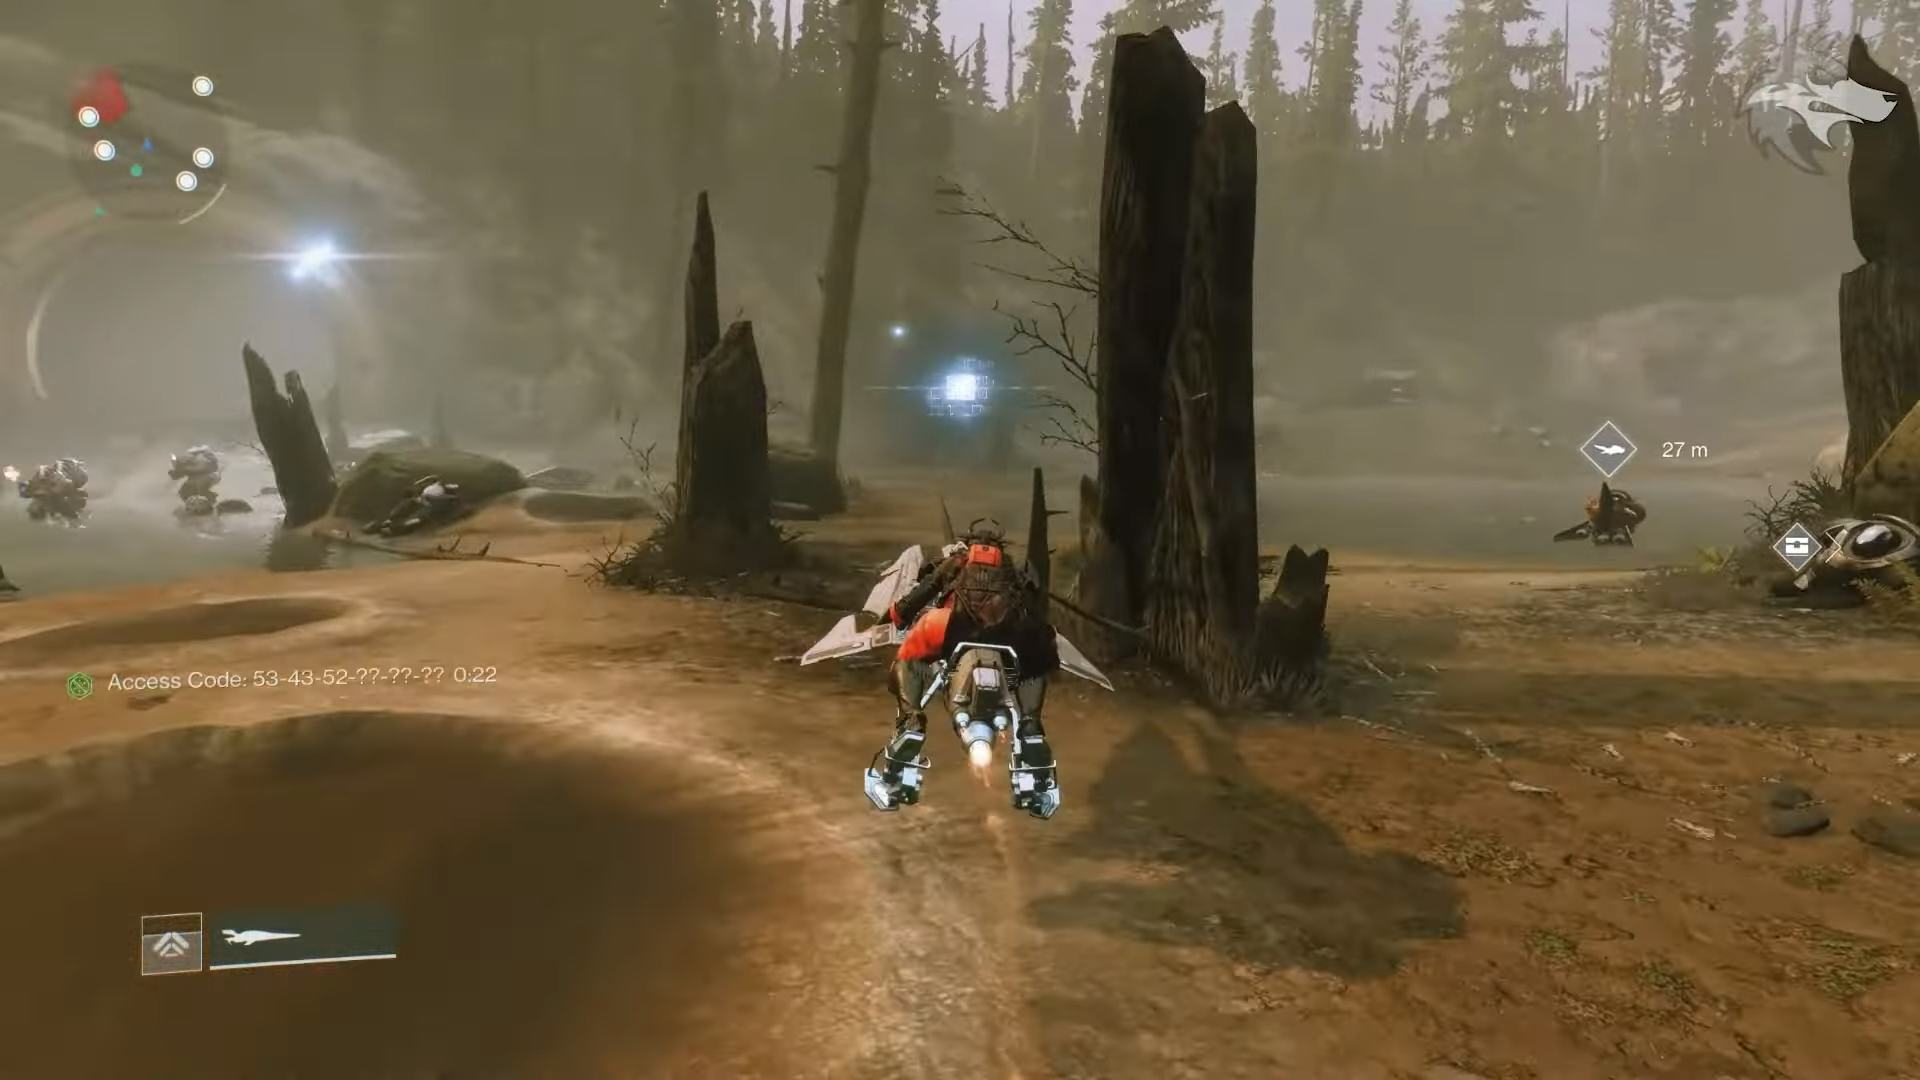
The nodes spawn in fixed locations in this area and can be collected in any order, but you do have a limited amount of time to find them.
Here are their locations:
- Between two trees to the northwest
- Under the destroyed bridge to the south
- Close to a cliff to the north of the aforementioned bridge
- Between two highway signs to the northeast
- In the center of The Gulch, close to the tank
- By broken trees to the southeast
After you’ve collected all six within the time limit, you’ll want to look into the sky and you’ll see a dome above. Follow it and you’ll come to a cave that leads to the start of the mission.
Finish //NODE.OVRD.AVALON//
Enter the Vex Network
Once you begin the mission, make your way forward, interact with the green node up at the top left, and continue down through this area. Eventually, you’ll come to a small crawlspace in the wall that leads even lower. Press onward and you’ll reach the first main section.
Enter Access Codes
This section will throw lots of enemies your way, while you aim to solve a puzzle. You’ll see a large spire in the center of this area with clear holograms surrounding it. Each has a shape like a square or diamond.
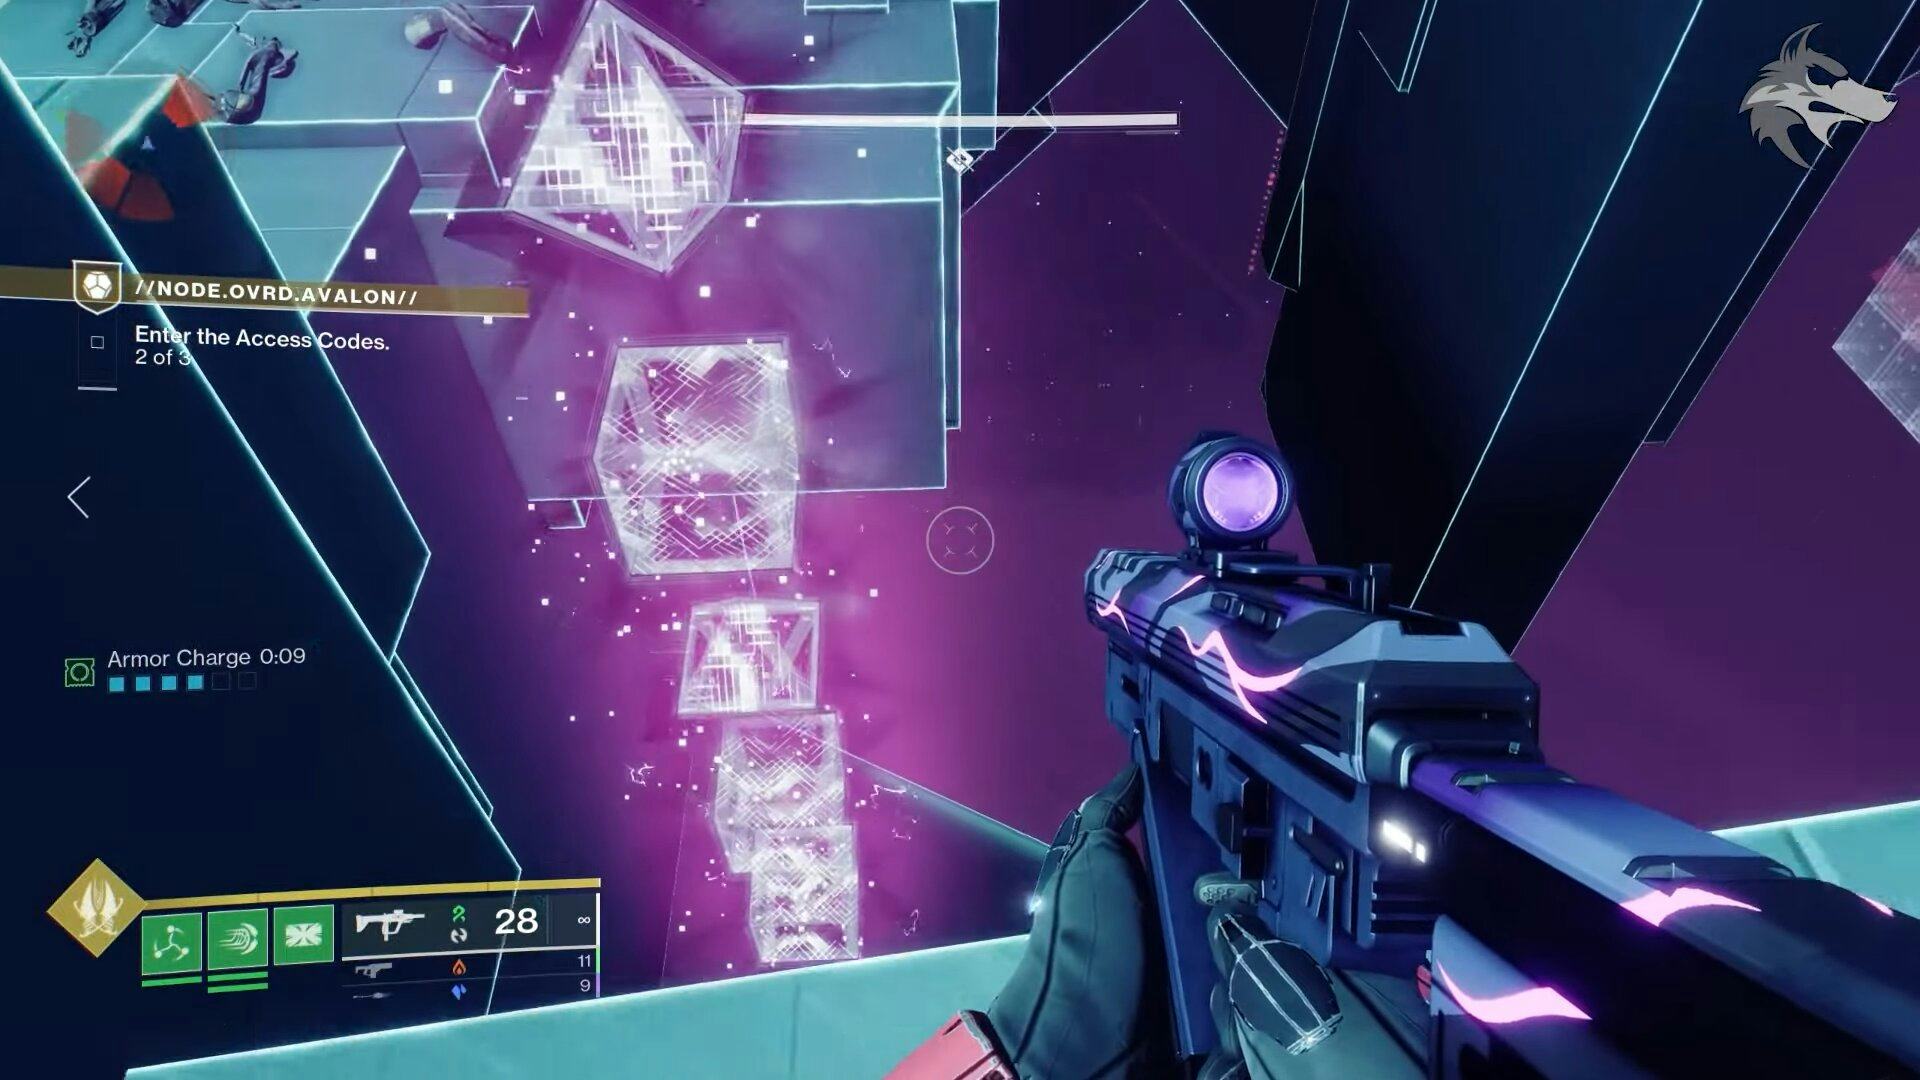
What you need to do is look for a vertical set of holograms that spawn around this area, which corresponds to the sequence of the access code. Keep in mind, the codes can be upwards of five characters in length. Once you spot the vertical shapes that appear, head to the spire and shoot the shapes in the correct order. Do this three times in total to complete this part of the mission.
Gather the Data and Take Shelter!
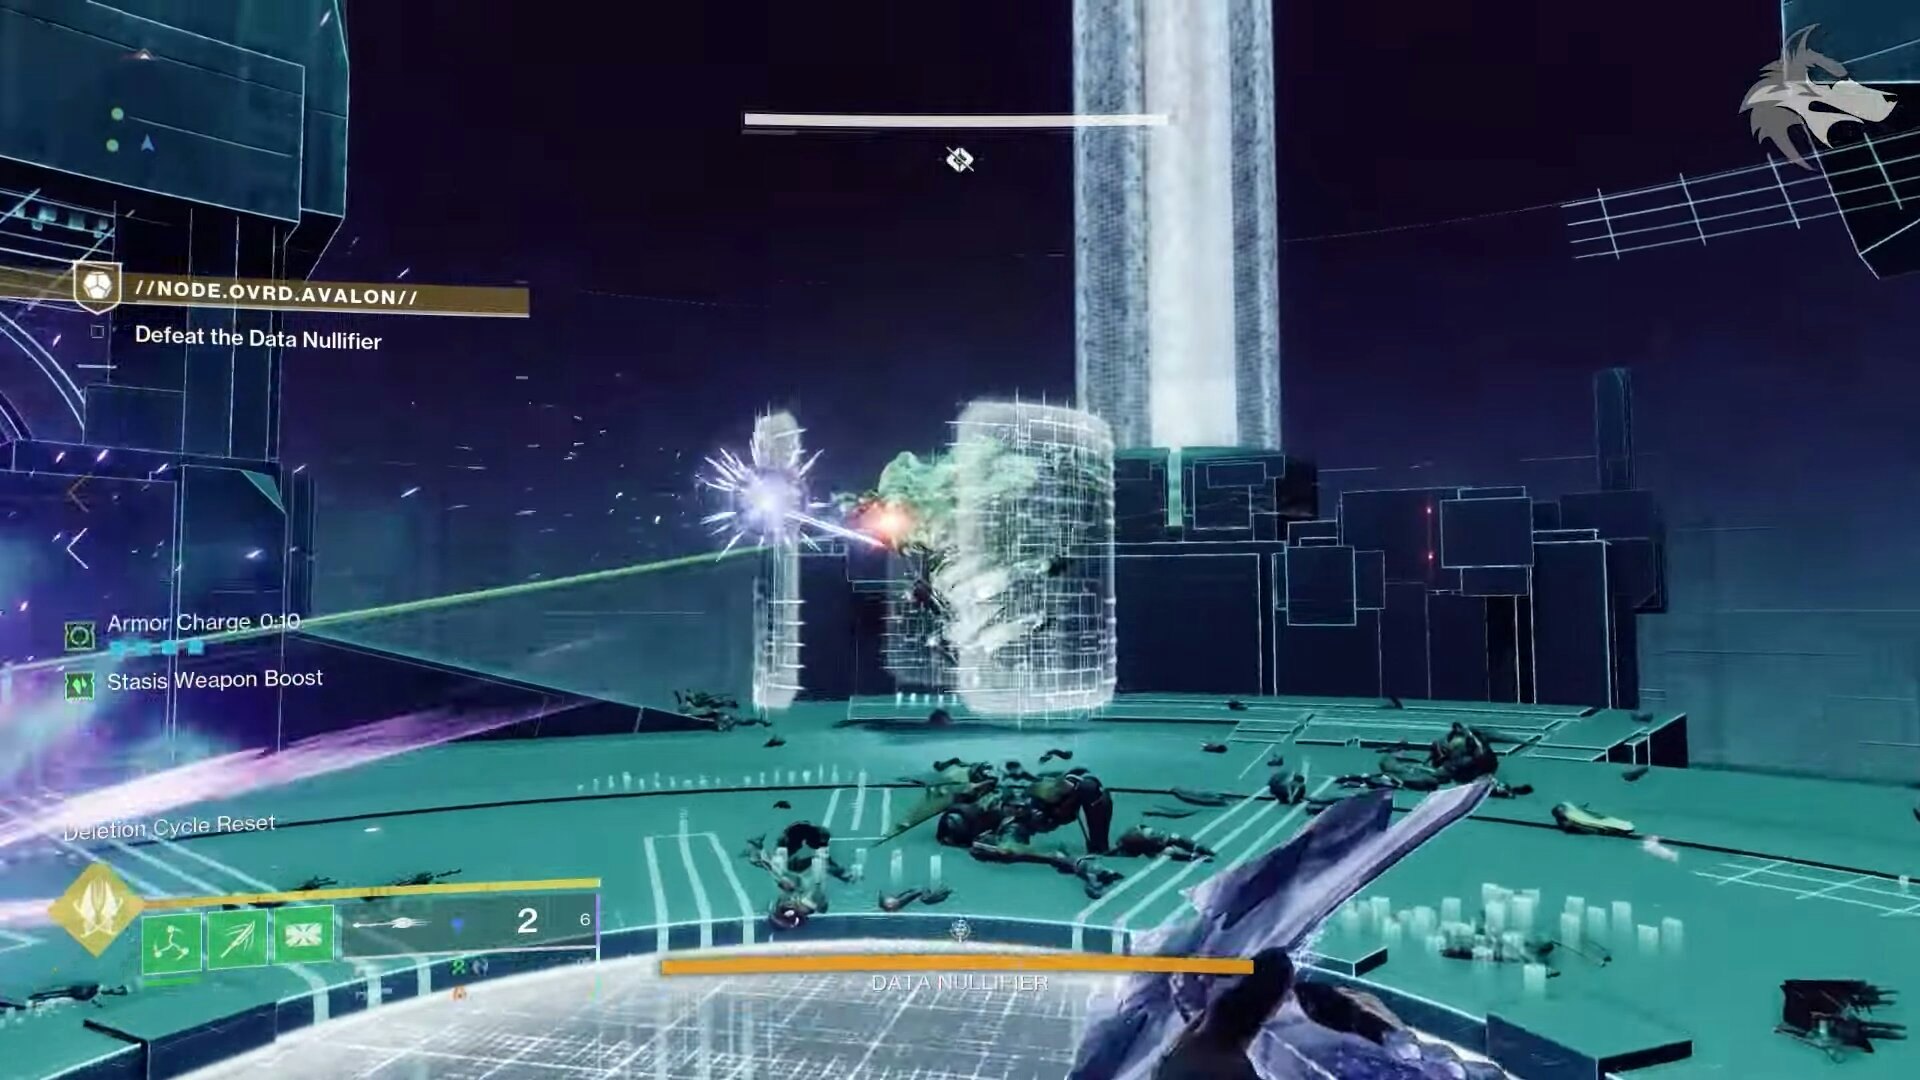
After you’ve entered the codes, you’ll now need to defeat Vex, collect the data they drop (represented by purple motes), and then drop them off at the spire in the center. You do this by gathering 10 pieces of data and then dropping yourself down in the center, where you’ll be protected. Wait here until the timer counts down, and then you’ll reappear in the room. Once you do, the Data Nullifier will appear, giving you a chance to deal damage.
Repeat this process multiple times until the Data Nullifier is defeated.
Brakion Boss Fight
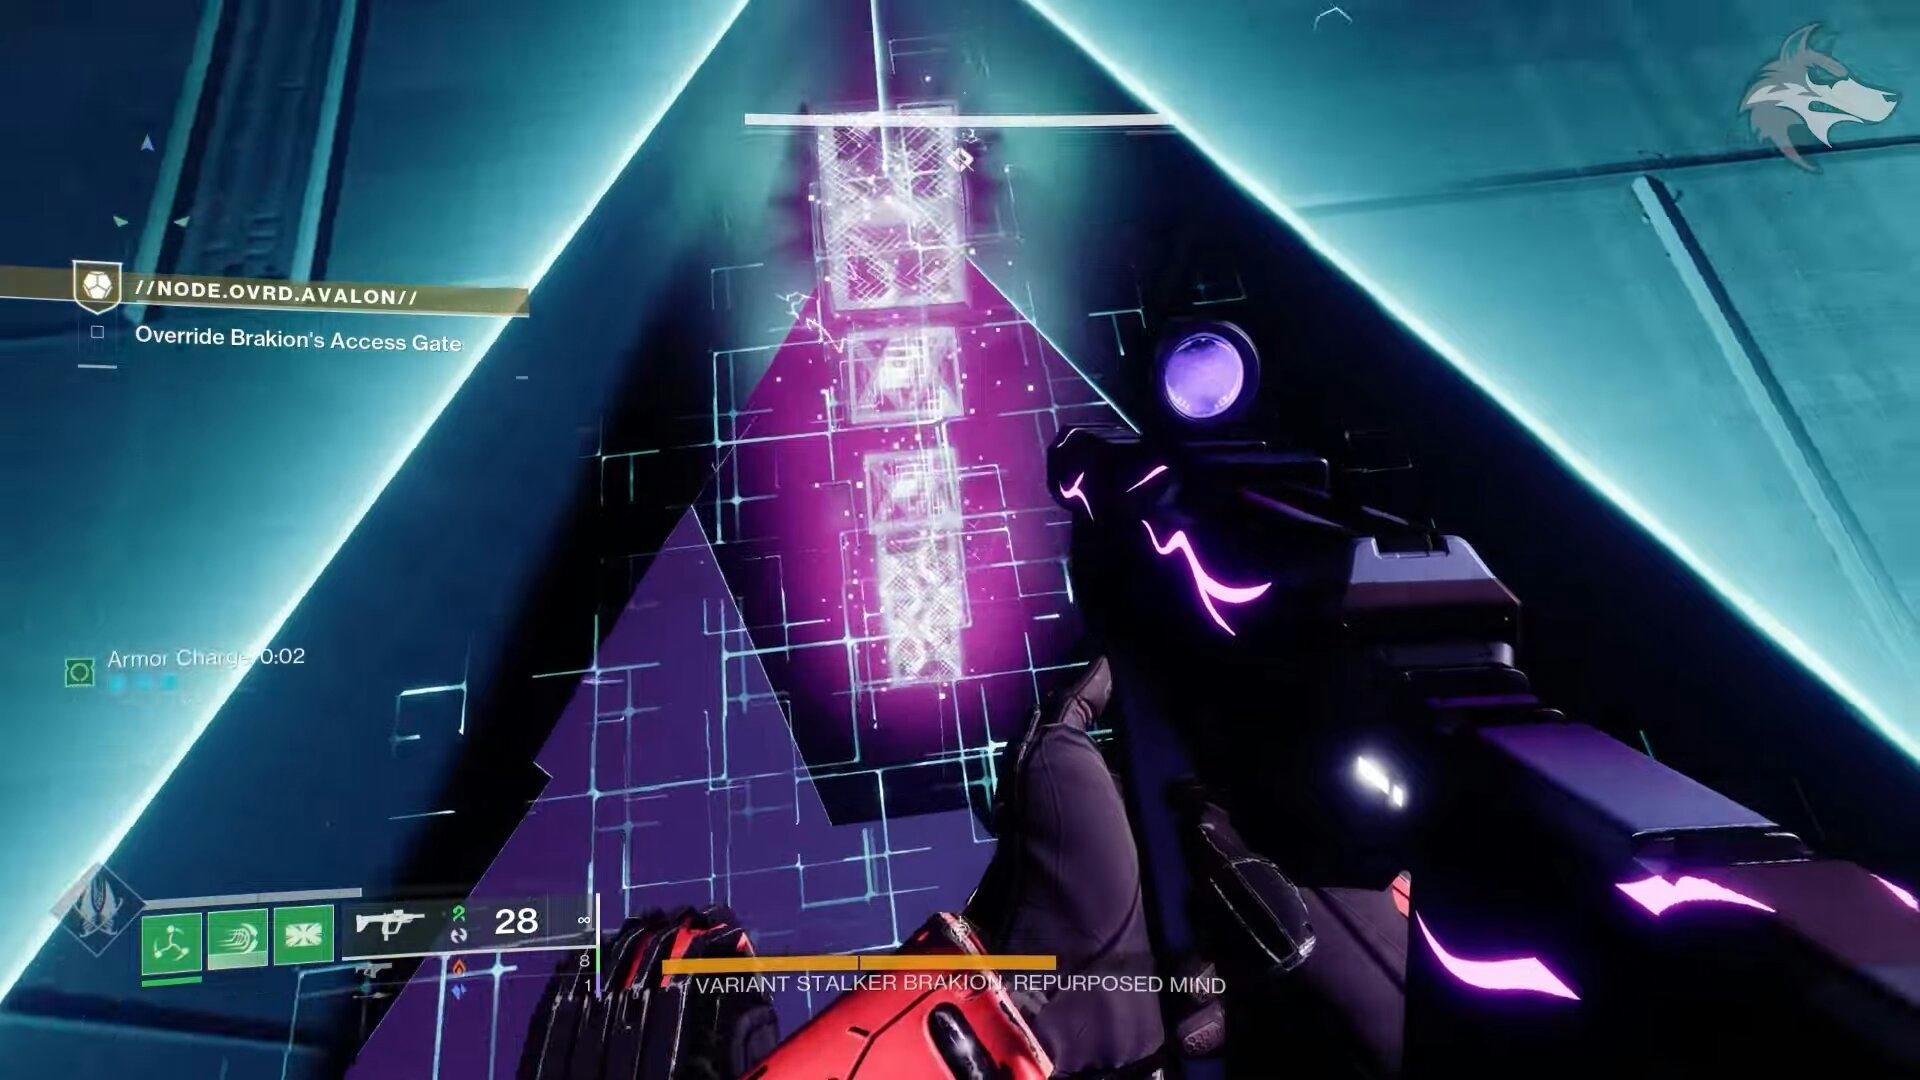
Home stretch! Enter the Node Core, and the final boss fight against Brakion will trigger. At this point, you’ll be able to deal damage to Brakion before it retreats. Once this happens, you’ll need to repeat the process from the earlier “Enter Access Codes” step by finding the codes and shooting the spire’s holograms in the correct order.
The vertical codes appear in the top left side of the area, then after you’ve completed that damage step, the next set will appear on the top right side of the area. After you’ve depleted Brakion’s health to around one-third, you can freely deal damage while also doing your best to survive against other enemies.
Return Vexcalibur to the H.E.L.M.
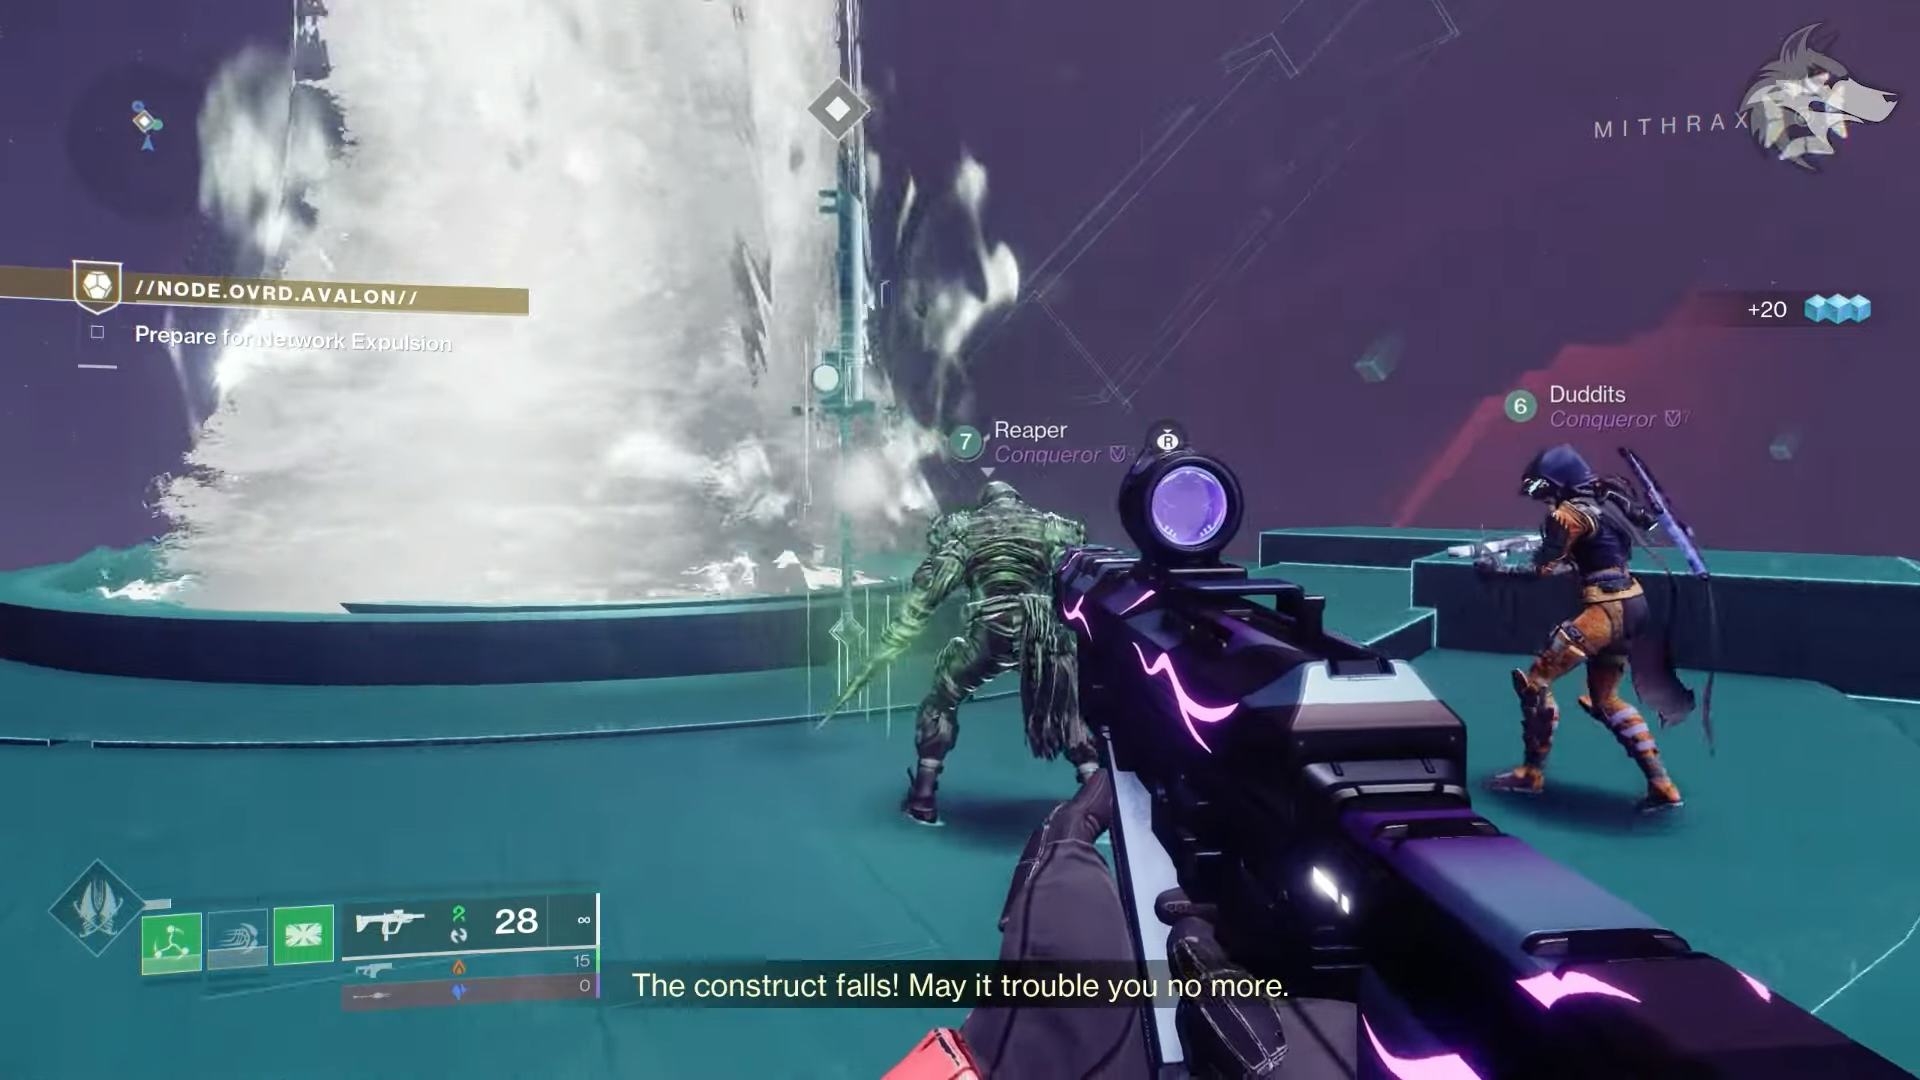
For a final step, you’ll need to collect the Vexcalibur that appears and then take it to the War Table in the HELM. This will reward you with the mighty Vexcalibur for your hard work.
