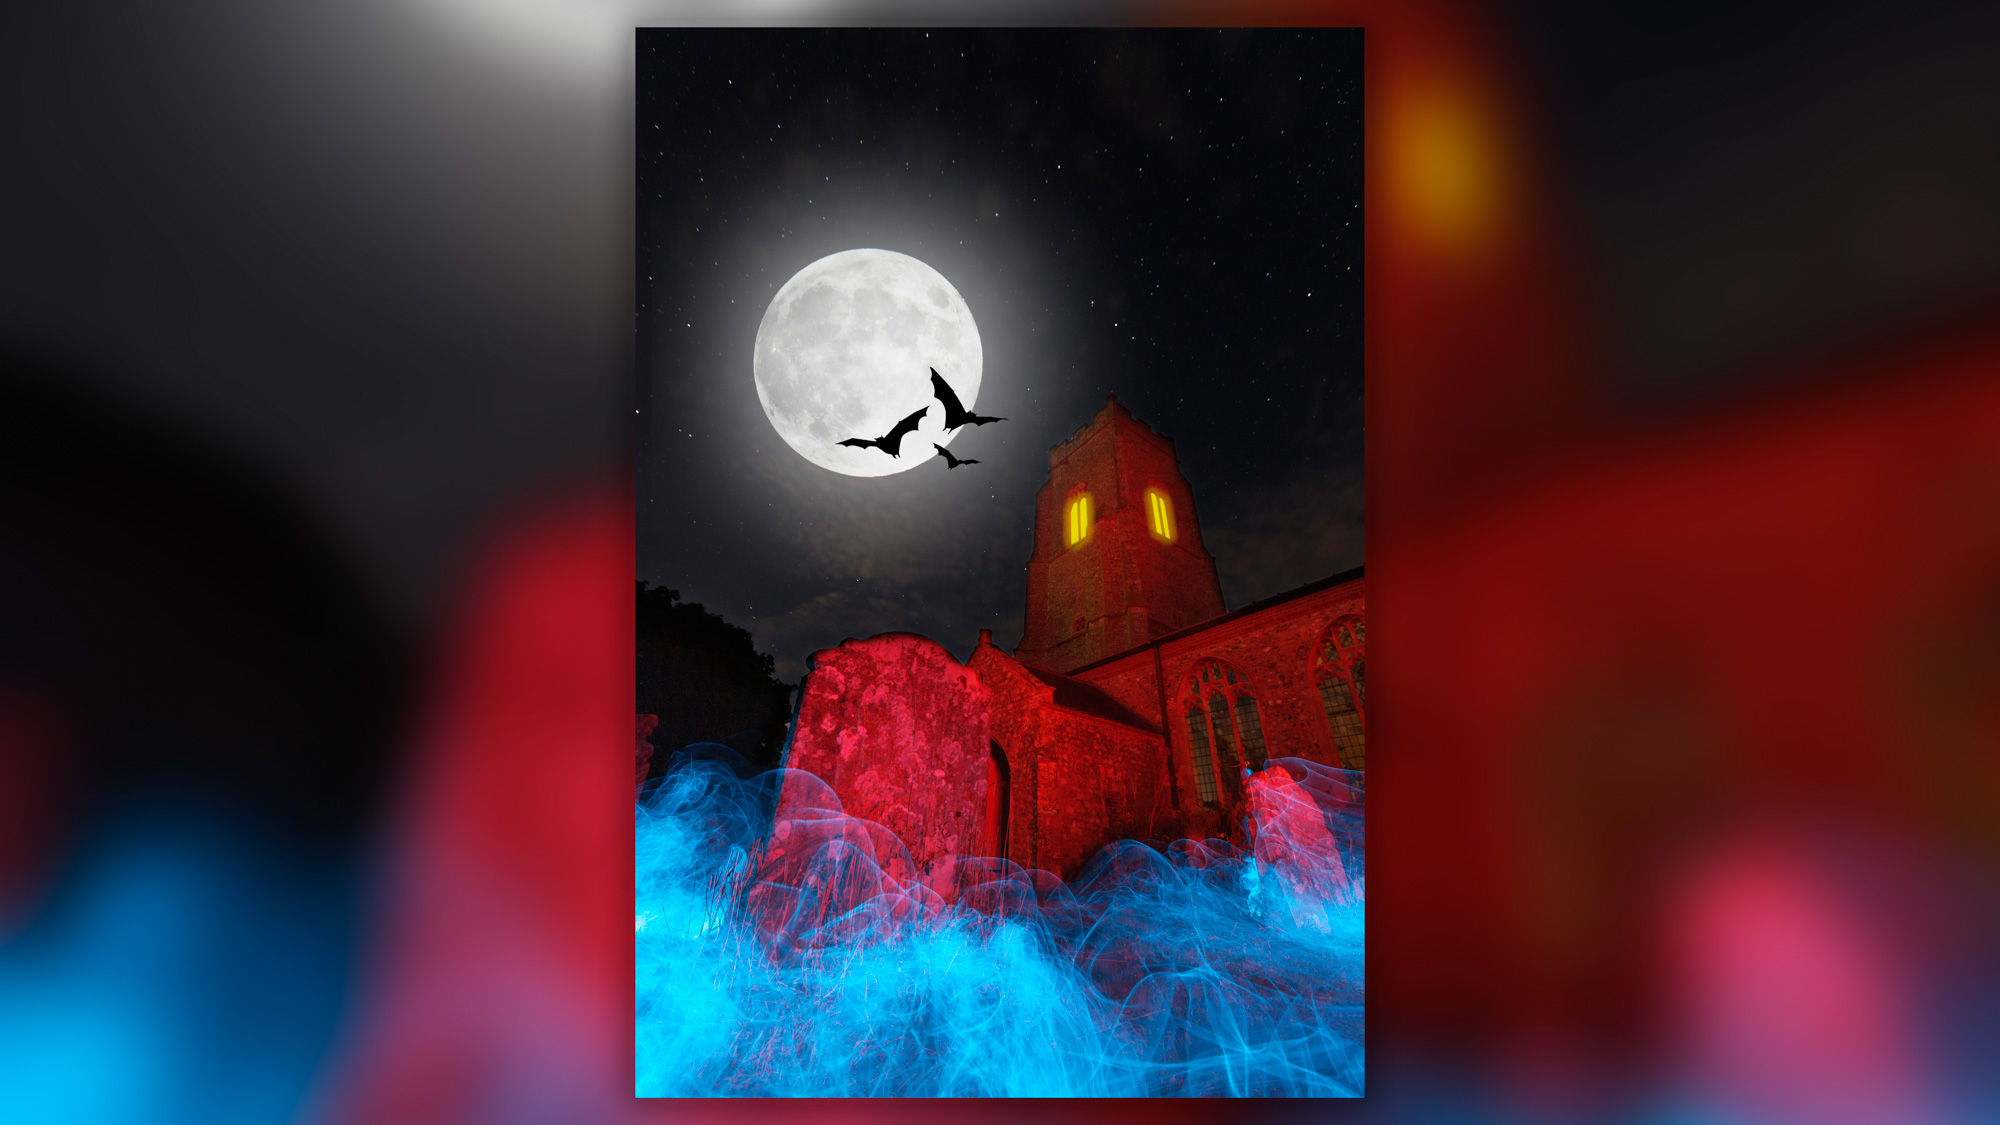
Watch video: Ghost town
As the nights draw in and the days become shorter, your window for shooting in daylight will, of course, be diminished, but that doesn’t mean you can’t still get creative with your camera after sundown. The trick is to add your own lighting.
Painting with light is a fun and popular technique in which you add your own lighting to a low-light scene, bringing it to life. Anything from a simple hand torch to a flashgun or LED panel works. In this project, we used a combination of the natural light, a flashgun with a red colour gel attached and some string wire to create the ethereal blue ‘fog’.
Therefore, with the longer evenings to play with over winter, the only thing stopping you getting out with your camera is your imagination. So be sure to get creative after dark! Follow this project for inspiration and see how you can get started.
1. Set up on a tripod
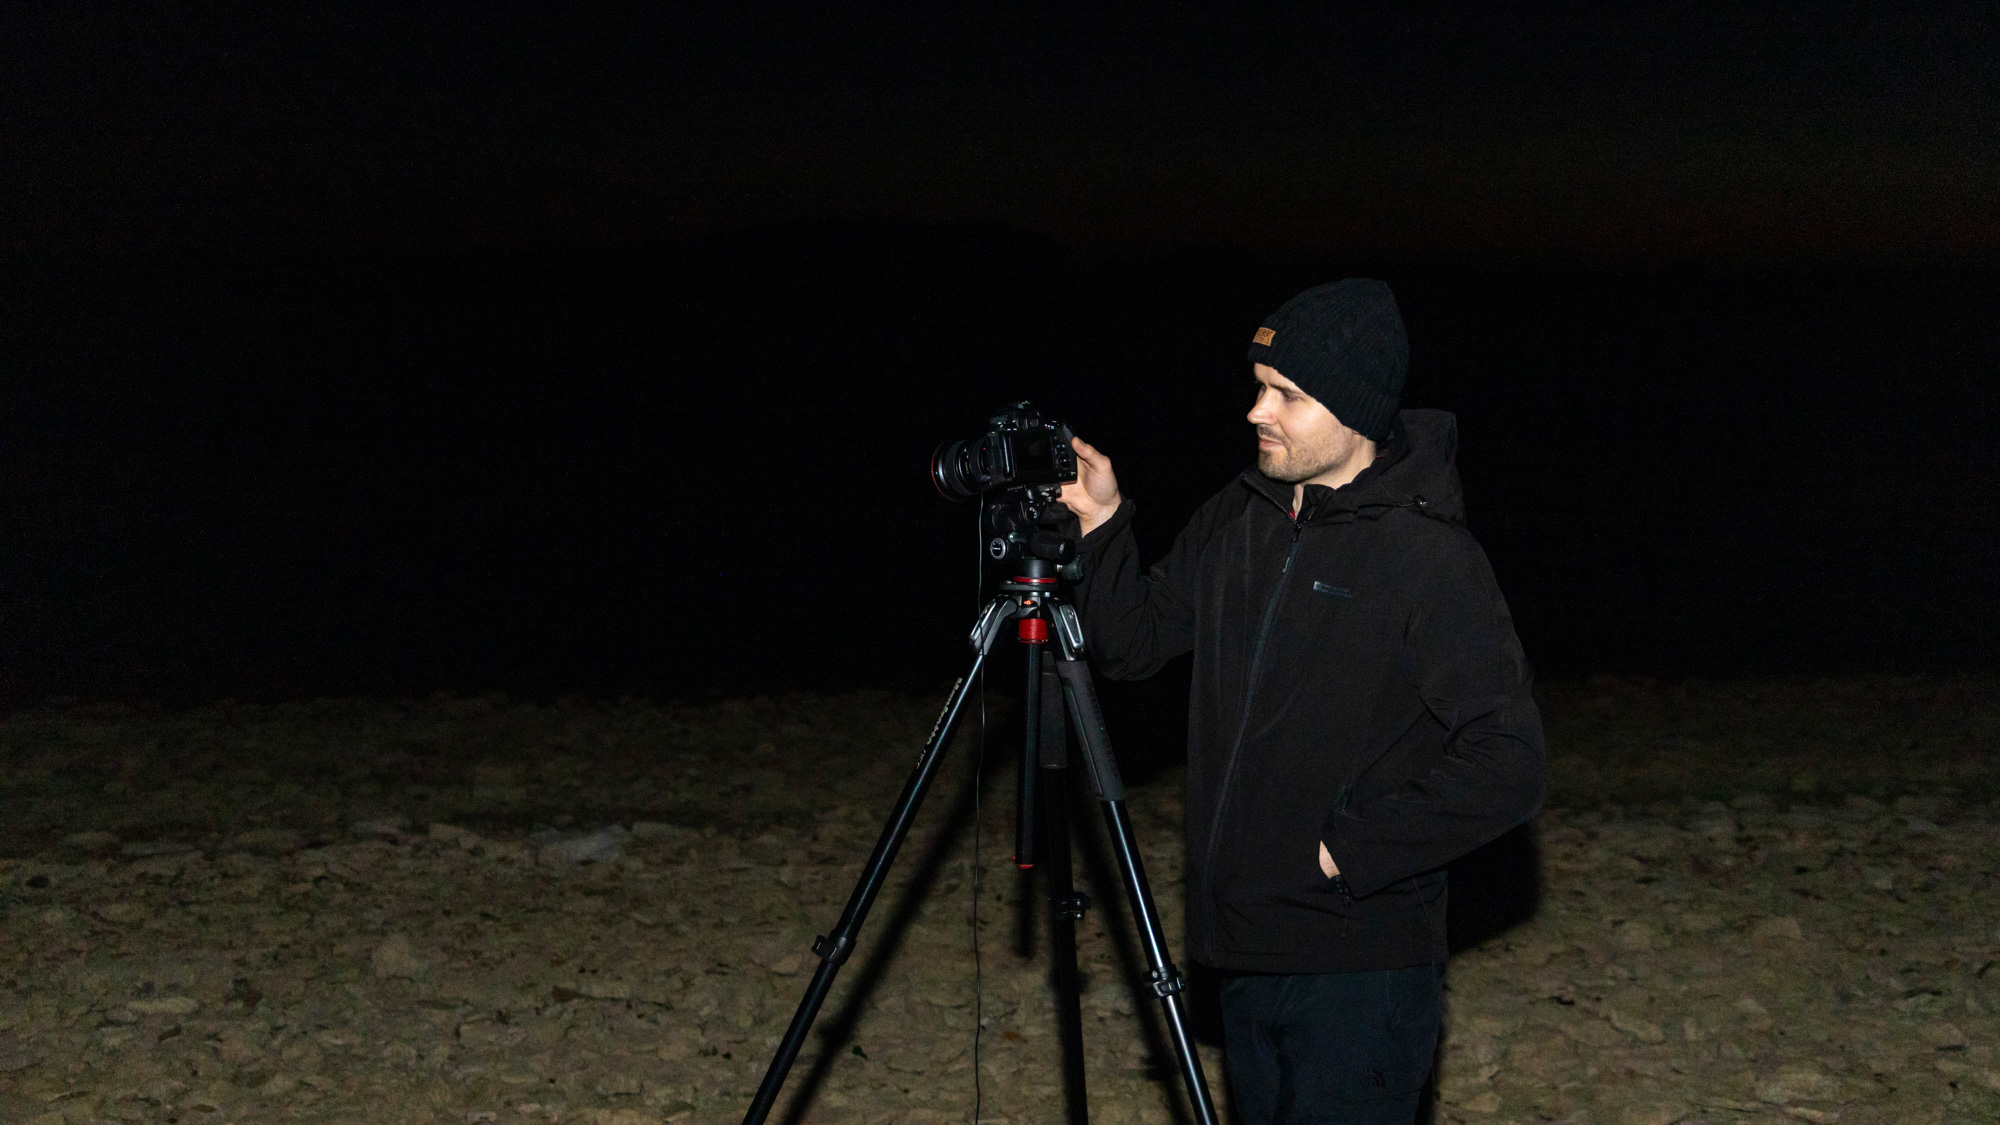
For this technique, you’re going to be taking plenty of long-exposure images, and then blending them together in software to build up the final result. This means that setting up on a sturdy tripod is vital to help all of the different merged images line up perfectly in post. I used my reliable Manfrotto 055 model here.
2. Nail the focus
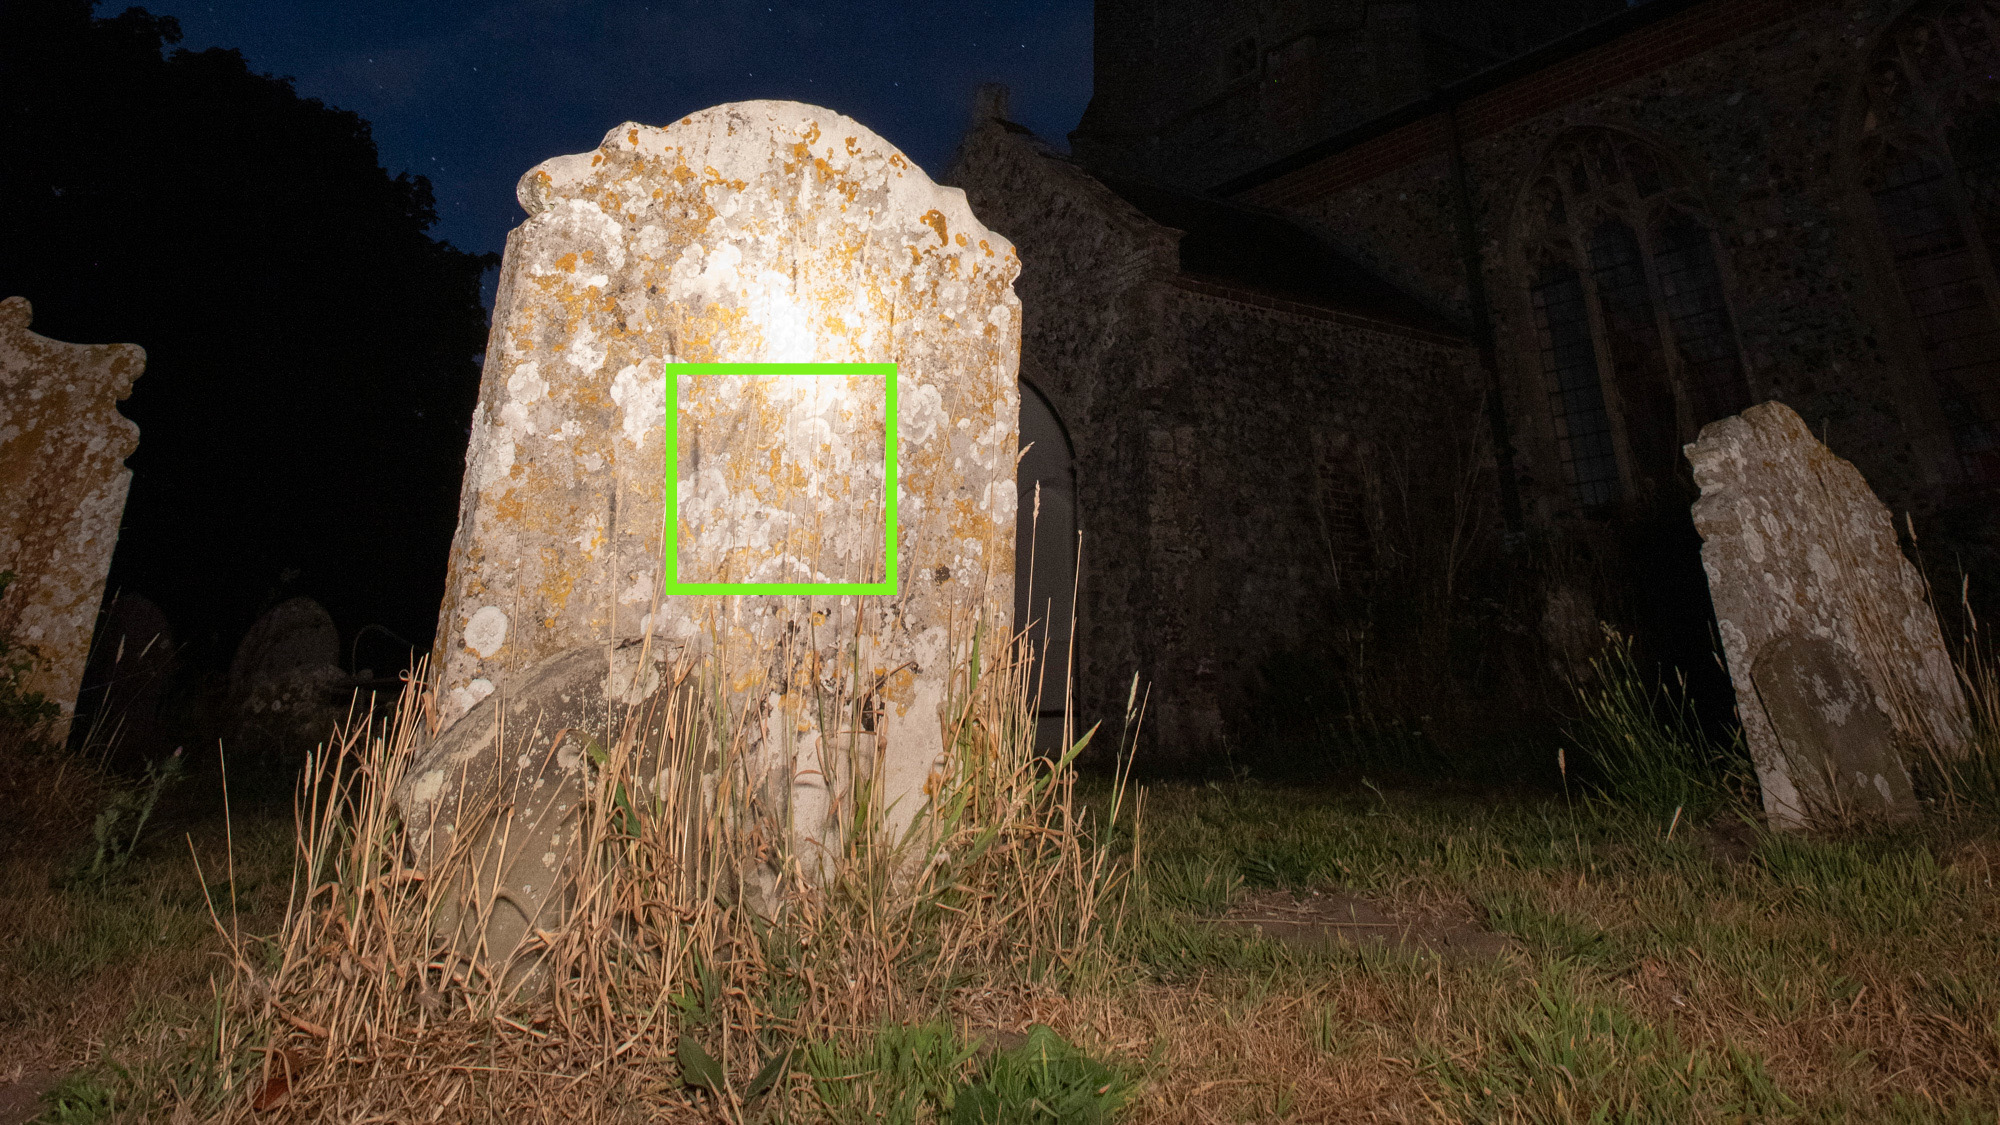
The easiest way to focus in the dark is for you or a friend to shine a bright torch on the area that you’d like to be sharp, so your camera can autofocus on it. We focused on this gravestone to make it the focal point and then switched the focus to MF to lock it off.
3. Camera settings
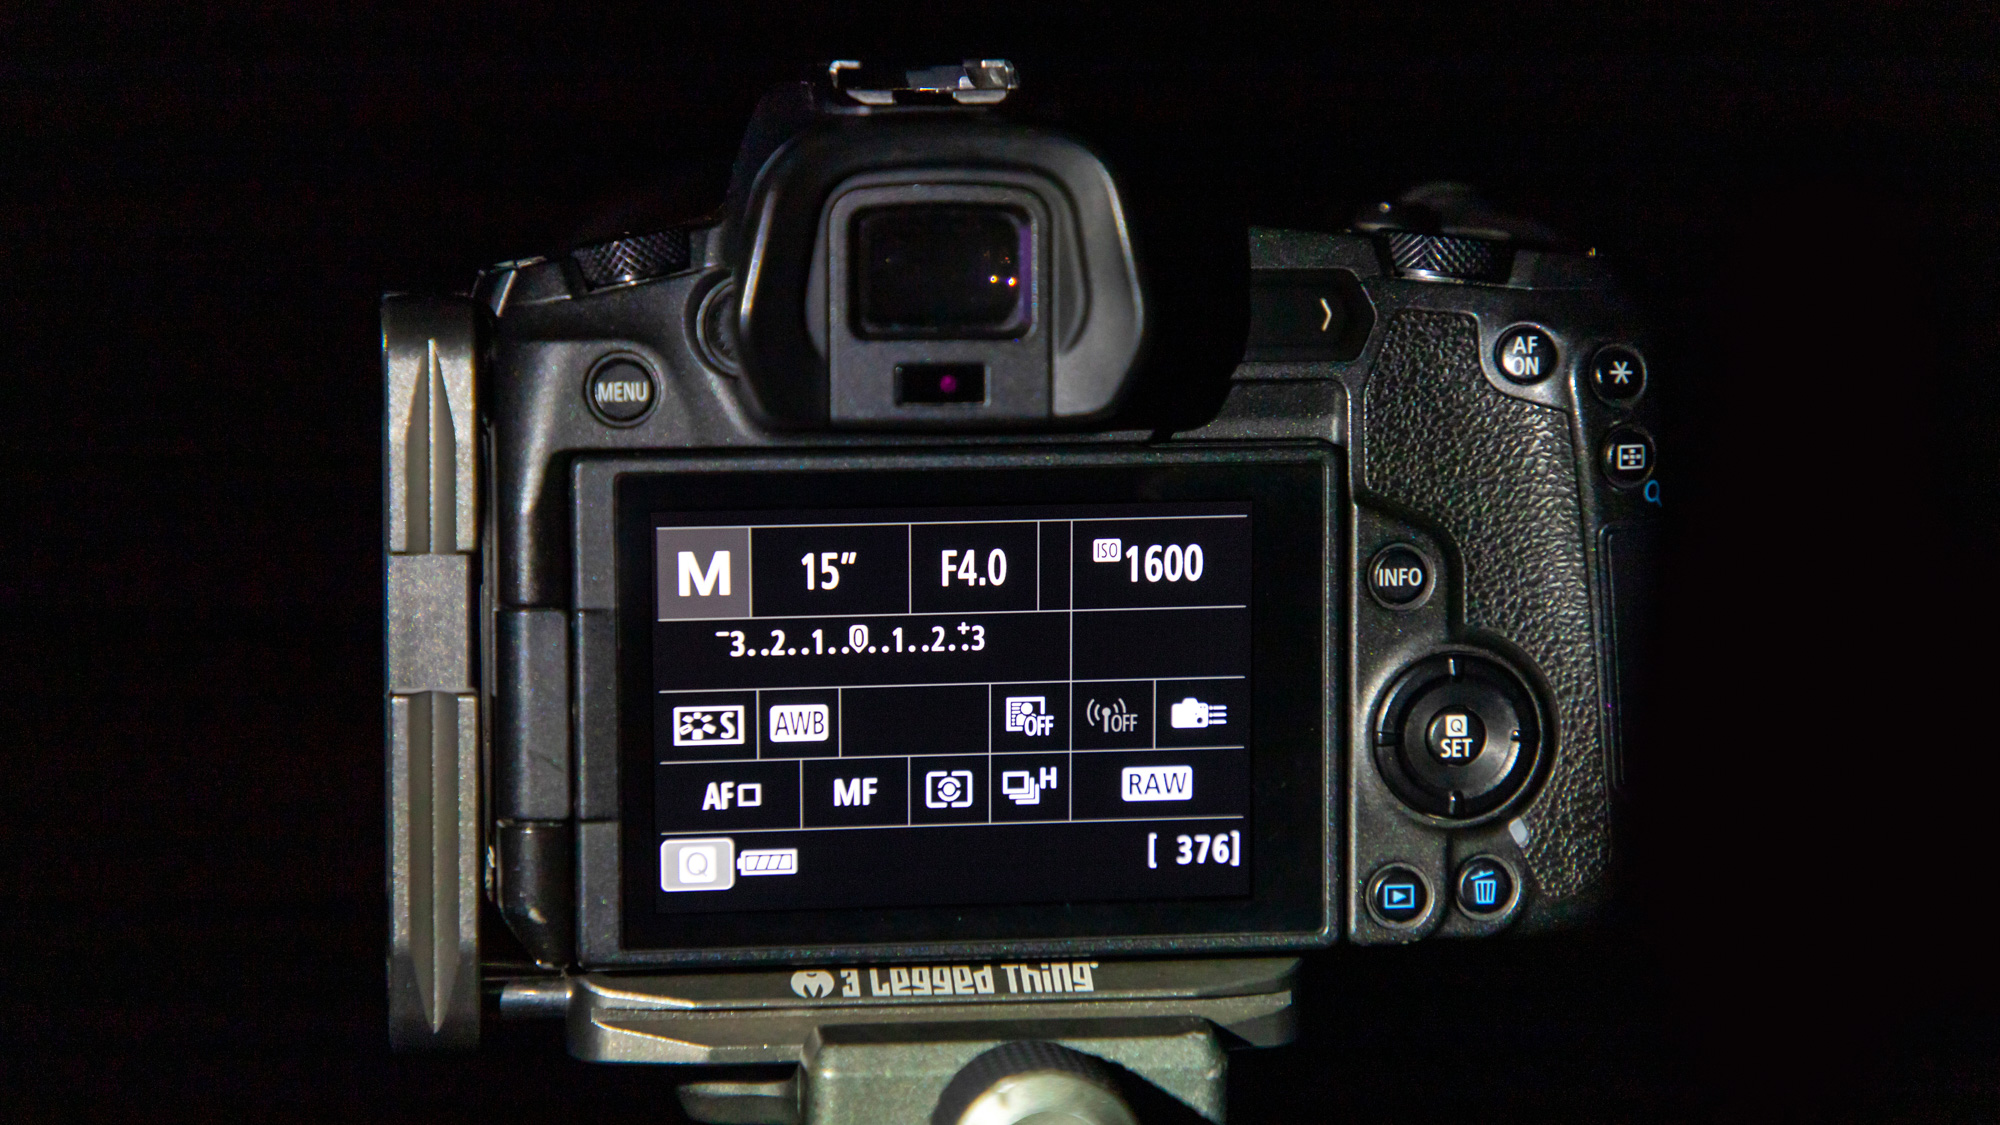
Go into the Manual (M) mode on your Canon EOS camera and open the aperture to its widest setting – this was f/4 on our Canon EF 24-105mm f/4L IS lens. We then set the shutter speed to 15 seconds and boosted the ISO to 1600.
4. Take a test shot
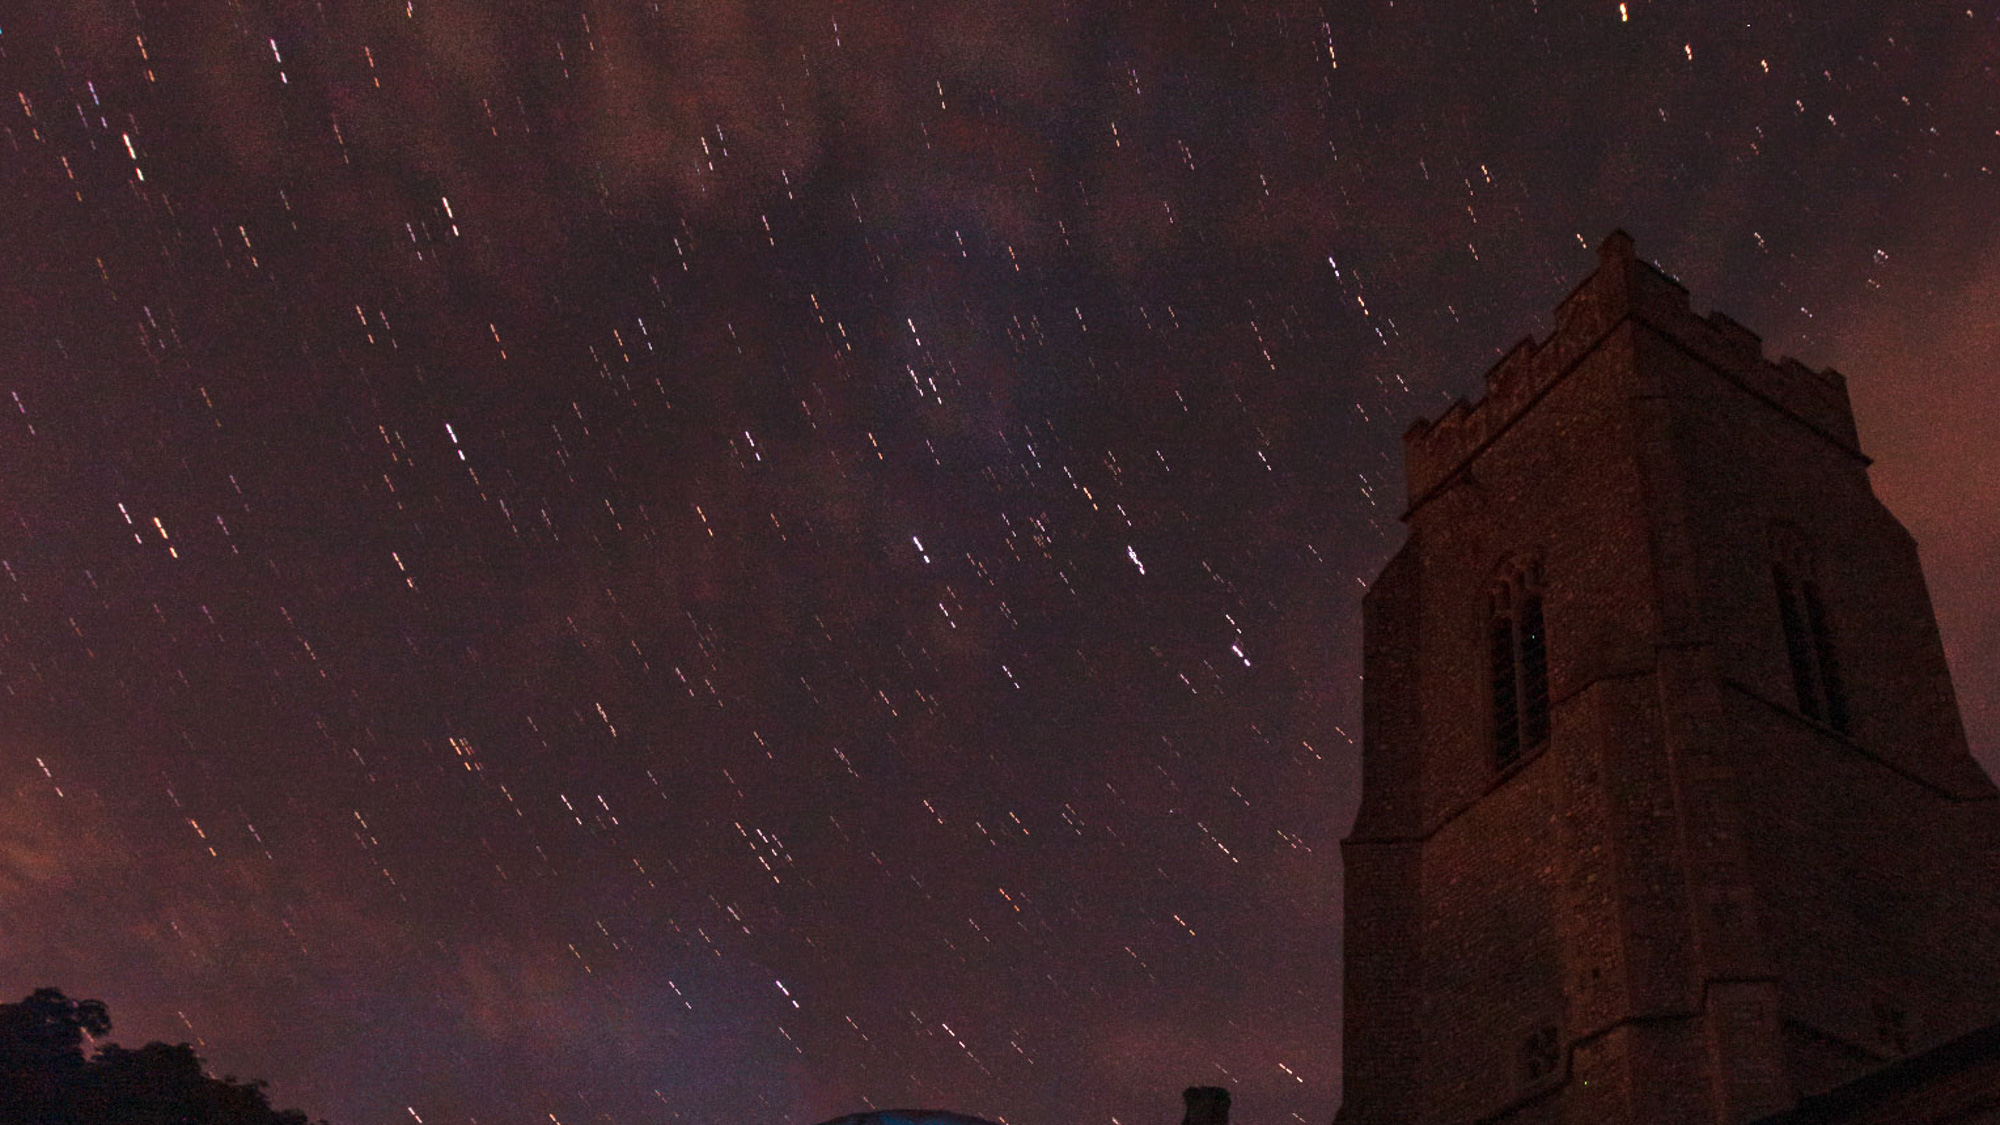
Take a test shot and check on the rear LCD screen to make sure there’s good detail in the sky. We went for a shutter speed of 15 secs, which was slow enough to not turn the stars into trails (above), but long enough for me to walk around the scene whilst I painted it with light.
5. Use flash with a color gel
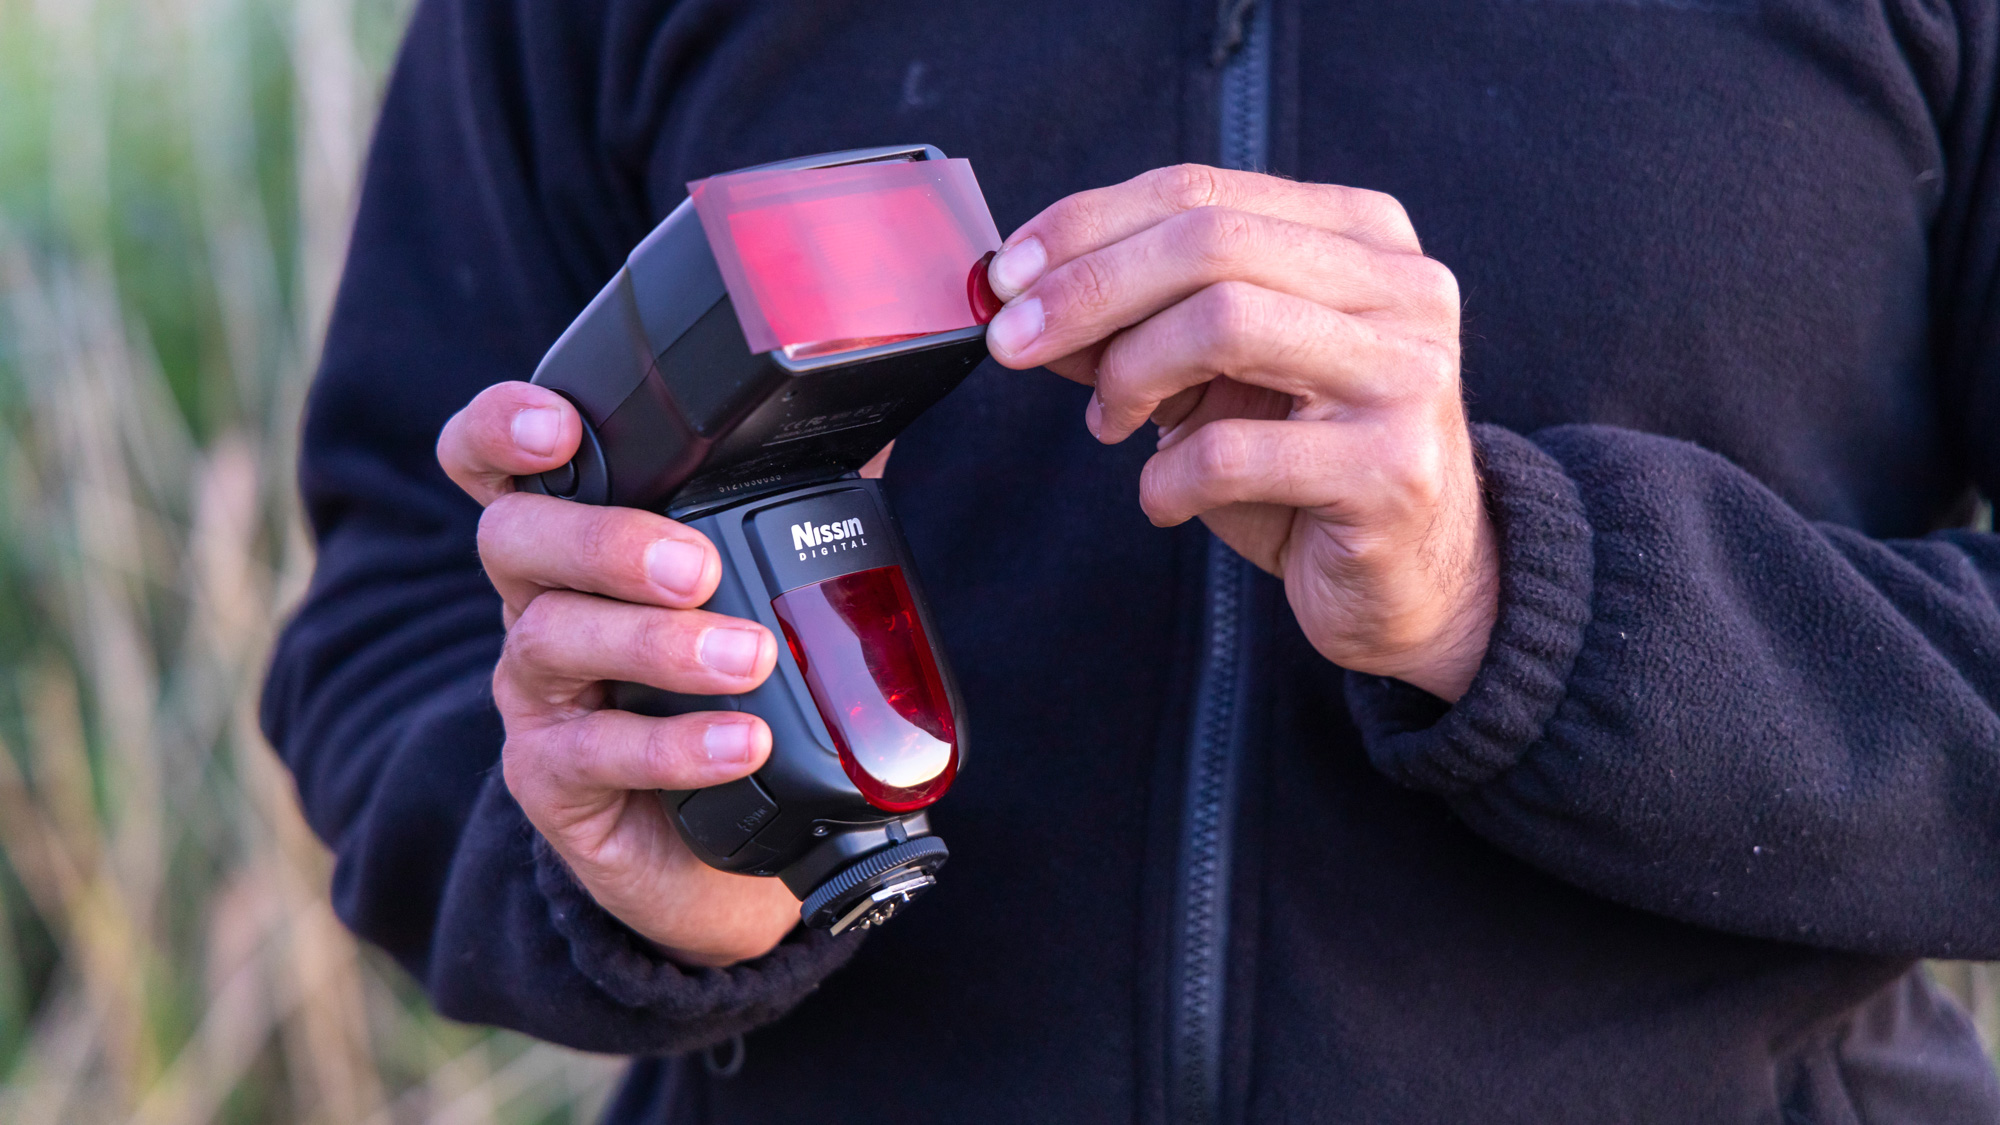
To bring the church to life, I used a flash off-camera and aimed it at the architecture, then pressed the test button on the flash to fire it. I also fitted a red gel to add some colour. Check your images afterwards and see whether your flash power needs to go up or down.
6. Create electric fog with blue L-wire
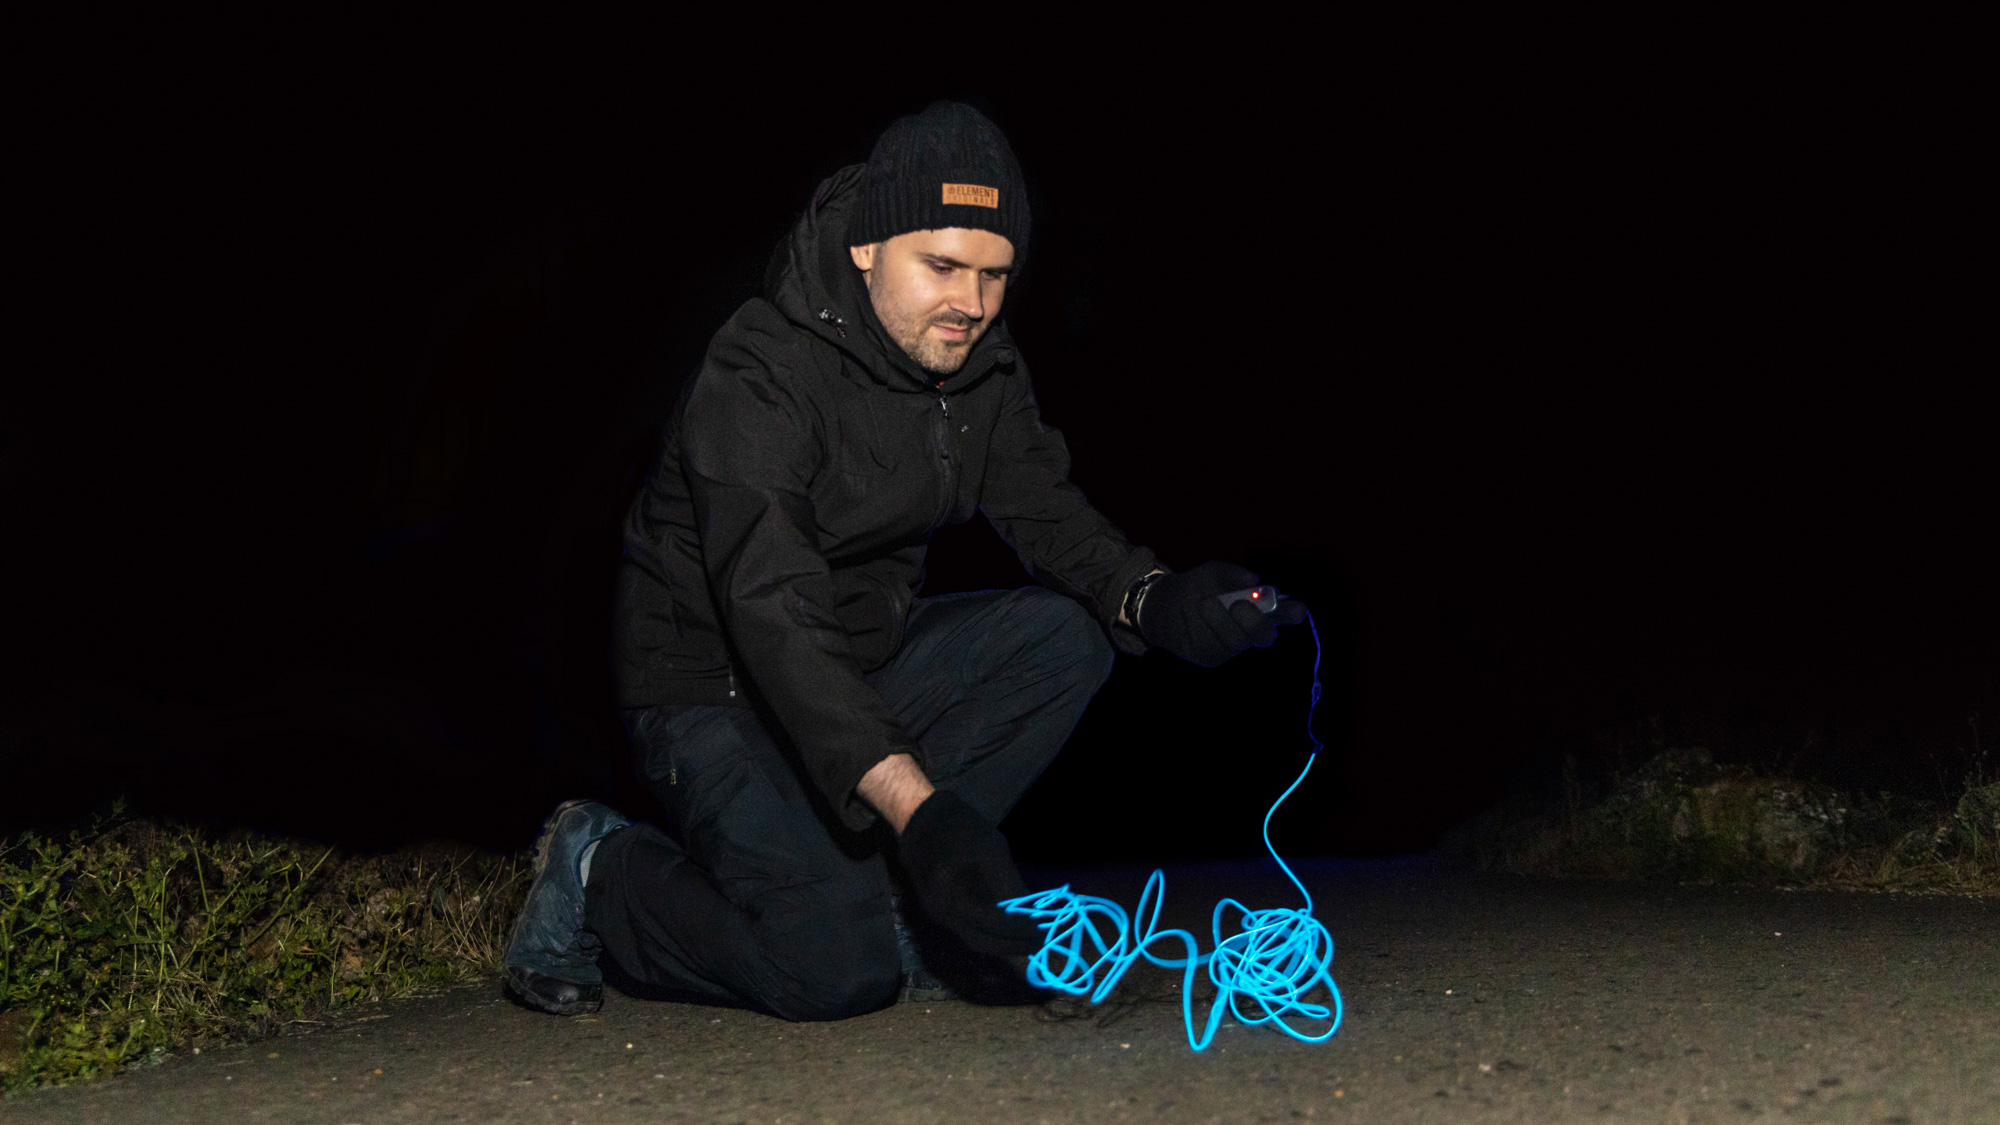
EL-wire, also called string wire, is a long fibre optic light connected to a battery pack. Bunching the wire together and moving it through the scene close to the ground creates a spooky fog. I went for a blue color to contrast with the red flash painting.
7. Take three core exposures
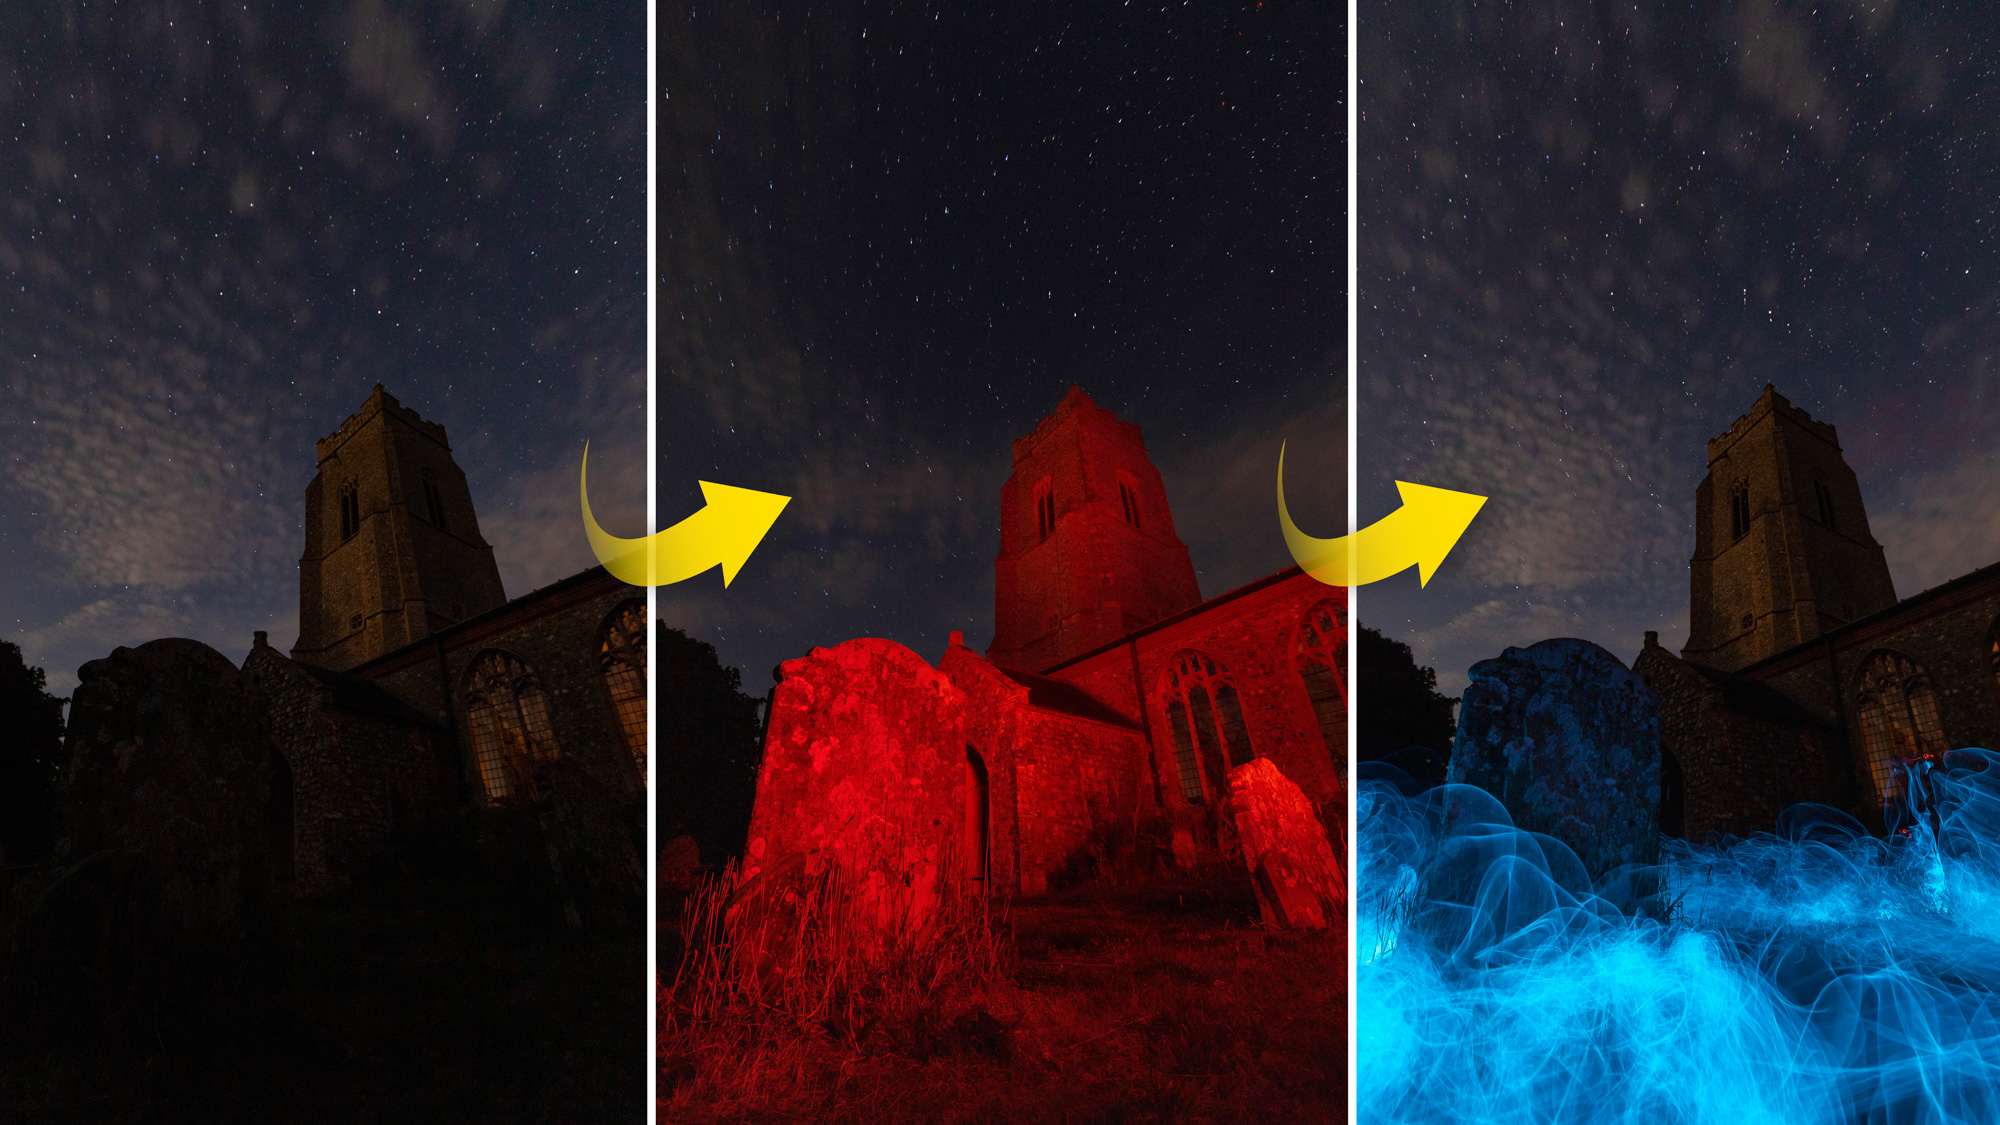
01 Base exposure
Once you’ve set up on a tripod and nailed the focus, it’s a good idea to take a base shot without any light painting. This is useful because you can blend the light painting layers into your base photo in Photoshop and change their opacity to make them more or less vivid.
02 Paint the town red
To stop the church appearing too dark in the image, I attached a red filter to a flashgun and fired a few blips of flash into the scene to light it up. You could instead paint your scene with a hand torch – tape a semi-transparent sweet wrapper over the bulb to change its colour.
03 Add spooky blue fog
It took longer than the 15 secs shutter speed to paint the entire foreground with the EL-wire to create the blue mist effect. I set our Canon to its Continuous Burst mode and over several frames I covered the whole frame with the fog and then merged them together in Photoshop.
8. Bring it all together in Photoshop

To complete the classic Halloween haunted house vibe, we added a full moon and a few bats and you can download our start images onto your computer.
Open the Moon.png start image and hit Ctrl/Cmd+A to select it and Ctrl/Cmd+C to copy. Then in your main shot, hit Ctrl/Cmd+V to paste it in. Hit Ctrl/Cmd+T to put it into Free Transform mode to reposition and resize it.
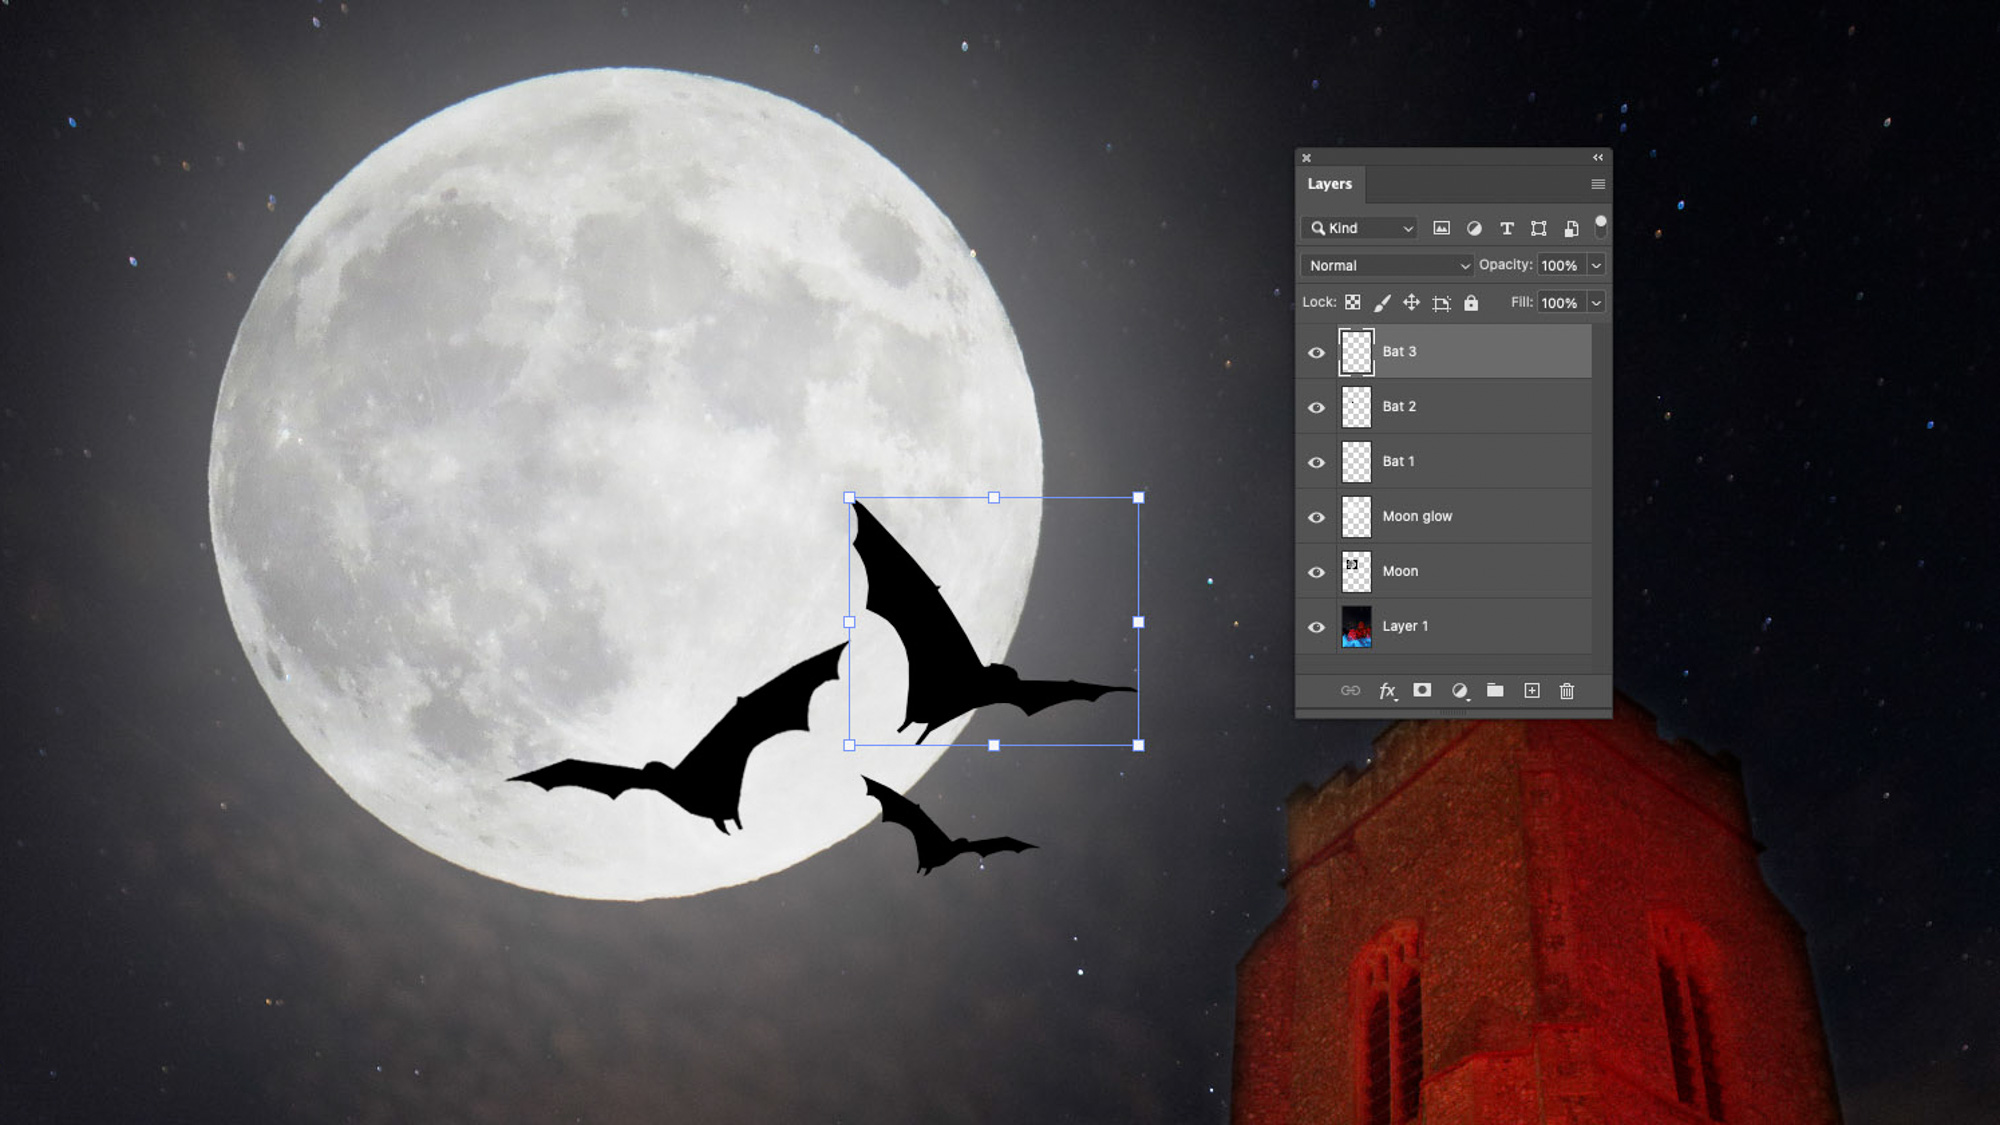
Create a new layer and paint with a soft white Brush tool with a low Opacity over the moon to give it a diffused glow. Now open up the Bats.png start image and, just as before, select them with Ctrl/Cmd+A, copy with Ctrl/Cmd+C, then in your haunted house image, hit Ctrl/Cmd+V to paste them in.
Use Free Transform again with Ctrl/Cmd+T to resize and position the bats. You may need to repeat this step a few times to build up the effect until there are enough bats in your sky to your liking.
If you liked this Halloween project, be sure to check out the 10 Halloween photo ideas for a spooktacular photoshoot along with how to create a spooky shadow portrait.


