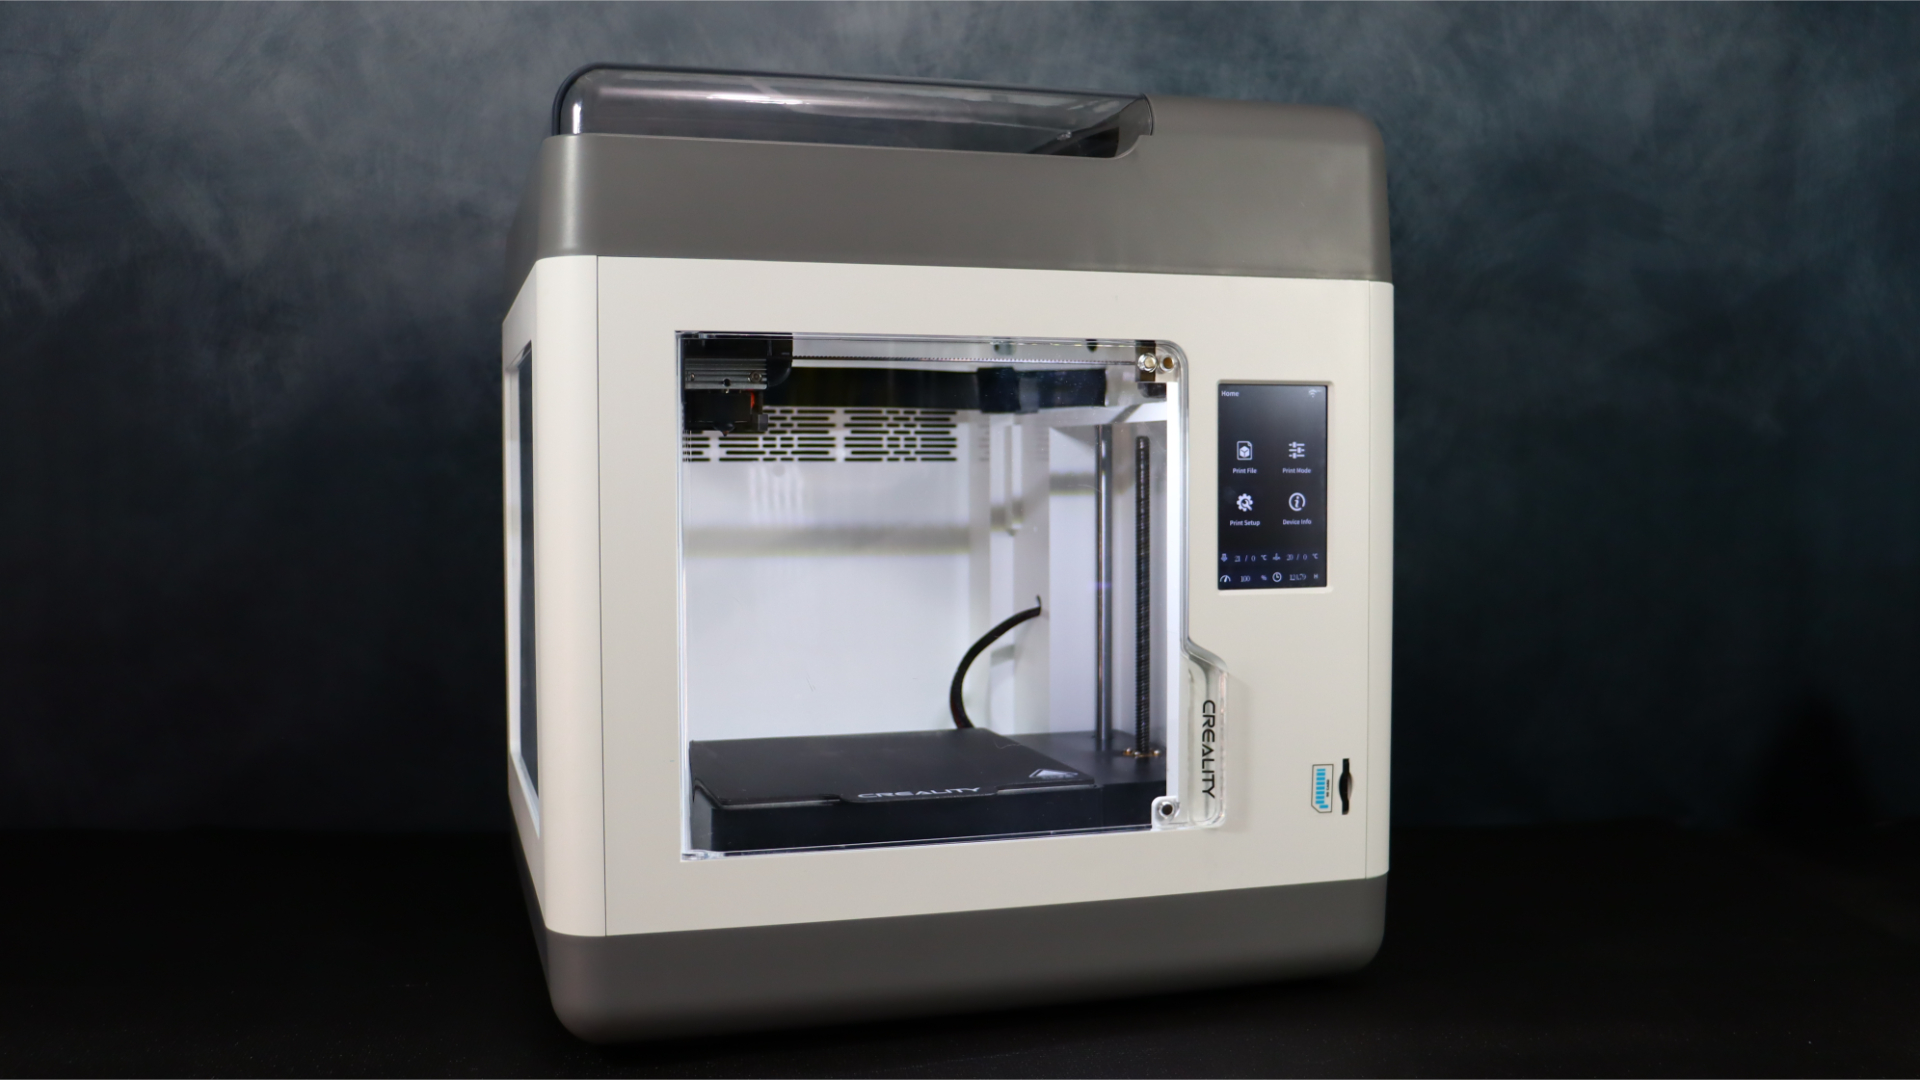
Getting into 3D printing can be daunting, but the Creality Sermoon V1 Pro offers a beginner-friendly option that still ticks all the right boxes for experienced printers too.
The Creality Sermoon V1 Pro is a full-enclosed FDM printer that doesn't require any assembly. You can start printing right away with the Sermoon V1 Pro because it comes with a pre-leveled bed and a direct drive extruder that has been factory calibrated.
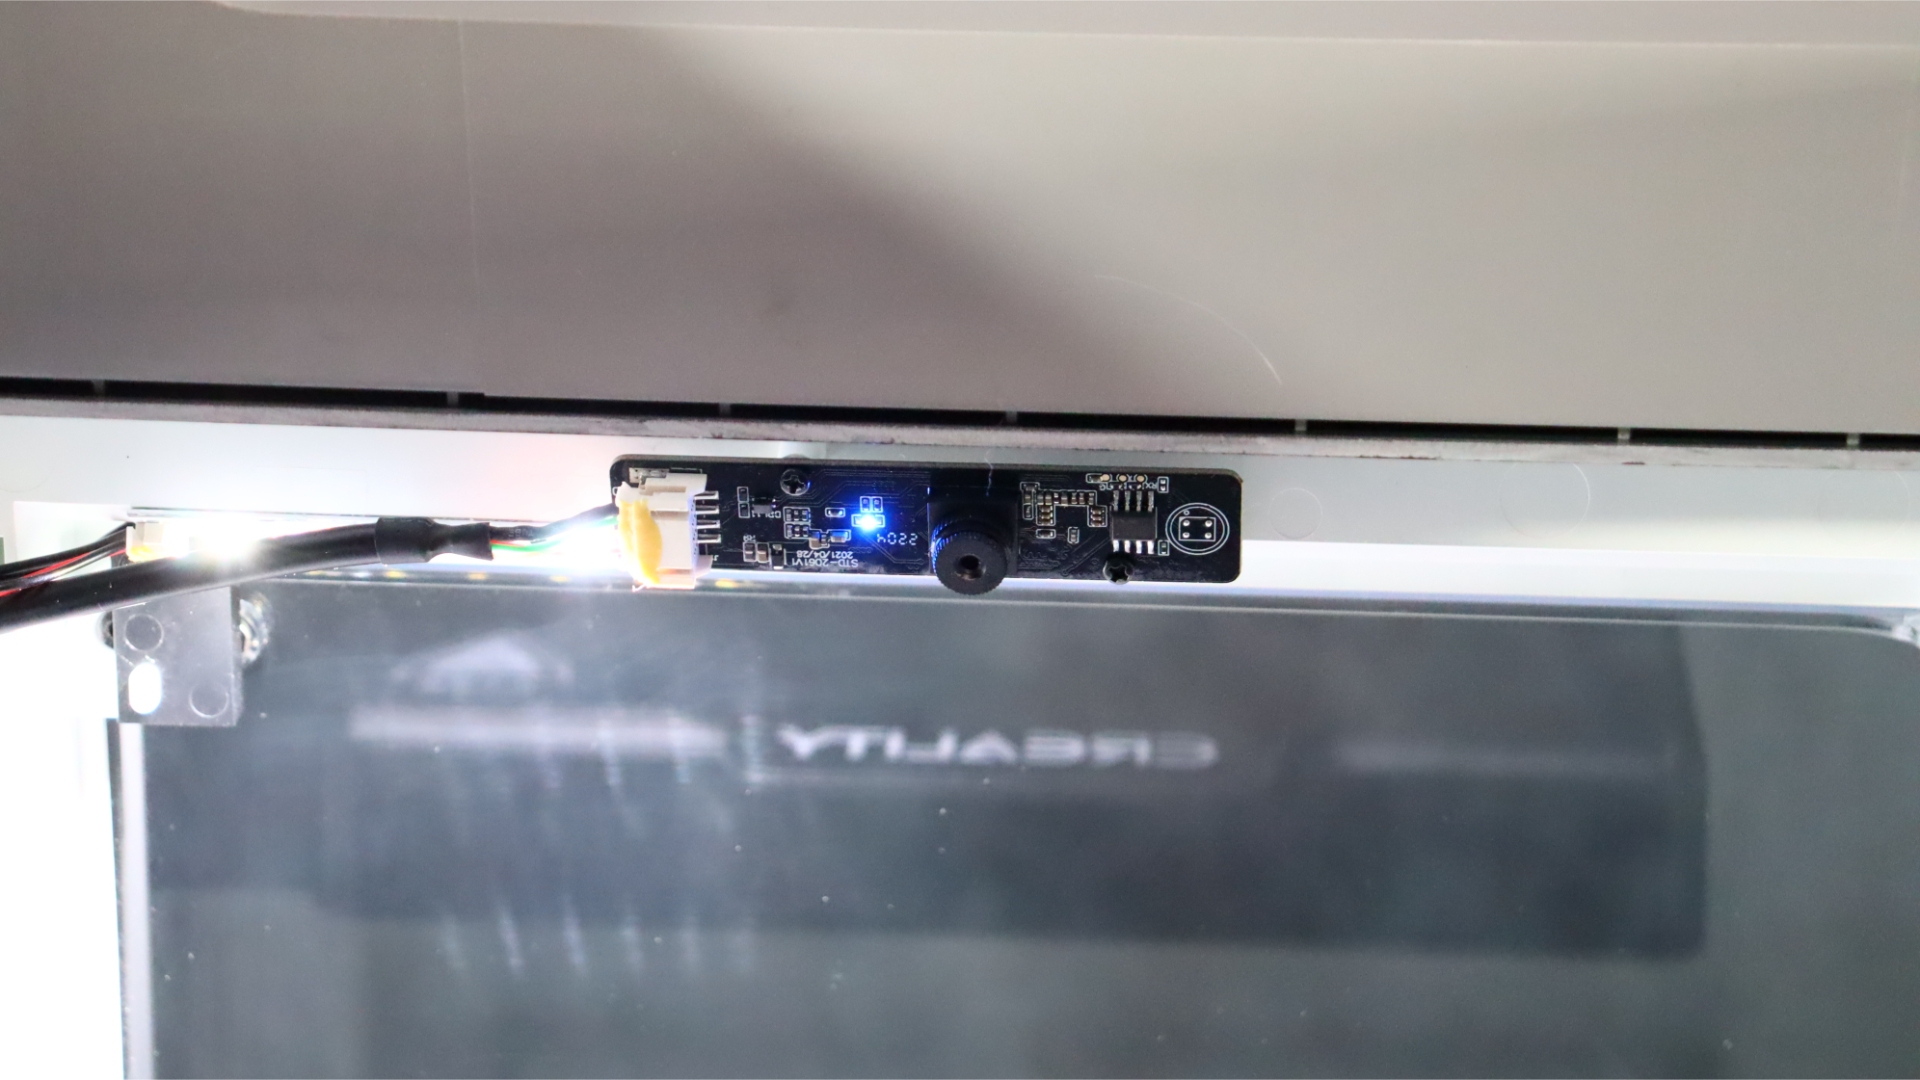
Working with the Sermoon V1 Pro is easy and clear for beginners because to its connection with Creality Print and Cura, which lets you upload sliced files directly to the printer. There is also a webcam included, so you can monitor your prints remotely via your smartphone.
After testing the printer out, we think this combination of features and its ease of use makes the Sermoon V1 Pro one of the best 3D printers for beginners on the market.
Creality Sermoon V1 Pro: Setup & Design
- Comes pre-assembled with a levelled bed.
- Enclosed design with transparent sides.
The Sermoon V1 Pro practically doesn't need any assembly. The printer is fully pre-assembled and prepared for use once the packaging foam and zip ties are removed. Although Creality claims that the Sermoon V1 Pro is factory leveled, it is still advisable to level the bed before beginning your first print to make sure everything in working order.
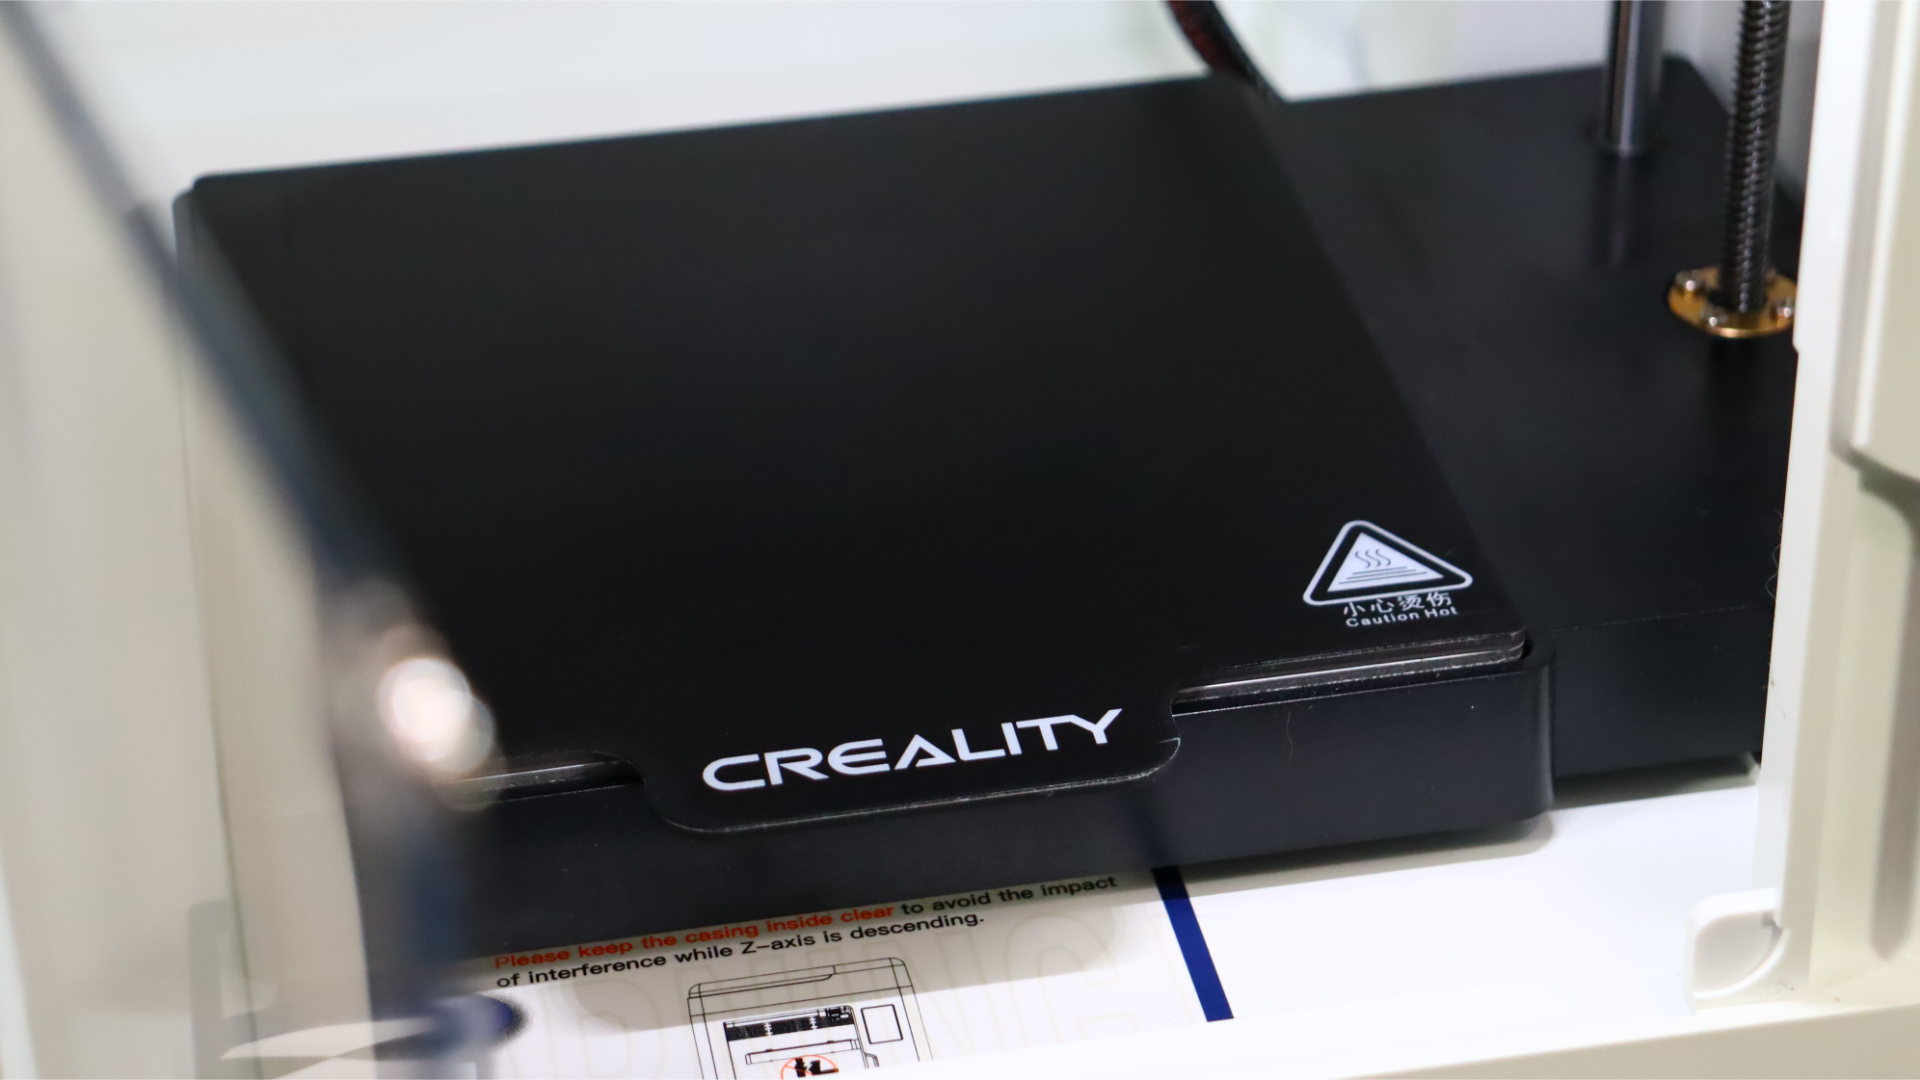
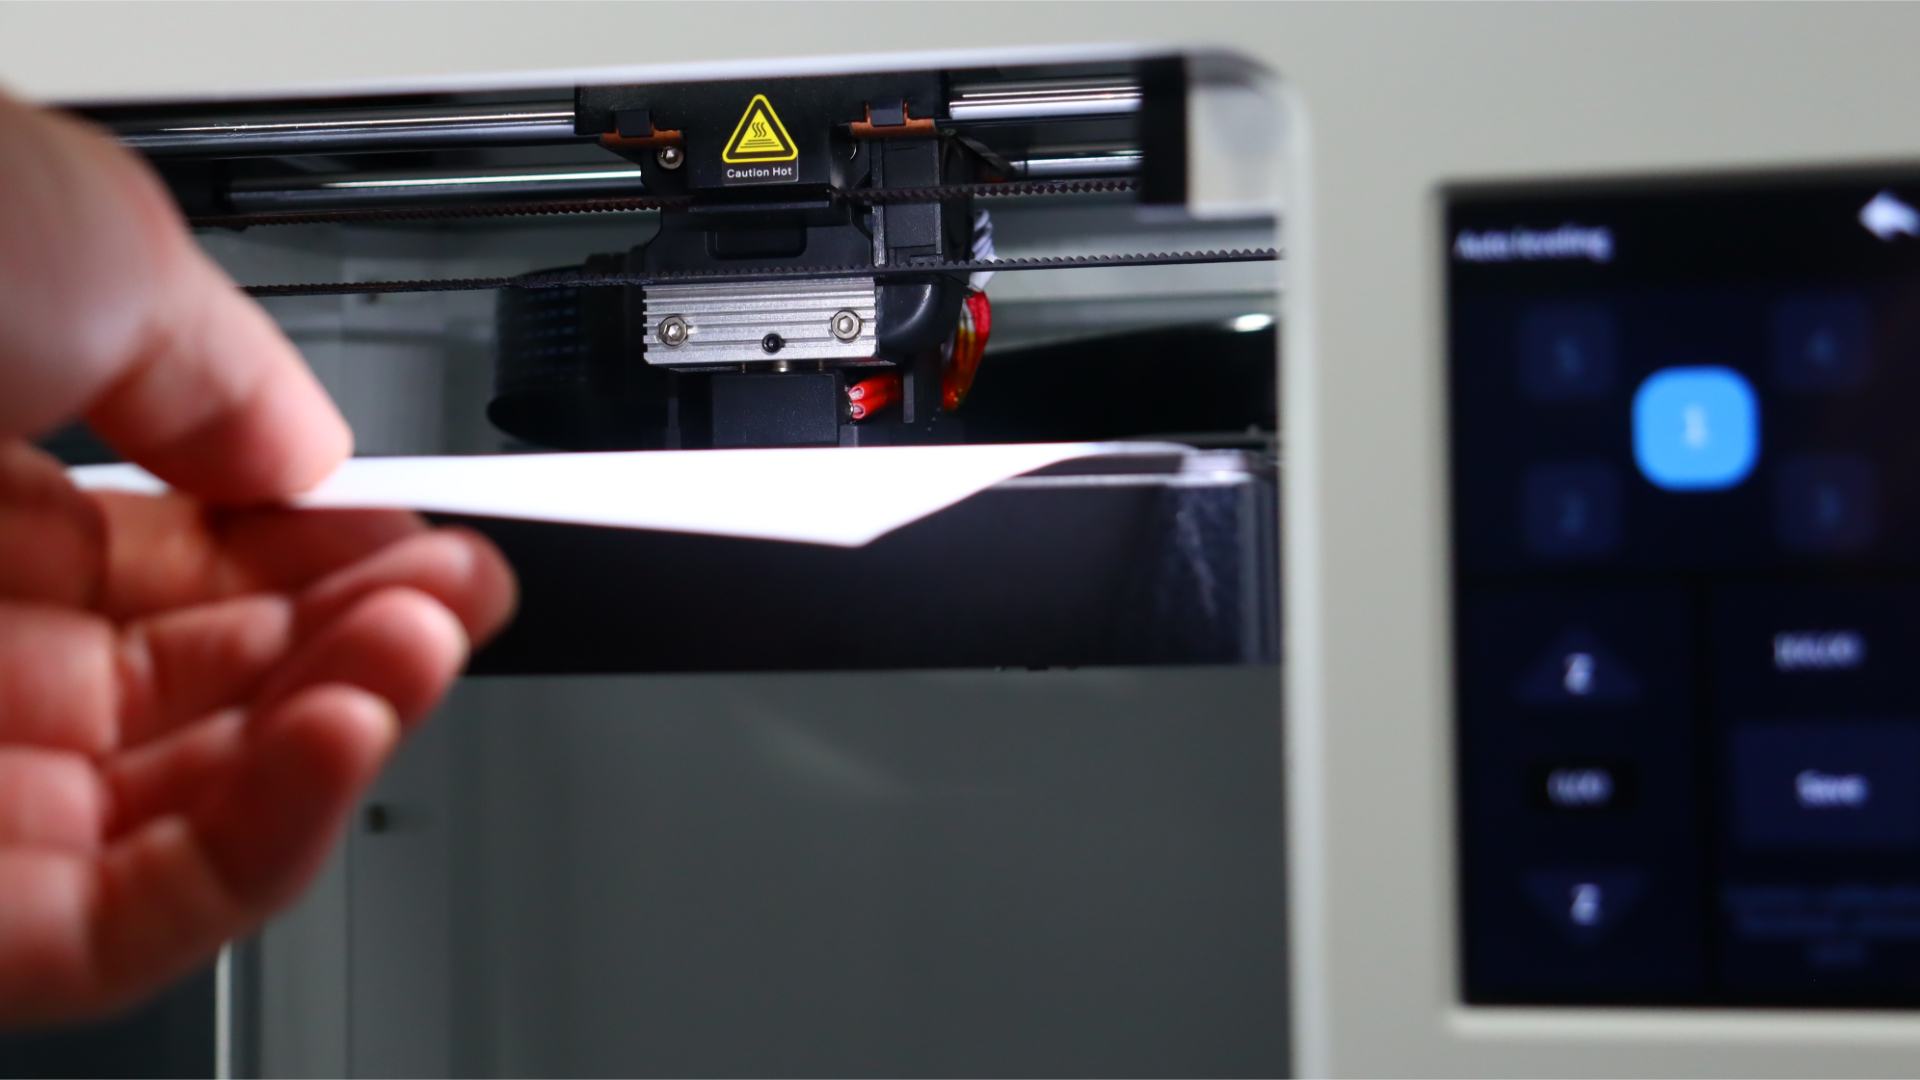
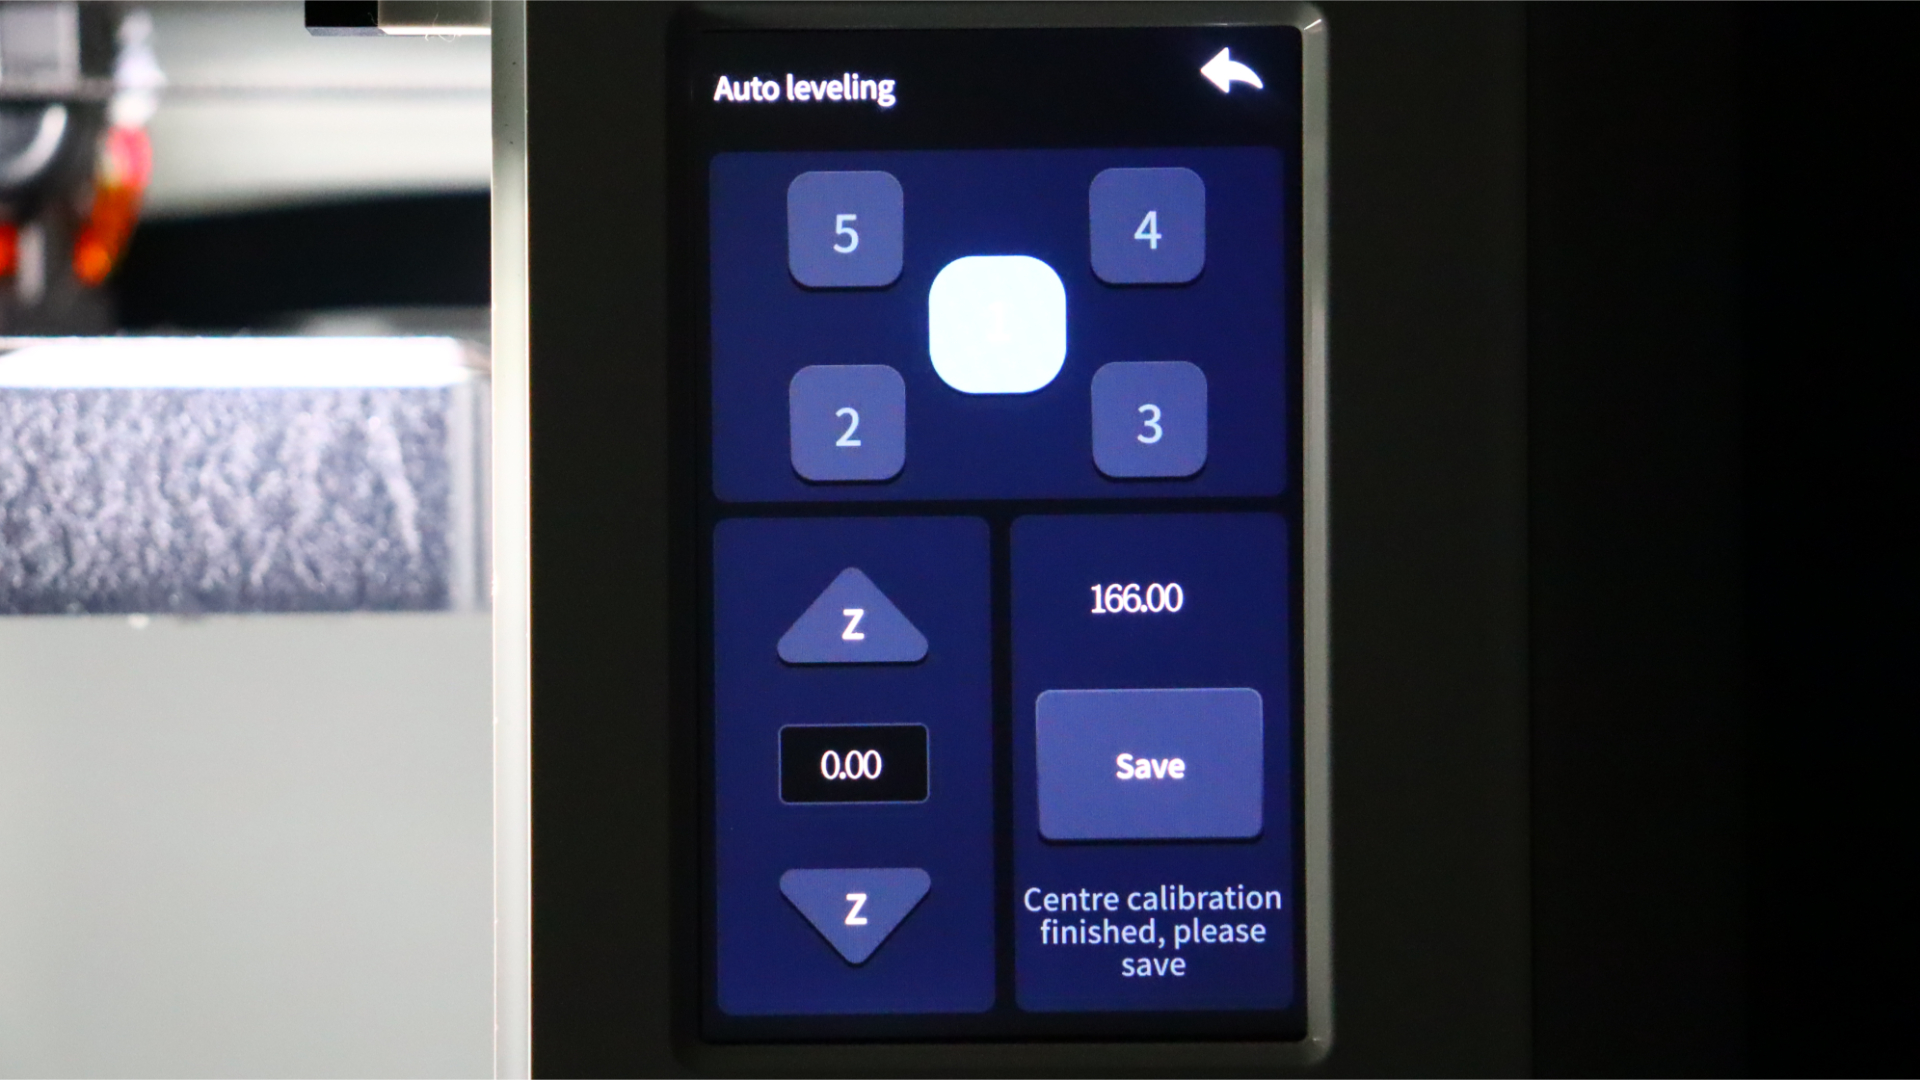
The Sermoon V1 Pro doesn’t have auto-levelling, so to get the offset just right, you must instead use the standard paper-slide motion. You do this using the control panel to adjust the nozzle height (called the Z-offset) in five different places along the bed saving the results of each point when it’s close enough. All3DP has a great guide in manual bed levelling if you’re new to 3D printing and want more advice there.
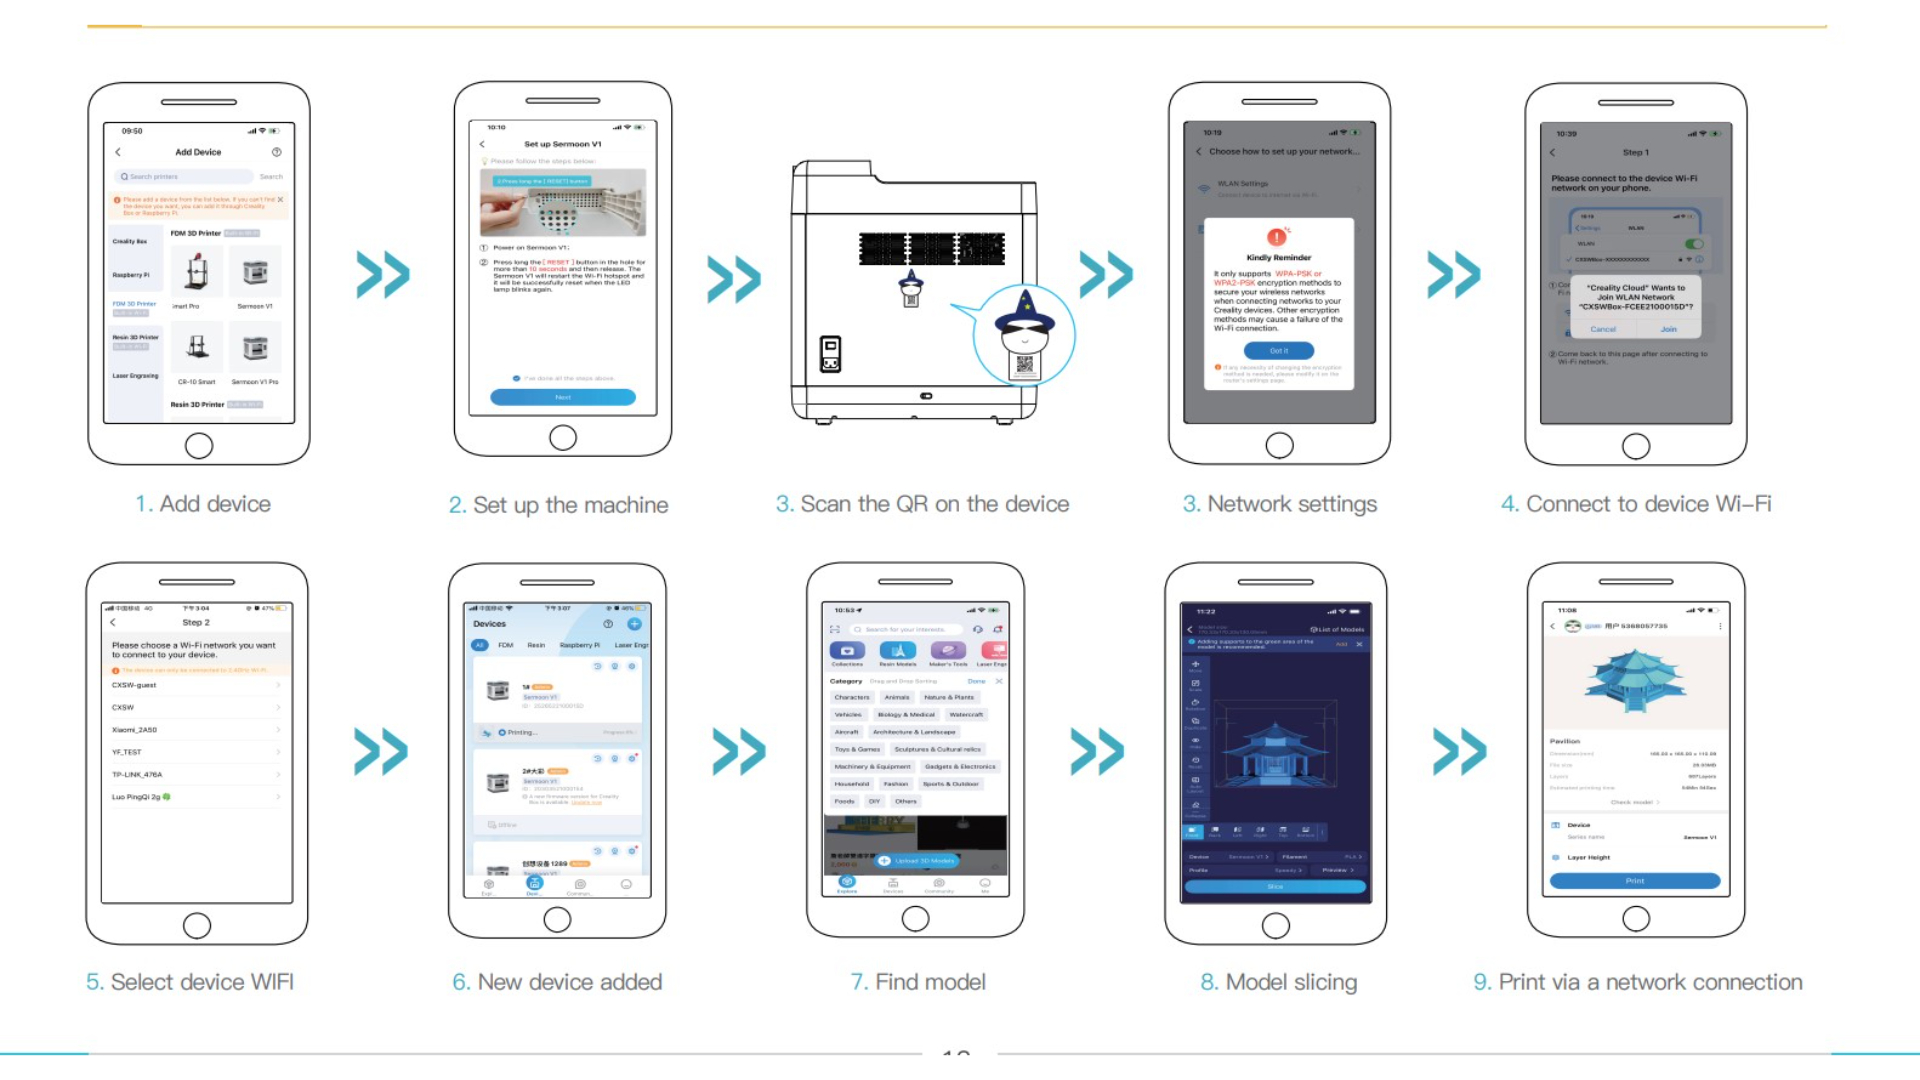
The only actual step needed for setup is to configure the printer’s connection to the Creality Cloud App – the manual and app provide clear step by step instructions on the setup process, so this stage is a breeze.
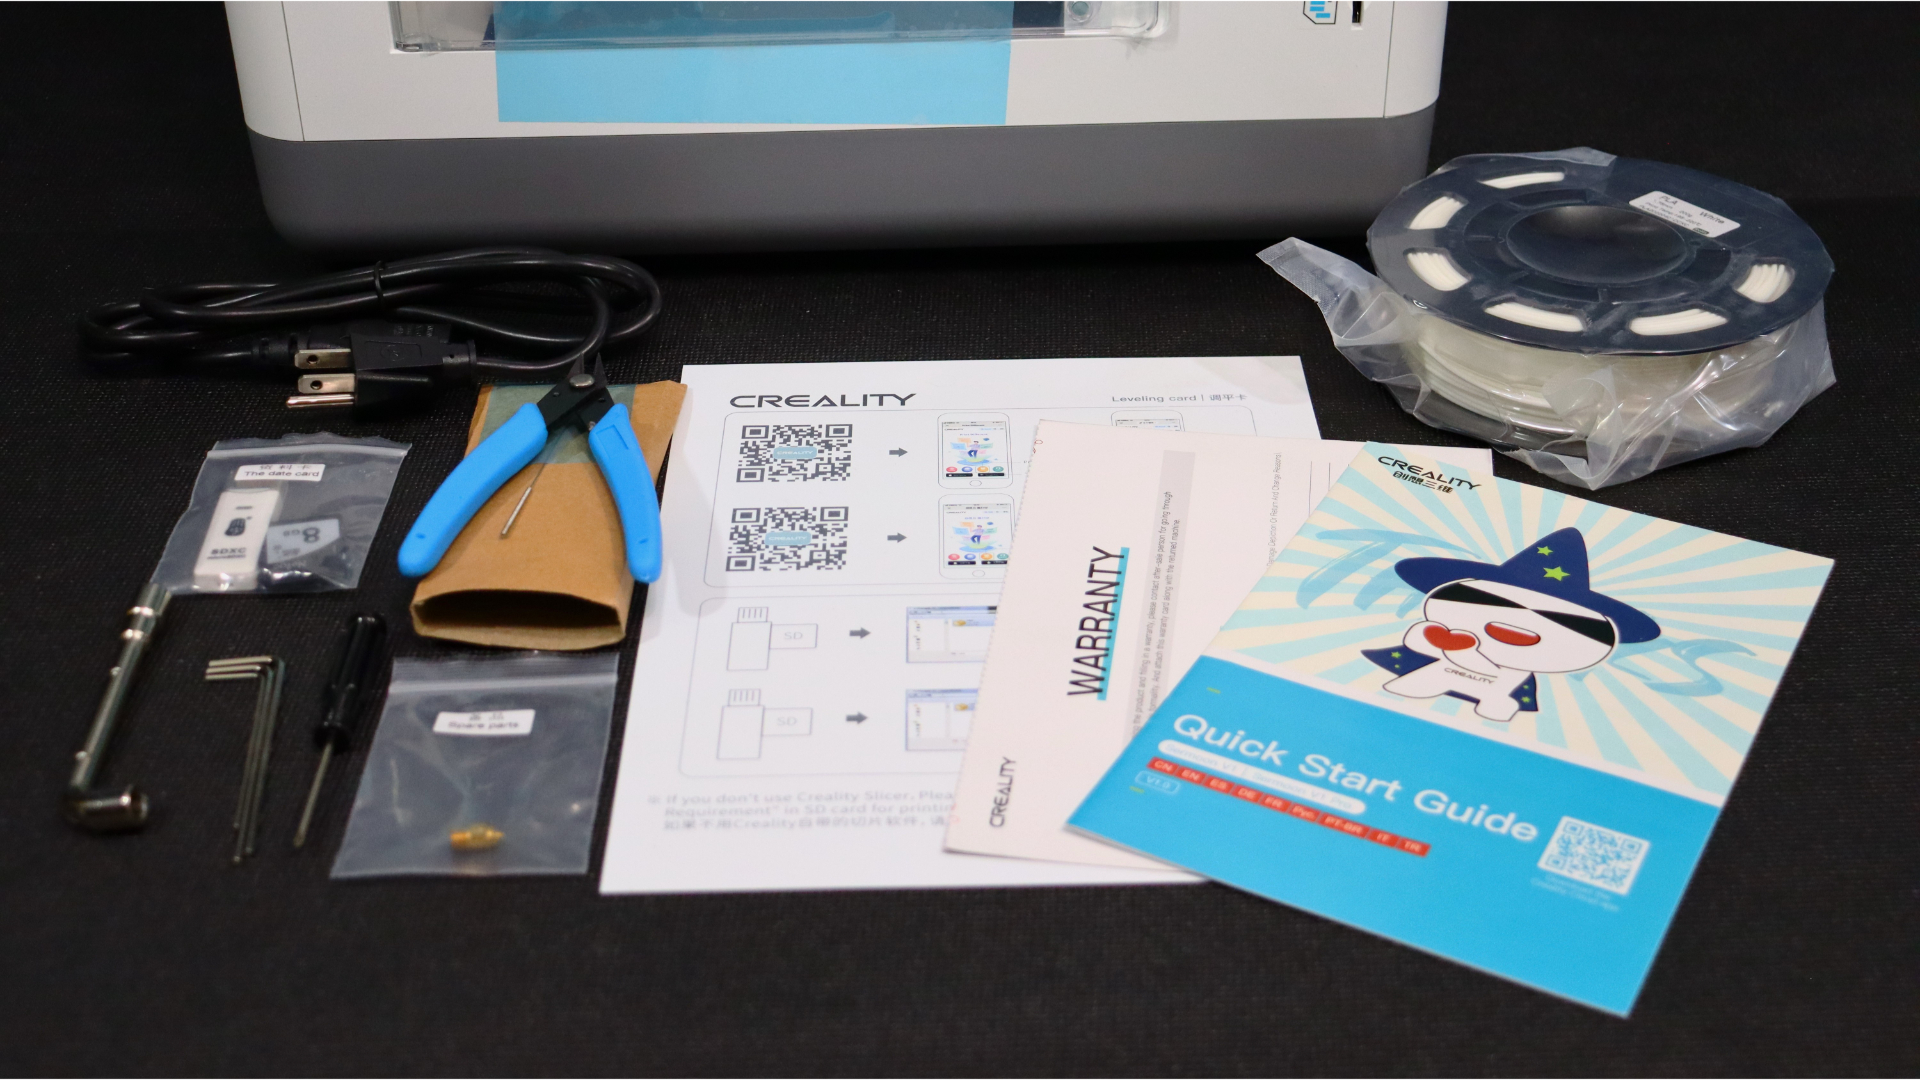
Sermoon V1 Pro
PLA filament
Operating instructions
After-sales service card
Certificate card
Leveling paper
Replacement nozzle
Needle for nozzle cleaning
Tools incl. filament pliers
Power cable
SD-USB adapter
SD card
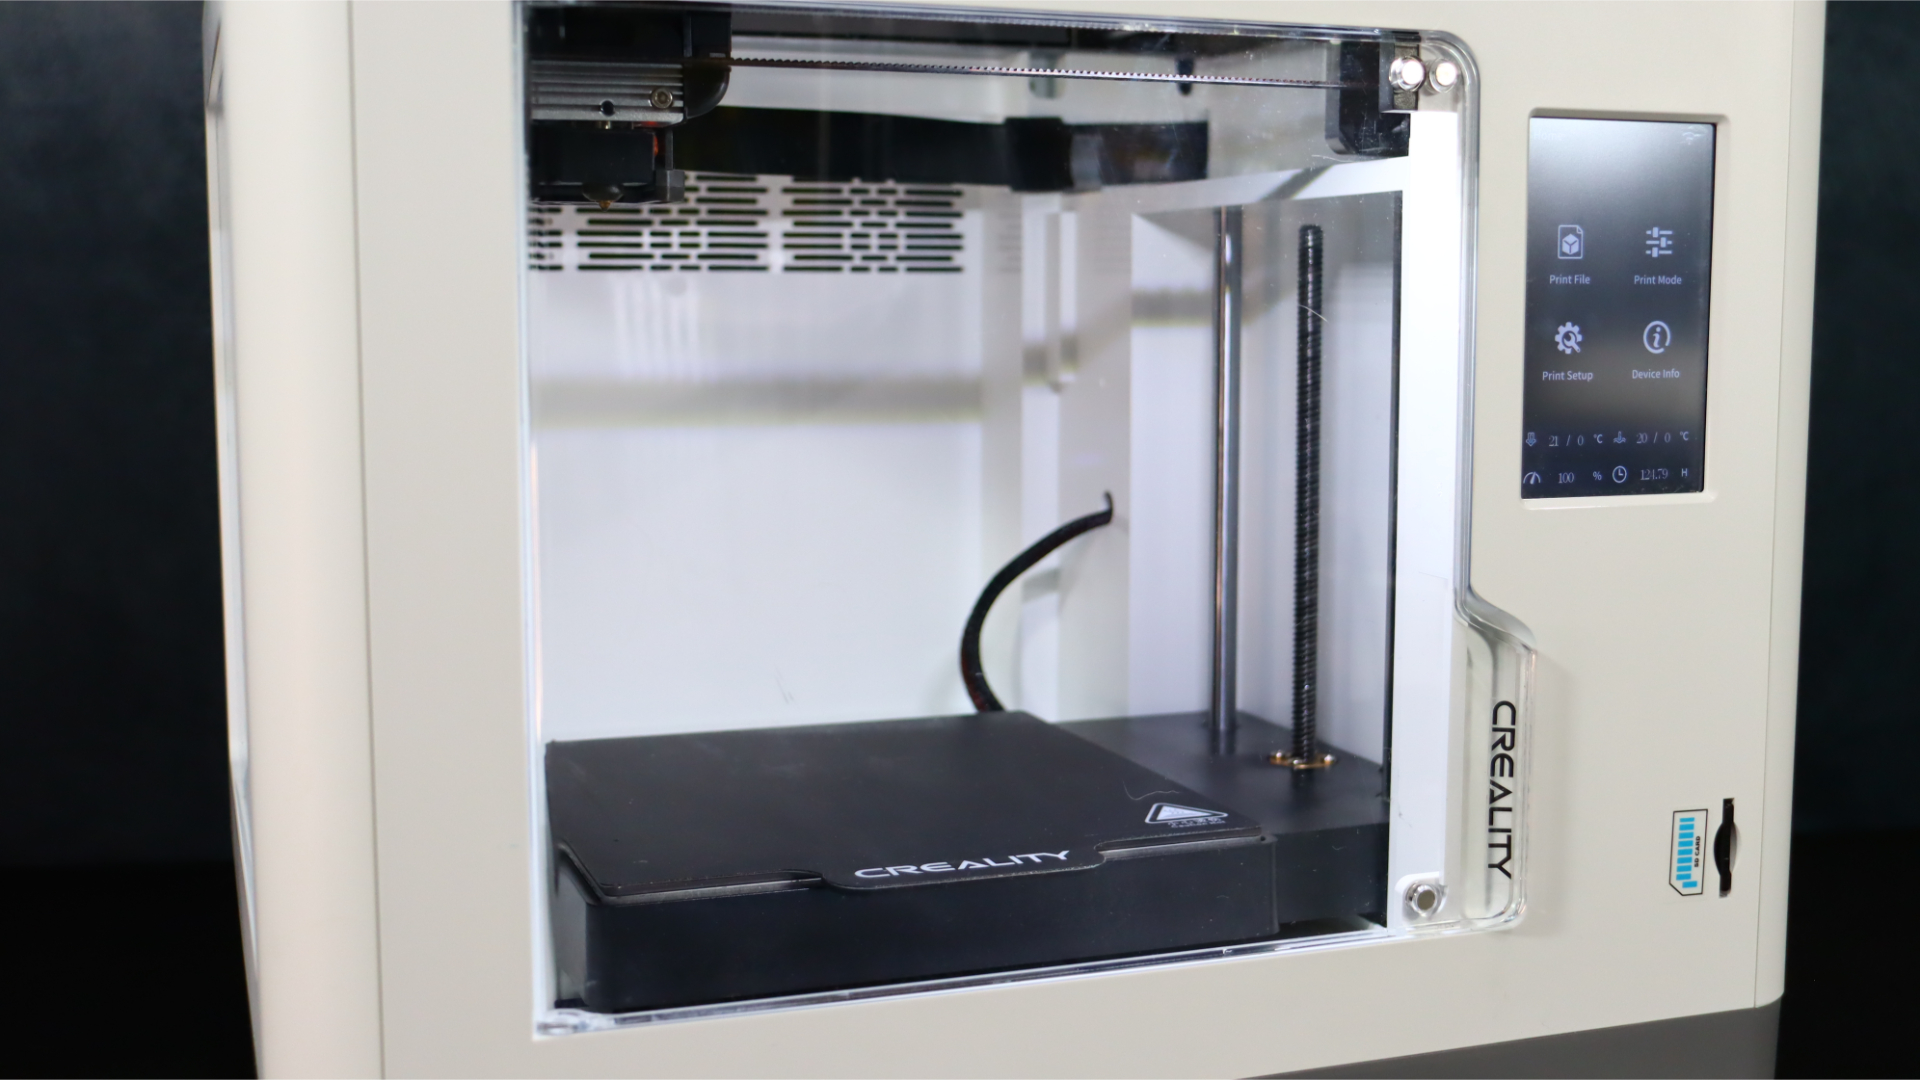
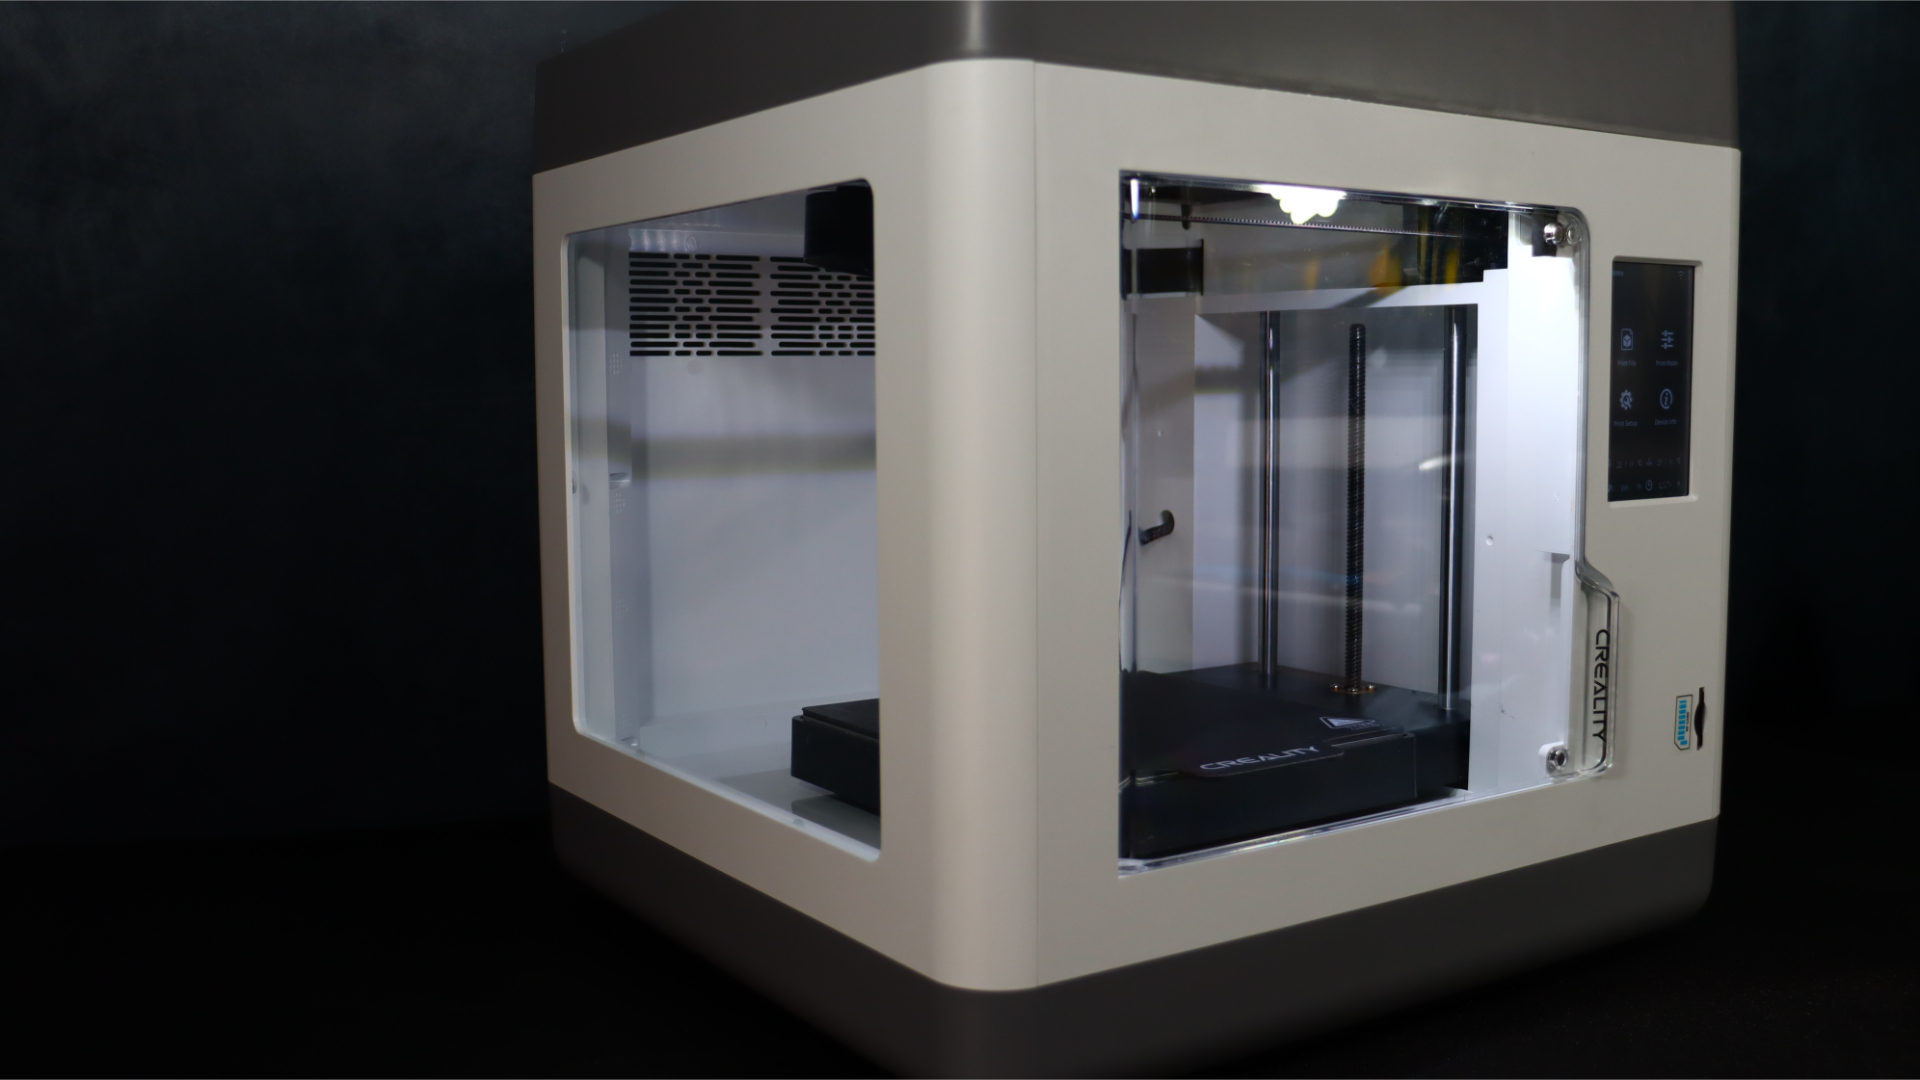
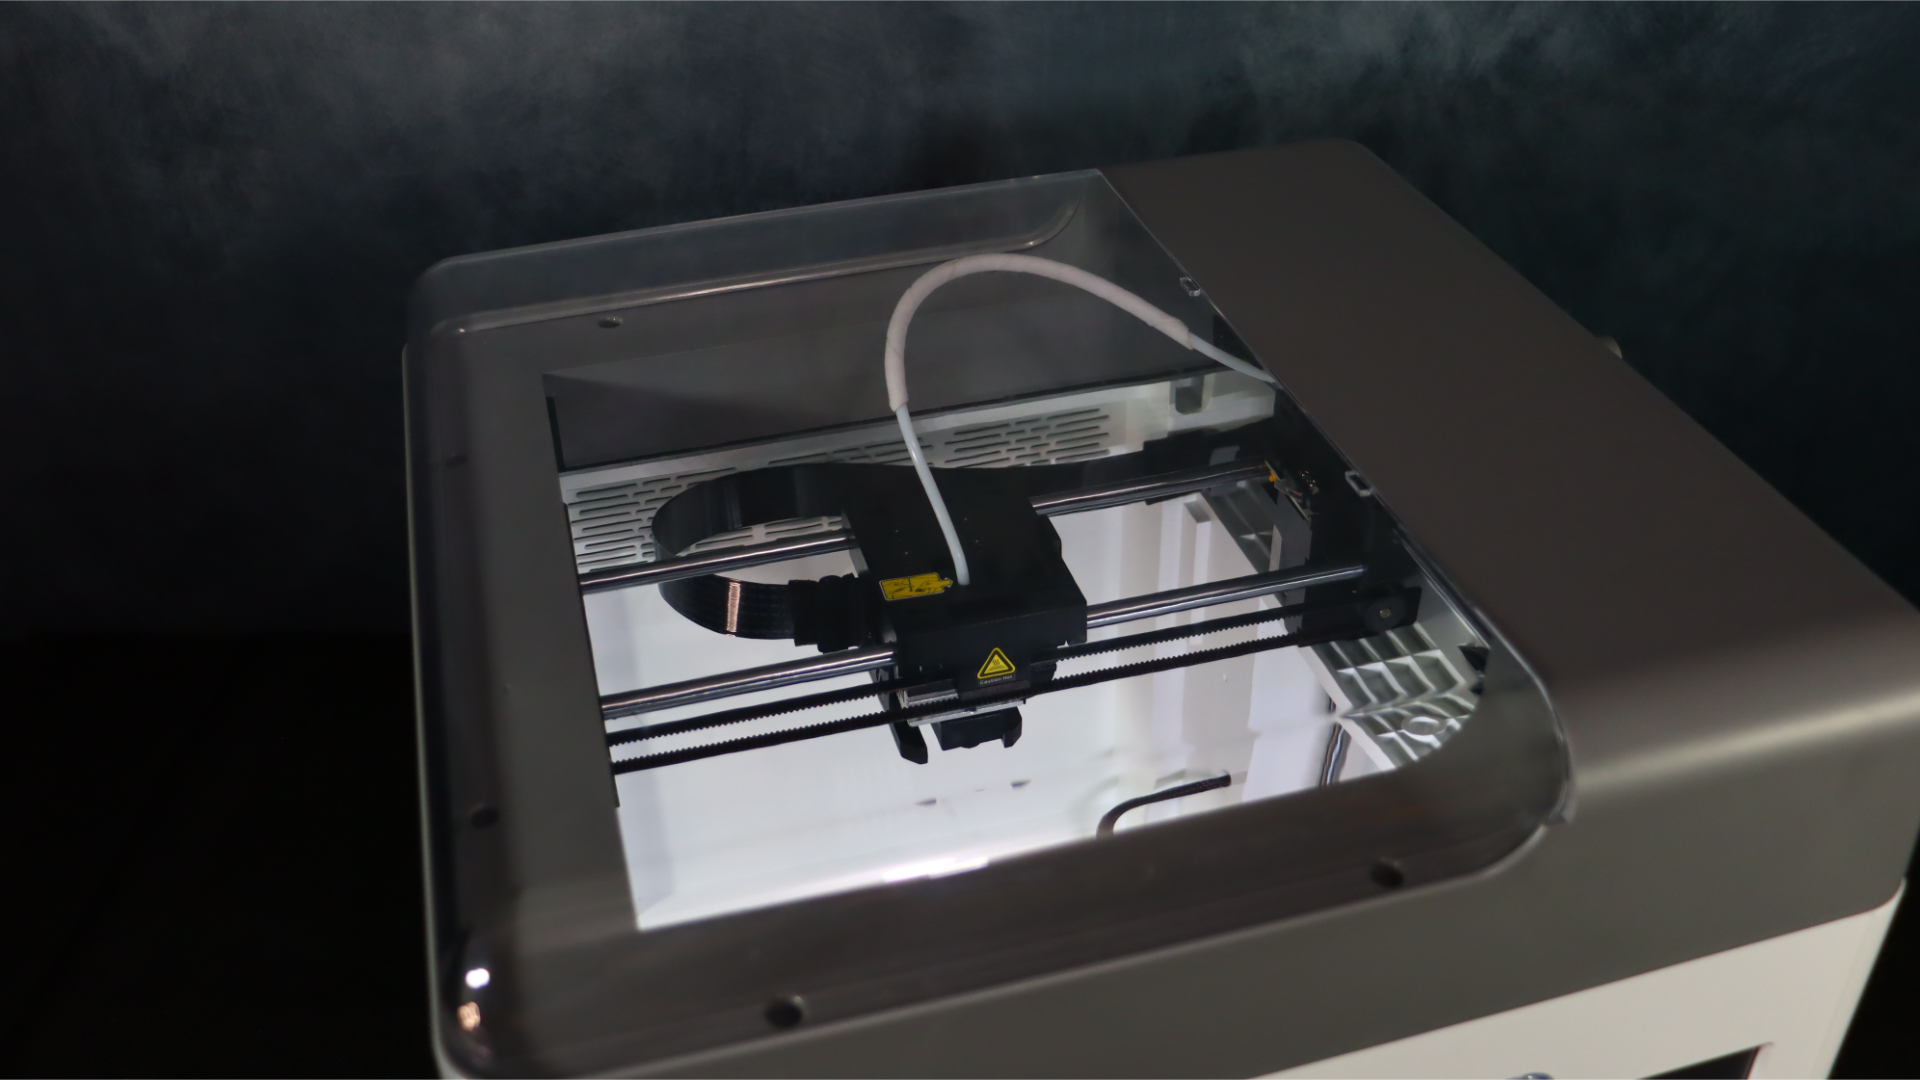
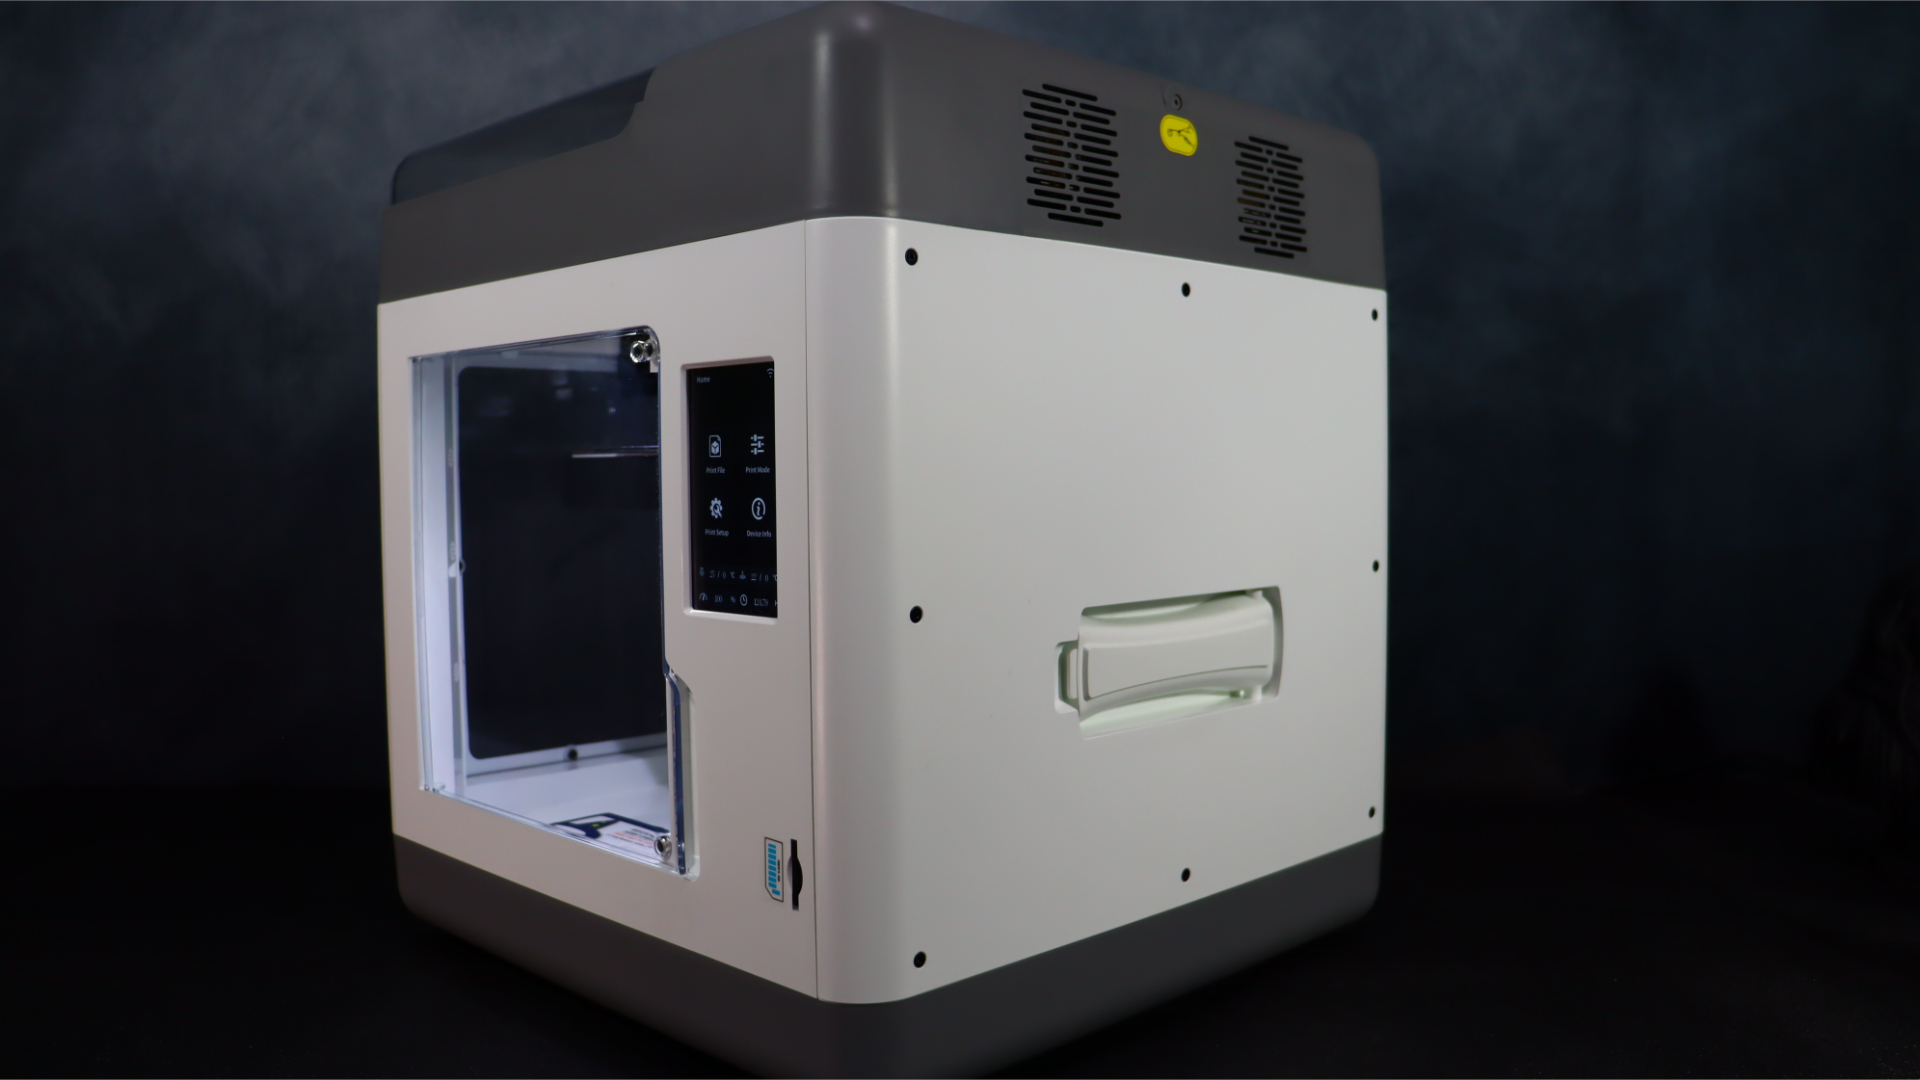
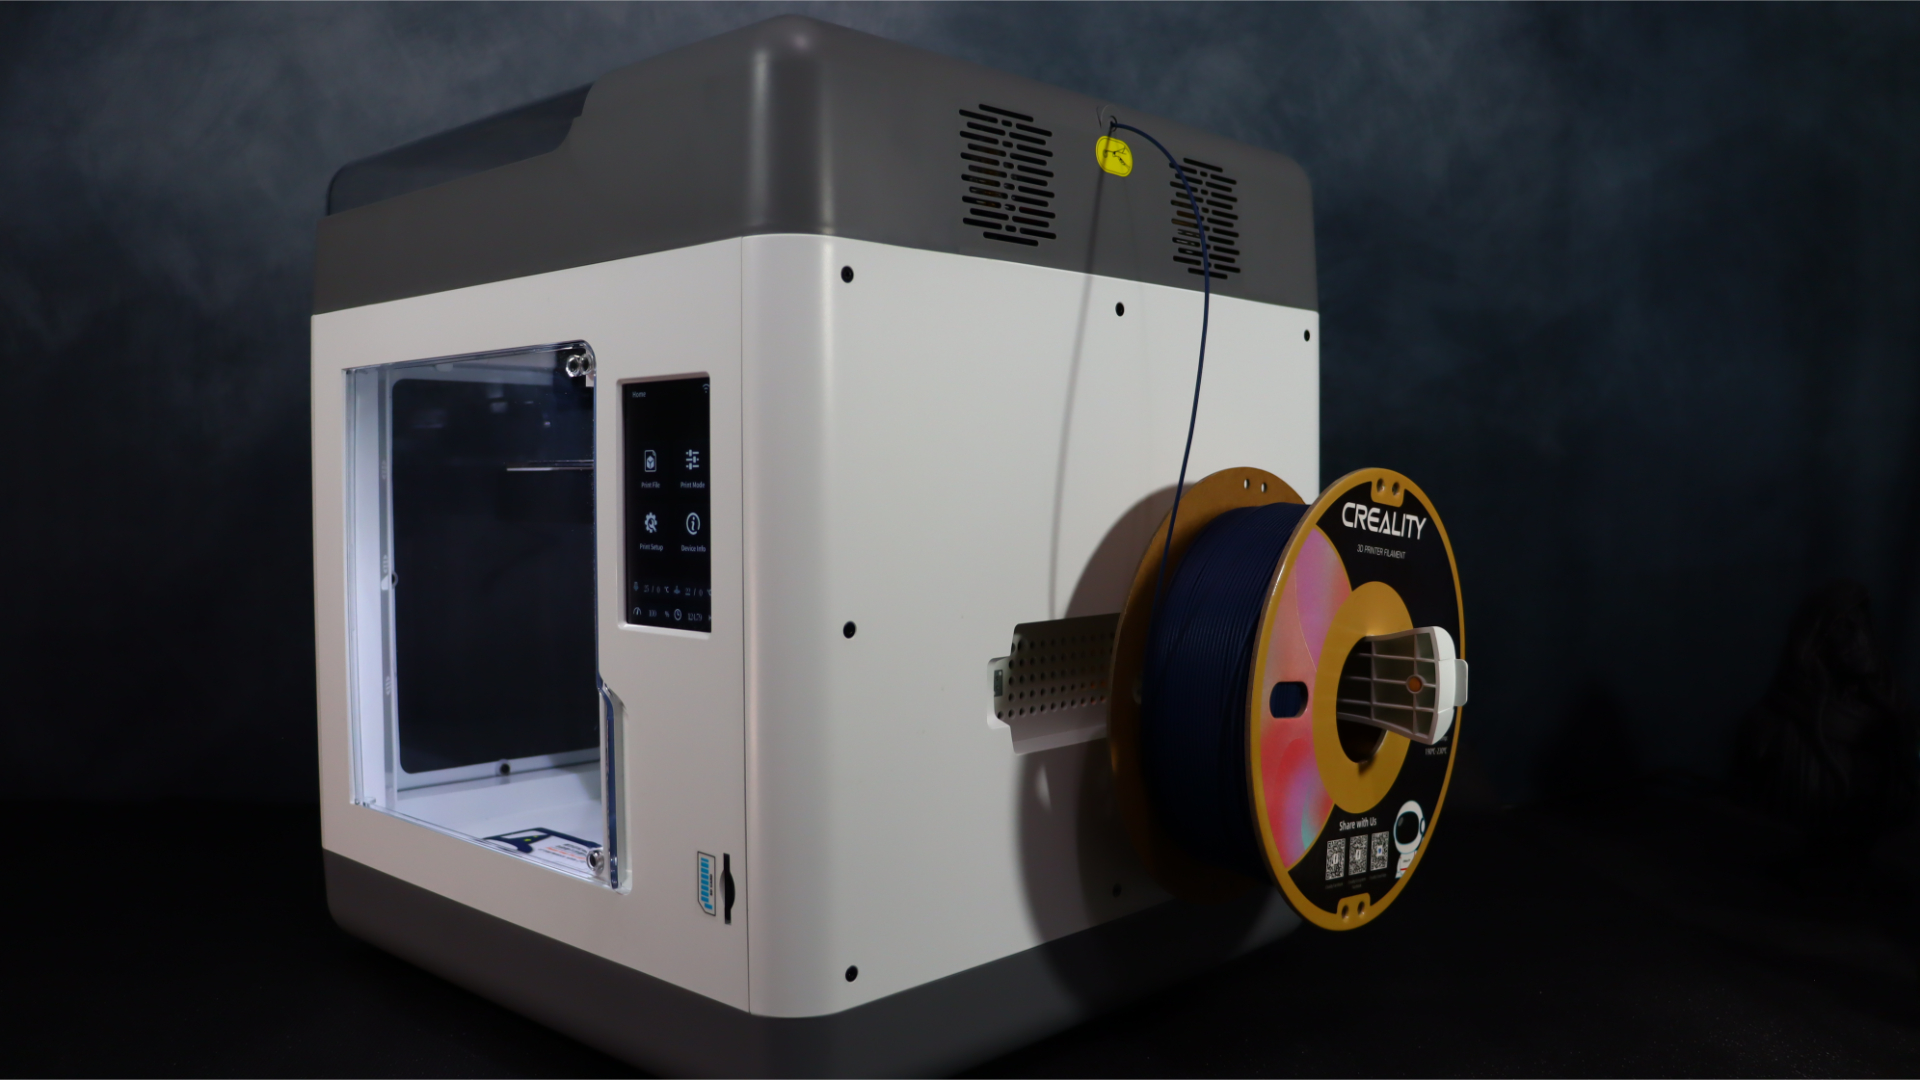
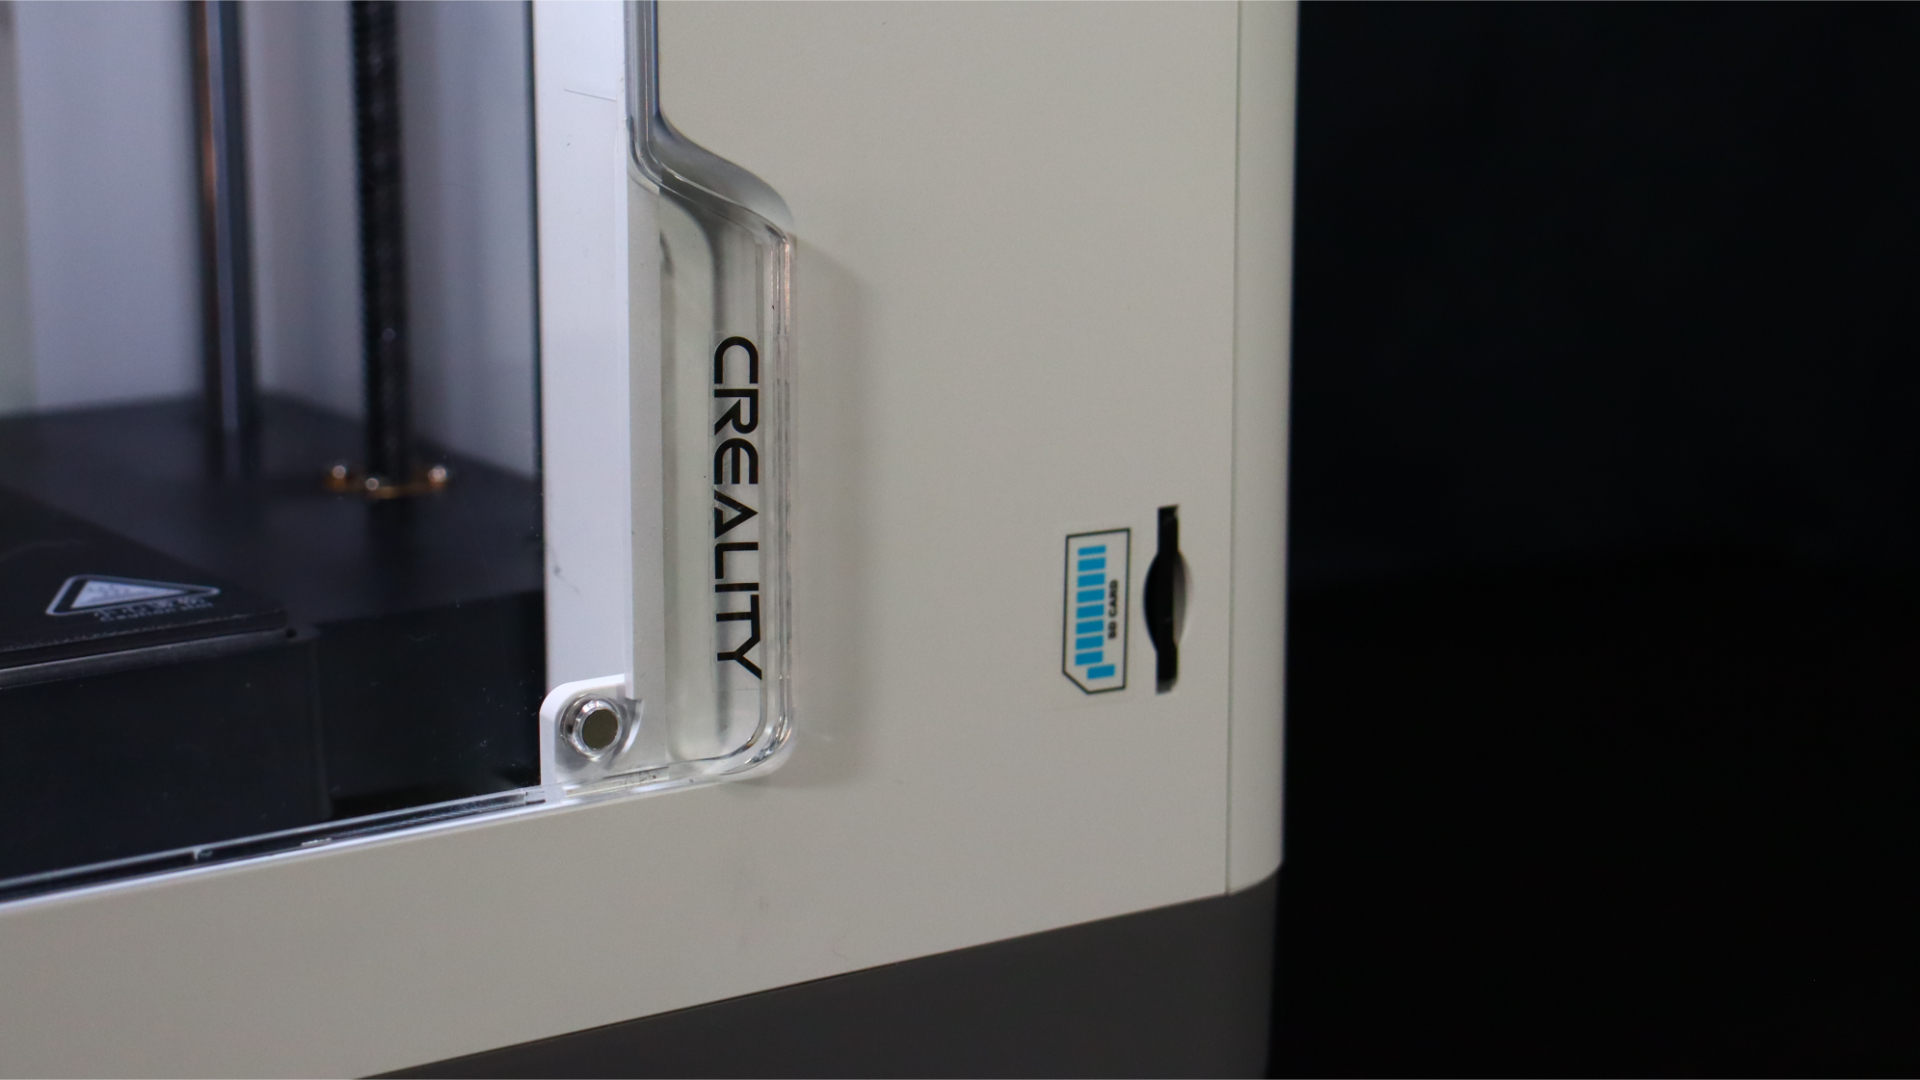
Small and completely enclosed, the Sermoon V1 Pro printer has transparent windows on the top and sides and is made of white plastic. The printer can detect when the front door is open thanks to a magnet closure and sensor, pausing printing when the door is opened by default (though you can alter the settings to stop it doing this if you’d prefer).
The Creality Cloud app may be used to access the enclosure's case fan, lights, and camera. Because the top of the printer is removable, you can get at the extruder to change the filament, perform maintenance, or just to keep it cool while printing.
At its heart, this is a Core XY printer with an adjustable bed. The X and Y axes continue to move along rods at the top thanks to a single stepper motor and belt drive. This keeps the print more stable and the motion on the bed to a minimum for consistent, smooth results.
Creality Sermoon V1 Pro: Specs & features
- Can print both PLA and ABS.
- WiFi connectivity & webcam for remote monitoring.
- Optional pause/resume feature tied to door opening.
The Sermoon V1 Pro has a lot going for it in the features department, especially for such a beginner-friendly printer.
Printing technology: FDM
Filament: 1.75mm PLA/ABS filament
Build volume: 175 x 175 x 165mm
Print precision: 0.1mm
Layer height: 0.1 - 0.4mm
Nozzle size: 0.4mm
Max nozzle temperature: 250°C
Max bed temperature: 80°C
Connectivity: SD card or WiFi
Filament runout sensor: Yes
Pause printing: Yes
Webcam: 720p
Dimensions: 400 × 380 × 430 mm
Weight: 11.5kg
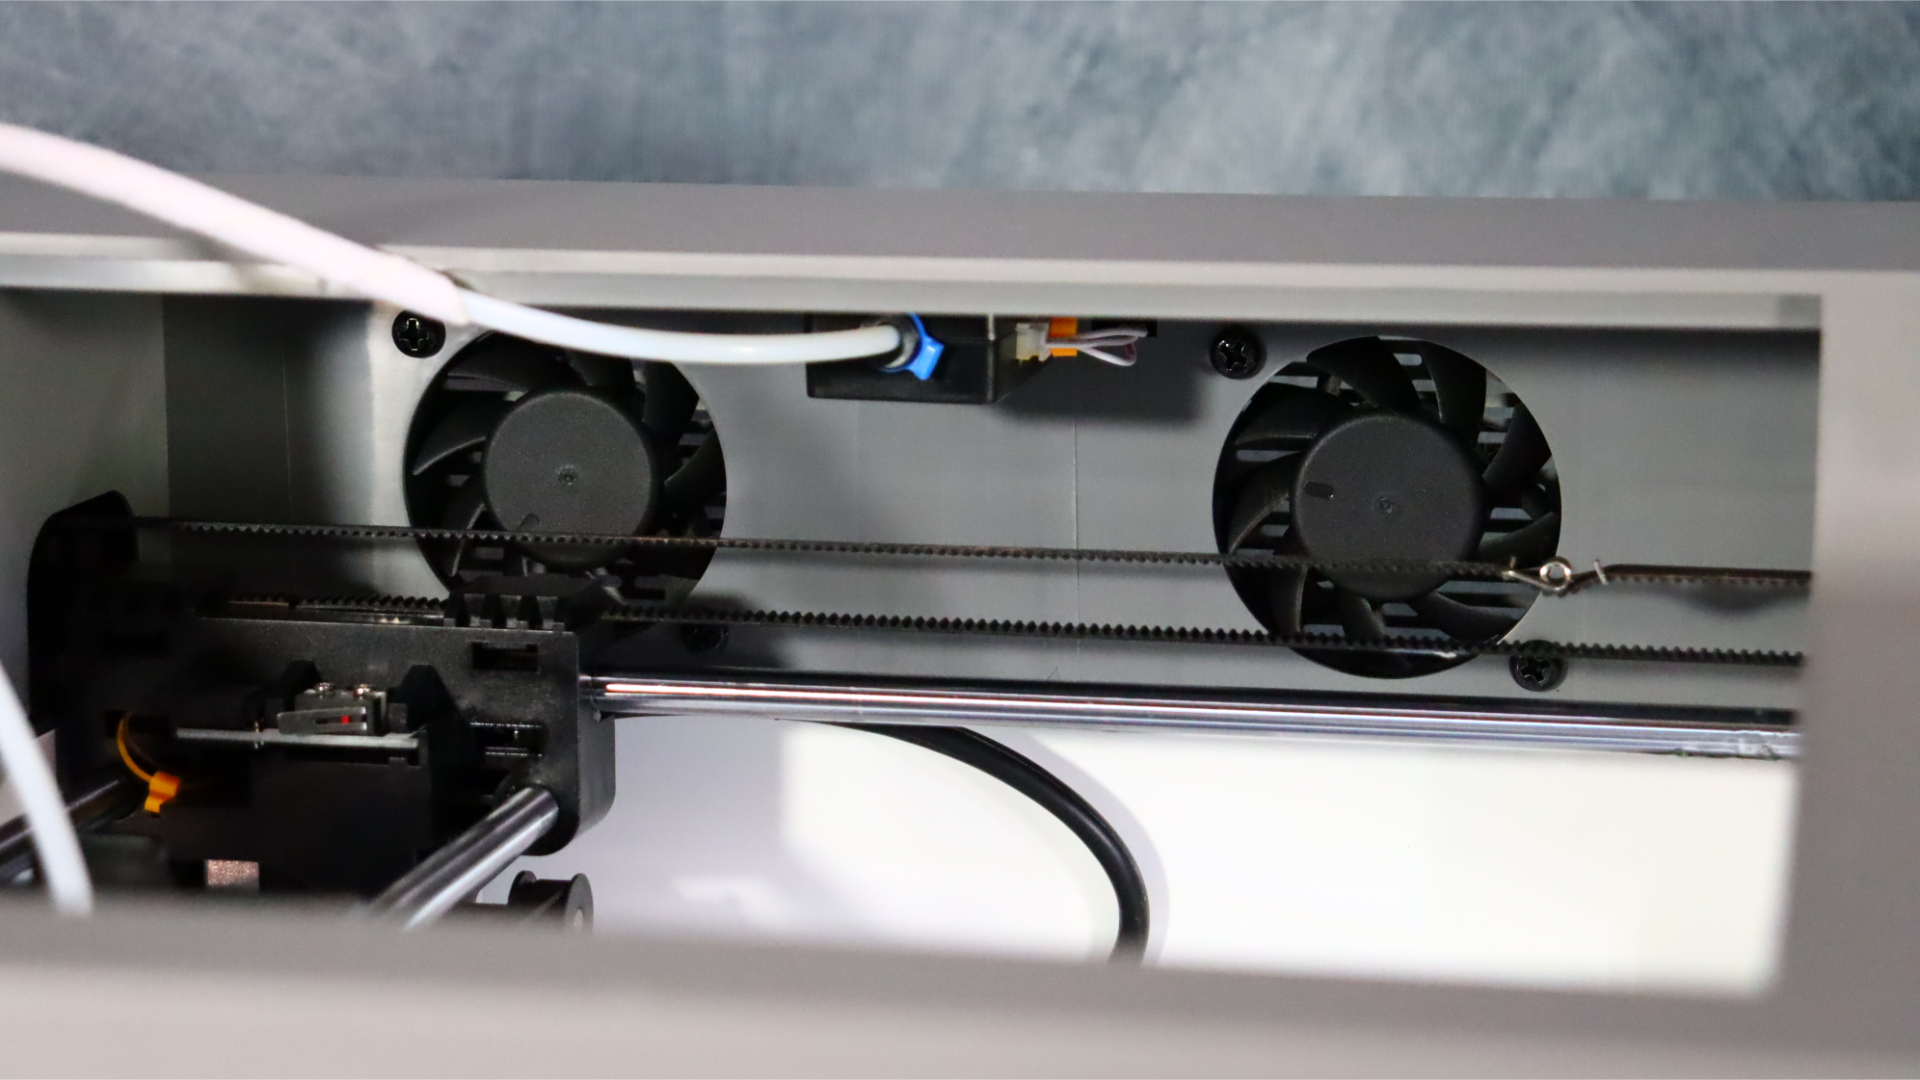
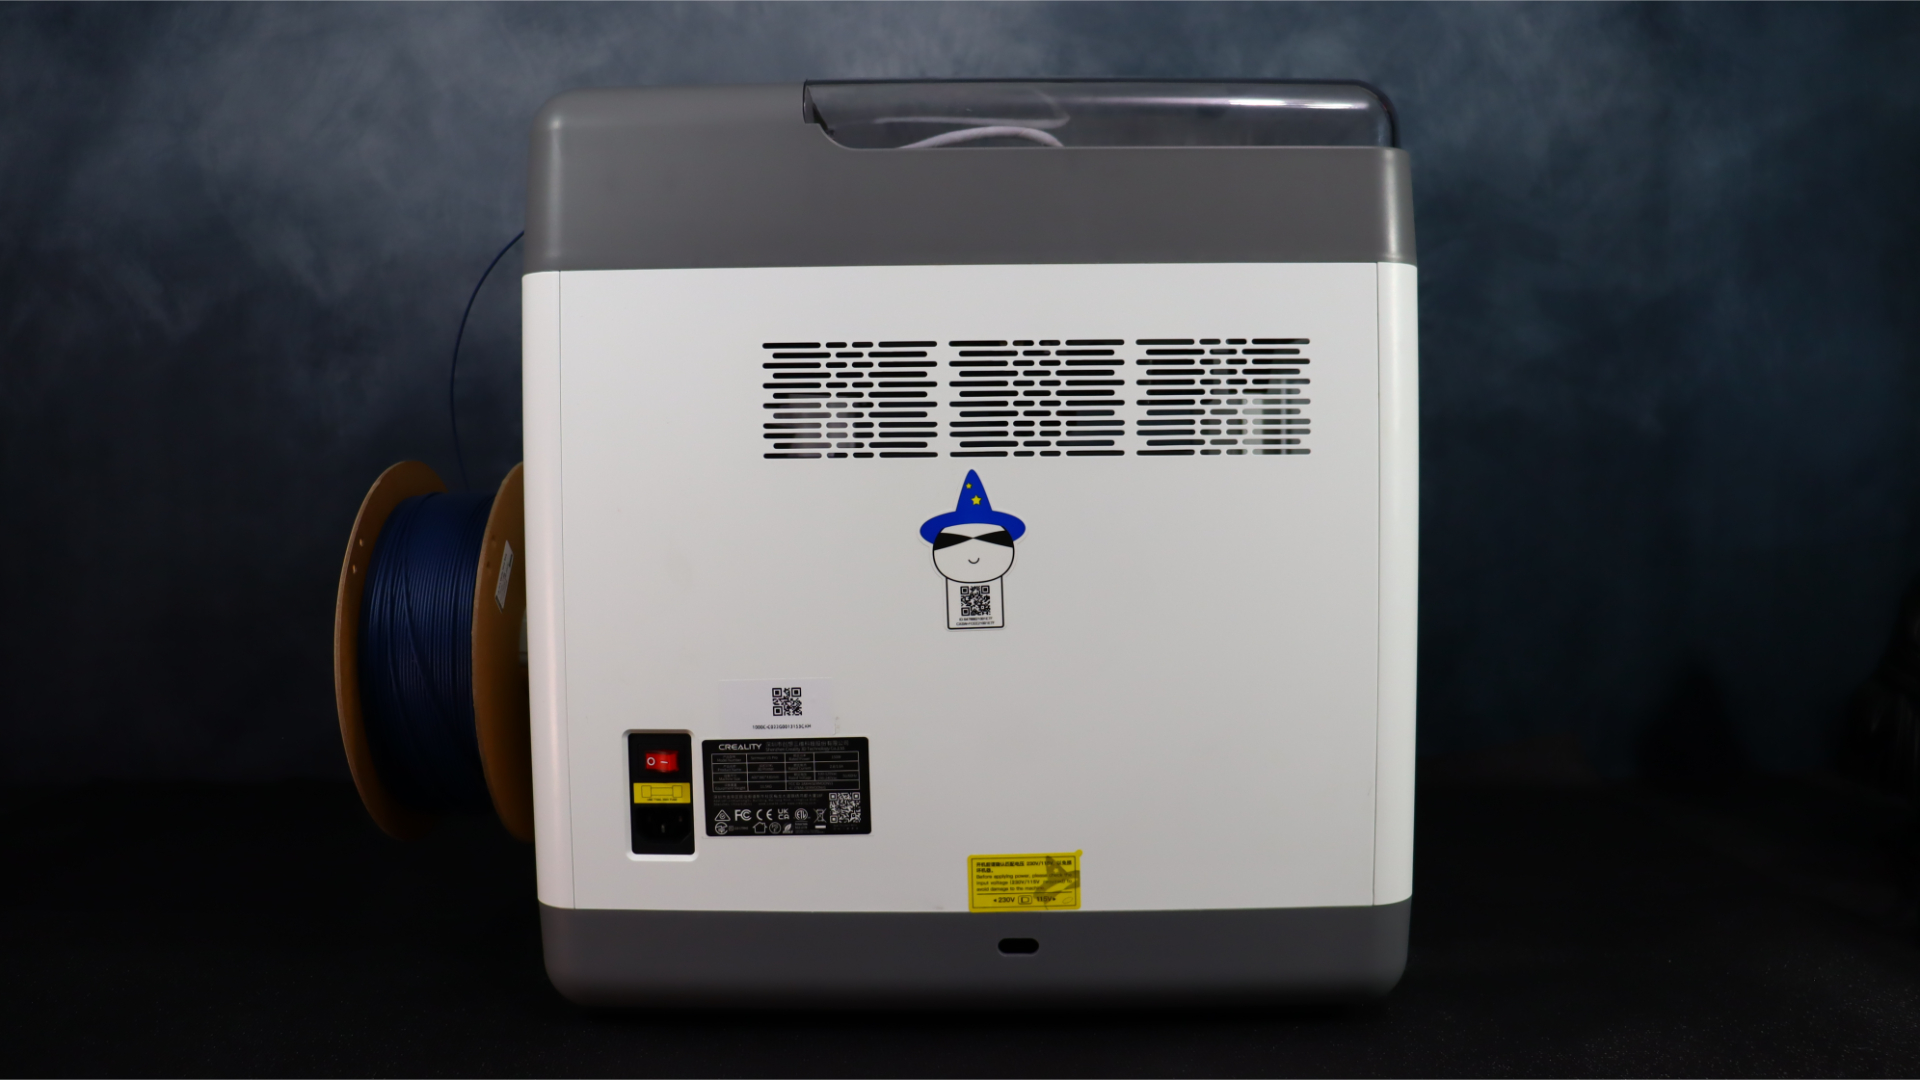
First, as was previously said, it is completely enclosed. You can open the top of the enclosure to let some heat escape, or you can keep it closed and turn on the two ventilation fans on the side to keep it cool. This permits a variety of filament types, including ABS, which necessitates a heated environment for the best print quality.
The printer also has a front door with a magnetic lock that can be set to pause the print when opened. We chose to disable this feature as it made taking pictures or filming difficult while waiting for the print to pause and resume. However, for situations involving beginners or children, as well as classrooms, this is a welcome safety addition.
The extruder is a sprite direct drive, which we were pleased to see. Many beginner printers opt for a Bowden extruder, but the direct drive gives you better extrusion and retraction control which results in better quality, and more consistent prints.
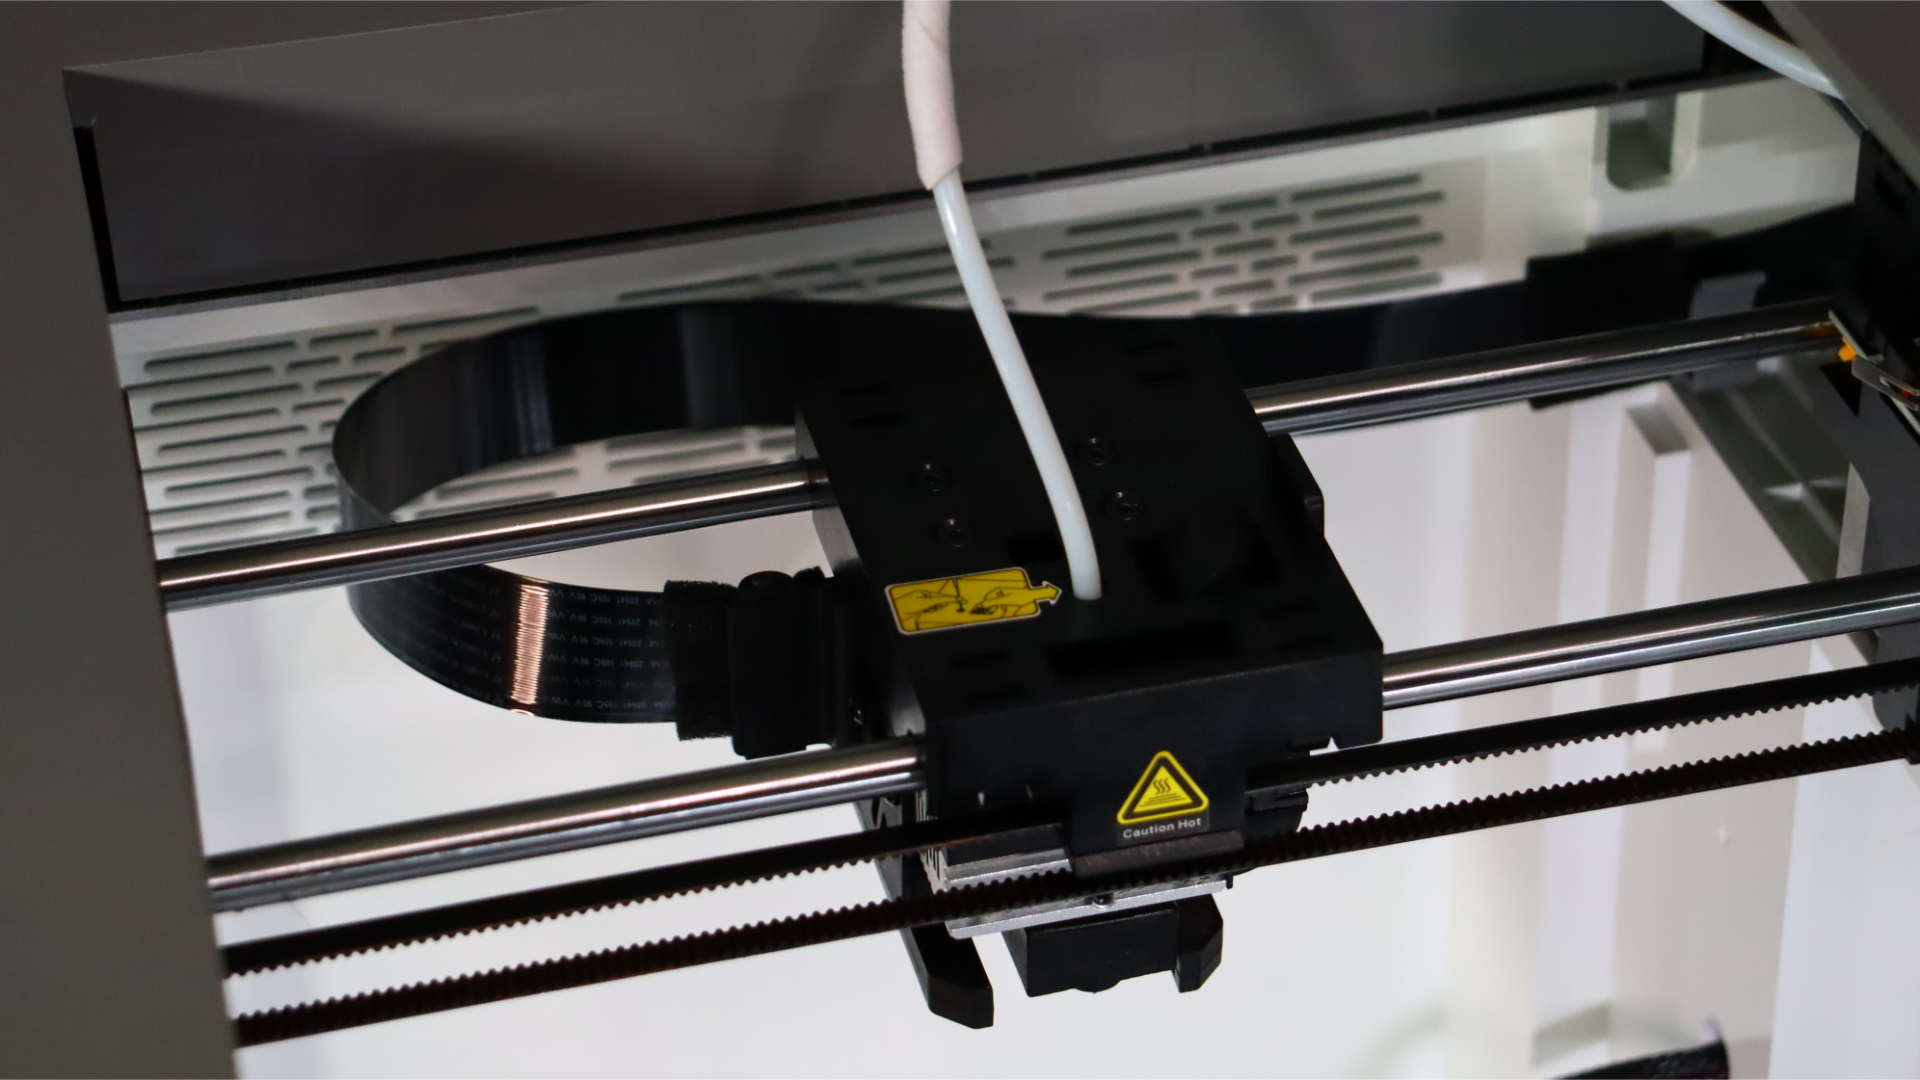
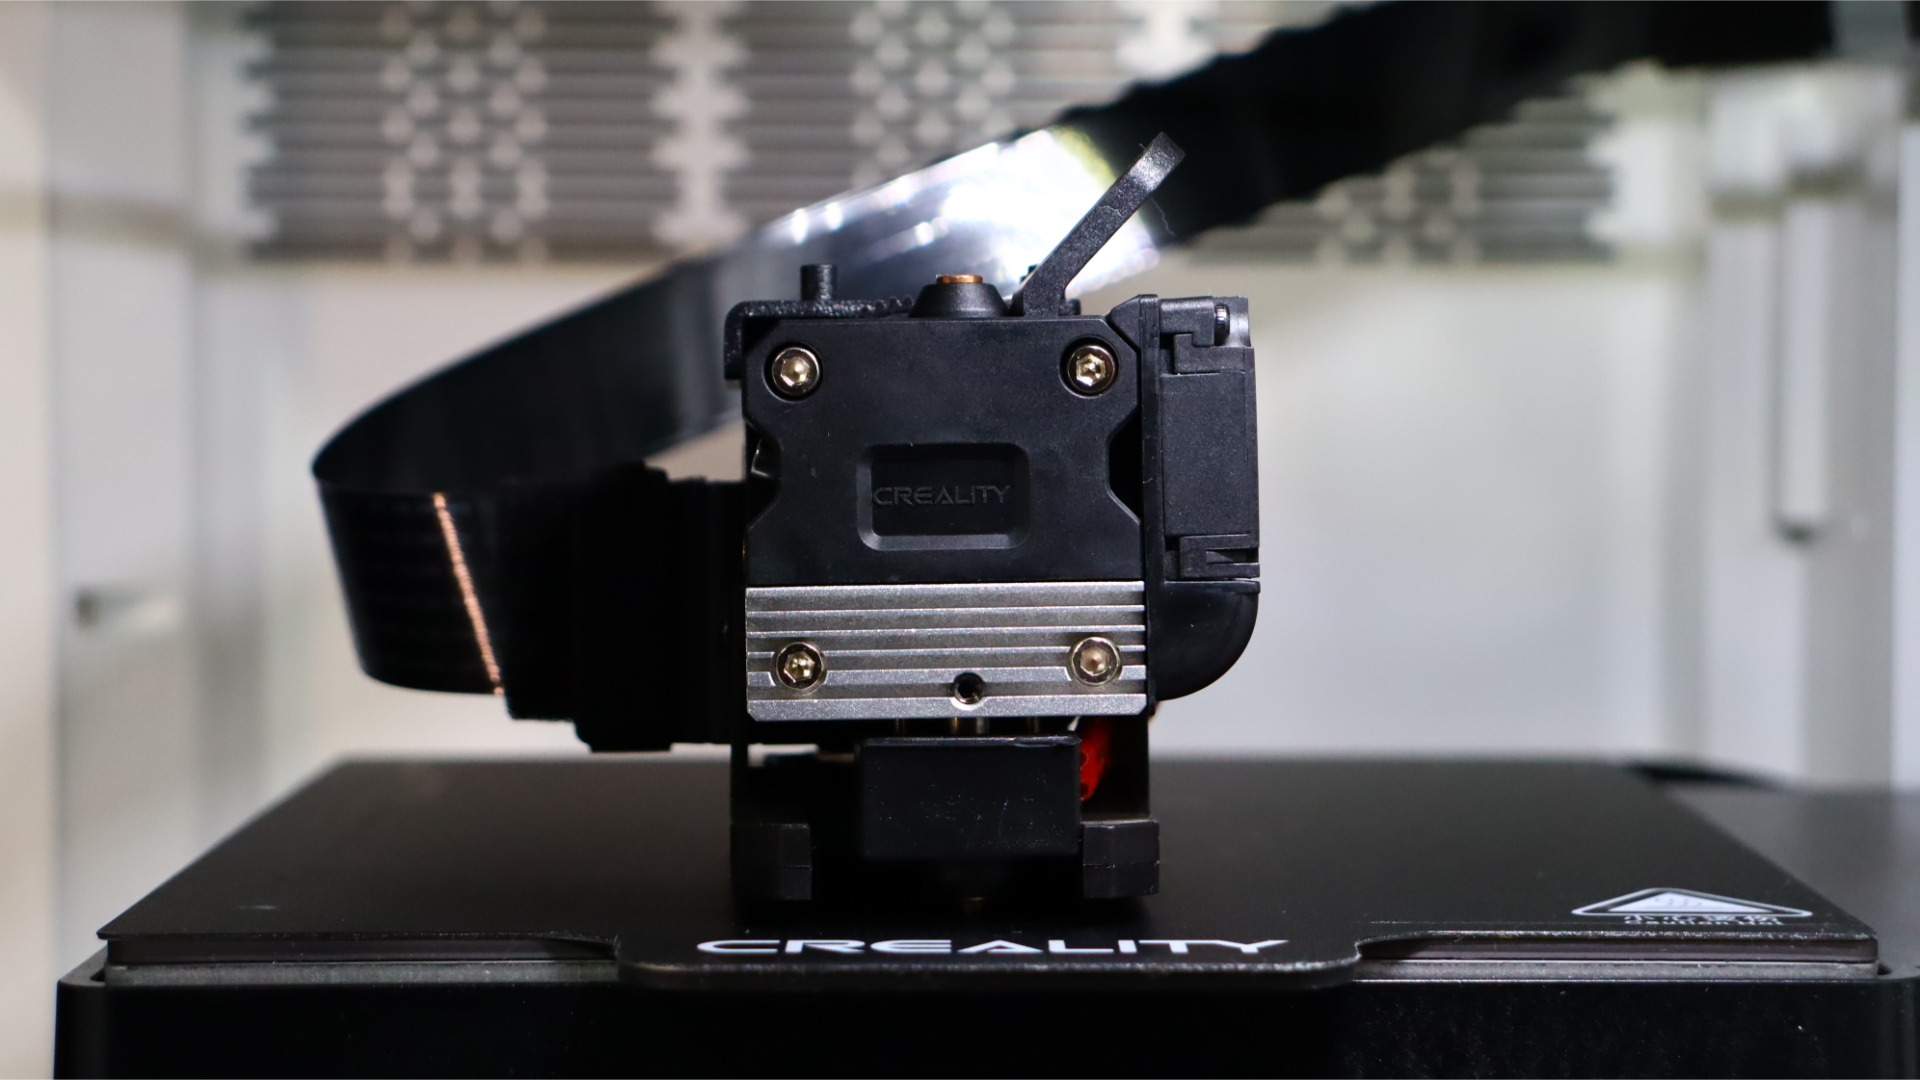
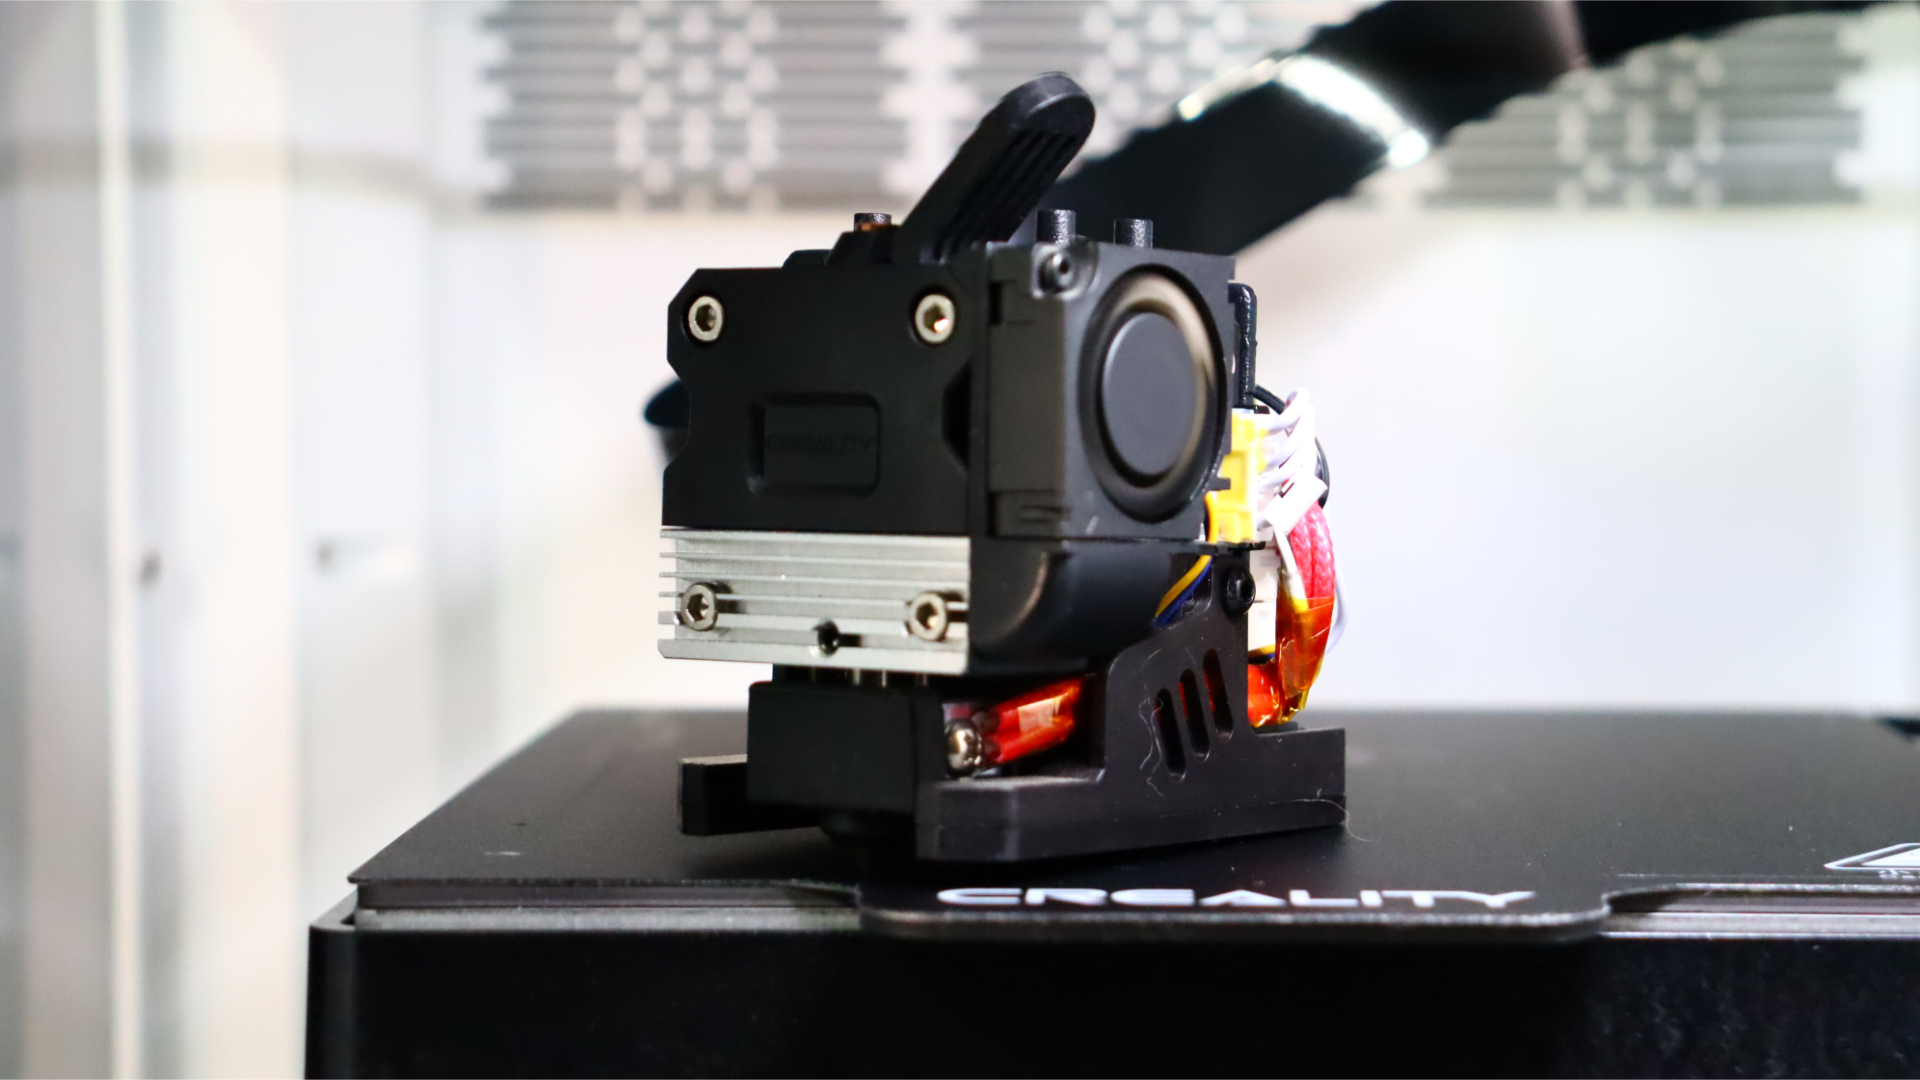
The print bed is a flexible steel magnetic plate with a coating to help with bed adhesion. Our test prints adhered to the plate without any problems, and once the bed had cooled, they were easy to remove.
Beyond that, you get built-in WiFi for remote connectivity and a webcam that lets you check on the status of your print from your smartphone. For monitoring prints and receiving alerts when a print was finished, we thought this tool worked well. When printing via the Creality Cloud app itself, the application also permits the recording of time-lapse videos, which is a neat addition for content creators.
Creality Sermoon V1 Pro: Print quality & speed
We used the same parameters for each print in all of our testing. We sliced all models with Creality Print at 0.2 mm layer height, 50 mm/s speed, and 10% grid infill. We also employed the PLA mode, which enabled the side vent fans to keep the enclosure from overheating and producing PLA material difficulties.
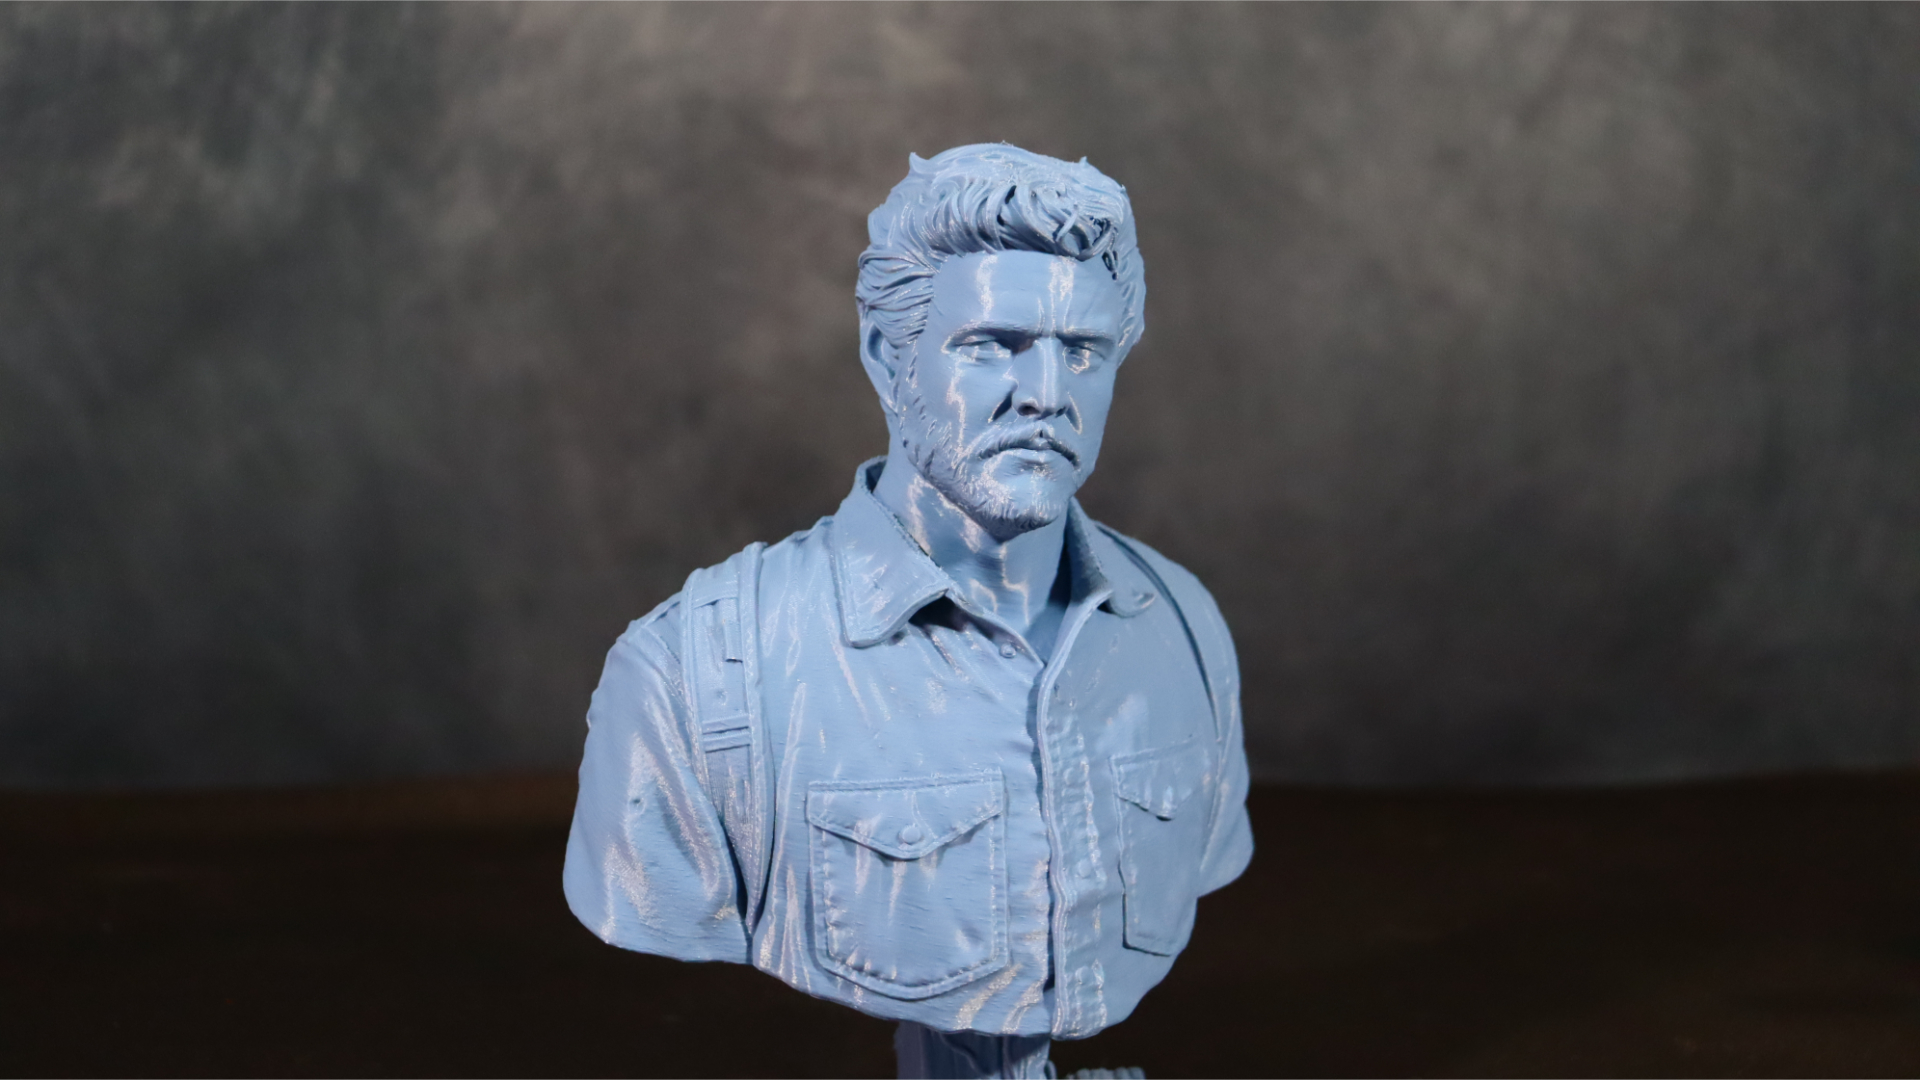
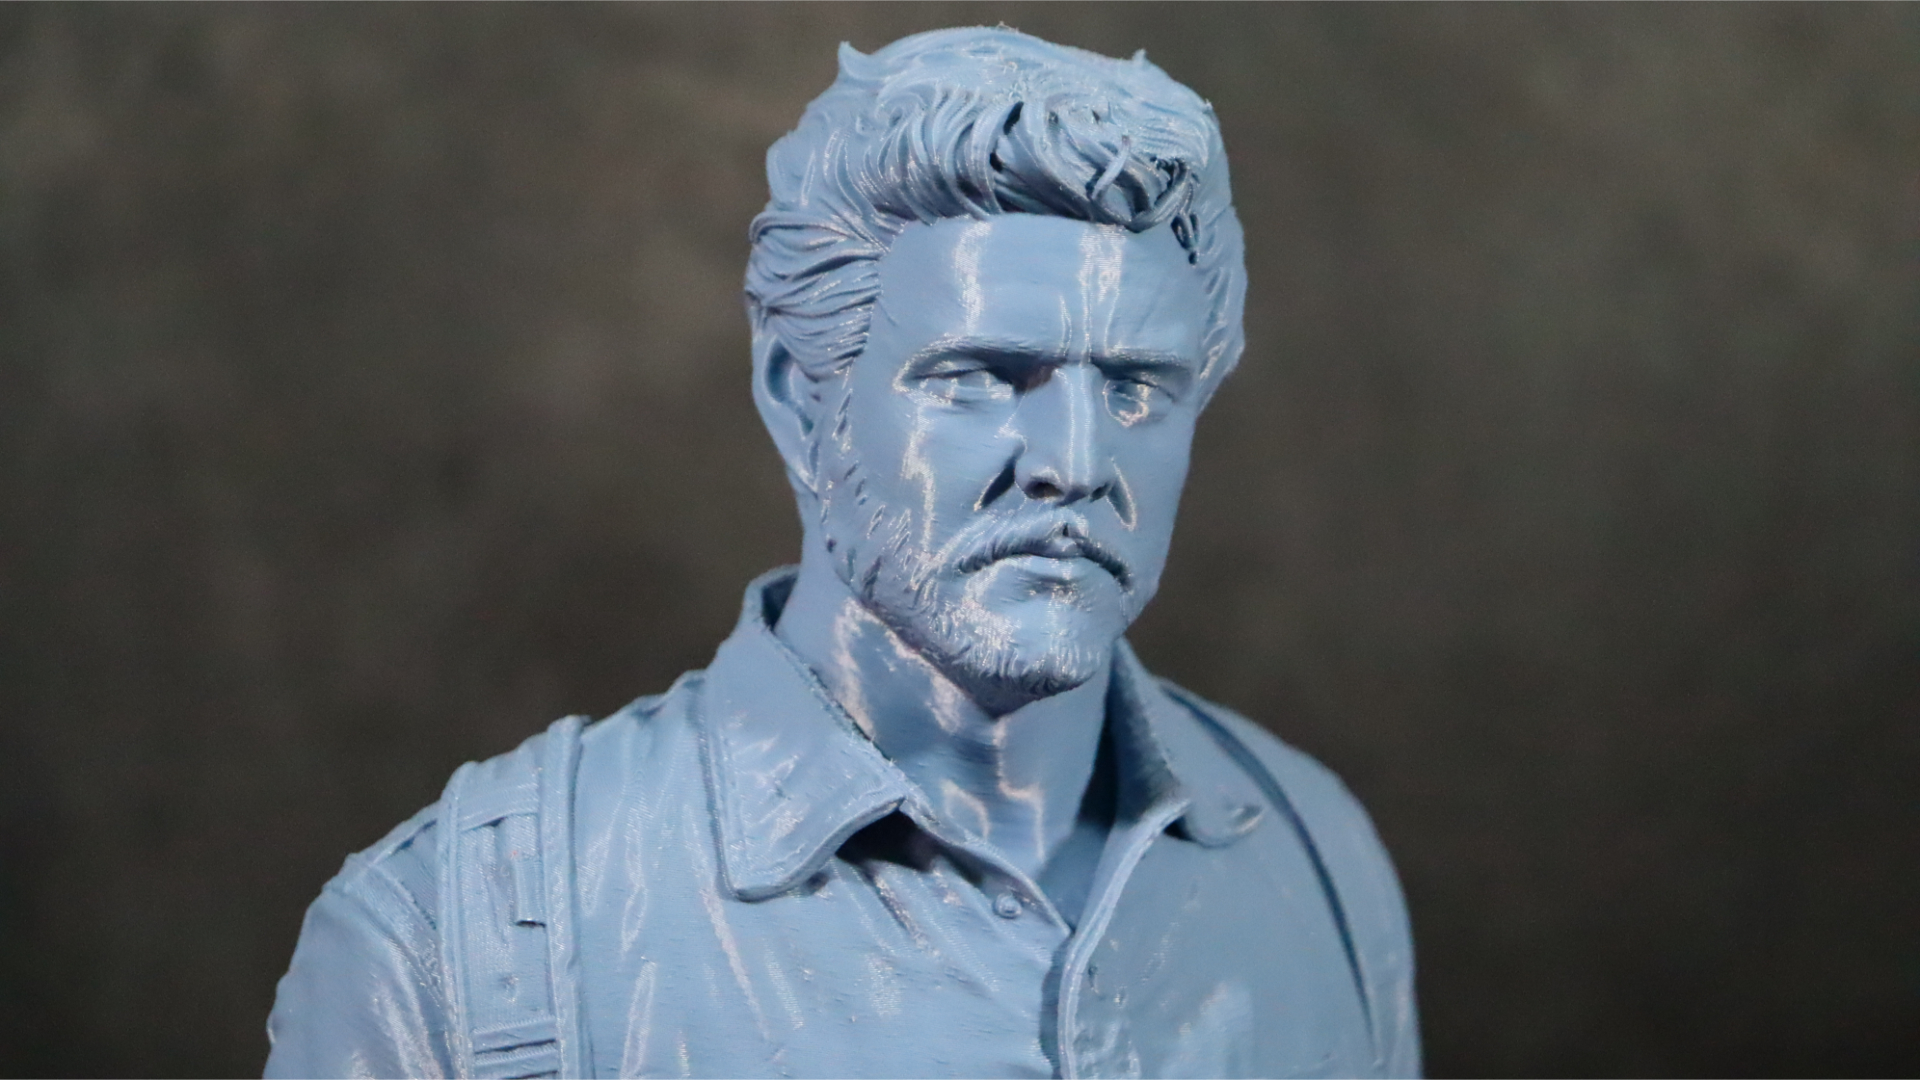
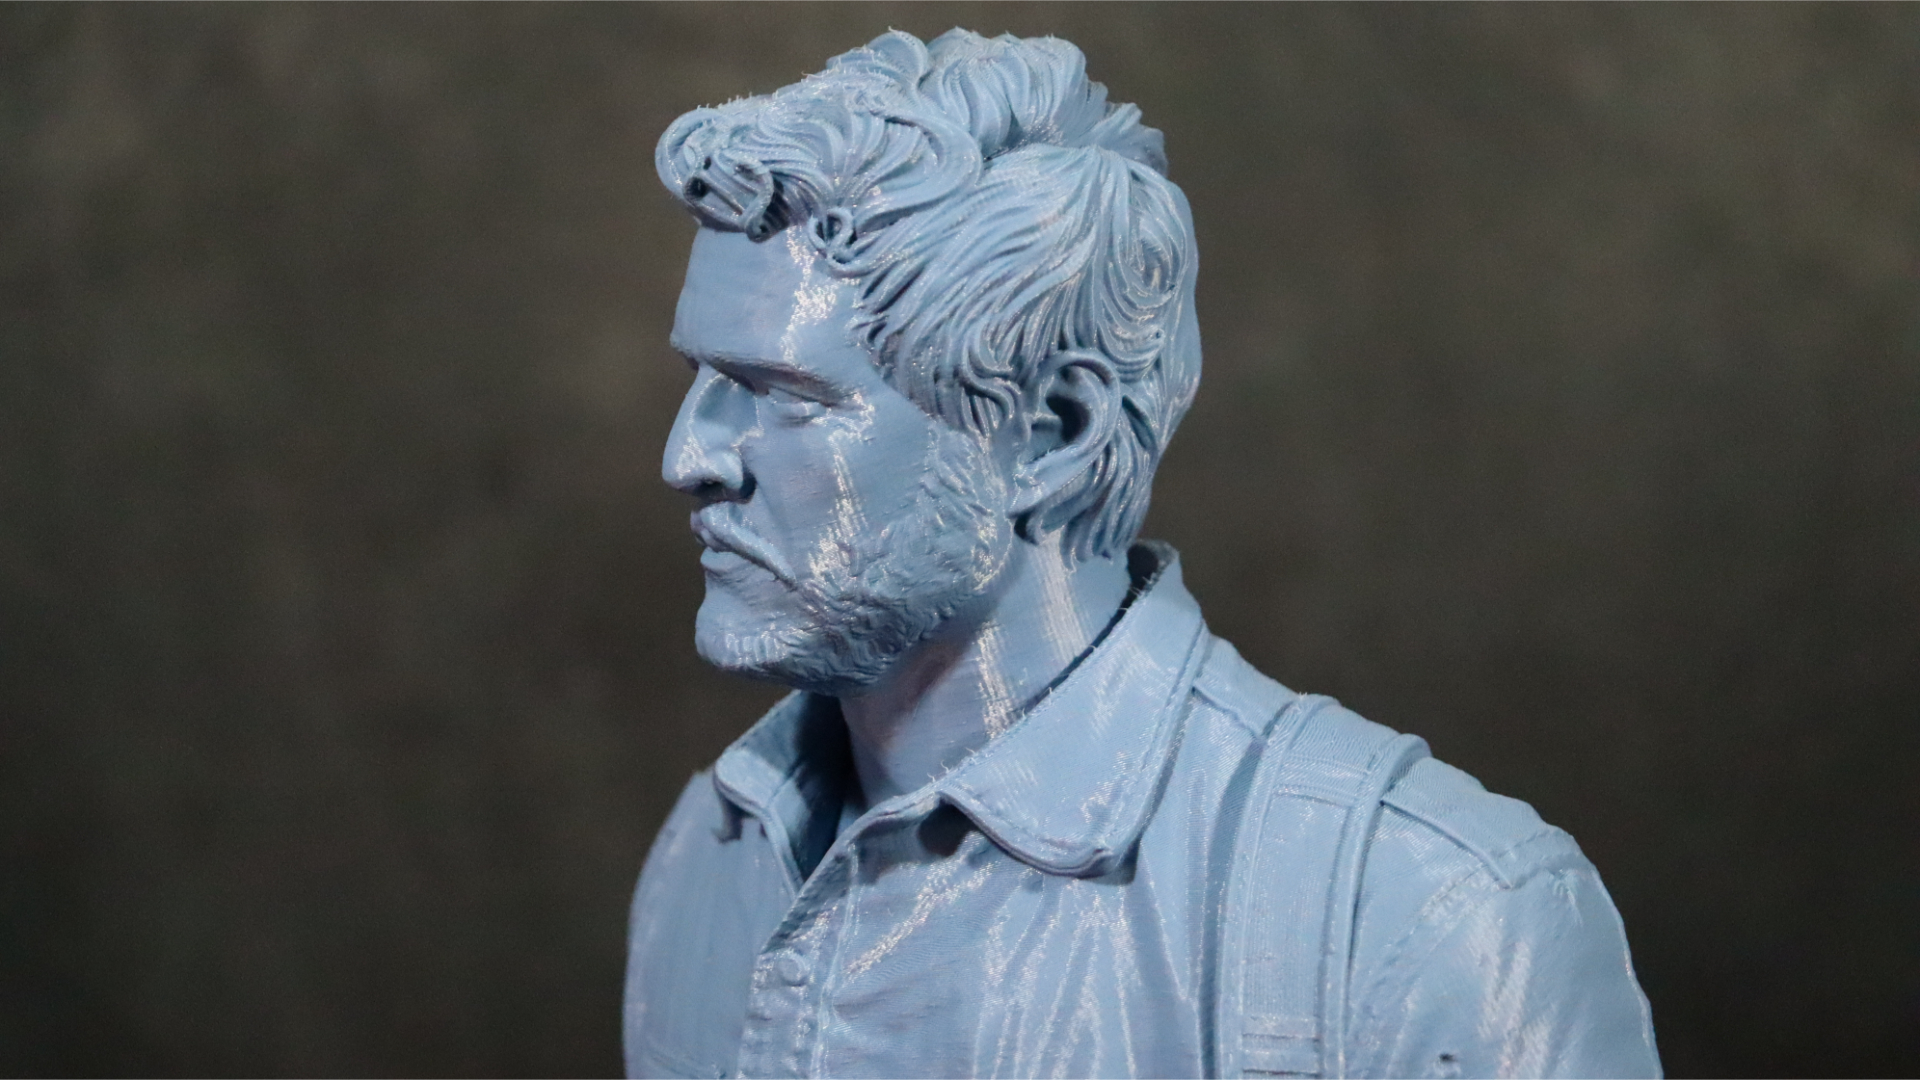
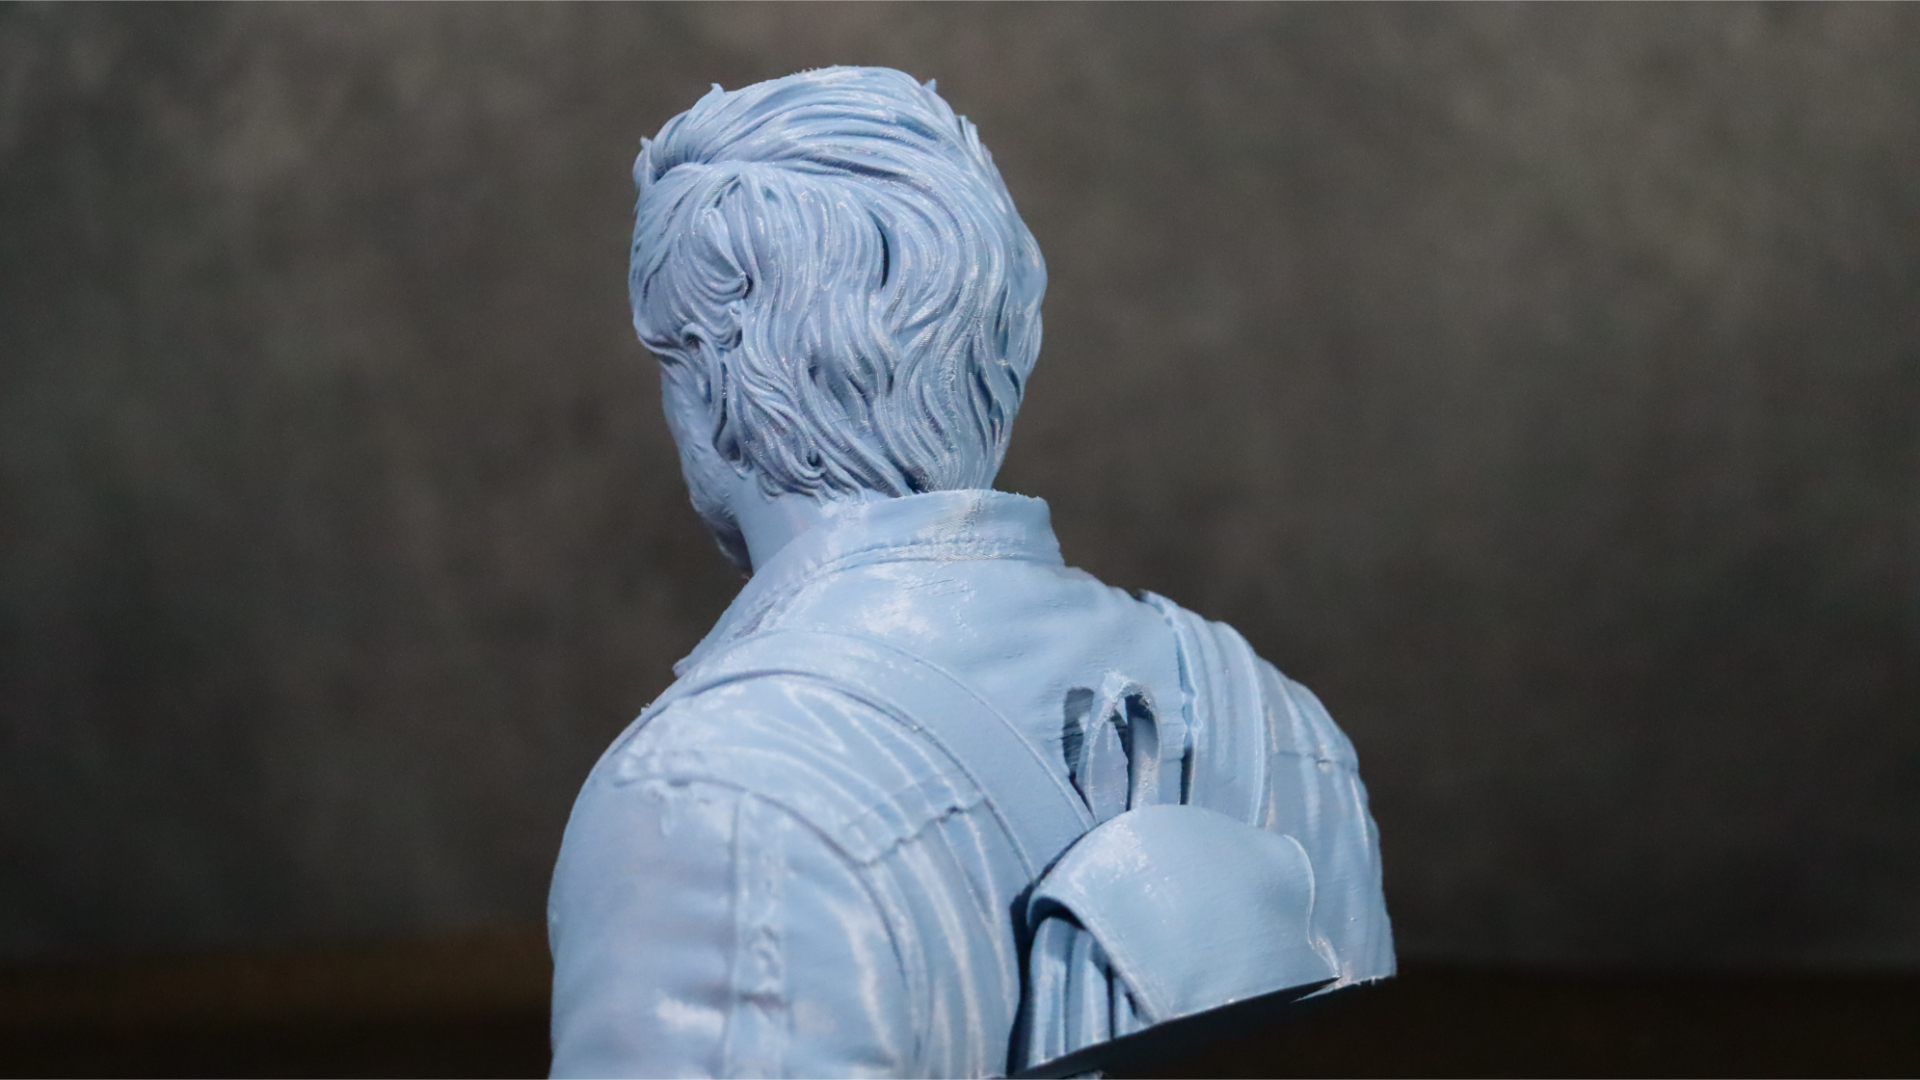
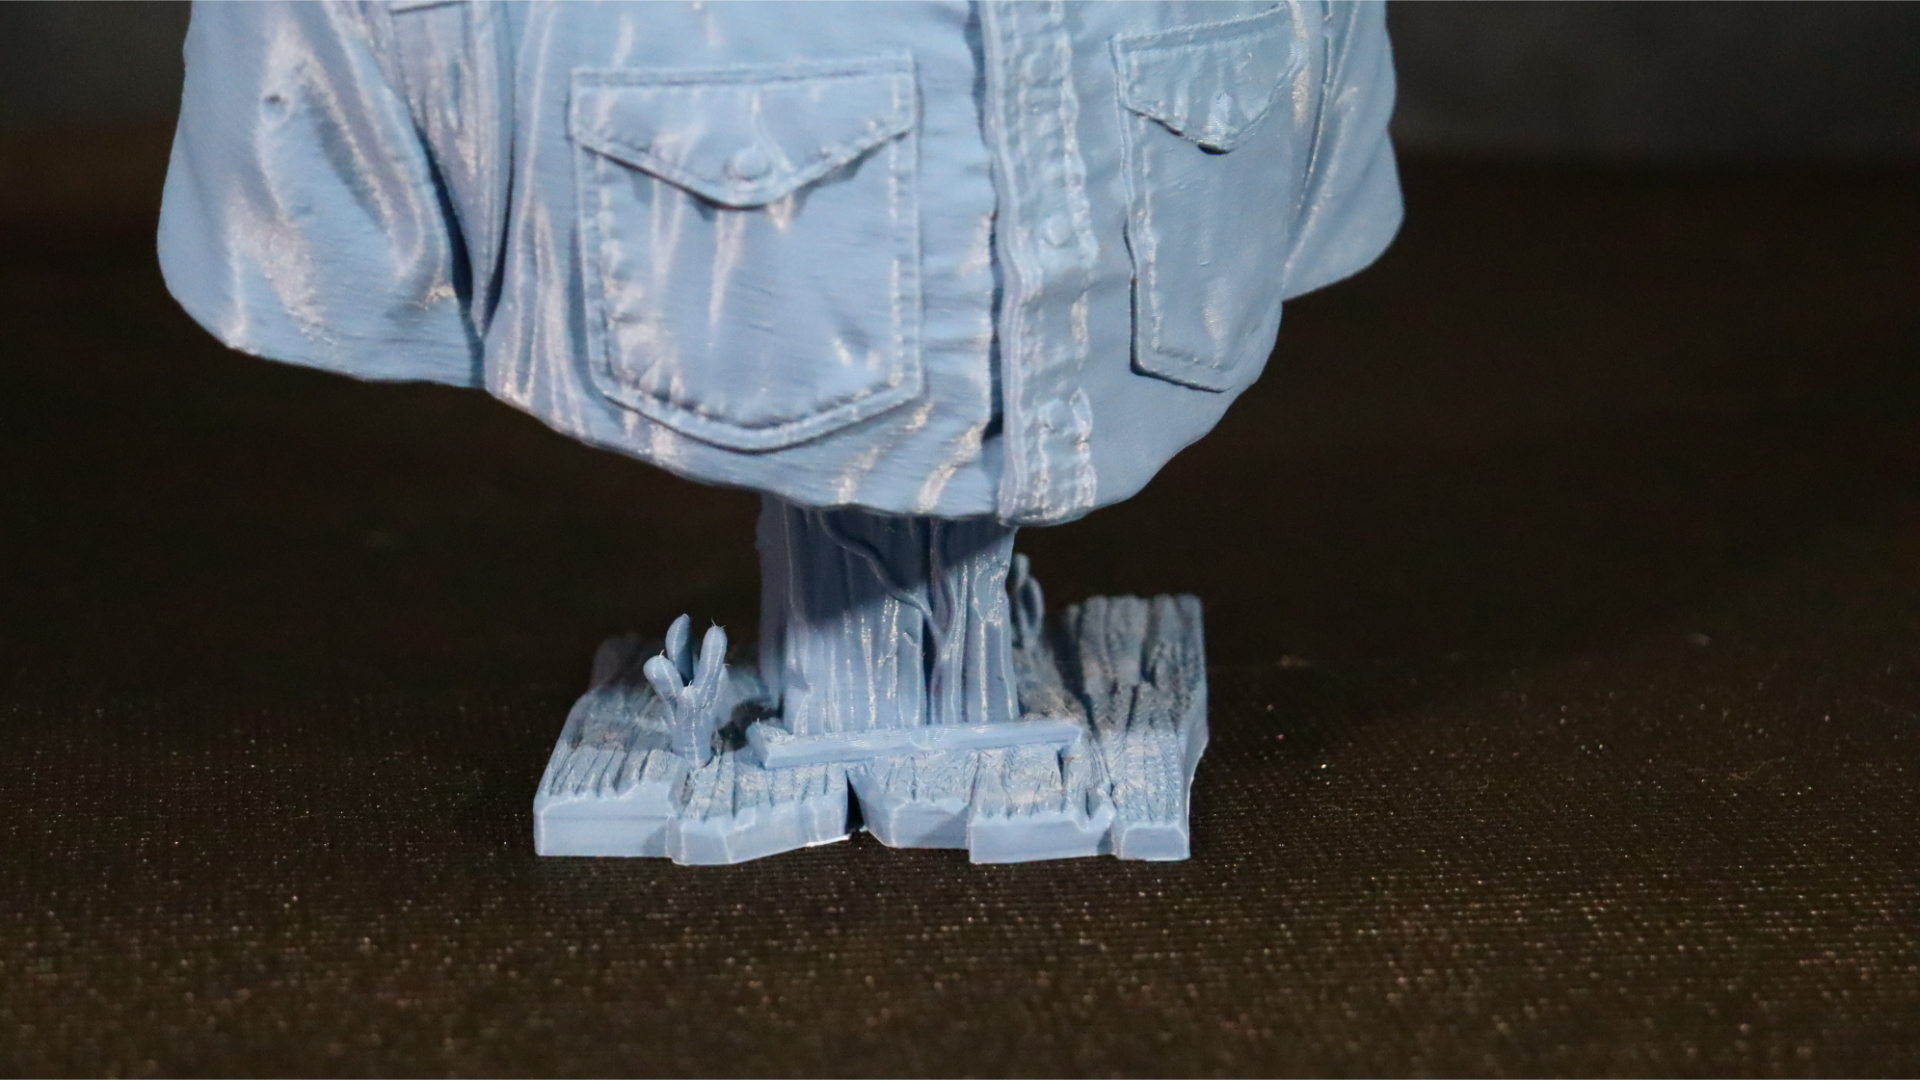
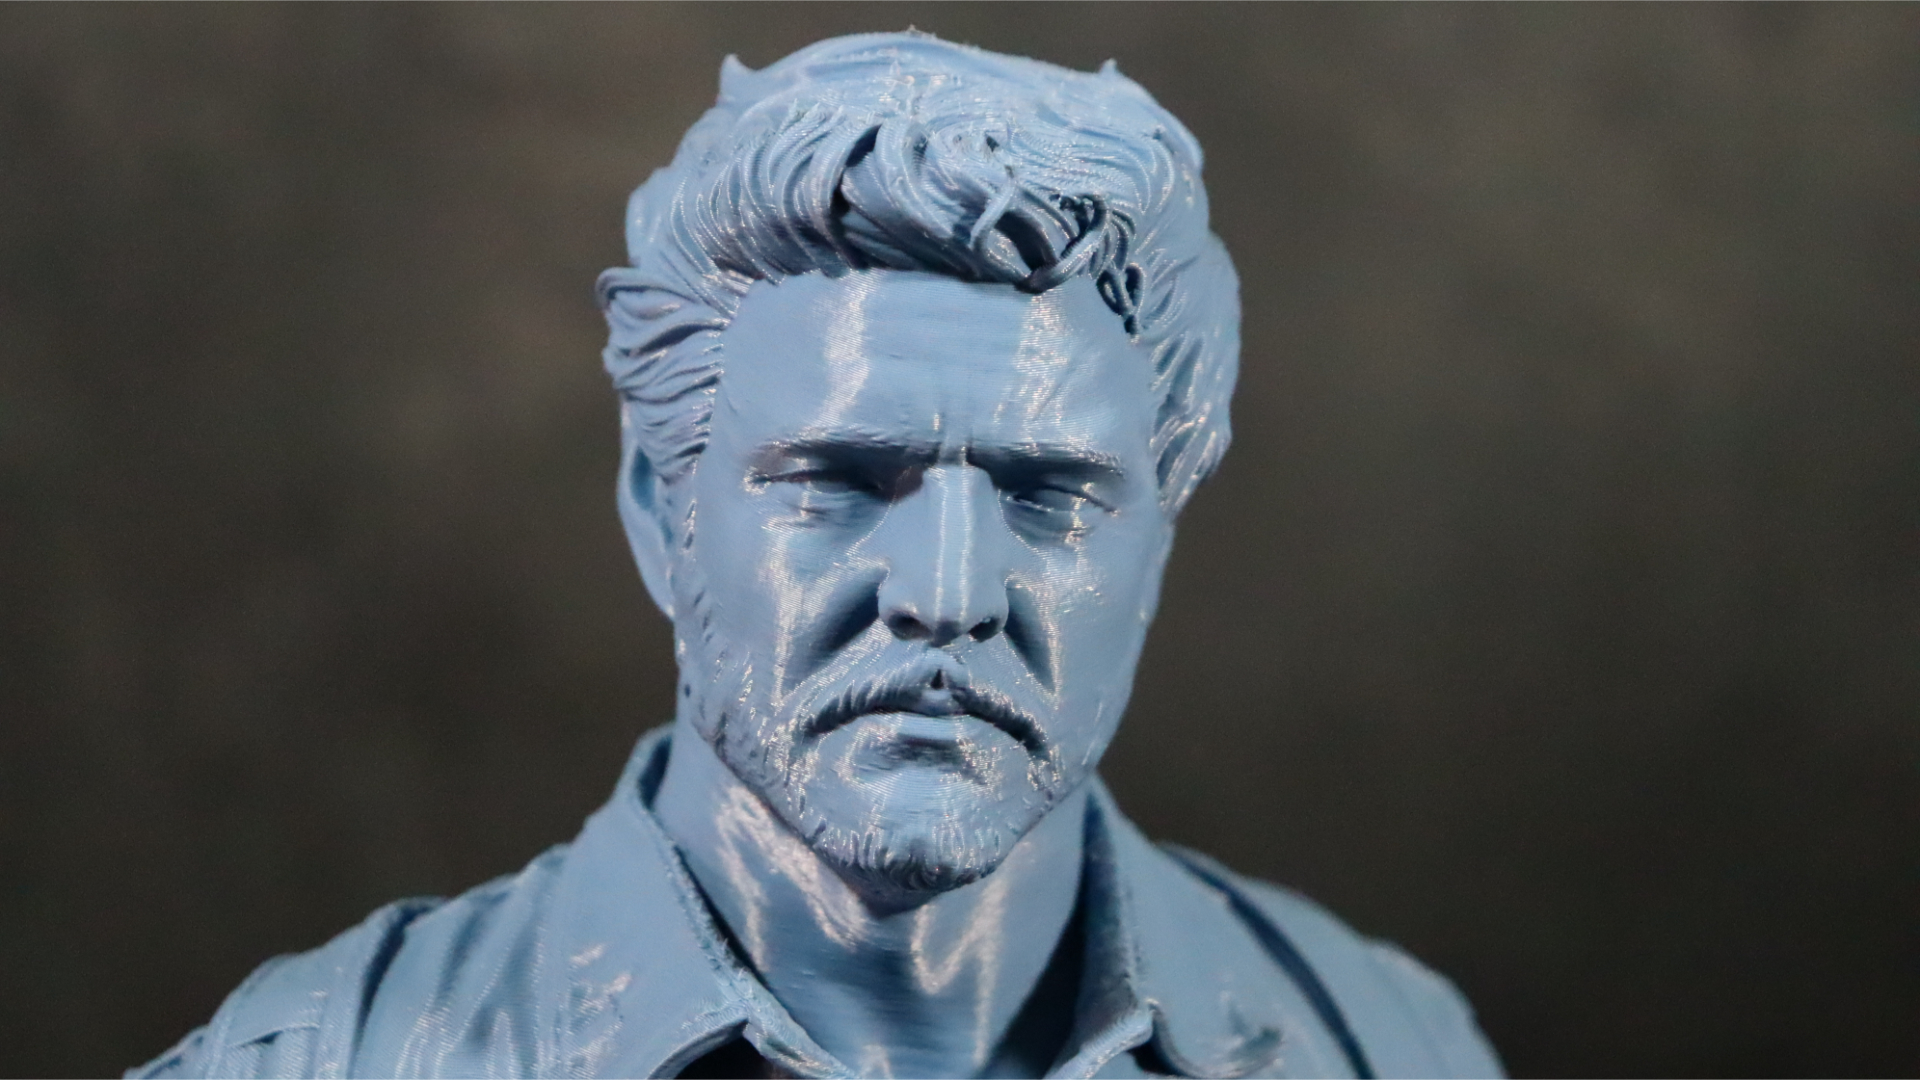
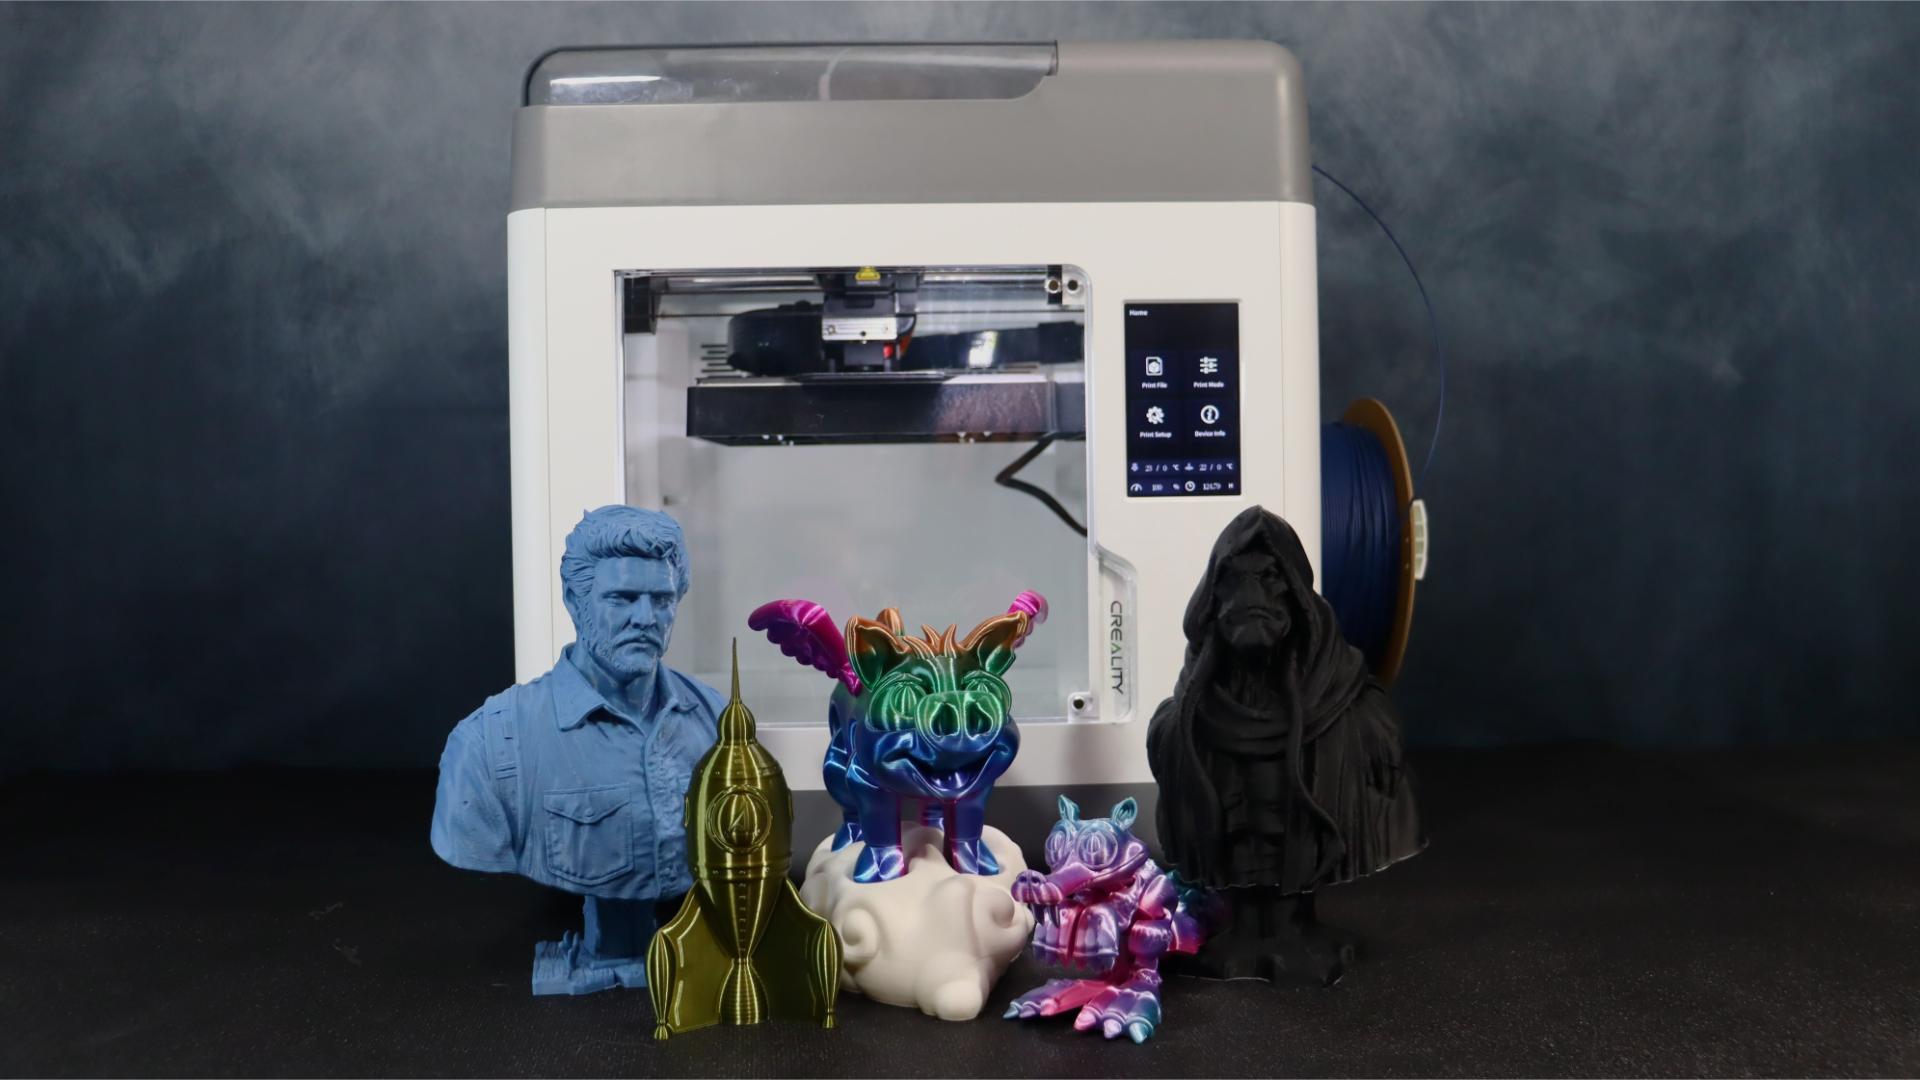
The Joel bust from the new The Last of Us TV show was the first model we selected to print on the Sermoon V1 Pro. Fotis Mint created this model, which is available through his Patreon. The bulk of the busts from Fotis Mint are beautiful and easy to print, since they do not require any support. We did have to scale the model down to 70% to get the bust to fit within the Sermoon’s build volume.
The print turned out excellent, and the Sermoon V1 Pro's level of detail for its size is excellent. We utilized Duramic3D Denium PLA +, and all of the details came out crisp and clean, with no issues with overhangs thanks to the Sprite direct drive extruder's cooling arrangement. The Direct Drive also meant there was little to no stringing on the print; even with the retraction height set at 0.8 mm. This print took slightly more than 13 hours to complete, with an additional 3 hours for base.
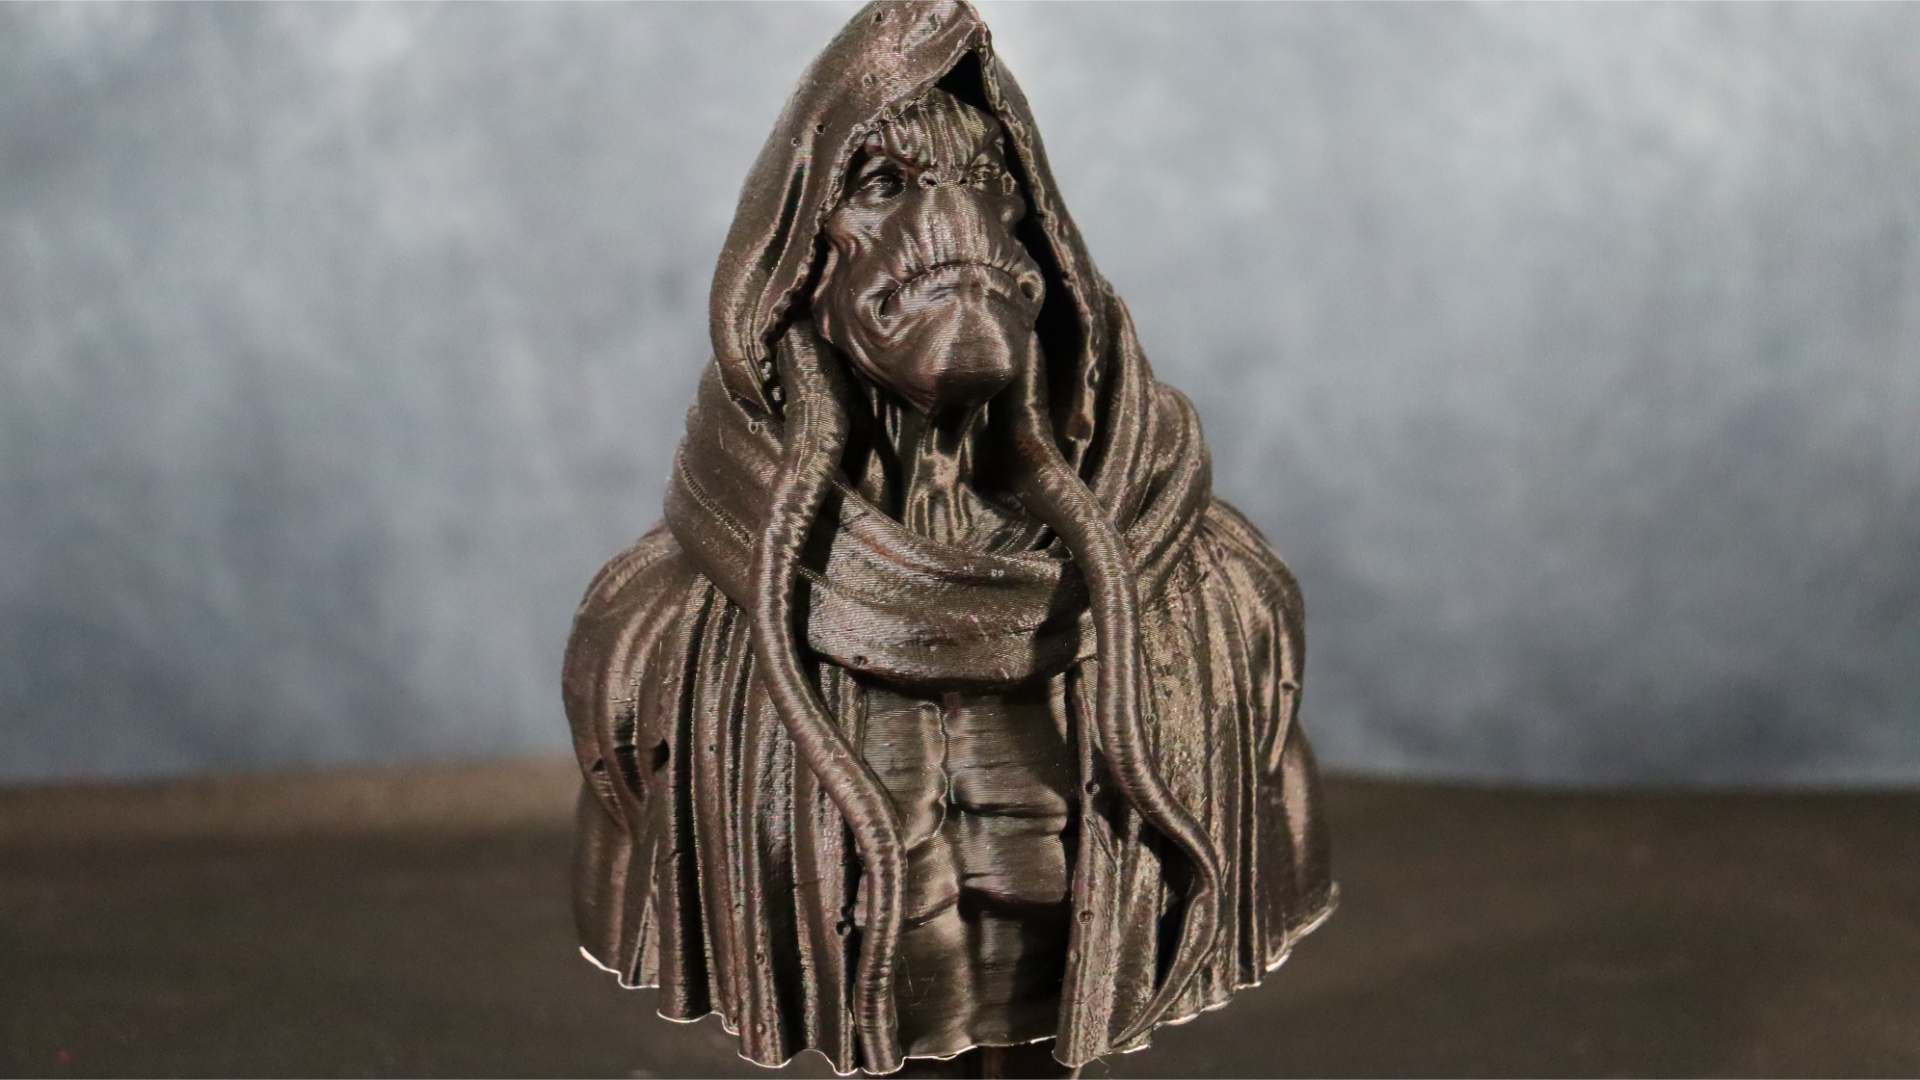
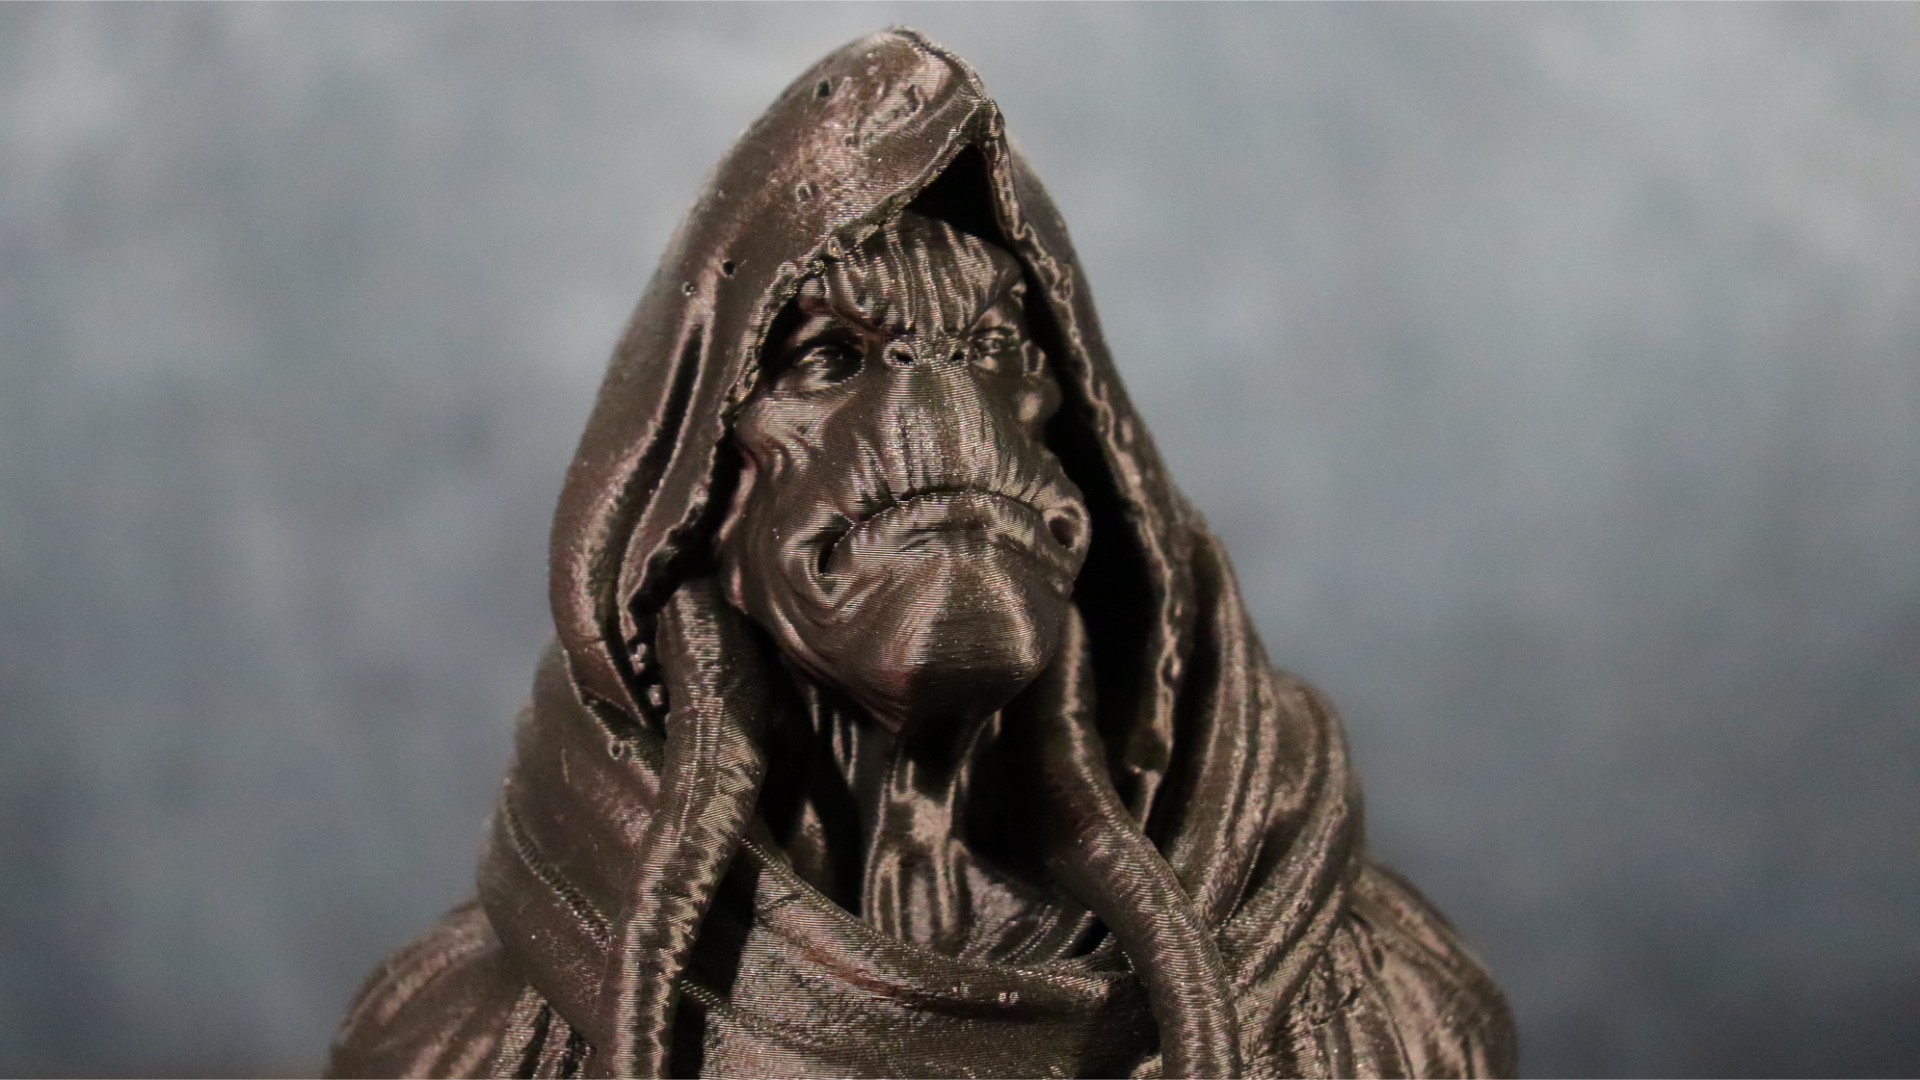
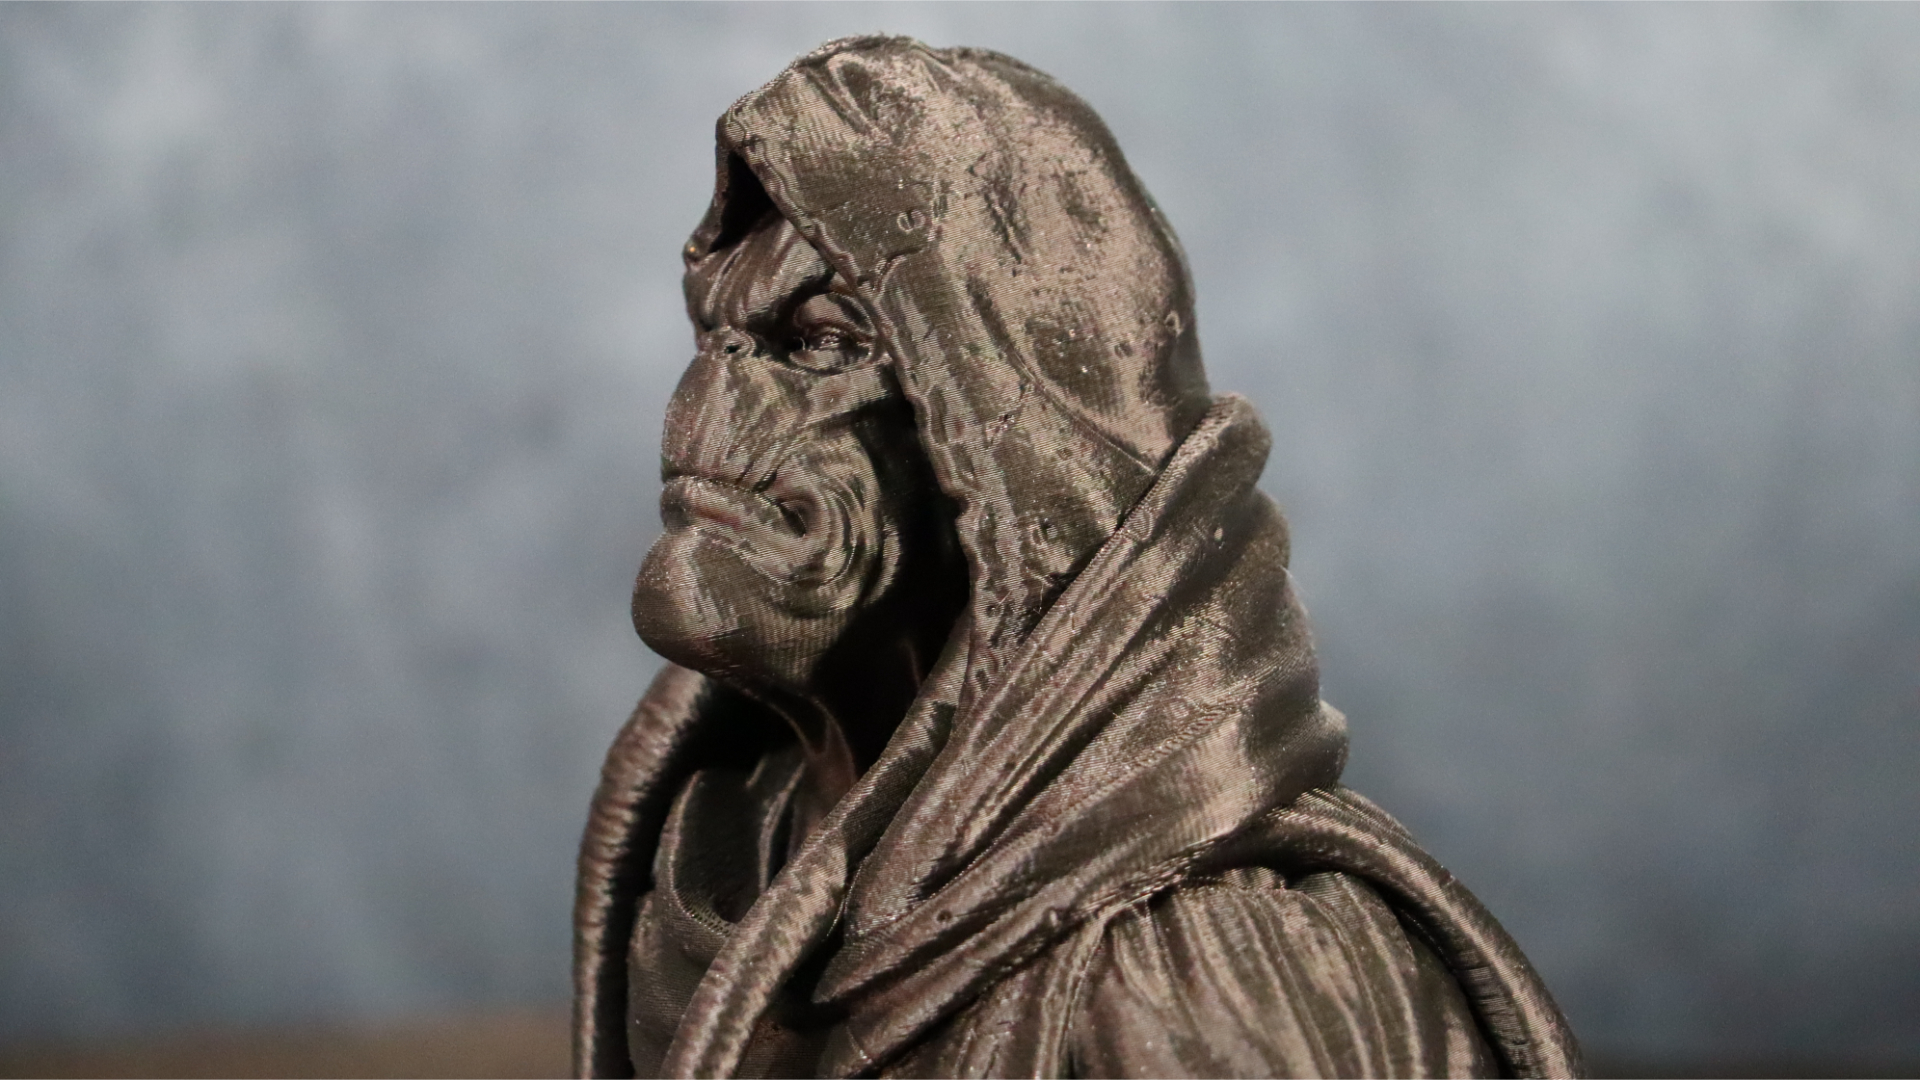
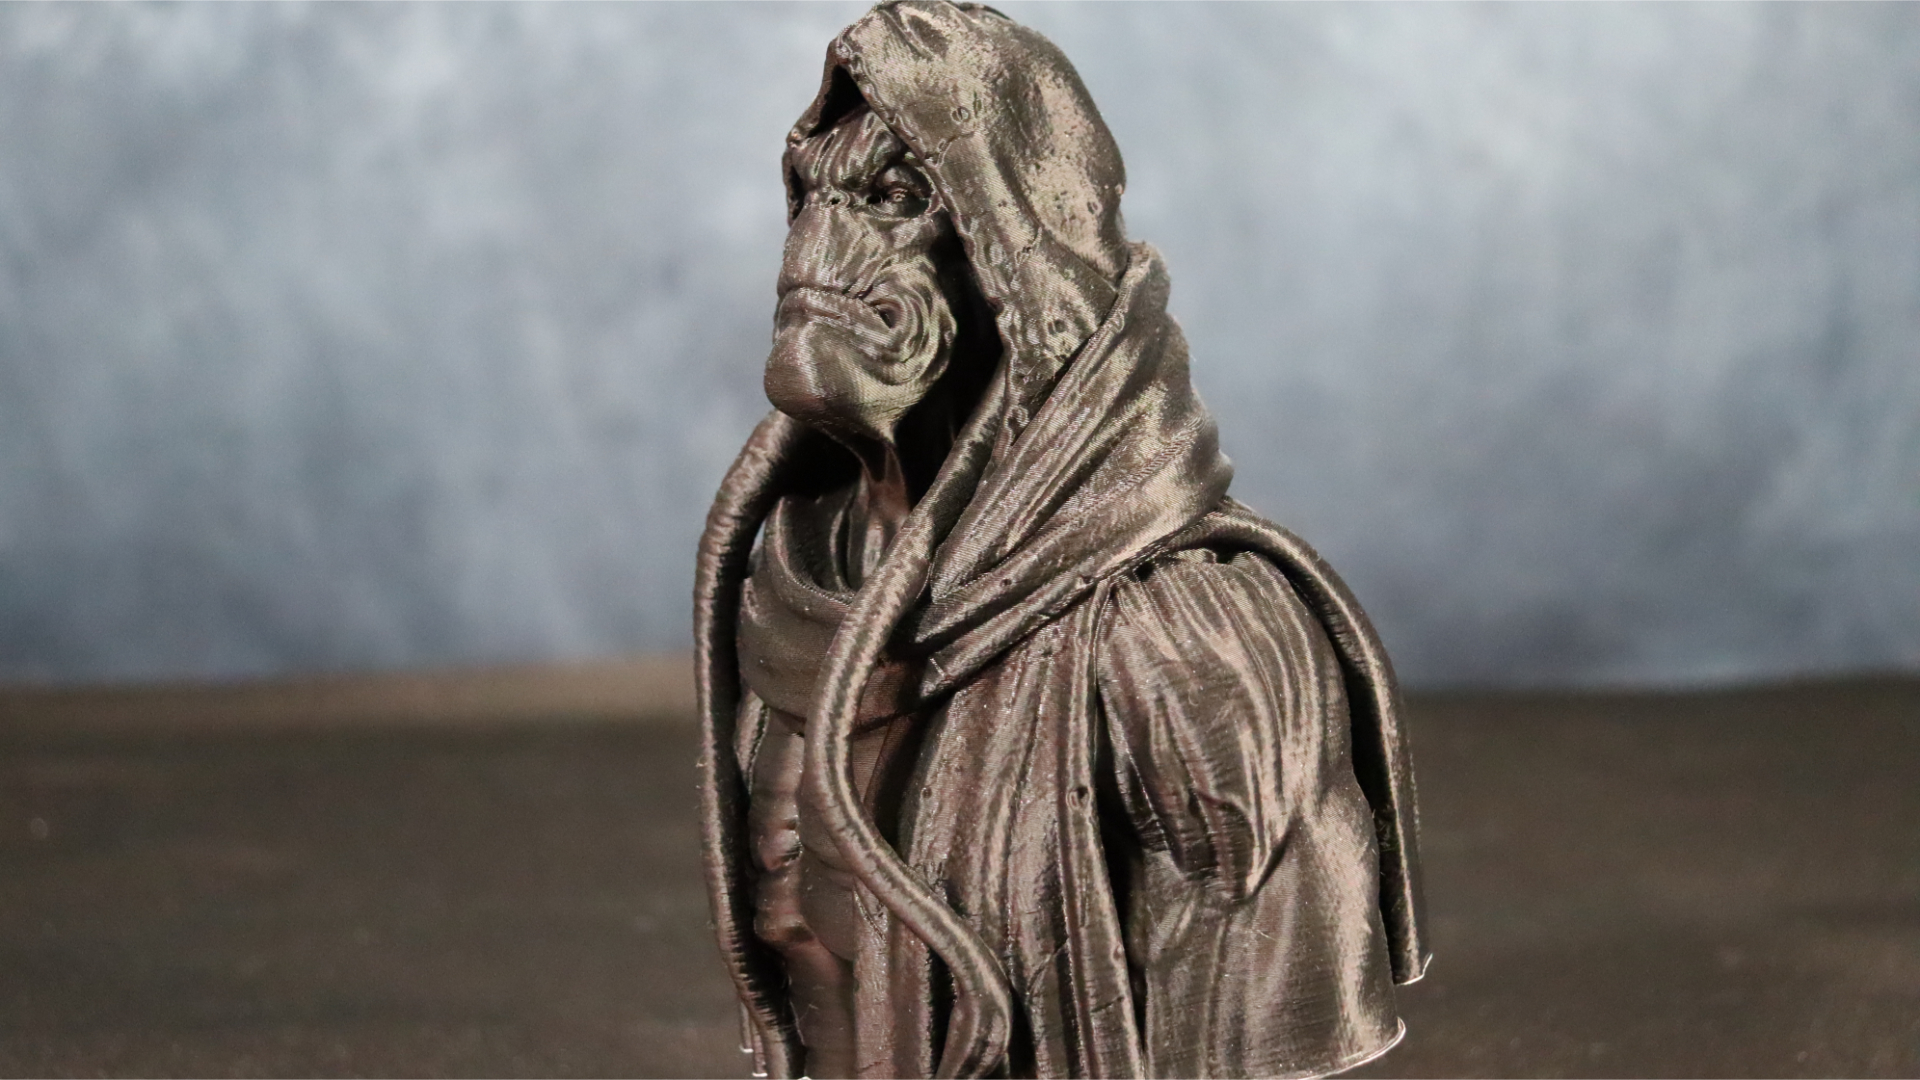
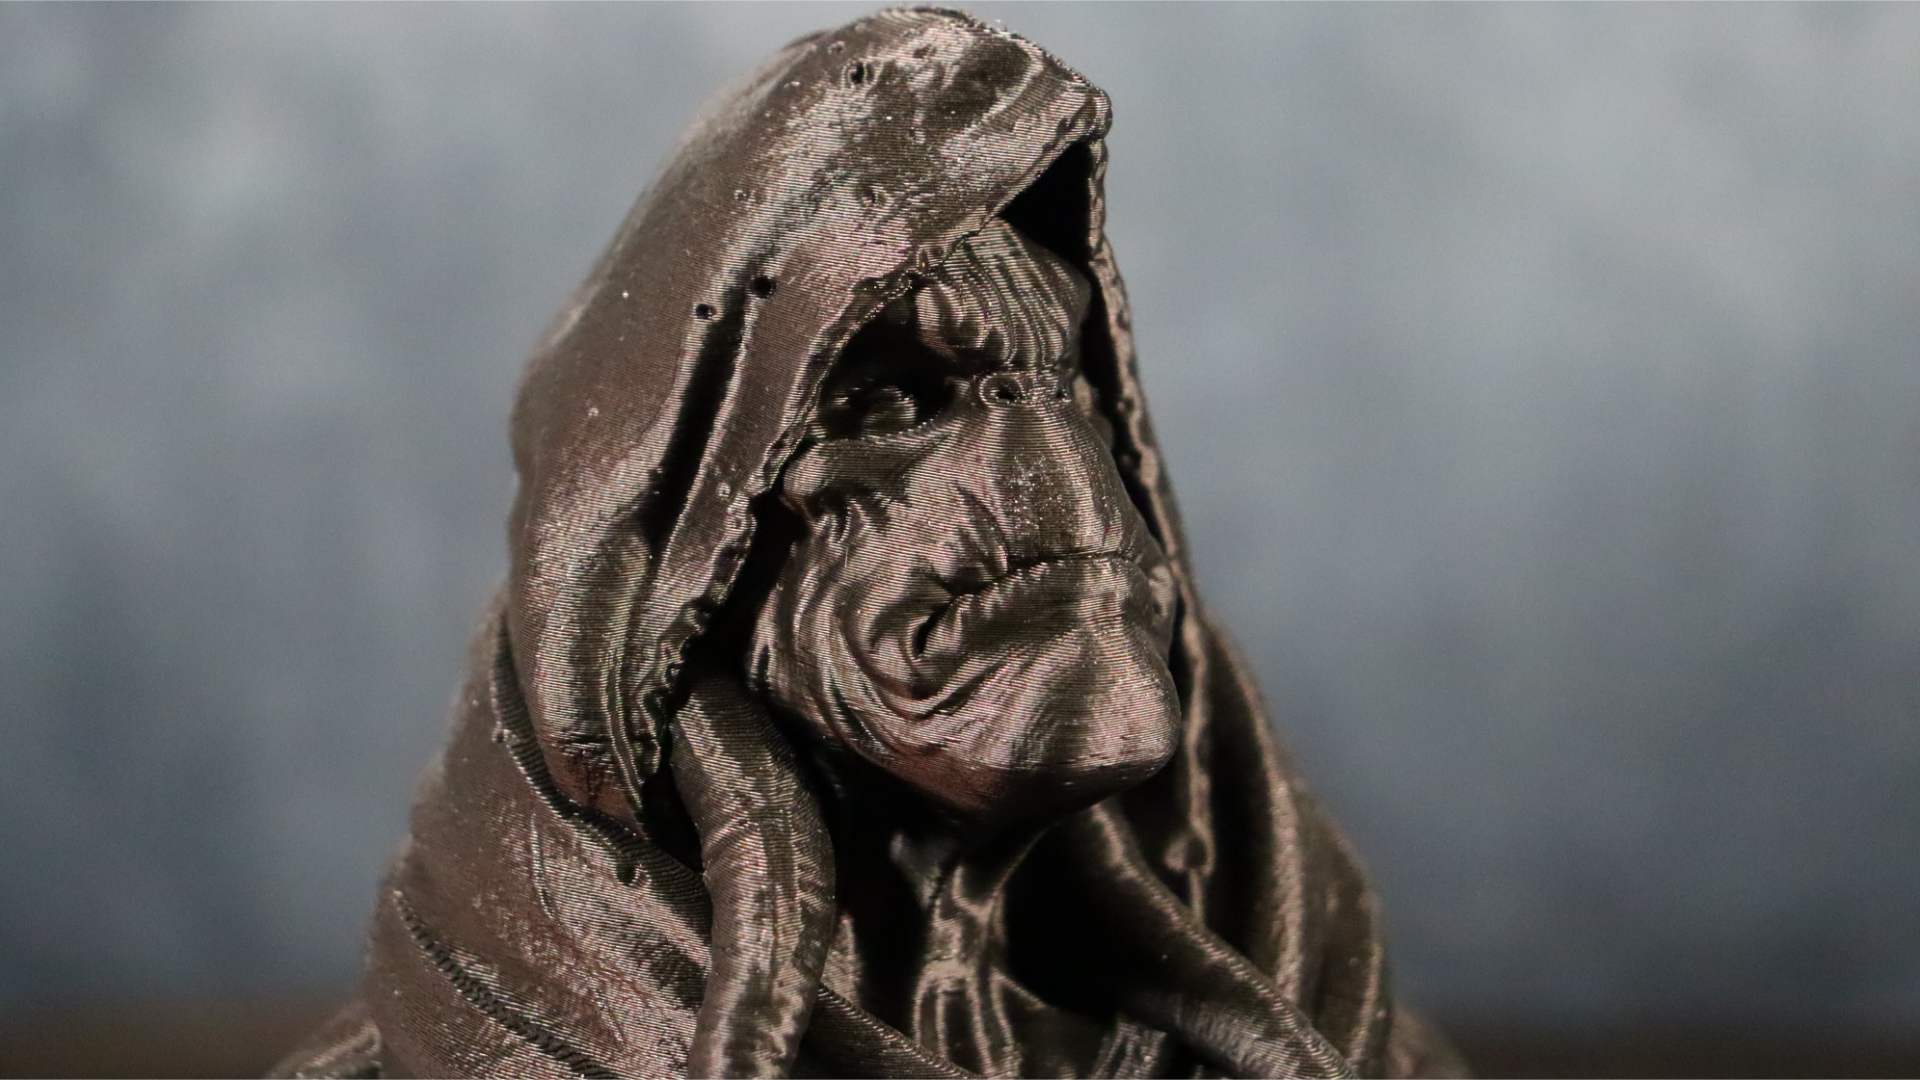
Then we decided to produce another of Fotis Mint's excellent models, this time the Gorr bust. Again, we scaled the bust to 70% size to get it to fit on the build plate. This model took just over 12 hours to complete.
This time, we used Duramic3D black PLA +, and the results were spectacular. The overhangs, tendrils, and even Gorr's thin hood were all clearly represented. The stand, like the last test, took slightly longer than 3 hours to complete. With the built-in light and webcam, the Creality Cloud software made checking on the print progress a breeze. The camera provides a clear, crisp image of the build platform, making it simple to monitor progress.
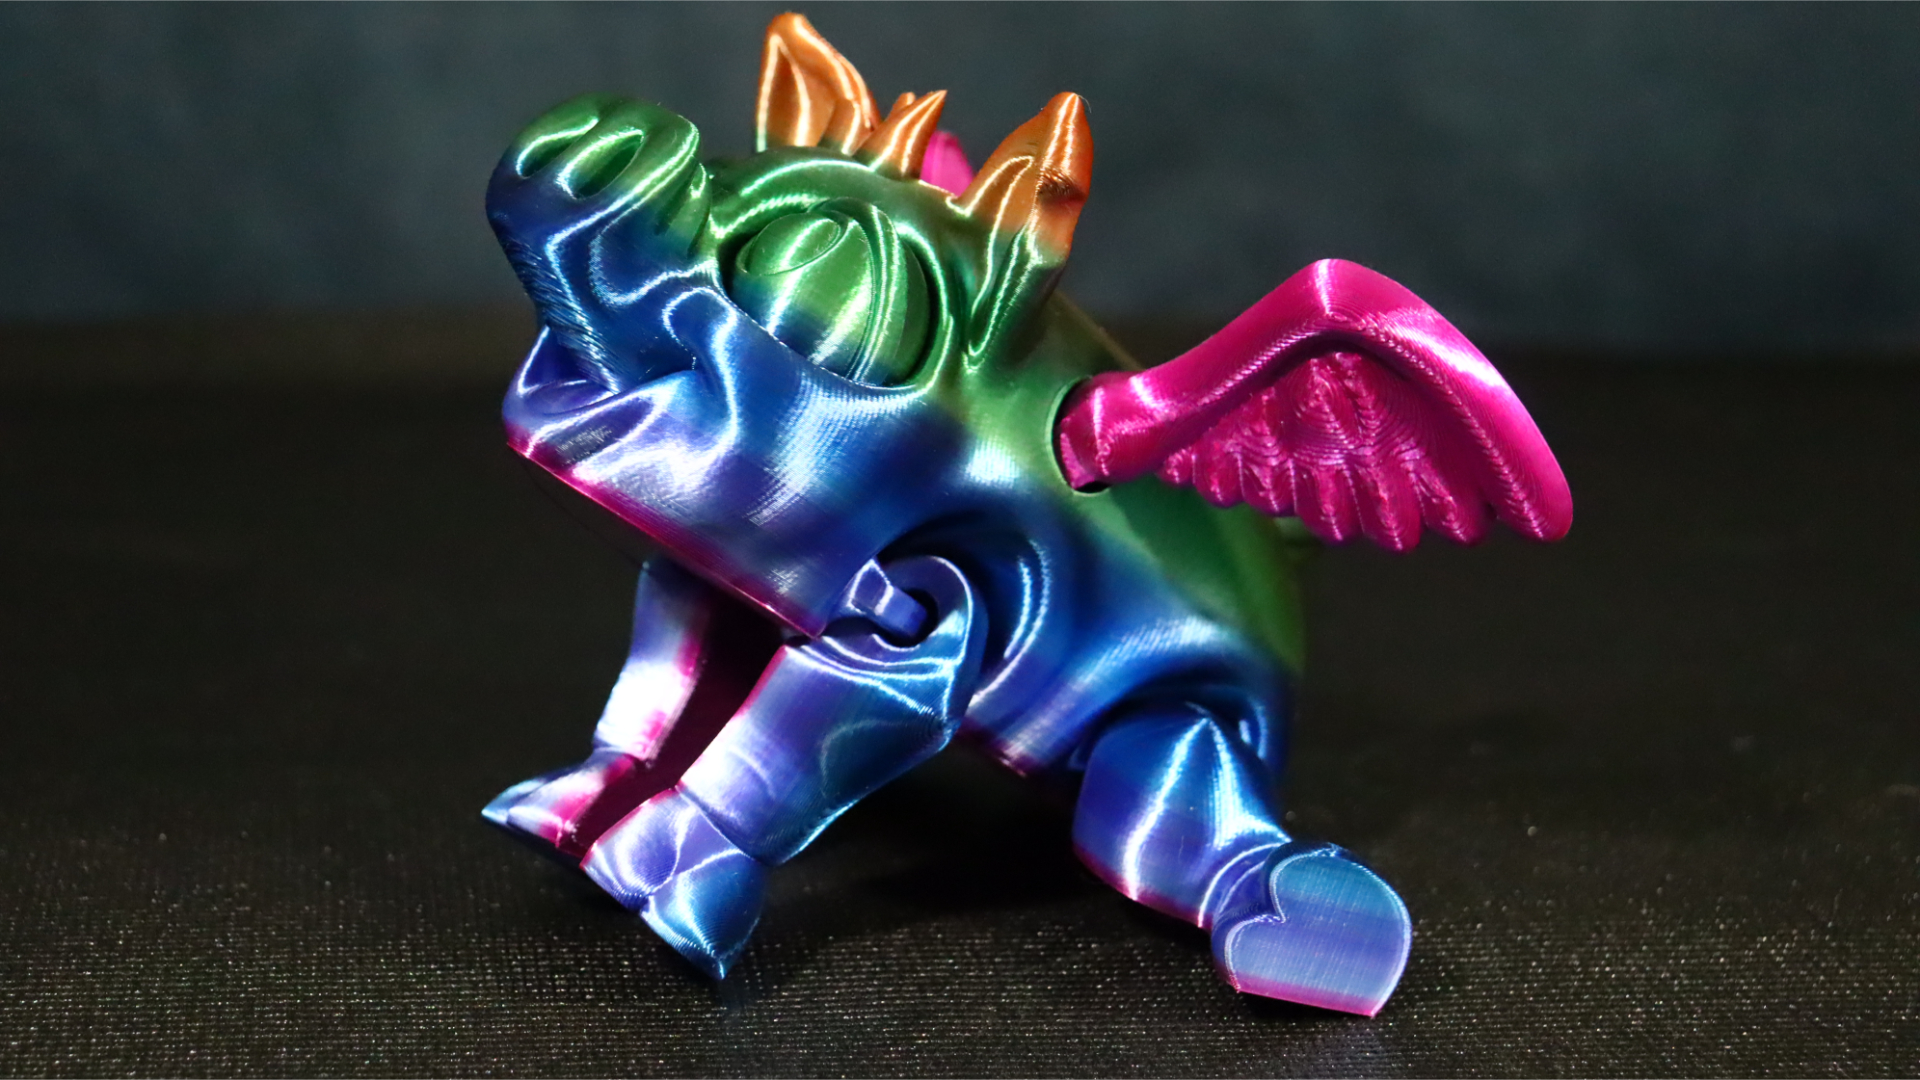
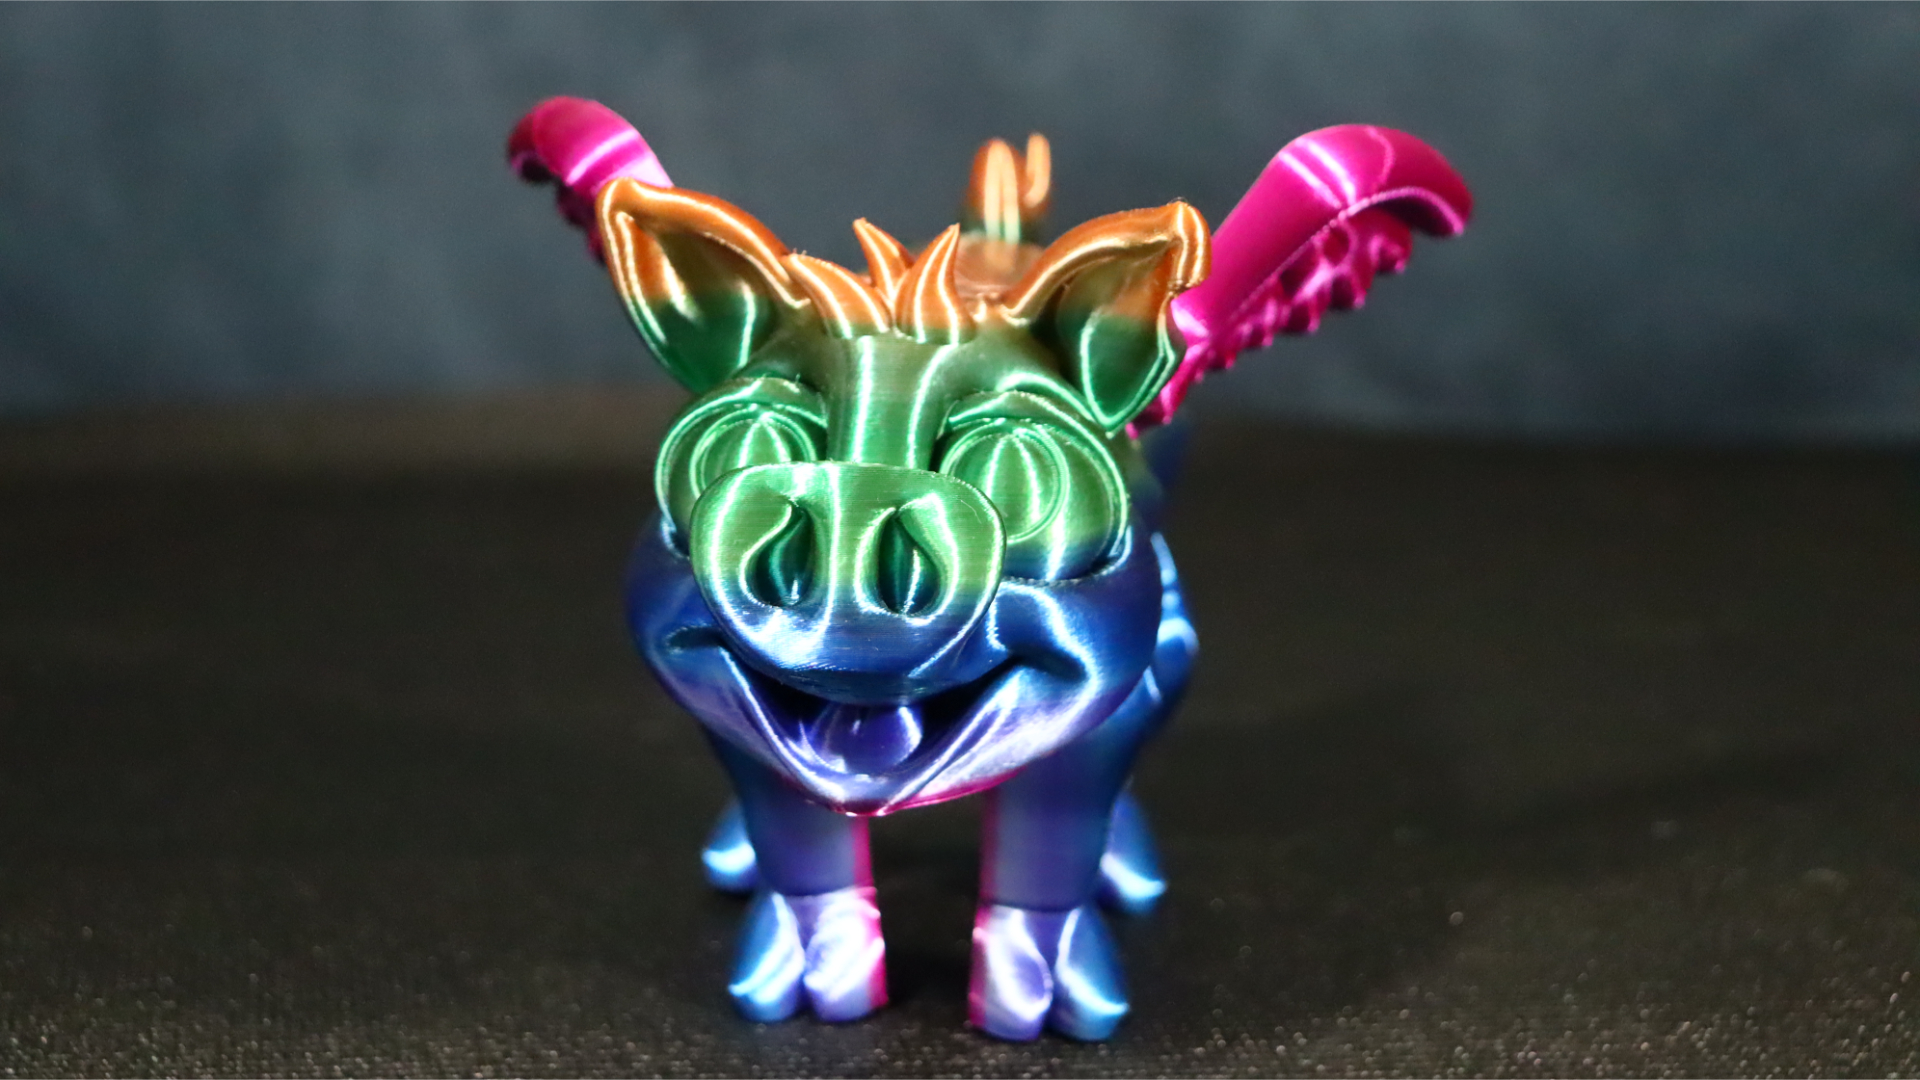
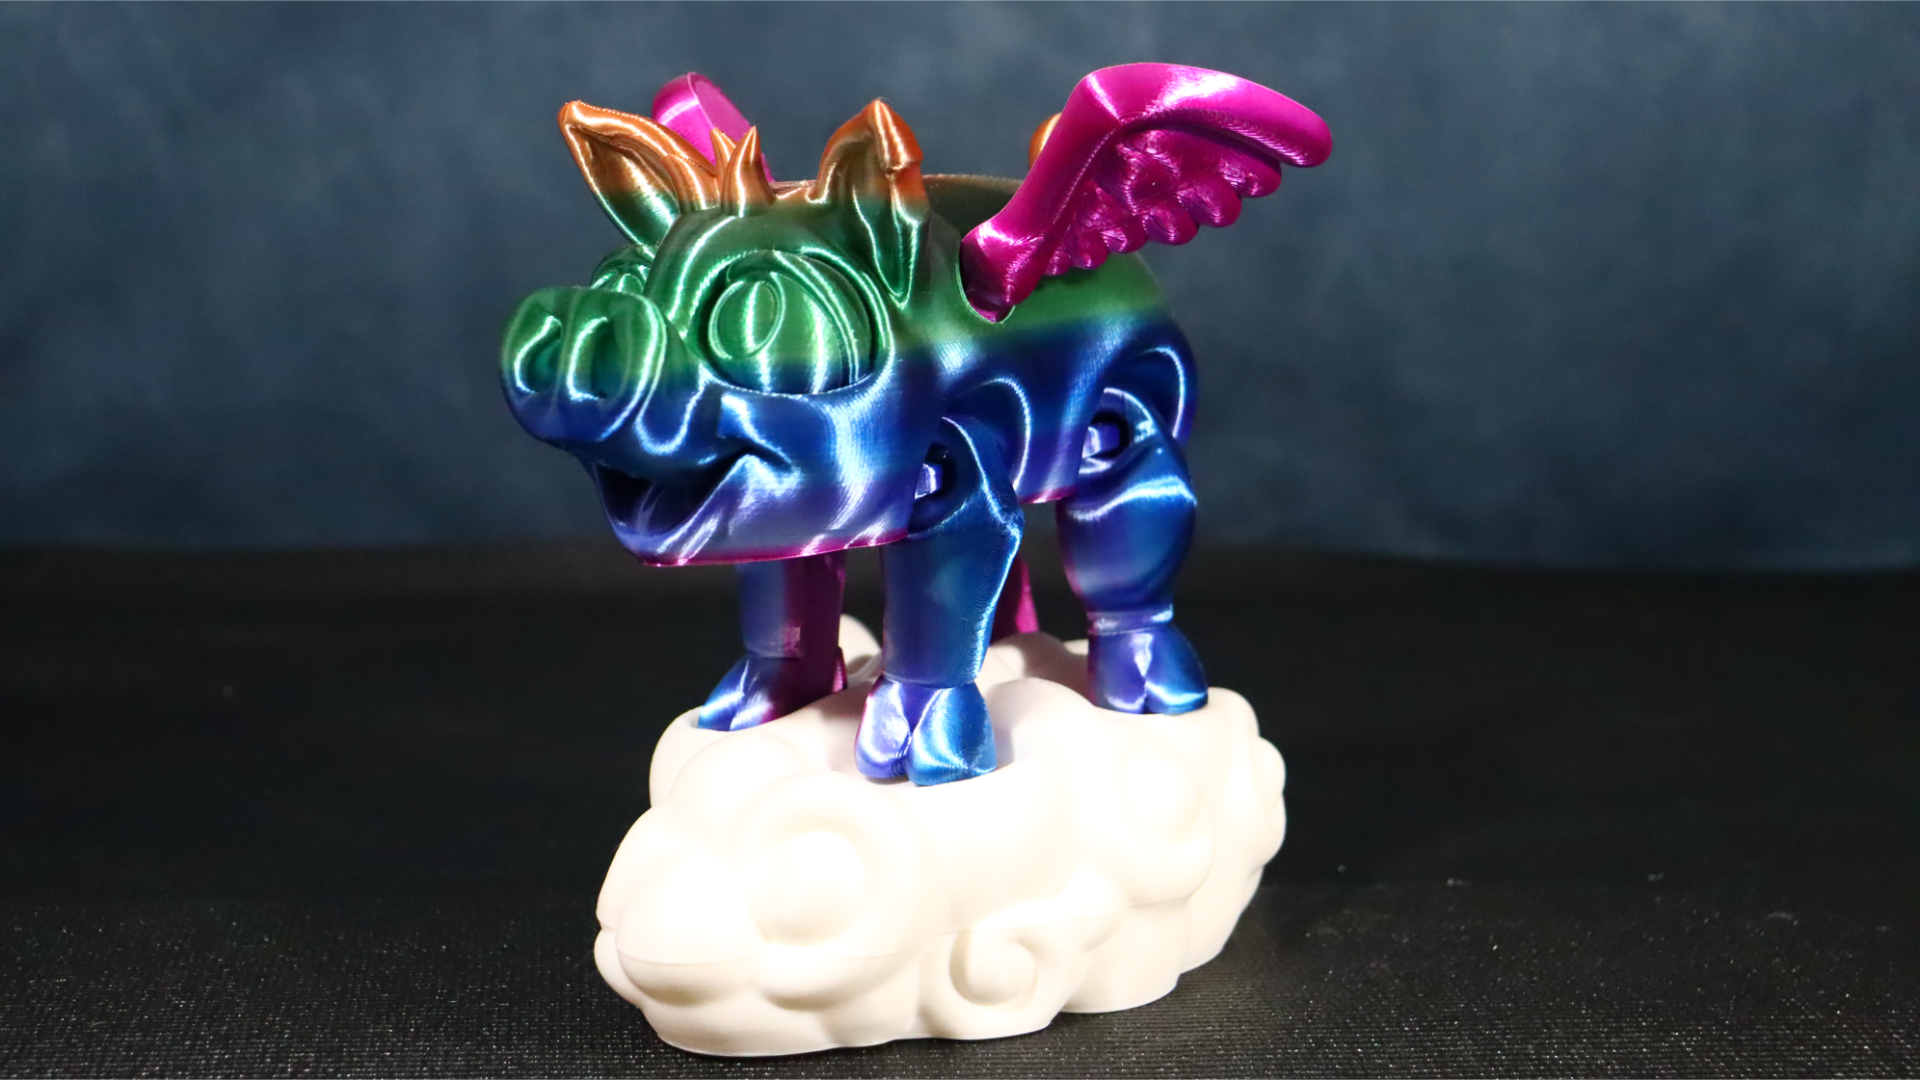
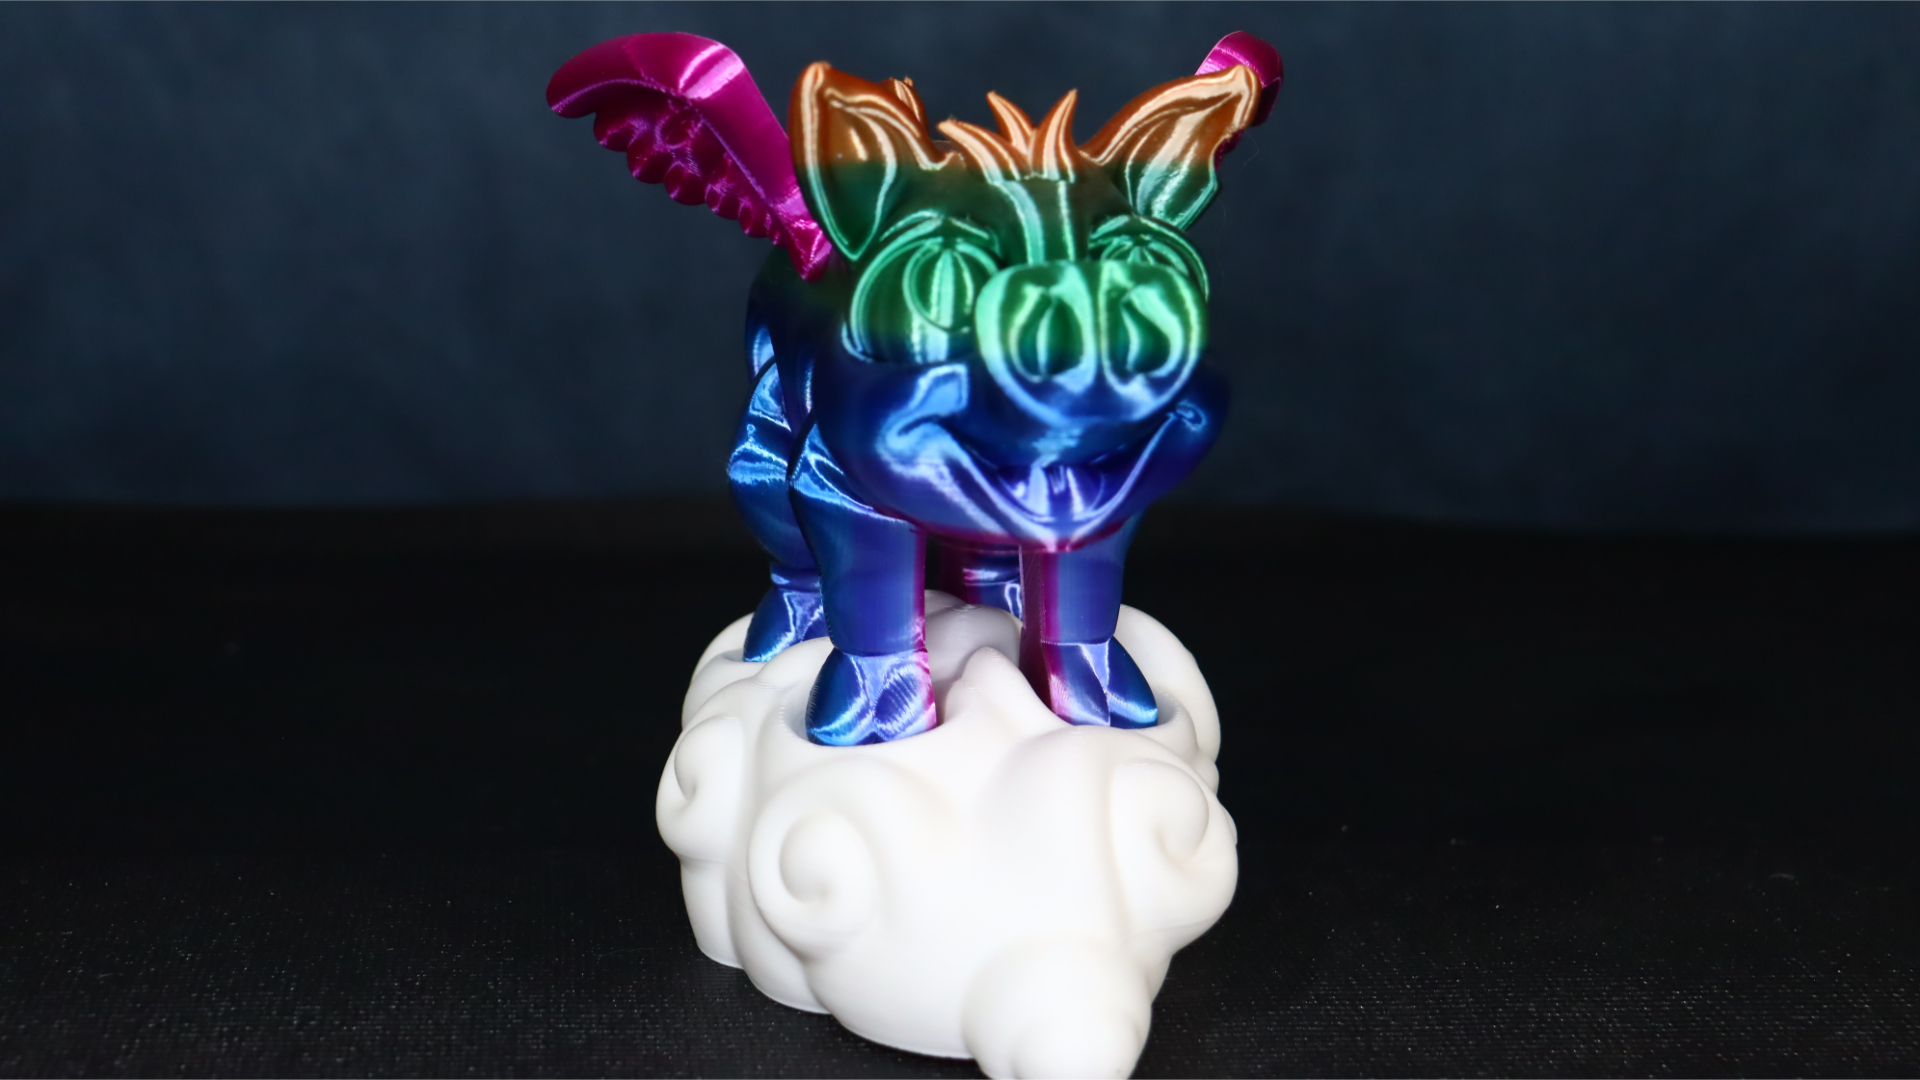
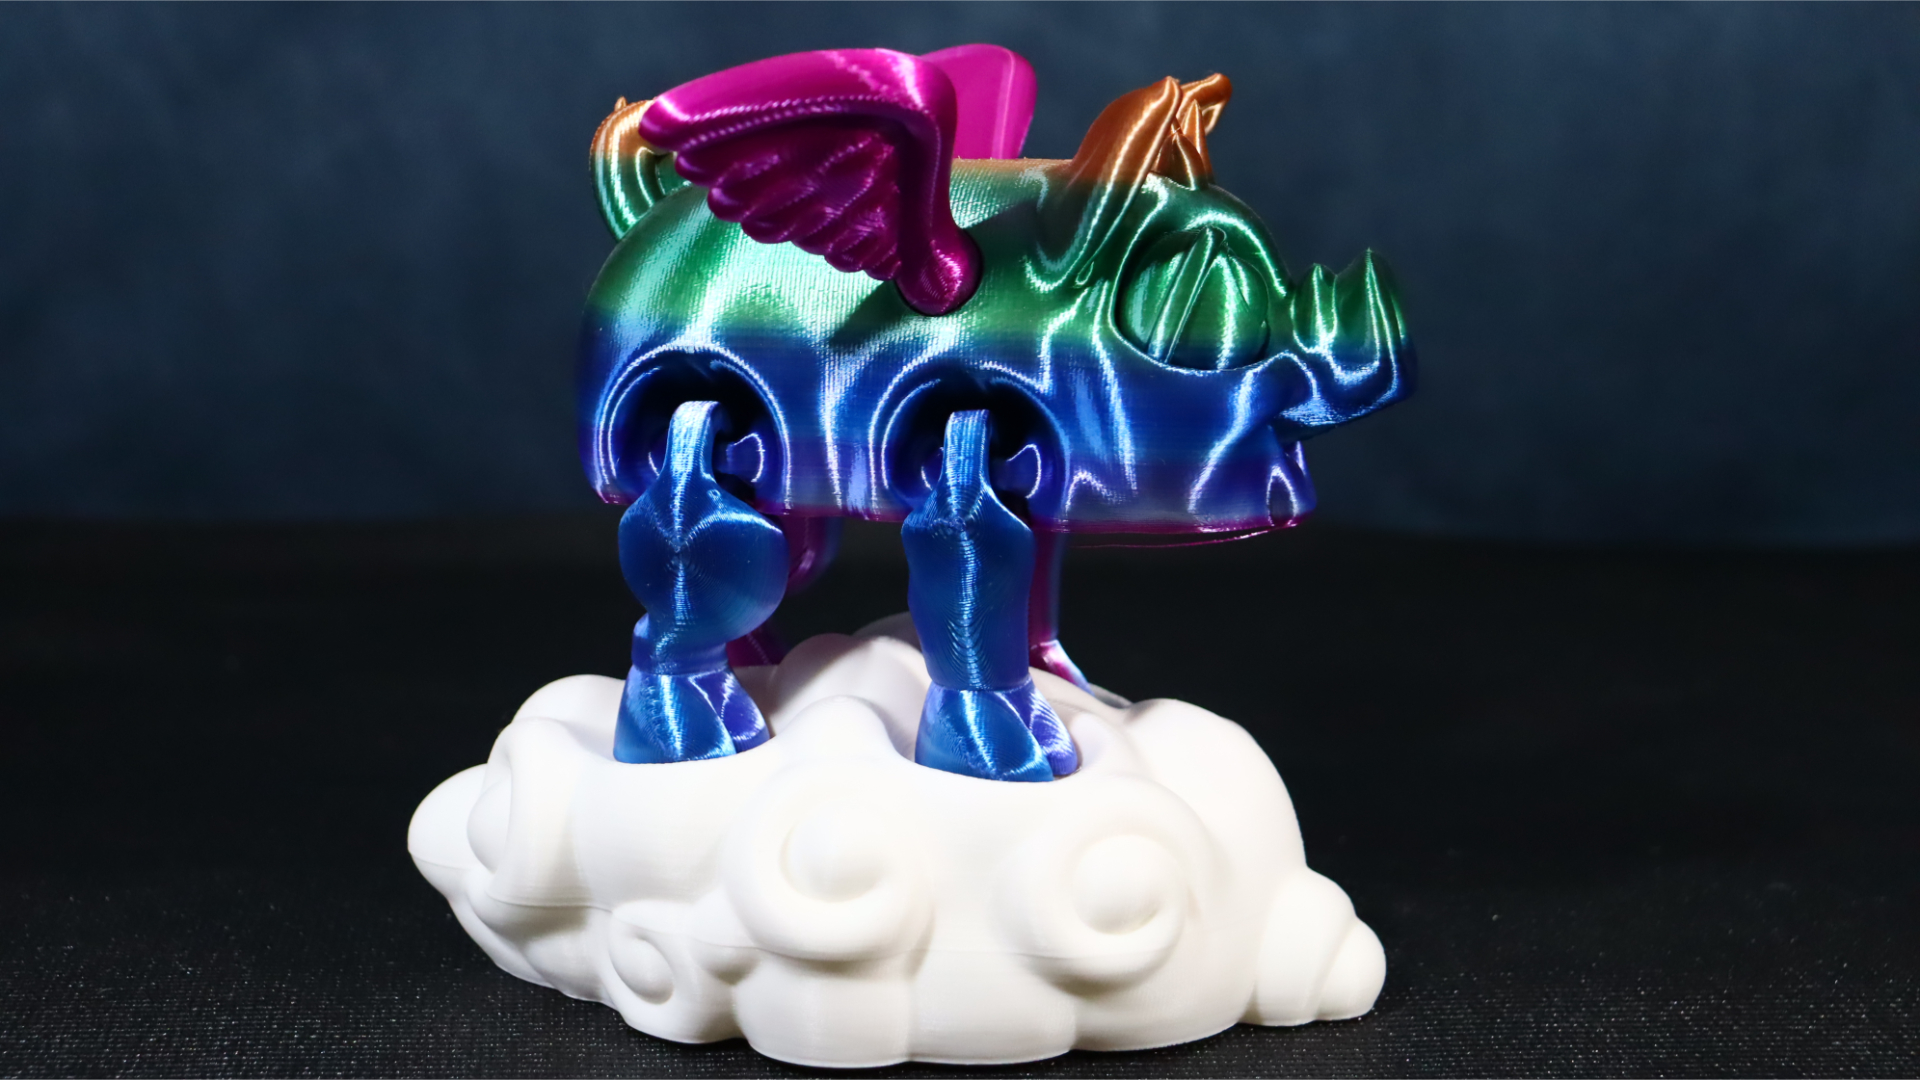
The Pigasus flexi model with the associated cloud stand is our next test model. This one comes from from Printverse and their Patreon. The Pigasus model was printed with Eryone Universe rainbow silk PLA and turned out beautifully. With no troubles with any of the movable joints, the result is another wonderful illustration of the print quality you get from the Sermoon V1 Pro.
The cloud station was printed with Creality CR matte white PLA. The Pigasus and wings took 11 hours to print, while the cloud station took 8 hours. Despite the fact that it is a simple print, the results are spectacular. The silk colours really pop on this model, and it's a fun print for kids.
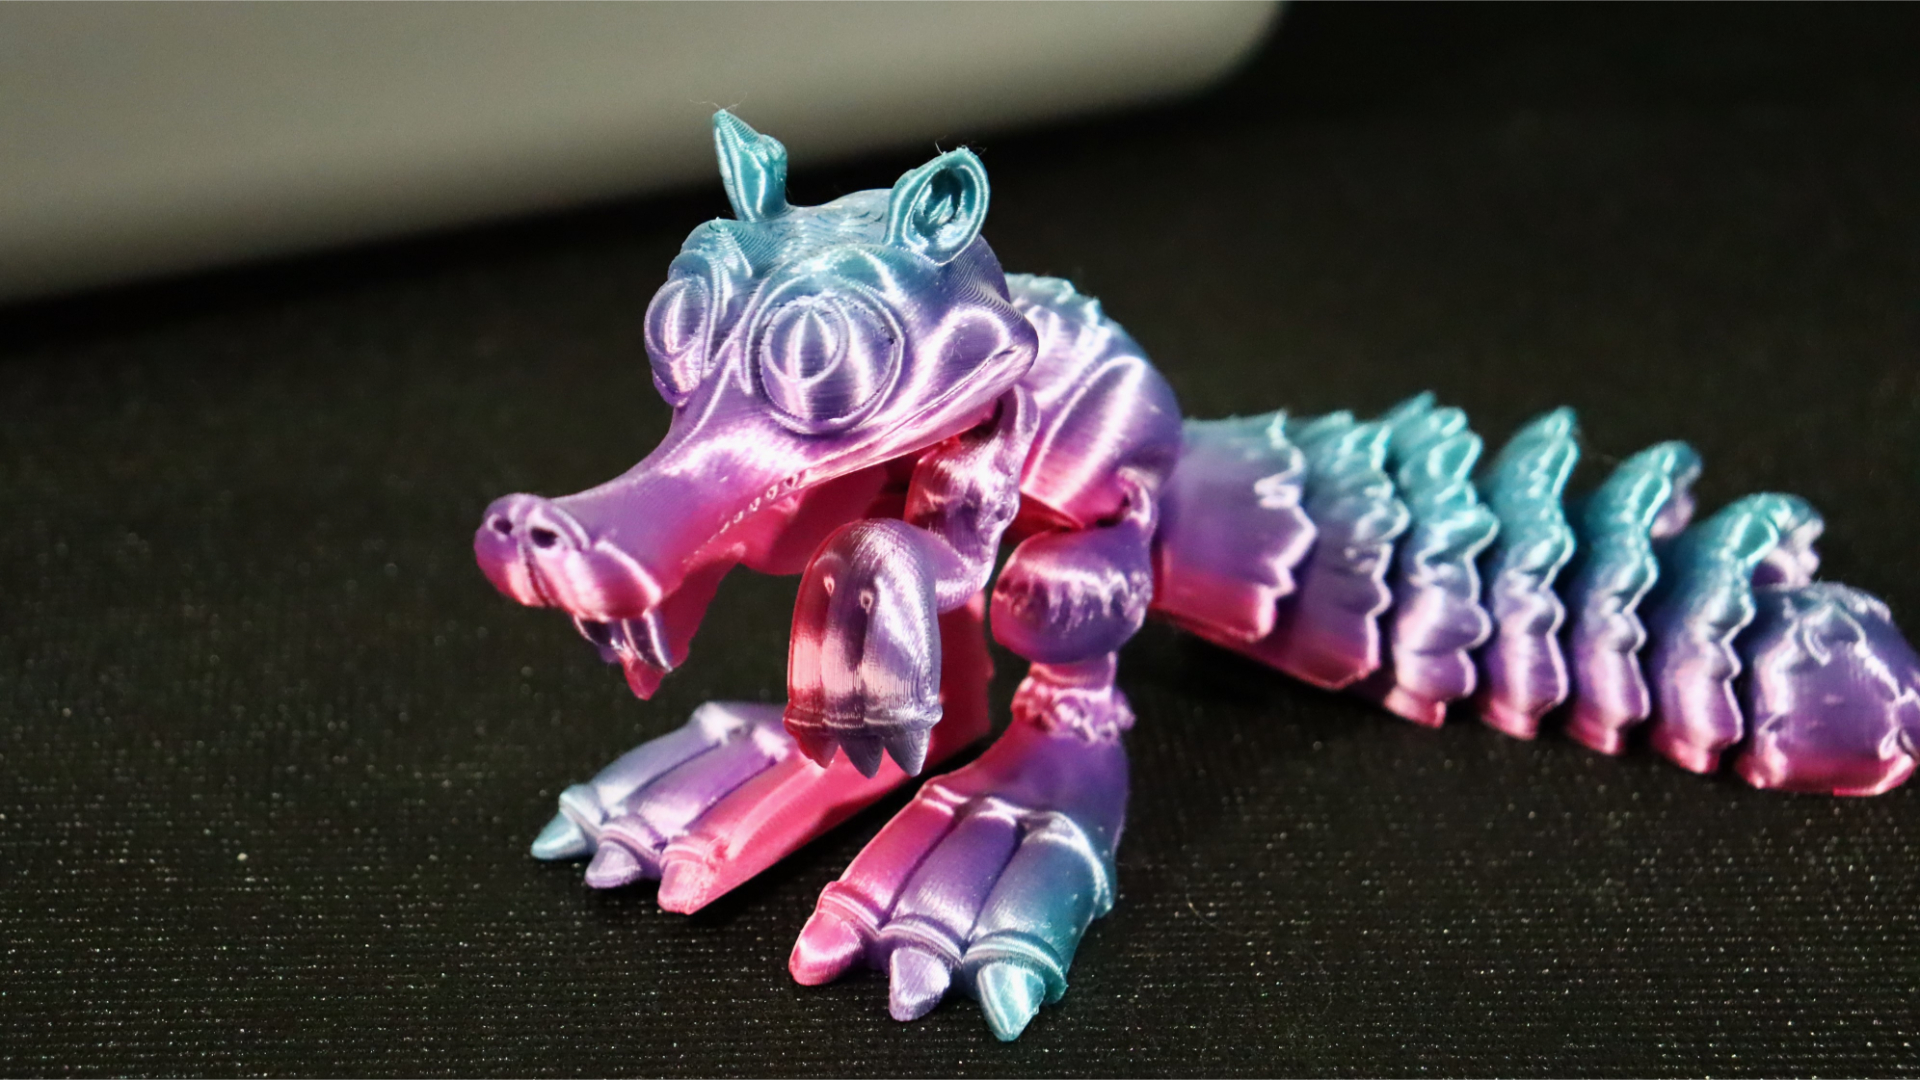
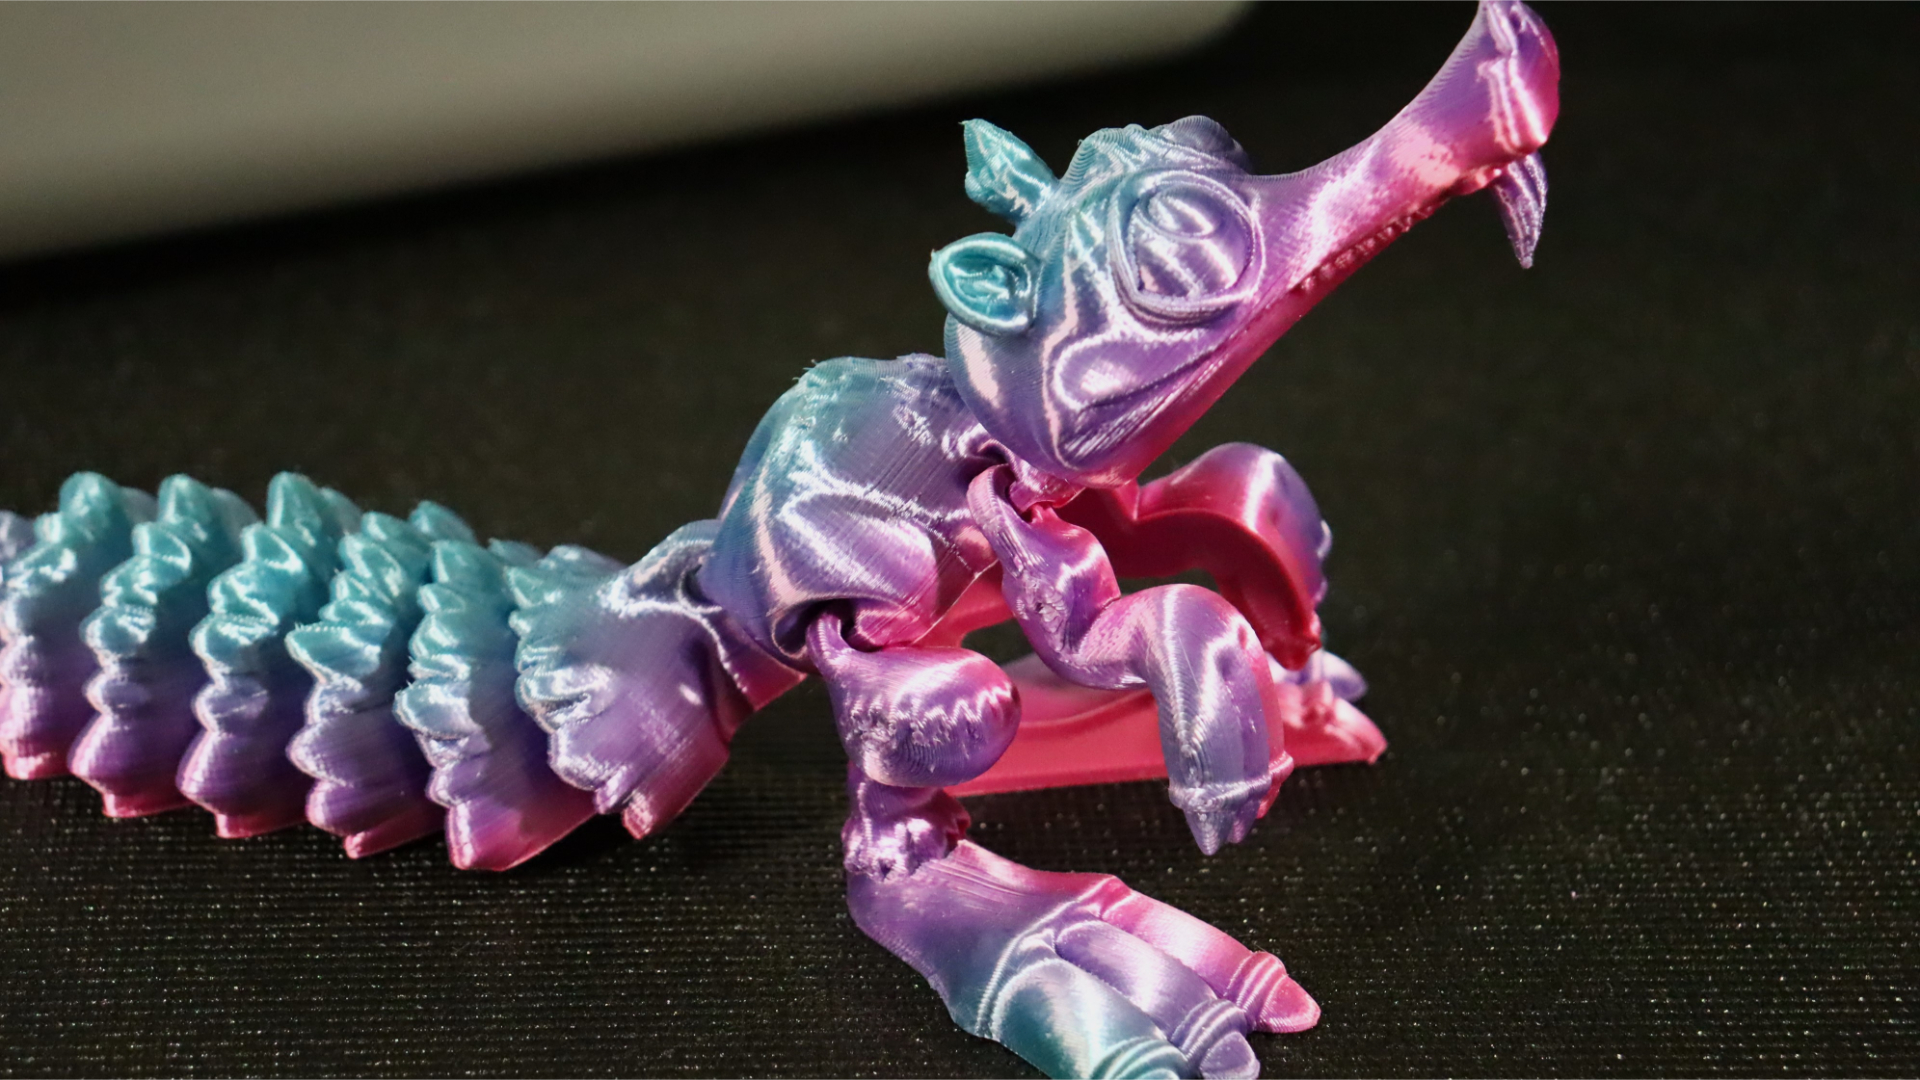
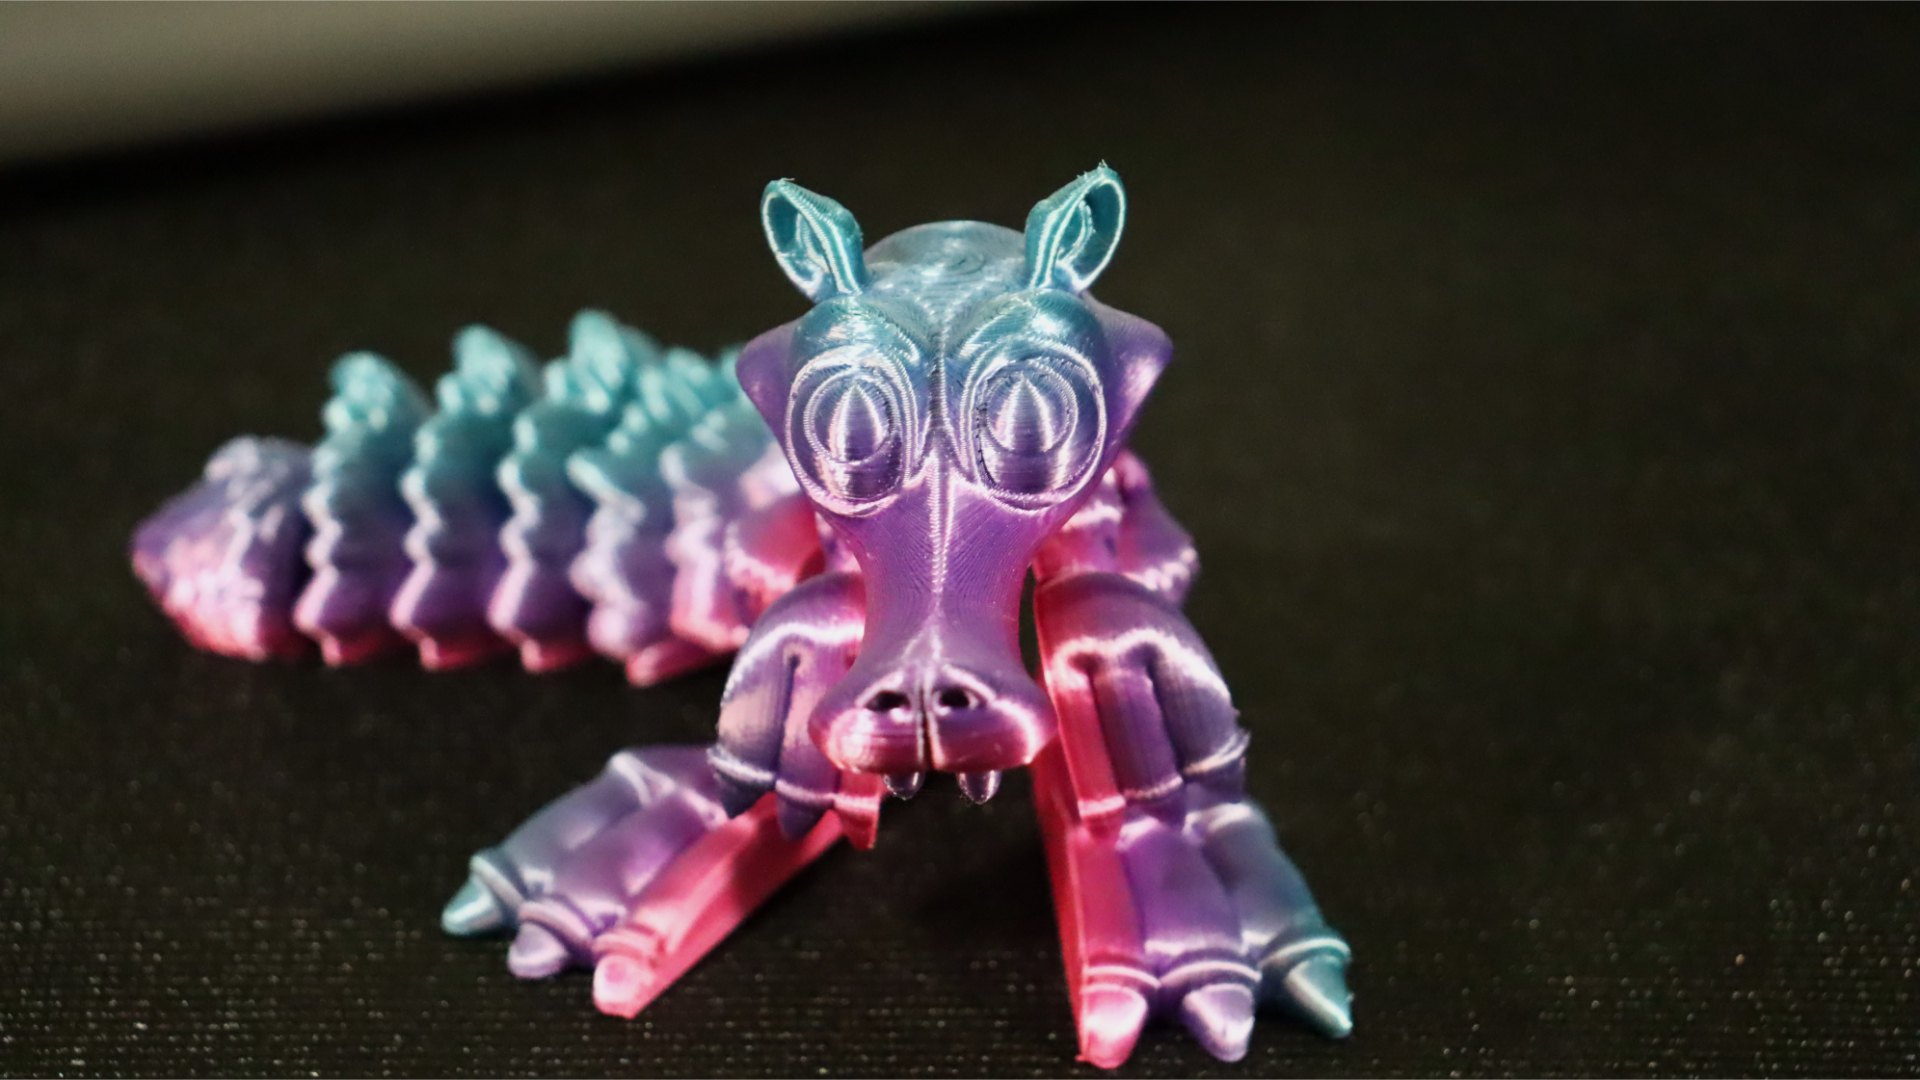
Next up is another Printverse model, the Flexi Scrat. It's similar to the Pigasys print, but it includes a wide segmented tail that serves as an excellent bed adhesion test as each portion becomes extremely thin in areas. We had to scale the model to 80% to fit in the build volume, and we used Eryone Candy Silk Rainbow PLA for this model, although there was little colour transition due to the model's size.
The print turned out great despite the lack of colour diversity. There were no issues with the tail's various segments, and there was no stringing between any of the sections. Another great showing for the Sermoon V1 Pro.
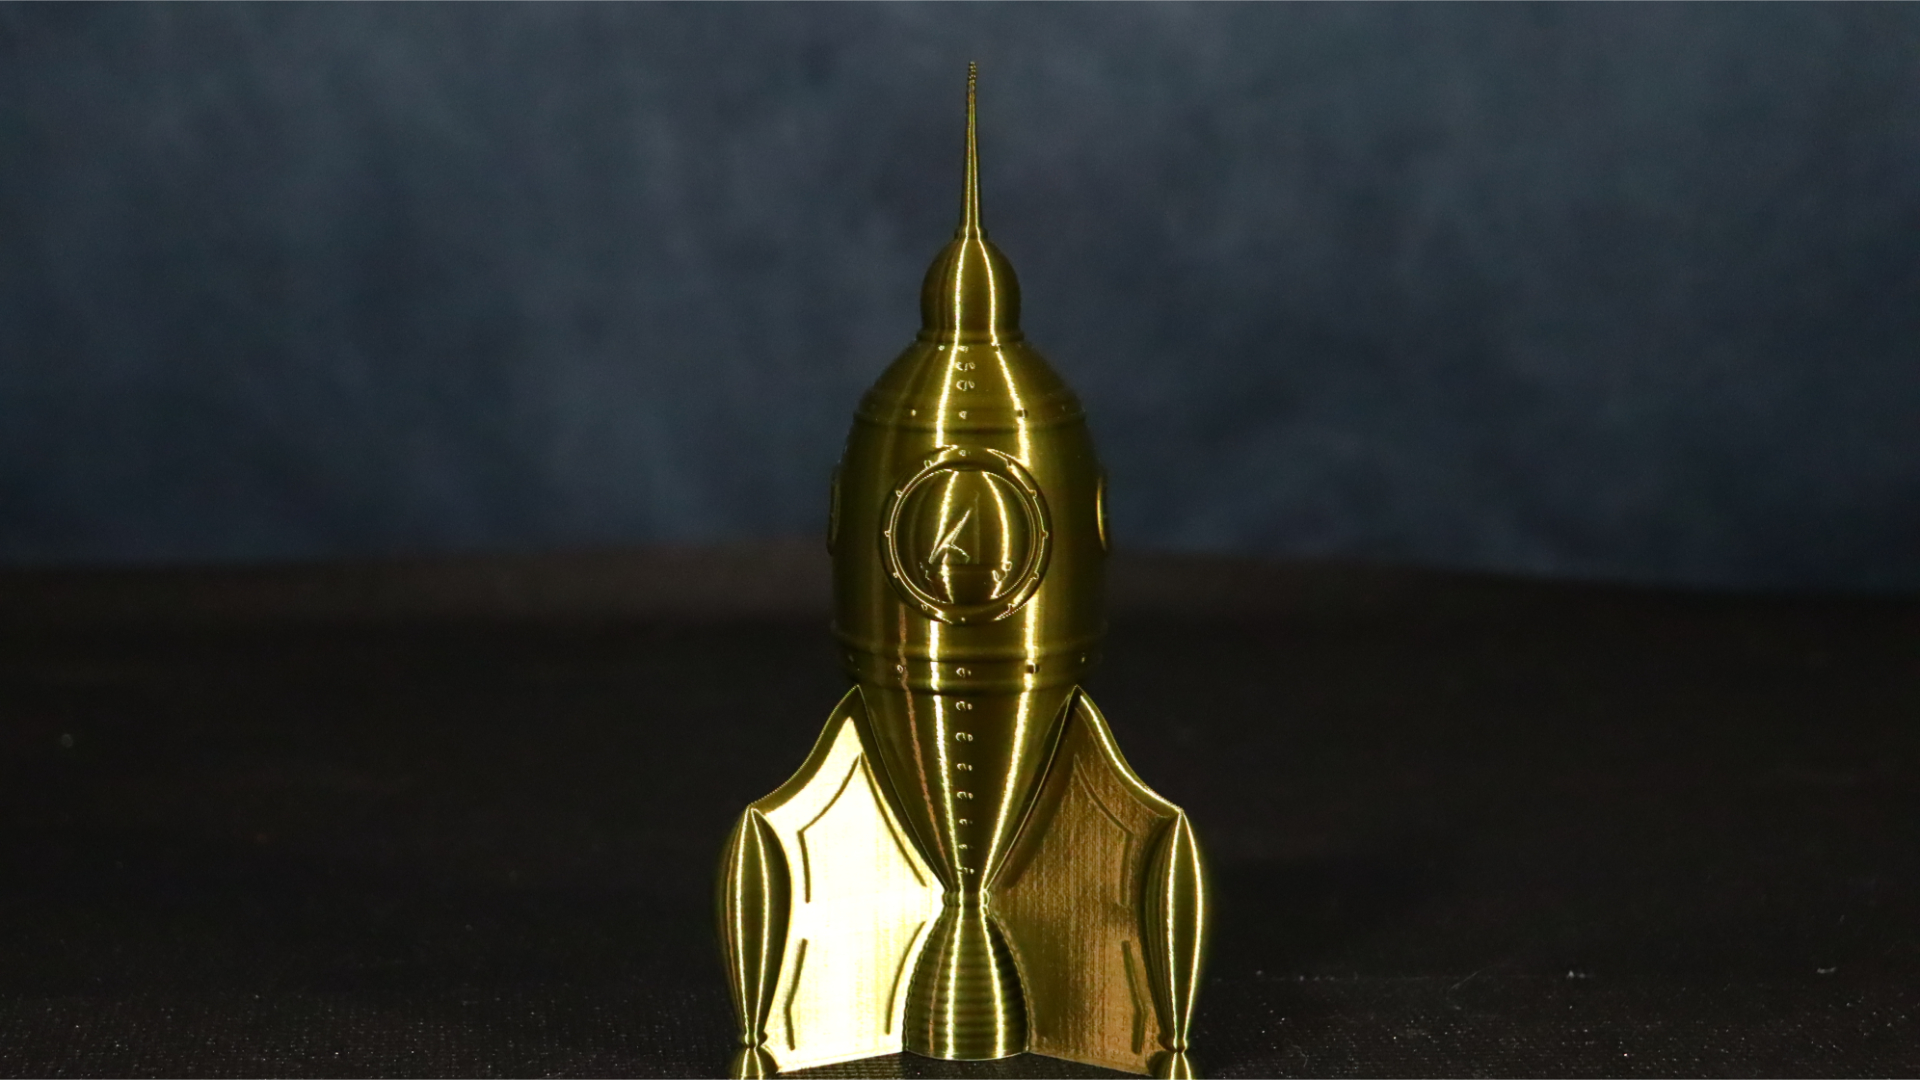
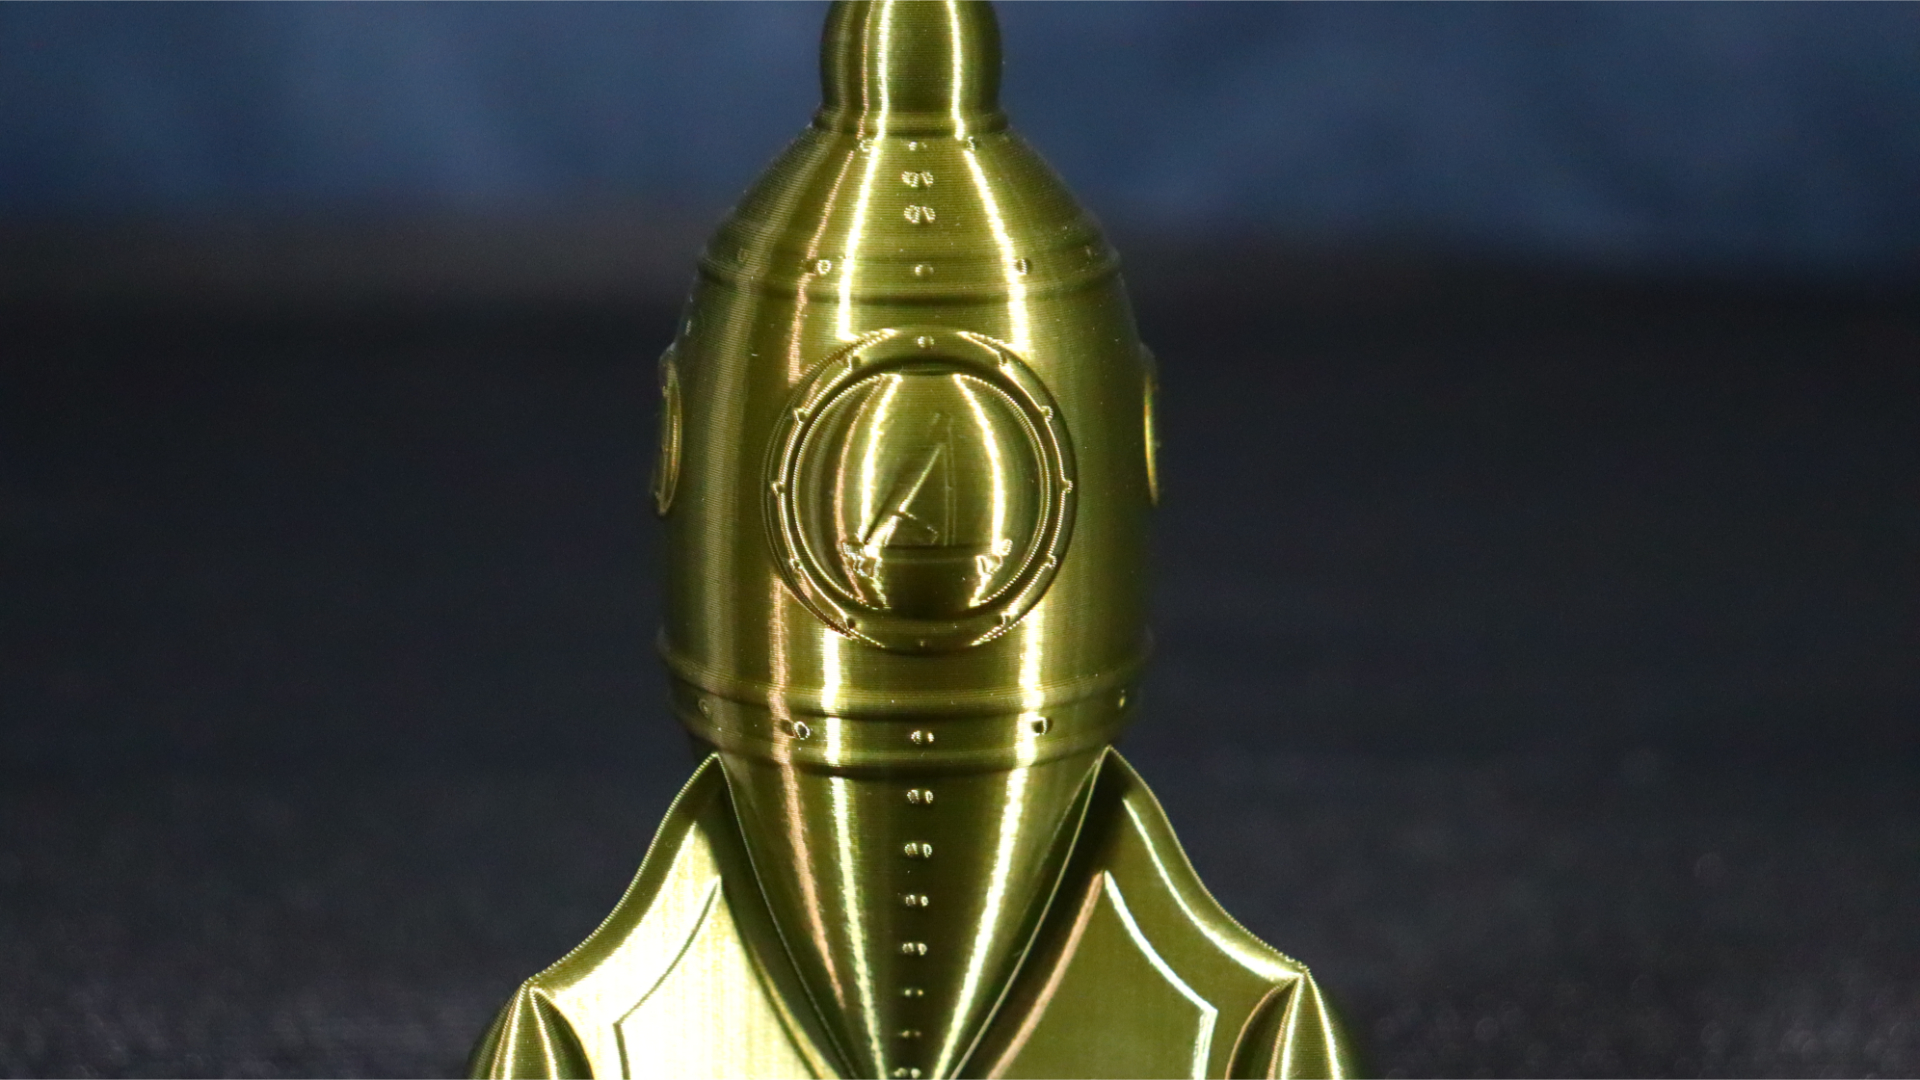
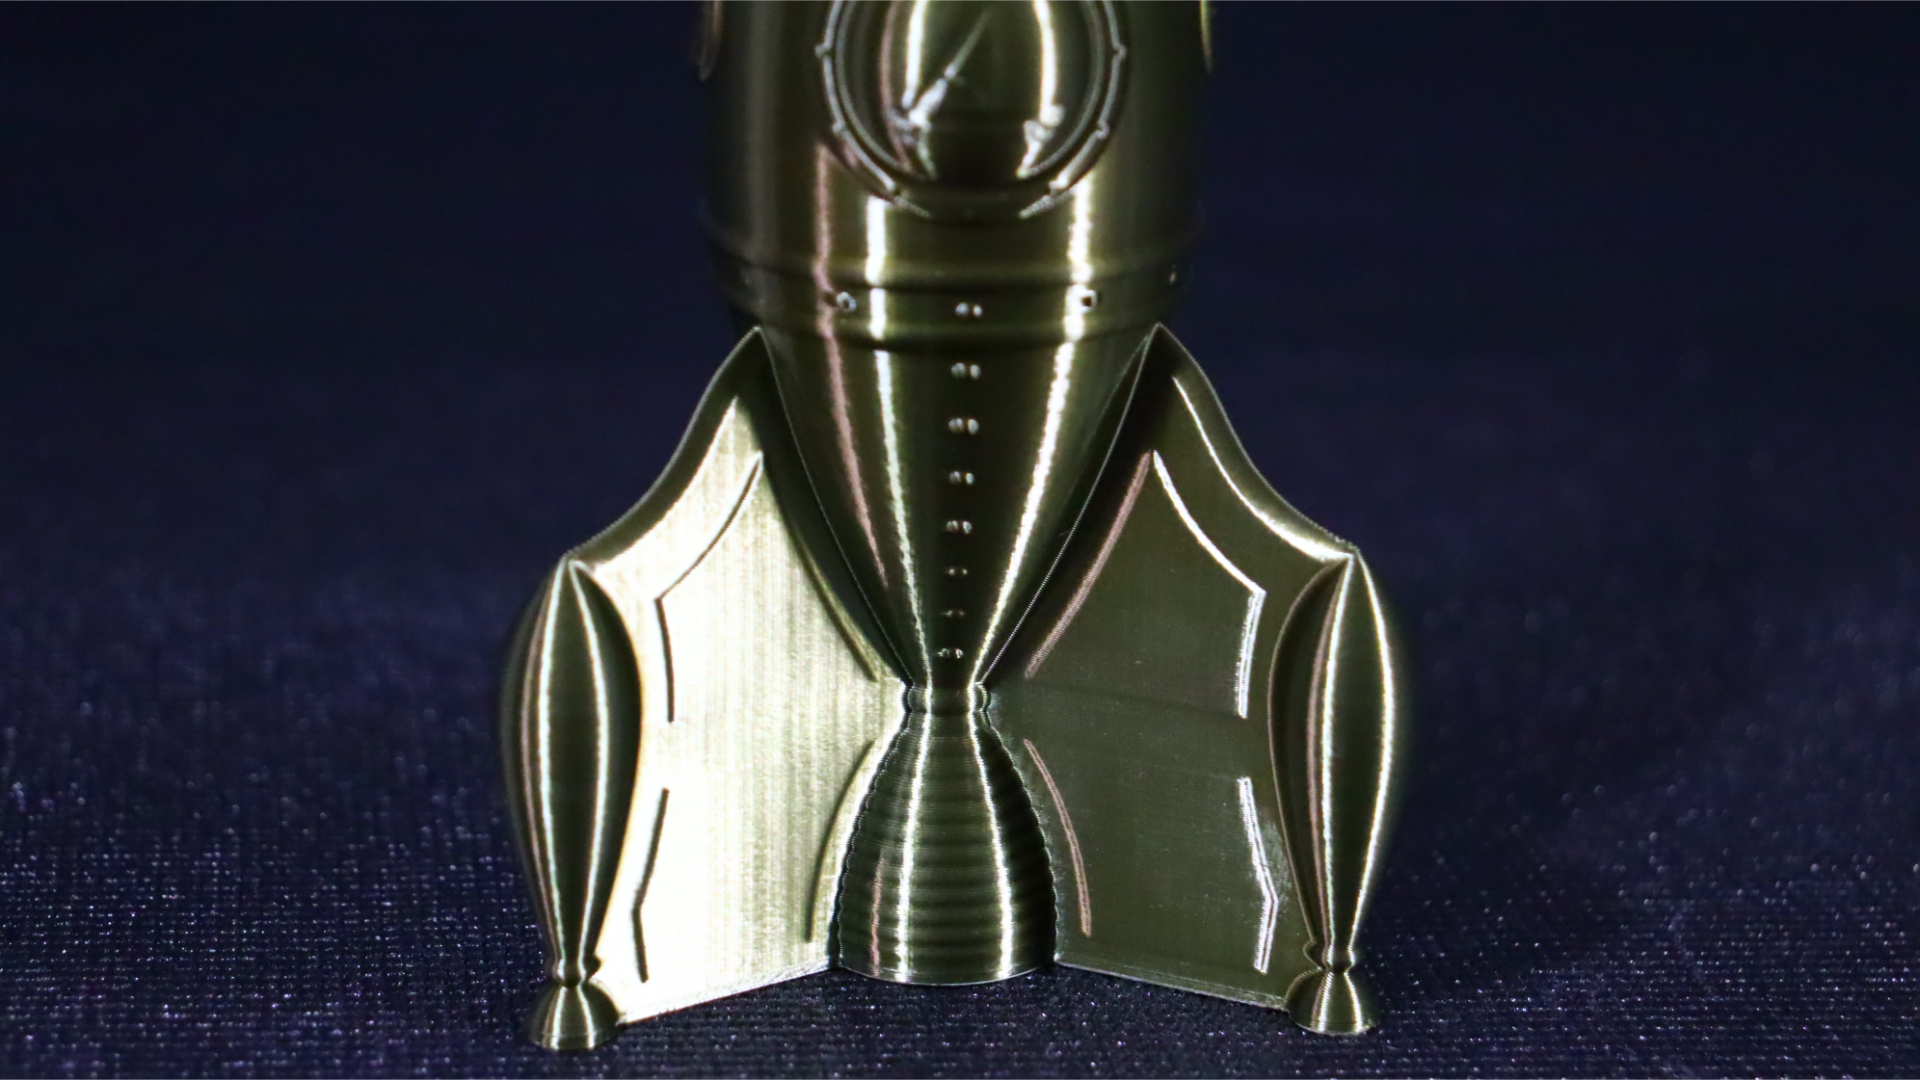
Finally, we decided to print a straightforward rocket model that is able to be printed in either vase or spiralize outer contour style using Cura. This print took just over an hour to finish using Eryone Copper Silk PLA. Even though this print is straightforward, the wonderful gloss of the silk PLA filaments makes for a beautiful result.
There were no problems with the outcome, just like with all the earlier prints. The Sermoon V1 Pro handled all the testing with no problems, we also did not have to re level the platform once during testing.
Creality Sermoon V1 Pro: Price & warranty
The Creality Sermoon V1 Pro costs $519 on the Creality website, though it's often on sale for under $500.
By contrast, you can pick up the standard Creality Sermoon V1 for $399. That's a $120 price difference between the two models, which seems steep when the only difference between them is that the pro comes with the webcam and has the pause on door opening feature.
If those features are important to you, then you'll need to stump up the extra cash, but for everyone else we'd recommend you consider the standard V1. It's the same printer, just missing a couple of bells and whistles.
Both the Sermoon V1 & V1 Pro are covered by a standard 12-month limited warranty from Creality – you can find the complete details on their website. Additionally, it also offers CR Care+, a paid after-warranty service that prolongs the warranty past the first 12-month period.
Should you buy the Creality Sermoon V1 Pro?
We also love the safety features including the auto-pause on door opening, which makes it safer for kids and classroom applications. Our only major quibble is the price, which is a little on the high side for a printer of this size. Still, you’re paying for convenience and the Sermoon V1 Pro offers that in spades.
Whether its for a young maker first learning how to operate a 3D printer or an experienced printer, the Sermoon V1 Pro is about as excellent as it gets. It’s perfect for anyone searching for a space-saving, dependable printer.
The bed and nozzle can both reach temperatures suitable for ABS printing, and it kicks out excellent quality PLA prints as our testing has shown. Beyond that though, it’s just so easy to use. No need for assembly or complicated setup, and the Creality Cloud app means that uploading and starting prints has never been easier.
With all that said, unless you really want the webcam and auto-pause features, you're probably better off saving some cash and just buying the standard Sermoon V1.
If this isn't the 3D printer for you
If the Creality Sermoon V1 Pro isn’t the printer for you, there are plenty of other great choices out there.
If you want something suited for beginners, the Anycubic Kobra Neo is an excellent choice. It's great value for money, has auto-levelling, a direct drive extruder and prints excellent quality models. It has an MSRP of $249, but we've seen it on sale for as low as $190 regularly.
If you're looking for a more general, workhorse printer then you can't go wrong with the Creality Ender 3 lineup. We reviewed the Ender 3 S1 Pro recently and we loved it. The S1 Pro has an MSRP of $479, but again, we've seen it on sale quite regularly.


