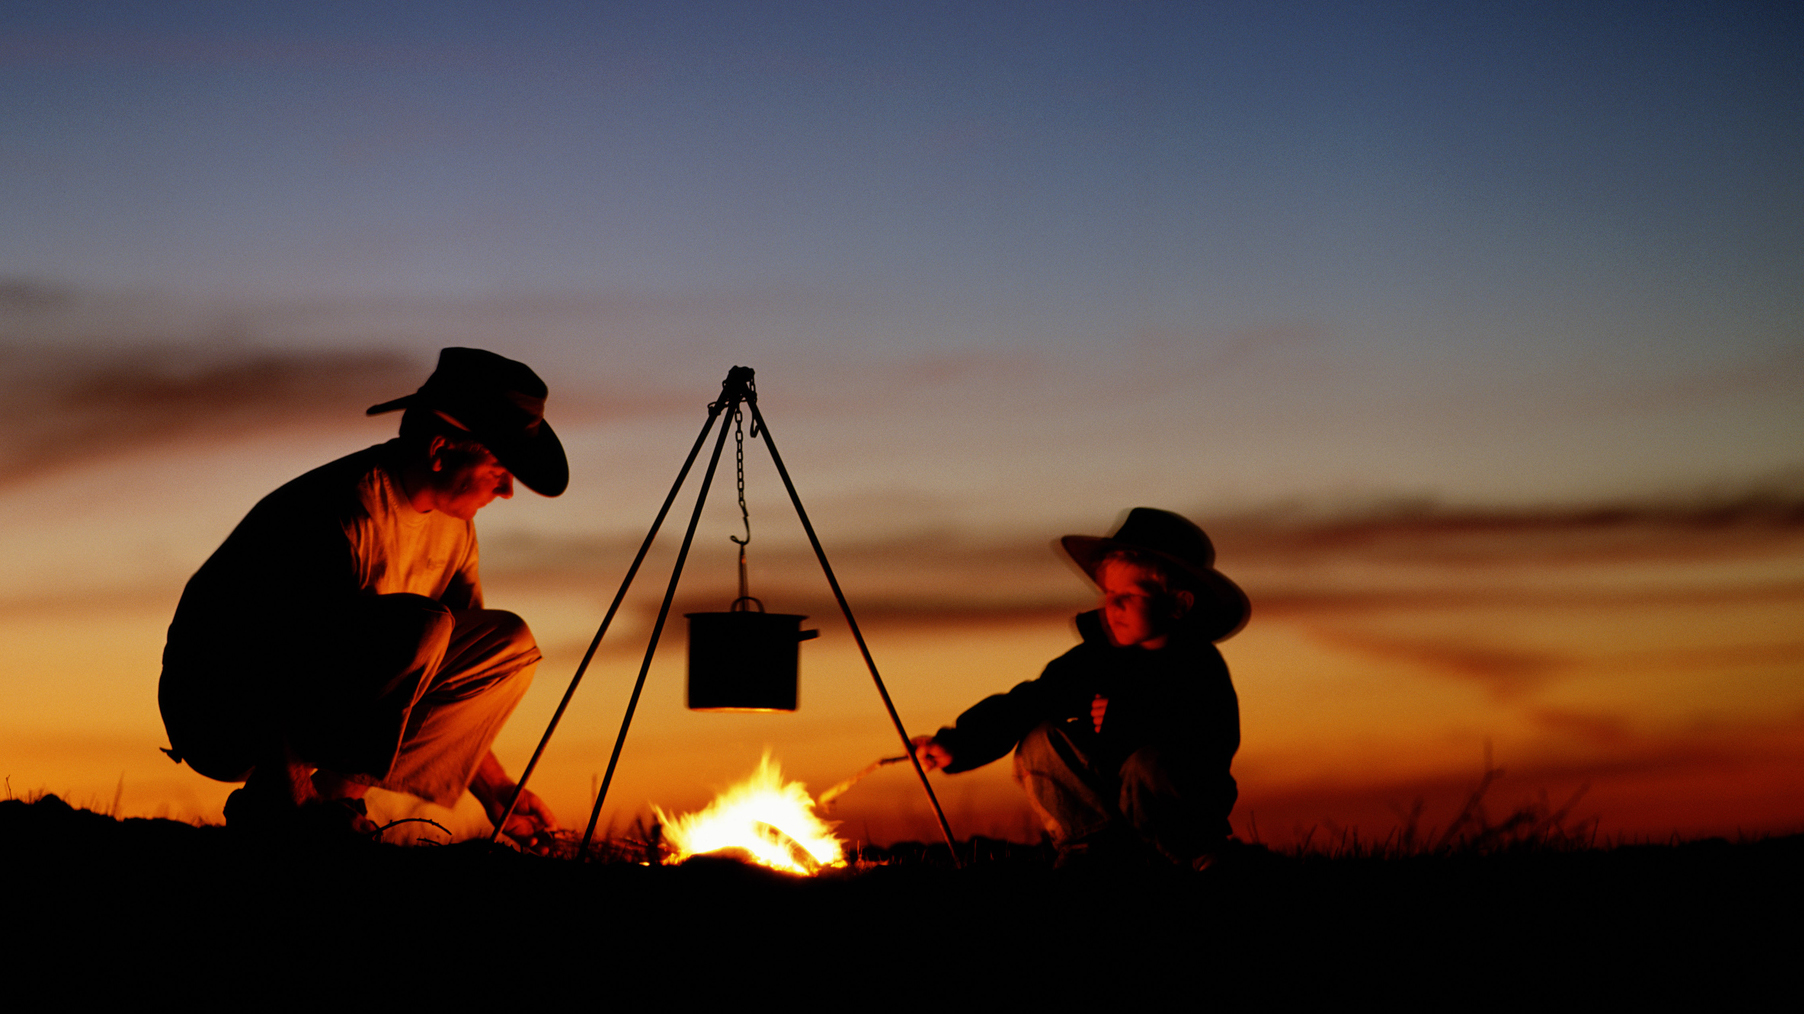
Getting to know how to cook over a campfire gives you a skill that was so instrumental in the story of how humans came to be the dominant force on our planet. Eating cooked food transformed our digestive tracts, which in turn allowed our brains to grow. Campfire's also provided warmth, a social experience, protection from predators and the ability to craft tools.
So, next time you cook over a campfire, consider the deeper history behind what you're doing, while you savor the whiff of woodsmoke and the aromas of whatever delightful one-pot meal you're cooking up. It's all about simplicity, bold flavors and a hearty meal at the end of it – and all in the great outdoors.
Of course, campfire cooking isn't quite as simple a knocking together a meal using the best camping stoves. There's definitely skill involved, which is why our expert outdoor cook Matthew is here with his guide on how to cook over a campfire. Get it wrong and you can end up with a pan full on burnt-on mess, or worse, an undercooked dinner that can lead to food poisoning. The secret, as with many things, is in the preparation. Get your fire just right, and you’re halfway there. Then it’s all about having a few decent camp cooking utensils, plus a couple of tips and tricks to hand. Nail that and you’ll soon be cooking up a storm that will impress your fellow campers.
Here's how to cook camping meals over a campfire...
Meet the expert
Building your fire
- Always follow leave no trace principles when building your fire
- Make use of a firepit, wood-burning stove or existing fireplace if you can
- Otherwise, select a patch of bare earth away from potential fire risks
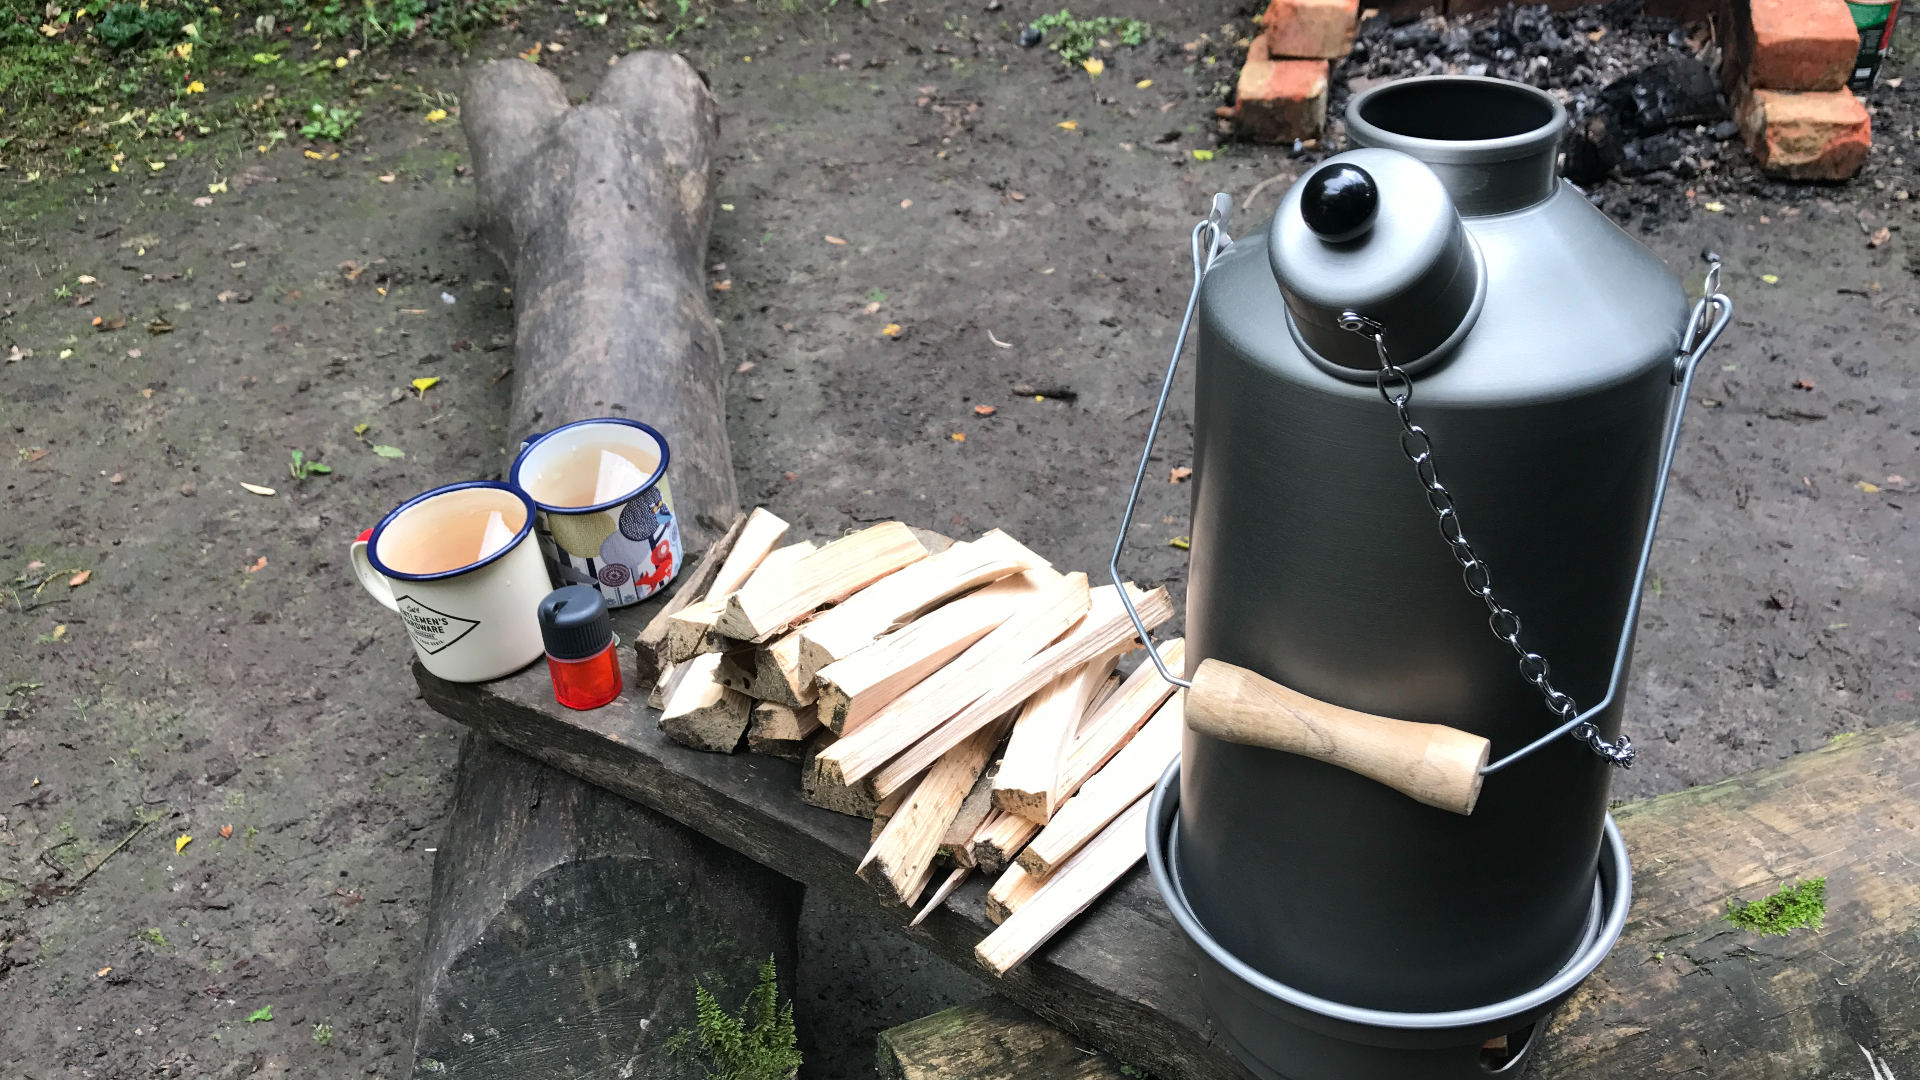
If there’s one thing you need to get right for cooking with fire, it’s the fire itself. It goes without saying that before you make a fire you should ensure it is safe and practicable to do so, and always follow ‘leave no trace’ principles. Make use of a firepit, wood-burning stove or existing fireplace if you can.
Otherwise, select an area of bare earth, free from overhanging branches and at least 10 feet away from tents and buildings (or your brand-new VW California campervan). Control the size of your fire and have water, sand or earth on hand to extinguish it if necessary. Be careful with kids too – campfires can be an amazing family experience but be mindful of potential risks. It's worth carefully considering campfire safety.
Check out our guide to campfires: the bad, the ugly... and the good.
Gather your fuel
- Campsite owners might be able to supply you with firewood
- If not, gather your own fuel: dry twigs for kindling and larger wood
- Don't cut down live trees or saw off branches
- Common hardwoods like birch, oak and ash are better than softwoods
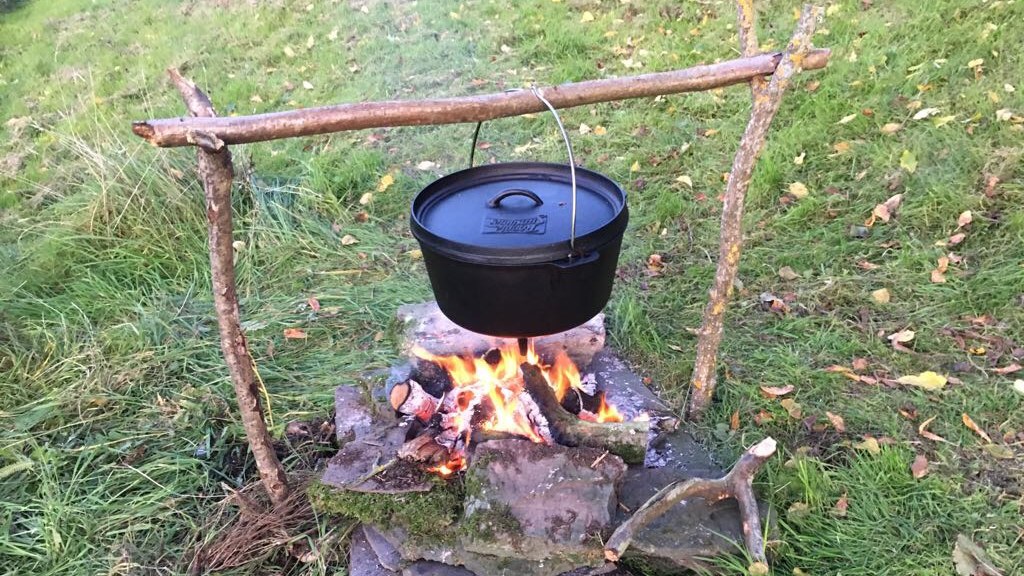
Once you’ve selected your spot, it’s time to harvest the first ingredient: firewood. If you’re camping on a campsite, the owners might provide you with a handy firepit or fireplace, and perhaps sell you a bag of logs and some kindling. If not, you’ll need to gather your own fuel. Start by collecting dry twigs for kindling, plus larger pieces of wood. Generally, this means looking for standing deadwood and broken branches hung up in trees and bushes. Don’t cut down live trees or take your camping saw to lop off branches – for one thing, it harms the landscape, and secondly, greenwood is no good for a decent campfire.
The best trees for firewood are generally hardwoods. Look for common hardwoods such as birch, oak and ash, which are preferable to softwoods like pine, fir or spruce. While softwoods are great for getting a fire going as they burn quickly and fiercely, denser hardwood will burn for longer, allowing you to achieve a steady simmer when you’re cooking. Birch bark is also full of natural oils, which makes it excellent fire-lighting tinder material.
Grade your firewood
- Arrange your wood into bunches or piles, sorted by size
- Don't attempt to burn pieces of wood more than a few inches in diameter
The next step is to grade your firewood. This means arranging it into bunches or piles, sorted by size. Your bunches of kindling should be matchstick-sized, followed by piles of twigs and smaller pieces of wood up to the thickness of your thumb. You might then need some larger logs a few inches in diameter – but don’t attempt to burn great big tree trunks. It’s unnecessary, time-consuming and wasteful. You won’t be able to burn large pieces of firewood and even if you do, it gives you loads of ashes to clear up the next morning.
Setting and lighting your fire
- Arrange several short pieces of wood side by side to create a hearth
- Lay two bunches of kindling over your hearth in an X shape, one over the other
- Place some tinder in the centre of the X
- Light your match, shielding the flame as you put it to the tinder
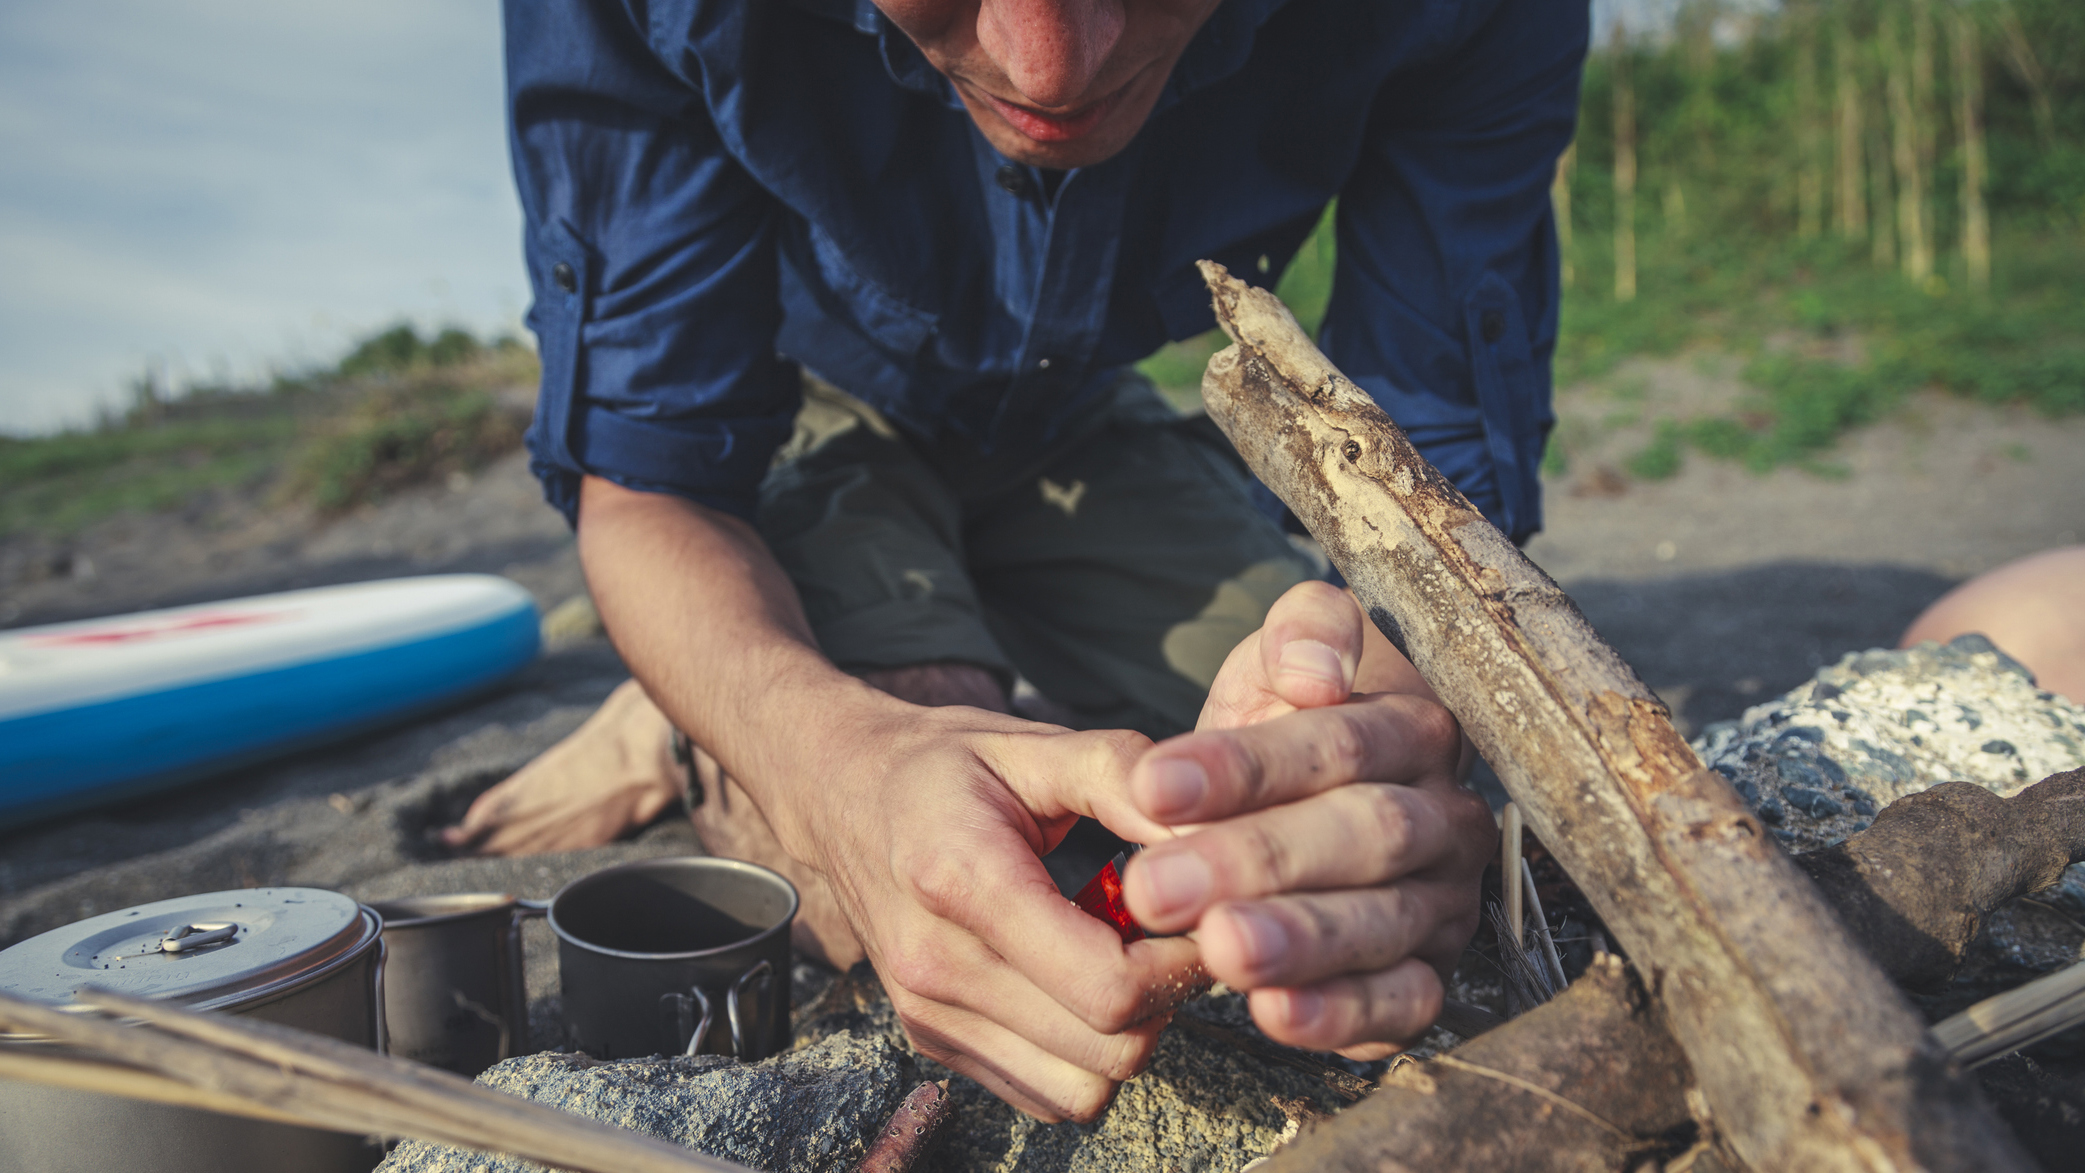
Whether you’re building a campfire or cooking on a wood-burning stove, fire bowl, or pit, the principles of setting and starting your fire are broadly the same. If the surface is damp or cold, arrange several short pieces of wood side by side to create a hearth. This will keep your first flames off the ground or the cold metal of the fire pit and encourage it to take.
Lay two bunches of kindling over your hearth in an X shape, one over the other. This will allow oxygen to be drawn through to feed the flames. Keep your bunches quite long so it’s easy to manipulate the kindling easily if you need to move it into the flames. Place some tinder in the centre of the X – birch bark is ideal, but any fine, fluffy or fibrous material will do. Scrunched up newspaper works too.
Light your match, shielding the flame as you put it to the tinder. As long as your kindling is dry, it should catch well without the need for artificial firelighters.
Creating a bed of embers
- Once lit, start adding additional fuel, starting with the smaller pieces
- As hardwood burns, it creates embers – this is what you want to cook over
- Using a long stick as a poker, spread your embers out
- The aim is to get a healthy bed of glowing embers alongside a small but roaring fire to keep feeding it
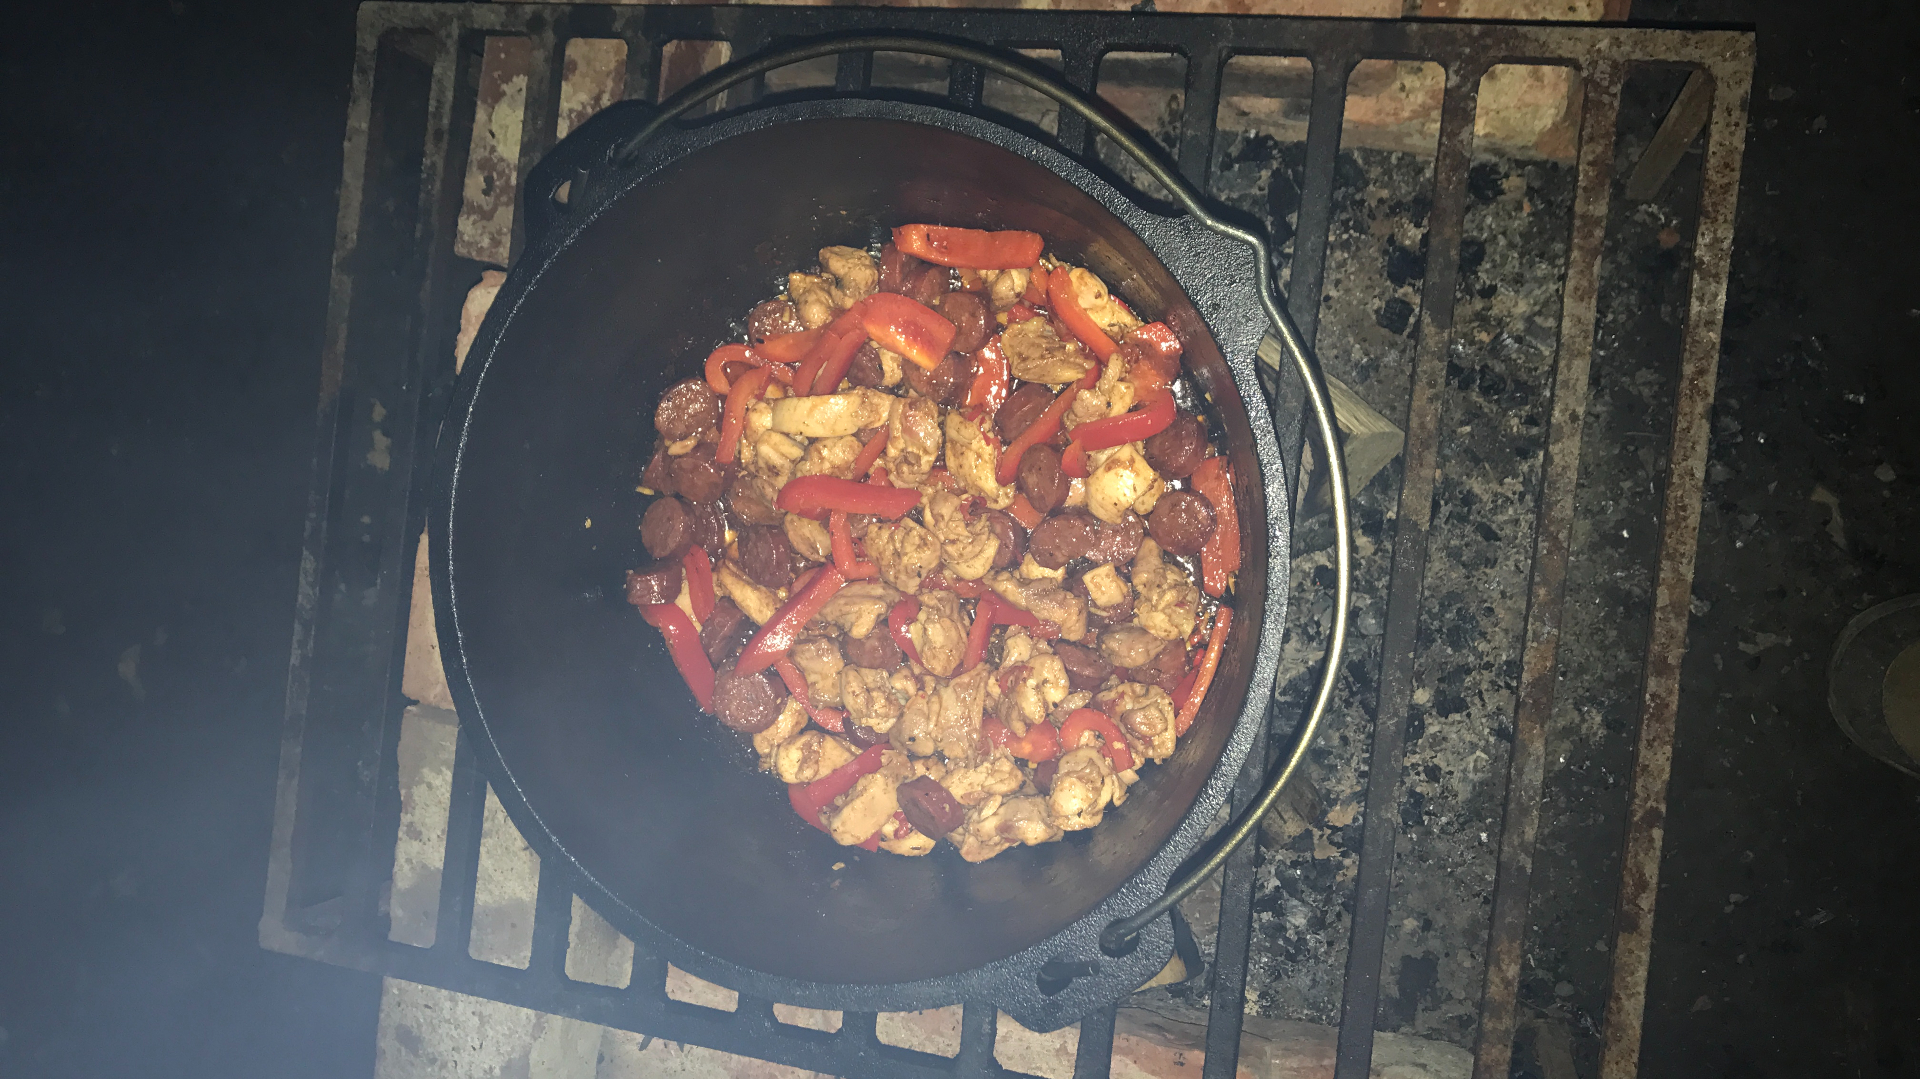
Now add additional fuel, working up through your graded sizes of firewood. As hardwood burns, it creates embers. It is these embers that you want to cook over (or in), not over flames. Using a long stick as a poker, spread your embers out, while keeping a good supply of wood burning towards the back or edge of the fire. This allows you to continually create more cooking embers. Don’t poke the fire too much – this is a common mistake that tends to smother the flames.
Knowing when it needs some attention comes with practice, so don’t be disheartened if you don’t manage to create the perfect cooking fire first time. But the aim is to get a healthy bed of glowing embers alongside a small but roaring fire to keep feeding it. Once you’ve got that, you’re ready to cook over a campfire.
Useful camp cooking kit
- Cast iron cookware is ideal for campfire cooking because it heats evenly and retains heat well. A skillet, a griddle and a Dutch oven will all prove sound investments for aspiring outdoor cooks.
- Lid lifter – this metal hook with a handle usually comes with most Dutch ovens. As the name suggests, it enables you to lift the lid without burning your fingers.
- Stainless steel tongs are handy for flipping steaks, turning sausages and more.
- Long-handled spoon or ladle for stirring and serving.
- Metal grill rack or grate (often provided with a firepit at campsites).
- Skewers are great for preparing kebabs, toasting marshmallows and plenty more. (Or you can just whittle some pointed sticks to do the job.)
- Tinfoil is useful for wrapping meat or fish and can also be used to bake potatoes by wrapping them and burying them in hot embers.
- Tripod, which allows you to hang your pot or Dutch oven over the fire. Of course, you could always try making your own from wood – but ensure it stays well away from the flames!
- Heatproof gloves guard against burnt fingers.
- Sandwich iron: this device has two metal plates and a long handle, enabling you to toast bread, waffles or s’mores over the fire.
- Wire brush or pad makes cleaning cast iron cookware a lot easier.
Grilling on a grate or rack
- Position your grill rack over the top of the embers
- Once done, you can grill whatever you like on the rack
Much like a barbecue, you don’t want to be grilling over flames – this isn’t Burger King – so bank up some glowing embers and position your grill rack over the top. Once you’ve done this you can grill pretty much anything directly on the rack, from juicy sausages to veggie and halloumi skewers. You can also place skillets, pots and griddles safely on top of the rack to fry, boil or simmer.
Frying in a skillet
- Use a heavy, high-sided cast iron frying pan or skillet
- This is just like cooking with a pan at home
- Be extra careful when picking it up, use gloves or a mitt
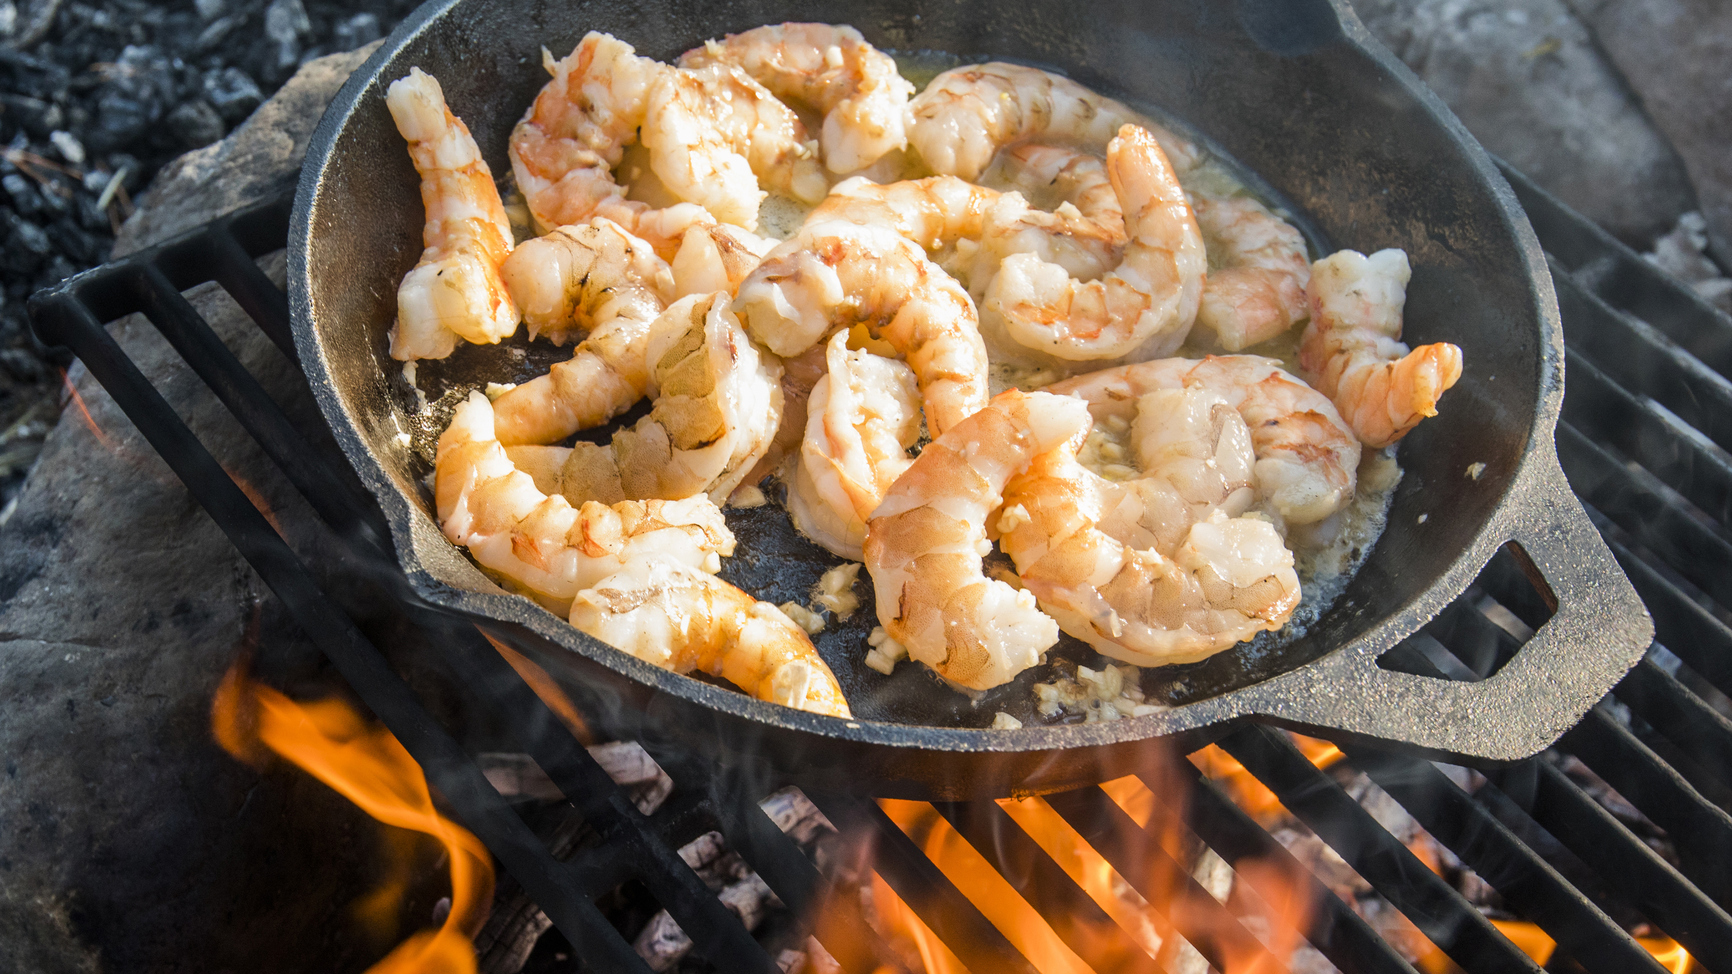
A heavy, high-sided cast iron frying pan or skillet is the best option for campfire cooking. Place your skillet on the grill rack, over glowing embers. The method is just the same as cooking over a gas or electric hob. Watch out for spitting fat or oil, and remember that the whole pan, including the handle, will get very hot, so use gloves or a mitt to pick it up.
Baking in embers
- Get your fire started a couple of hours before you intend to cook
- Wrap whatever it is you're cooking in tinfoil and place it inside the embers
- A meat thermometer is a good way to ensure your food is fully cooked
If you want to go old school, or are just plain lazy, this is how to cook over a campfire. You’d be forgiven for thinking the only thing you can cook in embers are baked potatoes, but there’s actually far more you can do, from corn on the cob to tasty meat and fish. To get this right you’ll need to have started your fire a good two hours before you want to start cooking. Securely wrap your food in tinfoil and place it in the embers, ensuring it is fully covered. Regularly bank up fresh embers to ensure a consistent supply of heat for cooking. If you’re cooking meat, a meat thermometer is a good way to ensure your food is fully cooked through before eating.
Smoking fish on a plank
- Tack or nail a fillet of fish, skin-side down, to a flat wooden board
- Prop it up at an angle near the embers to cook
- Brush with oil as it cooks
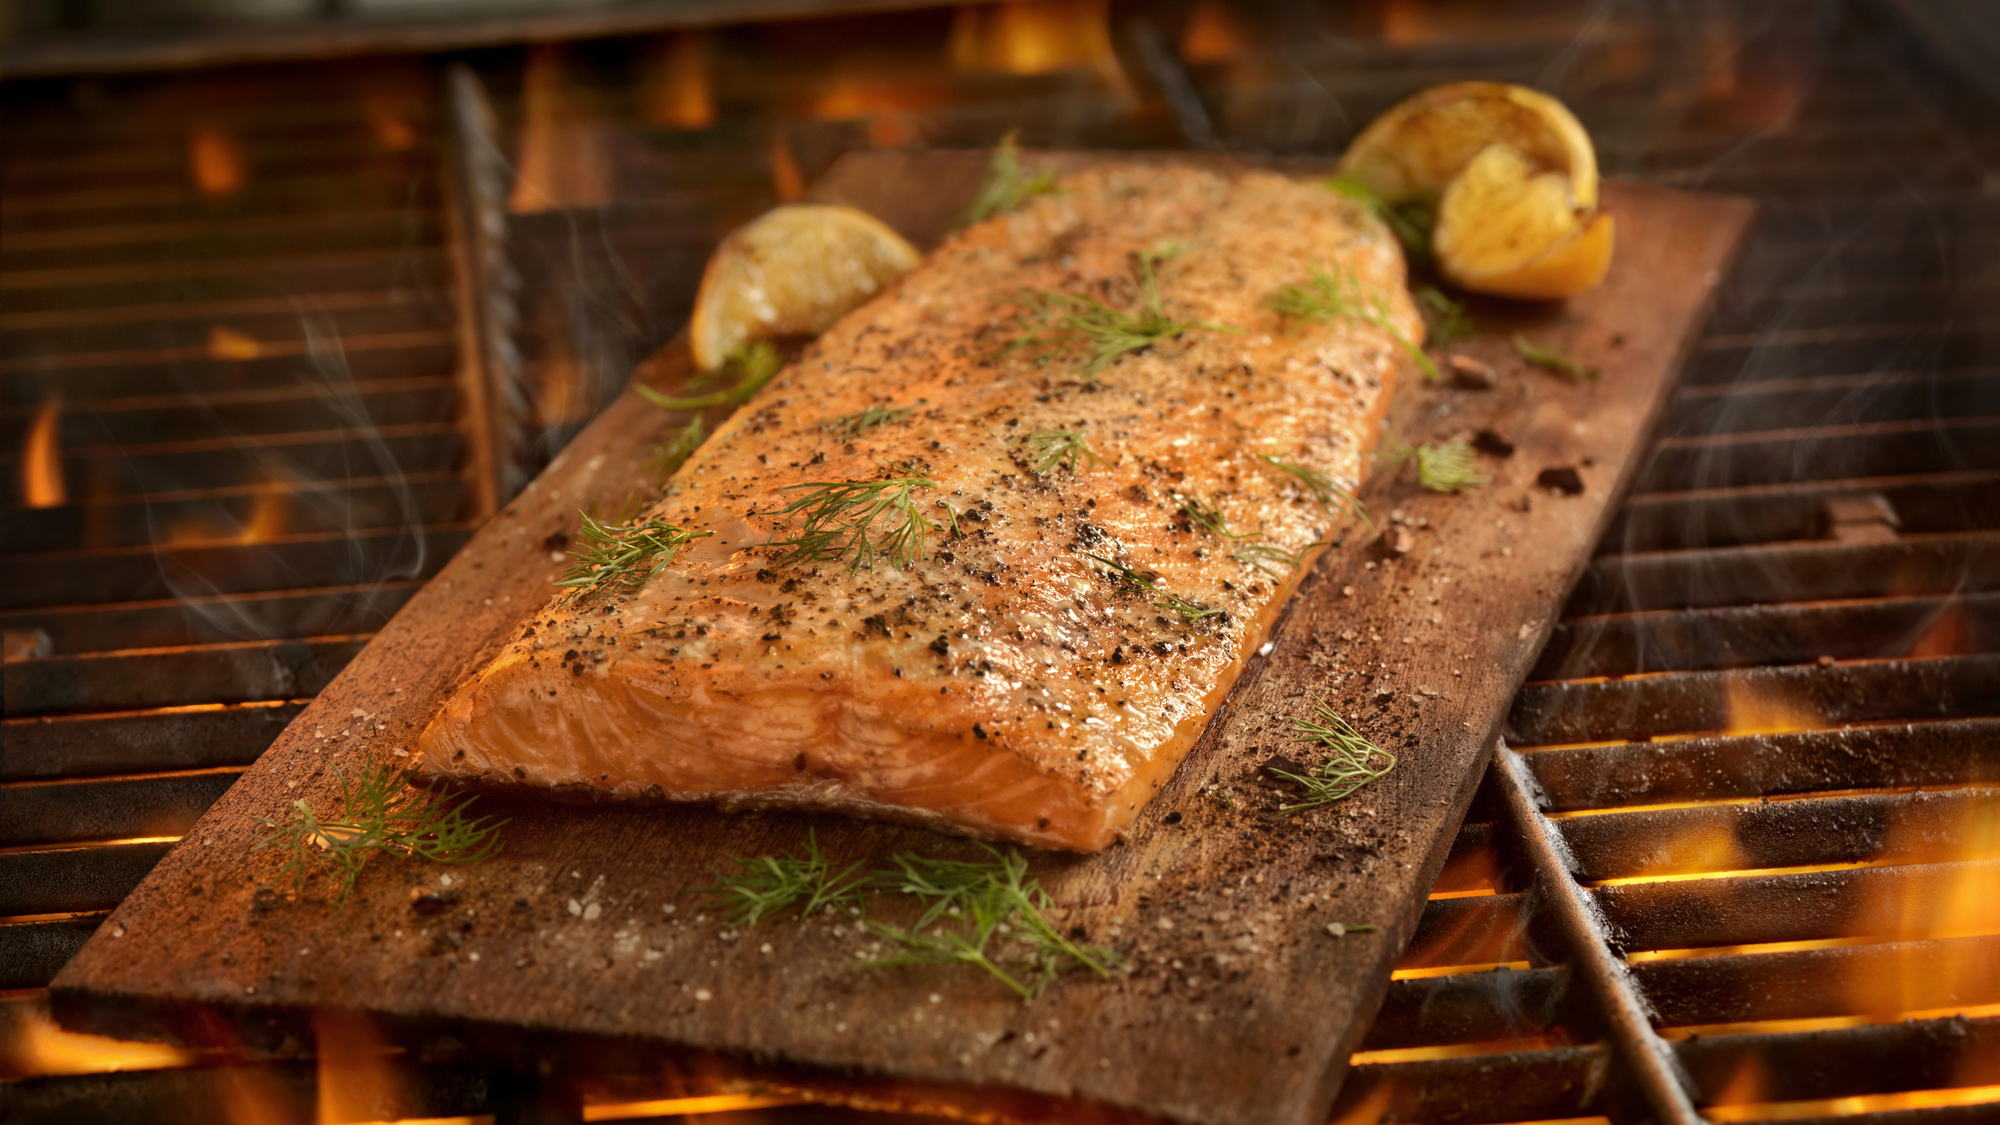
This classic Scandinavian campfire cooking method is commonly used to cook fish like salmon or trout. Tack or nail a fillet of fish, skin-side down, to a flat wooden board, propping it up at an angle near a bank of hot embers. Adding a couple of woodchips (hickory, oak or applewood chunks are great) will add smoky flavour. Brush the fish with oil as it grills. Finish with lemon juice and plenty of salt and pepper. The fish is ready to eat when the flesh is flaky. This one is great with ‘camp mayo’: regular mayo with a dash of barbecue sauce.
Skewers and spits
- Spear food on a pointy stick and hold above the flames
This is real caveman stuff – in essence, spearing food on a pointy stick. Metal skewers won’t burn like wooden ones, but will get hot, so use a glove or mitt. Large skewers can be stuck in the ground and placed over the fire at an angle. Advanced camp cooks might build a spit above the fire, with a couple of forked wooden supports. This is a fun but slow cooking method that means adding plenty of fresh fuel from time to time and remembering to turn your food regularly.
Dutch oven
- A Dutch oven is a cast iron pot with a heavy, rimmed lid
- The design allows you to sit the pot in or over the fire, but you can also pile embers on the lid
- This means you have heat coming from underneath and from above, effectively creating a camp oven
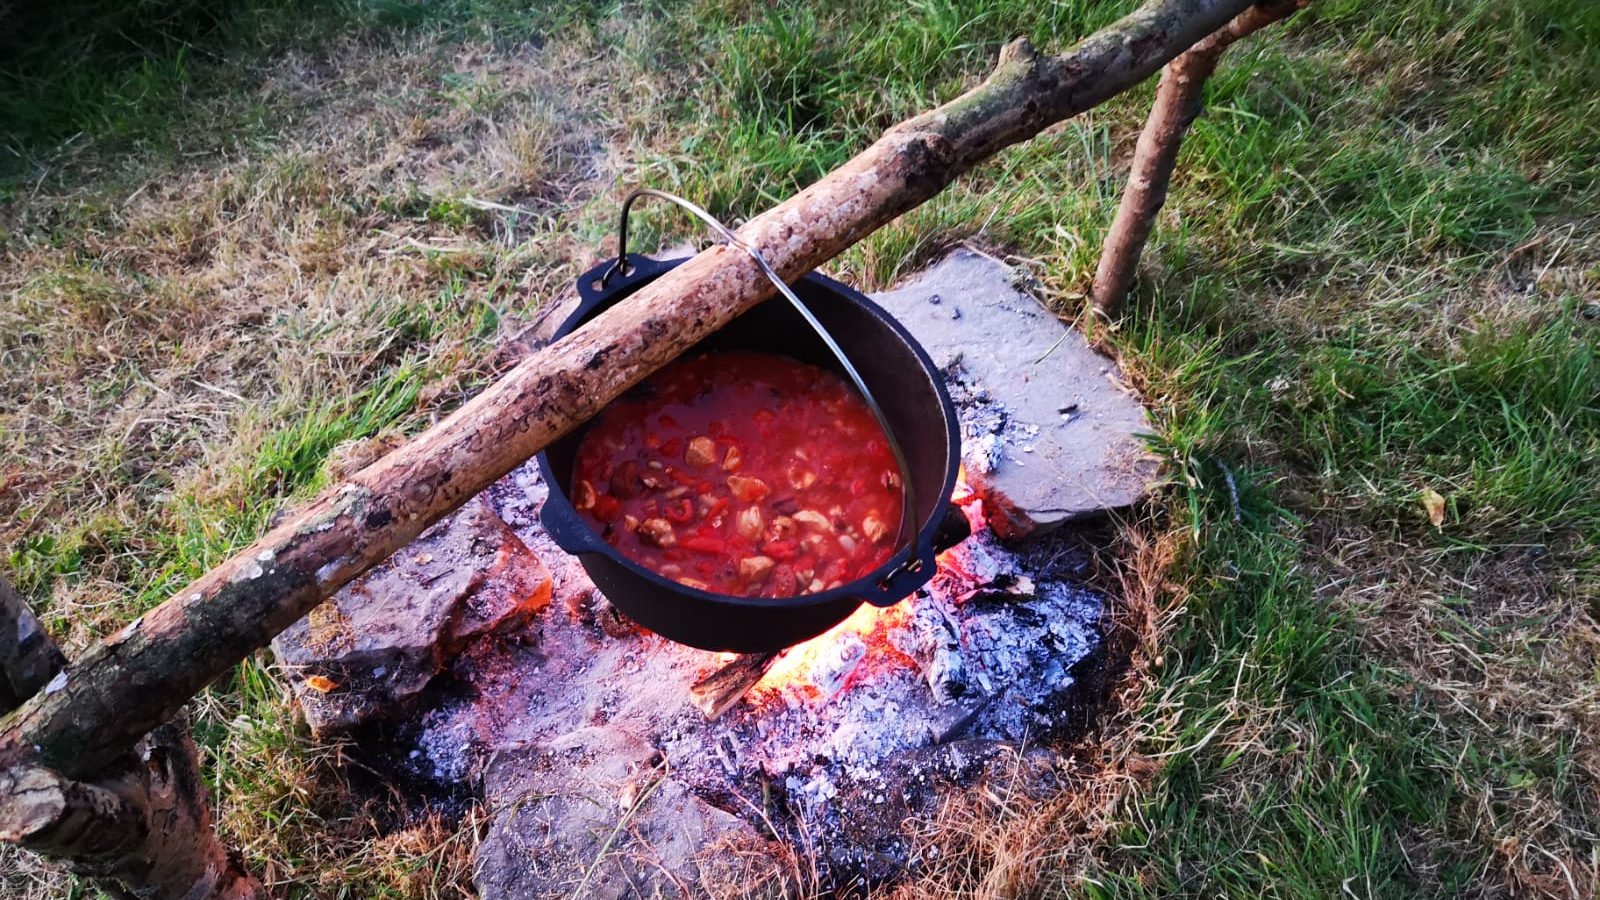
If you’re a foodie then it is worth investing in this versatile bit of camp cooking kit. A Dutch oven is a cast iron pot with a heavy, rimmed lid. Most also have feet and a sturdy handle. The design allows you to sit the pot in or over the fire, but you can also pile embers on the lid. This means you have heat coming from underneath and from above, effectively creating a camp oven. This enables you to get creative and start baking bread and cakes – things you wouldn’t ever think you’d be able to whip up on camp. The Dutch oven also makes incredible one-pot meals like stews, gumbos, goulashes and casseroles, as the heavy lid stops steam from escaping and means that your food will simmer low and slow. The result is incredible, intense flavour.
Classic campfire recipes
Beef stew
The humble beef stew is an absolute campfire classic. We can honestly say we’ve never had a home-cooked beef stew that has tasted as good as a campfire version. The beauty of this dish is that you can add a little of whatever you fancy, and it all simmers away to give a hearty, flavoursome dish. This one is best cooked in a Dutch oven.
Ingredients
- 500g / 17½ oz stewing steak
- 1 tbsp of seasoned flour
- 1 large onion (red or white), diced
- 2 cloves of garlic, chopped
- 2 stalks of celery, chopped
- 2 carrots, peeled and diced
- 300g / 10½ oz potatoes, peeled and diced
- 1 tin of chopped tomatoes
- Tomato puree
- 1 beef stock cube or pot
- 1 bay leaf
- 2 sprigs of rosemary
- Dash of Worcestershire sauce
- A glass of red wine (or as much as you can spare)
- Cooking oil
Method
- Chop the onion, garlic, celery and carrots. Heat a glug of oil in the pan and add the vegetables. Sweat with the lid on or fry gently until softened over glowing embers.
- Toss the beef in the seasoned flour and add this to the pan, before adding the chopped tomatoes, puree, stock and wine.
- Stir and add the potatoes, rosemary and Worcestershire sauce.
- Put the lid on the Dutch oven and place over warm embers. Allow the pot to bubble away for as long as you can wait (ideally, a couple of hours), stirring occasionally.
- Serve in bowls with crusty bread for mopping.
Mushroom risotto
Although it’s maybe not a dish you’d think of cooking over the fire, a Dutch oven risotto is not only really tasty, but actually very easy too, as there’s far less stirring involved than making a risotto at home.
Ingredients
- A generous chunk of butter
- 1 large white onion, diced
- 125g / 4½ oz diced pancetta (optional)
- 400g / 14 oz risotto rice
- 75cl / 1½ pts white wine
- 1.5l / 3½ pts mushroom or vegetable stock (dried porcini mushrooms make a great stock)
- 300g / 10½ oz chestnut mushrooms, chopped
- 100g / 3½ oz Gruyere cheese (or any other good melter), grated
- 50g / 2 oz Parmesan, grated
- Ground black pepper
Method
- Place a handful of dried porcini mushrooms in a jug and add 1.5l hot water to make your mushroom stock. Alternatively, make up the same quantity with a vegetable stockpot or cube.
- Heat half the butter in the Dutch oven and gently fry the onion until softened.
- Add the remaining butter. Tip the risotto rice into the pan and stir until all the grains are coated with butter. Wait for the rice to turn translucent.
- Pour in the wine and stir.
- Start adding the stock, a bit at a time, stirring frequently.
- Once you’ve added all the stock, put the lid on the Dutch oven and wait for the rice to absorb the liquid, stirring and checking progress every now and then.
- Once the risotto is almost cooked, add the diced mushrooms, grated Gruyere and half the parmesan.
- Once the cheese is melted and the mushrooms have cooked, serve the risotto with the remaining parmesan and plenty of black pepper.
Breakfast hash
If you’ve banked up your embers before going to bed, the chances are they will still be hot enough come morning to re-light your fire. The breakfast hash probably isn’t one to make if you’re in a hurry to get up and out, but it certainly sets you up for the day.
Ingredients
- 1 white onion, diced
- 6-8 chipolata sausages
- 125g / 4½ oz bacon bits
- 500g / 17½ oz new potatoes
- 2 tins of baked beans
- Grated cheddar cheese
- 25g / 1 oz butter
- Worcestershire sauce
Method
- Bring a pan of water to the boil and parboil your potatoes until they start to soften. Drain them and once cooled, chop them into halves or quarters.
- In a high-sided frying pan or skillet, gently fry the chipolatas until cooked through. Once cooked, place them to one side.
- Now fry the diced bacon until slightly crispy and push to the side of the pan while you fry the onions in a bit of butter until softened.
- Chop the chipolatas into generous chunks and add them back into the frying pan, along with the potatoes. Fry for a few minutes until the potatoes start to get a bit of colour.
- Add your beans and a generous glug of Worcestershire sauce. Stir everything together, before adding the grated cheese. Allow the cheese to melt and the beans to heat through before serving in bowls with plenty of brown sauce or ketchup, and a hot mug of tea or coffee.
