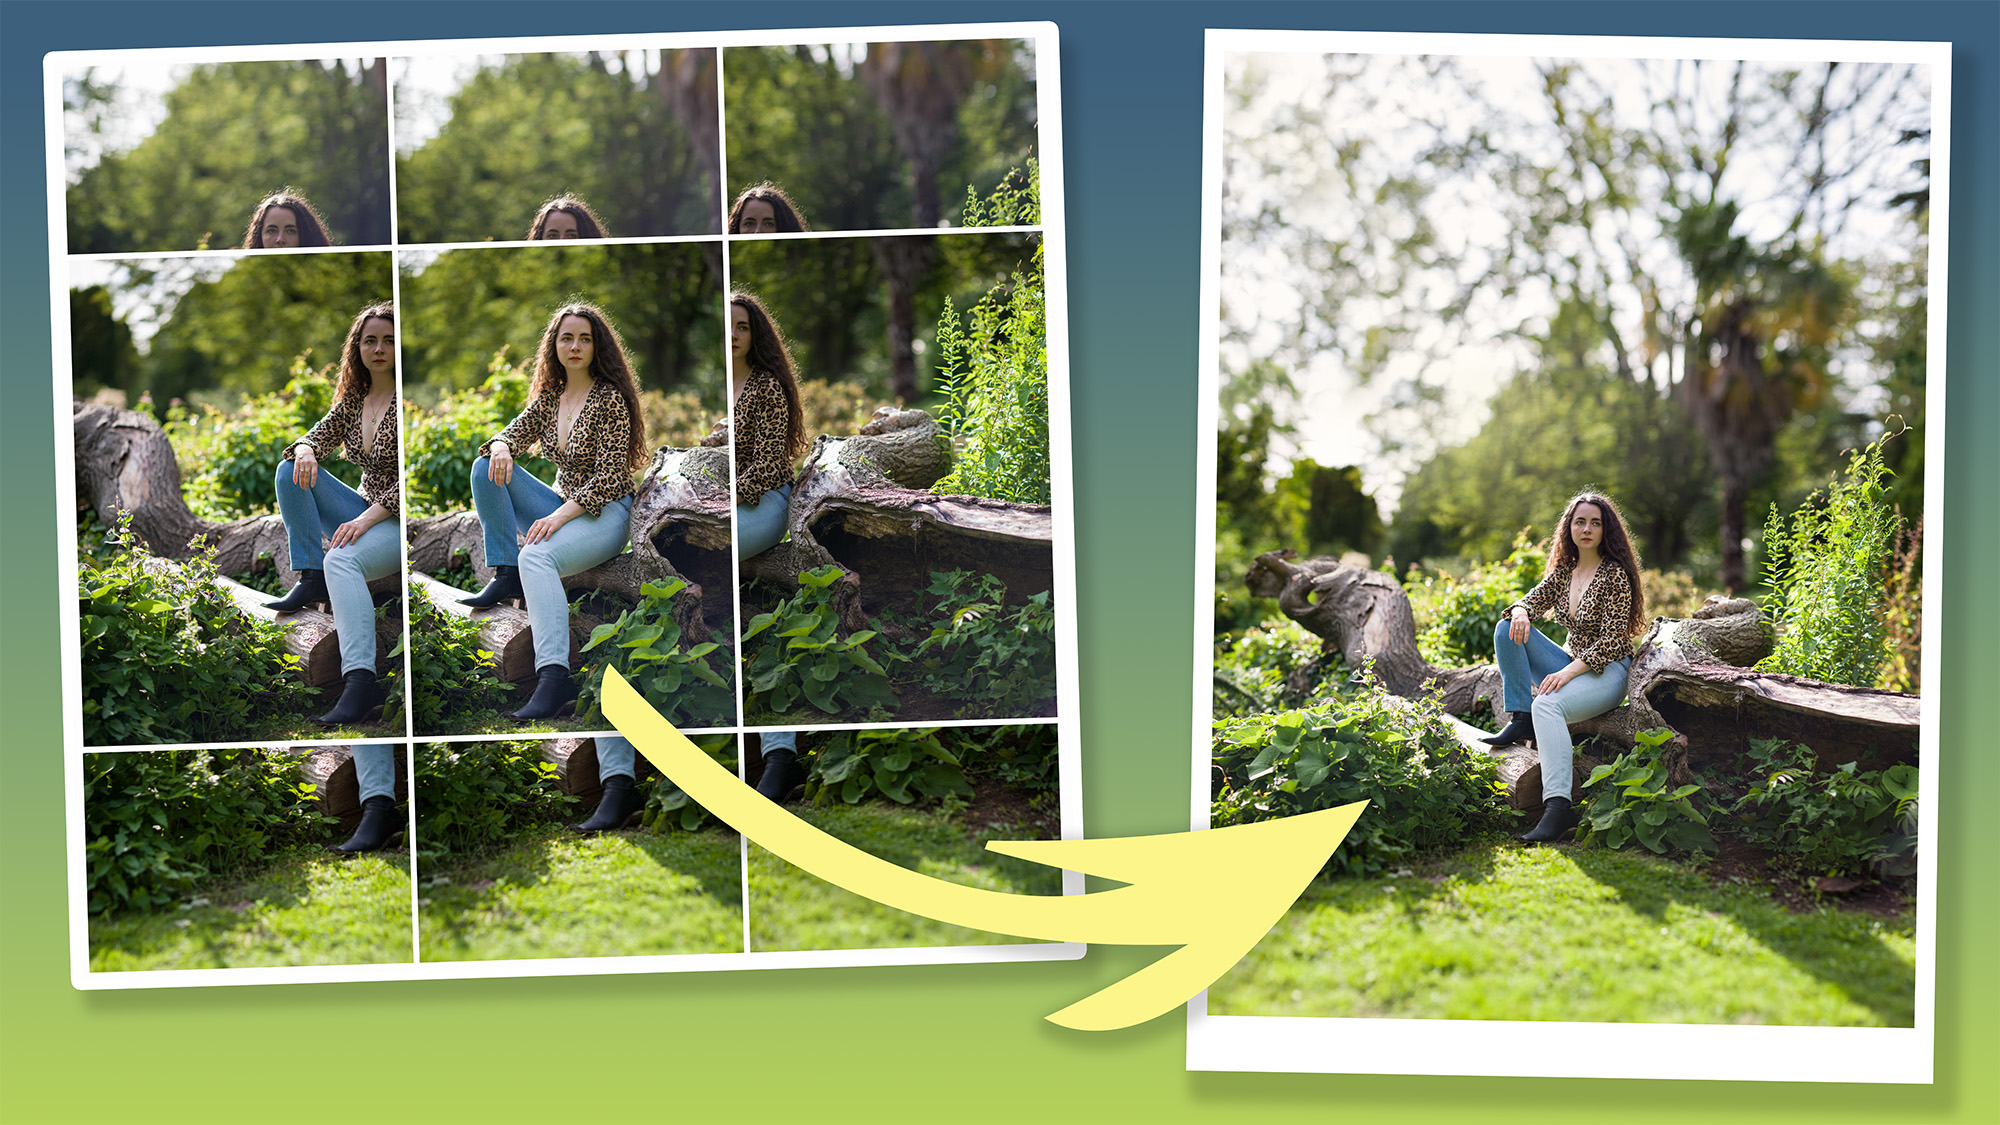
The Brenizer method is the brainchild of renowned US wedding photographer Ryan Brenizer. It's sometimes referred to as the 'bokeh panorama' or 'bokeh-rama', owing to the panoramic stitching technique used to achieve it and the super-shallow depth of field that's produced.
'Bokeh panoramas' boast shallower depths of field than are otherwise achievable with a wide-angle lens and give APS-C and full-frame users the ability to produce portraits with a large-format aesthetic.
The key to this striking technique is to use a telephoto lens, ideally a fast one such as the best lens for portraits. You then shoot your portrait in small sections - in a tile-like grid that you will then stitch together in Photoshop. For each shot you use constant camera settings that won't change between frames, so you can create a seamless blend.
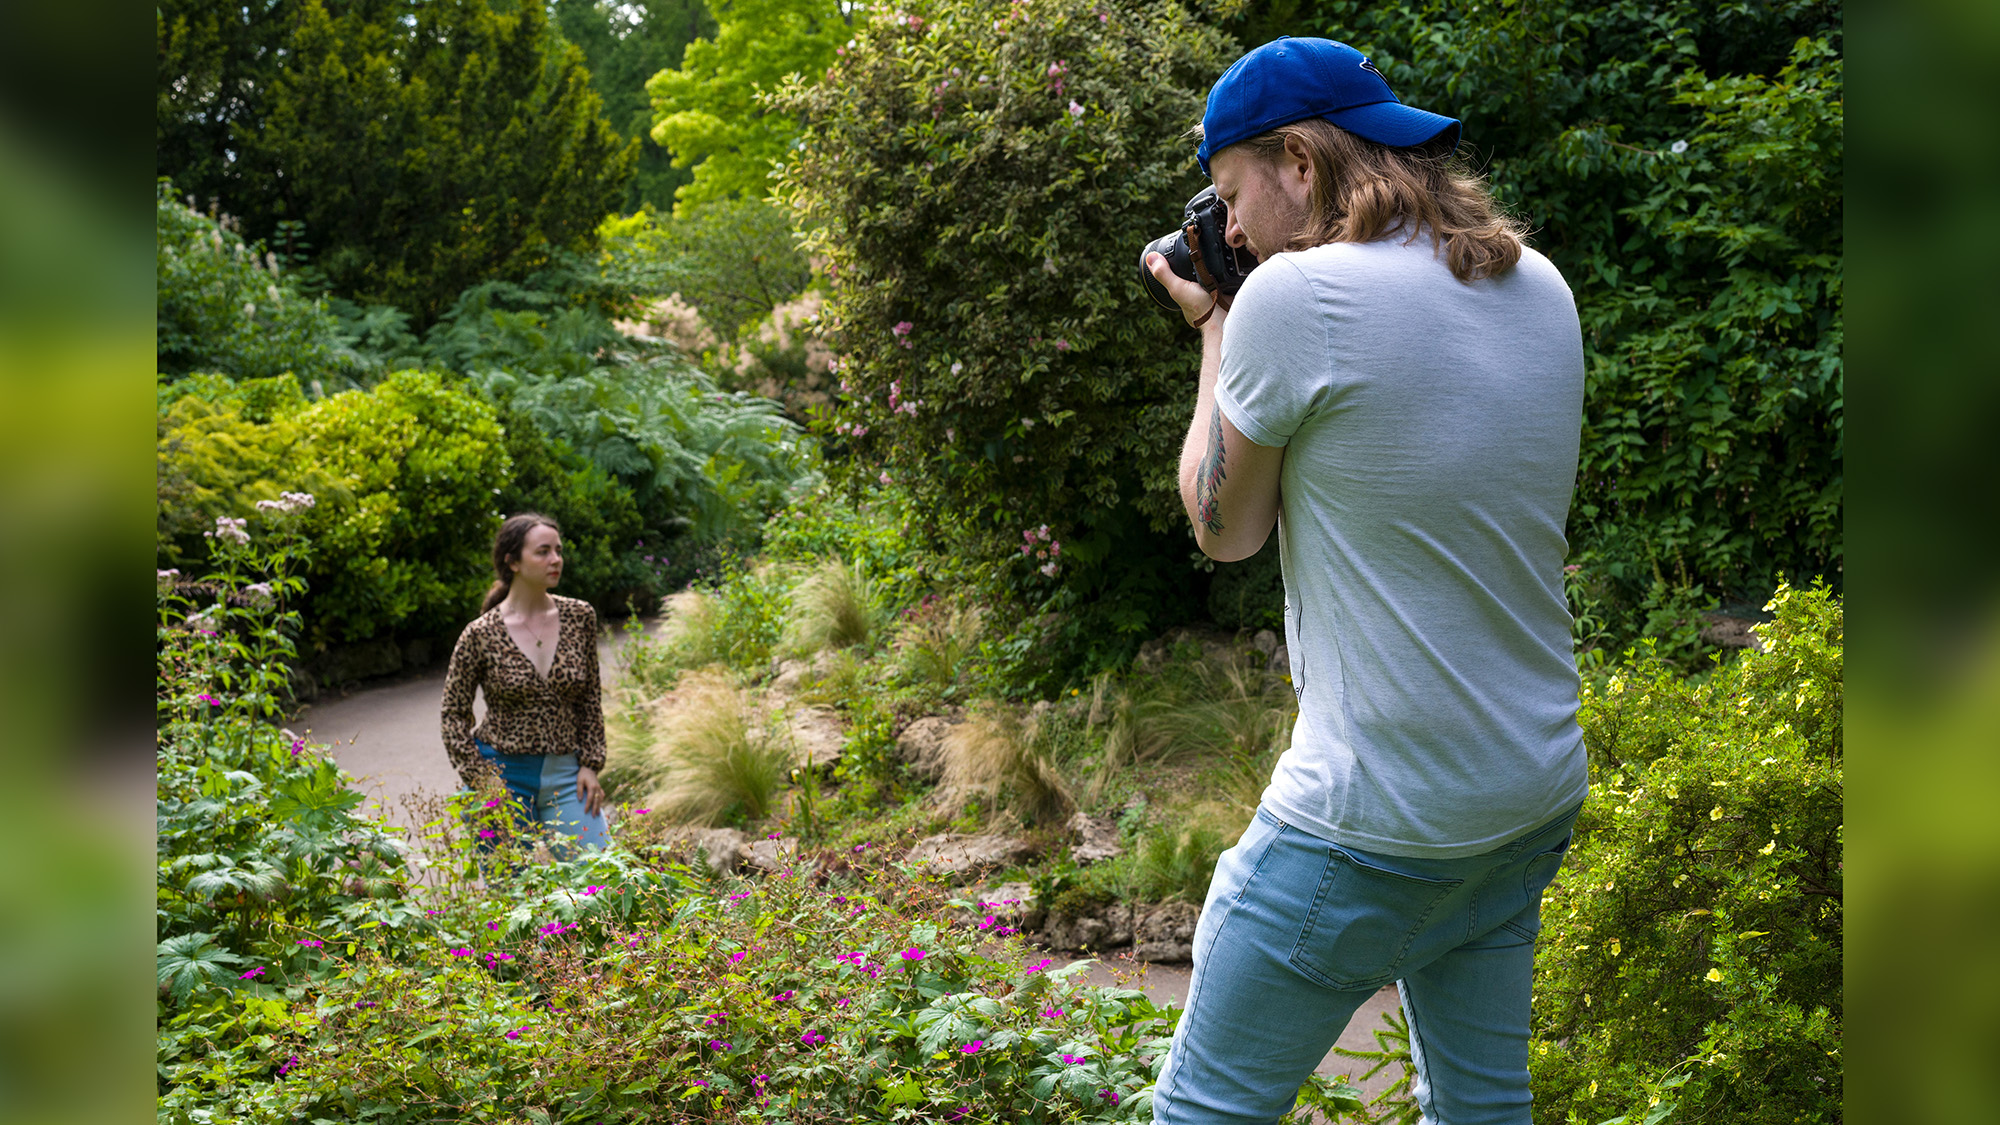
Once you've settled on a white balance preset, and locked your exposure in Manual, you used AF to focus on your subject and then switch to manual focus so as not to change your point of focus as you begin to shoot your panoramic sequence. Exactly how many photos you take is down to personal preference, but we strongly recommend overlaying each image by around 30% to ensure you don't leave any gaps.
Adobe Photoshop CC makes it easy to blend your sequence by automatically merging your images. You then simply need to check the blend for any inconsistencies and crop it as desired. If you like the idea of creating a wide portrait with a super-shallow depth of field, here's how to shoot and edit your own 'bokeh panorama'.
The Brenizer method
1. Select a fast lens
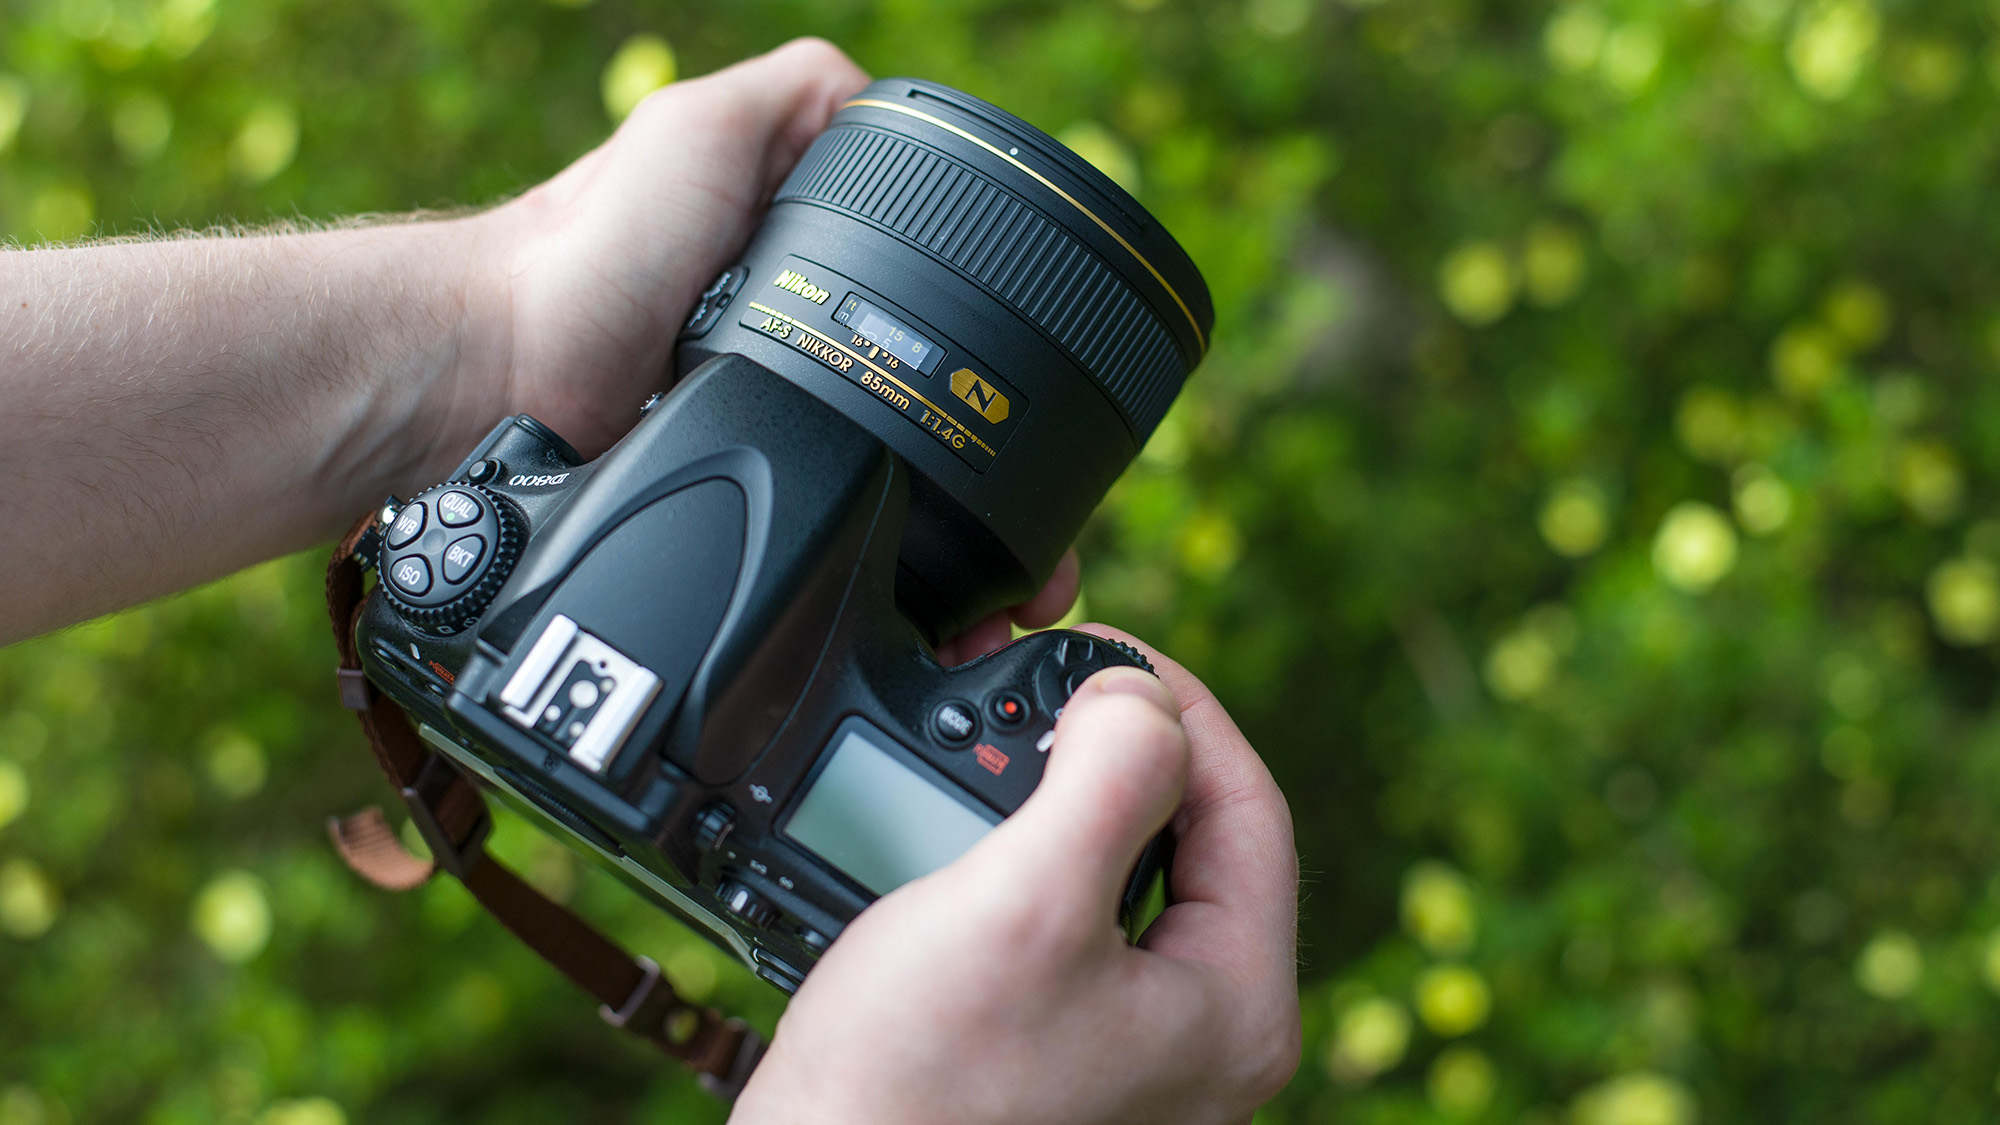
A fast medium telephoto is handy for maximizing the shallow depth of field. However, if you don't have a pro porttrait lens any telephoto zoom will do. The great thing about this trick is you end up with a wide-angle view with much less depth of field than your existing lenses will allow.
In this instance, we used the Nikon AF-S 85mm f/1.4G, but the classic 50mm f/1.8 could also work well, especially when providing an equivalent focal length of 75mm on an APS-C camera.
Depending on your system, the Canon RF 85mm F1.2L USM, Sony FE 85mm F1.4 G Master, and Fujifilm XF 56mm F1.2 R WR would work well, too. Thankfully, you're not limited to just prime lenses though. A fast telephoto zoom, like a 70-200mm f/2.8, will still produce a suitably blurry background for this effect.
2. Set a consistent white balance
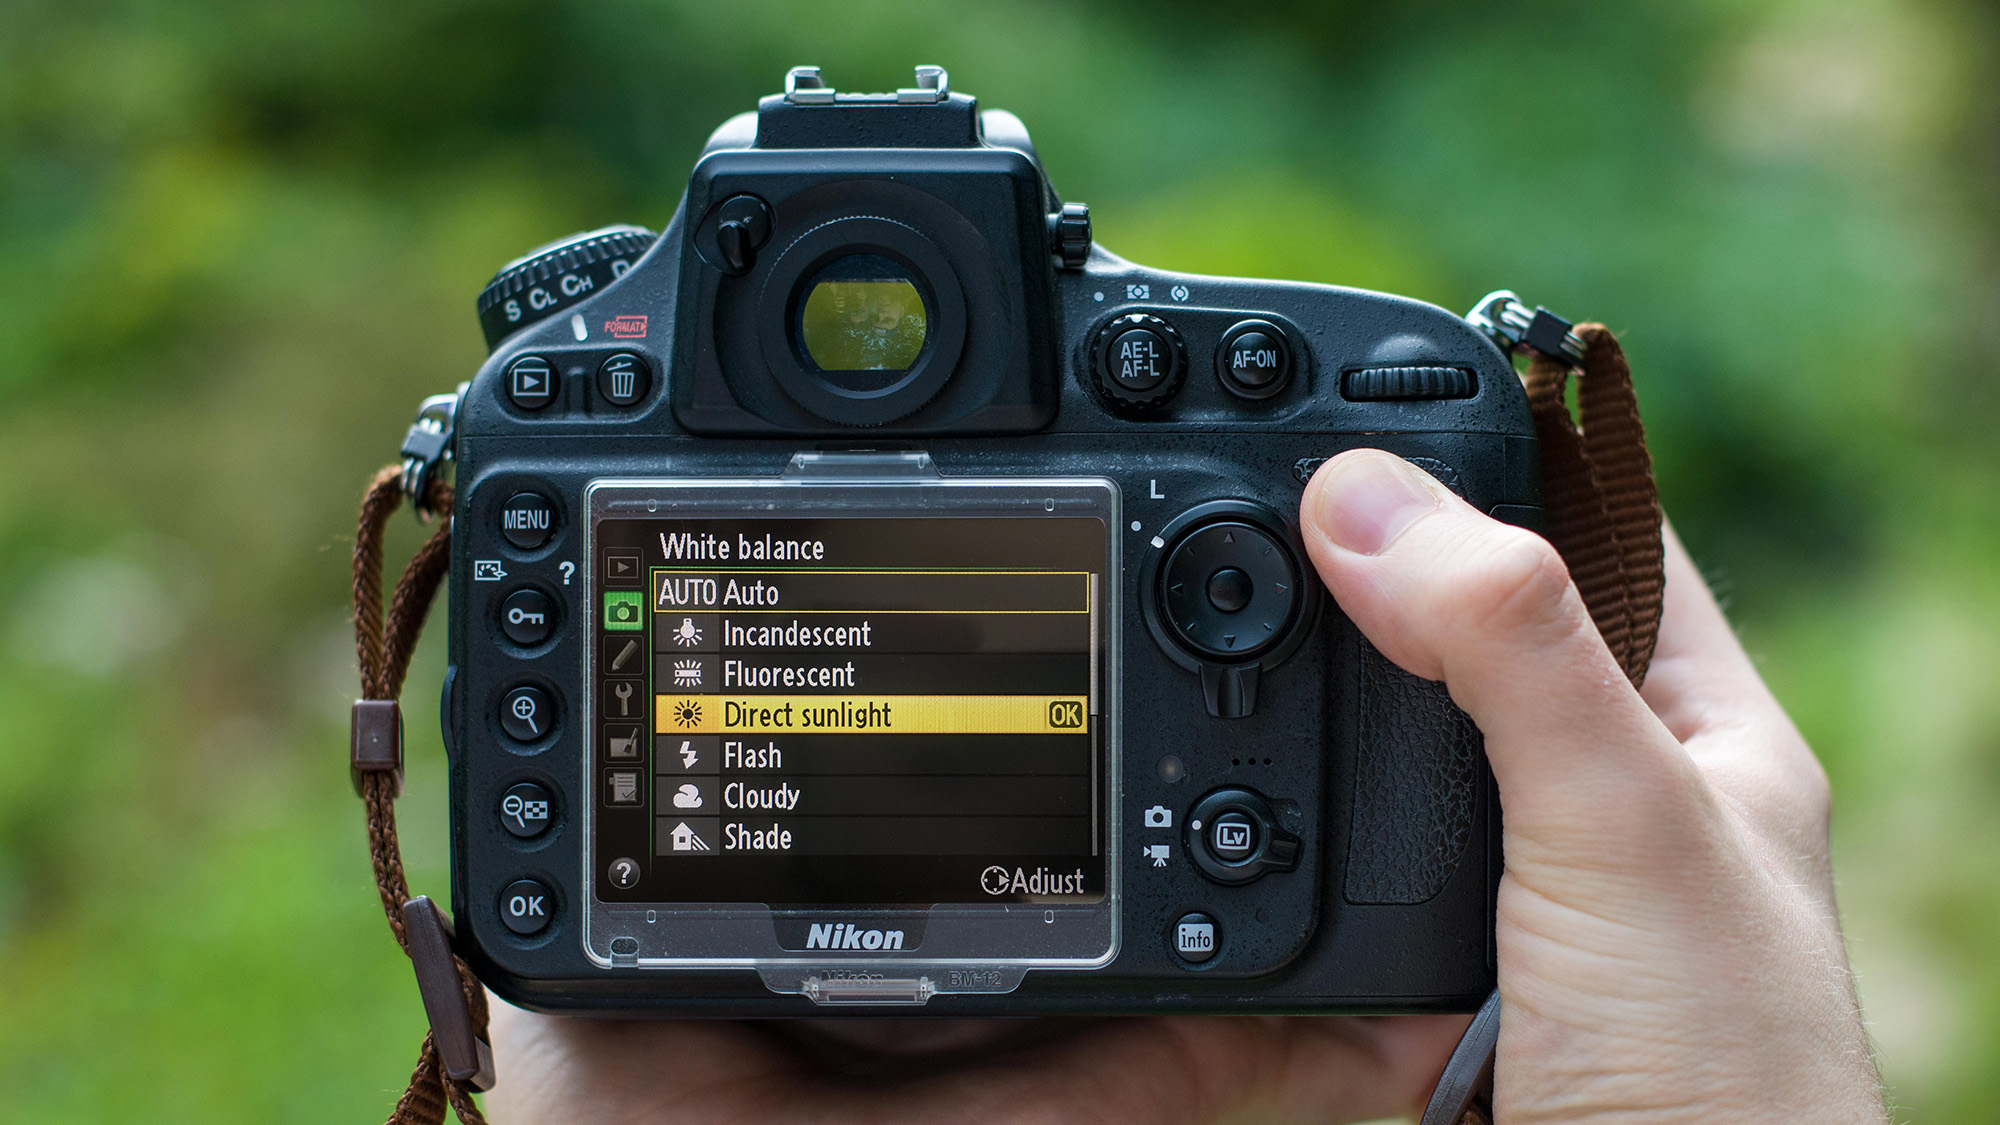
As you'll be merging photos, each image needs to be as consistent as possible. To prevent the white balance from changing mid-sequence, head to menu and set the color temperature manually. We'd suggest shooting in Raw so you can tweak the color temperature of you batch of images later.
3. Frame your image

You'll have plenty of room to crop your large panorama in post, but you should still consider your composition. Visualize your final image and position yourself accordingly before you start shooting. Still leave enough space to crop, though, as your blended image will be an irregular shape.
4. Camera settings
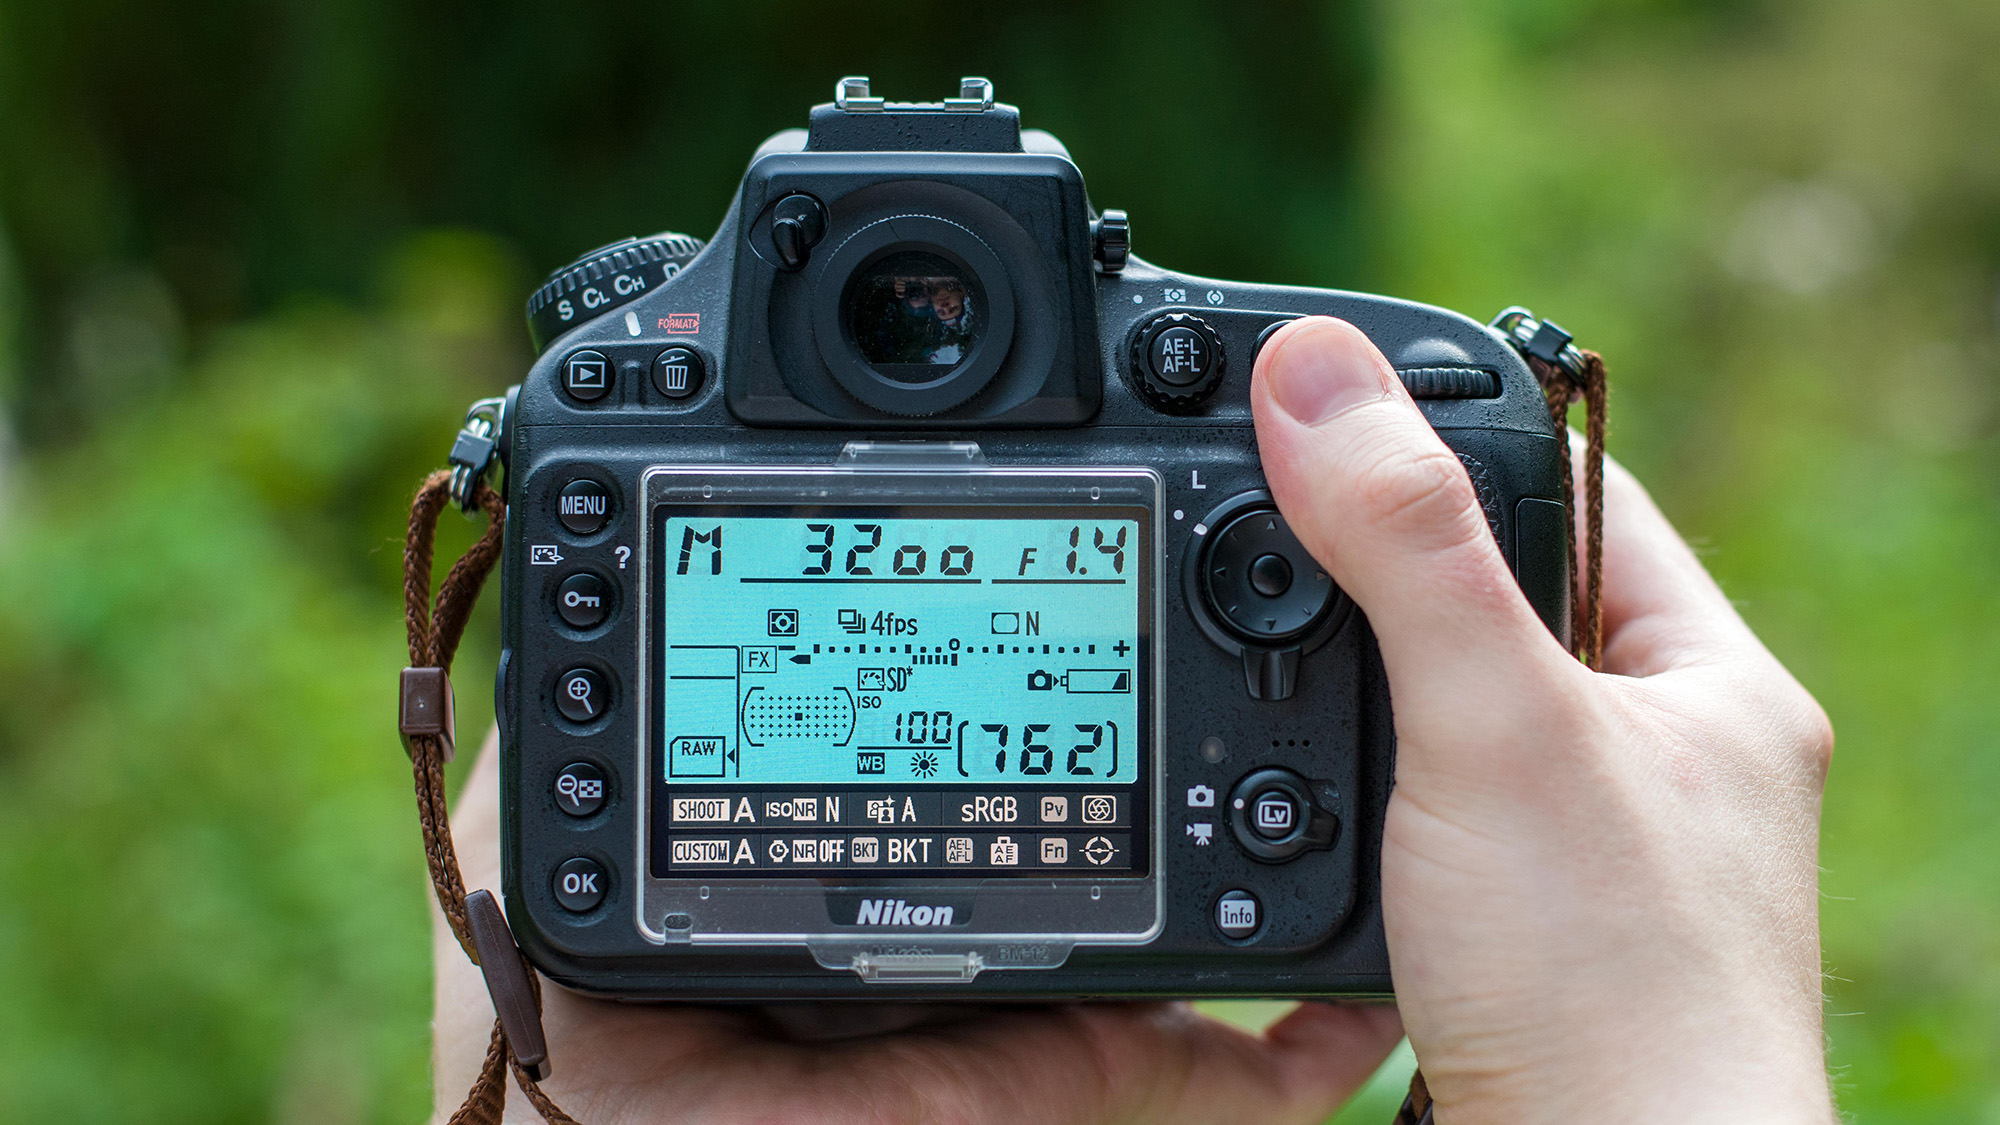
Select Aperture Priority mode and choose a wide aperture. We'd recommend f/2.8 or wider. Adjust the ISO value until you get a shutter speed of 1/200 sec (or higher). Select Manual mode and input the same settings to lock your exposure. Just like the white balance, consistent exposure is vital.
5. Switch to manual focus
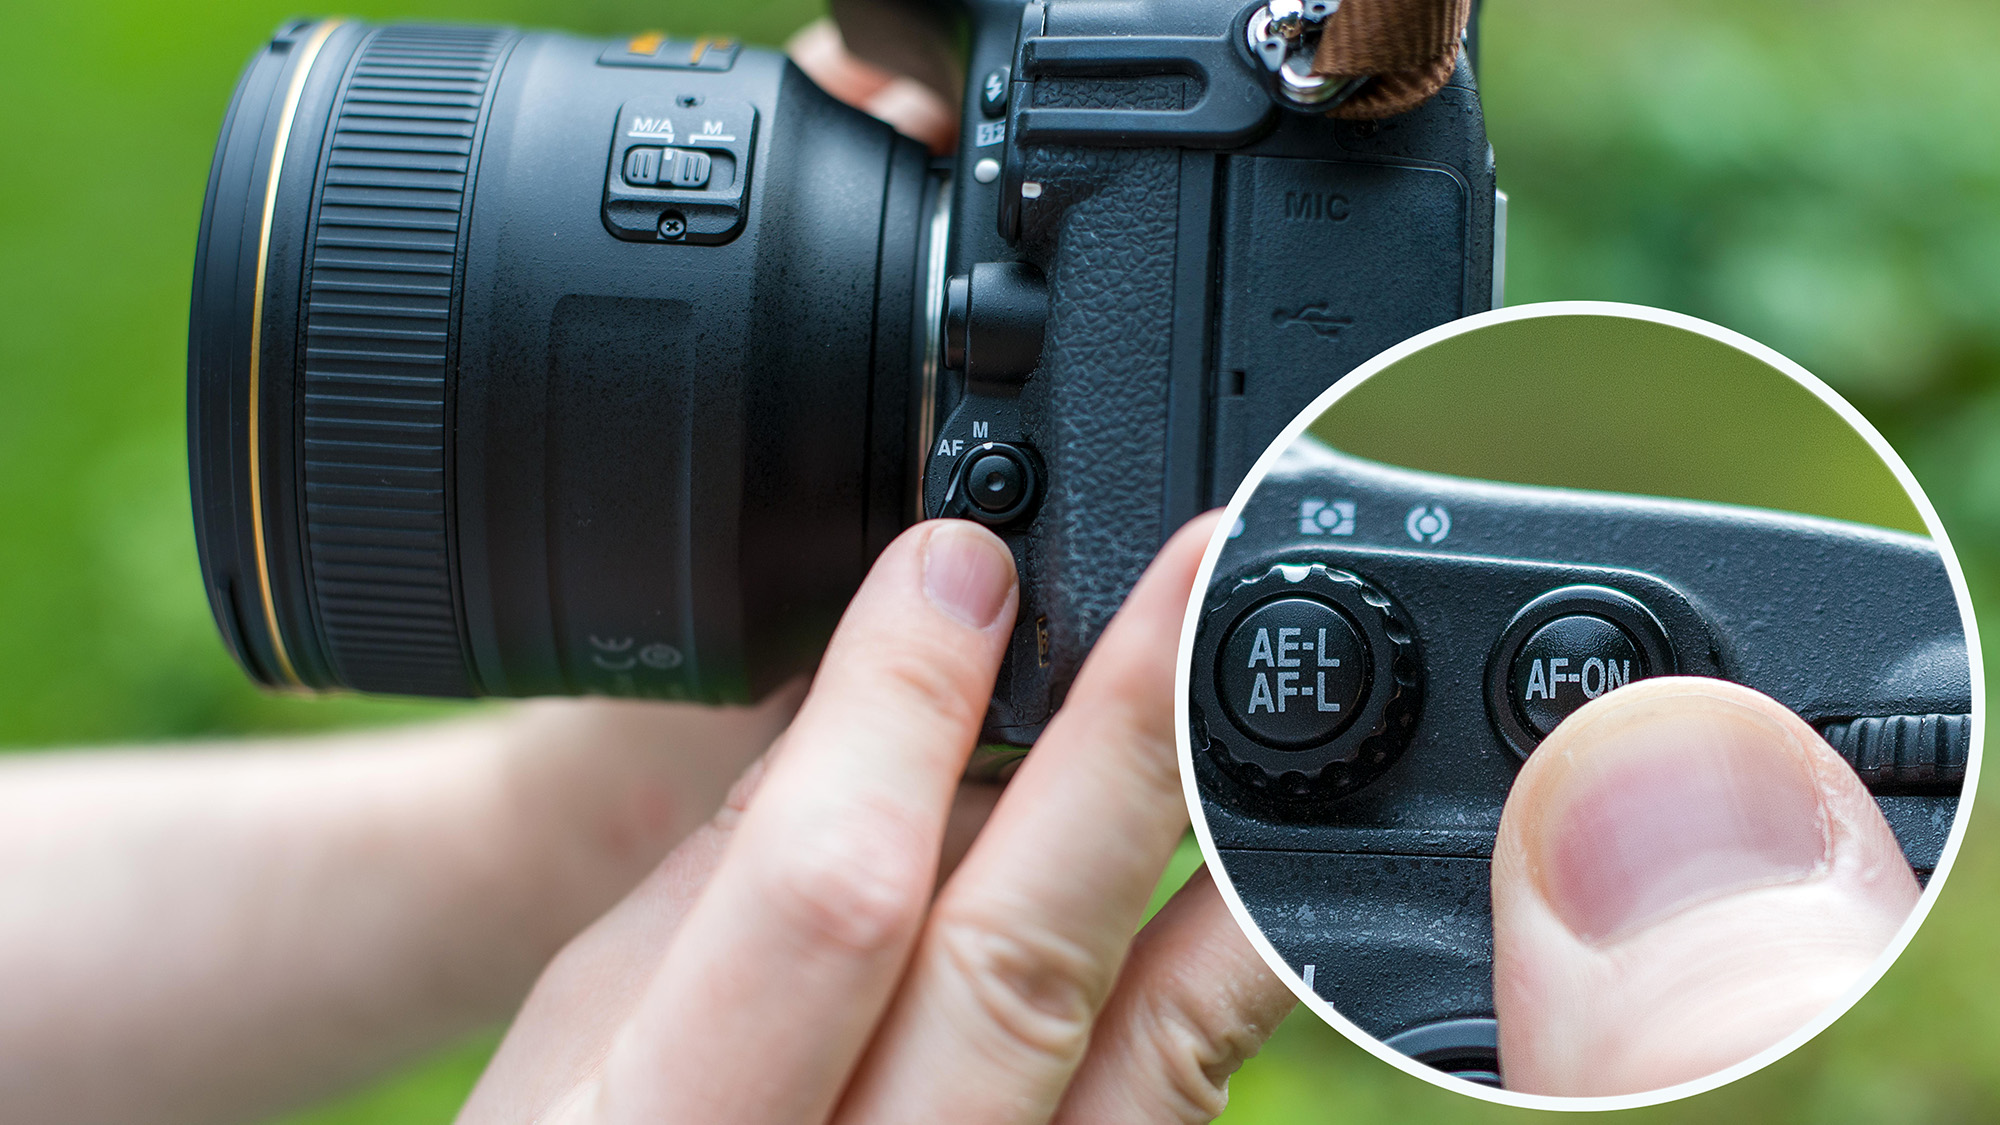
Your focus needs to be consistent throughout your sequence. If you're using back-button focus you can simply release the back button after you've focused on your subject. If not, focus on your subject using AF and then switch to manual focus. Your focus will then remain locked as you proceed to capture your bokeh panorama.
6. Capture a 'bokeh panorama'
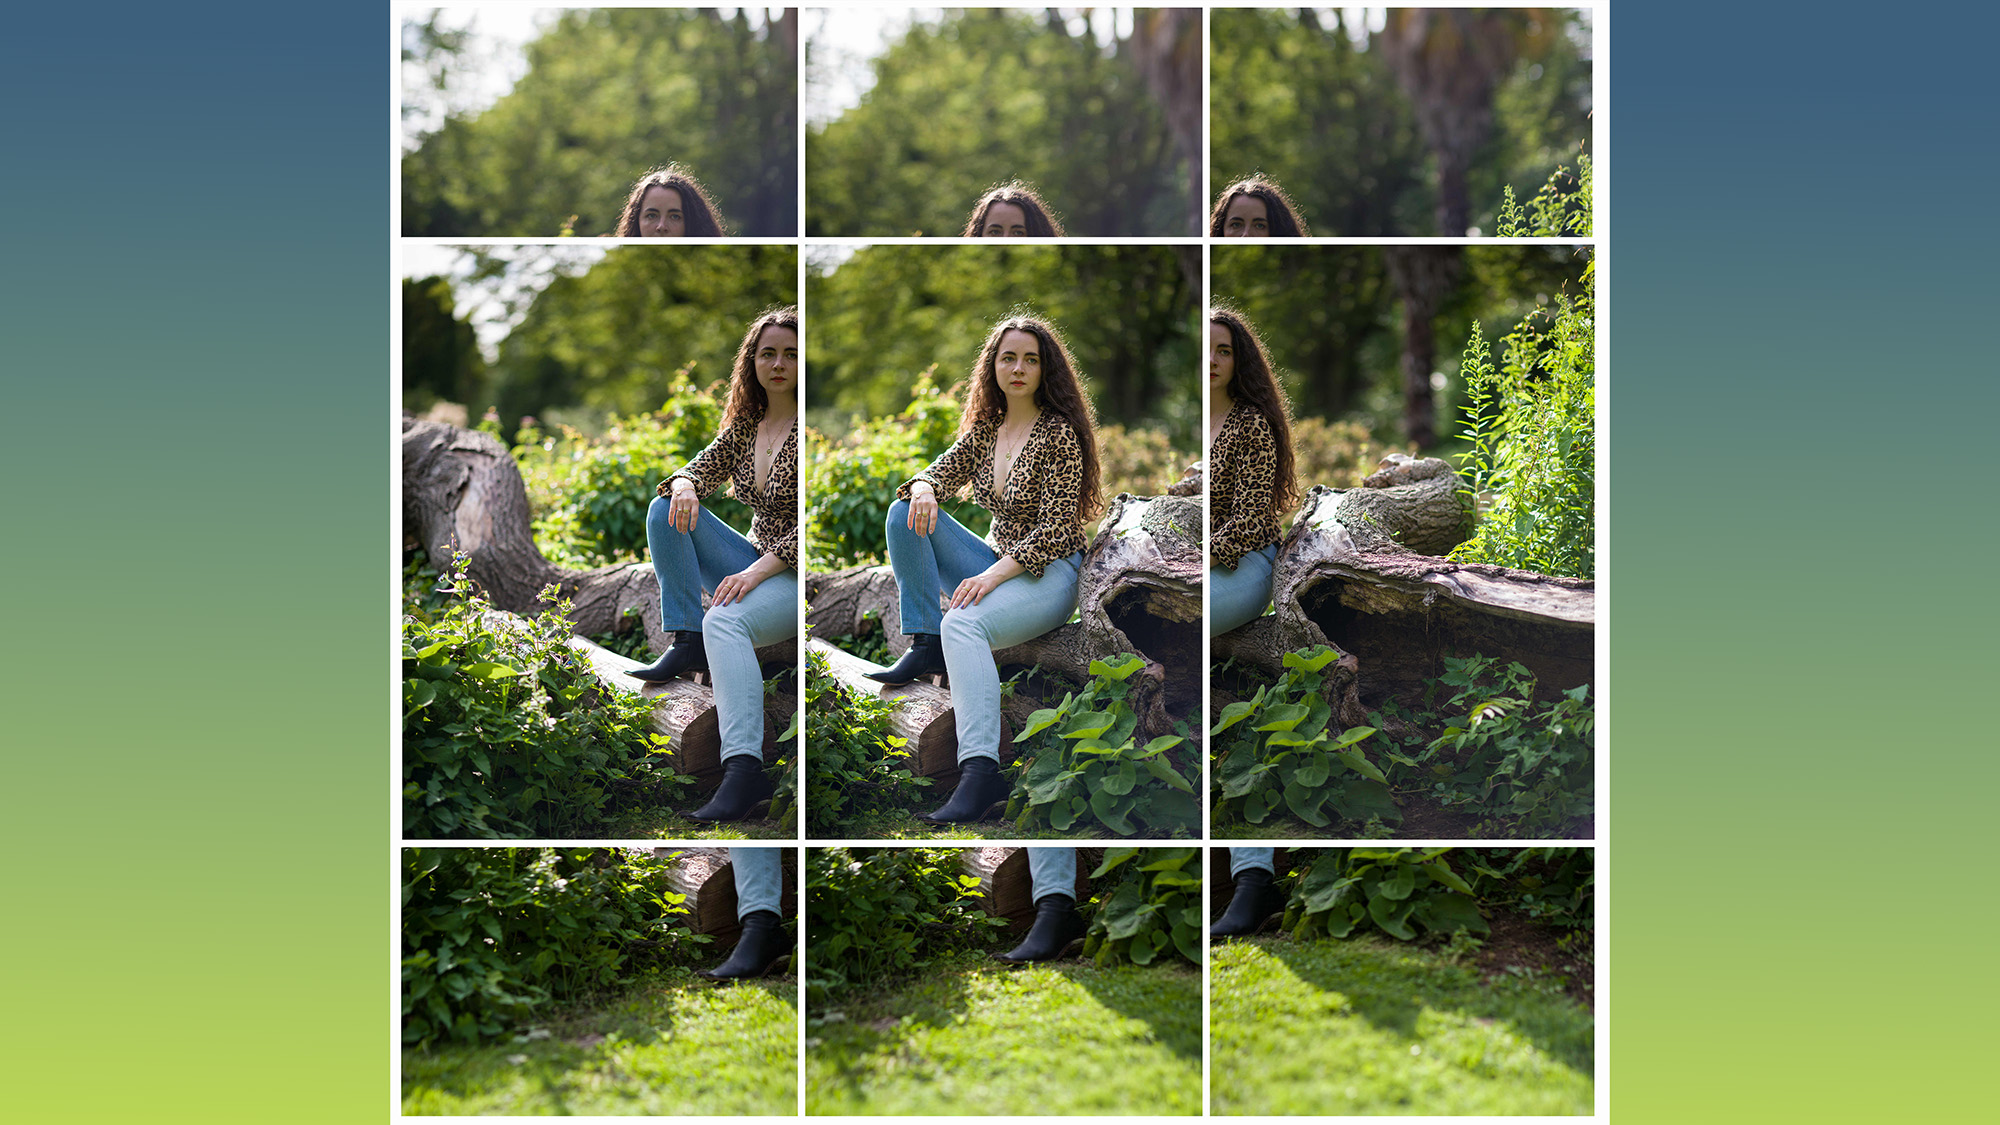
We framed and captured our subject, and then shot three frames to the left and three frames to the right. This process was repeated just above the model's head and below her feet. There's no hard and fast rule for how many or how few images you should capture. Just make sure you overlay each image by around 30% to prevent any gaps between frames.
Blend a 'bokeh panorama'
7. Open your sequence in Camera Raw
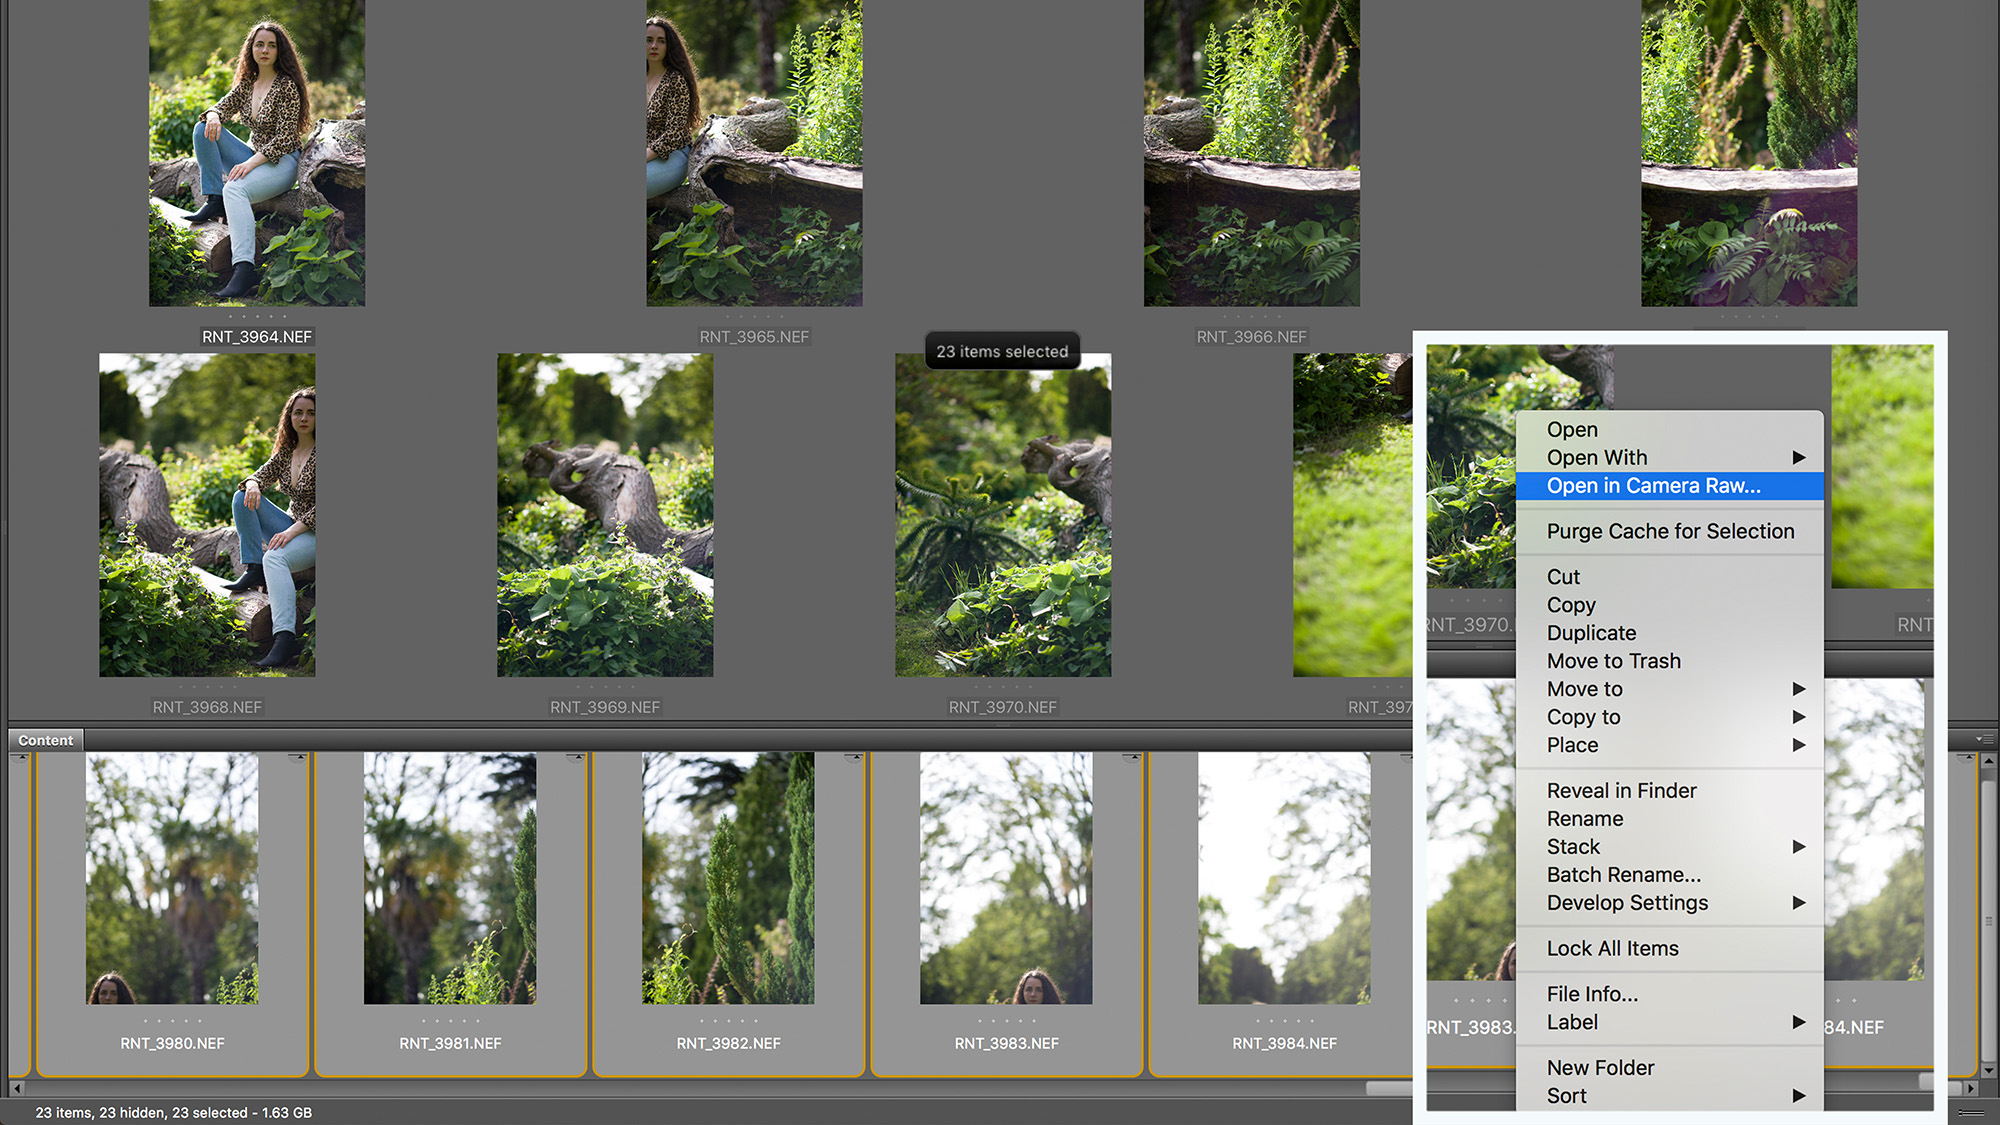
Highlight your sequence in Adobe Bridge (select the first image, hold Shift and select the last image). Right-click and select Open in Camera Raw. Hold Shift and select the last image in the left panel to highlight the sequence. Edits will now affect all of the images.
8. Set the color temperature
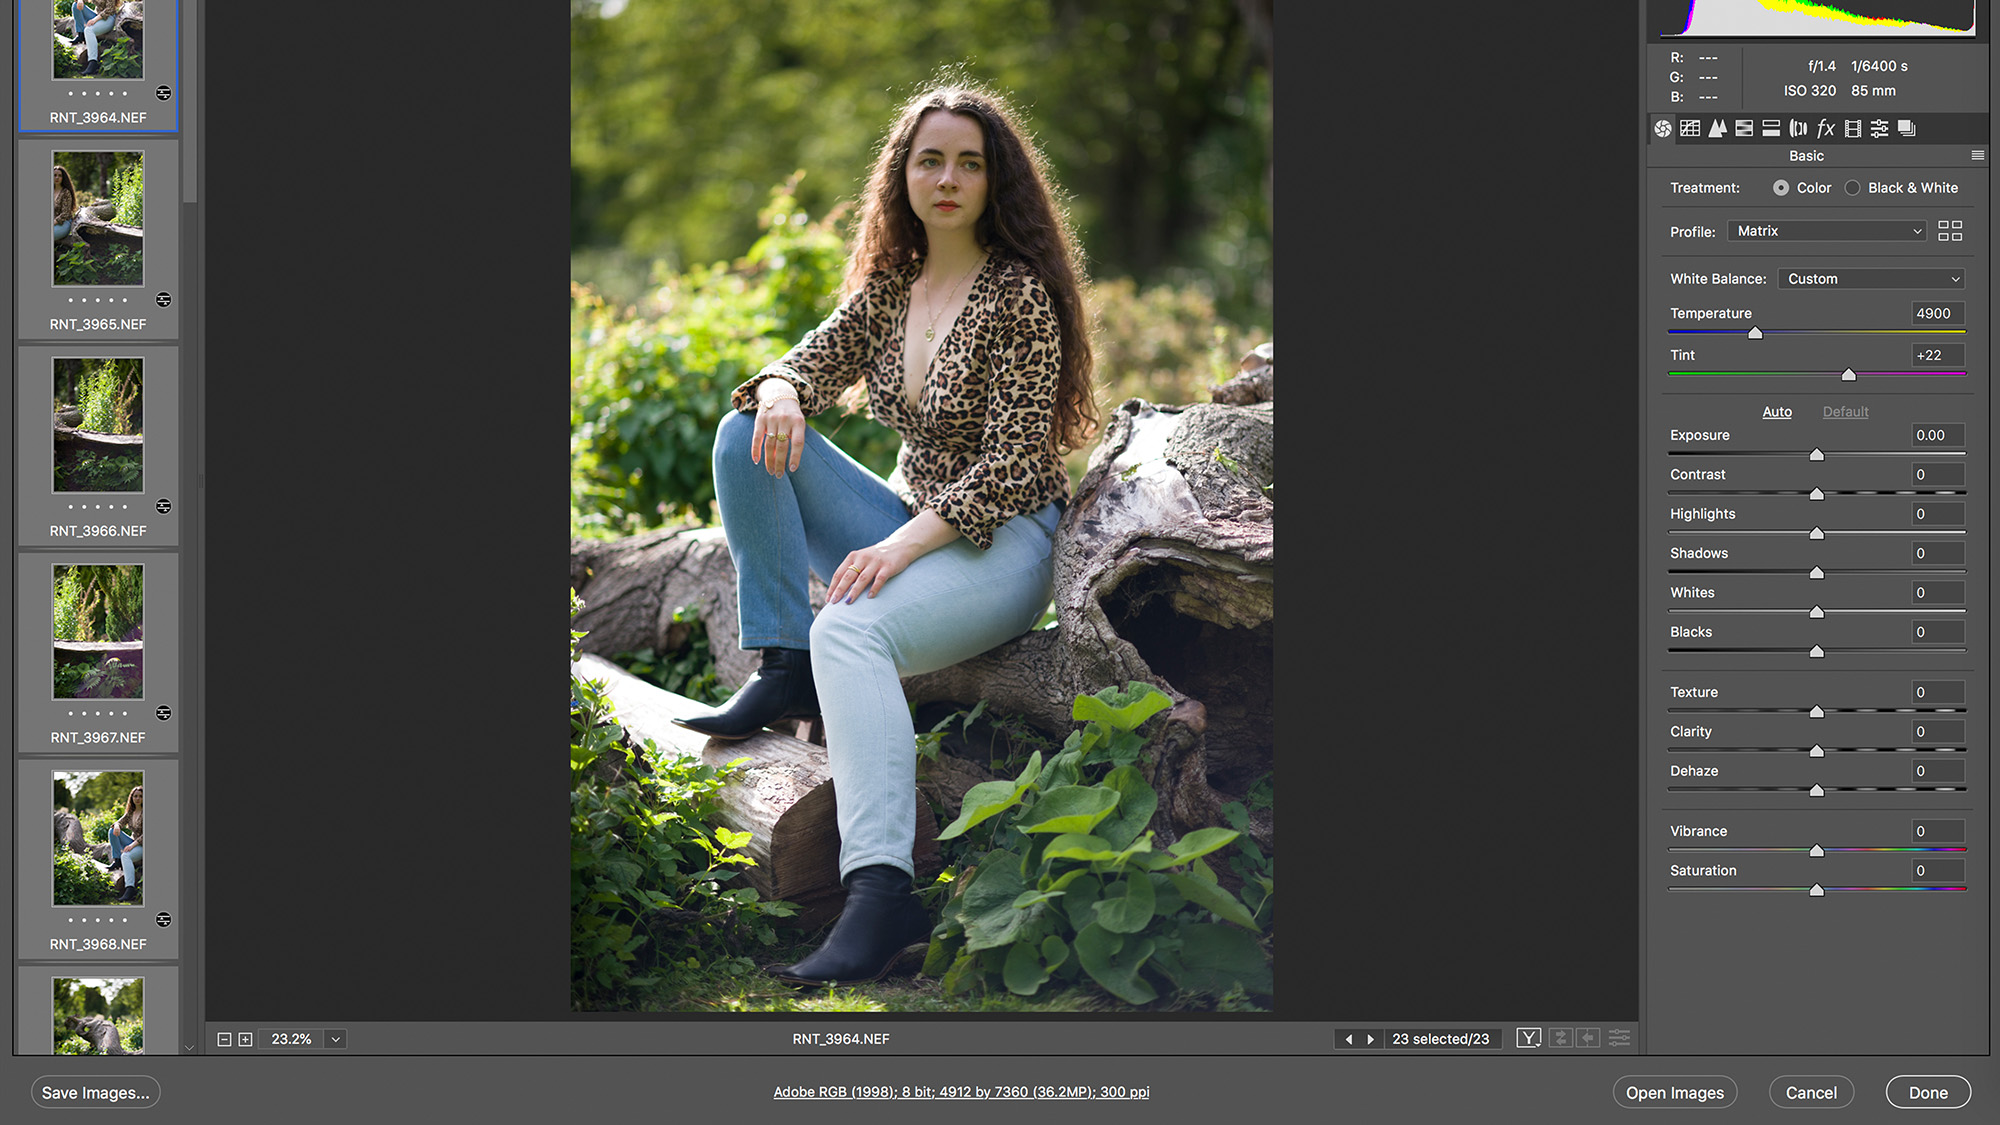
Once you've selected Remove Chromatic Aberration and Enable Profile Corrections in the Lens Corrections tab, check the exposure and color temperature of each image. Ensure you fix any inconsistencies before blending your panorama and select Done.
9. Import your sequence into Adobe Photoshop
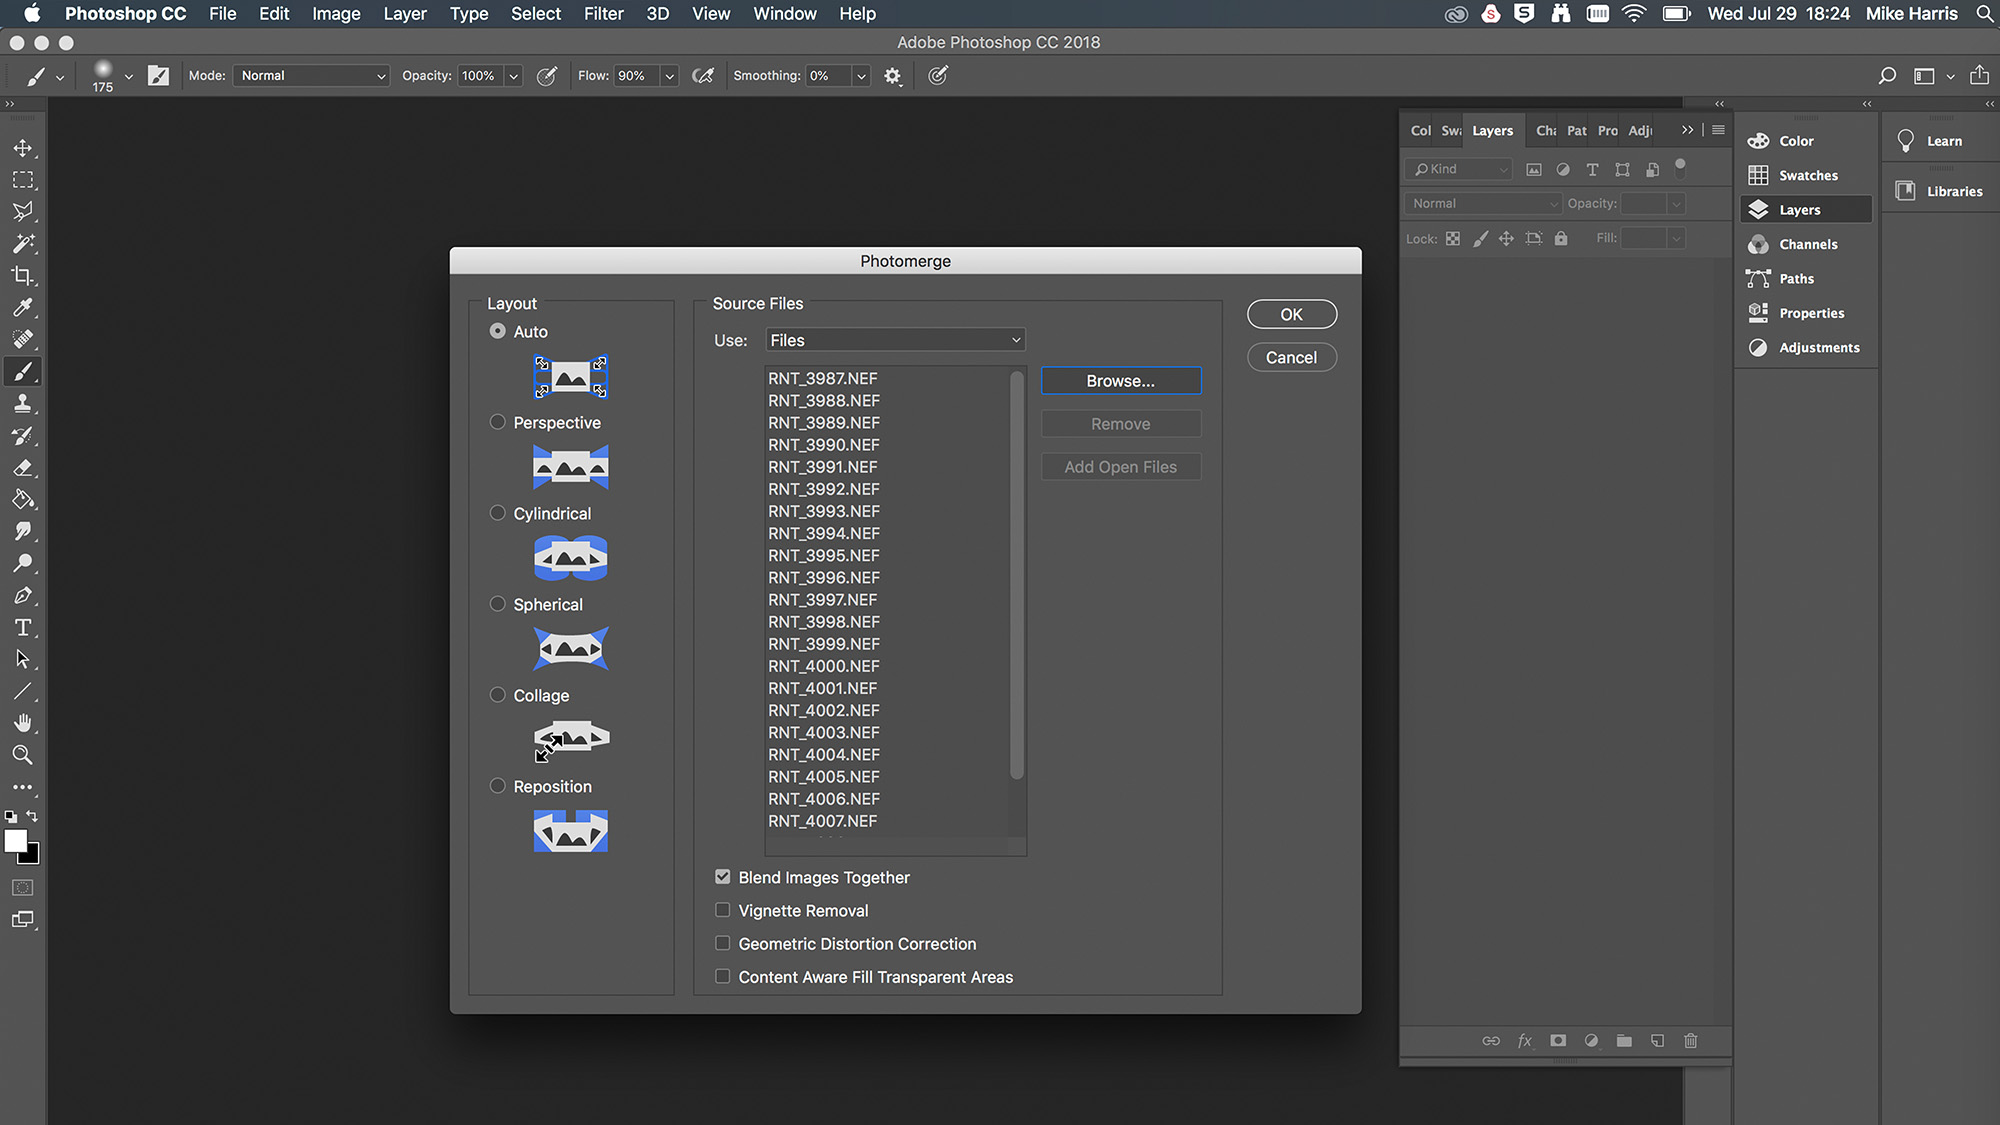
With the images still selected, click Tools>Photoshop>Photomerge. Make sure Auto and Blend Images Together are selected when the Photomerge window opens and click Browse to select the images from your sequence. Hit OK to start the merging process.
10. Blend your 'bokeh panorama'
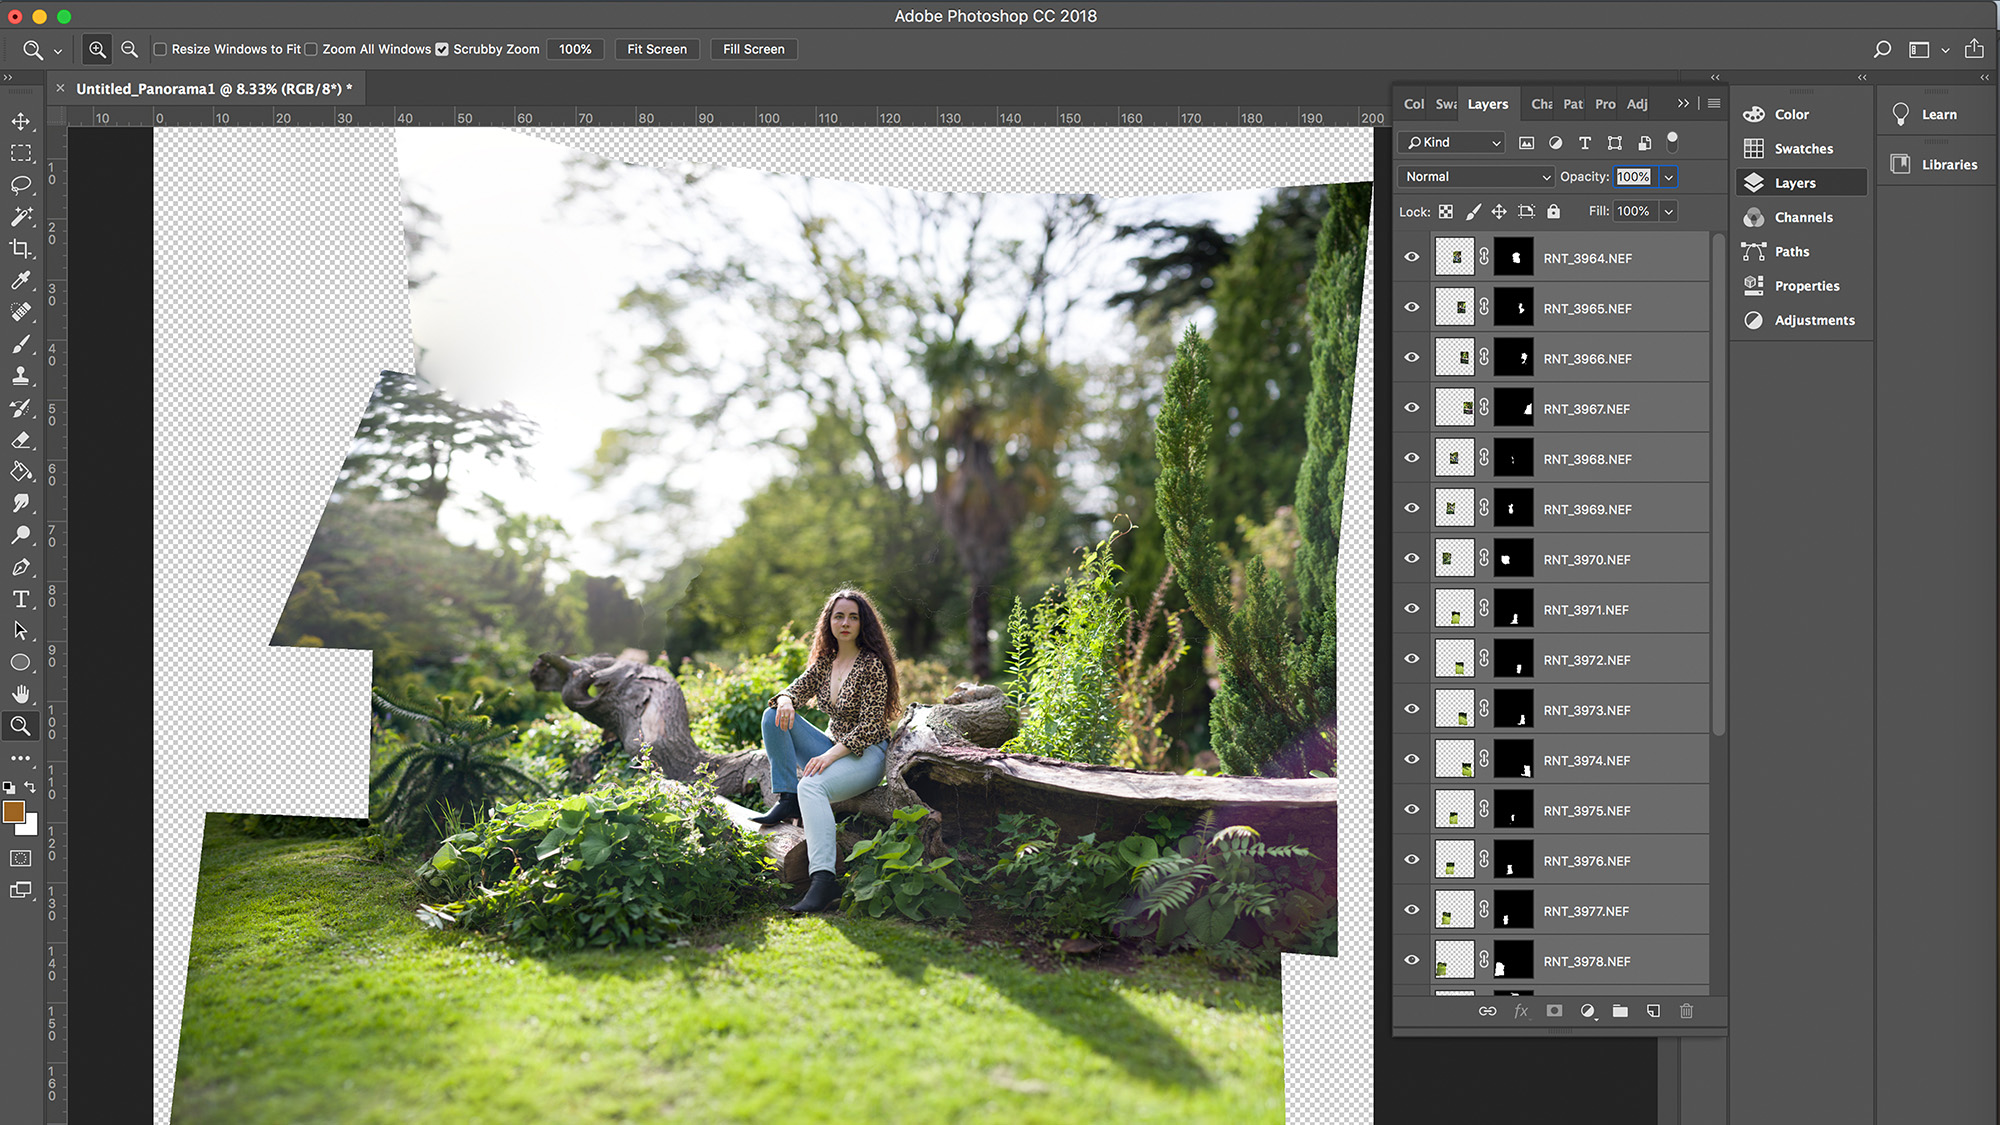
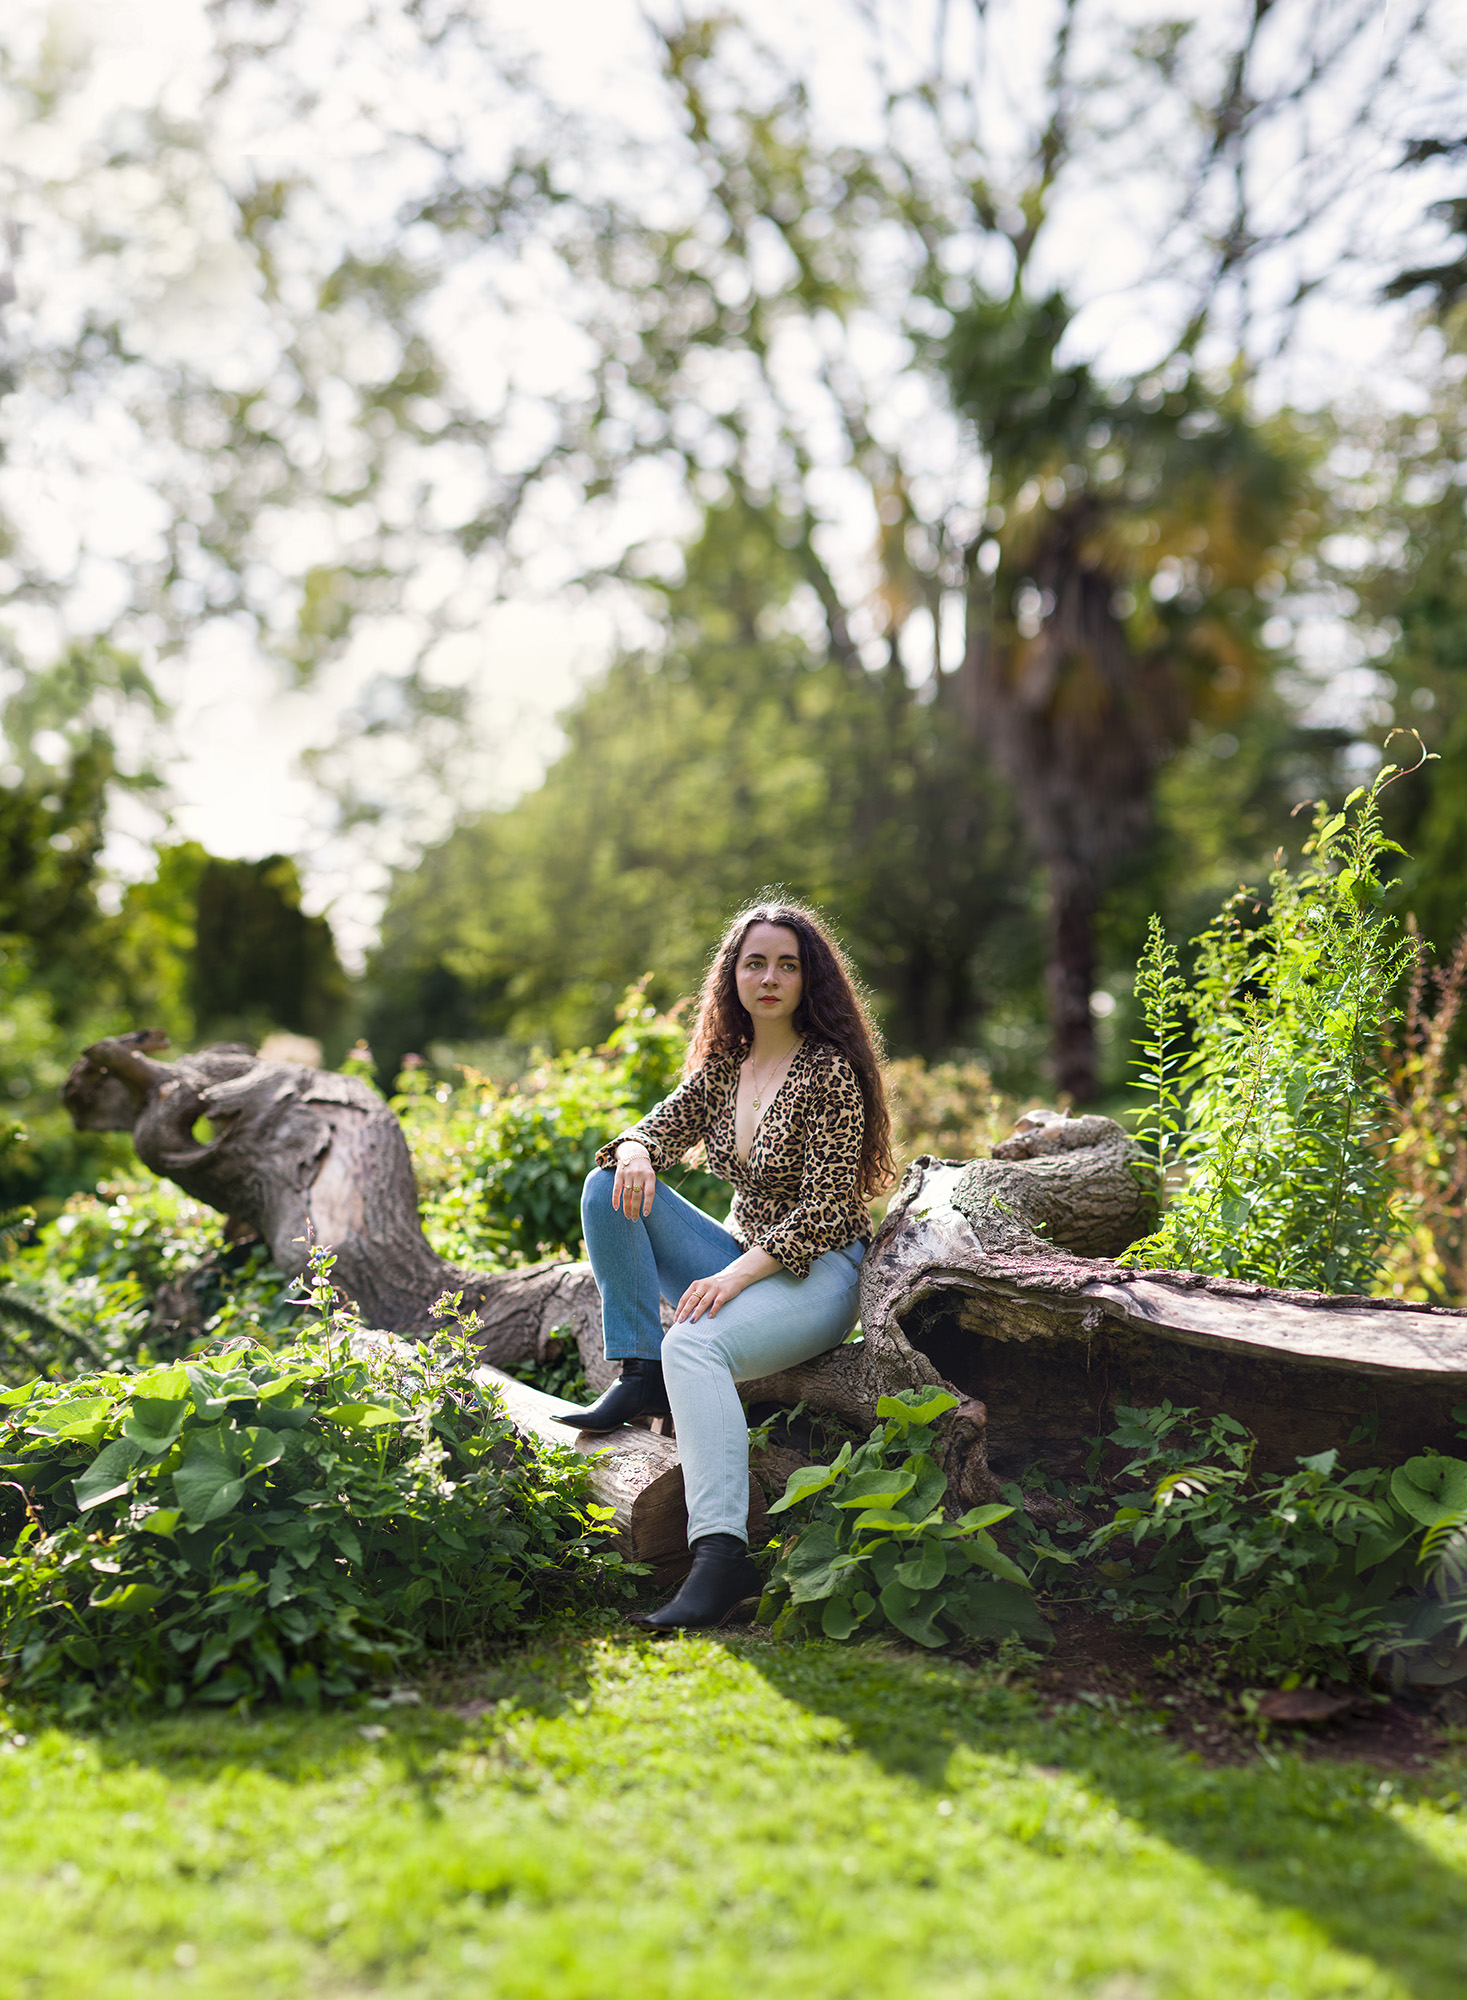
You'll now have a large medium-format style image that's spliced into multiple layers. Photoshop generally does a good job of blending images together, but it's worth looking for any obvious inconsistencies, which you can rectify with the Clone or Patch tools.
11. Crop your blended image
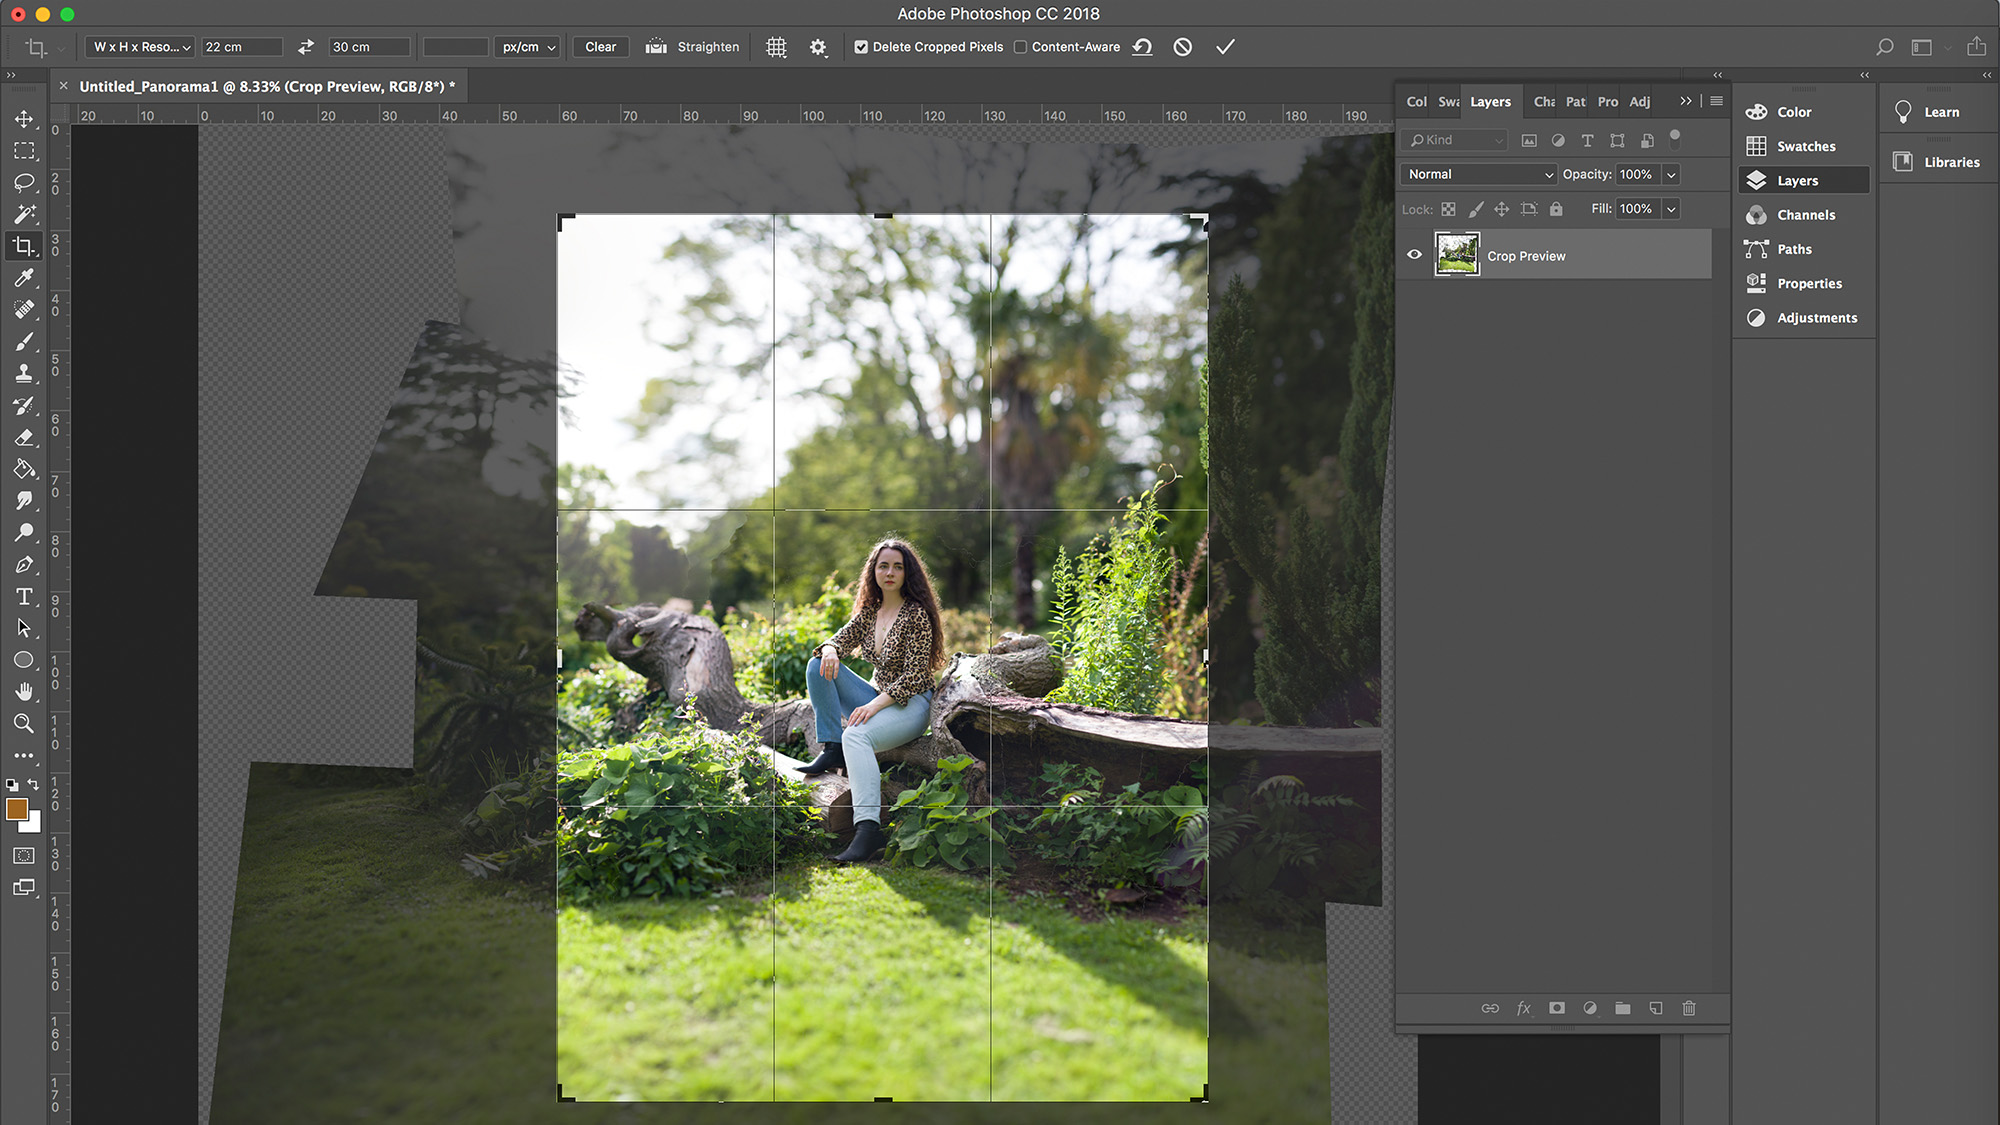
Your image is likely a rather irregular shape; fix this using the Crop tool. It's worth remembering that your photograph is a blend of multiple pictures, so you have plenty of room to play with if you opt for a tighter composition.
6. Flatten and finish
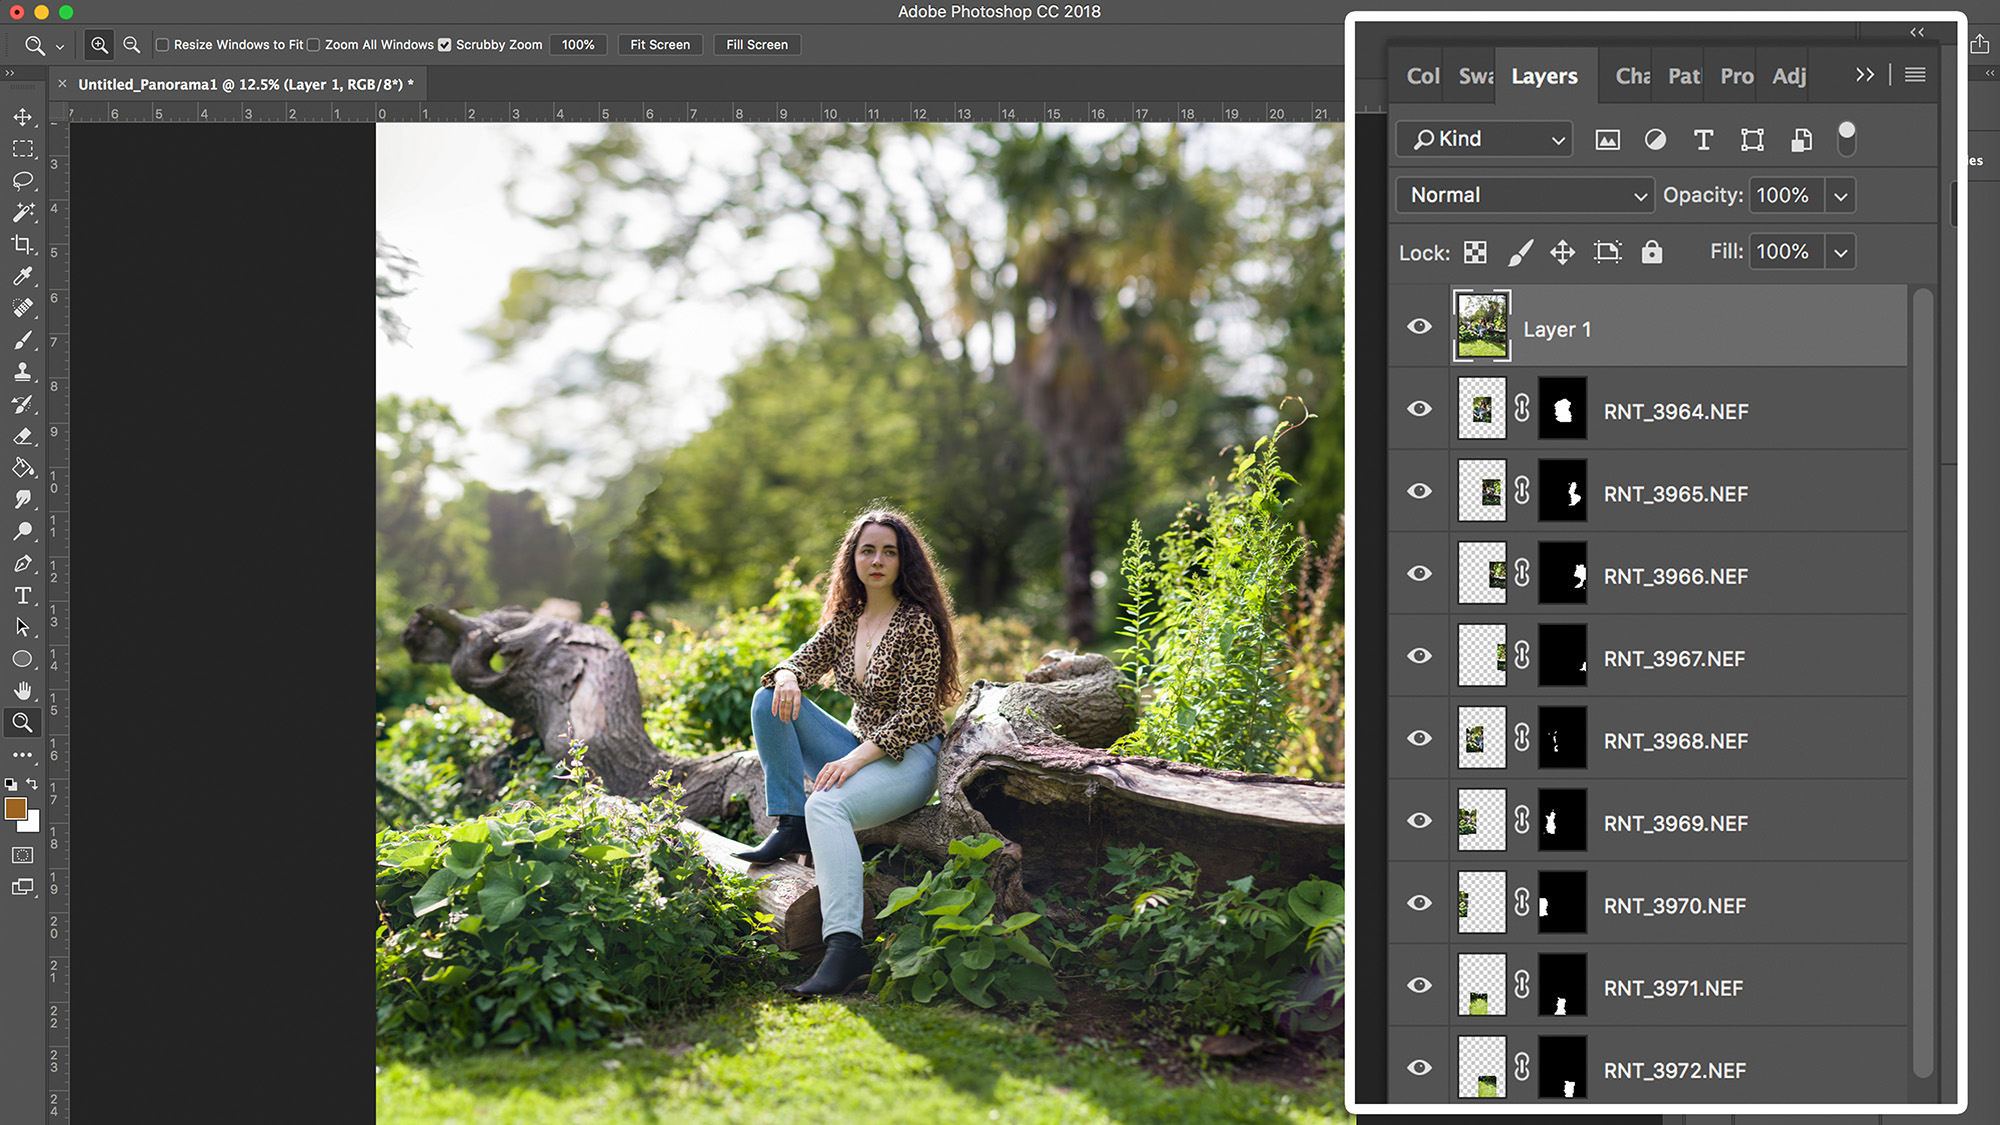
Make a flattened copy of your image by selecting the topmost layer and pressing Ctrl+Alt+Shift+E (Cmd+Alt+Shift+E on a Mac). You can then proceed with your normal tonal editing regime to finish it off.
You may also be interested in how to use Photoshop's High Pass Filter to selectively sharpen your photos, or to learn other great Photoshop tips


