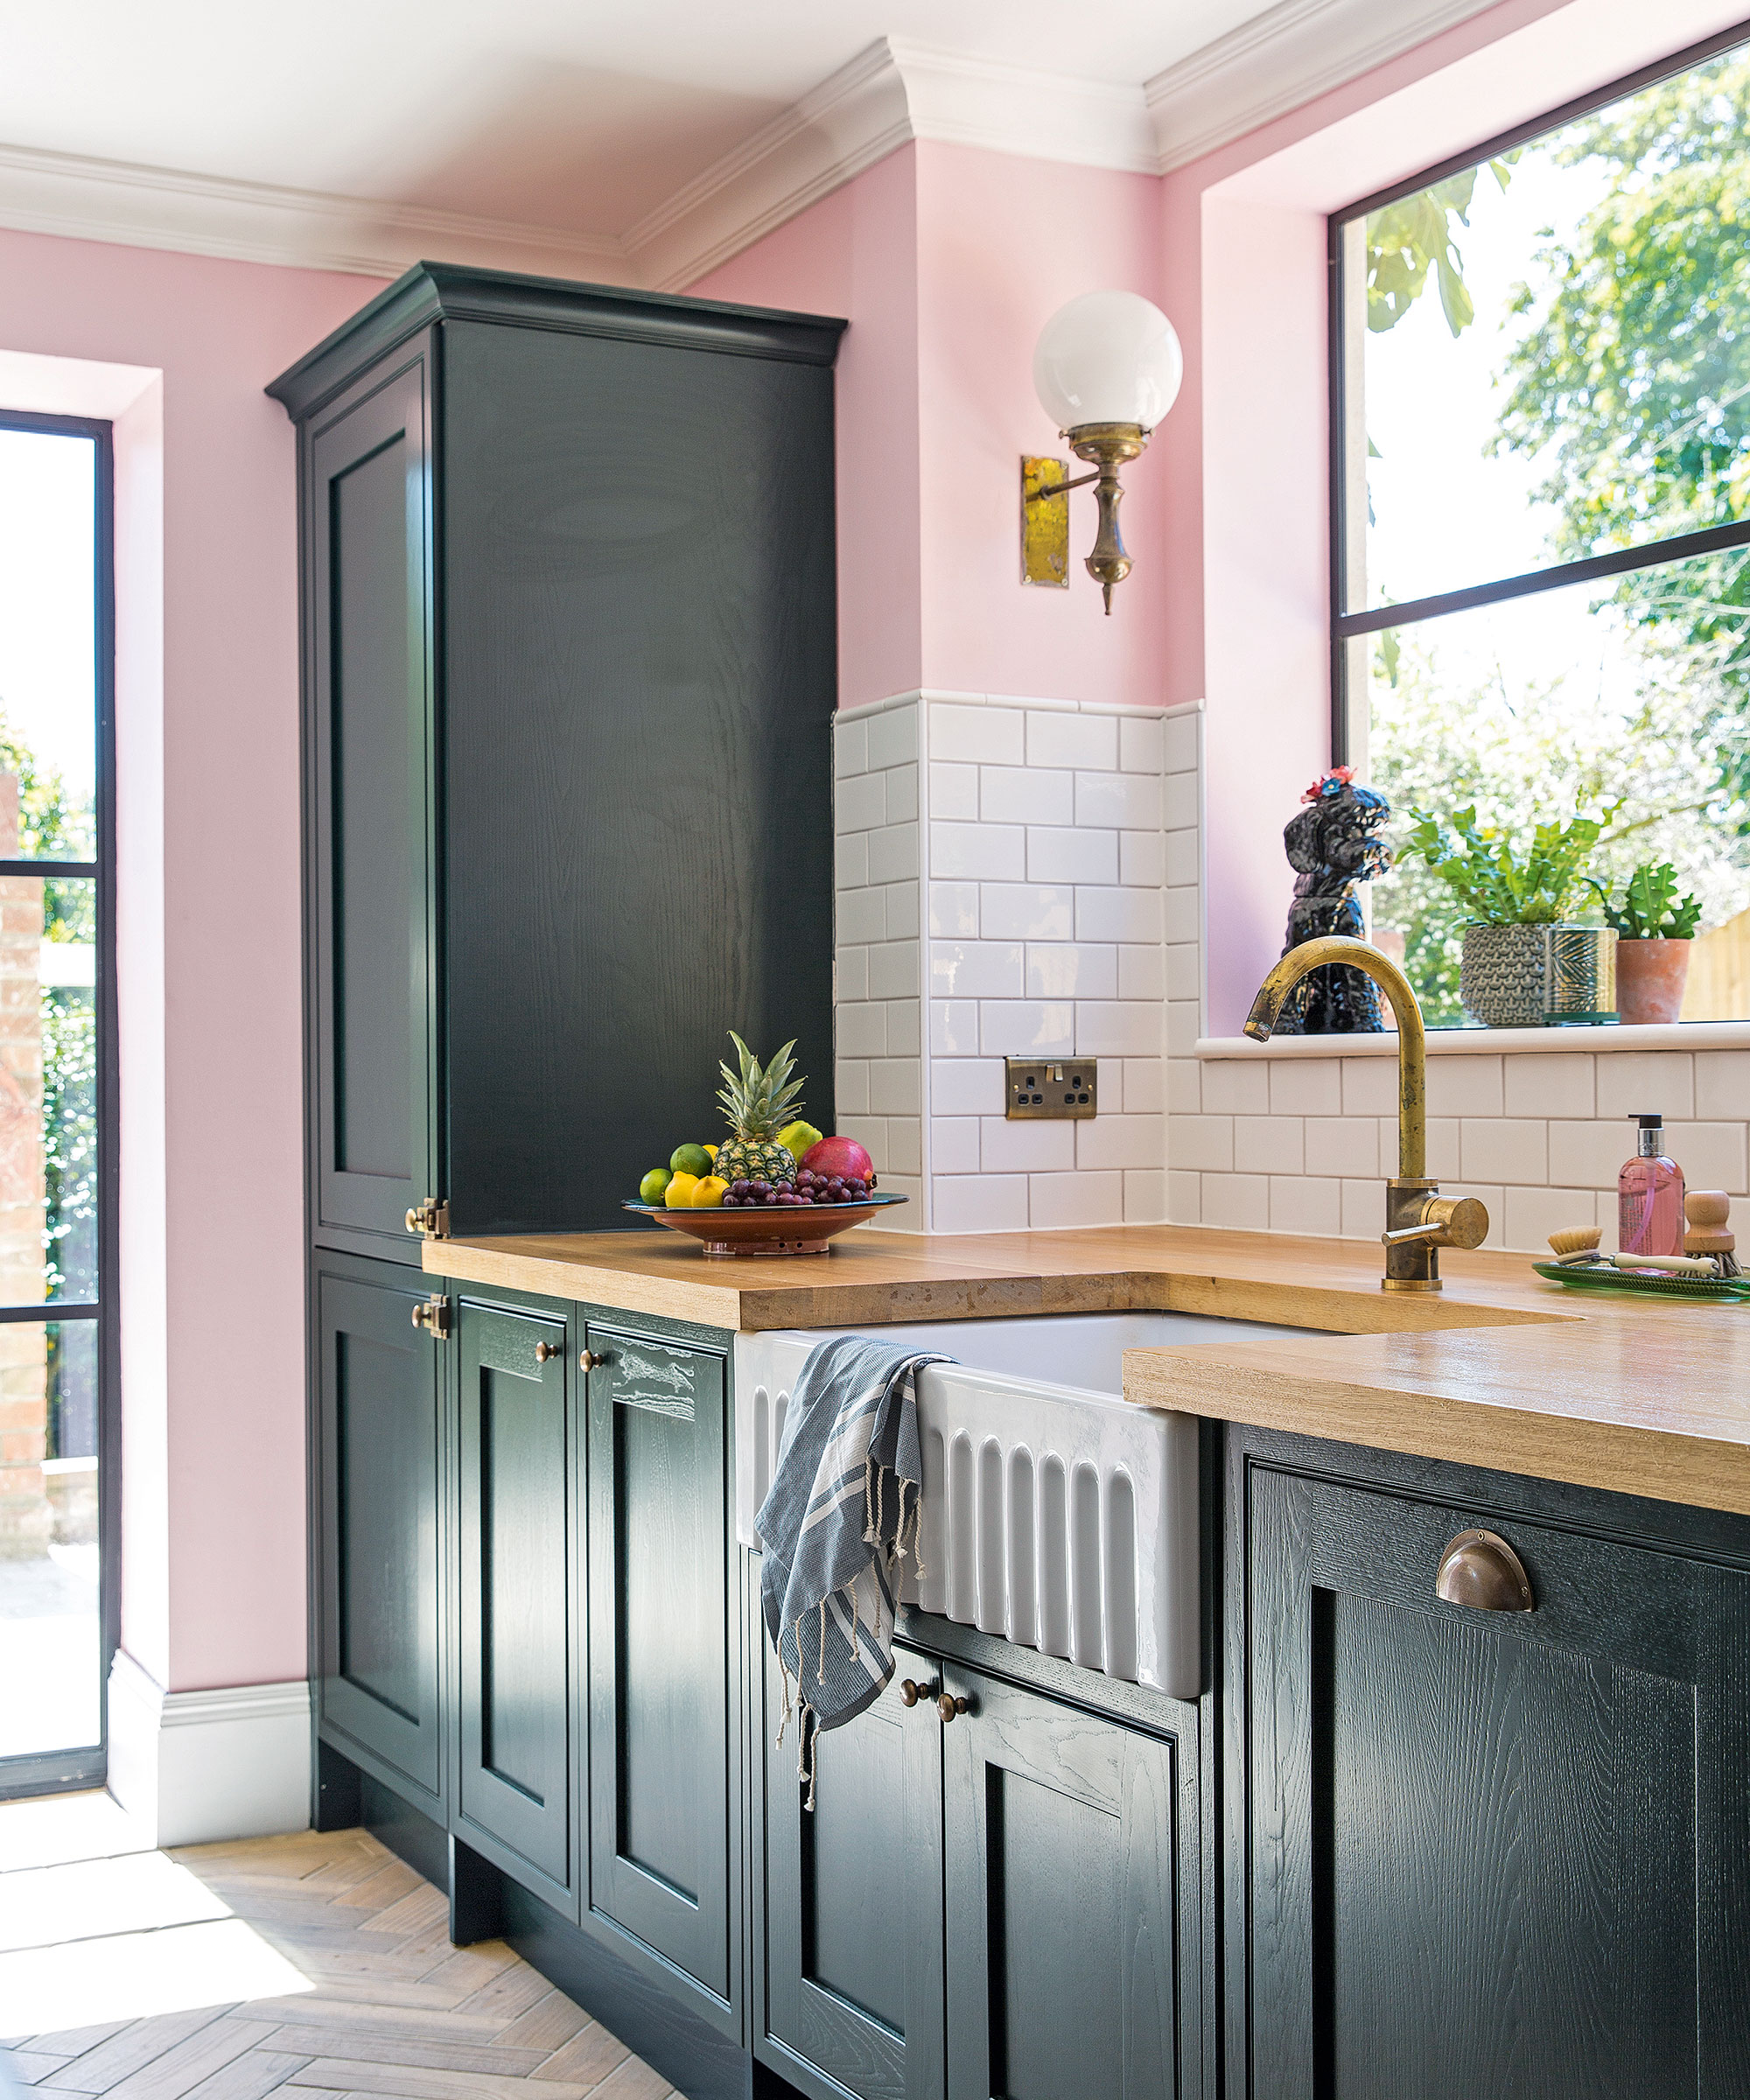
Not since the launch of the dishwasher has there been a kitchen innovation that’s proved quite as popular as the boiling water tap. Saving time and reducing countertop clutter, once you’ve owned a boiling water tap, you’ll never use a kettle again.
While the best boiling water taps may be growing in popularity, installing one isn’t as easy as fitting a regular tap. If you are wondering are boiling water taps easy to install, the answer is: not especially!
Sure, some aspects are DIY-friendly but it’s much more complicated than fitting a normal kitchen tap and it’s likely you’ll need a plumber to complete the job. ‘Boiling water taps are essentially small appliances, so they're not really DIY products and if you're not confident with simple plumbing, it's best to engage a professional installer,’ says Alexandra Rowe, director of Qettle.
‘Before you invest, it's essential to check your home's water pressure to ensure it is suitable – as a rule, a boiling water tap will need upwards of 2 bars to work effectively. Also, check you have a cupboard close by to accommodate the tank and filter system.’
Here’s a step-by-step look at the process, highlighting parts you can potentially do yourself and when you might be better off calling in the pros.
Can you install a hot water tap yourself?
Some manufacturers insist on professional installation by an expert engineer, which is often included in the price or available on ‘special offer’. But most boiling water taps designed for domestic use benefit from ‘plug and play’ installation. This generally means they don’t require a specialist (read: expensive) installation engineer.
A competent plumber who is up-to-speed on the UK Water Supply (Water Fittings) Regulations 1999 and safety standards should find fitting a boiling water tap a breeze.
However, the job isn’t quite so easy for the average homeowner, even if you know how to handle a spanner. ‘Do check with your manufacturer that you don’t need to use a professional to validate the warranty,’ adds Tom Burke, product development manager, House of Rohl. Whether or not you are required to use a pro, incorrect installation will invalidate your warranty, so is it worth the risk?
How to install a boiling water tap
1. Prep your space
DIY DOABLE There are a few things you can do to help ensure smooth installation of your boiling water tap, and the first is to identify the best location. The ideal spot for a boiling water tap is next to a sink, whether that’s the main kitchen sink or a small prep/island sink, which has a cold-water supply and drainage in place.
‘The tap's boiler tank will need a standard 13-amp power socket in the sink cupboard below, and of course, check the cupboard can accommodate the tank and filter system,’ says Alexandra Rowe.
GO PRO If there isn’t a convenient power outlet nearby, arrange for an electrician to install one.

2. Prep and drill the hole
DIY DOABLE If you are replacing a regular mixer tap with a boiling water tap that supplies hot and cold, you should be able to use the existing tap hole. ‘Most instant hot water taps are so-called monobloc designs, so only need a single hole in the kitchen worksurface. If you currently have pillar taps, you might be able to fit a deck-mounted soap dispenser in the spare hole to conceal it,’ says Tom Burke, product development manager, House of Rohl.
If you are adding a boiling water tap and there’s no hole for it, get out the drill. You’ll need a 35mm hole saw that’s suitable for the material you’re drilling, such as ceramic or steel. Mark the spot with a Sharpie and then drill a pilot hole through the centre to help position the hole saw and keep it steady.
GO PRO Drilling into solid surfaces like stone, quartz and composite often requires specialised equipment, like a wet drill and diamond blades, so it could be cheaper to call in a pro.
3. Mount the tap
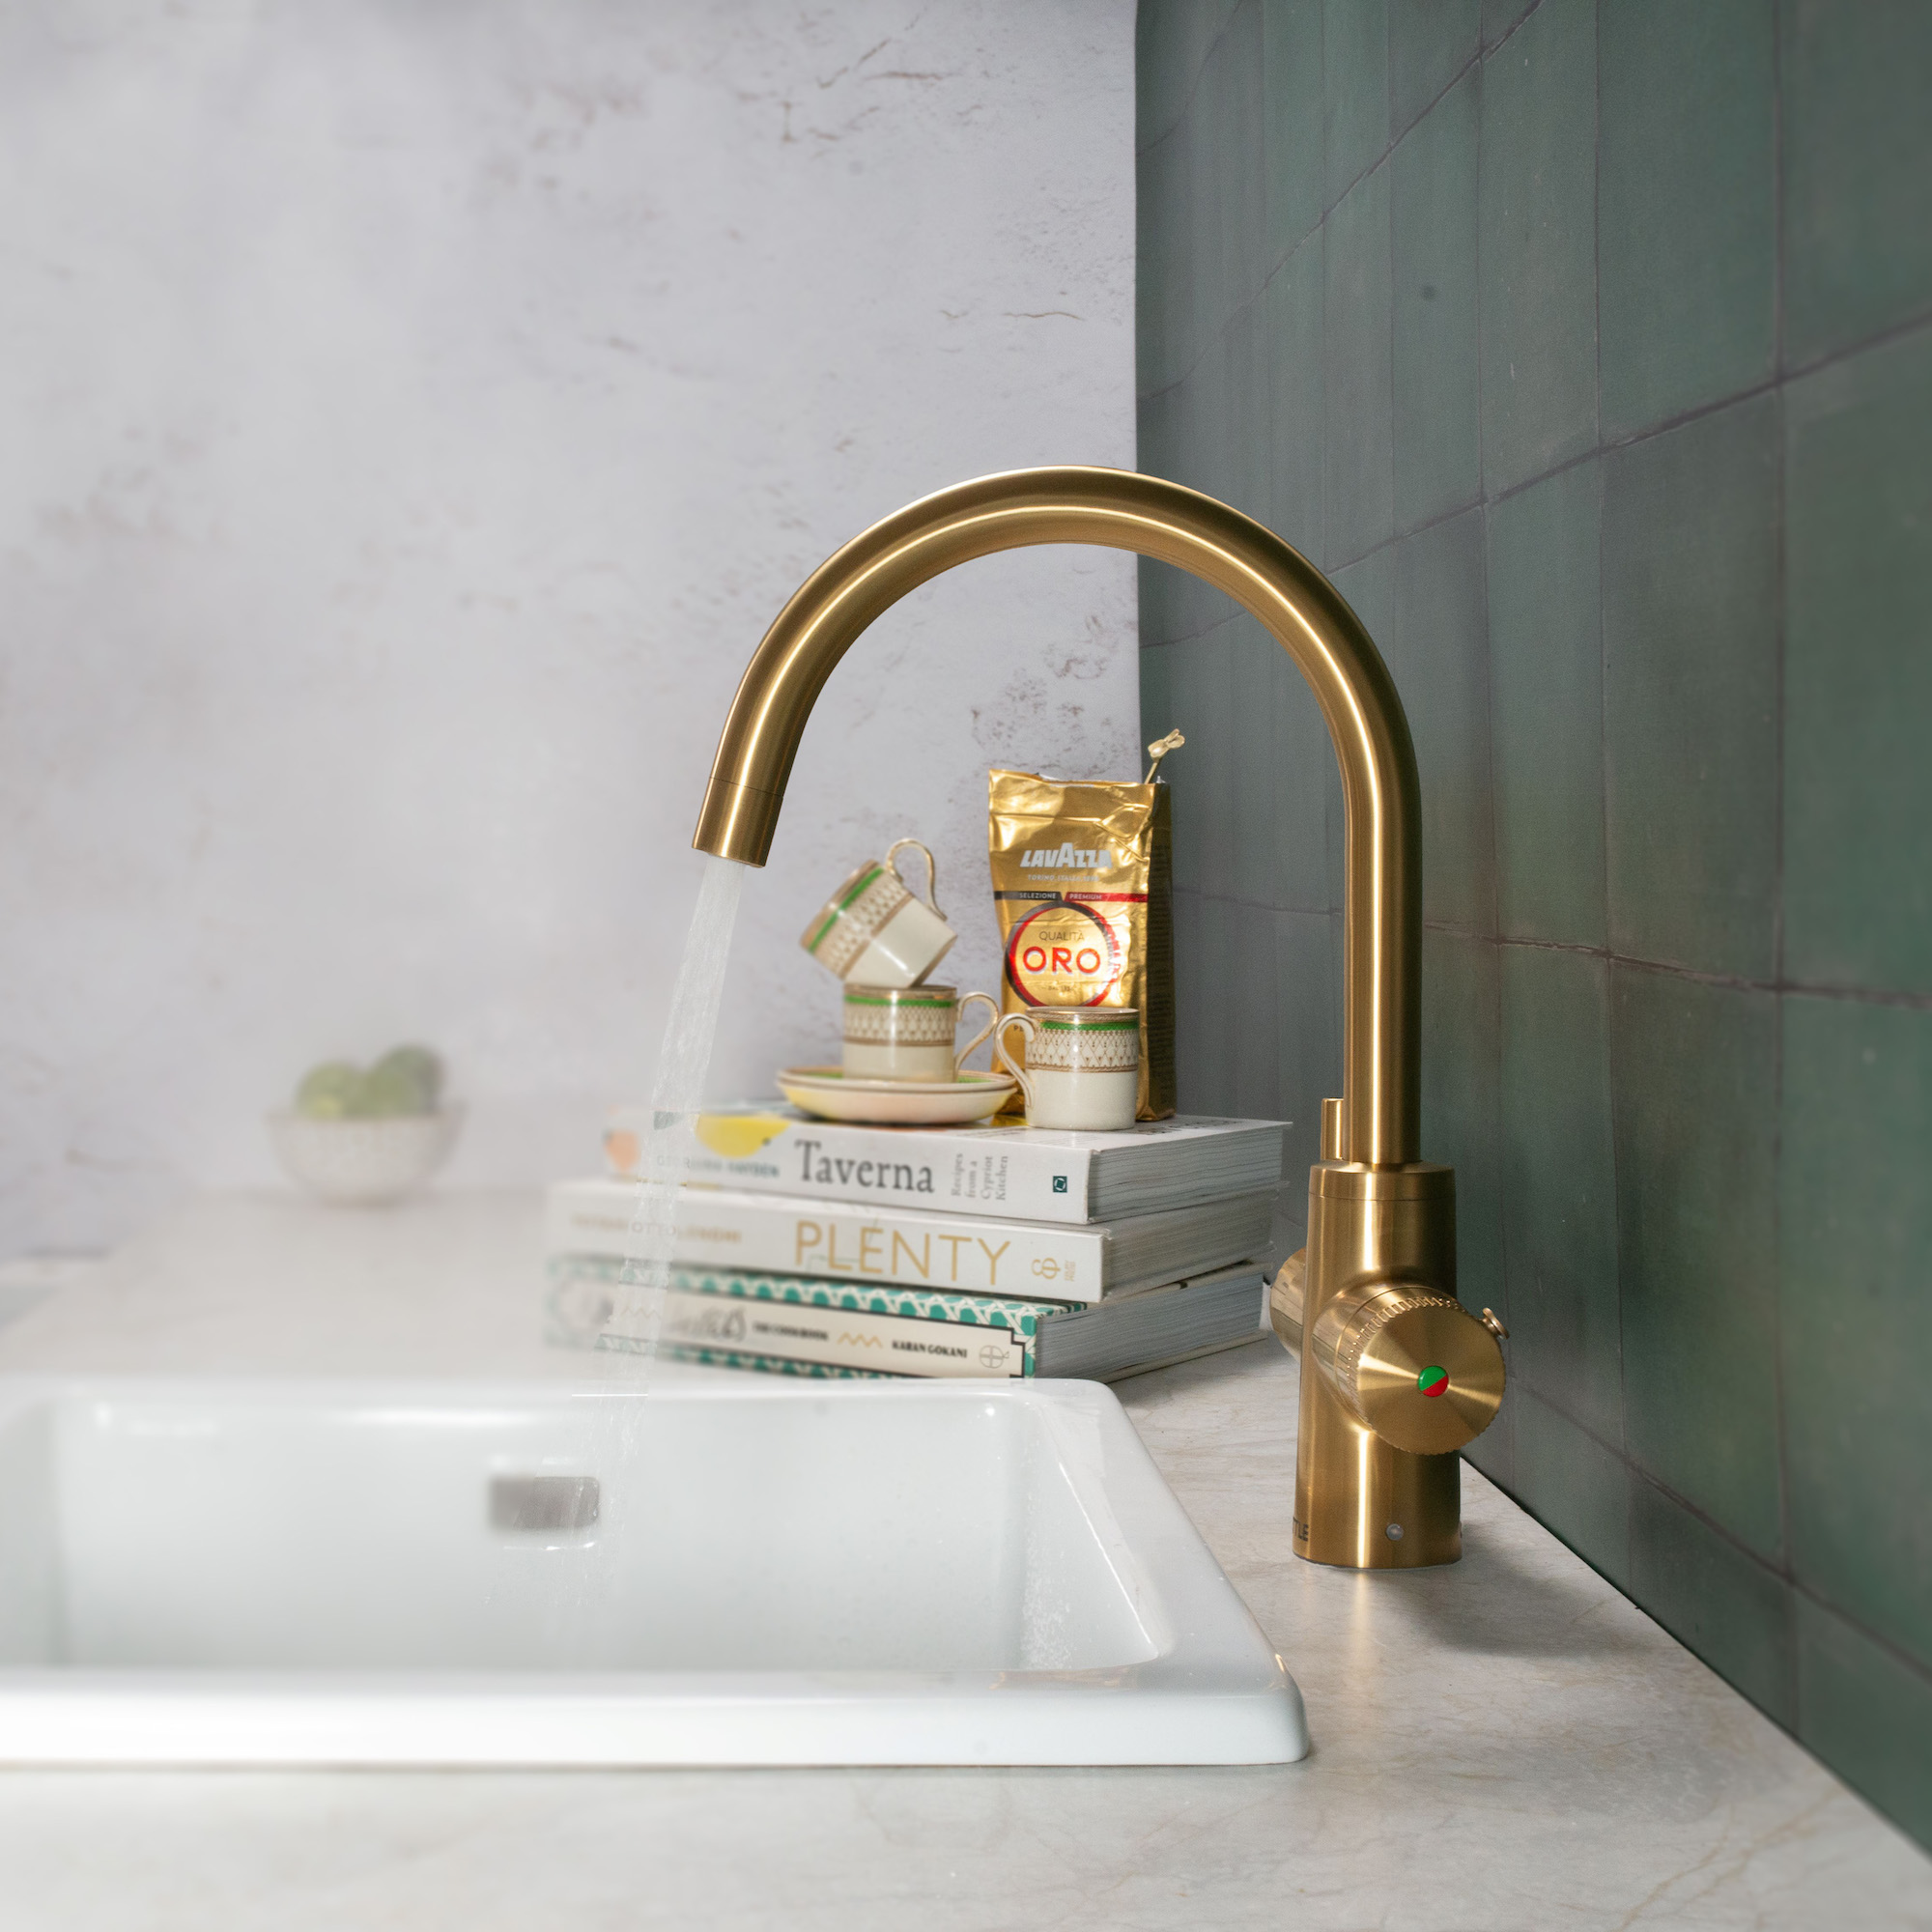
DIY DOABLE Clean and degrease the tap hole. Insert the tap’s flexible hoses and the wire lead through the hole and position the tap so it is facing the right way (forwards). Working inside the cabinet, secure the tap from underneath using the washers/mounting fixtures supplied and a spanner. Secure it firmly but do not overtighten.
GO PRO Depending on the position and depth of your sink, it can be very tricky to reach behind and secure the tap from underneath. A plumber will have the tools and skills to complete this task without pulling any muscles.
4. Fit the water filter
DIY DOABLE All boiling water taps come with a filter unit, which is usually separate to the boiler for easy replacement. Most come with a bracket that is drilled into the side of the cabinet for a firm fix. Screw in the cold-water inlet and filtered water outlet pipes to the top of the filter unit, following the manufacturer’s guidance – these pipes and connections are often colour-coded. Do not over-tighten.
GO PRO If you’re not handy with a screwdriver, leave this job to the experts.
5. Position the boiler unit
DIY DOABLE Choose the best position in the cupboard below for the boiler and the filter unit, making sure that the power cable, the tap’s flexible hoses and the filter cartridge can all be easily connected to their respective connection points without being unduly stretched.
The boiler must be installed upright. Check the manufacturer’s installation guide for any clearance requirements around the unit for connecting hoses. ‘Ensure the boiler unit is easily accessible for maintenance. Ideally, this will be towards the front of the cupboard and without any pipework or drainage running in front,’ adds Alexandra Rowe, of Qettle. You can plug the boiler in but don’t switch it on yet.
6. Connect the pipes
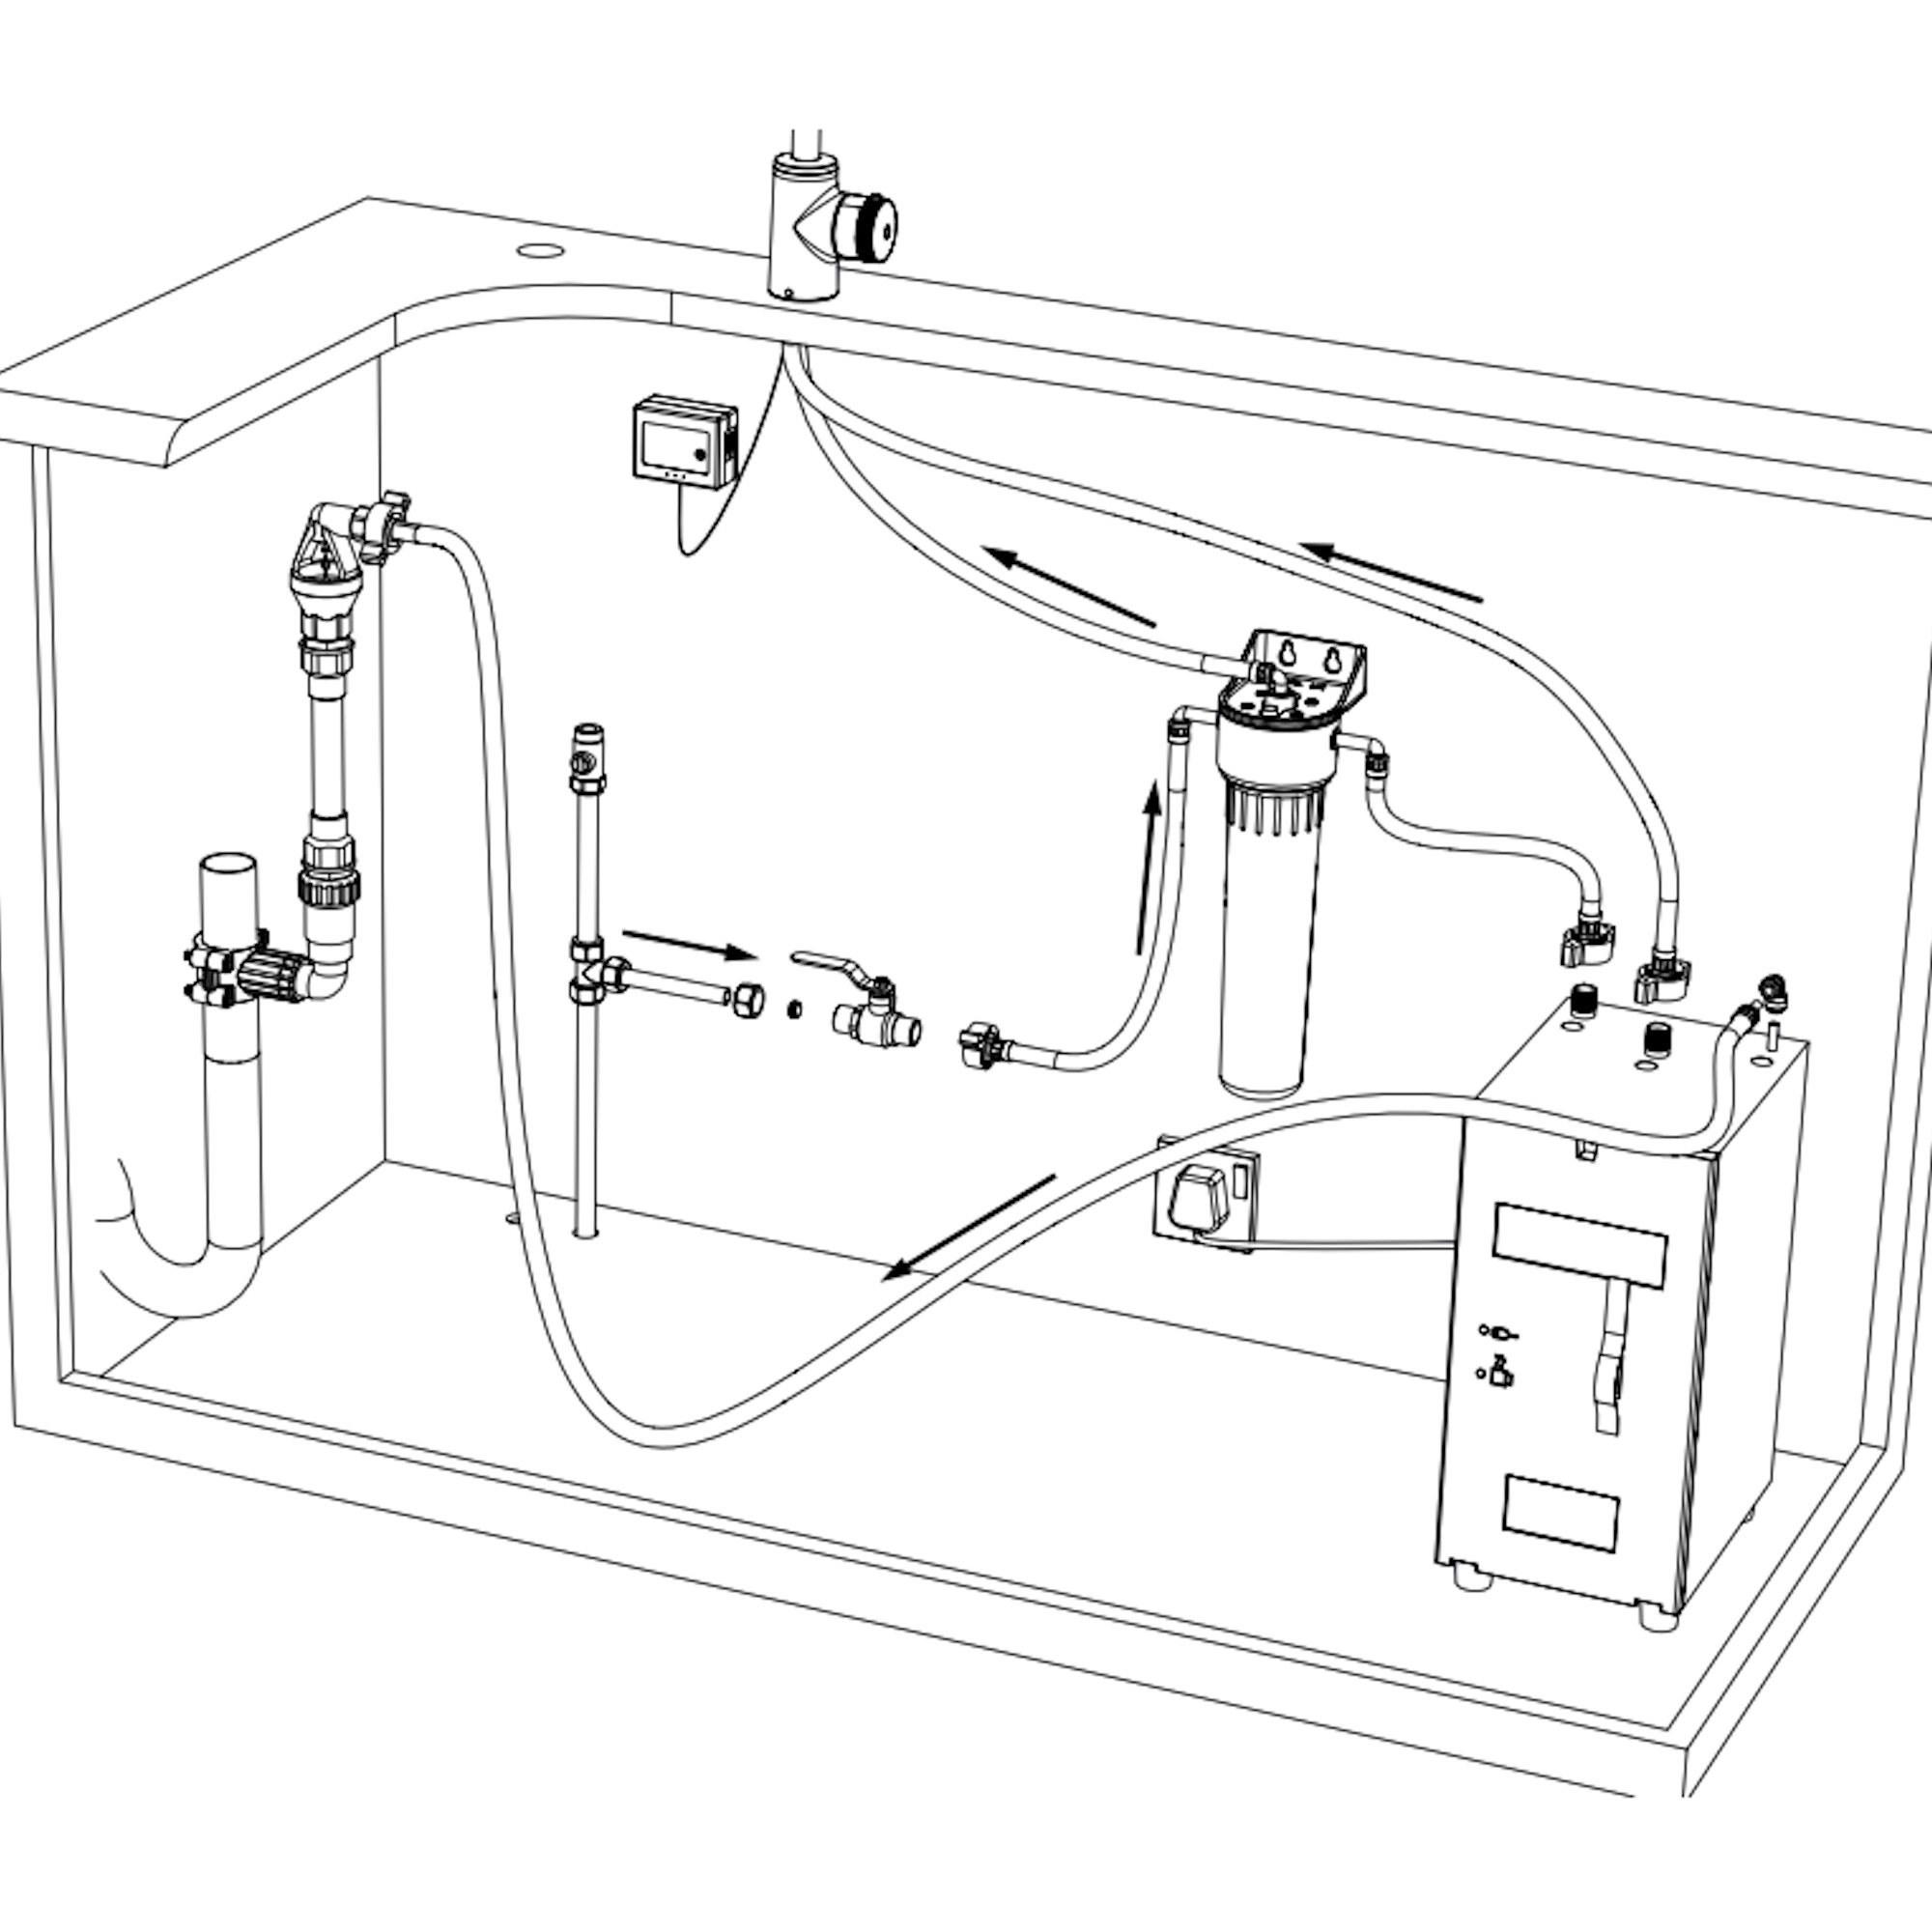
DIY or GO PRO Don’t forget to shut the water supply off before you begin! You will need to tee off the cold mains water supply to provide an independent feed to the water filter and install a stop-valve. A vent assembly must also be fitted to the sink drain to allow steam to escape and the droplets to drain away. Attach the pipes from the water filter to the boiler unit and from the boiler unit to the tap.
GO PRO This step does require some knowledge of plumbing, especially with regard to compression fittings, pipe cutters and safety.
7. Test for leaks and power up
DIY DOABLE Once connected, turn on the mains' hot and cold-water supplies and check each joint for any leaks. Flush the system through by turning the boiling tap on for at least three minutes. Next turn on the water supply that feeds the filter (and then the boiler tank). Flush the system through again (by running the tap) and then switch on the power to the boiler. After filling, the boiler will take several minutes to heat water initially, but it should provide near-instant boiling water from then on.
GO PRO If you discover any leaks or the boiler isn’t working properly, call an expert.
How long does it take to install a hot water tap?
If you have all the tools in place and have done your homework reading the instruction manual, you should be able to install a boiling water tap in about one to two hours. Provided there are no additional modifications required, a professional familiar with the model you’ve bought should be able to complete installation in around 20 minutes. ‘Do bear in mind that 4-way or 5-way taps, that include sparkling water etc, are more complicated to install and will therefore take longer,’ adds Tom Burke, product development manager, House of Rohl.
Incorrect water pressure can also have a big impact on successful installation, especially if your house is on a low-pressure system. ‘A gravity-fed hot water system - hot water tank in the loft - will almost always need a helping hand in the form of a small pump to ensure there is enough water pressure,’ explains Alexandra from Qettle.
Does your home have a water softener? If so, Alexandra’s advice is to 'tee off' an unsoftened supply of water to feed the boiling water tap. Sinks with waste disposal systems will require a separate waste for the boiling water vent, which is another job that may well require a professional plumber.
What should you do if you spot any issues during installation?
If you, or your plumber, notices any broken or missing components when installing, stop the work and contact the manufacturer. If the issues have been created by you – for example something is leaking or making a noise it shouldn’t, stop the work and call a plumber/electrician!
Do any boiling water tap suppliers assist with the installation?
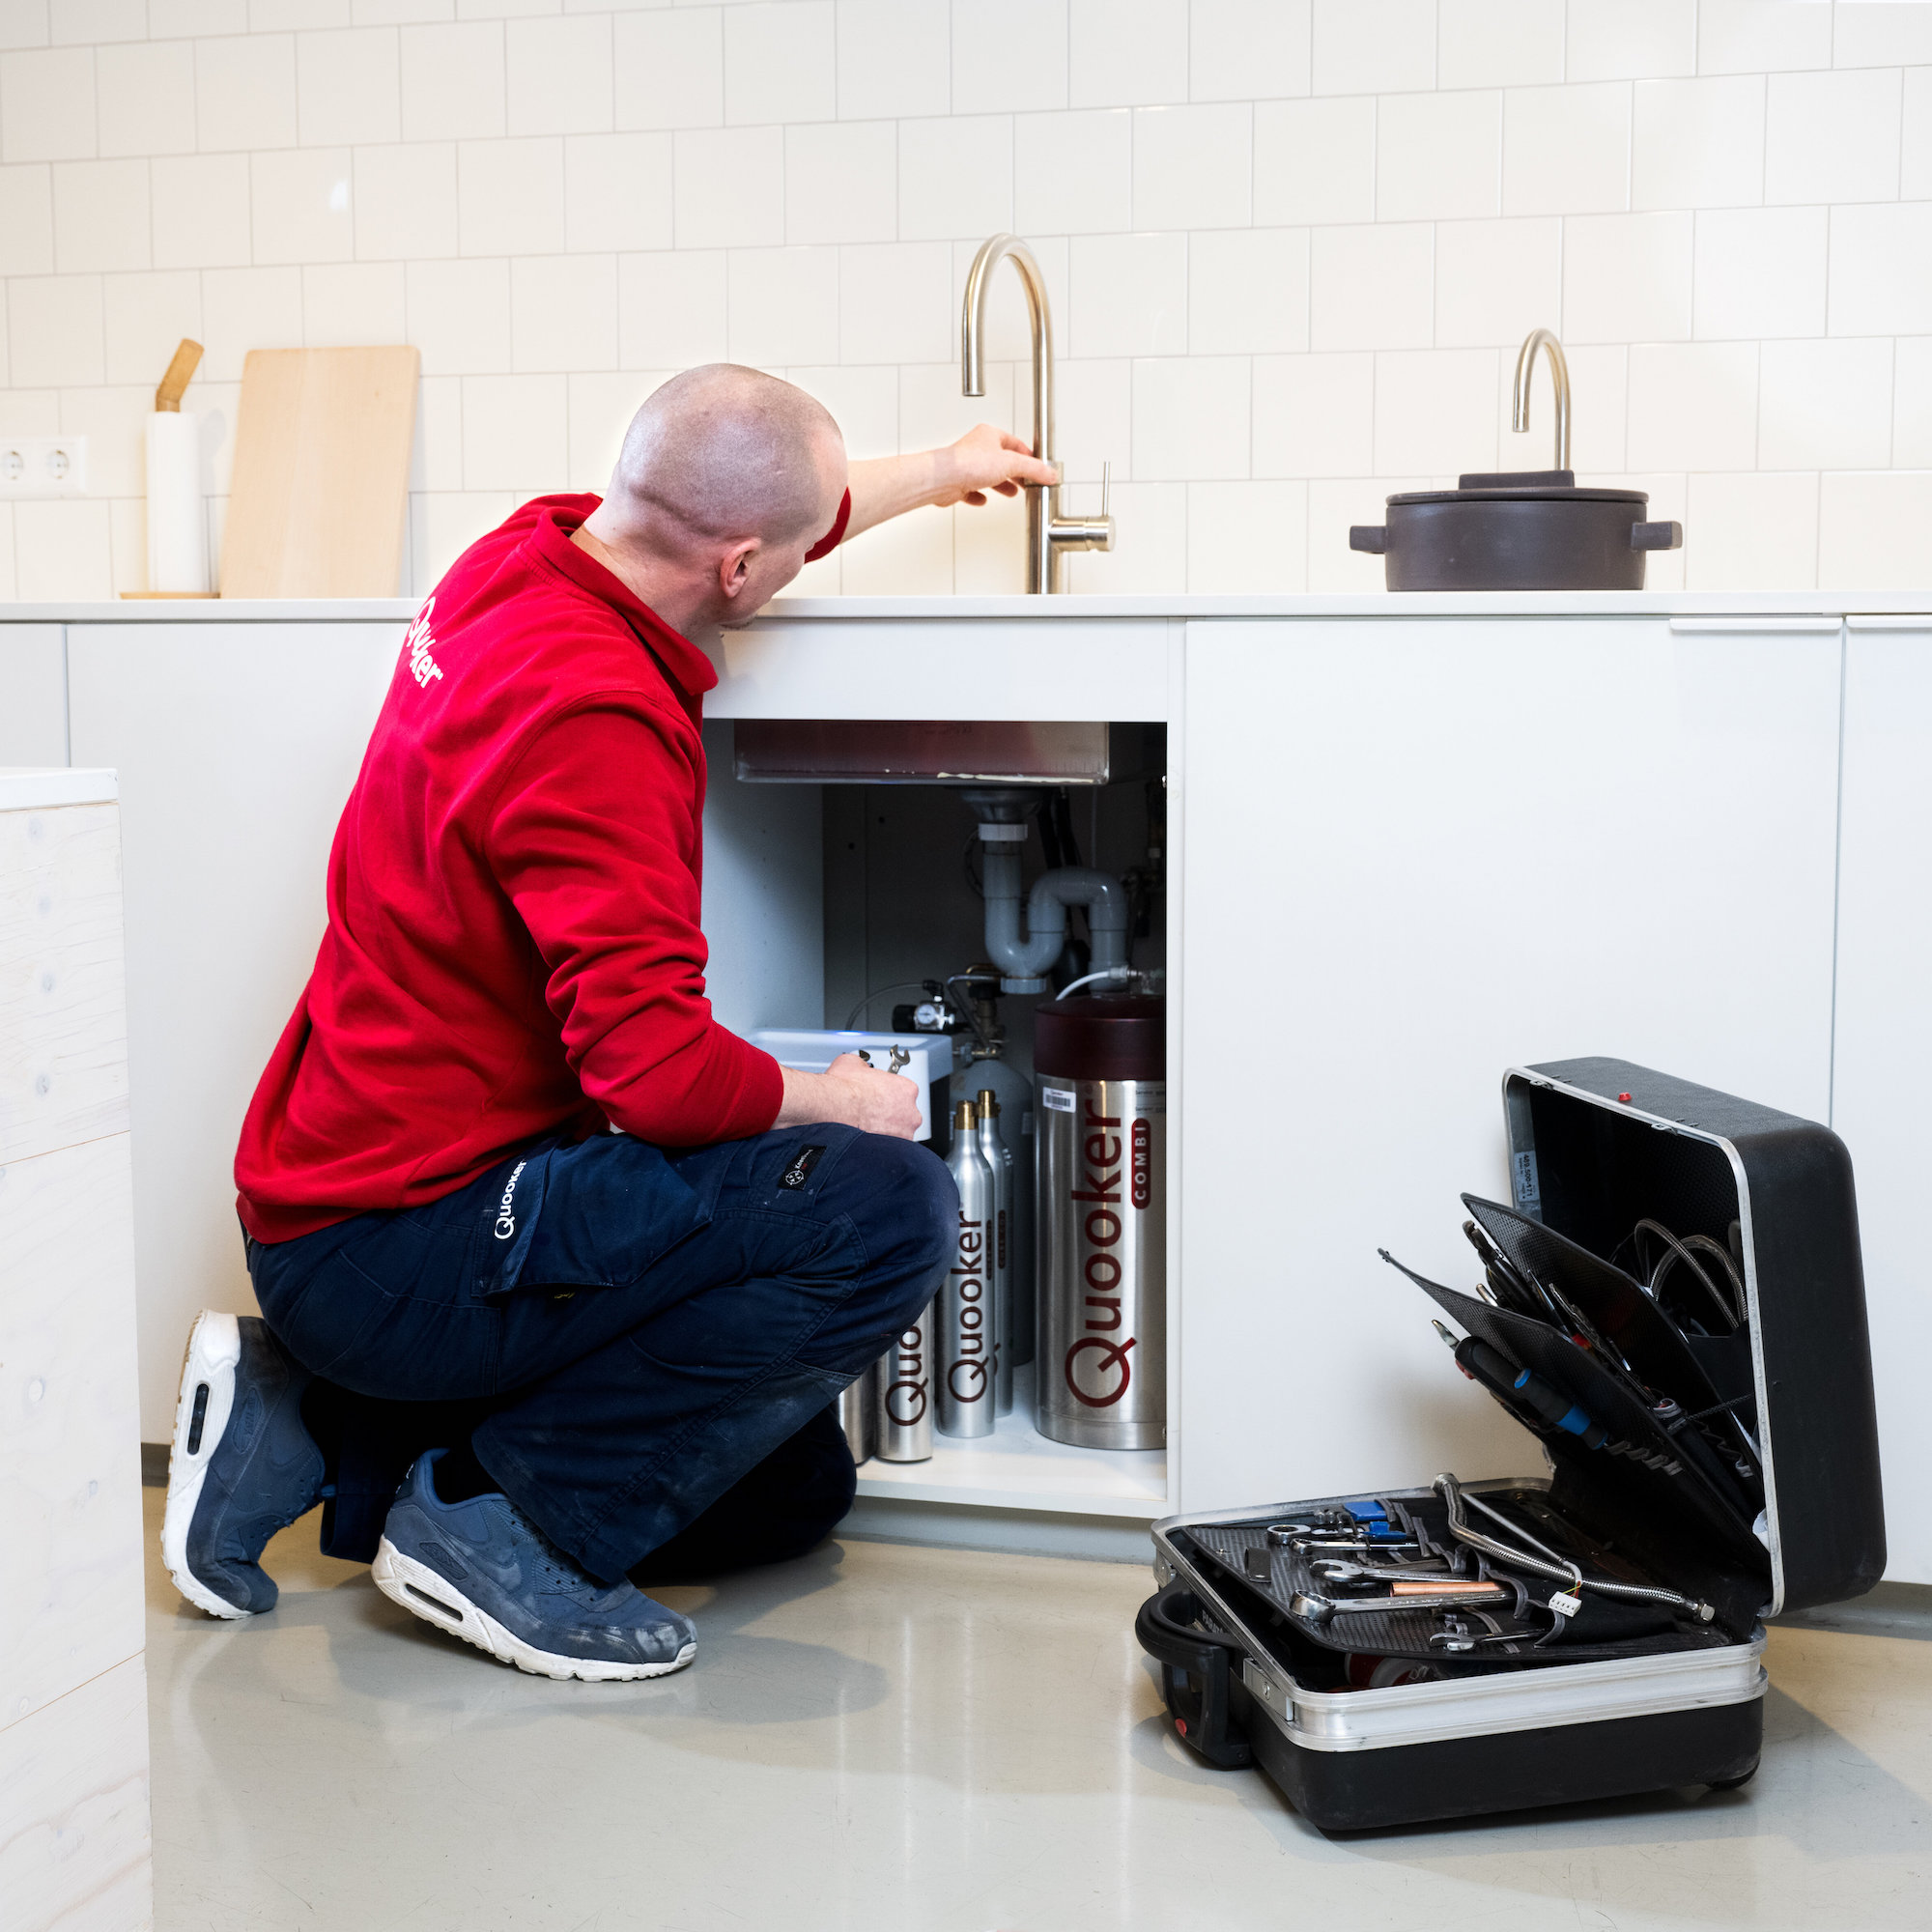
Yes, several boiling water tap manufacturers offer assistance with installation, either directly using in-house installation teams, or through recommended local professionals. For example, Quooker and Qettle can arrange installation by an approved engineer on your behalf, if required.
Many of the major brands provide free access to installation guides and videos on their websites, which are aimed at professional plumbers and skilled DIYers. While installation is rarely free, some suppliers may include installation as part of a package deal or special offer, so it's worth asking before you commit to the purchase.
Top-rated boiling water taps
Our guide is designed as an overview of the main steps involved to help you decide whether you are confident about tackling this task. Every boiling water tap is different, and you should take care to thoroughly read the installation guidance provided.
Installing a boiling water tap isn’t beyond the reach of a savvy DIYer, but if in doubt, professional help will ensure efficiency, safety and peace of mind.


