SketchUp is a user-friendly yet powerful 3D modelling tool that allows architects, designers, and enthusiasts to bring their creative visions to life. SketchUp is versatile enough for both professionals and beginners, from drafting simple layouts to creating detailed architectural structures. Designing a 3D virtual house in SketchUp provides a tangible way to visualize your ideas, refine plans, and achieve precise details before physical implementation. This article simplifies the process into easy-to-follow steps, helping you build your dream house efficiently while showcasing the capabilities of this remarkable tool.
Understanding the Basics of SketchUp
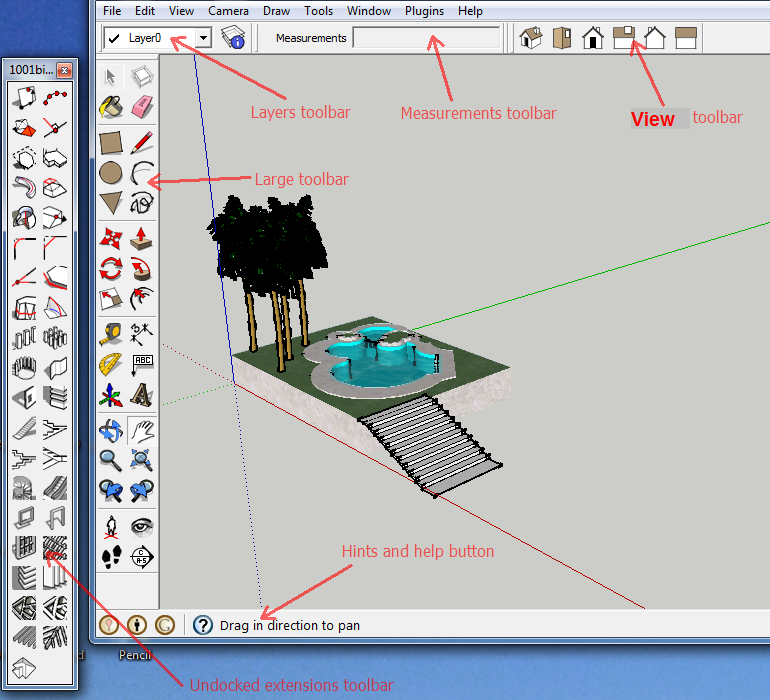
Before diving into your project, it's essential to familiarize yourself with the SketchUp interface. Designed for intuitive use, SketchUp offers tools such as Push/Pull (to add or subtract depth from shapes), Orbit (to navigate your 3D workspace), and the 3D Warehouse (an extensive library of pre-designed components).
The simplicity of the SketchUp interface makes it accessible, but practice is essential. Begin by experimenting with basic tools like Rectangle and Line to create shapes. Get comfortable with zooming, panning, and rotating the workspace. Watching introductory tutorials or taking a beginner's course will provide you with the confidence to deal with larger projects.
Setting Up Your SketchUp Project
Start with a solid foundation by correctly setting up your workspace. Open SketchUp and select a pre-configured template tailored for architecture, like “Architectural Design.” Adjust unit settings (imperial or metric) to align with the project's specifications under the Model Info panel.
Once the workspace is configured, define the house's scale and dimensions. For example, set room heights and widths based on standard architectural measurements. Save your file in a dedicated project folder, assigning a descriptive name to keep things organized. Regularly save updates during modelling to prevent data loss.
Designing the House Layout
A well-crafted floor plan sets the stage for a great 3D model. Use the Rectangle and Line tools to map the ground floor’s layout. Start with the overall footprint of the house and then subdivide areas into rooms, hallways, and common spaces.
Add precision to your layout using the Tape Measure tool to verify distances between walls and doors. Mark areas for structural elements like stairs, large windows, or built-in storage using the Offset tool. If you have access to blueprints or a reference image, SketchUp lets you import and trace over it, ensuring accuracy.
Don’t overlook outdoor elements if they are part of your project. A surrounding yard or driveway can enhance the house’s presentation, giving a better sense of scale and setting.
Constructing Walls and Roof
The transition from 2D to 3D begins by extruding walls upward from your floor plan. The Push/Pull tool is essential here—click on the base of each room's boundary and drag it to the desired height. Standard residential walls are typically 8 to 10 feet high, but this can vary depending on design preferences.
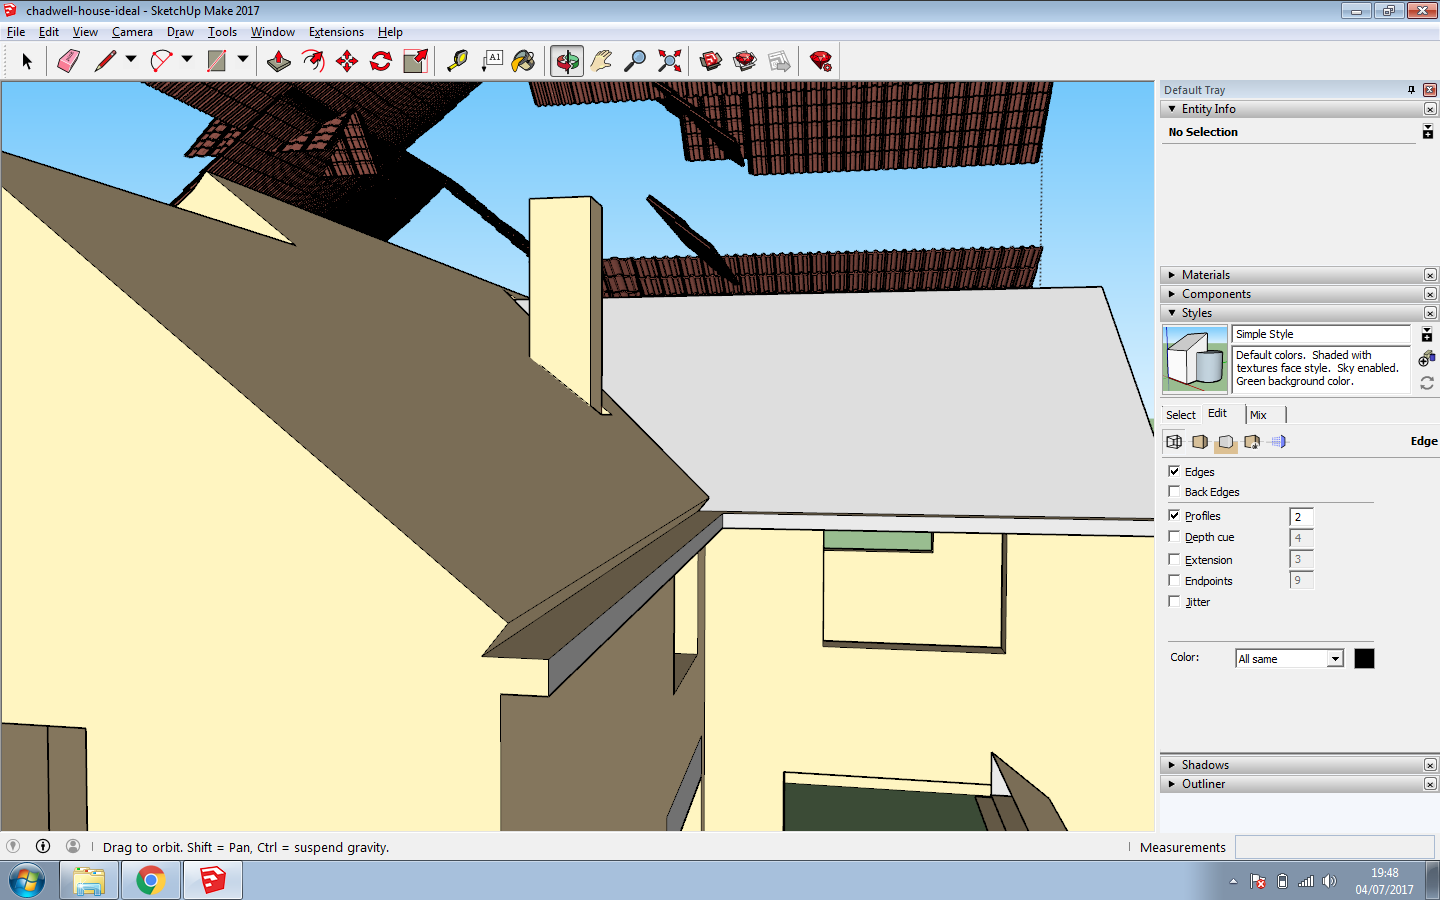
Designing an office or home requires careful planning, as it vividly impacts the aesthetics and functionality of the house. For a gable roof, define the slopes using the Line tool. Use Push/Pull to elevate triangular ends and extend rooflines. SketchUp’s Follow Me tool helps create details like overhangs, gutters, or trims, ensuring the roof looks realistic. Add functional features such as chimneys or skylights to give your model character.
Adding Interior Features
The interior design phase brings the structure to life. Begin by adding internal partitions to create rooms and corridors, ensuring proper alignment with the floor plan. These can be constructed using the same Push/Pull tool used for walls.
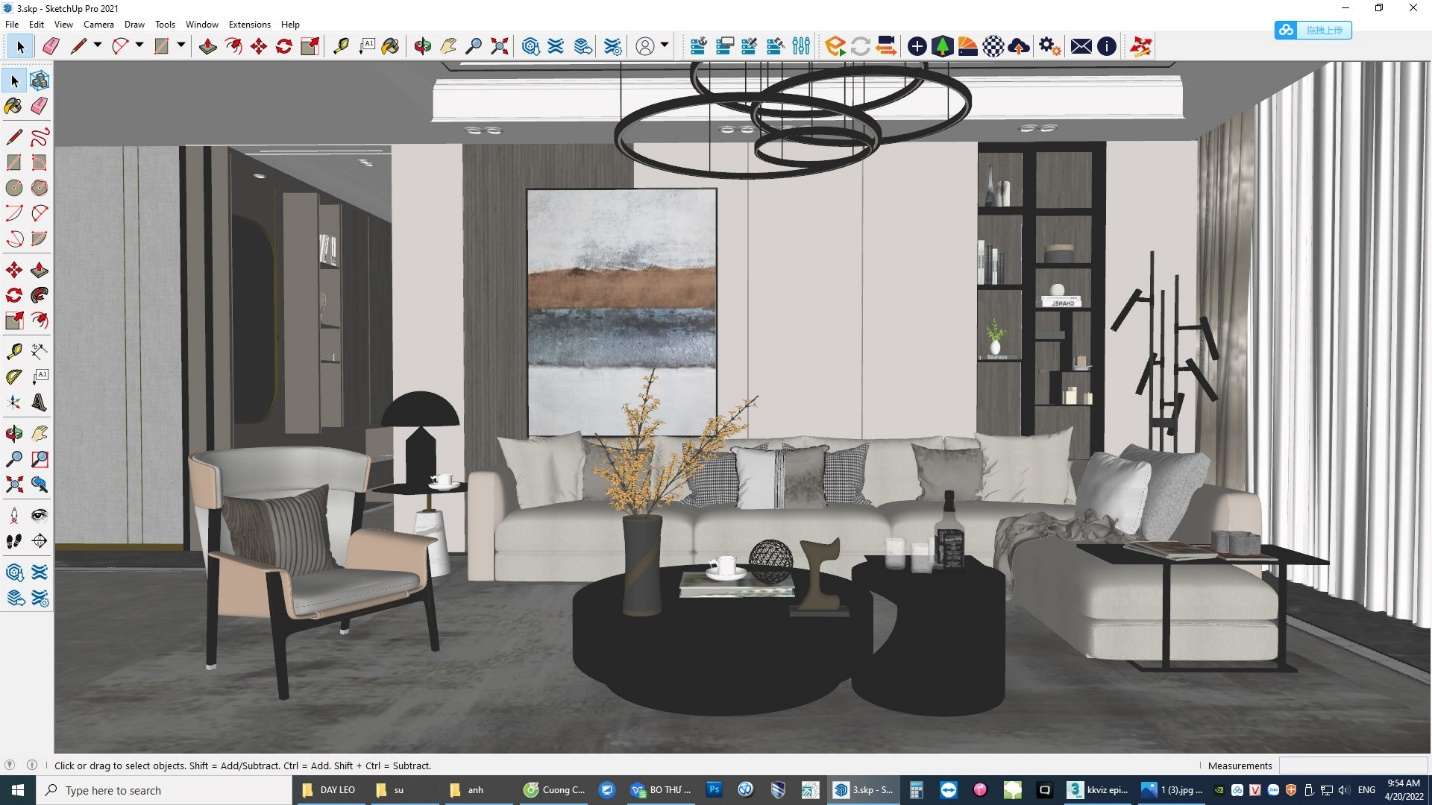
To furnish the house, leverage SketchUp’s 3D Warehouse. This vast repository includes a variety of ready-made furniture and fixture models, such as sofas, beds, tables, and kitchen appliances. Download and place these items within your space using the Move and Rotate tools. Ensure proper spacing between furniture for a natural, ergonomic layout.
For a custom touch, design your furniture using tools like Rectangle or Arc for unique shapes, then extrude them with Push/Pull. Consider adding staircases, lighting fixtures, or decorative items to increase realism. Dividing spaces with elements like sliding doors or built-in cabinets enhances both design and functionality.
Applying Textures and Finishes
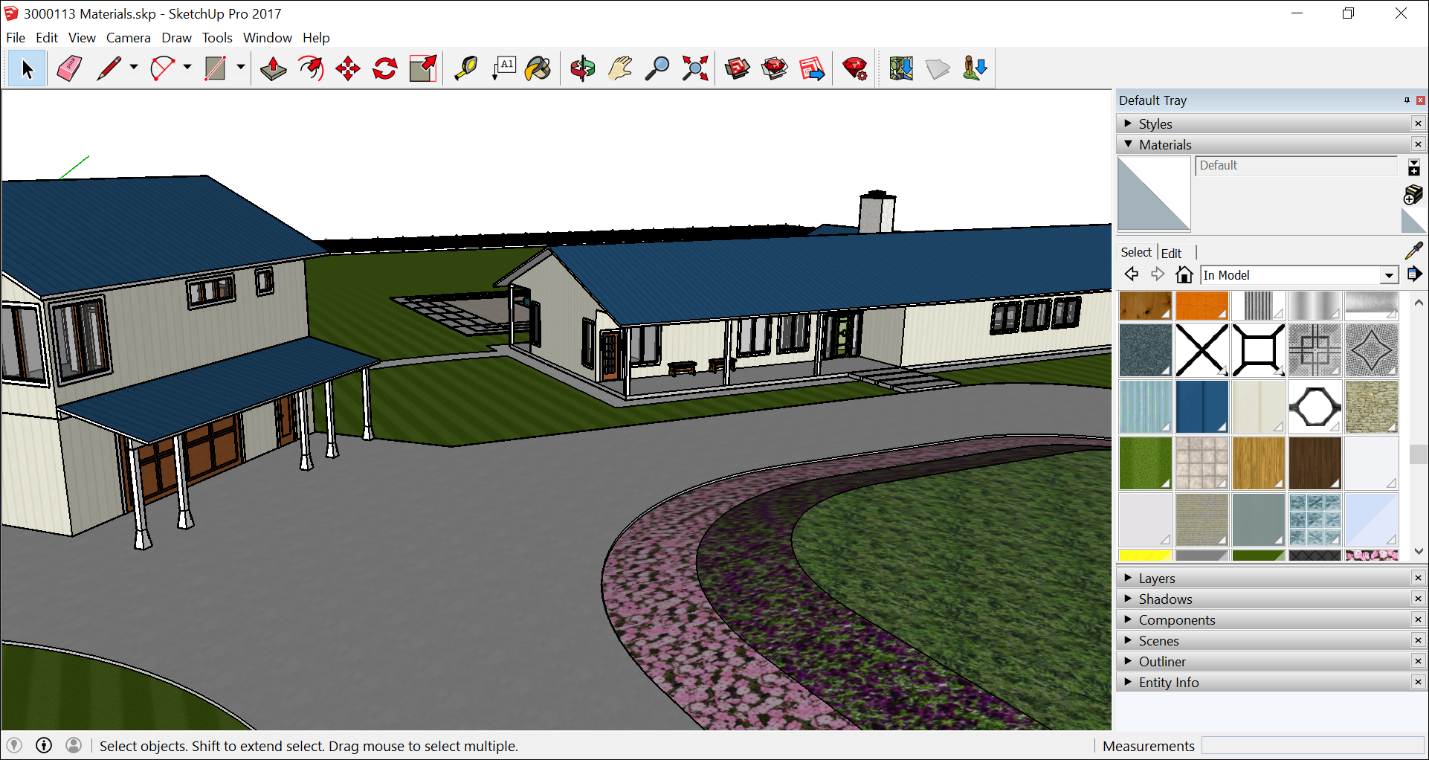
The appearance of your virtual house relies heavily on materials and textures. SketchUp provides an extensive library of pre-made textures in its Materials panel, including wood, tiles, concrete, and fabric.
Apply materials to walls, floors, furniture, and exteriors by selecting the surface and choosing the desired texture. Adjustments to scale and alignment can be made in the Material Editor to ensure patterns like tiles or bricks are correctly positioned.
For advanced texturing, third-party extensions like V-Ray offer even greater realism. Add finishing details such as floorboards, crown mouldings, or feature walls. At this stage, think about lighting—adjust SketchUp's sunlight settings for natural light or use plugins to add realistic artificial lighting, including spotlights and ambient lights. Shadows and reflections can significantly enhance your final model's presentation.
Refining the Model
A thorough review ensures your model’s accuracy and completeness. Navigate through the house using the Orbit tool to check all angles for consistency. Correct any misaligned walls, gaps, or scaling issues you spot during this step.
Switch to the Walk tool to simulate moving through the interior as if in real life. This allows you to assess the design’s spatial flow and make adjustments to improve usability. For instance, if furniture placement feels cramped or doorways are too narrow, you can easily make adjustments to improve the layout.
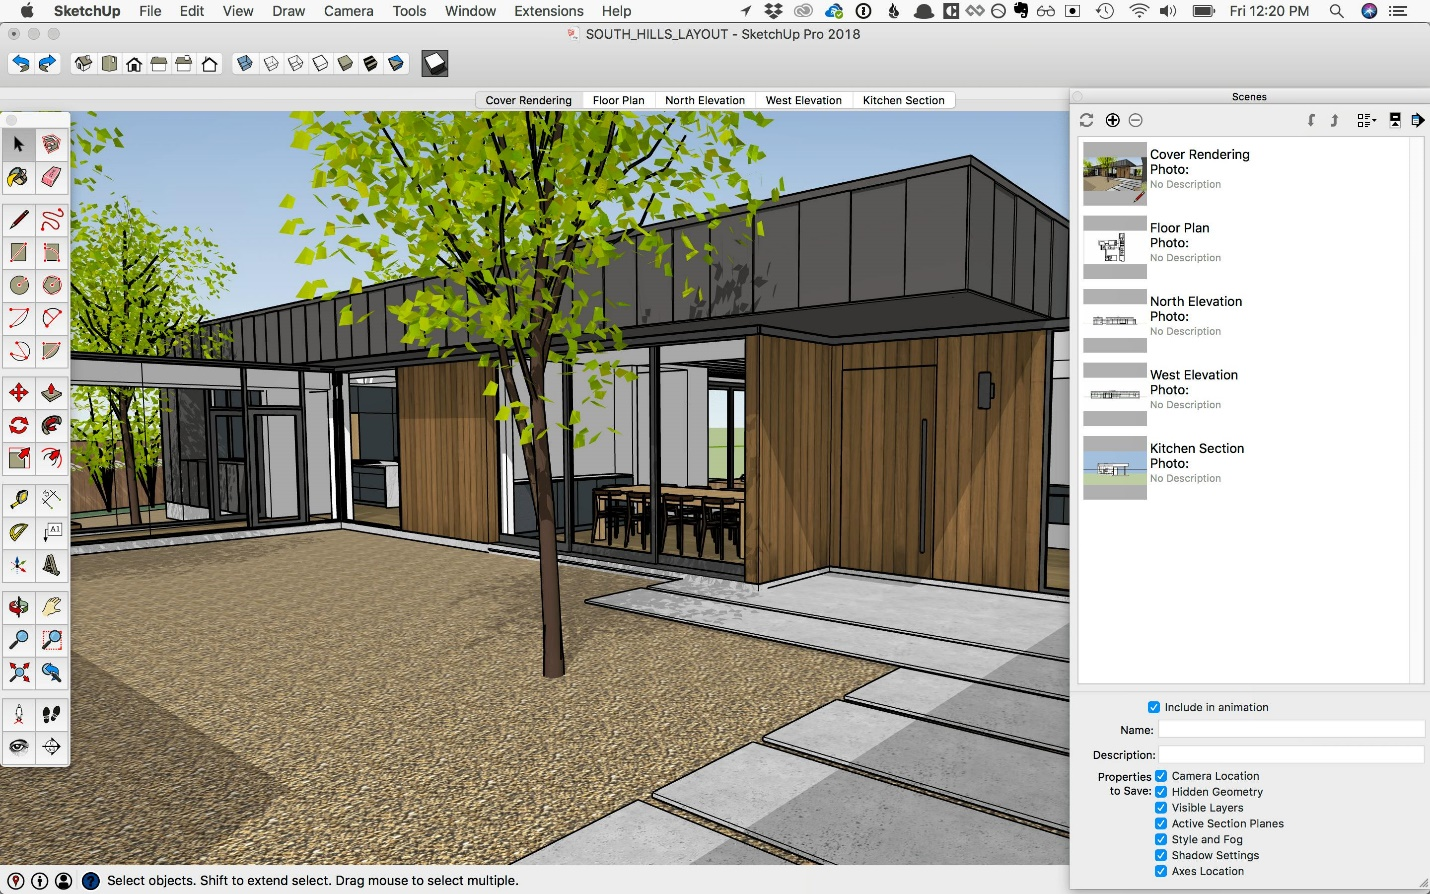
Seek feedback by sharing drafts with collaborators or clients. SketchUp’s export options allow you to generate shareable views, whether as still images, 3D environment, or walkthrough videos. Feedback ensures your final design meets expectations and resolves any unnoticed issues.
Exporting and Showcasing Your Design
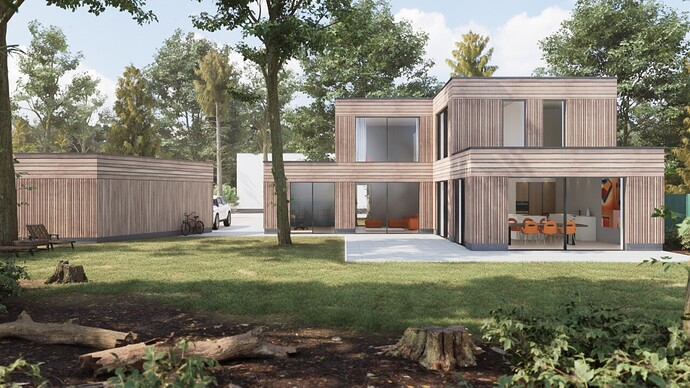
Once the model is complete, you’re ready to present your virtual house. Use SketchUp’s Export Image feature to create high-resolution stills from various angles. To showcase motion, set up camera paths and export an animation video.
If high-end rendering is required, plugins like V-Ray or Enscape allow you to generate photorealistic visuals, complete with advanced lighting and texture effects. Export files in formats compatible with other software for presentations or further collaboration.
Your design can also be uploaded to SketchUp’s 3D Warehouse or shared with colleagues for additional uses, such as integrating it into a larger architectural project.
Conclusion
Designing a 3D virtual house in SketchUp combines technical precision and creative artistry. By following this step-by-step guide—setting up the workspace, creating the floor plan, building walls and roofs, adding interiors, and refining the details—you can turn your vision into a detailed, realistic model. With practice and SketchUp's robust tools, you'll master architectural modelling and bring complex design ideas to life, one project at a time.