There are thousands of styles for models and shaders, but when talking about stylised materials there are two main branches that come to my mind: anime and semi-realistic. The main difference is the use of shadows and the emissive property for the shade. Choose carefully!
In this short tutorial, I’ll guide you through a simple but powerful method to create stylised grass using Blender 4.1. Not yet up to speed on this software? Then read our Blender 4.1 review and our list of Blender tutorials for more advice.
Unlike conventional approaches that rely on using external assets such as textures or meshes, we’ll exclusively utilise Blender’s built-in tools and shaders here. To create this stylised grass, we first need to model some tufts of it.
Let's get started by adding a plane mesh to the 3D Viewport, and then define the model through a process of scaling and extruding the edge of the plane until we achieve the desired rectangular shape for our patch of grass.
For this process, it’s important to remember to merge the tip of the grass to make it look more realistic, and of course move and rotate the mesh around to make it feel more organic.
Once the model is ready, we can then make our way over to the Shader Editor panel to create the material for the mesh. To achieve the stylised look we simply connect a Color Ramp node to the Base Color of the Principled BSDF shader, and then set the Color Ramp to have a shade of green along the mesh.
Use a dark grey for the bottom part, which is interacting with the terrain, and a yellow / light grey for the top part of the mesh. The Roughness value is also important, and can be set with the slider.
Once the grass model is ready, all we need to do is to create a particle system to emit it. First select the terrain, then head to the Particle Settings panel and add a particle system by clicking the small '+' icon found in the Particles tab. Switch the Particle Type to Hair, then go to the Render tab and change the 'Render As' field to Object.
Finally, select the grass mesh that we previously created as the Instance Object.
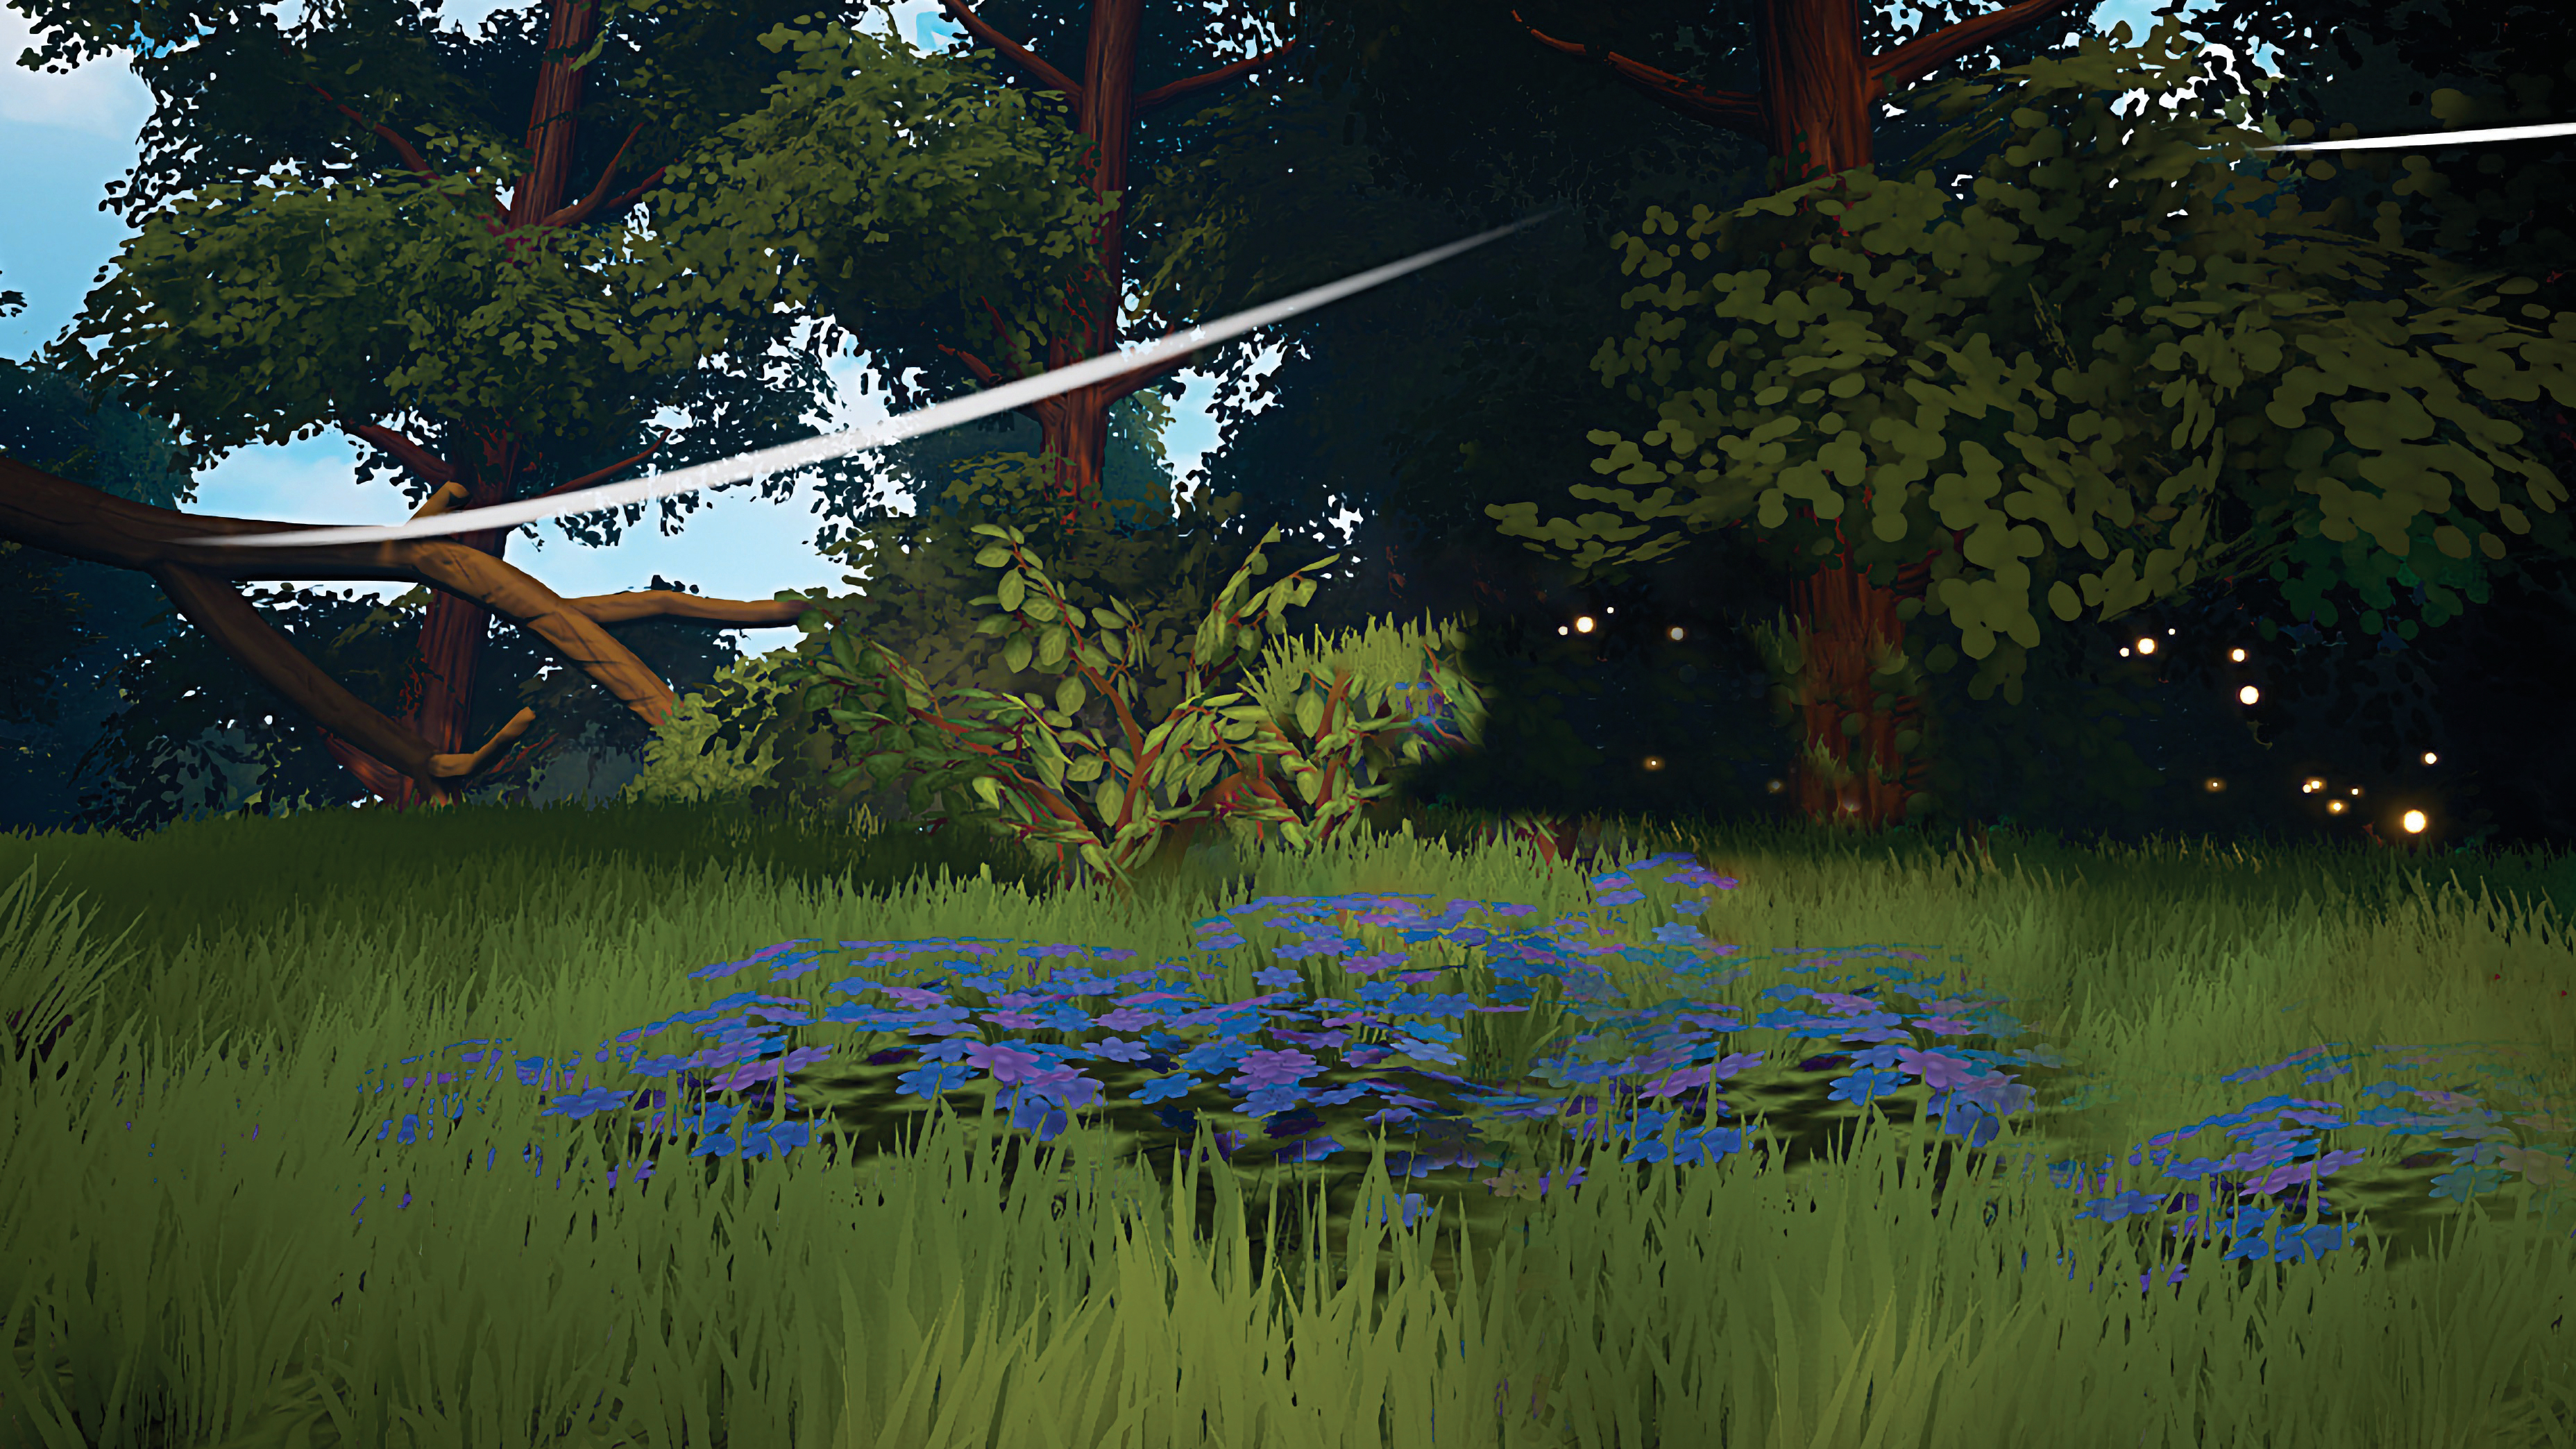
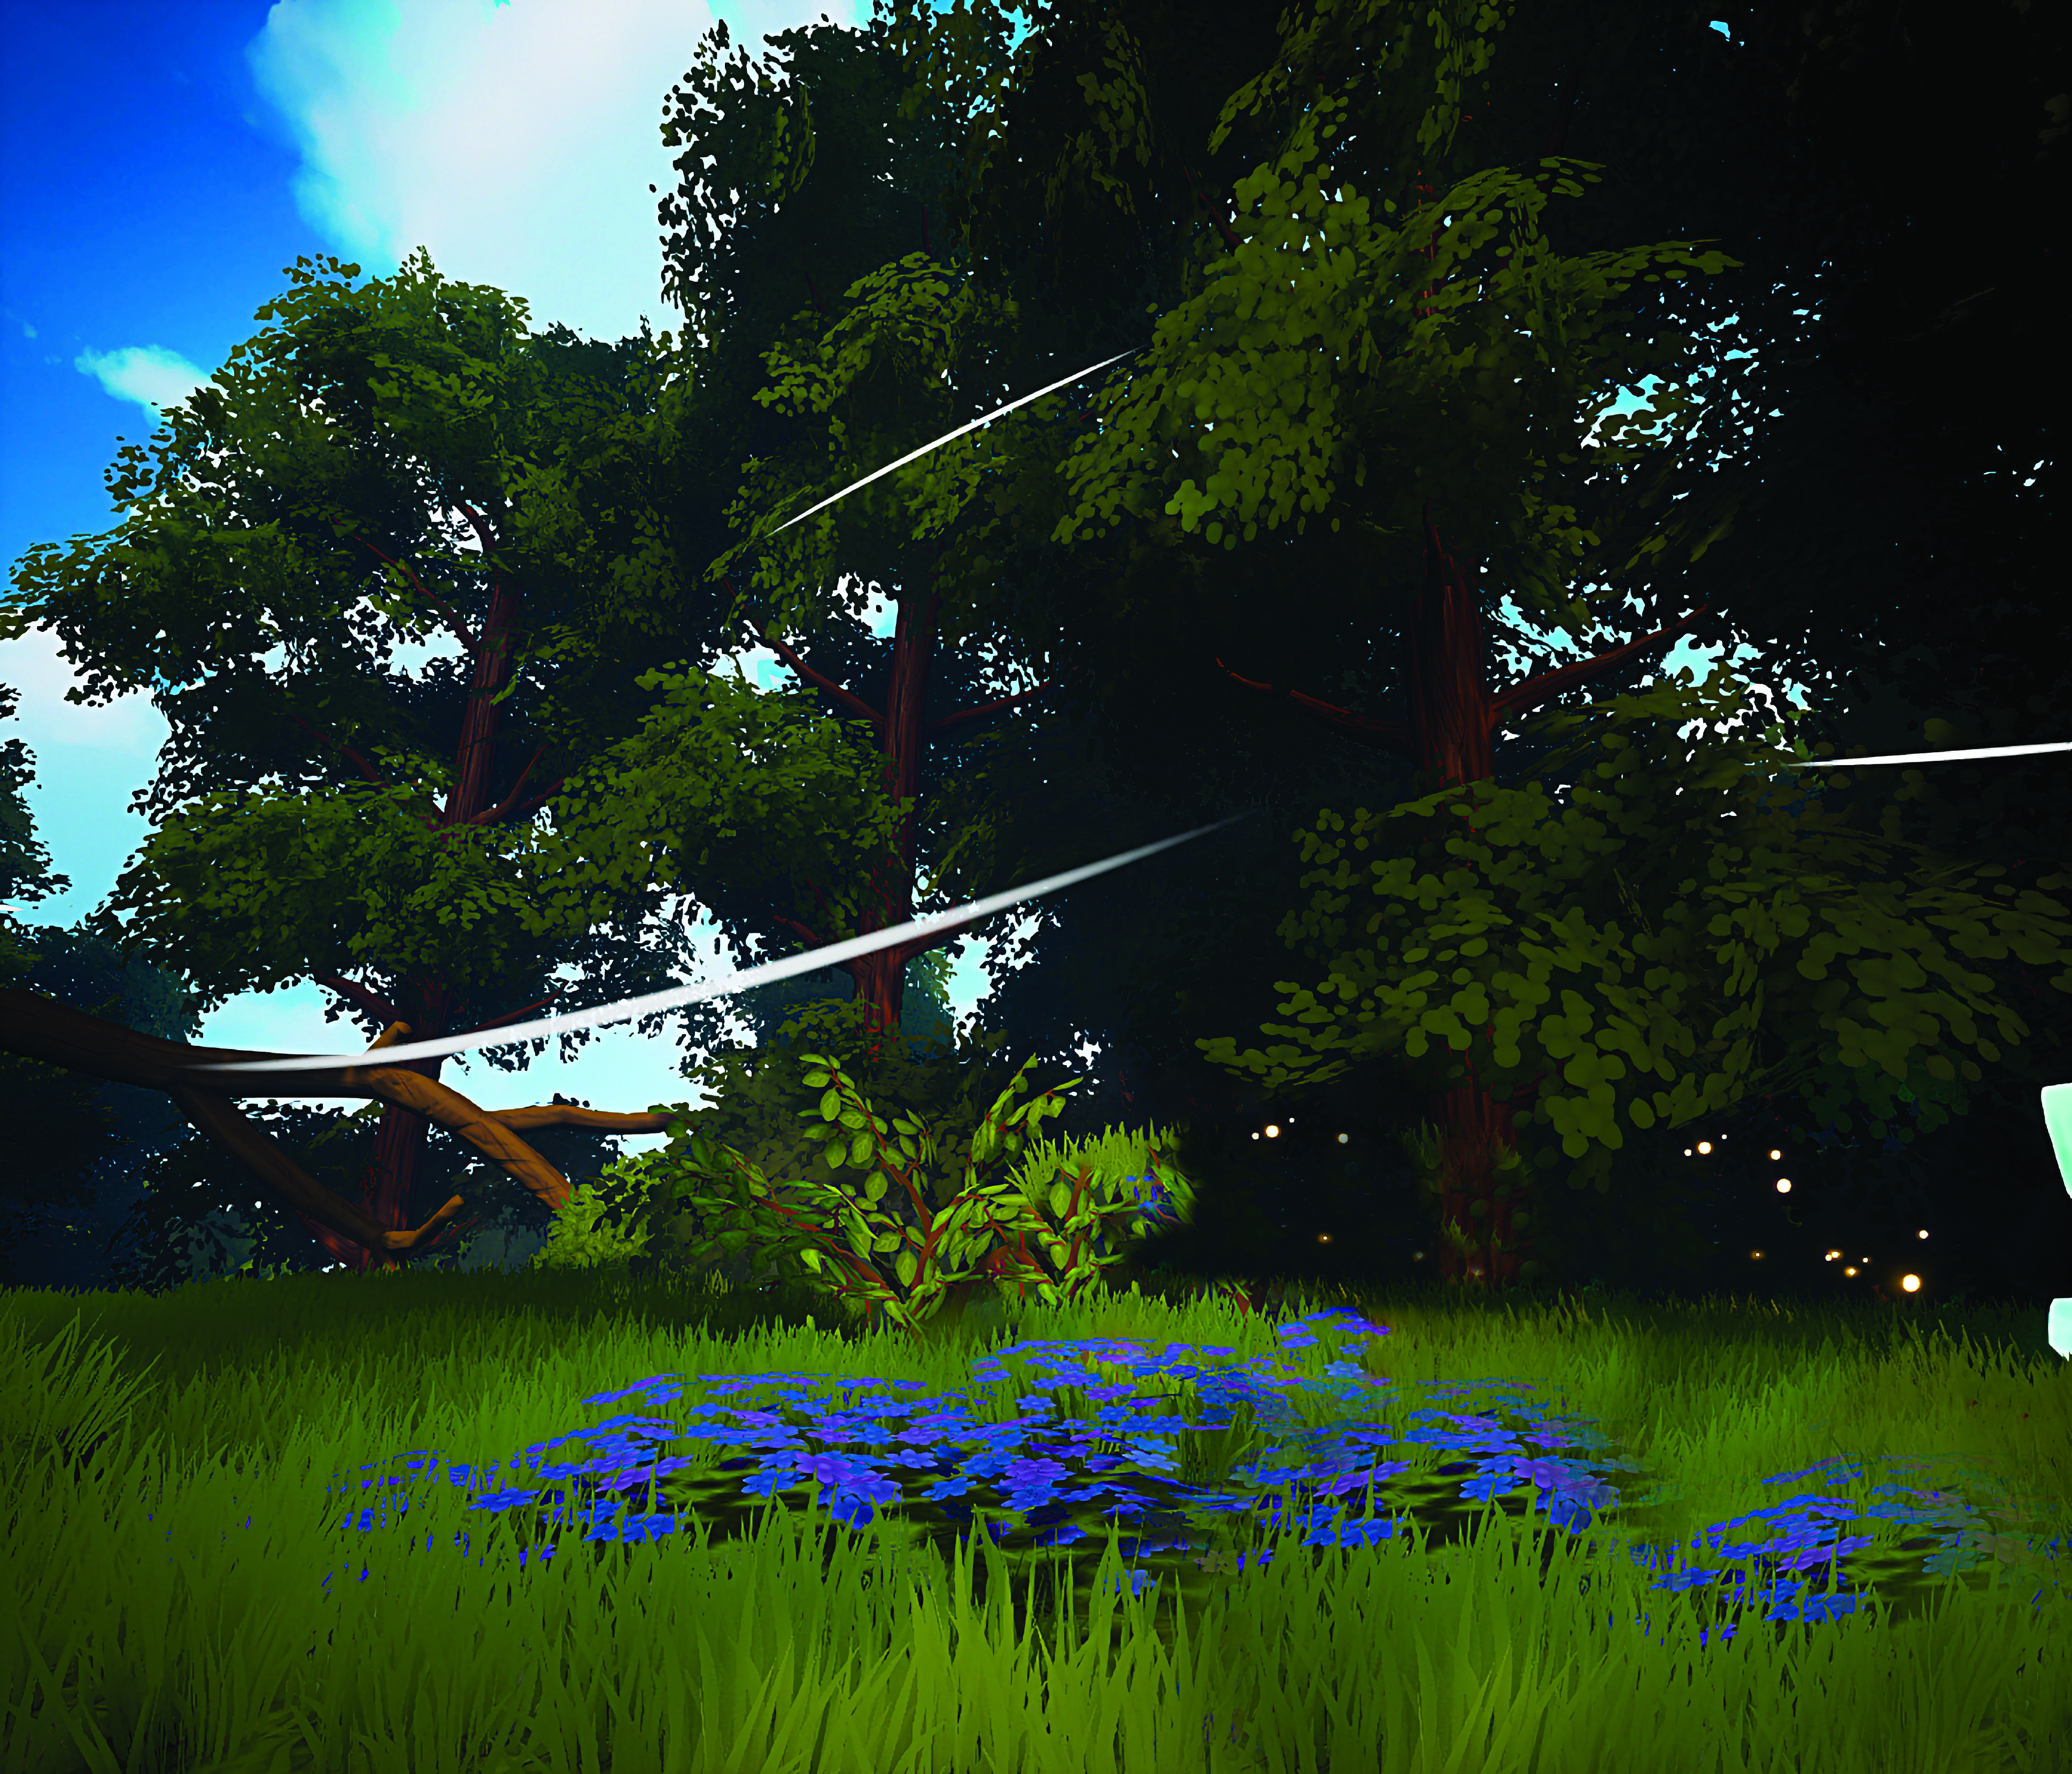
Now you’ll see the grass spawned into the terrain, so all we need to do is scale it to match the real-world size. The grass is working correctly, but we can still optimise the particle system and experiment with its parameters. For instance, we could use the Interpolated method found under Children to add in more child particles, or change the direction of the grass.
Using particle systems allows for greater levels of customisation in your work, and as always I'd encourage you to play around with the various parameters to further refine your grass assets.
Inspired by this short hack? Then read up on our guides to the best animation software and the best 3D modelling software for the tools you need to take your projects further.