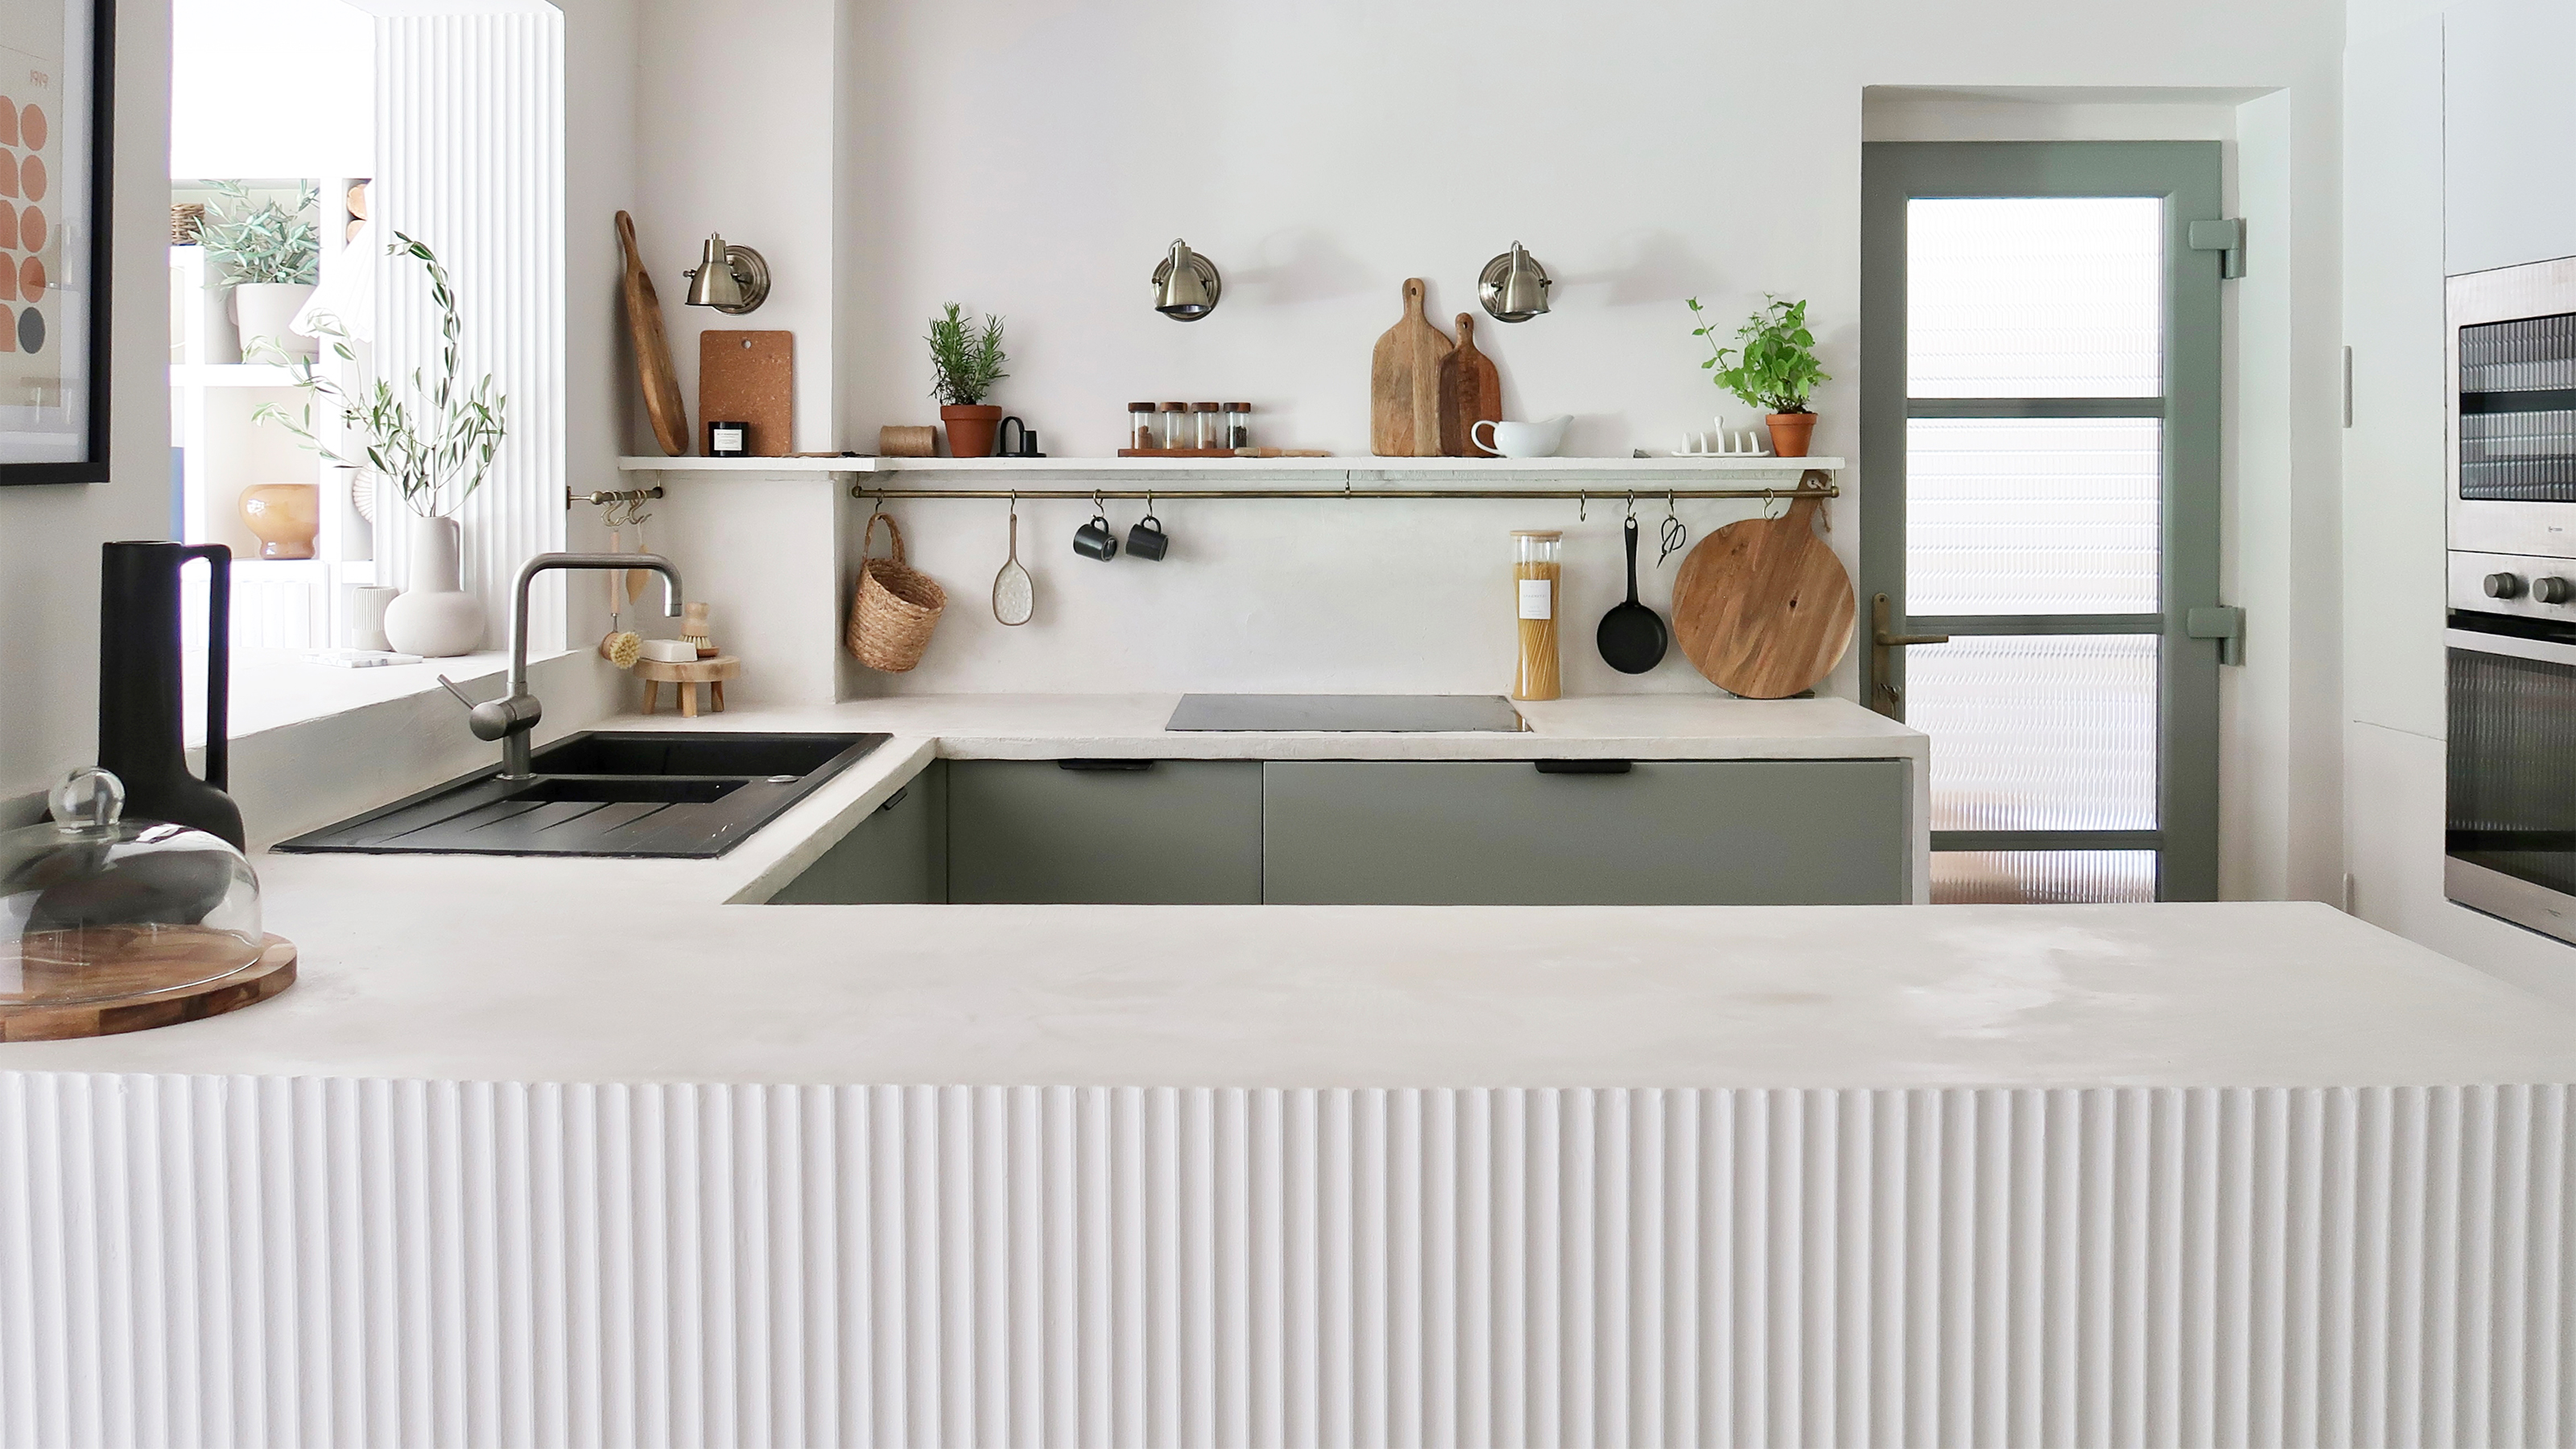
A fluted panel can make all the difference between a tired, lackluster kitchen and a shiny new-looking one, even with a tight budget. Best of all, you can do it in over the weekend.
As anyone with a tired kitchen knows, renovations can be pricey and disruptive, so affordable DIY alternatives are always a win. My fluted panel DIY tutorial makes for an achievable DIY project with stunning results.
As a DIY blogger and interior stylist, I spend a great deal of time sourcing affordable materials that can be used to transform interior spaces and a really struck gold when I discovered fluted particle board sheets can be used as wall panels, including for nifty DIY kitchen ideas.
Installing a fluted panel in your kitchen
Popping one of these specially carved particleboard under your kitchen countertops is a home DIY project DIY novices can tackle successfully, with very little in the way of tool or materials. The key aspects include sourcing a large fluted panel and getting your hands on some reliable glue, such as Liquid-Nails, available on Amazon, because it is very effective and low-solvent.
Let's take a look at how I transformed my kitchen peninsula, although you could easily adapt this project to suit a kitchen island if you have one).
You will need:
- Fluted panel (particle board or similar): Amazon sells slat panels, which can be installed side by side if you can't find a giant sheet of fluted board to cut to size.
- Caulking gun: I like the Bates Caulking Gun from Amazon because it's cost-effective and looks very similar to mine in the UK. When choosing yours, don't sweat it. Caulking guns don't need to be over complicated or expensive.
- Grab adhesive and caulk
- Saw: a handsaw like the QYQRQF 14 inch handsaw is light, affordable and Amazon's Choice, which means shoppers rate it, and hardly return it, plus it's usually available for quick delivery.
- Sanding sponges: are perfect for this DIY because they fit snugly to the fluted profile when you apply a little pressure and can be picked up cheaply.
- Primer
- Paint and paintbrush
All prices included in this article were correct at time of publication.
1. Plan and prepare
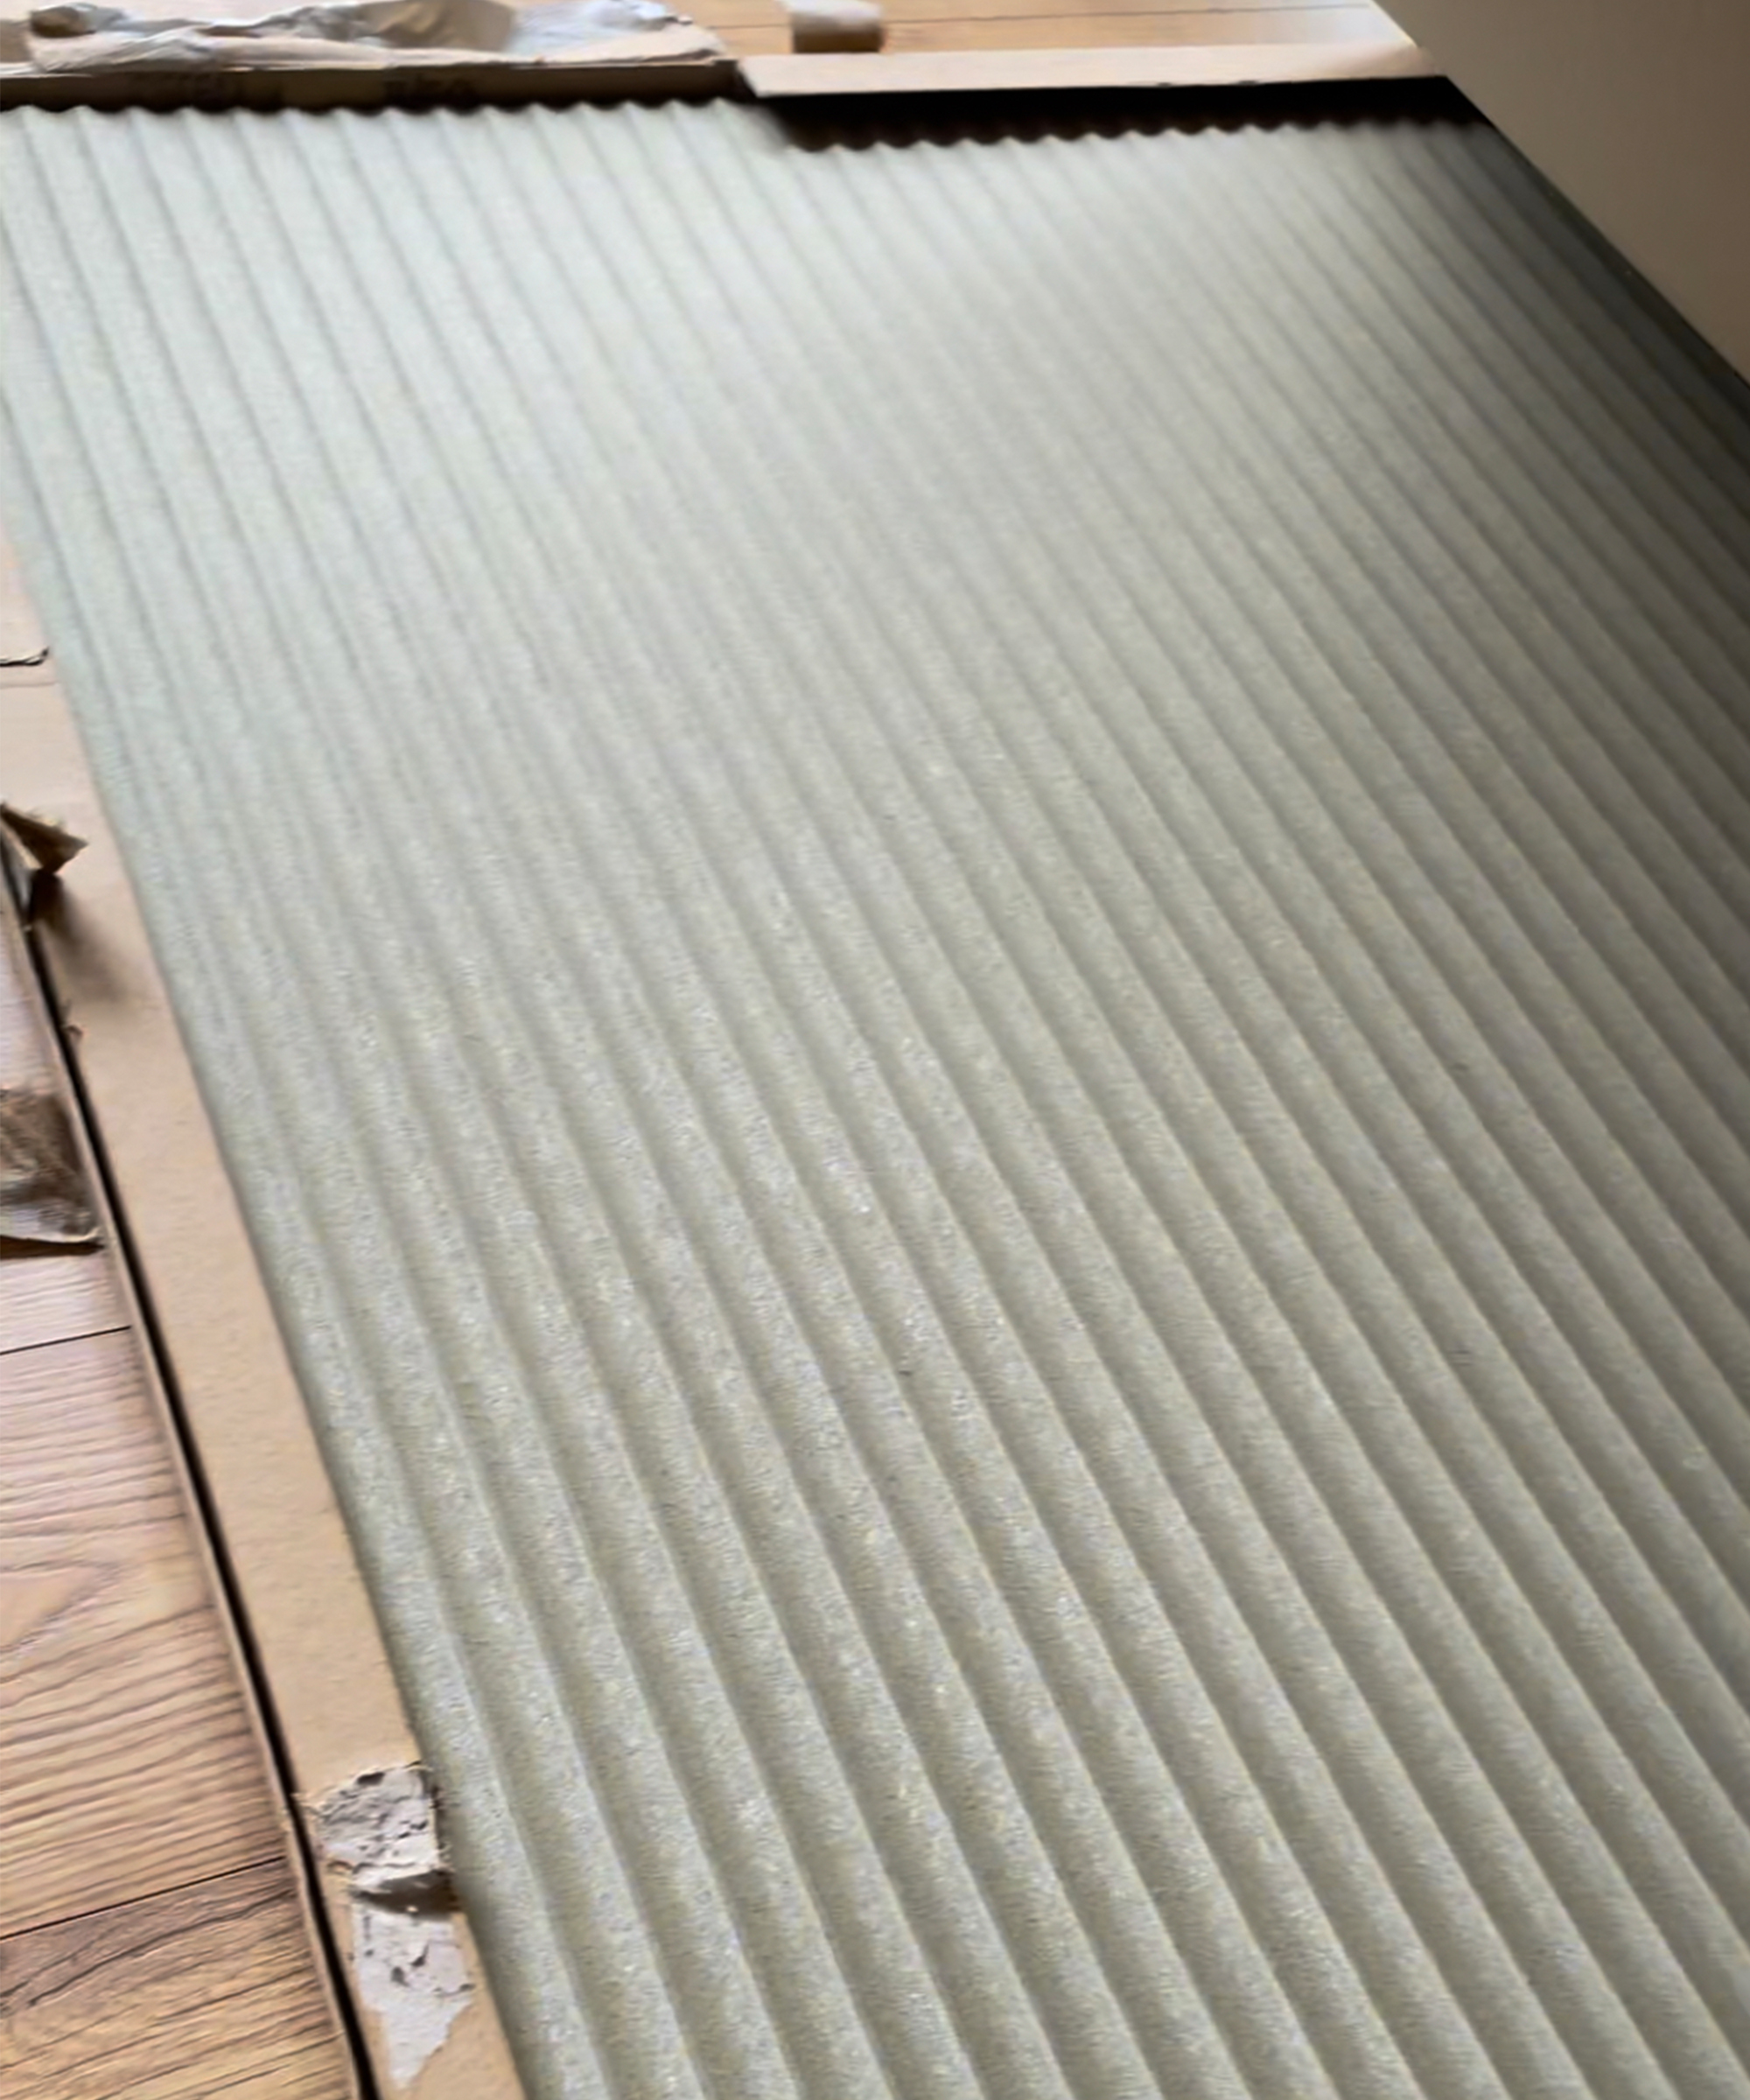
Measure your space and determine the best size fluted panel to order. By ordering the largest size my supplier stocked, I could cover the side of my worktops with a single fluted panel. This meant no joins would be required — perfect for a seamless look.
The fluted panels came with the fluting in vertical or horizontal format. I opted for vertical to balance the length of the worktops but you choose the one that is aesthetically pleasing to your eye. Horizontal fluting can make a space look wider than it is and would work particularly nicely in small kitchens.
When your fluted panel arrives, unwrap it and stand it in position to check it fits the area you'll be gluing it to, and check fluting is in the correct direction.
If you have any trouble sourcing fluted panels or they are not in your budget, you could easily make your own by purchasing a large sheet of particle board and cutting the grooves using a Rockler Router Fluting Jig, available from Amazon.
This method would give you the ultimate freedom in selecting the width and depth of the fluted texture and allow you to create unlimited fluted panels in the future. It's pretty handy because it turned out, this fluted home decor is an addictive business!
Step 2: Cut the fluted panel
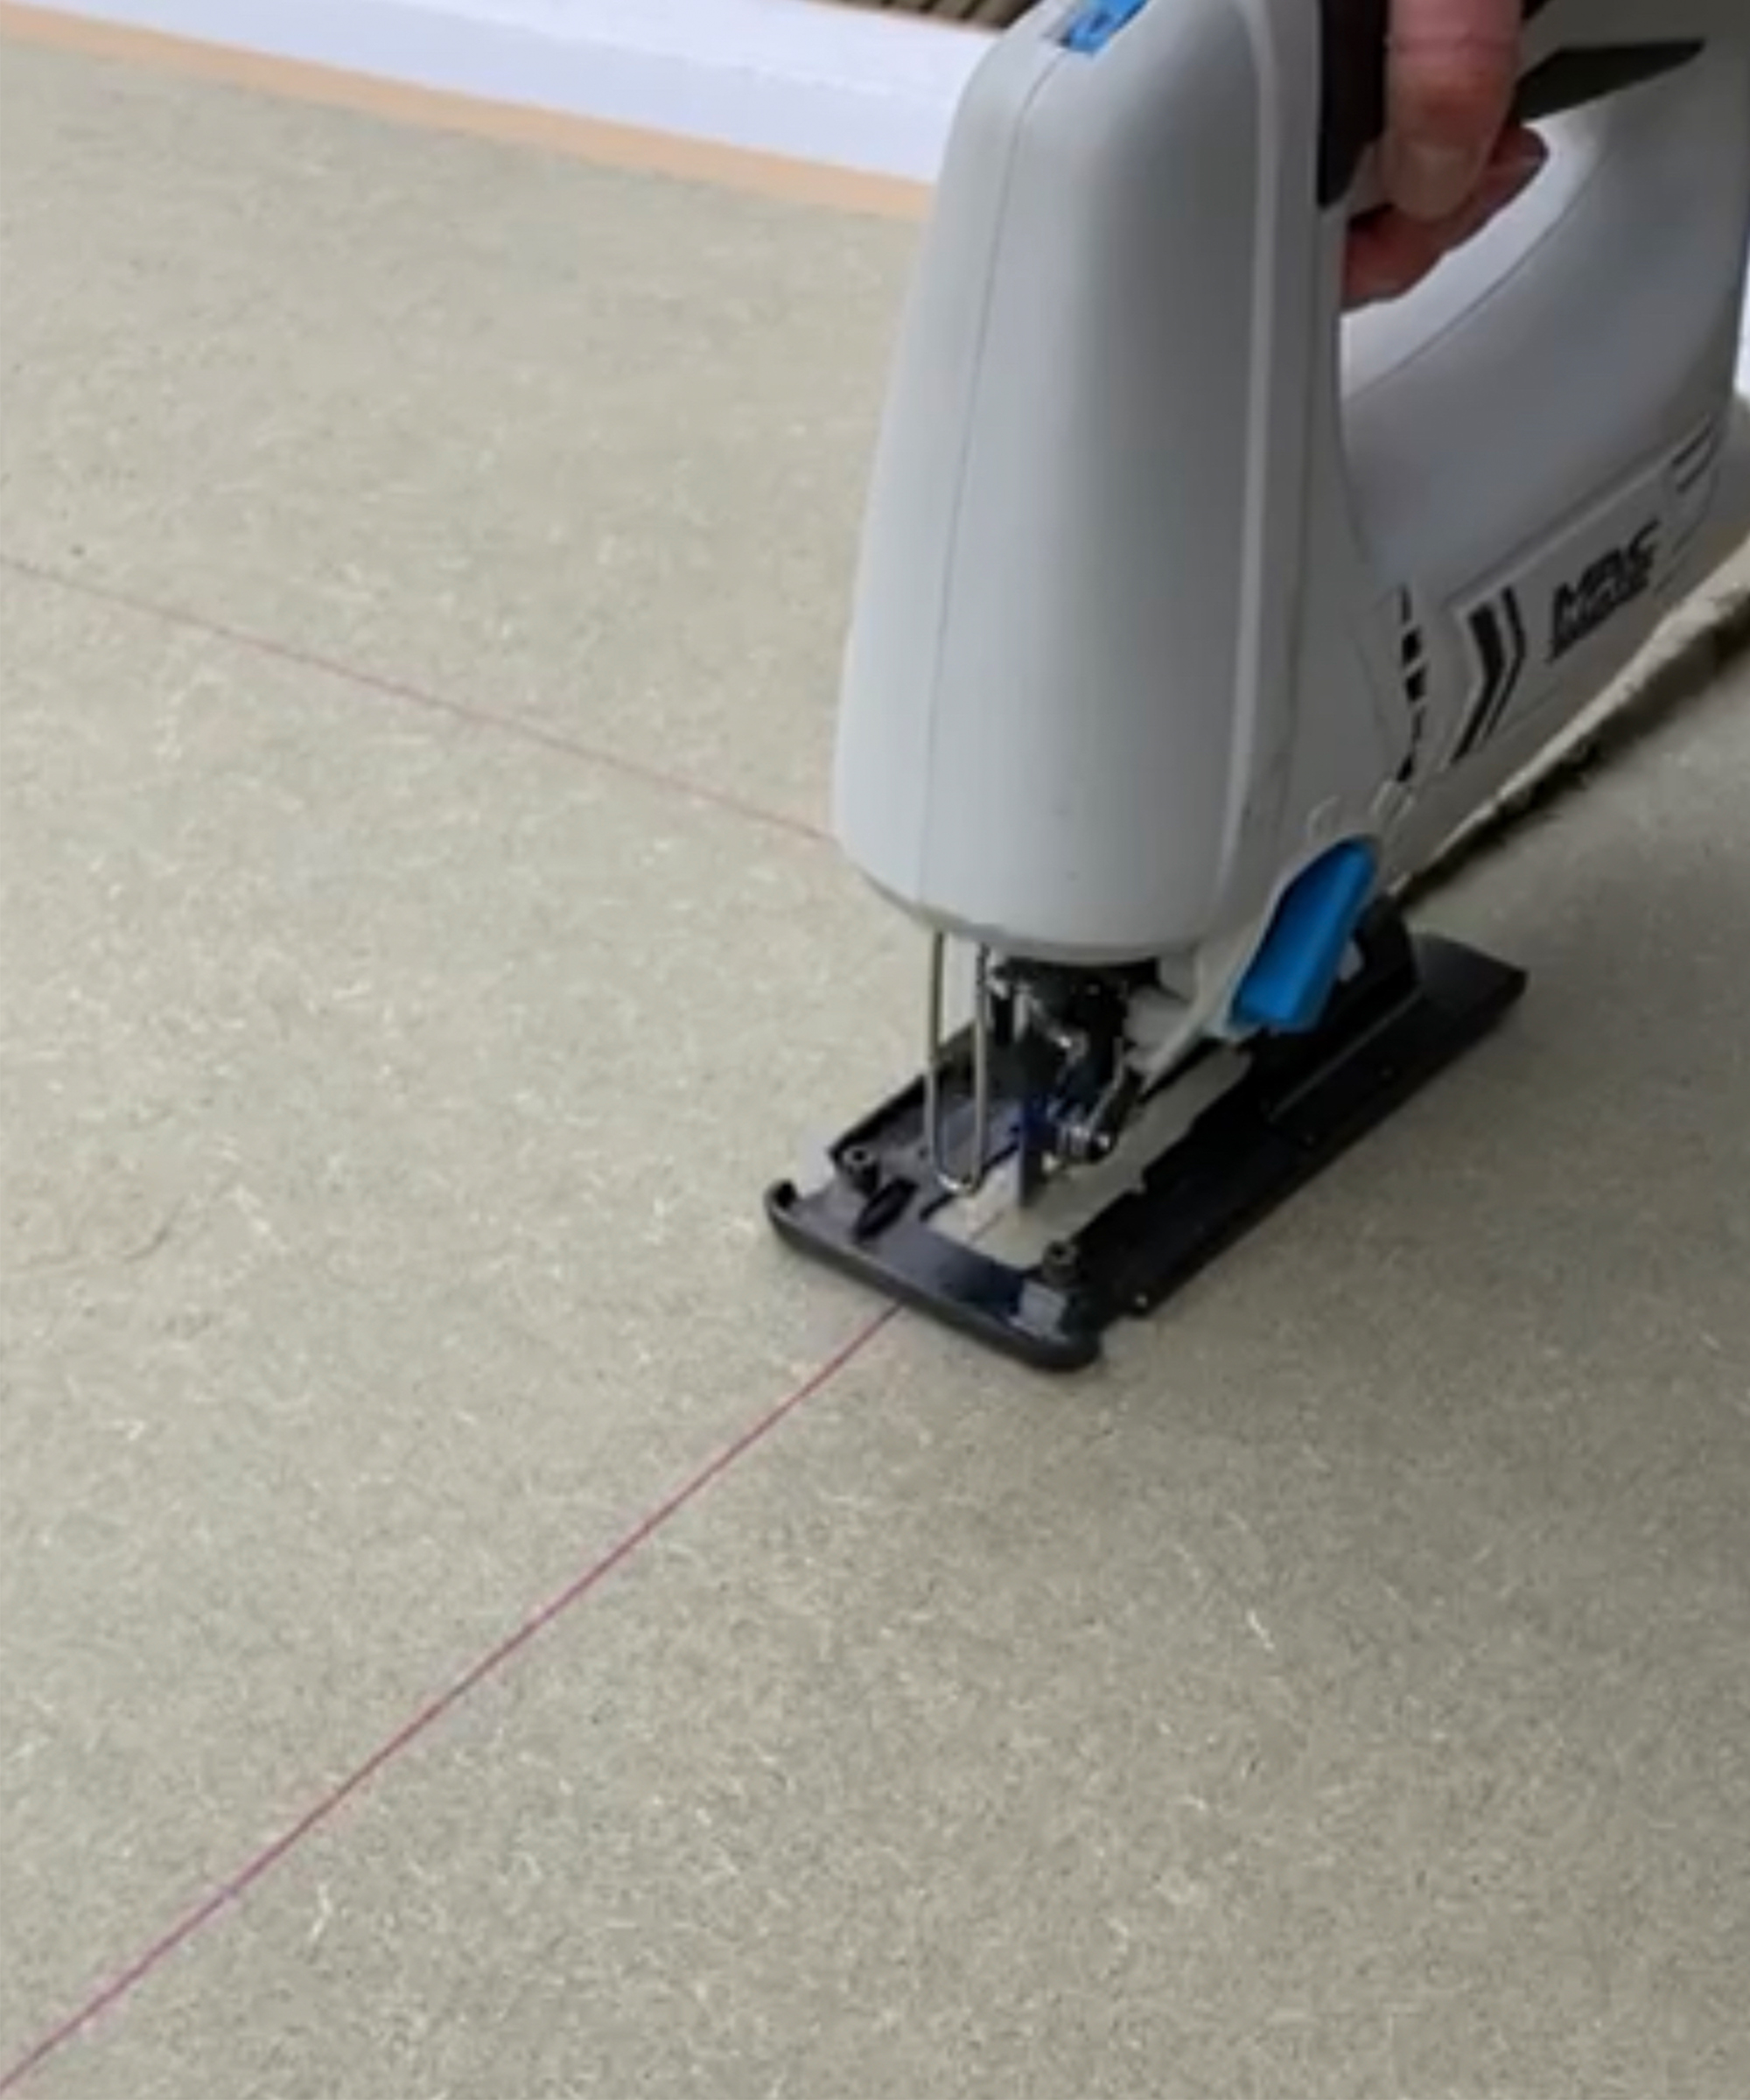
Template the cut line by marking the exact position of the countertop along the back of the fluted panel. It’s important to stand the fluted panel the right way, as the fluting is only on one side. Templating in this way ensures you account for any unevenness or variations in the floor level over a long distance that wouldn't be easily picked up when measuring at intervals.
Once you’ve marked the template of the countertops, remove the panel and lie it flat, ideally outside on a dry surface. I raised the fluted panel off the floor to make cutting easier and clamped it in position to prevent movement during the process.
I then used my power saw to cut along the line I had marked. As the panel was over 6.5 feet long, it would have taken a longer time by hand.
If you're looking for a jigsaw, Black and Decker and Bosch are good brands and can be picked up at Target, such as this Bosch JS260 corded jigsaw. Be sure to wear protective eye-wear and a mask if using an electric saw to avoid injury or inhalation of the finer dust it'll release into the air.
Price: $3.24
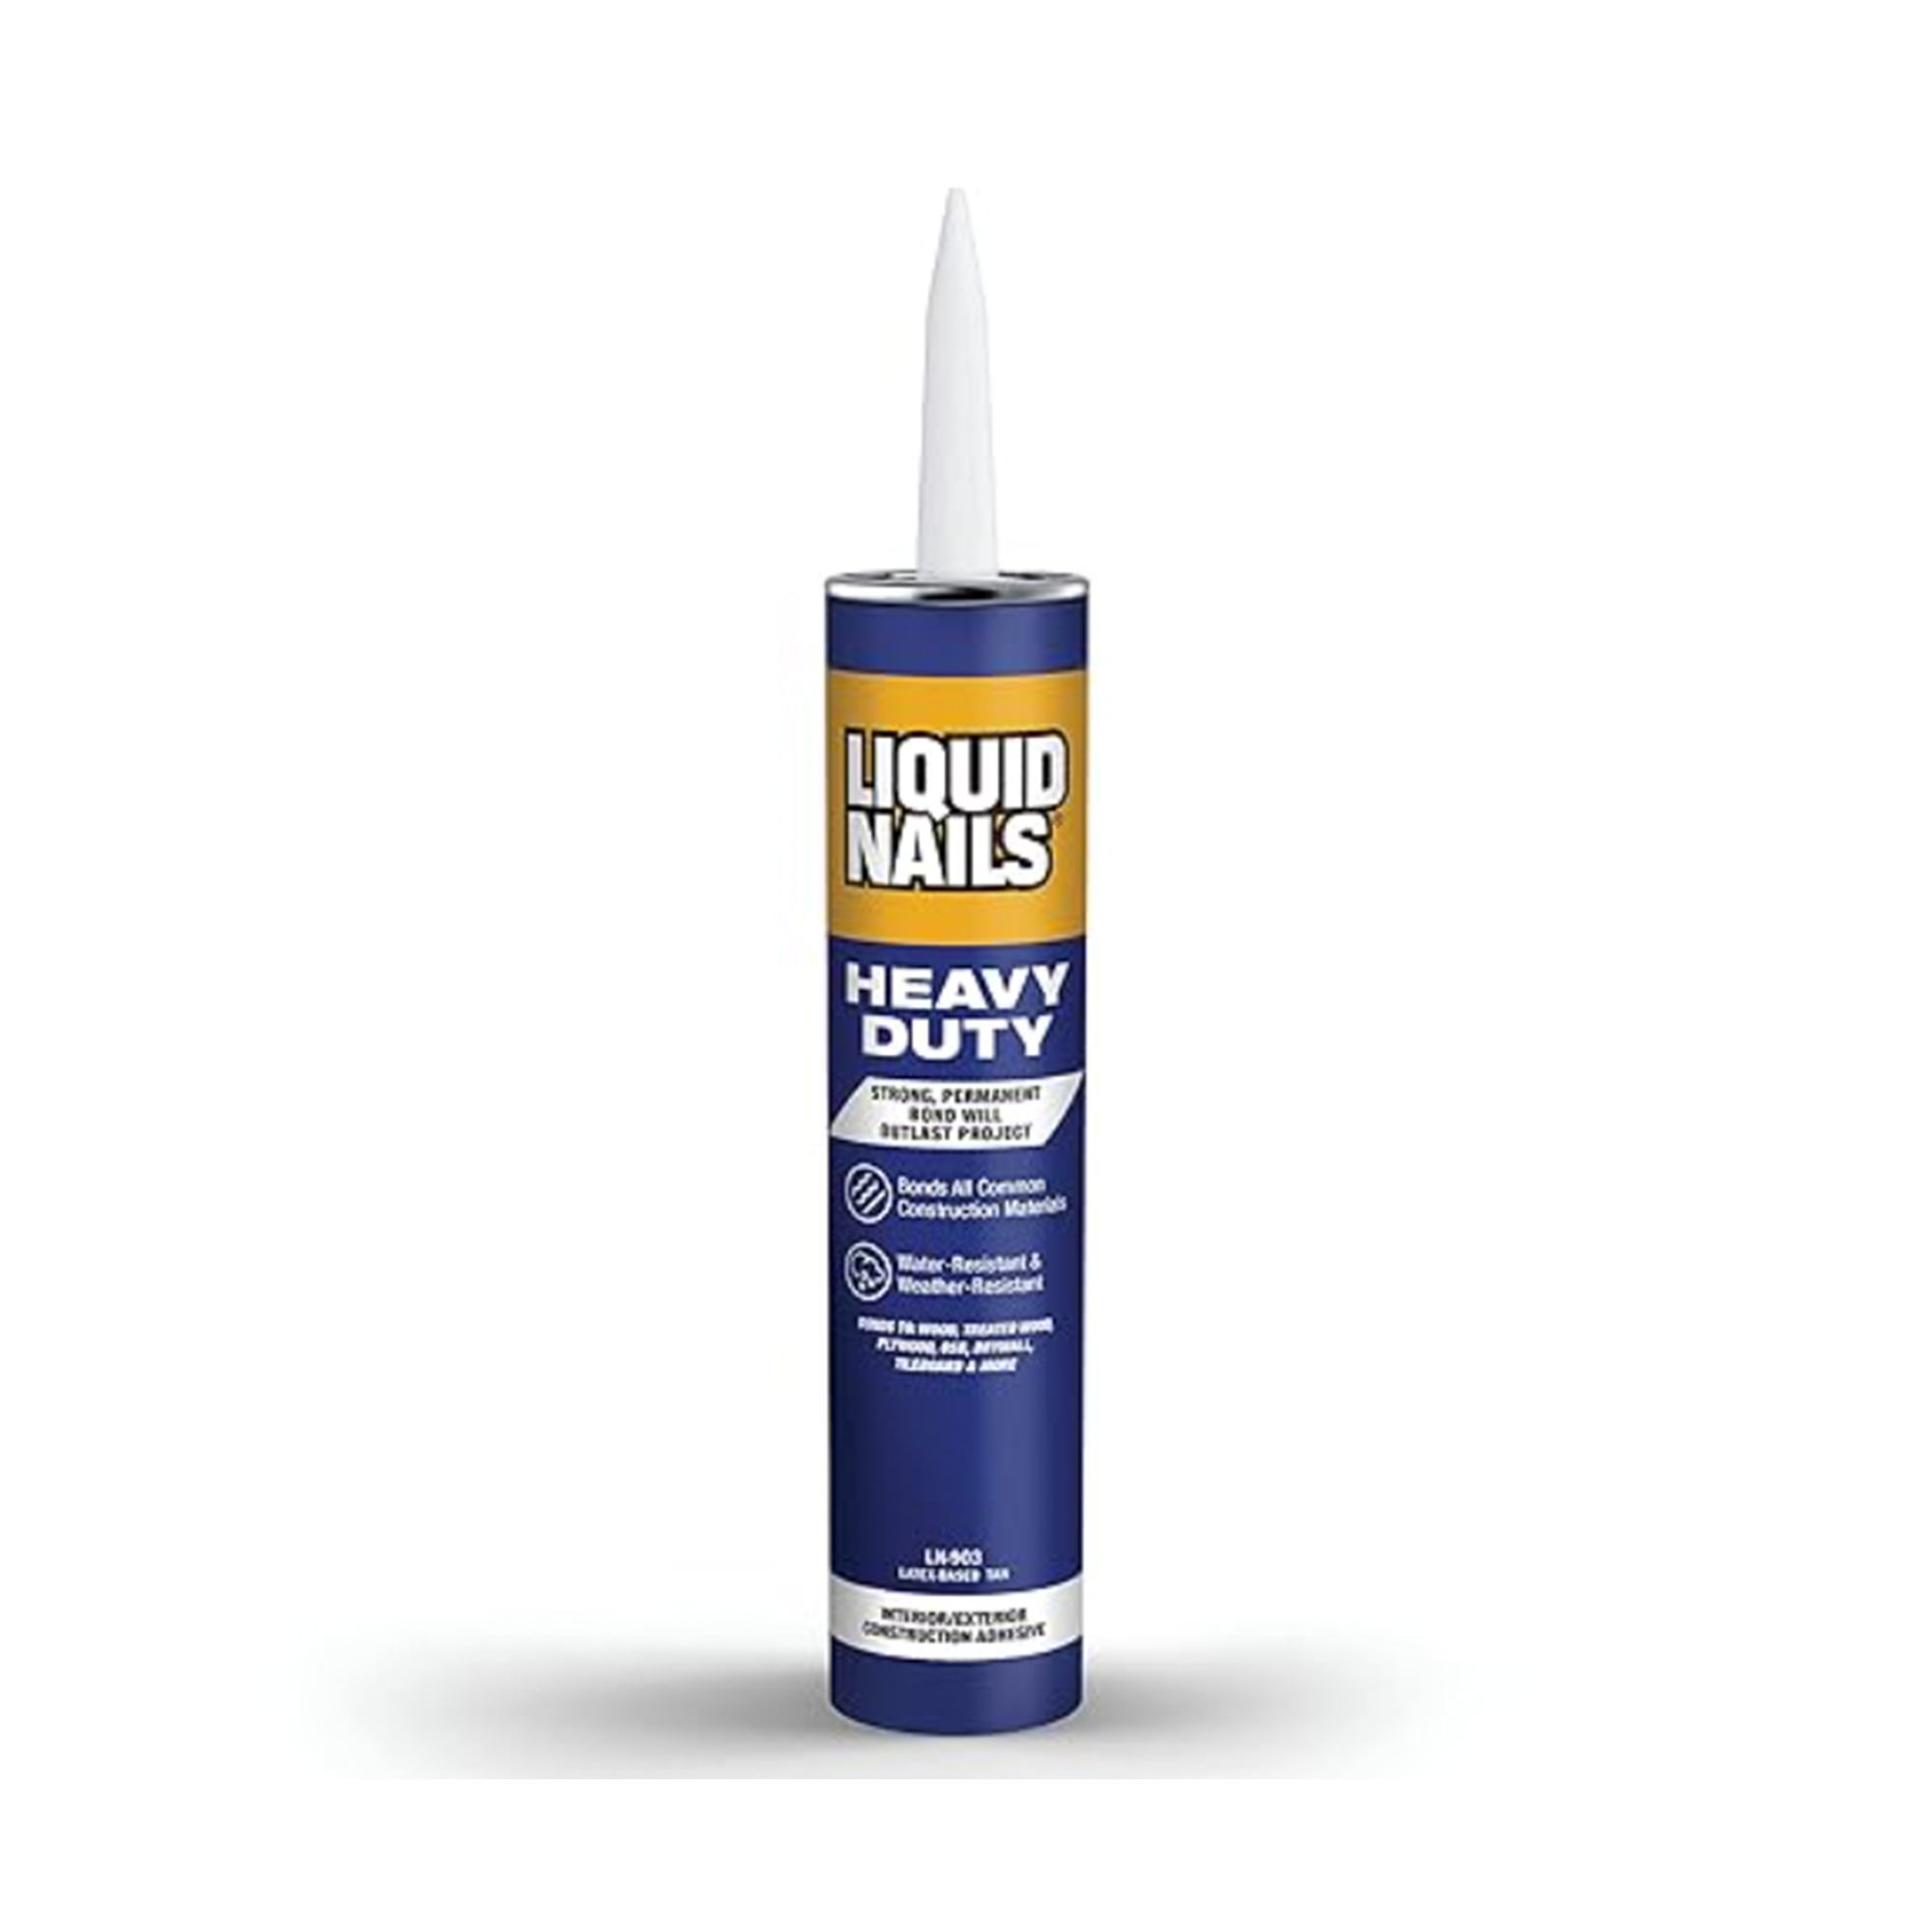
Construction adhesive is ideal for attaching fluted wall panels to your chosen surface. I recommend using a product with heavy-duty hold like this one. Use a caulking gun to apply as these larger cartridges represent better value for money than the smaller tubes.
Price: Was $102.99, now $51.75
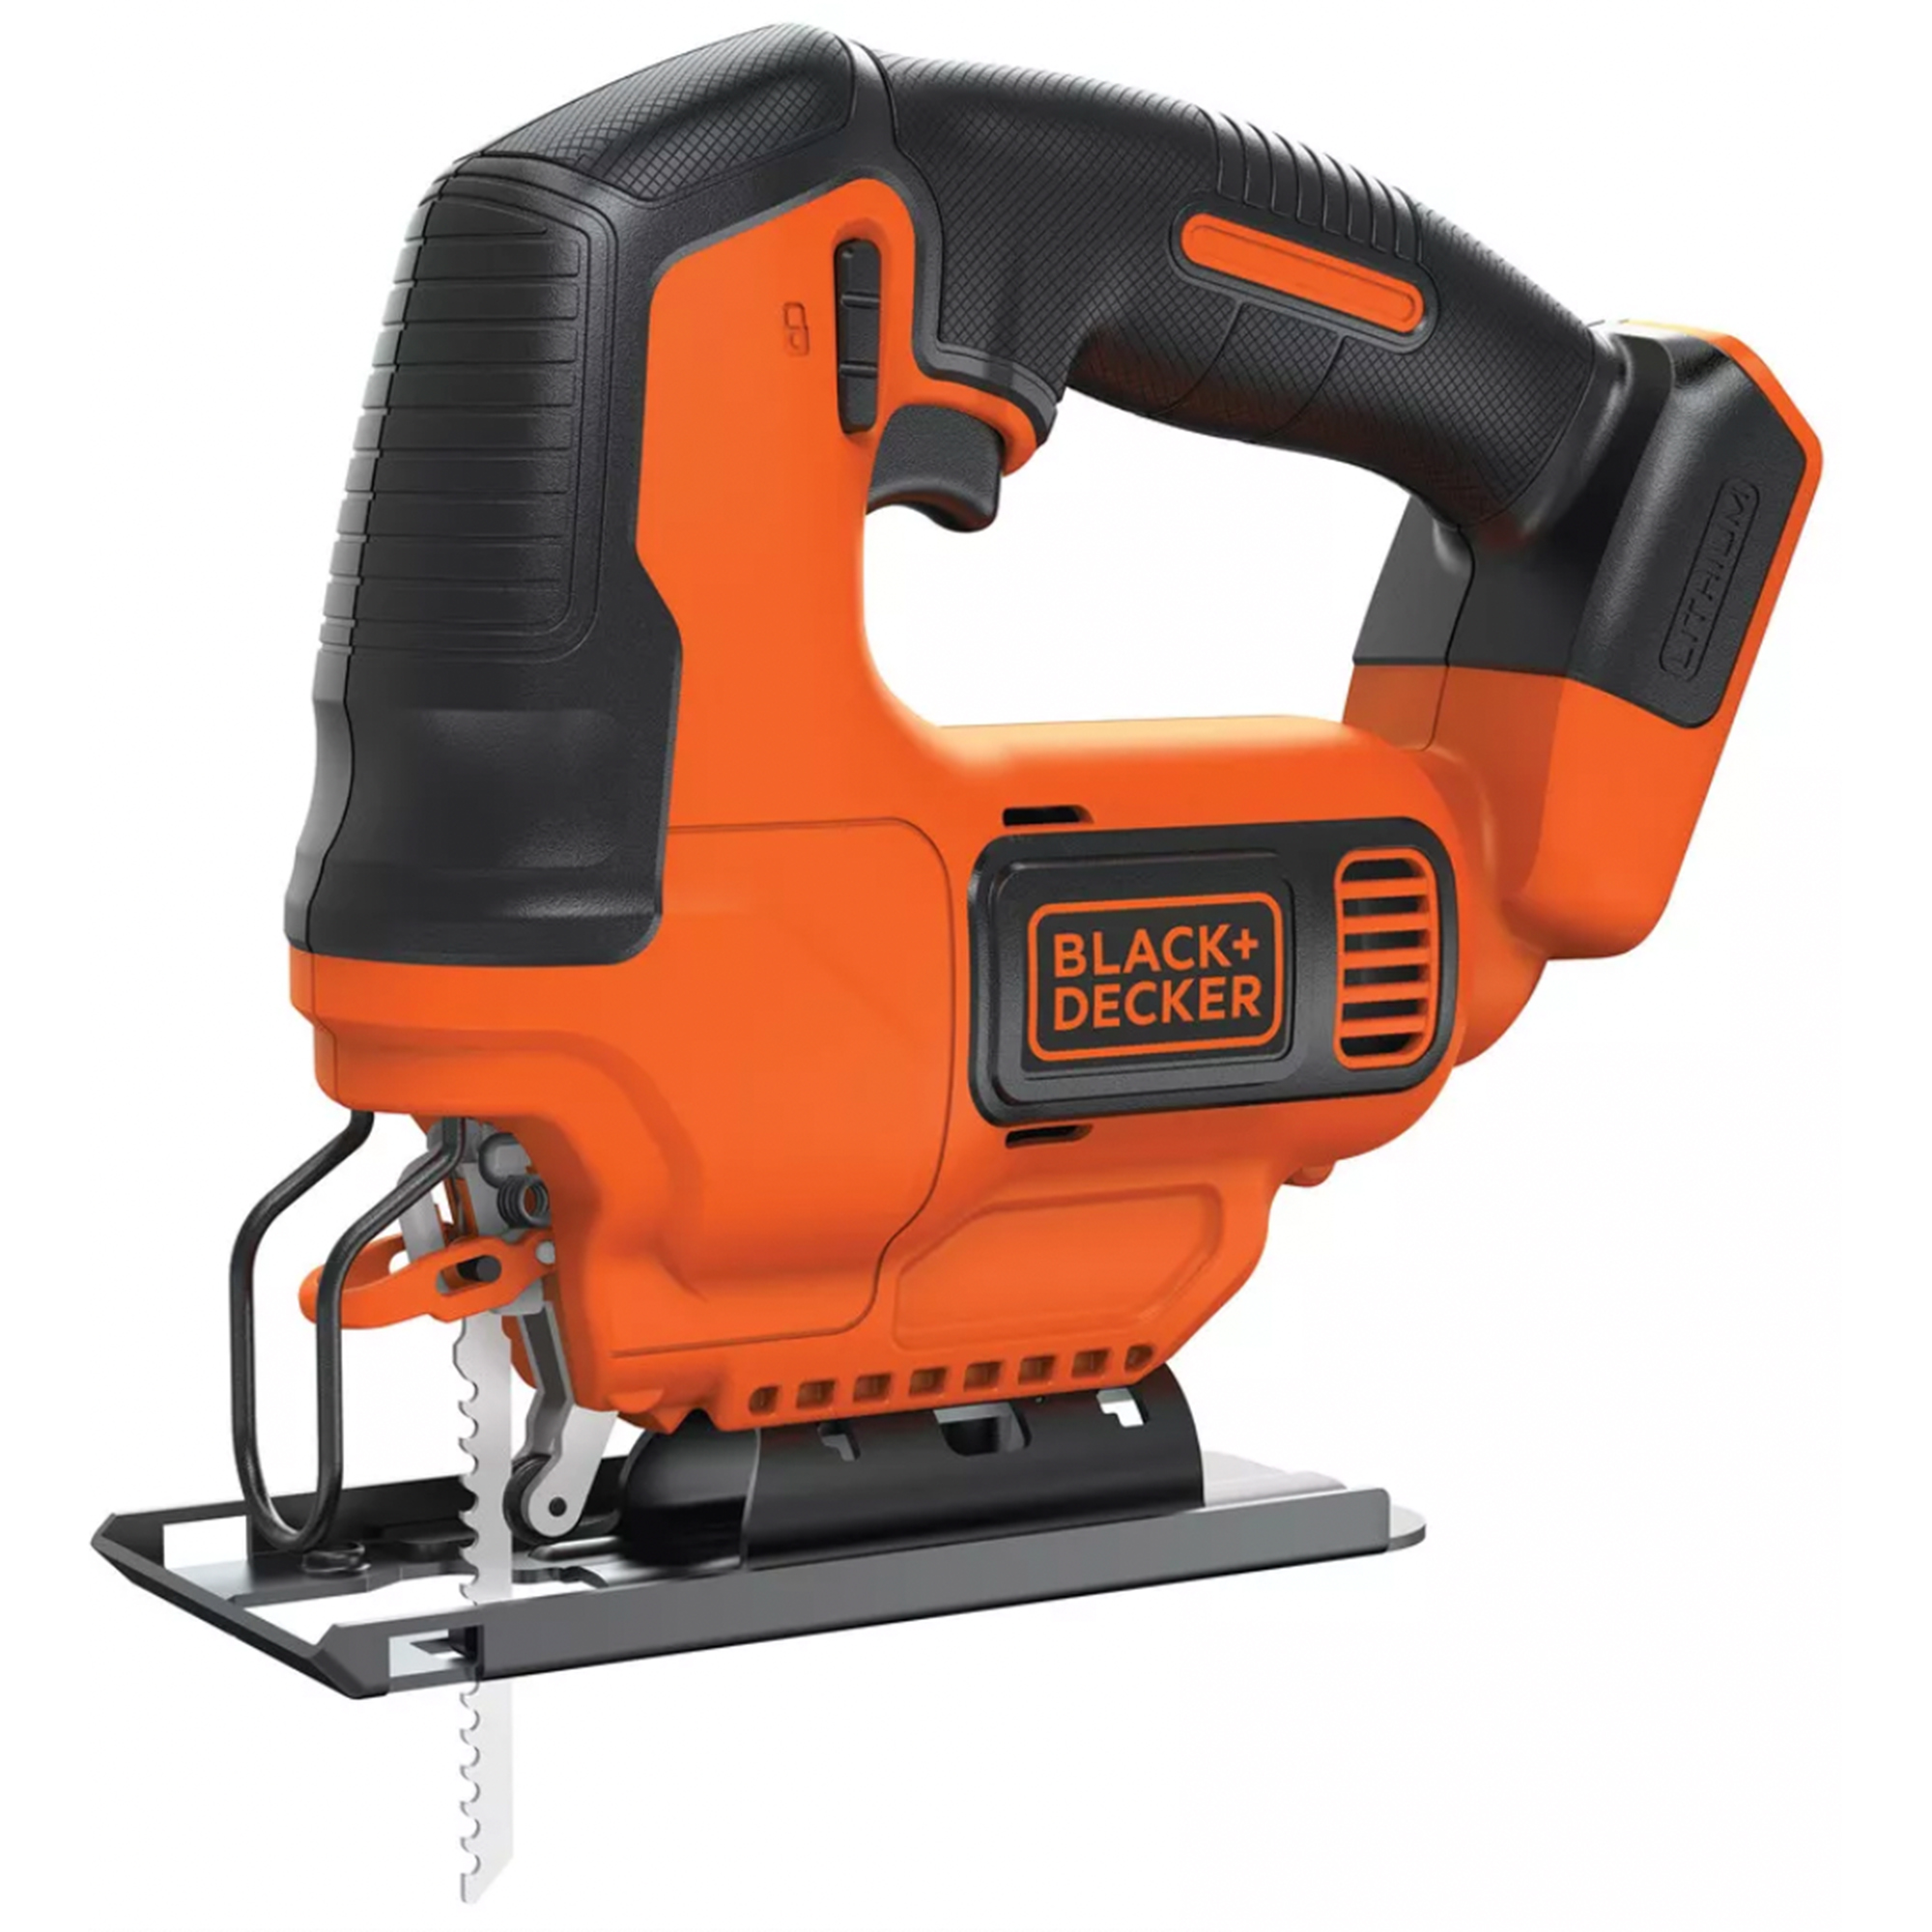
Jigsaws make light work of cutting through large fluted panels, saving you time and ensuring neat and accurate cuts. Use in conjunction with a cutting guide to take the guesswork out of sawing straight lines.
Price: $17.97
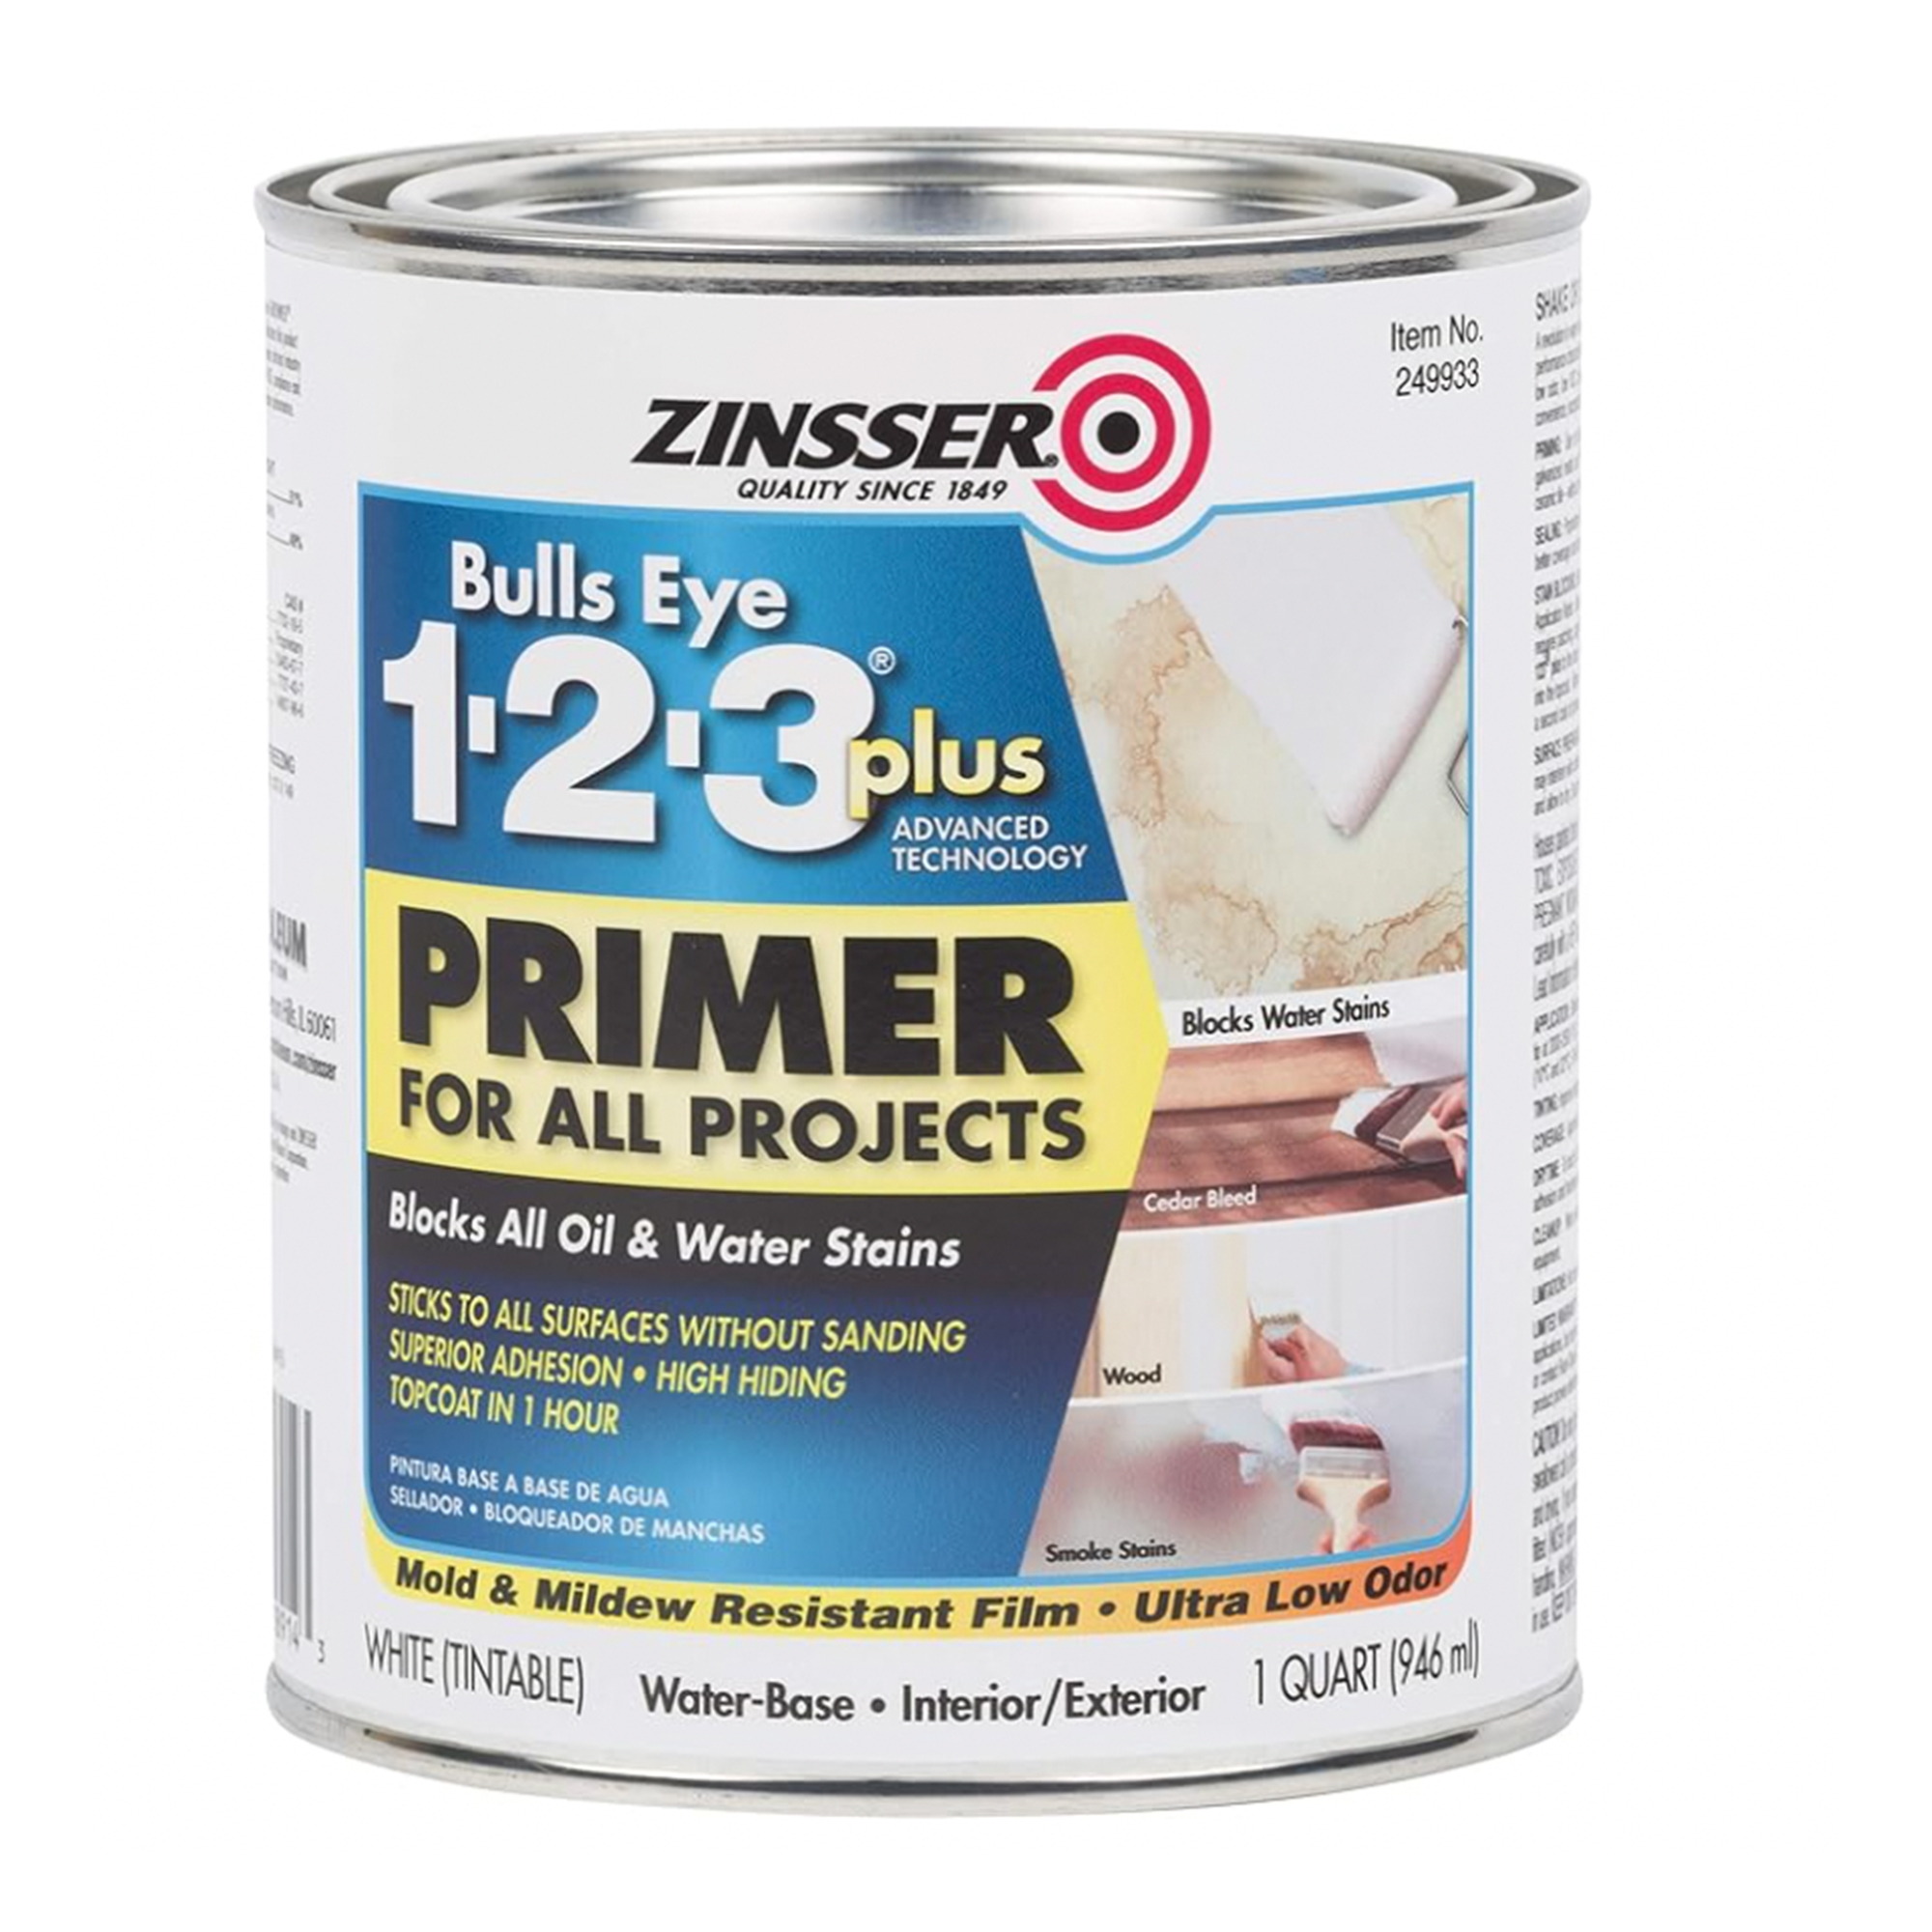
Priming particle board or plywood is a great way to ensure your top coat adheres well and gives a great finish. Particle board is very absorbent so you might need to two or three coats. Zinsser is a trusted brand and this product is water-based and low odor making it easier to work with, especially if you take this project on in colder months when you cannot easily withstand open windows for as long.
Step 3. Sand the fluted surface
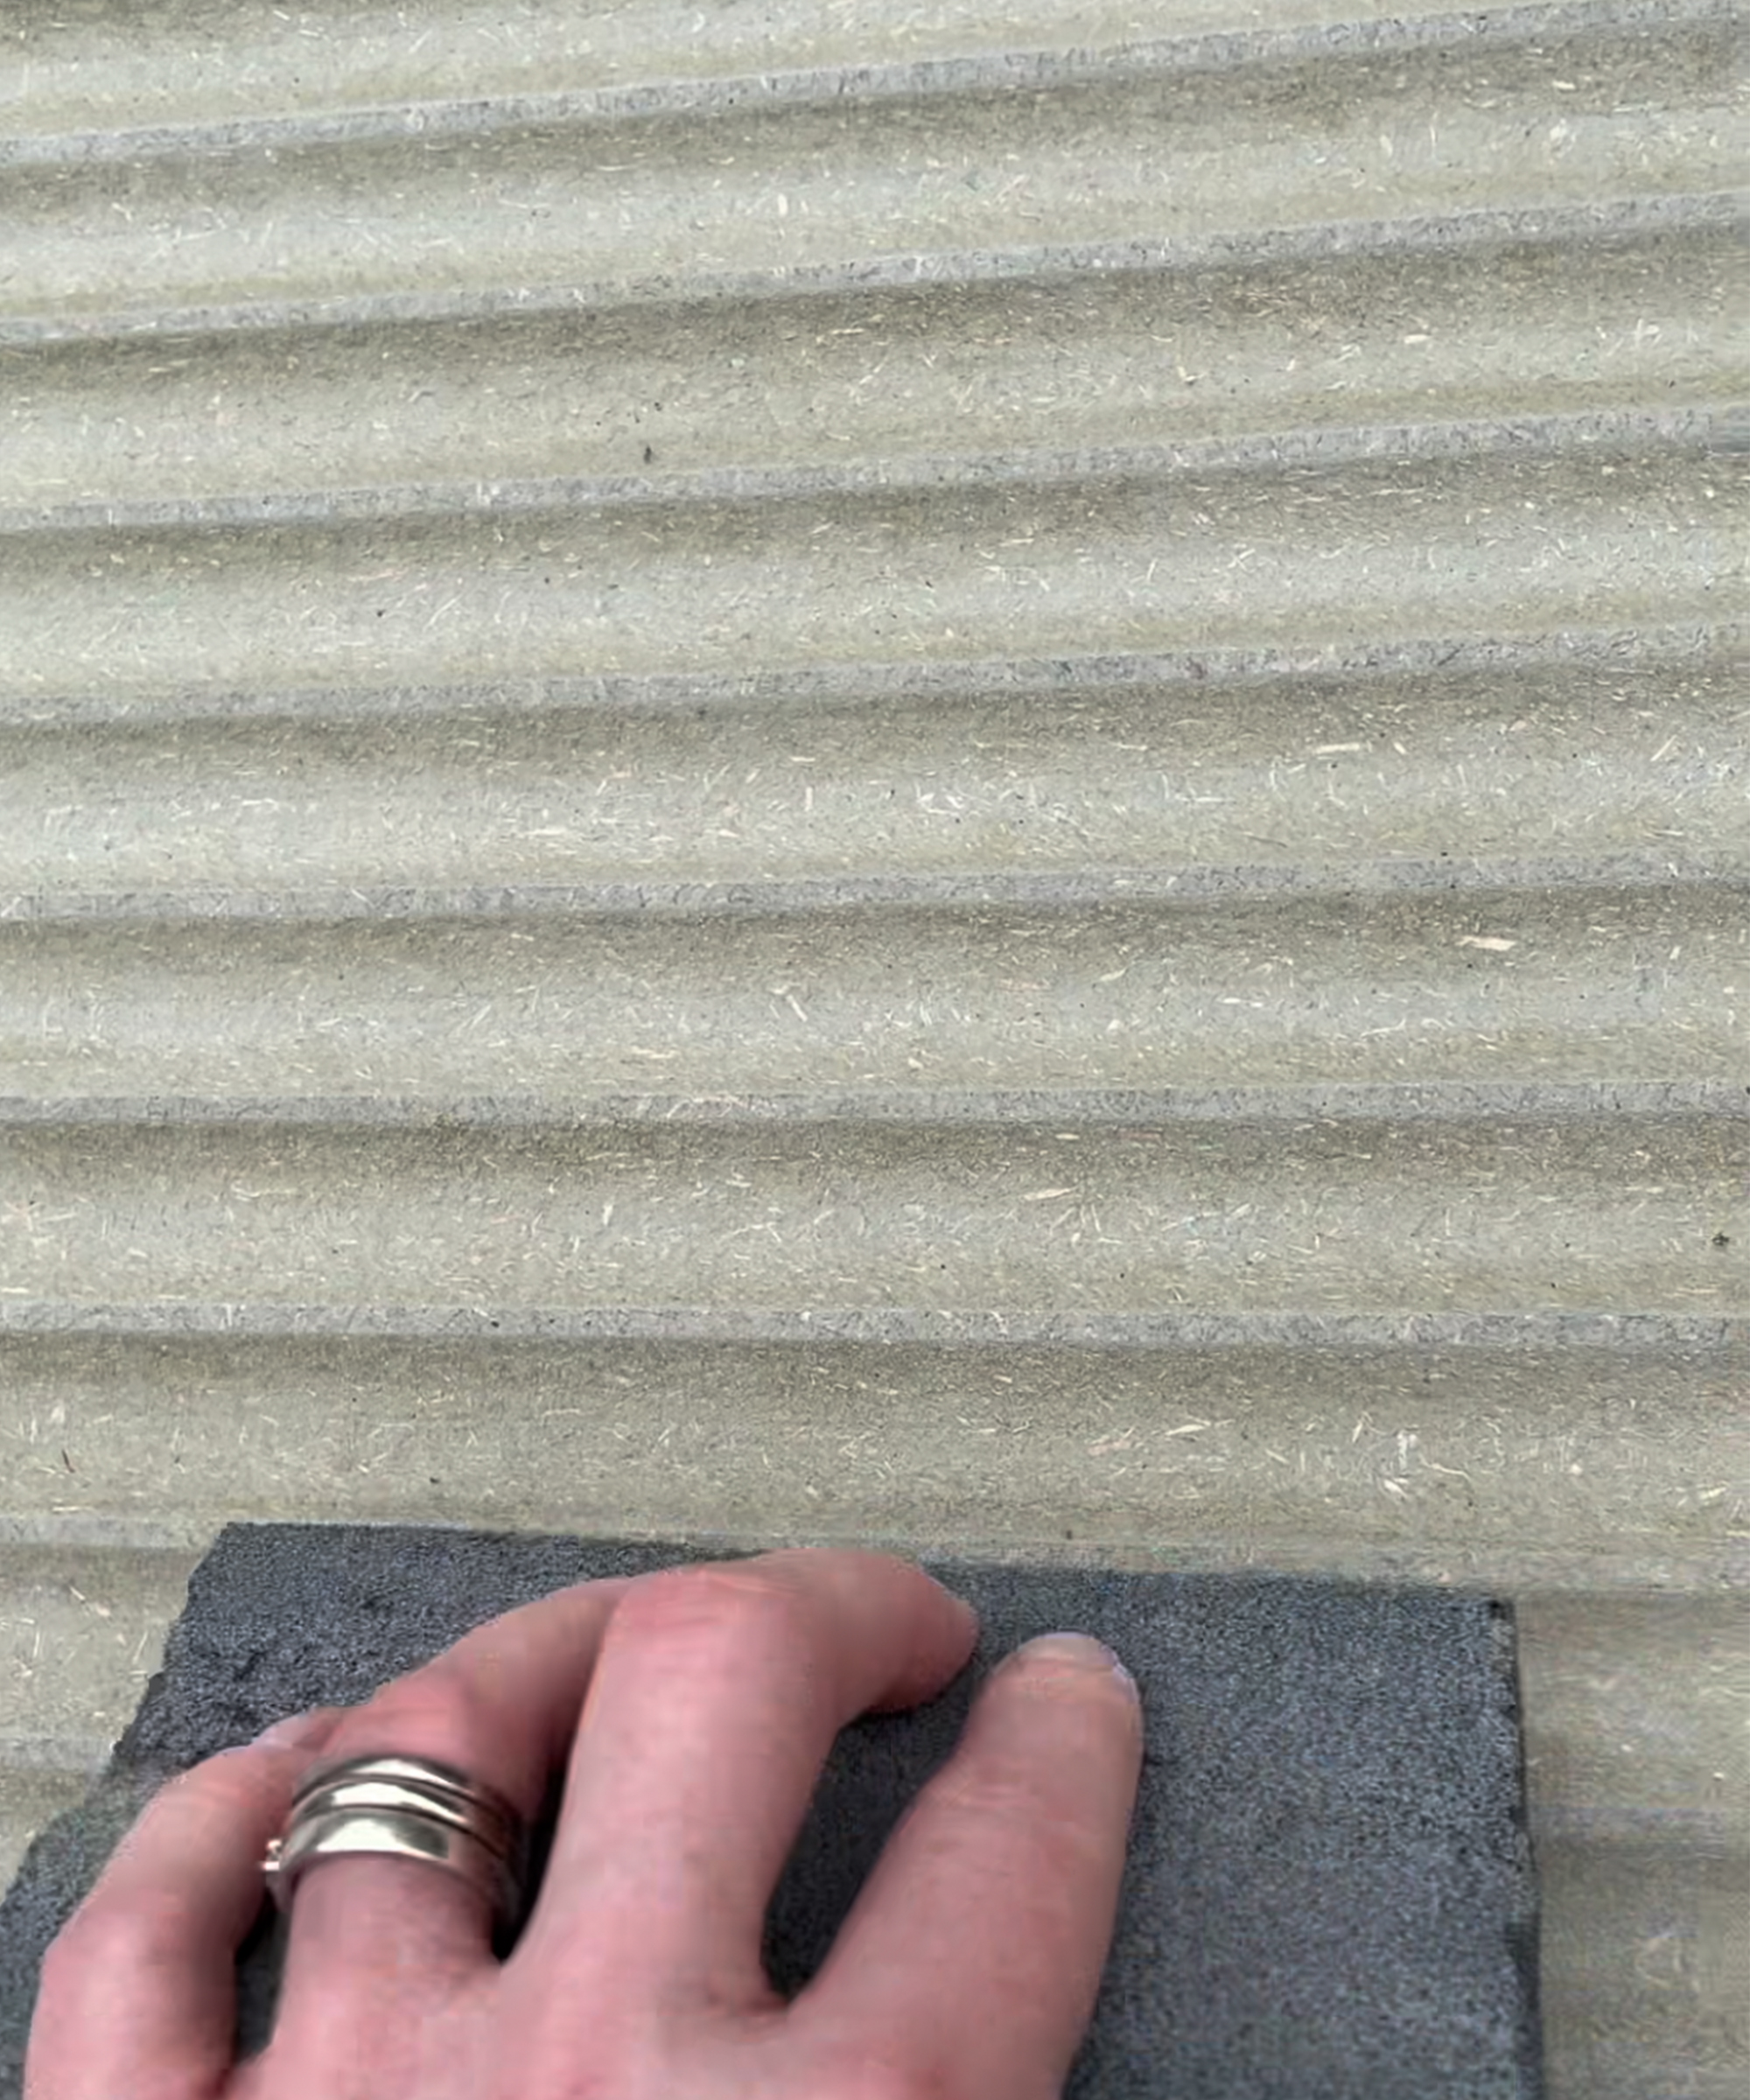
The fluted side of the panel can be quite rough from where it has been cut so I like to use a soft sanding sponge to remove any surface fibers and get a smooth finish.
Sanding sponges are ideal because they adapt to the surface of the fluting so none is missed as it would be with a rigid sander. The Pro Grade Precision Sanding Sponge from The Home Depot is a great choice, as it's flexible and good for sanding to a fine, smooth finish.
Step 4: Prepare the surface for the fluted panel
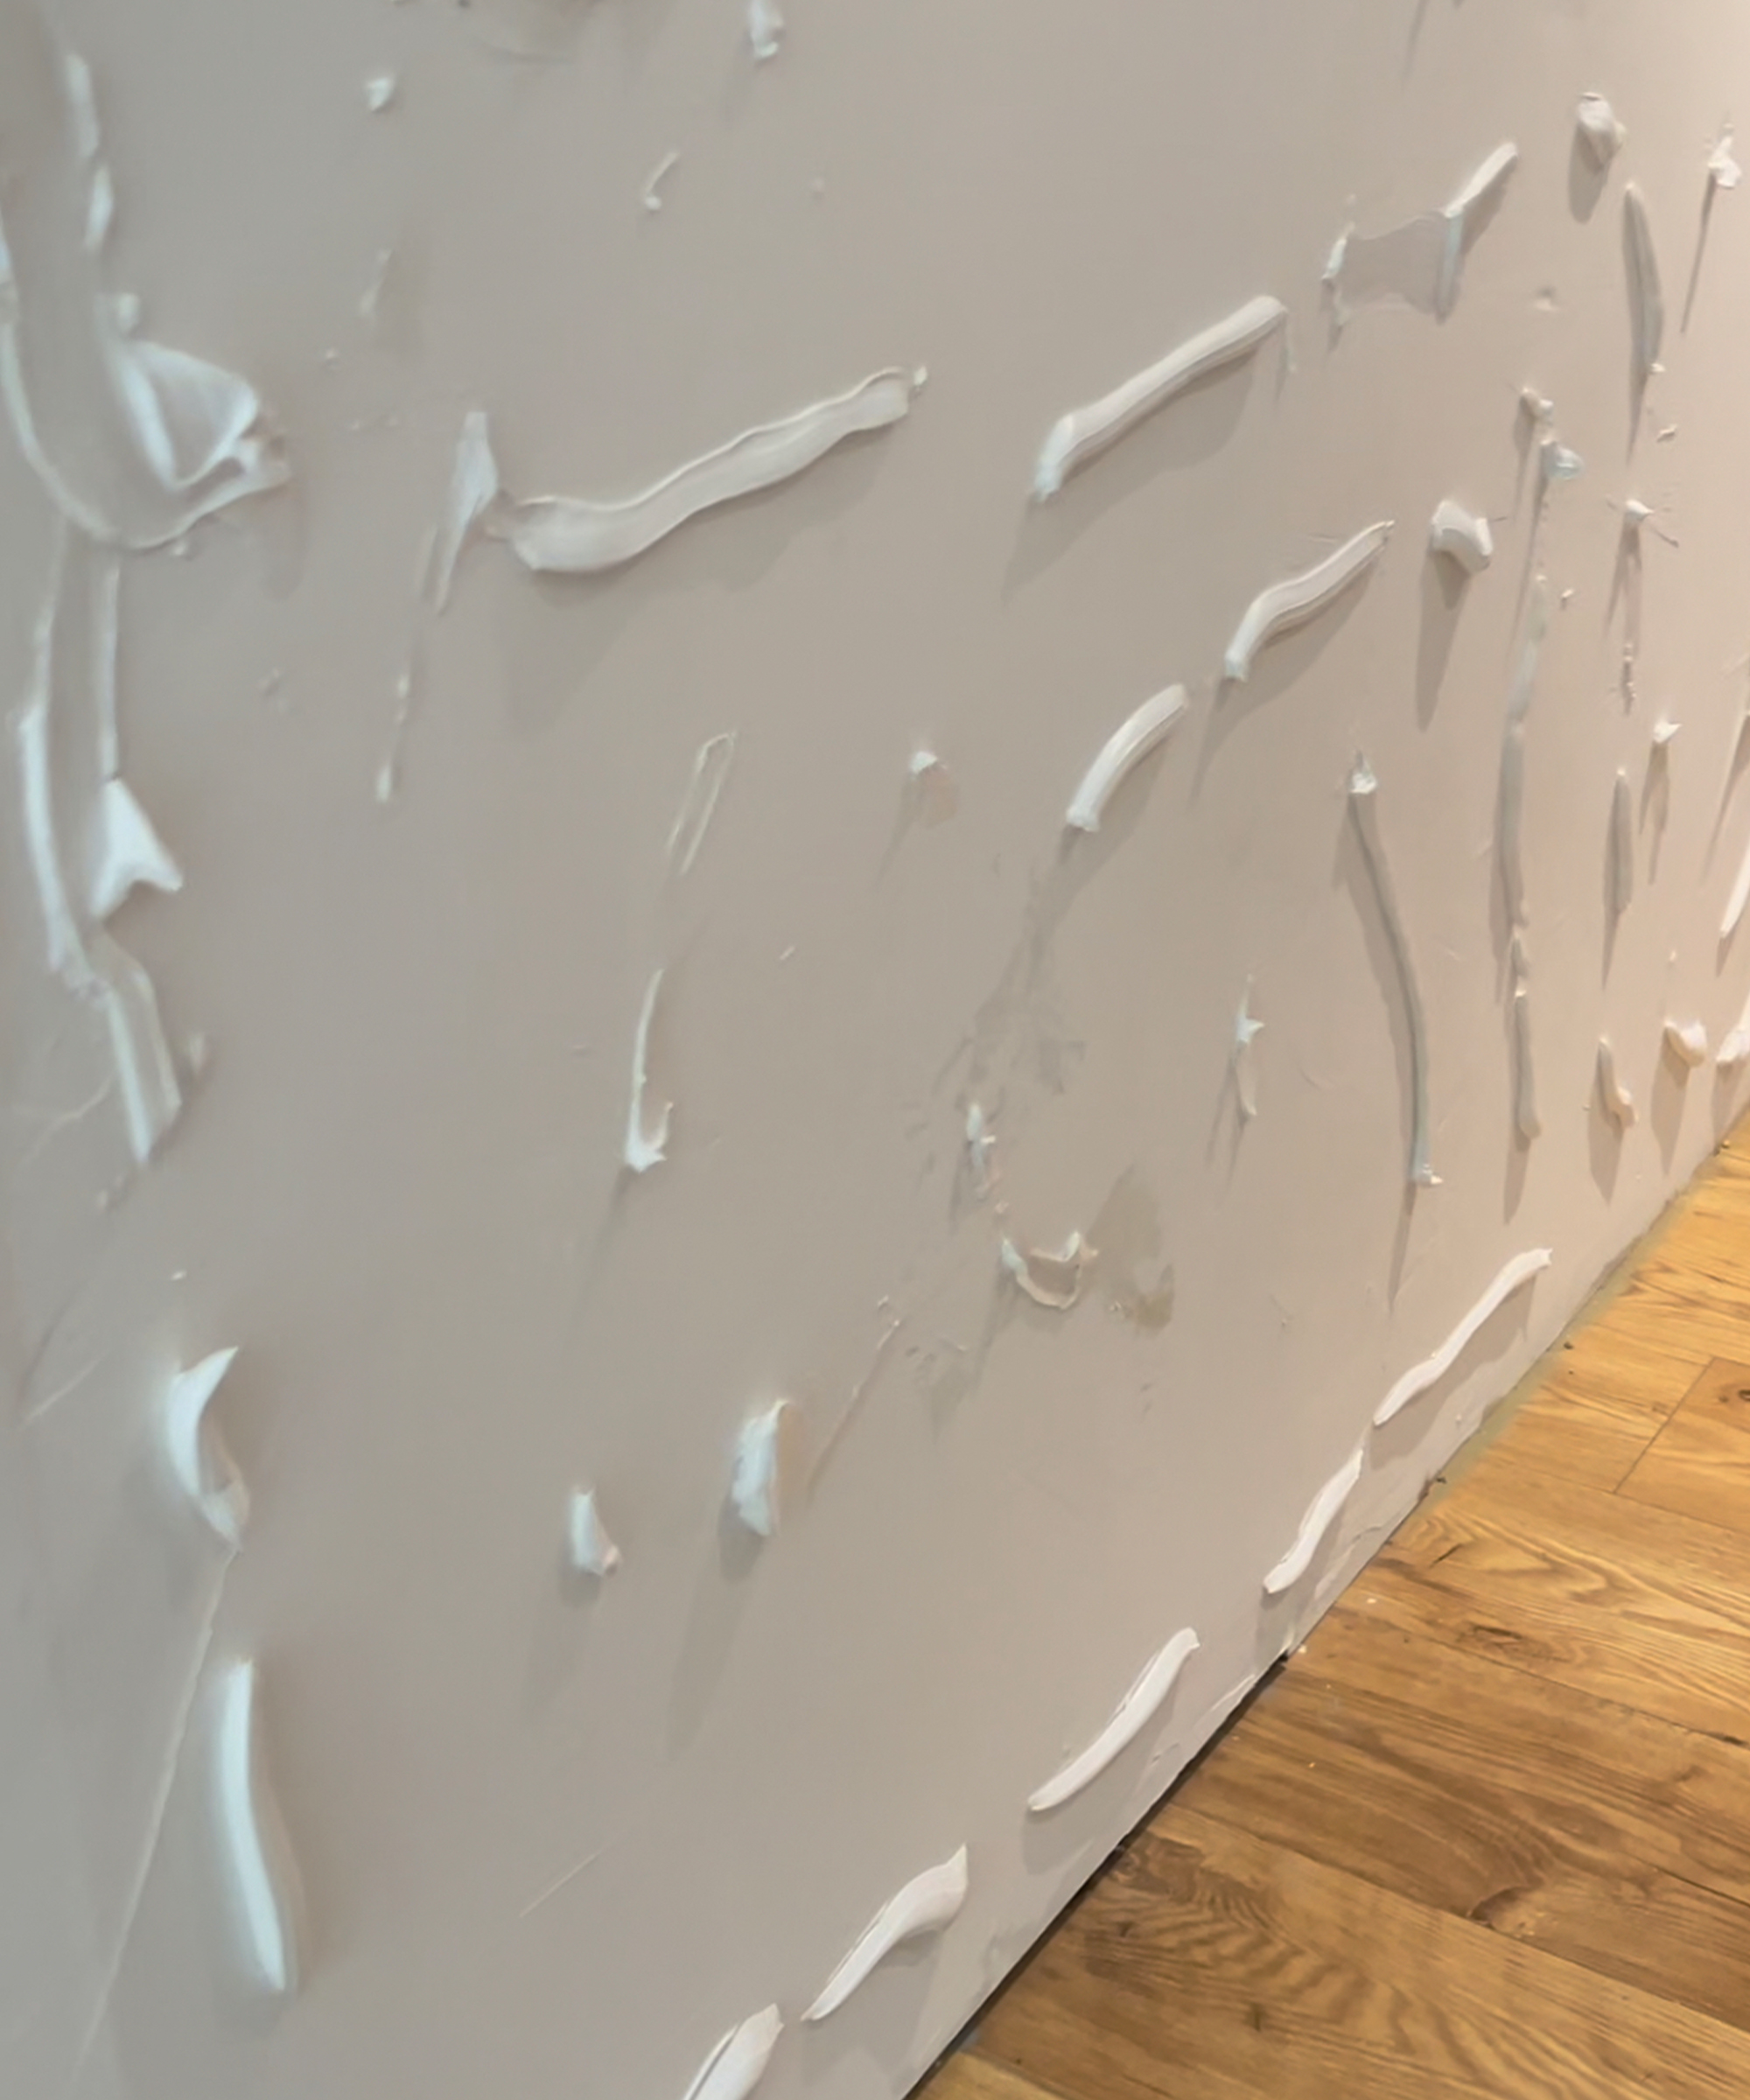
Apply grab adhesive, such as Liquid Nails for interior use, available on Amazon, to the surface you are attaching the fluted panel to.
Cut the end of the nozzle close to the cartridge to create a large exit hole as this makes applying the glue less labor-intensive. Don’t do this for projects where you require a small, neat accurate bead of product, but it works fine in this scenario.
I used a caulk gun and large cartridges of grab adhesive as they are more cost-effective for larger or repeated DIY projects.
Step 5: Install the fluted panel
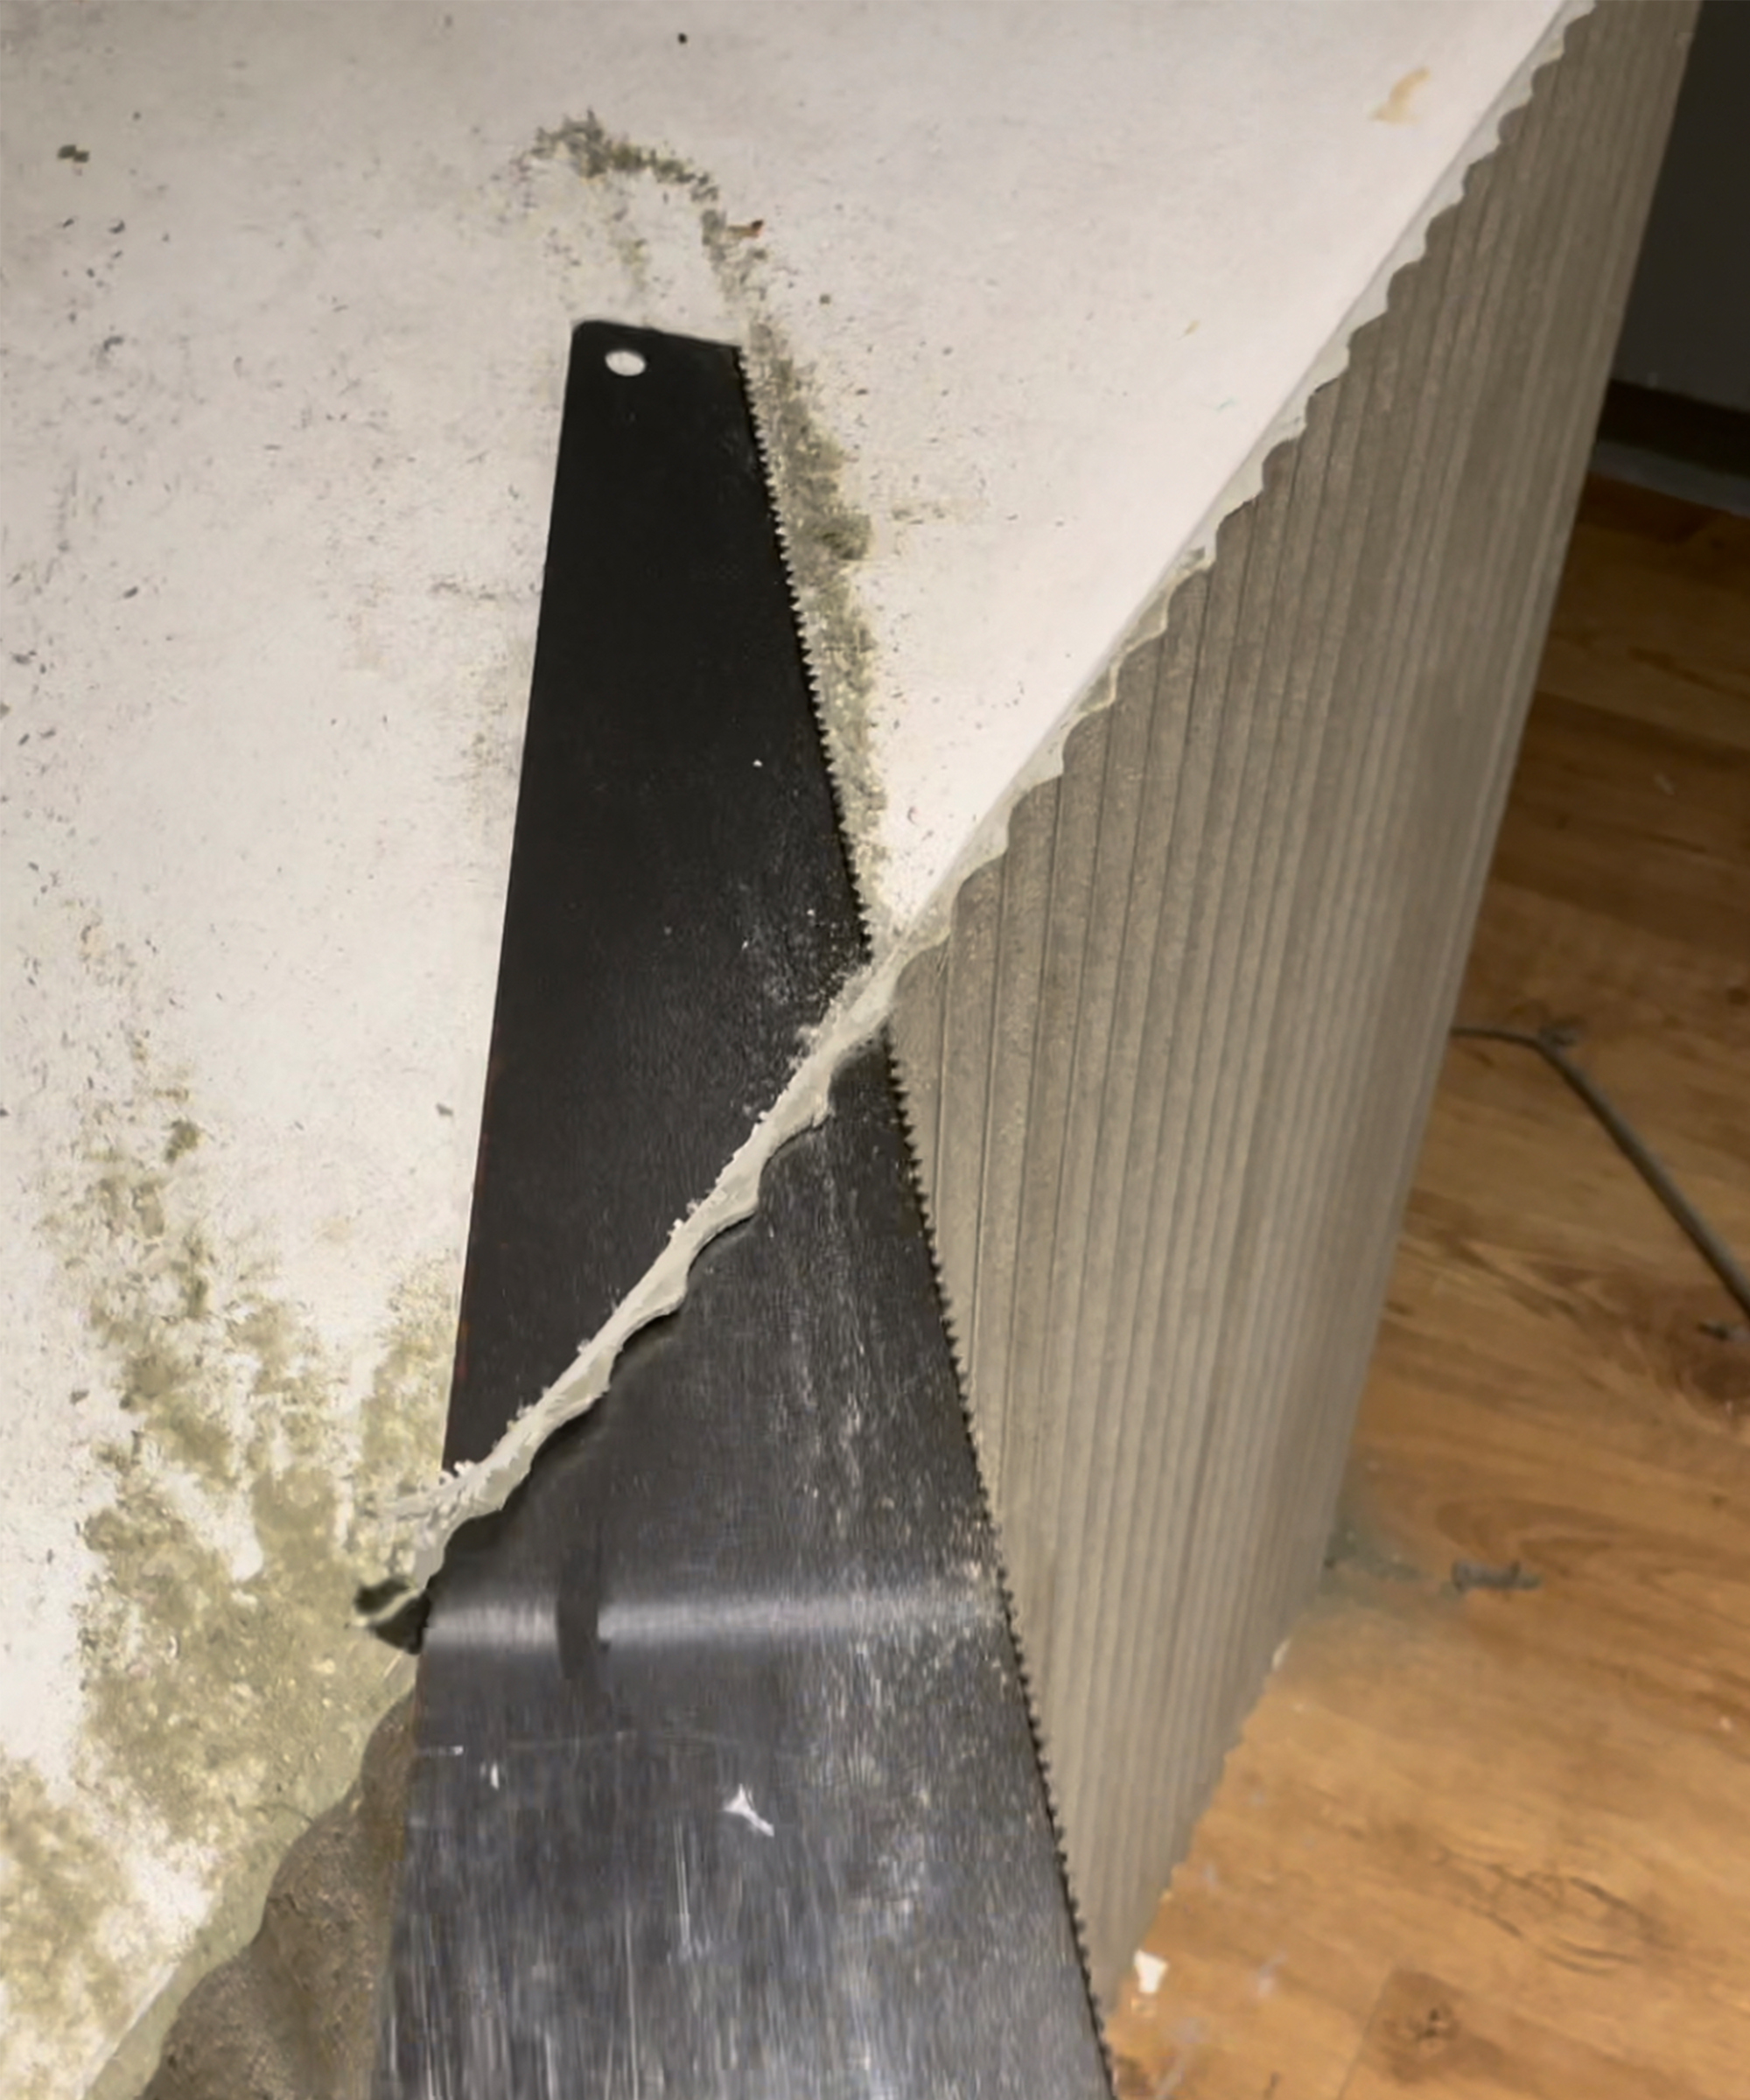
Stand the fluted panel back in position and apply firm pressure to attach it to the surface. Move the panel from one side to the other to remove any air behind the panel and spread the grab adhesive.
I then used a hand saw to cut off any excess particle board ensuring that the fluted panel and the top of the countertop are completely flush.
Step 6: Caulk the joins
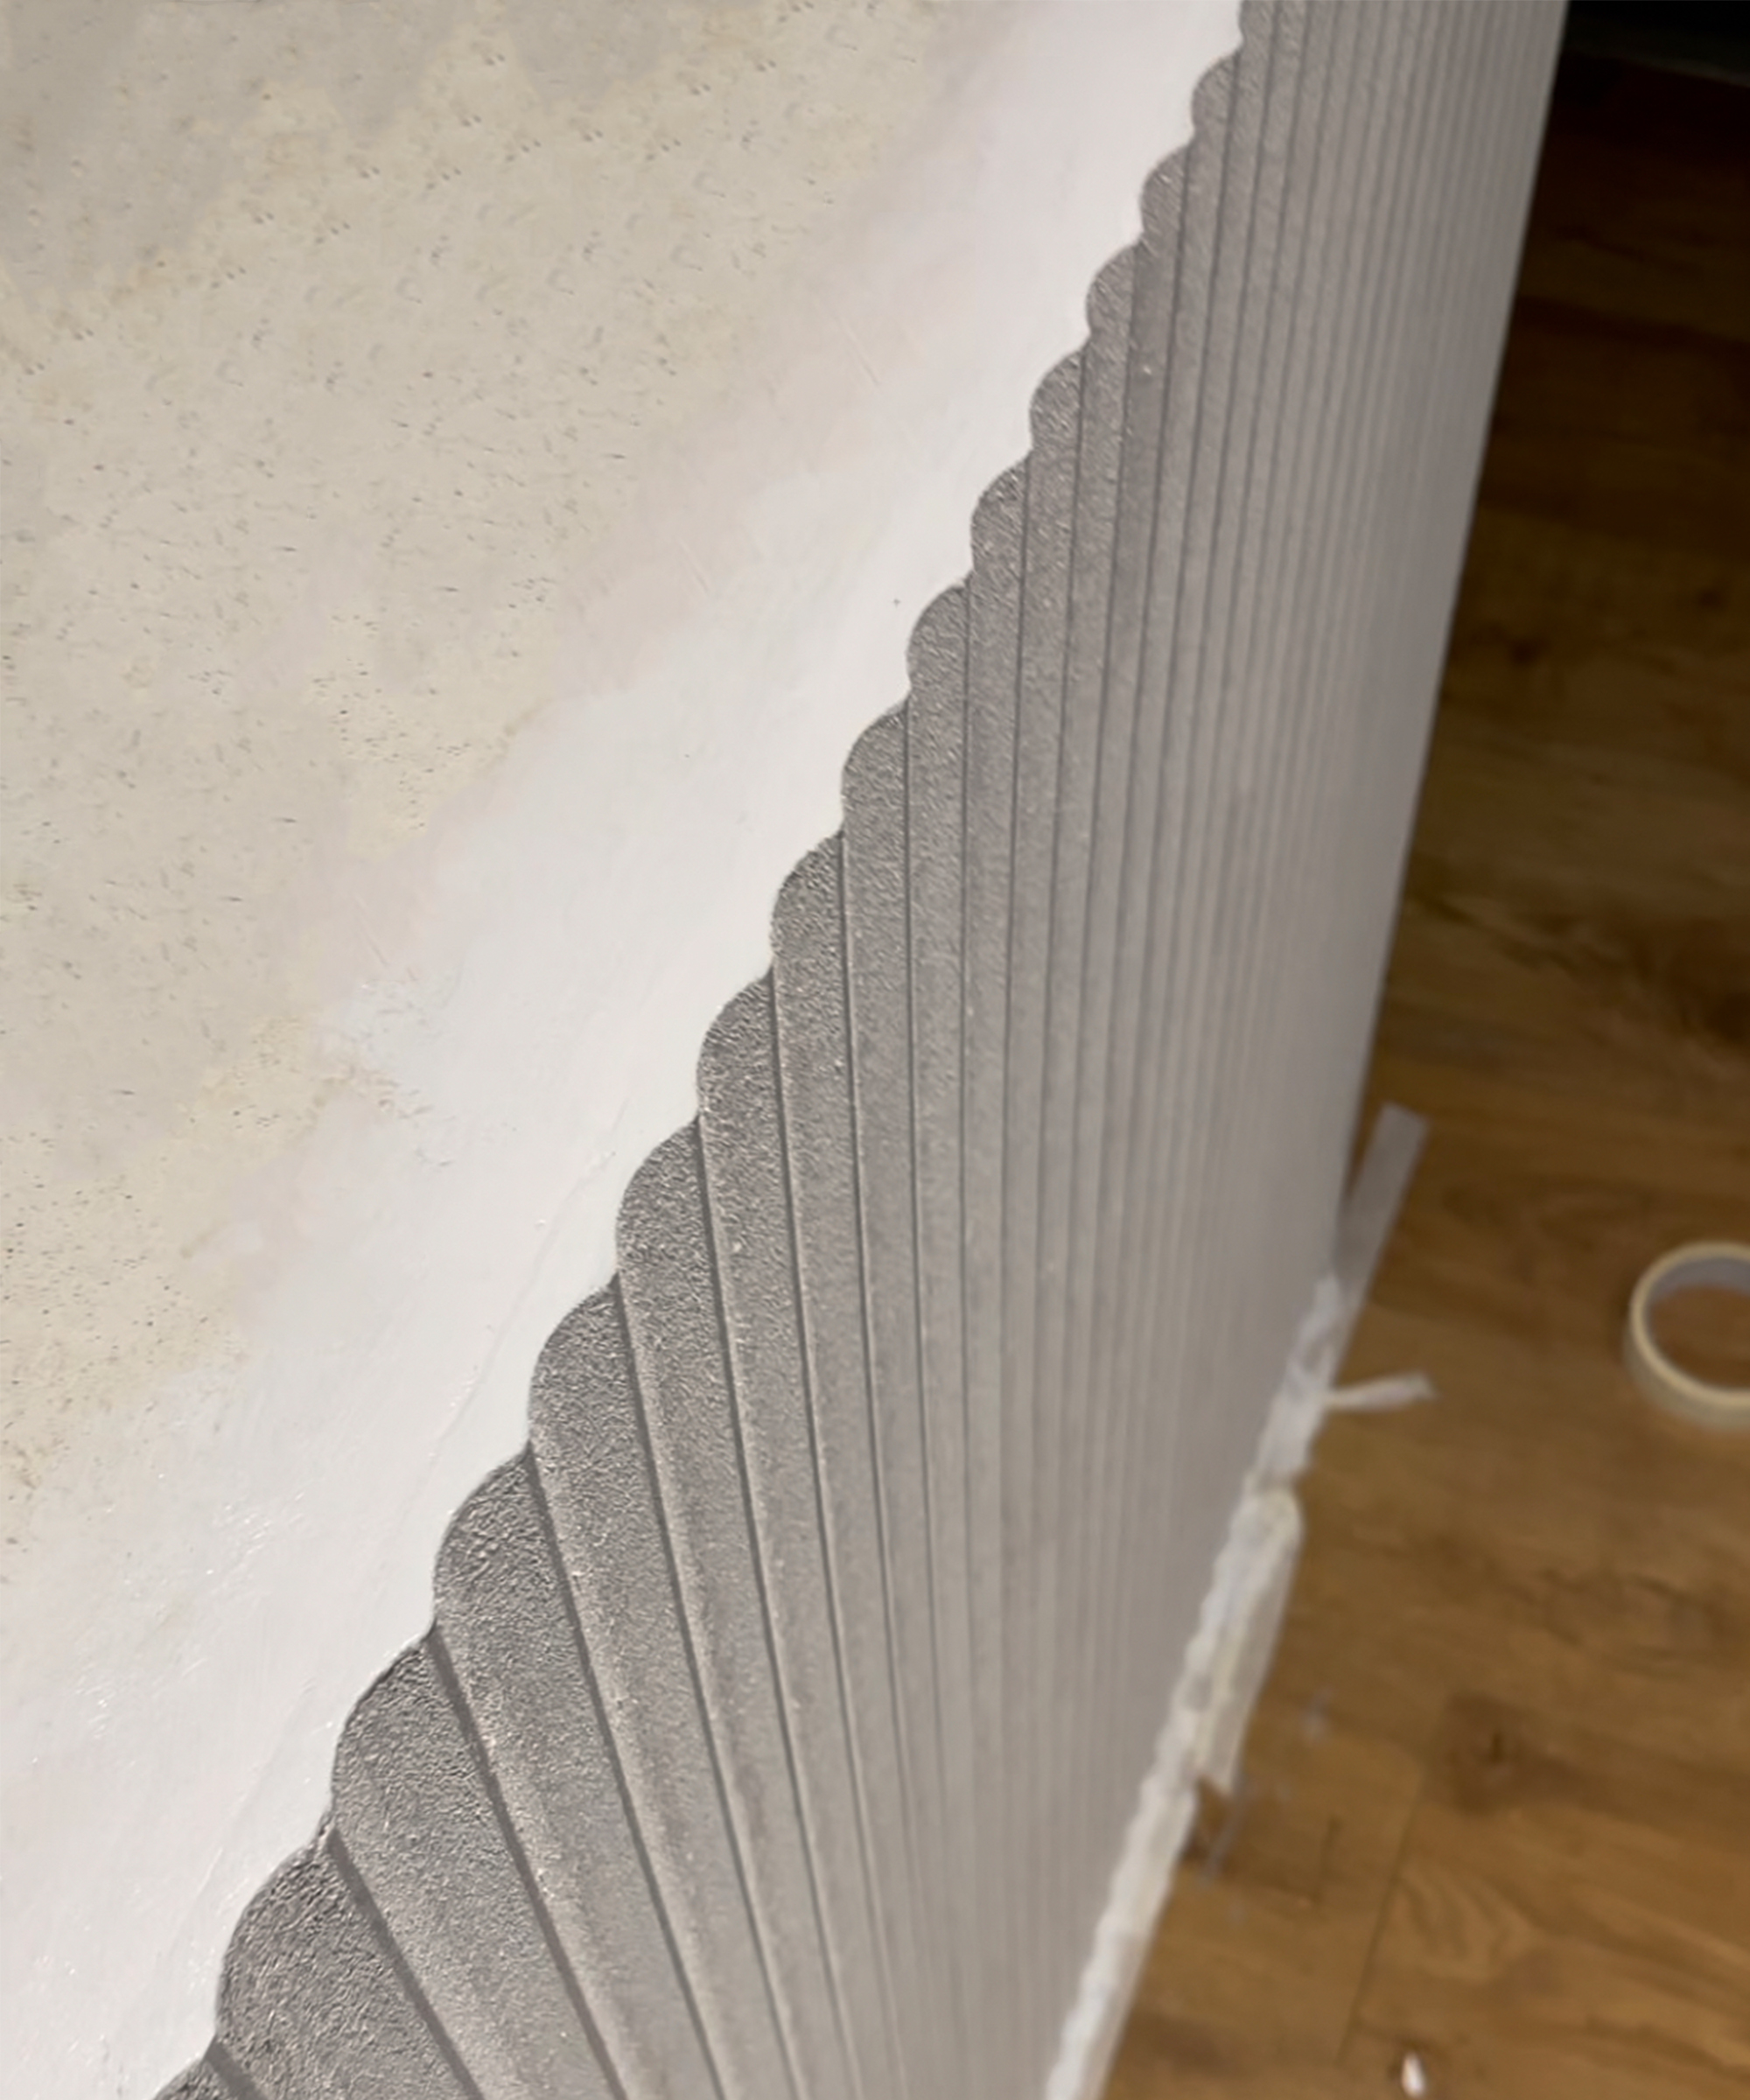
The next step in my makeover was to create a seamless join with the countertops. As I wanted to create a waterfall kitchen island look, I knew the join would be very much on display, so it needed to be perfect.
I ensured this by applying a bead of decorator’s caulk where the panel met the countertop and smoothing it over. You don't have to worry about smoothing too much as you'll sand the join later, but I recommend using a palette knife or skimming spreader for ease if you have one.
Alternatively, a firm piece of cardboard or plastic (perhaps from the fluted sheet's packaging to reduce wastage) can be used to smooth the caulk by running it along the join, scooping up any excess caulk and creating a level surface as it goes.
Allow the glue behind the panel and the caulk along joins to dry completely. It's best to check the product for manufacturer's guidelines, but 12 hours is usually a good drying estimate under normal DIY conditions.
Once dry, I sanded the caulk for a seamless finish and went a step further. I applied a layer of microcement over the microcement countertops to completely cover the join.
If you have overhanging countertops, as is the norm, you won't need to worry about the join in quite the same way, as you can butt the panel tightly up and under the lip of the countertops.
I still recommend applying a bead of caulk for a neat finish if it will be visible from any angle, so be sure to buy one that you can paint over (silicone caulk repels paint making it very tricky to paint over) or that dries in the desired colour, such as the Red Devil paintable white decorator's caulk from Amazon.
Step 7: Prime the fluted panel
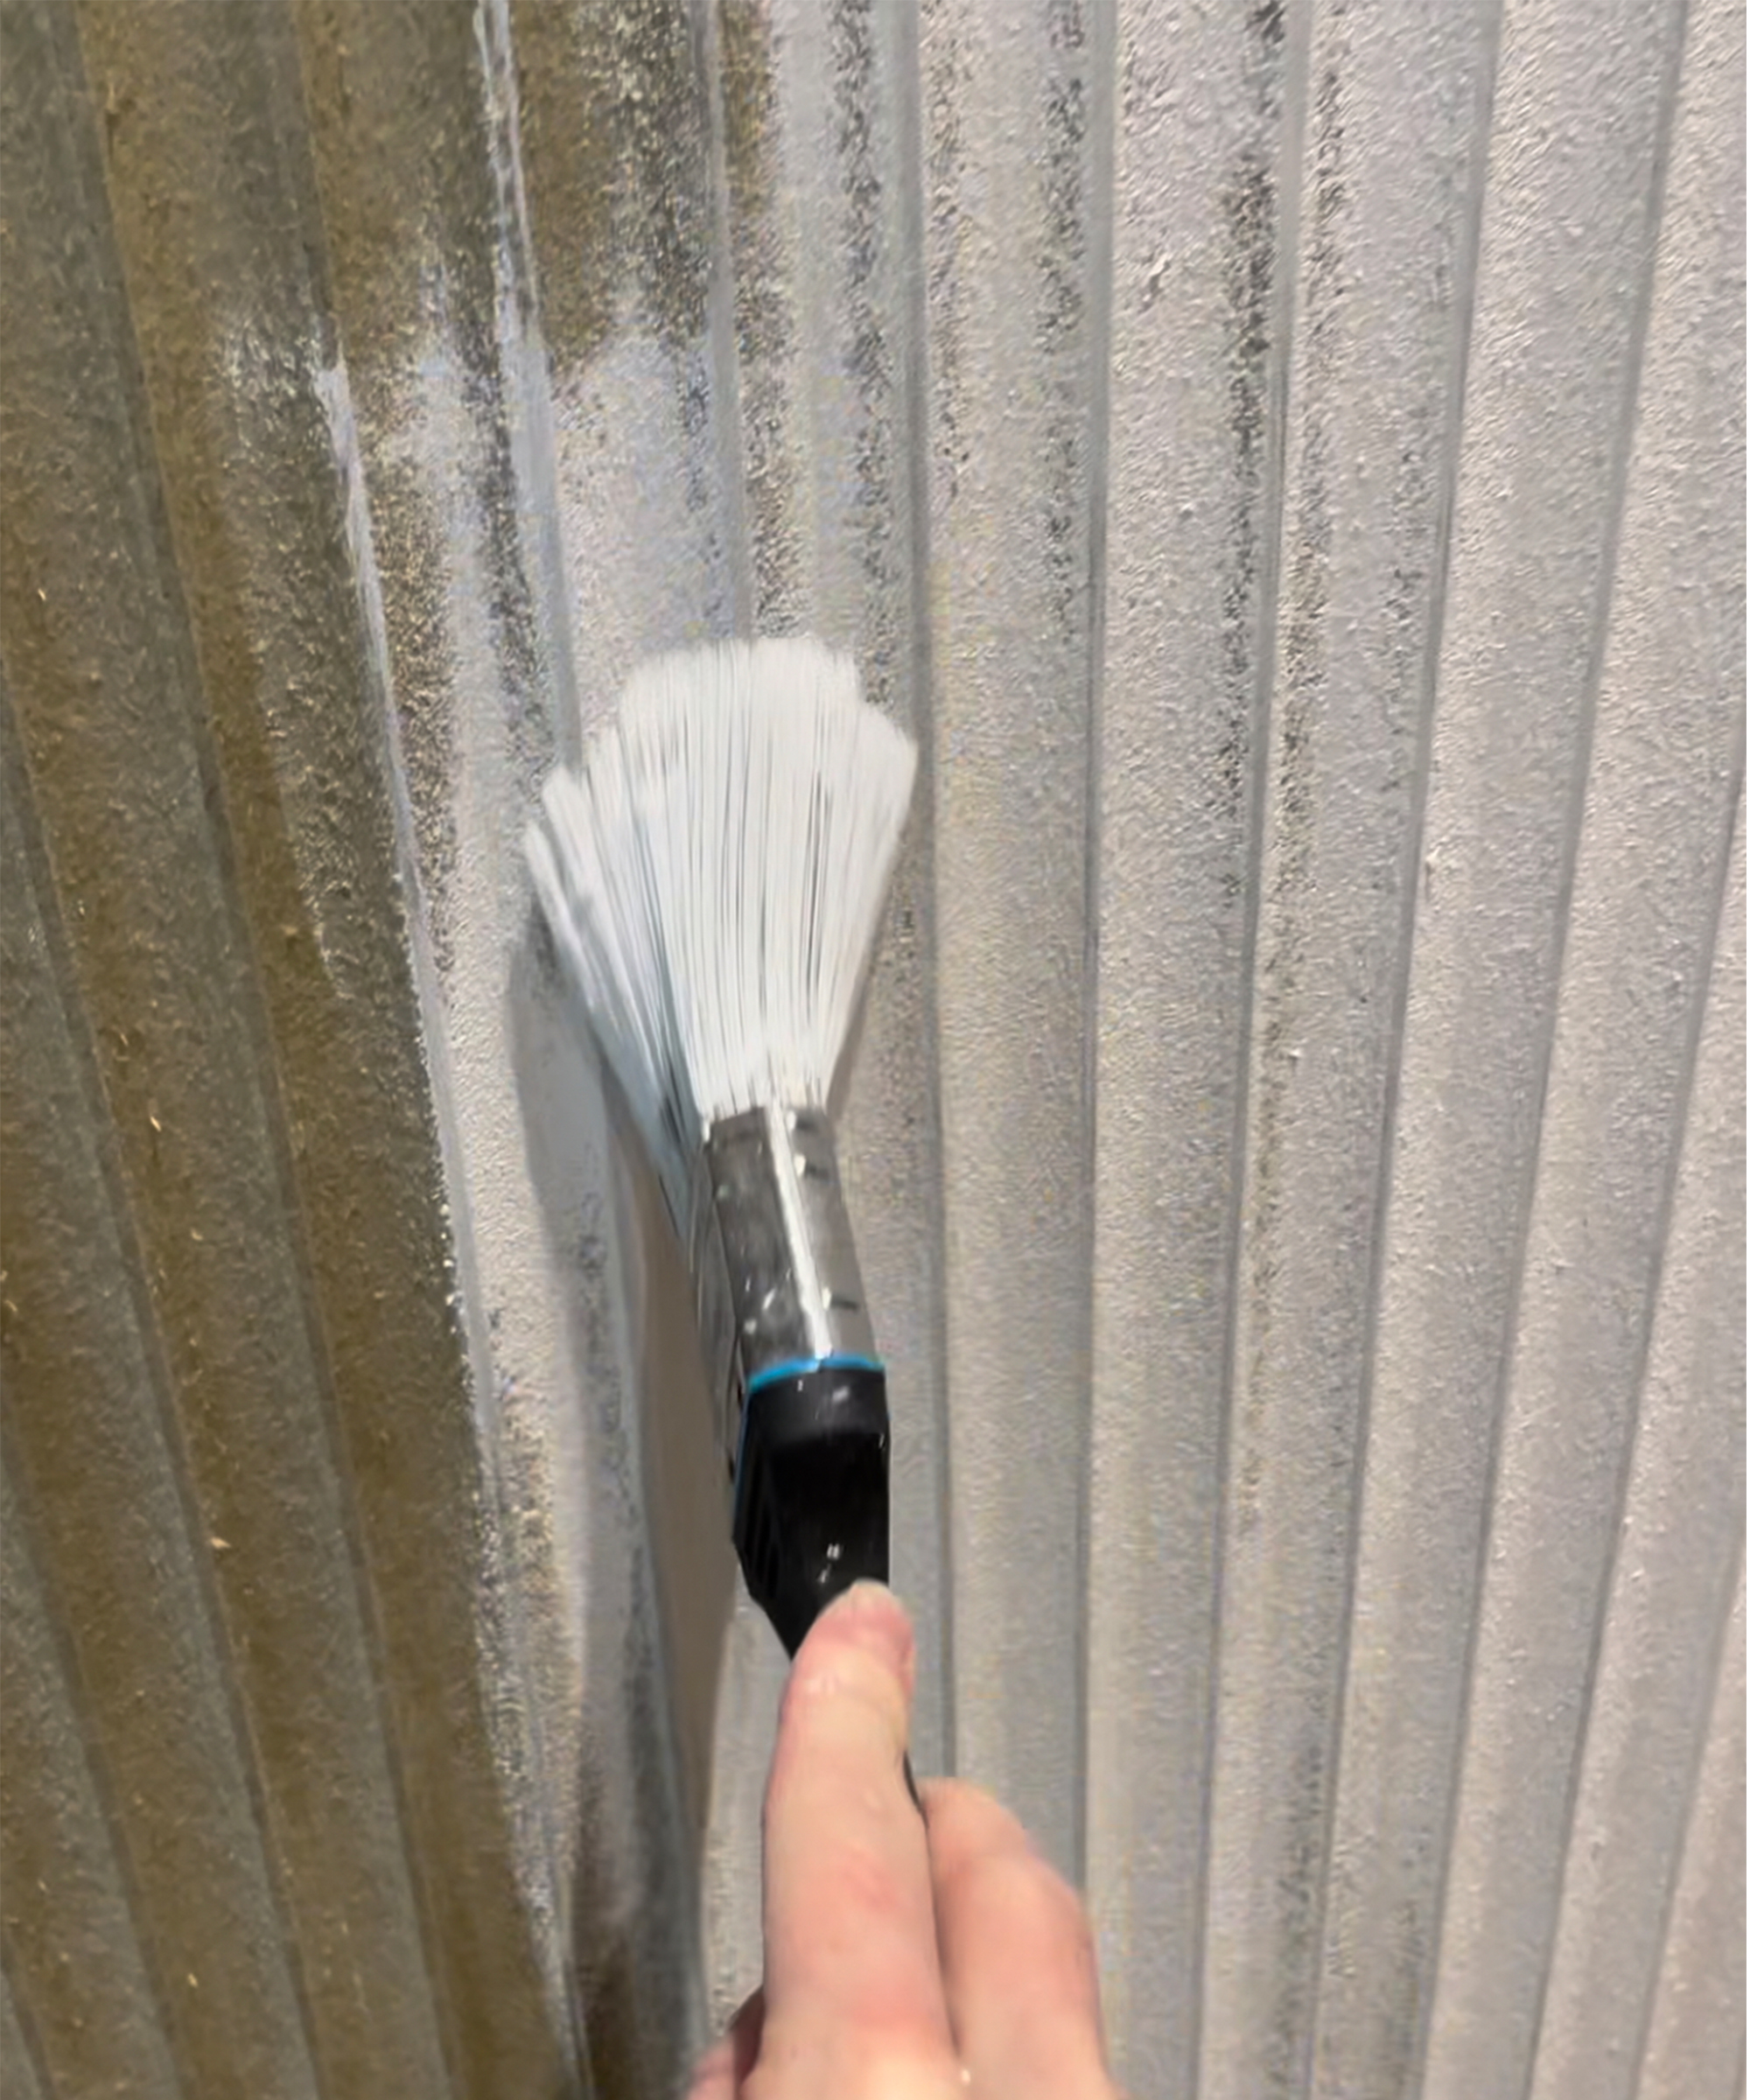
Priming particle board or plywood is essential because they are very absorbent materials and will soak up a lot of paint otherwise. Priming also serves to create a great base for the paint to sit on and will result in a more professional finish.
Apply at least two coats of primer with a brush and allow to dry. Zinsser primer, available on Amazon and most hardware stores, is a good buy as can also be used for painting IKEA furniture to, which I did when I completed my IKEA BILLY bookcase hack.
Step 8: Paint the fluted panel
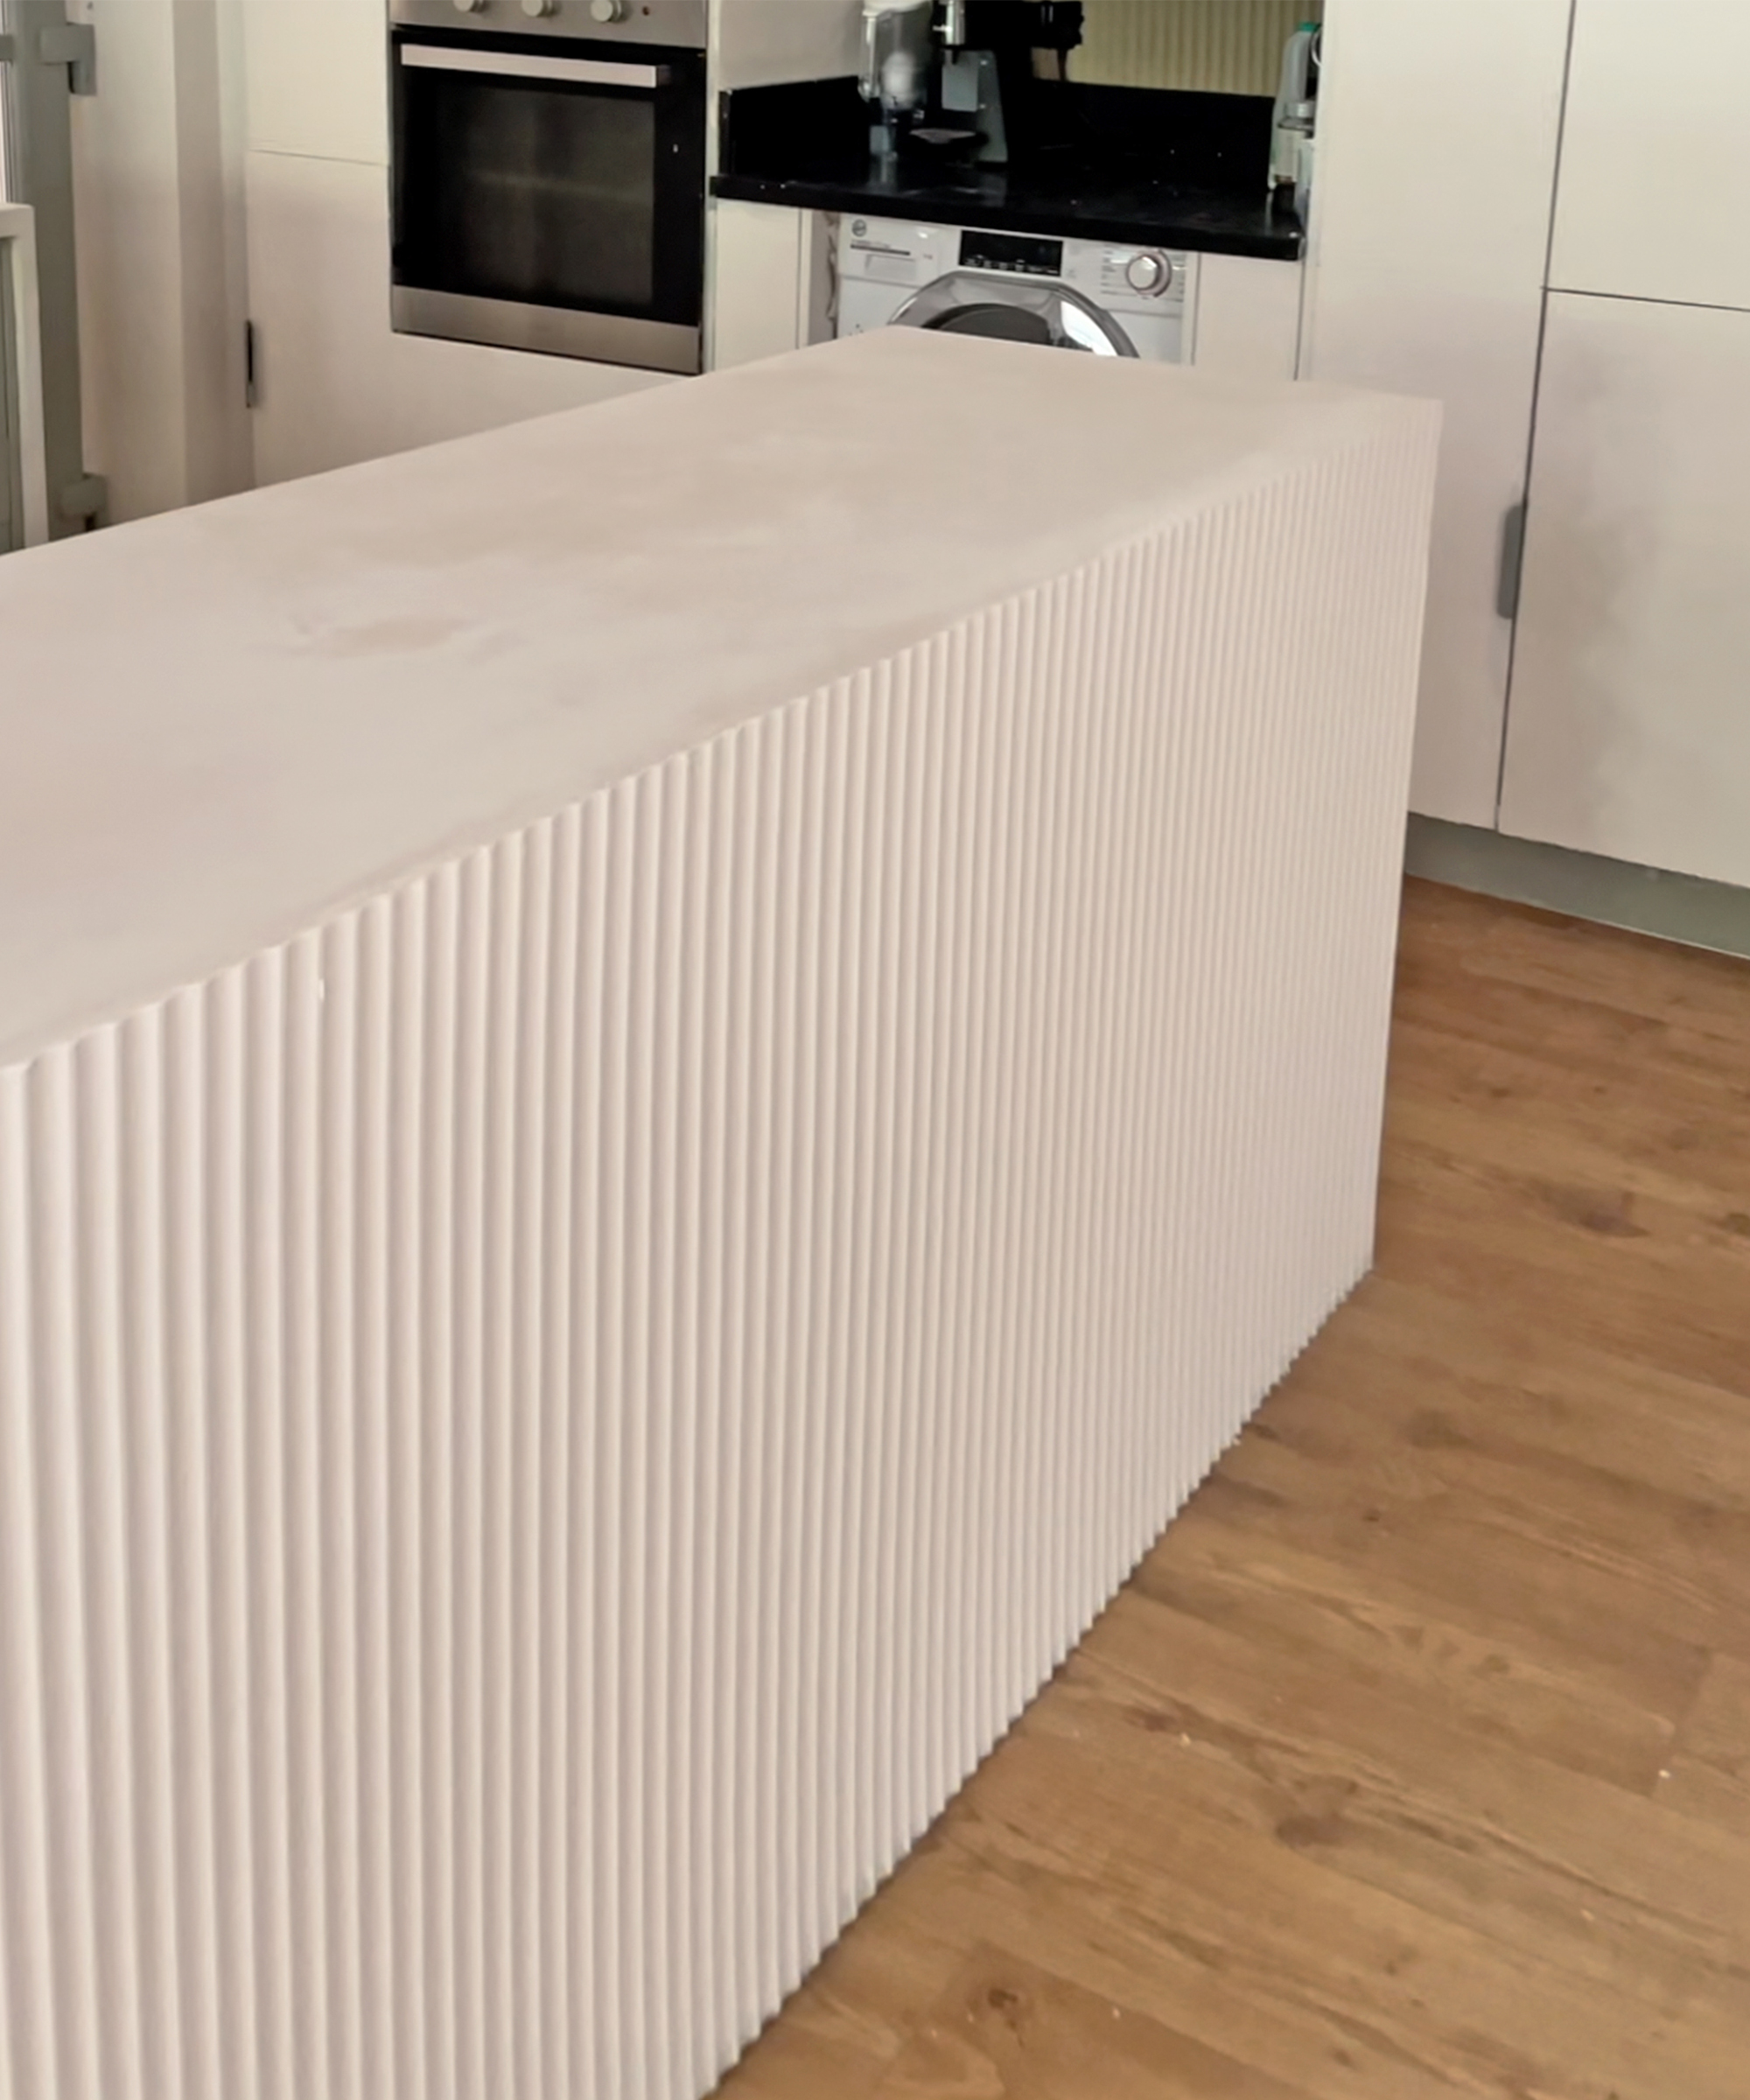
The final step is to paint the newly-attached fluted panel with an appropriate paint. Rustoleum ultra matte interior chalked paint available at Walmart is similar to the matte kitchen wall paint I used here in the UK. Kitchen paint is scrubbable so it makes a good choice for this busy and messy part of the home.
If you have any leftover kitchen cabinet paint, that's also great for extra durability.
Apply two coats of your chosen paint and allow it to dry fully before touching the fluted panel. I found a brush easier than a roller for applying the paint to the fluted surface, but a paint pad such as the Shur-line tear-resistant deck foam pad from Walmart might save you time as it has a large surface area that can be loaded up with paint to saturate the undulations of the fluting and save you effort on brushstrokes.
And there you have it, a simple yet effective kitchen DIY using a fluted panel to transform the side of your countertops. Fluting adds texture and interest and creates a focal point in the room.
The beauty of this kitchen DIY is that applying fluted panels means you can cover large areas in a short space of time, making it much quicker than tiling a wall in your home.


