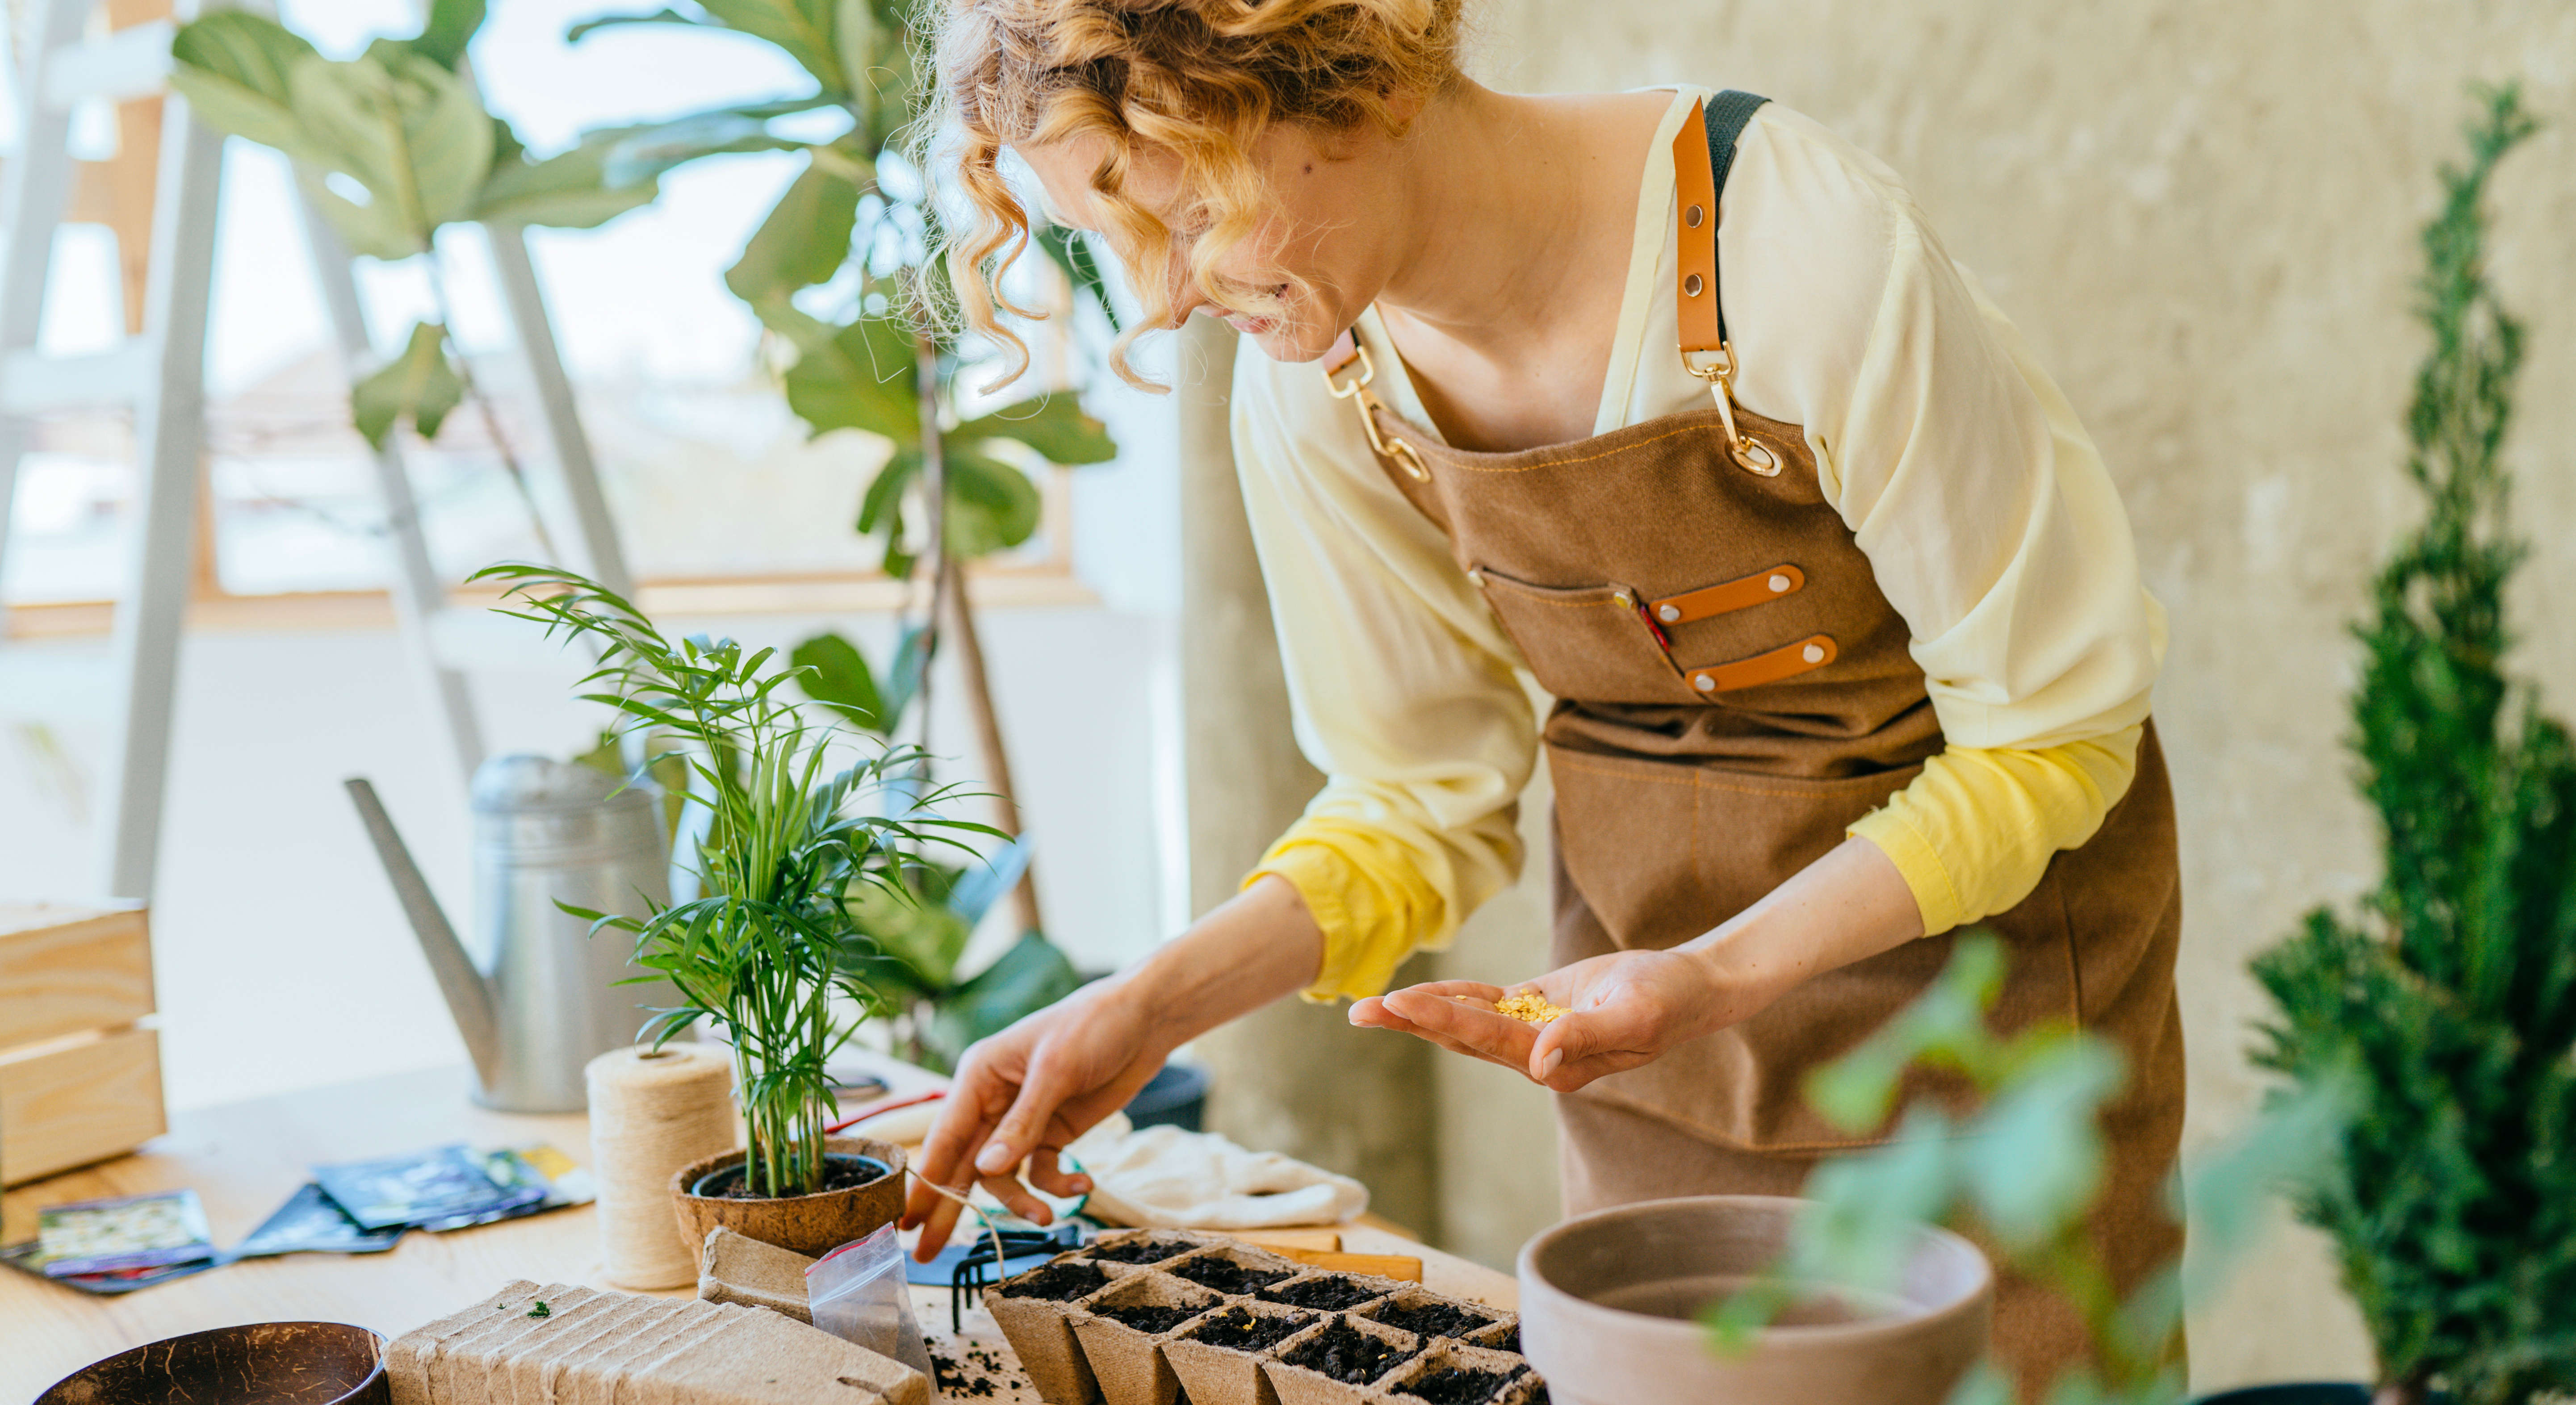
Growing plants from seeds has lots of benefits. It gives you the satisfaction of growing your own and nurturing seeds into healthy plants while saving on the expense of buying established plants from a garden center.
If you’re sowing seeds for the first time, you may find that not everything goes to plan. Those healthy, green seedlings you were expecting may not materialize, leaving you reluctant to try again. When you’re learning as you go, mistakes are easy to make, and even experienced seed sowers will become croppers now and again.
So, to help you get off on the right track and give your seeds the best chance of germinating, we’ve put together 9 mistakes to avoid when growing seeds, taking you from novice to master seed grower.
1. Not understanding what seeds need to grow
Seed producer Thompson & Morgan say there are many reasons why seeds fail to germinate. One of the mistakes is not knowing that seeds need a combination of elements to germinate, including water, oxygen, heat and the correct levels of light.
However, once you know that seeds need these elements to survive, you can ensure they have the correct growing conditions.
2. Sowing old seeds
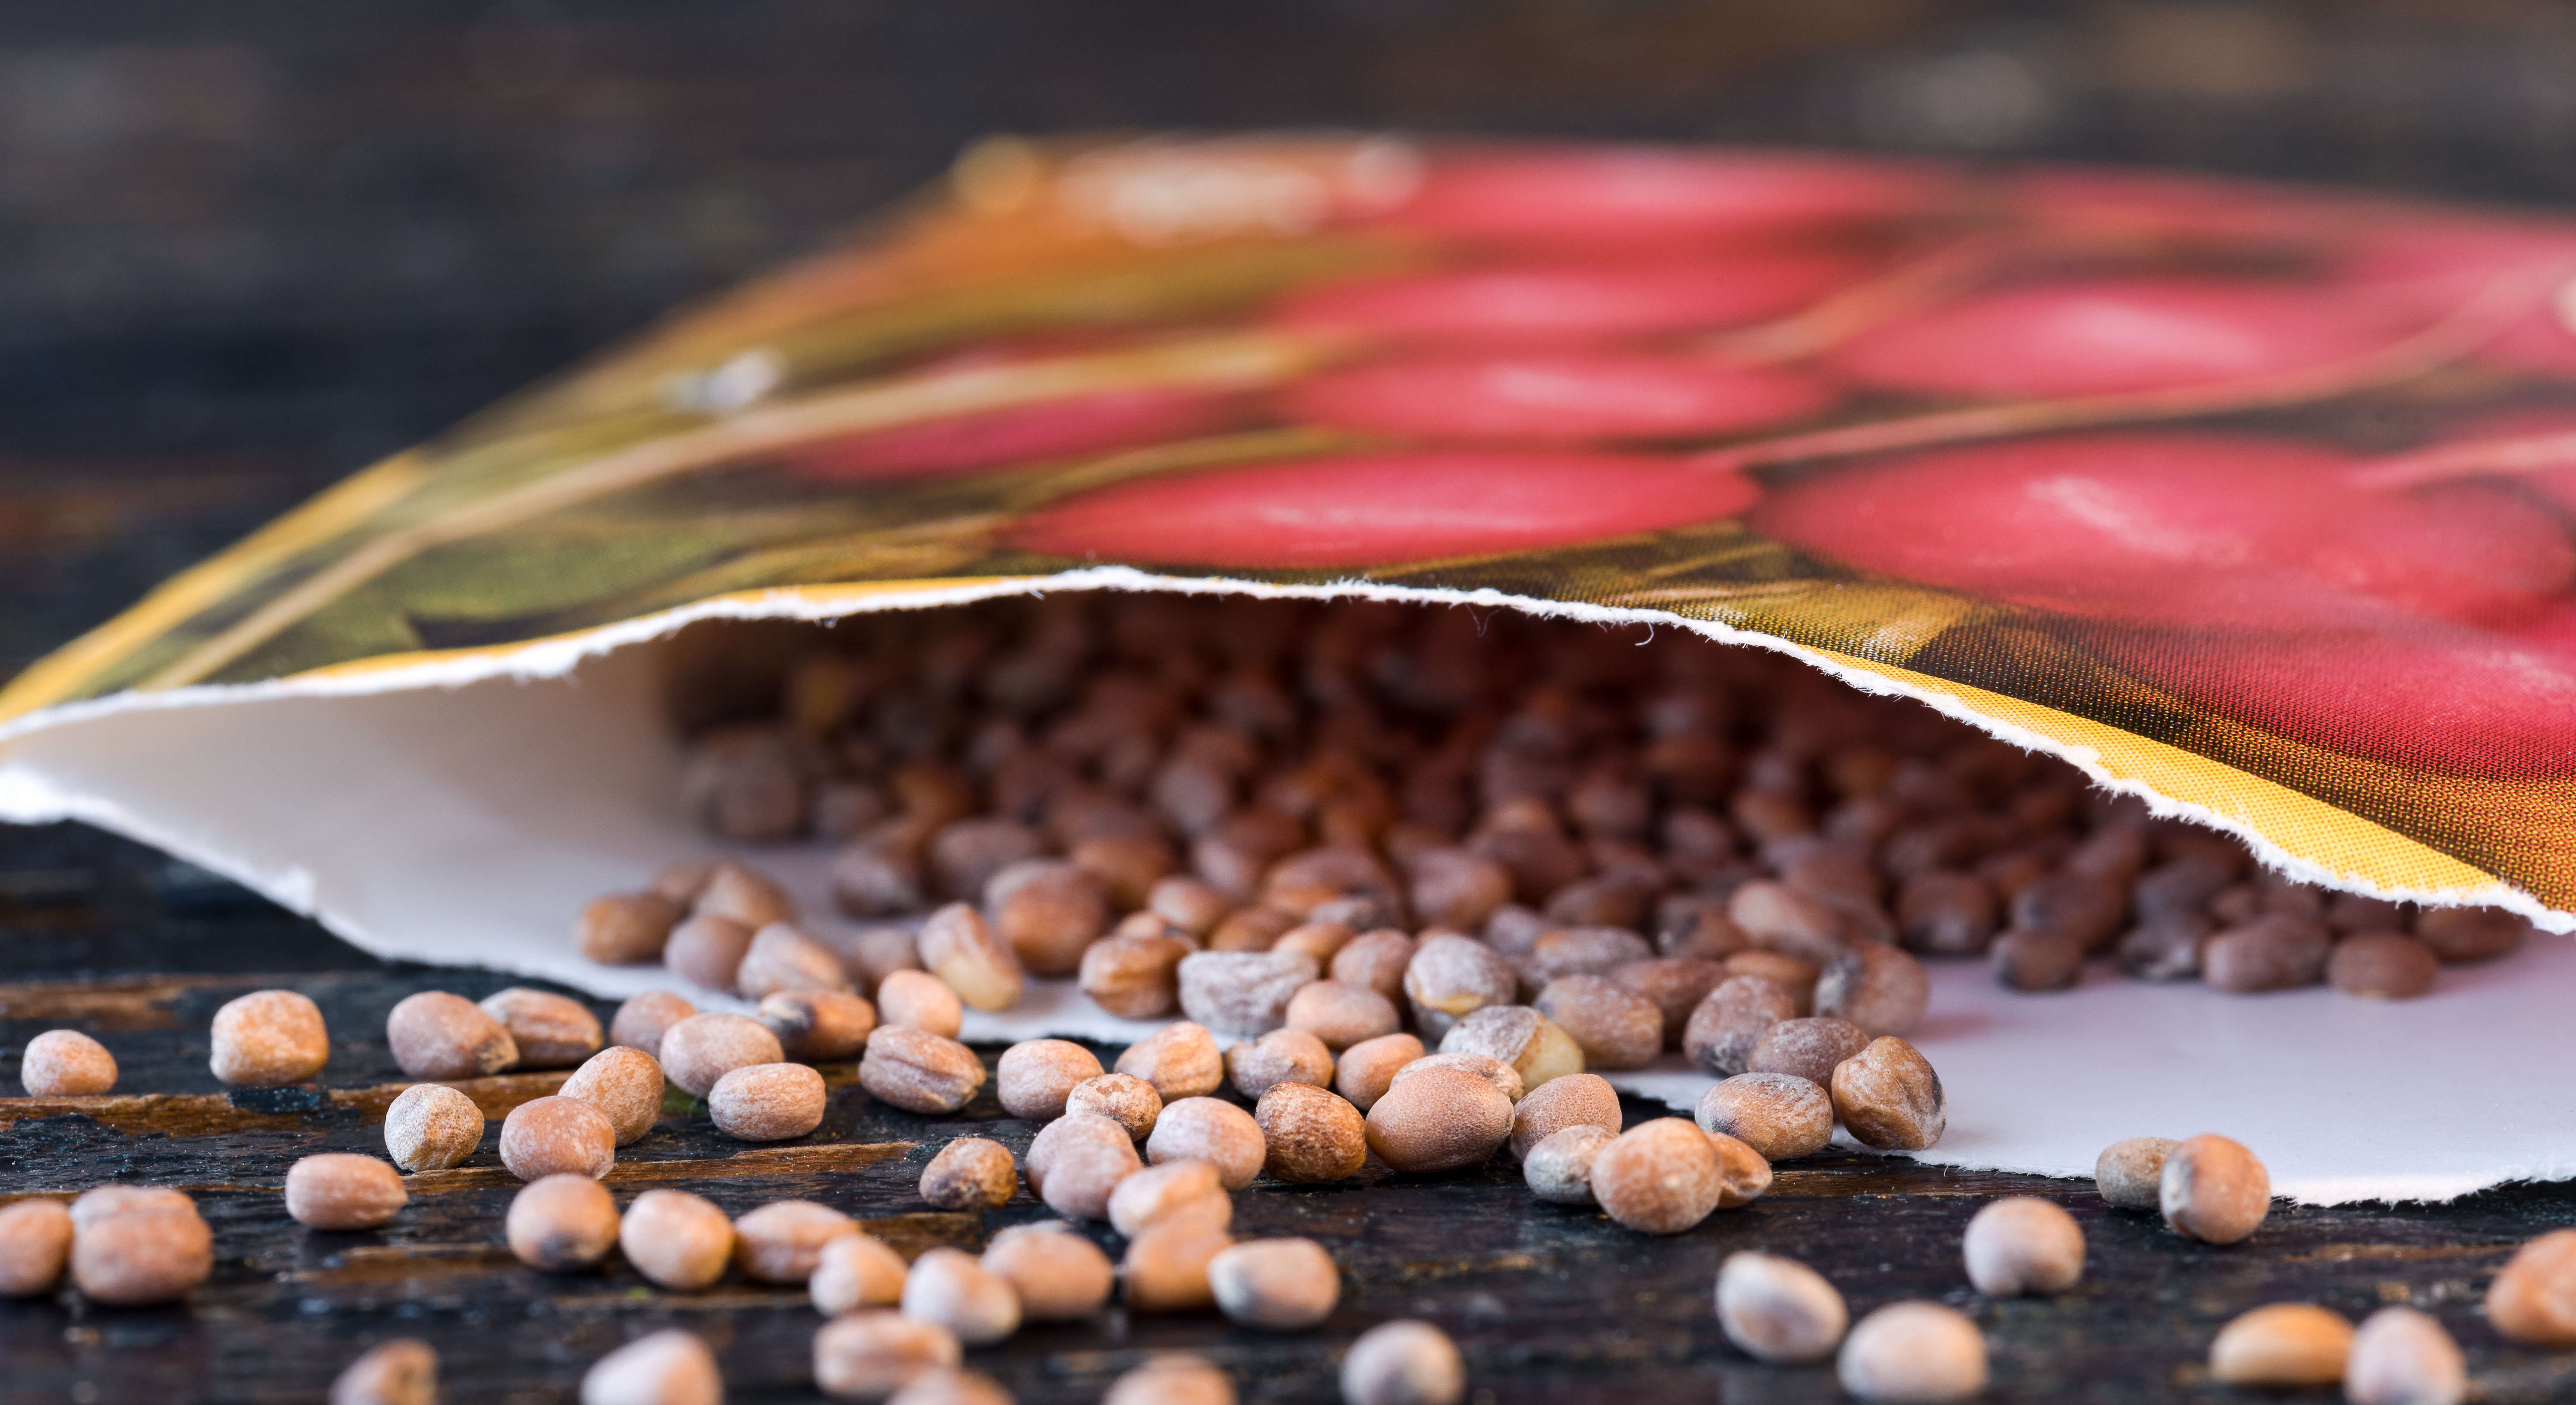
Seeds can go out of date just like the food we buy. Perhaps you’ve had a packet of seeds hanging around in your garage or greenhouse for a couple of years, and never got round to sowing them. Before you do, check the expiration date on the seed packet to see if they are past their best. Buying a new packet of seeds is a worthy investment if it results in a healthy crop of seedlings.
Certain seeds have a shorter shelf life than others, while some will last much longer. Simply Smart Gardening says onions and sweetcorn have a short lifespan, while cucumber and melon seeds can last up to 6 years. The company has a handy seed viability chart, available to download, which details the lifespan of flower and vegetable seeds.
3. Not using the correct potting mix
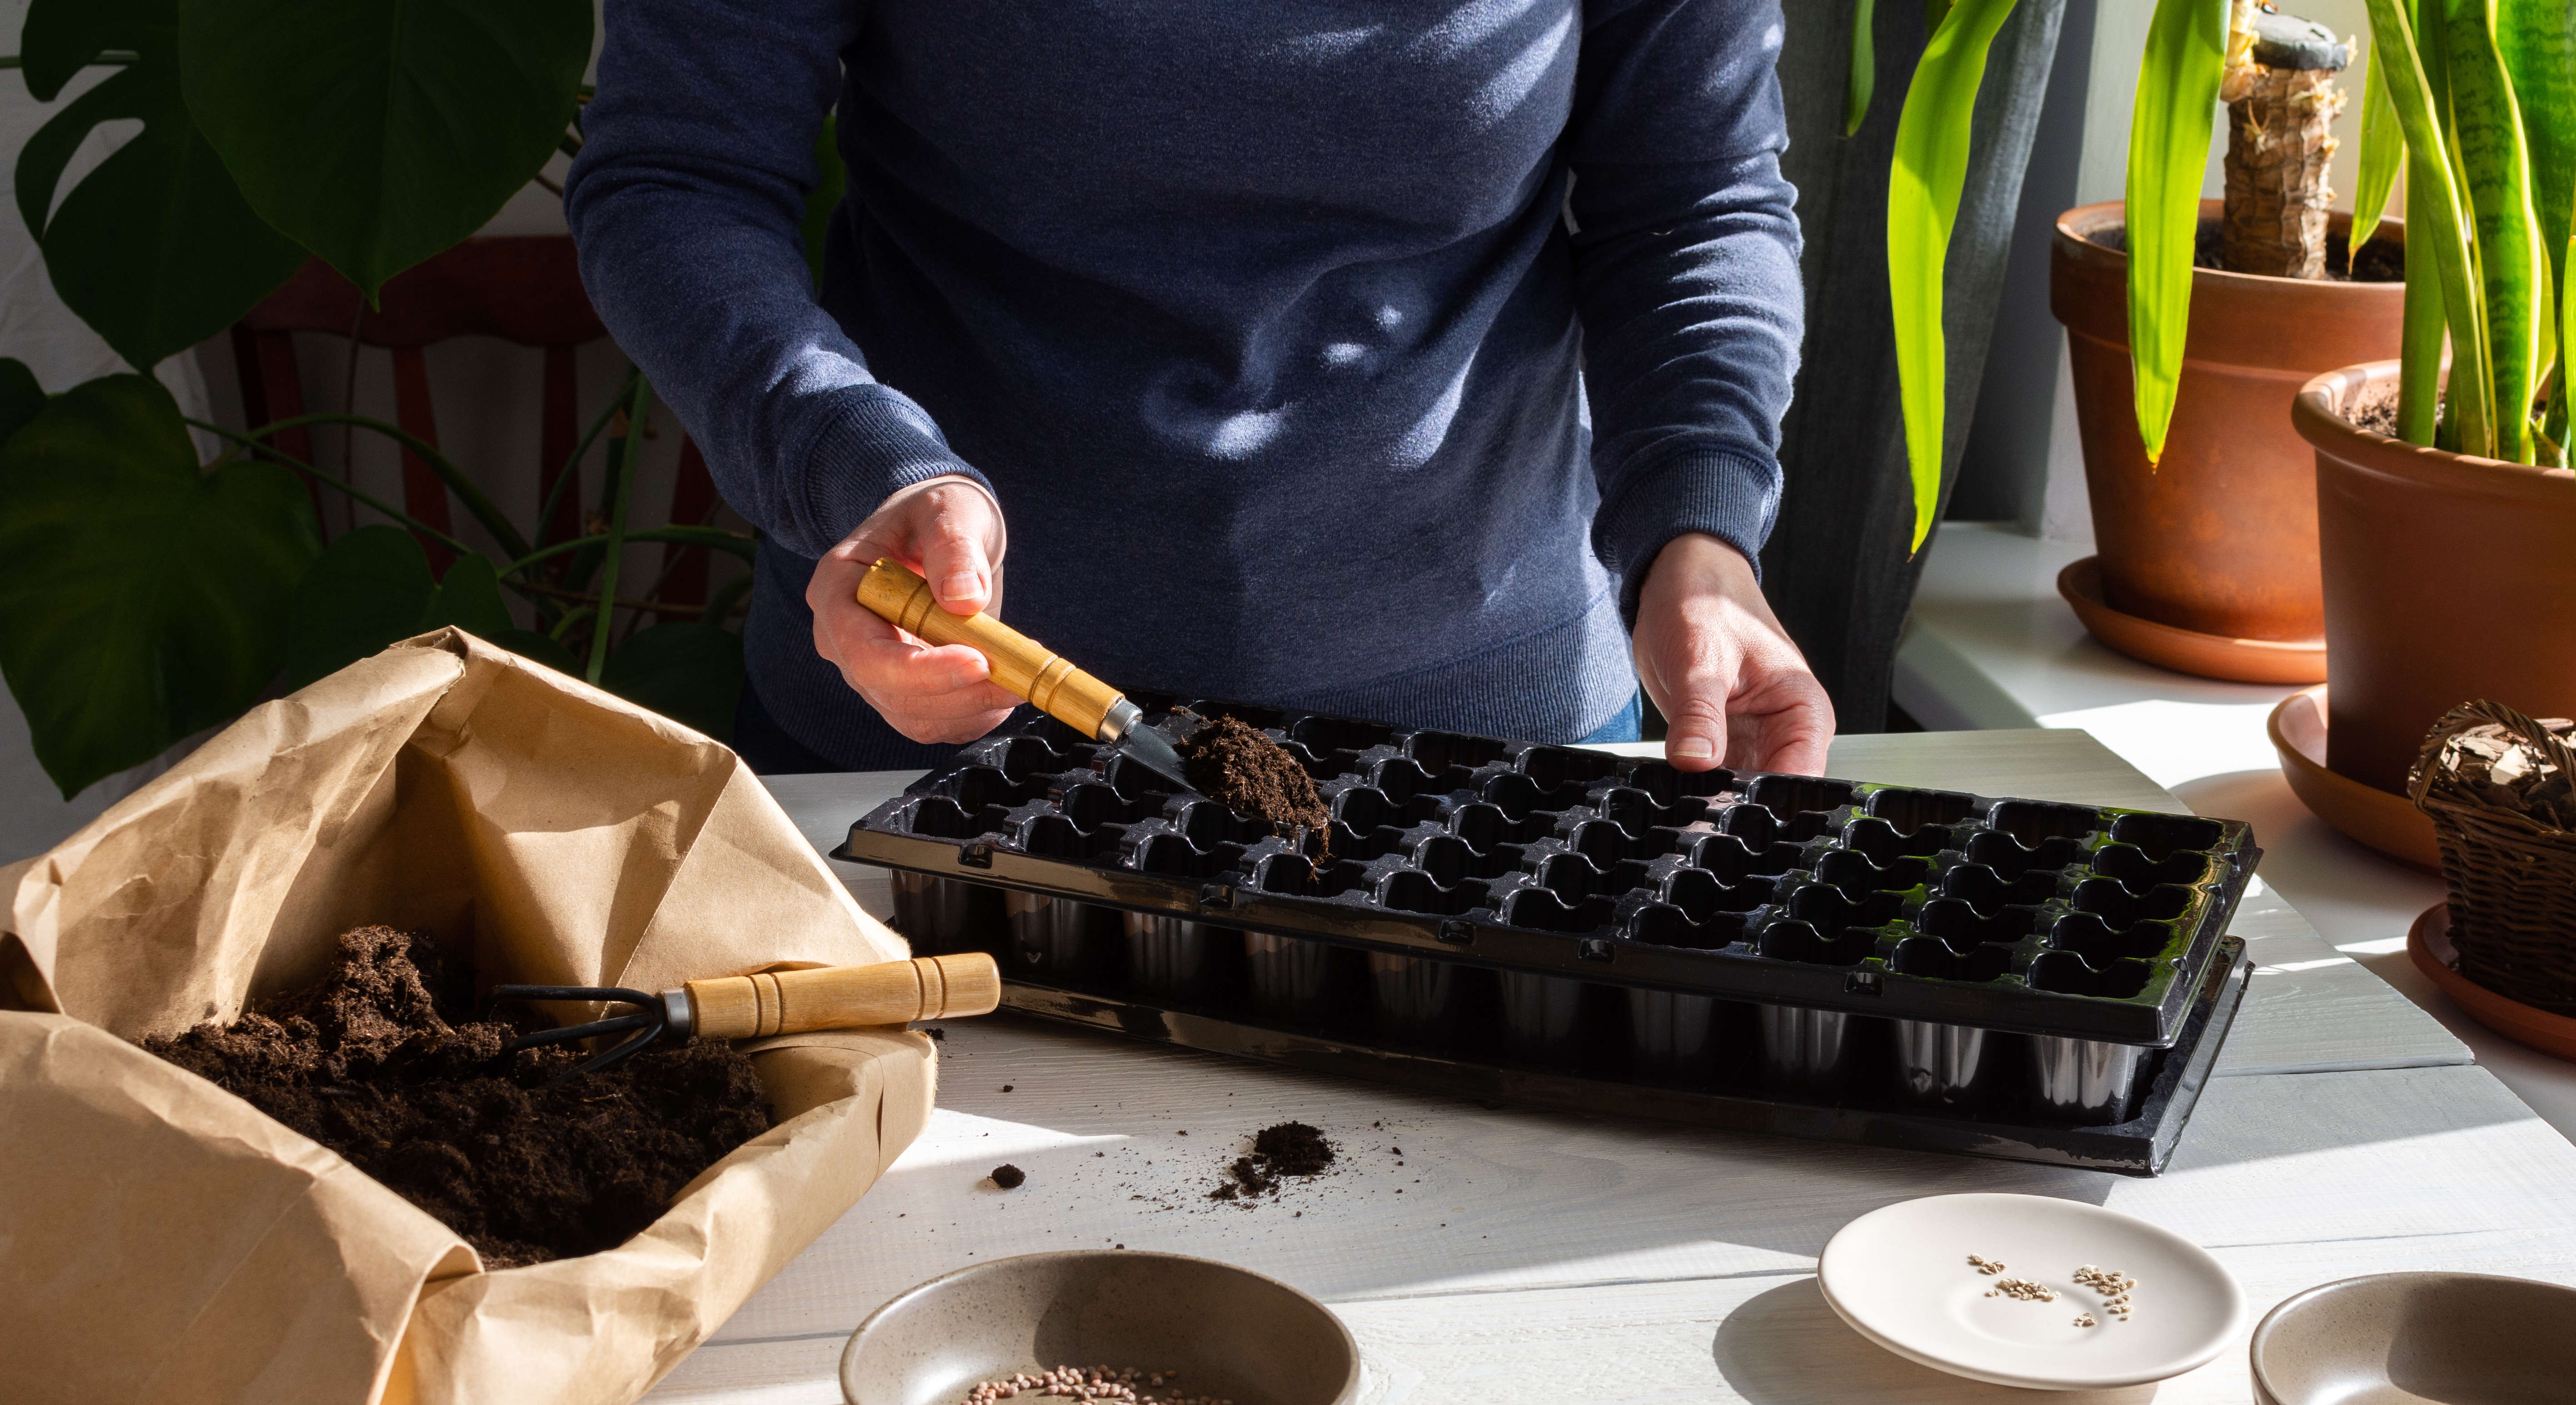
Rather than filling a seed tray with the soil in your garden, you’ll need to use a special seeding-sowing mix. Garden soil is too heavy and holds onto moisture causing the seedling’s roots to rot.
A specialist seeding sowing potting mix will give the seeds the correct conditions to germinate, including the right nutrients and drainage conditions. Vermiculite is commonly added to seed-sowing mixes to prevent the mix from becoming water-logged. Try Miracle-Gro’s Seed Starting Potting Mix ($14, Home Depot).
4. Sowing your seeds too deep
How deep you sow your seeds depends on whether they need light to germinate. If they do, Thompson & Morgan suggest they should be sown with a light covering of compost or vermiculite.
Check your seed packet for sowing instructions, but you can judge based on the seed size if this information is unavailable.
Small seeds, like basil and lettuce, will only need a light covering, while larger seeds, like sunflowers and beans, will need to be sown deeper. A good basis is to plant seeds at 2-3 times their width.
5. The temperature is too extreme
Seeds need the correct temperature to germinate, but this can be hindered if they are too hot or cold. Most seeds can be planted indoors between 55-70°F. A sunny windowsill or a heated propagator will do the trick. Thompson & Morgan advise that they can be moved to a cooler spot once germinated.
It’s a slightly different matter if you’re sowing seeds outdoors, as the weather conditions will have a much bigger impact than if you’re sowing seeds inside. This leads us nicely to our next point.
6. Sowing seeds at the wrong time
One thing to avoid is sowing seeds too early or too late. The exact timing is tricky because there is no set period to sow seeds. Instead, it depends on your climate.
Experts at the University of Illinois suggest checking your seed packets to see whether you should start your seeds indoors or out and when they should be started, giving 4-6 weeks before your average last frost date as an example.
The University of California Agriculture and Natural Resources says: “If planted too early, seeds may not successfully germinate, and tender seedlings may be damaged by cold. If planted late, vegetables may not have enough days to reach harvest.”
The Royal Horticultural Society says seeds won’t germinate below a soil temperature of about 45°F, so delay sowing until the soil reaches this temperature. However, the society adds that there's a way for you to lend a helping hand: “One way to speed things up is by putting cloches, clear plastic sheeting or even bottomless plastic bottles over the soil a few weeks before sowing or planting out.”
7. Overwatering or underwatering your seeds
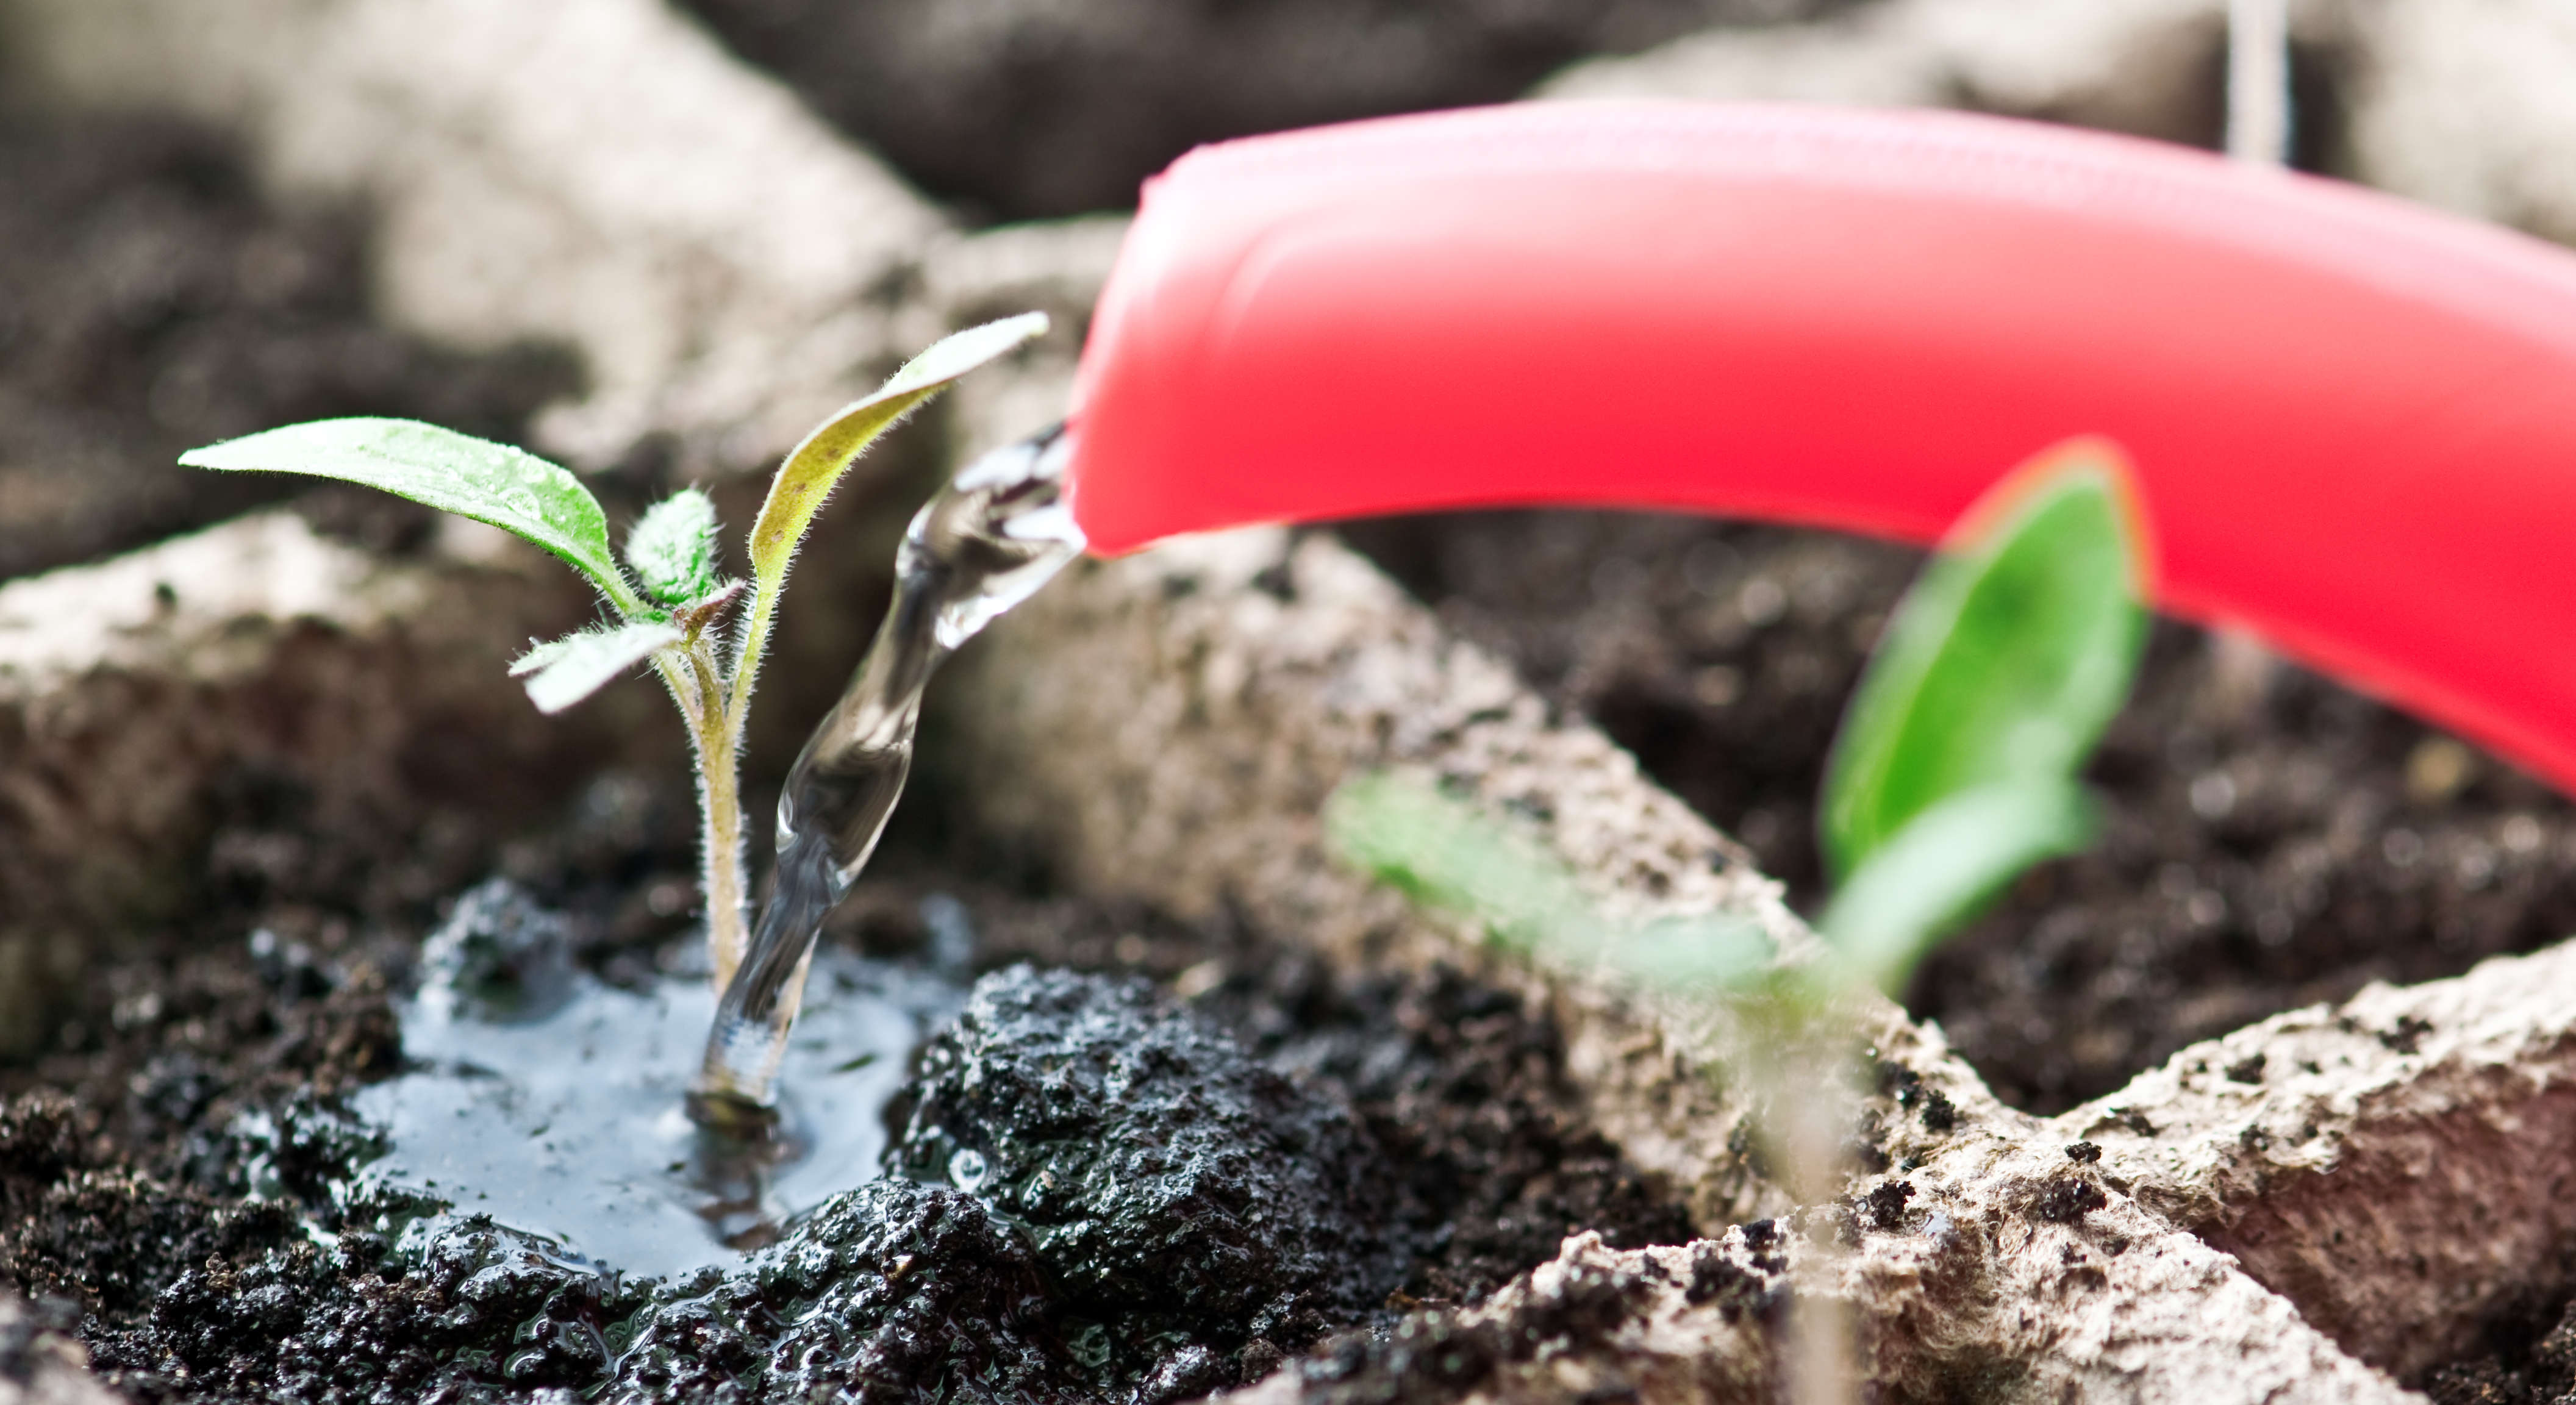
Achieving the perfect moisture level for your seeds can be a delicate balance. Too wet, and the seeds are likely to rot; and too dry, and they won’t germinate.
Before sowing your seeds, give your compost a thorough watering and allow it to drain. Once sown, you can cover your seed tray with a sheet of clear plastic or glass, allowing the light to penetrate while retaining the moisture. If the soil starts to dry out, place the seed tray in some water until the top becomes moist. Then, leave it to drain, like before. Remove the cover once the seedlings appear — this will help avoid rotting.
8. Not thinning out seedlings
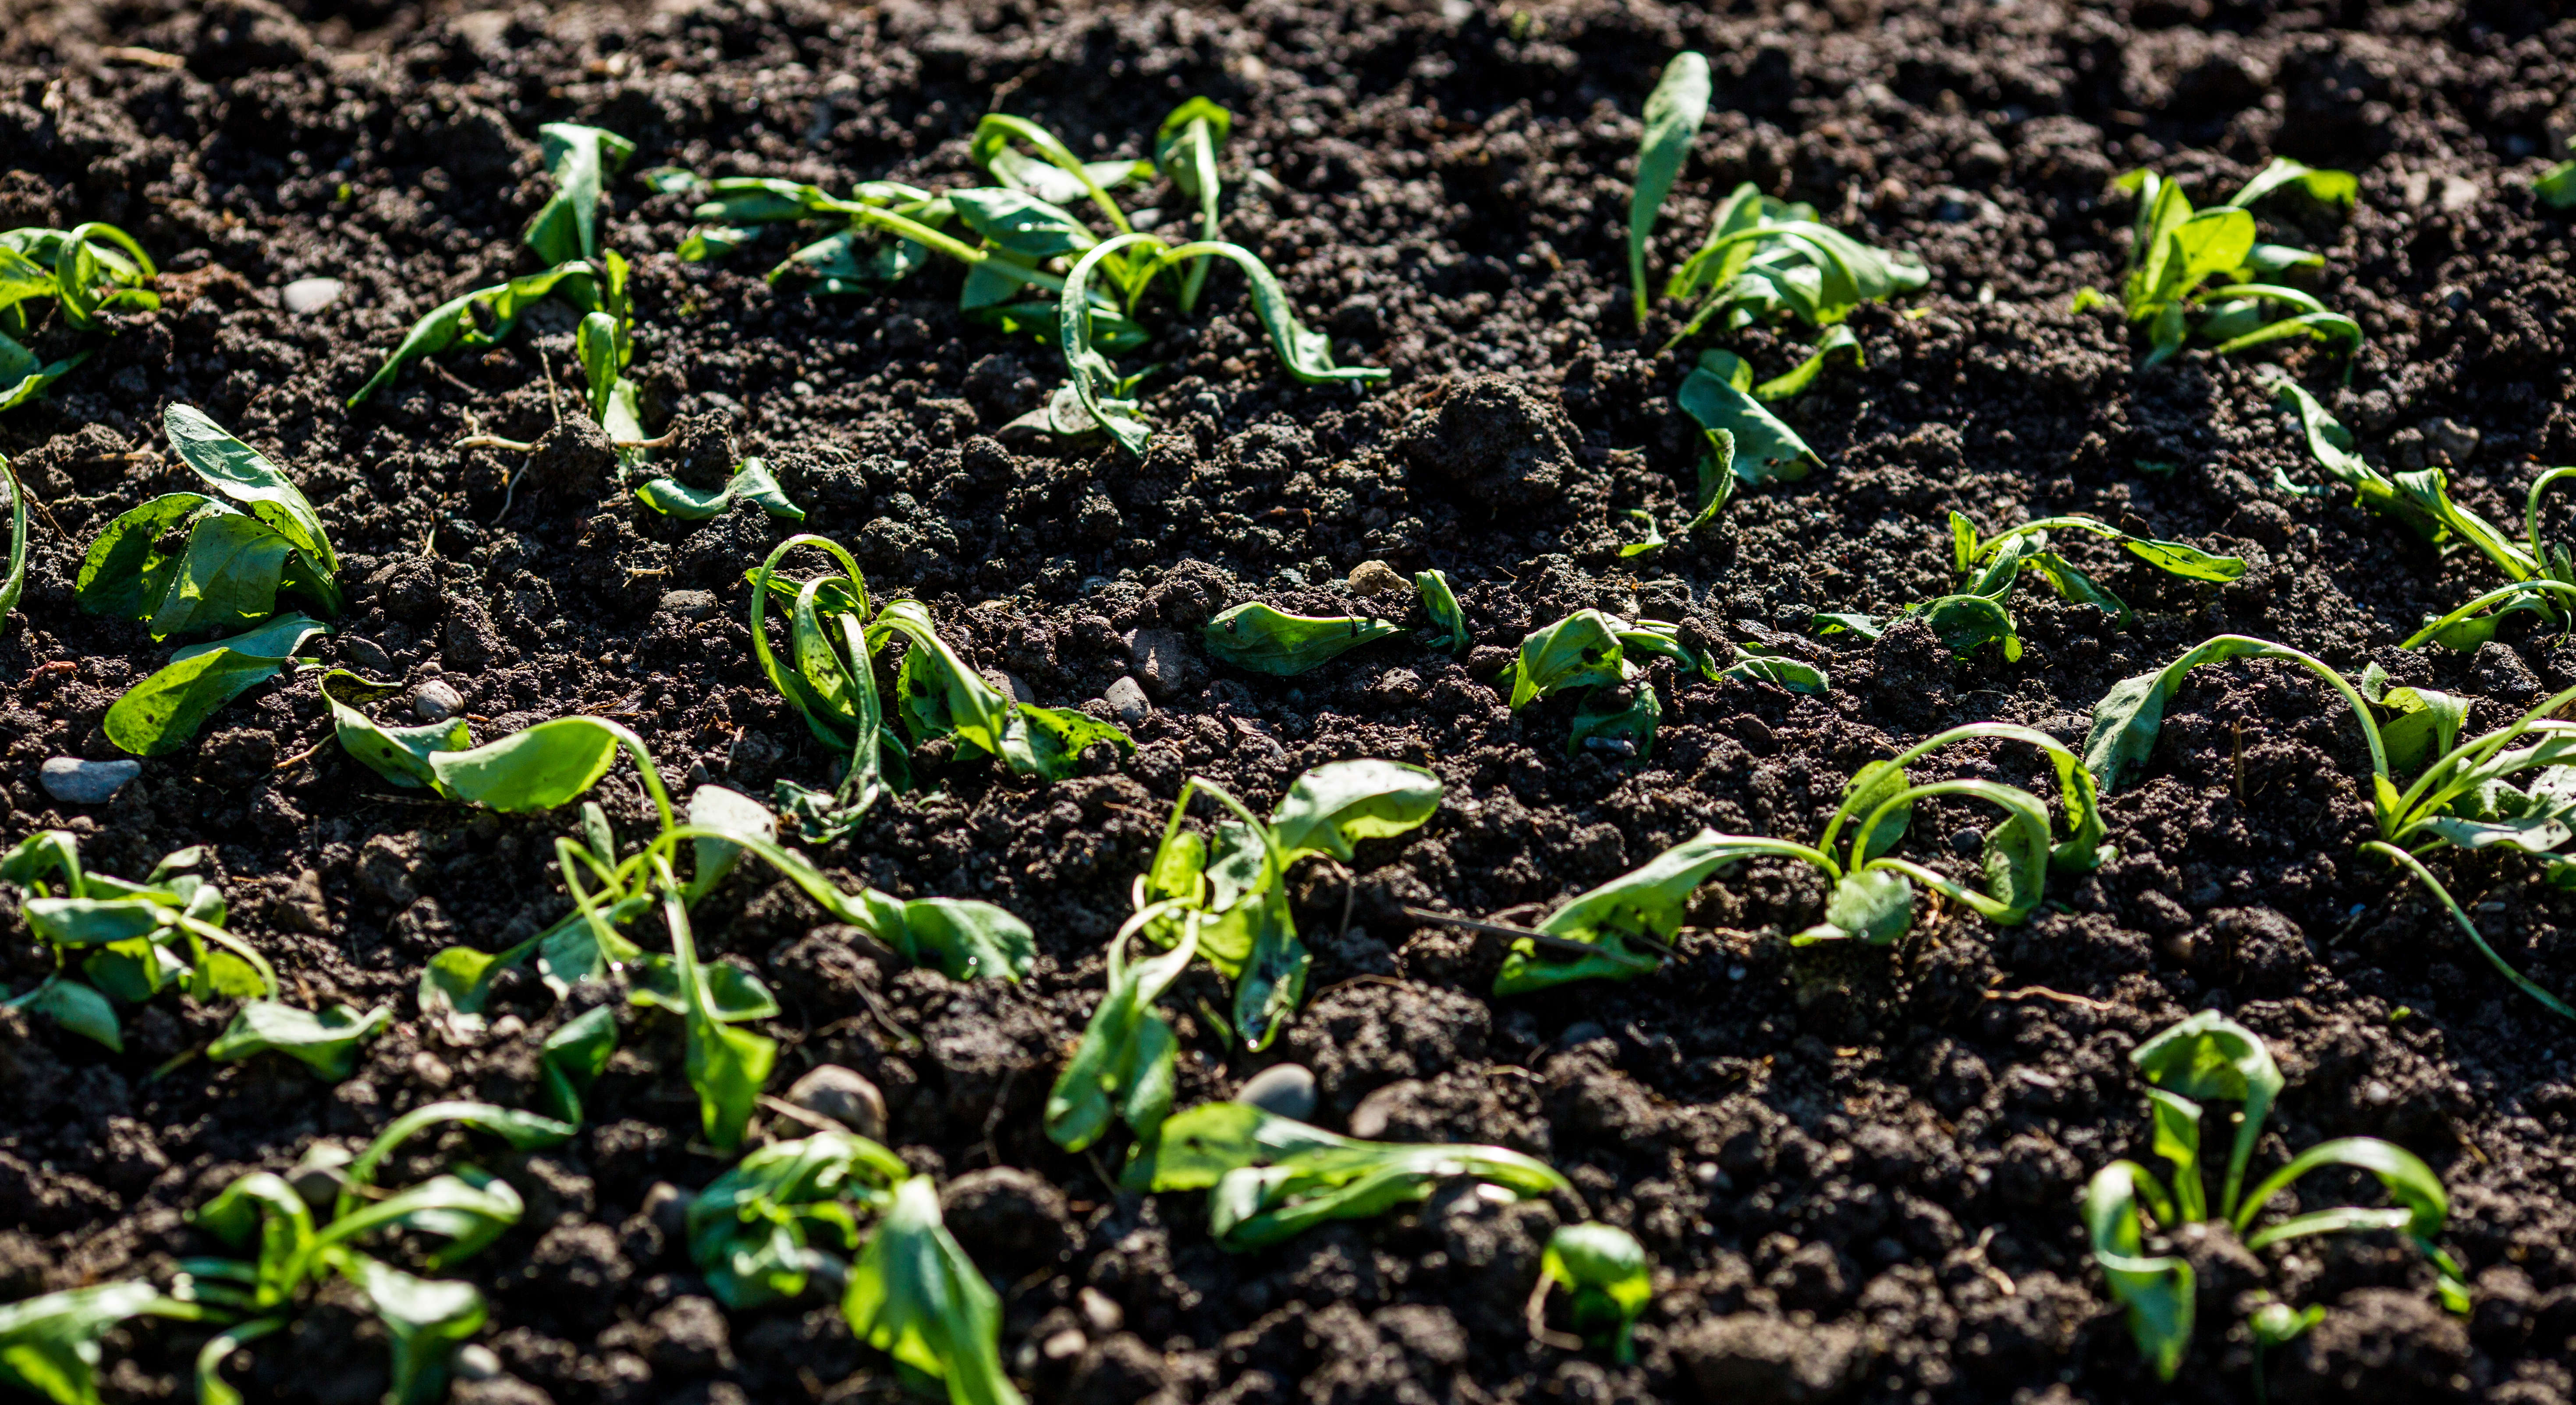
You’ve likely sown your seeds closely together. I did this when I sowed zucchini seeds, as it takes into account that they won’t all germinate. However, if you succeed more than expected, you’ll end up with a tightly-knit bunch of seedlings, all fighting for the same moisture and light. If you leave them as they are, the seedlings won’t grow into strong plants. Instead, they will be spindly and less likely to survive.
The seedlings will need thinning out to give them room to grow. However, wait until the true leaves have developed before doing so. Then, as a guide, if you planted multiple seeds in one cell plug, remove all of those apart from the strongest.
9. Not preparing your seedlings for planting
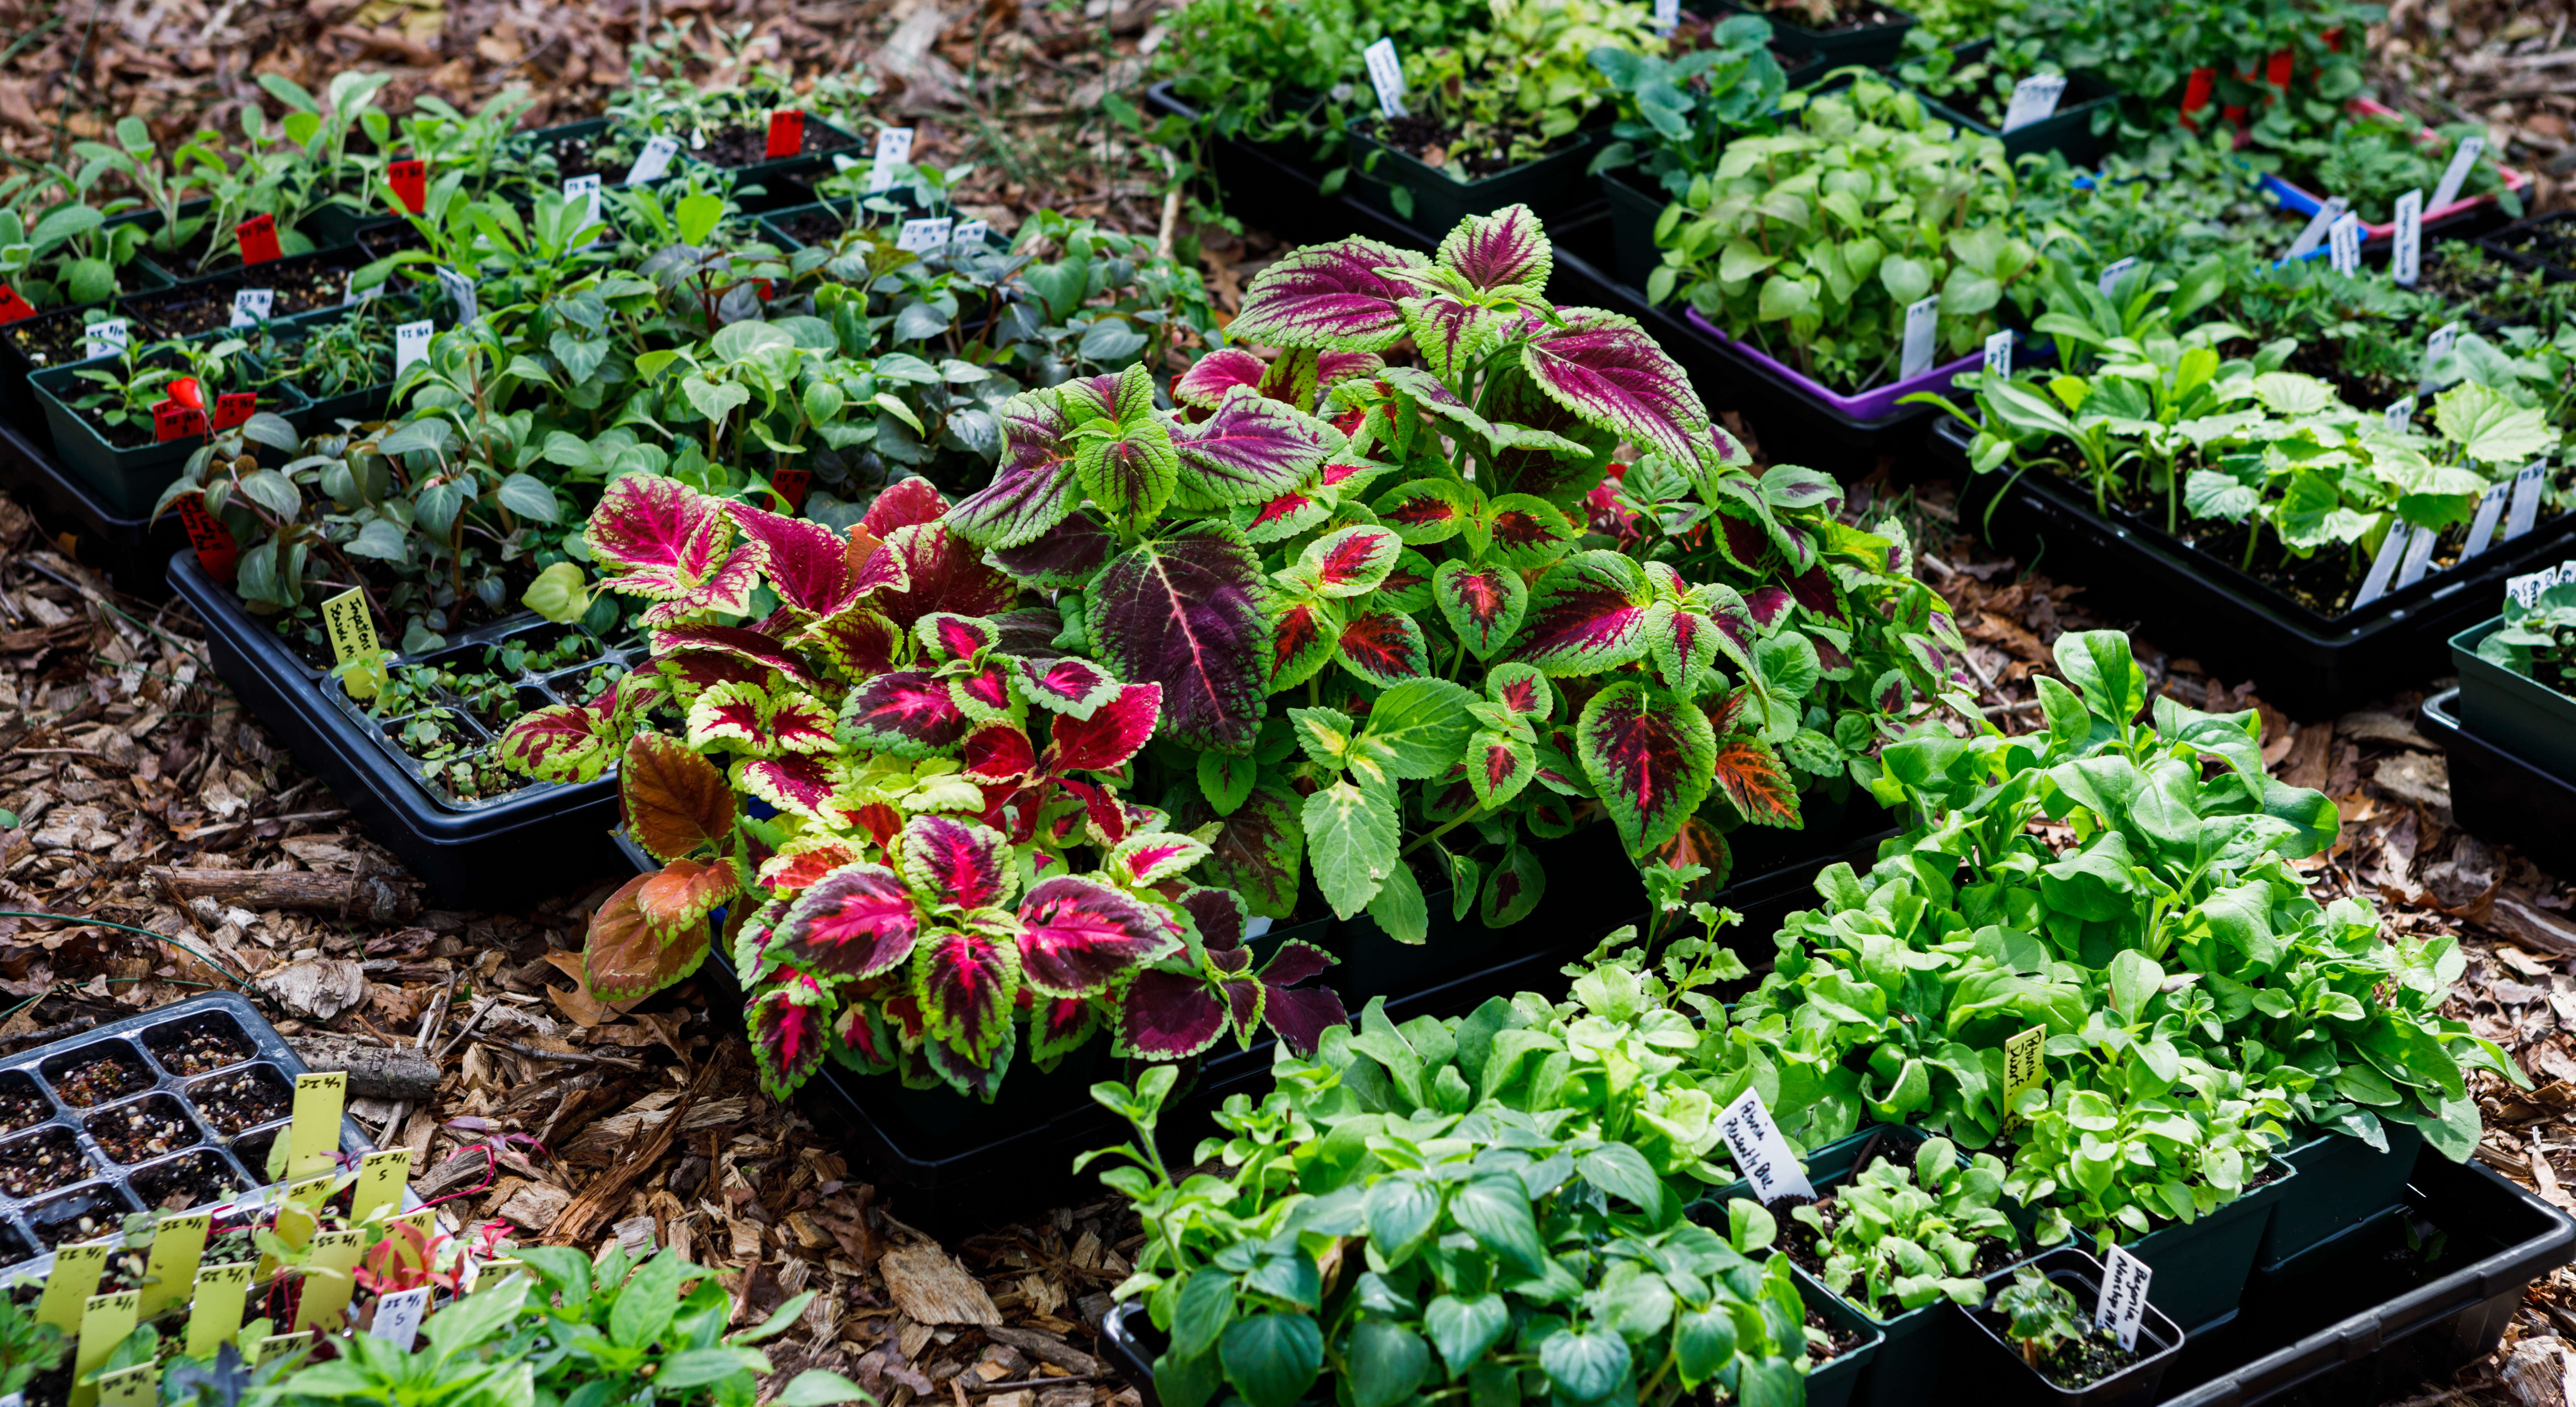
Once your seedlings have established, you’re probably keen to get in your yard to plant them. However, you’ll need to add a transitioning phase for them to acclimatize to the outside.
After enjoying the comforts of a warm environment, they will go into shock if they are suddenly placed outside 24/7. This stage is called “hardening off“ your seedlings and takes a minimum of 7 days.
Harris Seeds suggests starting the process 7 to 10 days before you plan to plant out your seedlings and once the danger of frost has passed.
- Place your seedlings in indirect sunlight, protecting them from the wind.
- Leave them out for two hours, then bring them back inside.
- On the following day, return them to the same spot, increasing the time they are outside by one hour.
- After 3 or 4 days, move your seedlings into a sunnier position. This should be for around 5 hours on the first day and can be increased by an hour each day.
- Once outdoor temperatures are around 50°F, your seedlings can be left outside overnight.
- Once you are happy that they have adjusted to being outside overnight, they are ready to plant.


