Landscape photography is arguably the number one reason why most photographers pick up a camera in the first place. Who doesn’t love the idea of trekking into the hills and spending some quality time with mother nature? It’s also one of the most accessible forms of photography because you don’t need the best camera for landscapes to capture beautiful vistas on your travels.
Almost any camera and any wide, standard, or telephoto lens combination are capable of capturing great landscape photography. And with potentially subjects all around you, you don’t have to go to far-flung places to find stunning landscape subjects. But in many ways, the sheer volume of choice can make landscape photography a little overwhelming for newcomers. So, that’s why I’ve compiled this list of beginner-friendly landscape photography tips, so that when you head out on your next trek into the wilderness you can do so with more conviction.
Just be aware that this isn’t designed to be a definitive guide, but a starting point. You’ll also find links to other articles that explain any complicated concepts in more detail to keep things light. Once you’ve gotten to grips with everything in this guide, you can take a look at more advanced tutorials such as: What makes beautiful landscape photography? As well as: Improve your landscape photographs by reaching new heights.
Landscape photography tips every photographer should know
1. Expose your landscapes to perfection
If you’re not familiar with the exposure triangle, you may find this tip a little difficult to get your head around, so make sure you familiarize yourself with it first. Landscape photographers favor low ISOs so they can retain as much detail as possible and middling to narrow apertures so they can capture a large depth of field without unwanted diffraction. As such, I’d recommend using your camera’s base ISO (usually ISO64 or ISO100) – if you’re shooting on a tripod – and setting your aperture from f/8 to f/11. The only reason you’ll need to worry about your shutter speed is if you’re trying to freeze motion blur, such as swaying branches in windy weather. If that’s the case, increase your ISO accordingly.
2. Go wide, but not too wide…
The best wide-angle lenses are synonymous with landscape photography, and for good reason, but the temptation is often to go too wide. Wide-angle lenses exhibit barrel distortion and this can diminish even large objects positioned near the centre of the frame. Unless you are very close to your subject, you can end up with loads of sky and loads of foreground, while that lone tree only occupies a very small portion of the image. Rather than reaching for an ultra-wide-angle lens, try a 24mm lens (35mm equivalent) or tighter and don’t be afraid to stray into standard focal lengths such as 35mm and 50mm.
3. Shoot a telephoto landscape
You might not associate the best telephoto lenses with landscape photography, but they’re a kitbag essential for most outdoor photographers. A long lens allows you to essentially ‘crop’ into the scene without losing any pixels. This is extremely useful if you want to isolate a faraway subject. As mentioned in the previous landscape photography tip, wide lenses exhibit barrel distortion. If your wider lenses are diminishing the impact of your intended subject and you cannot find a composition that works, try using a telephoto lens to crop into the scene. This will allow the subject to dominate more of the frame and potentially provide a composition you’re happy with. A telephoto lens can also be used to pick out and isolate natural patterns within the landscape. This might be a patchwork of fields or a perfectly aligned row of trees.
4. Use a tripod and live view
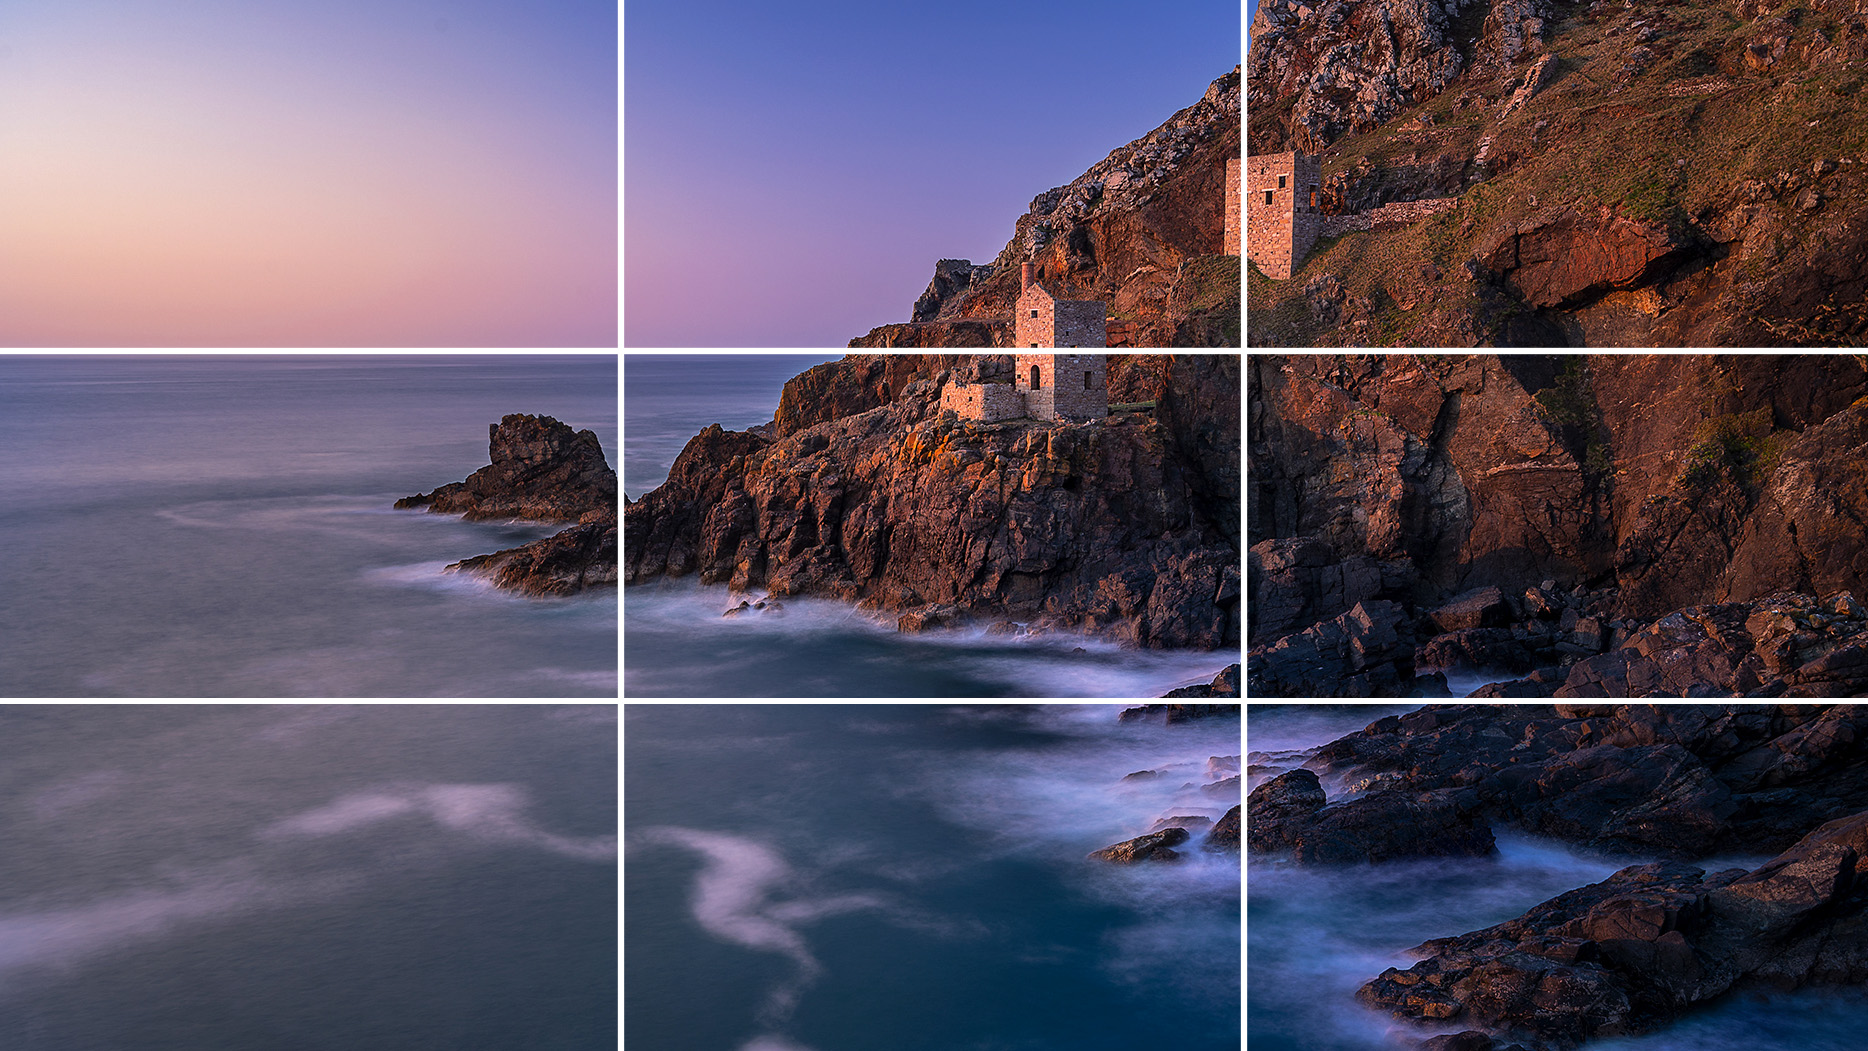
The best tripods allow you to keep your camera steady so you can use longer focal lengths without experiencing camera shake. They also provide you with the freedom to spend as much time as you like perfecting your compositions. I always use live view when composing landscapes on a tripod. This means I can see the scene on my camera’s rear LCD, adjusting the tripod head so that I can set up the perfect composition. Using live view also allows you to take advantage of the rule of thirds grid, which helps you to line up this often-used compositional rule.
5. Handy compositional rules
The rule of thirds is a landscape photography staple. You simply position the horizon line on either of the two horizontal lines and position your subject roughly over one of the four points where the two horizontal lines and two vertical lines intersect. Another great compositional technique for beginner landscape photographers is foreground interest. This is where you use an object in the foreground to provide additional interest and lead the viewer’s eye towards the subject. Think of a rocky outcrop in the foreground and a mountain behind. You can also use elements within your scene such as paths, hedgerows, and treelines as leading lines that point towards your subject.
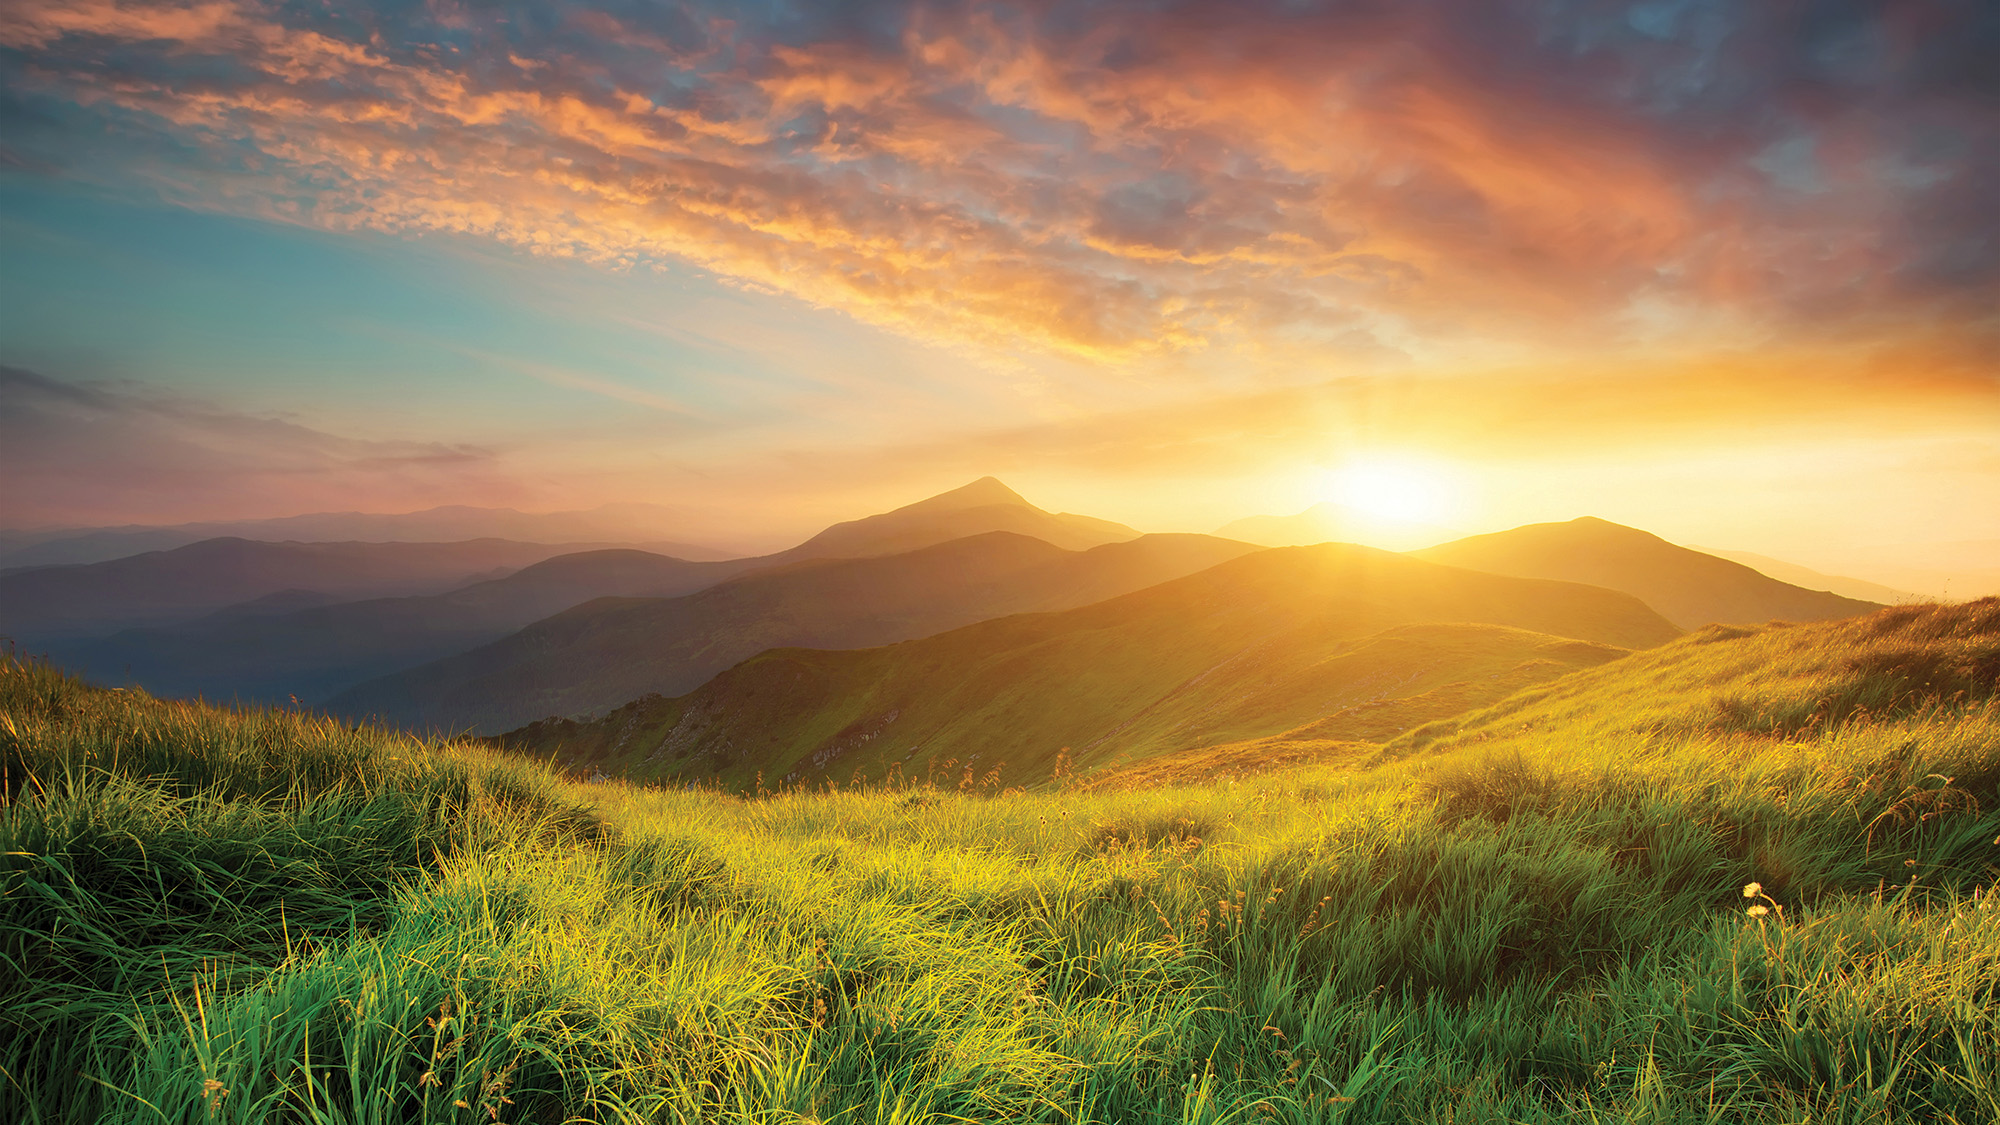
6. Photograph the golden hours
Unless the sun is softened by cloud cover or filtered through the canopy of a forest, landscape photographers tend to avoid taking photographs in the middle of the day. This is when the sun is high in the sky, casting high-contrast light across the land, which forms hard shadows. If you want to know the best time to go out and shoot landscape photos, it's much better to shoot early in the morning or later in the evening when the sun is lower in the sky and the lighting is softer. I think the golden hours are the best time to shoot – the hour that follows sunrise and precedes sunset. Providing it’s not too cloudy, you’ll find the landscape bathed in beautiful, soft golden, producing equally soft shadows. This also means you’re up for sunrise and sunset, as well as blue hour, which are also great times to capture landscapes.
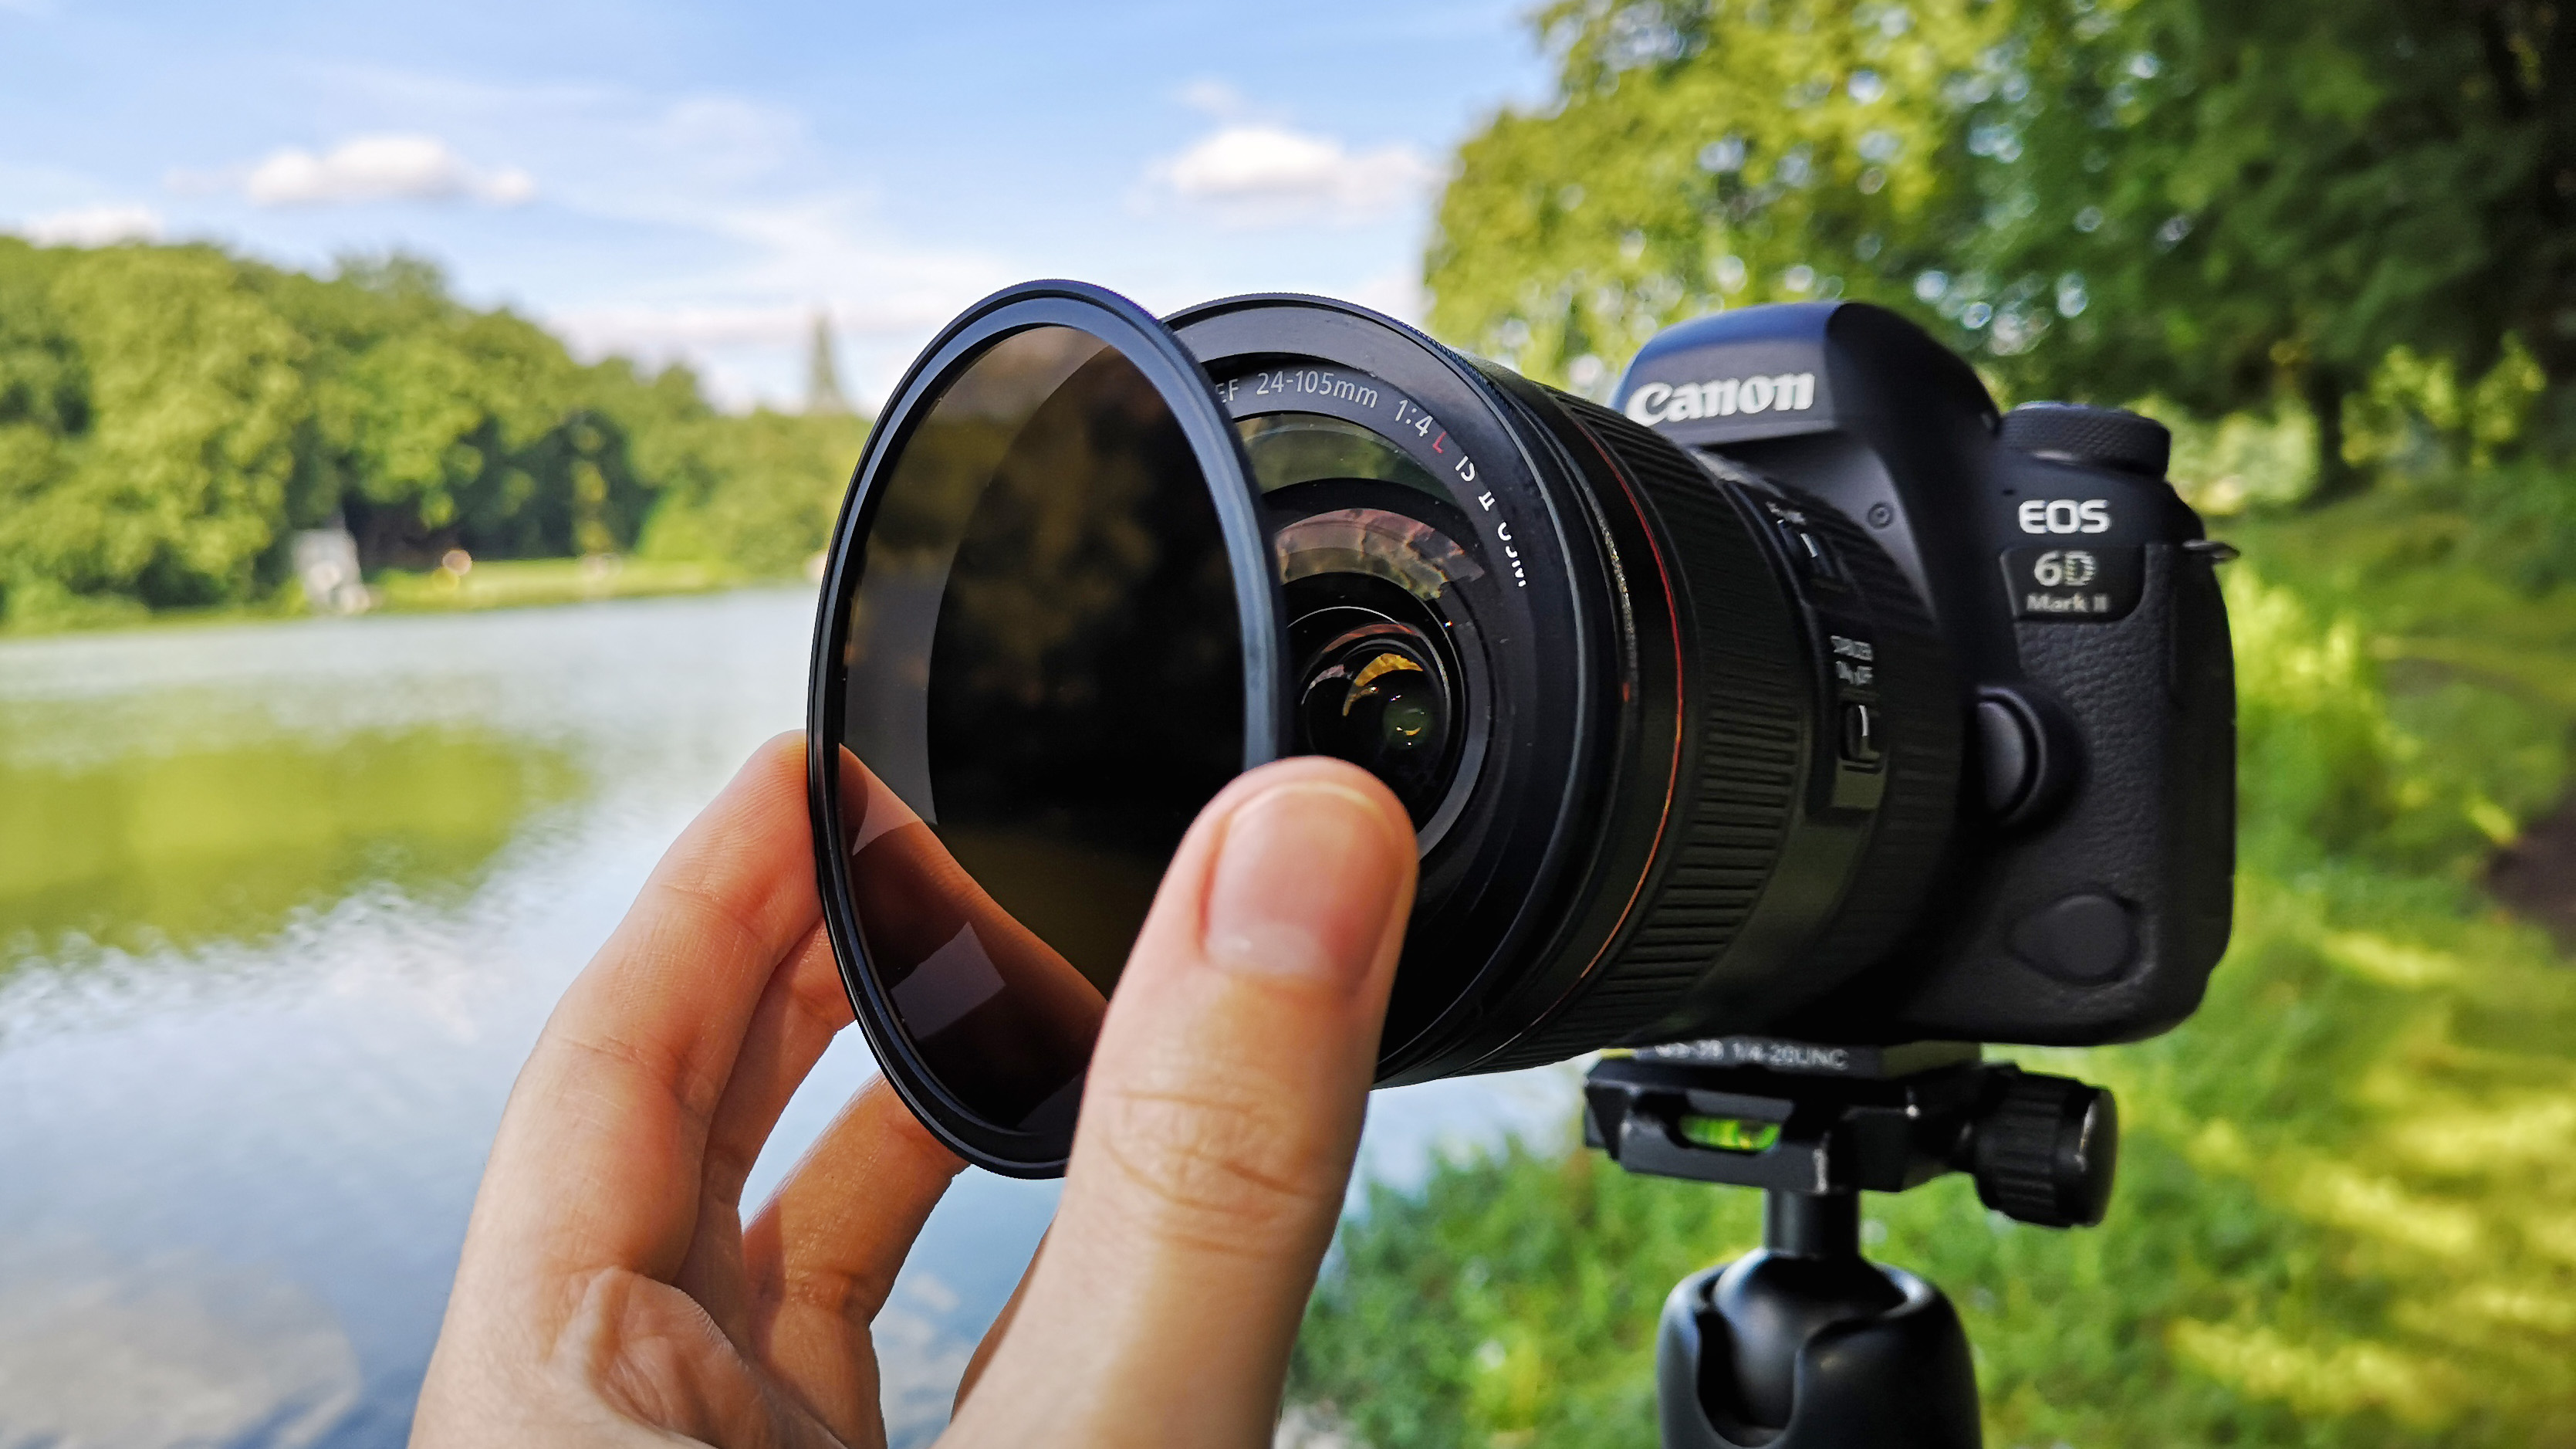
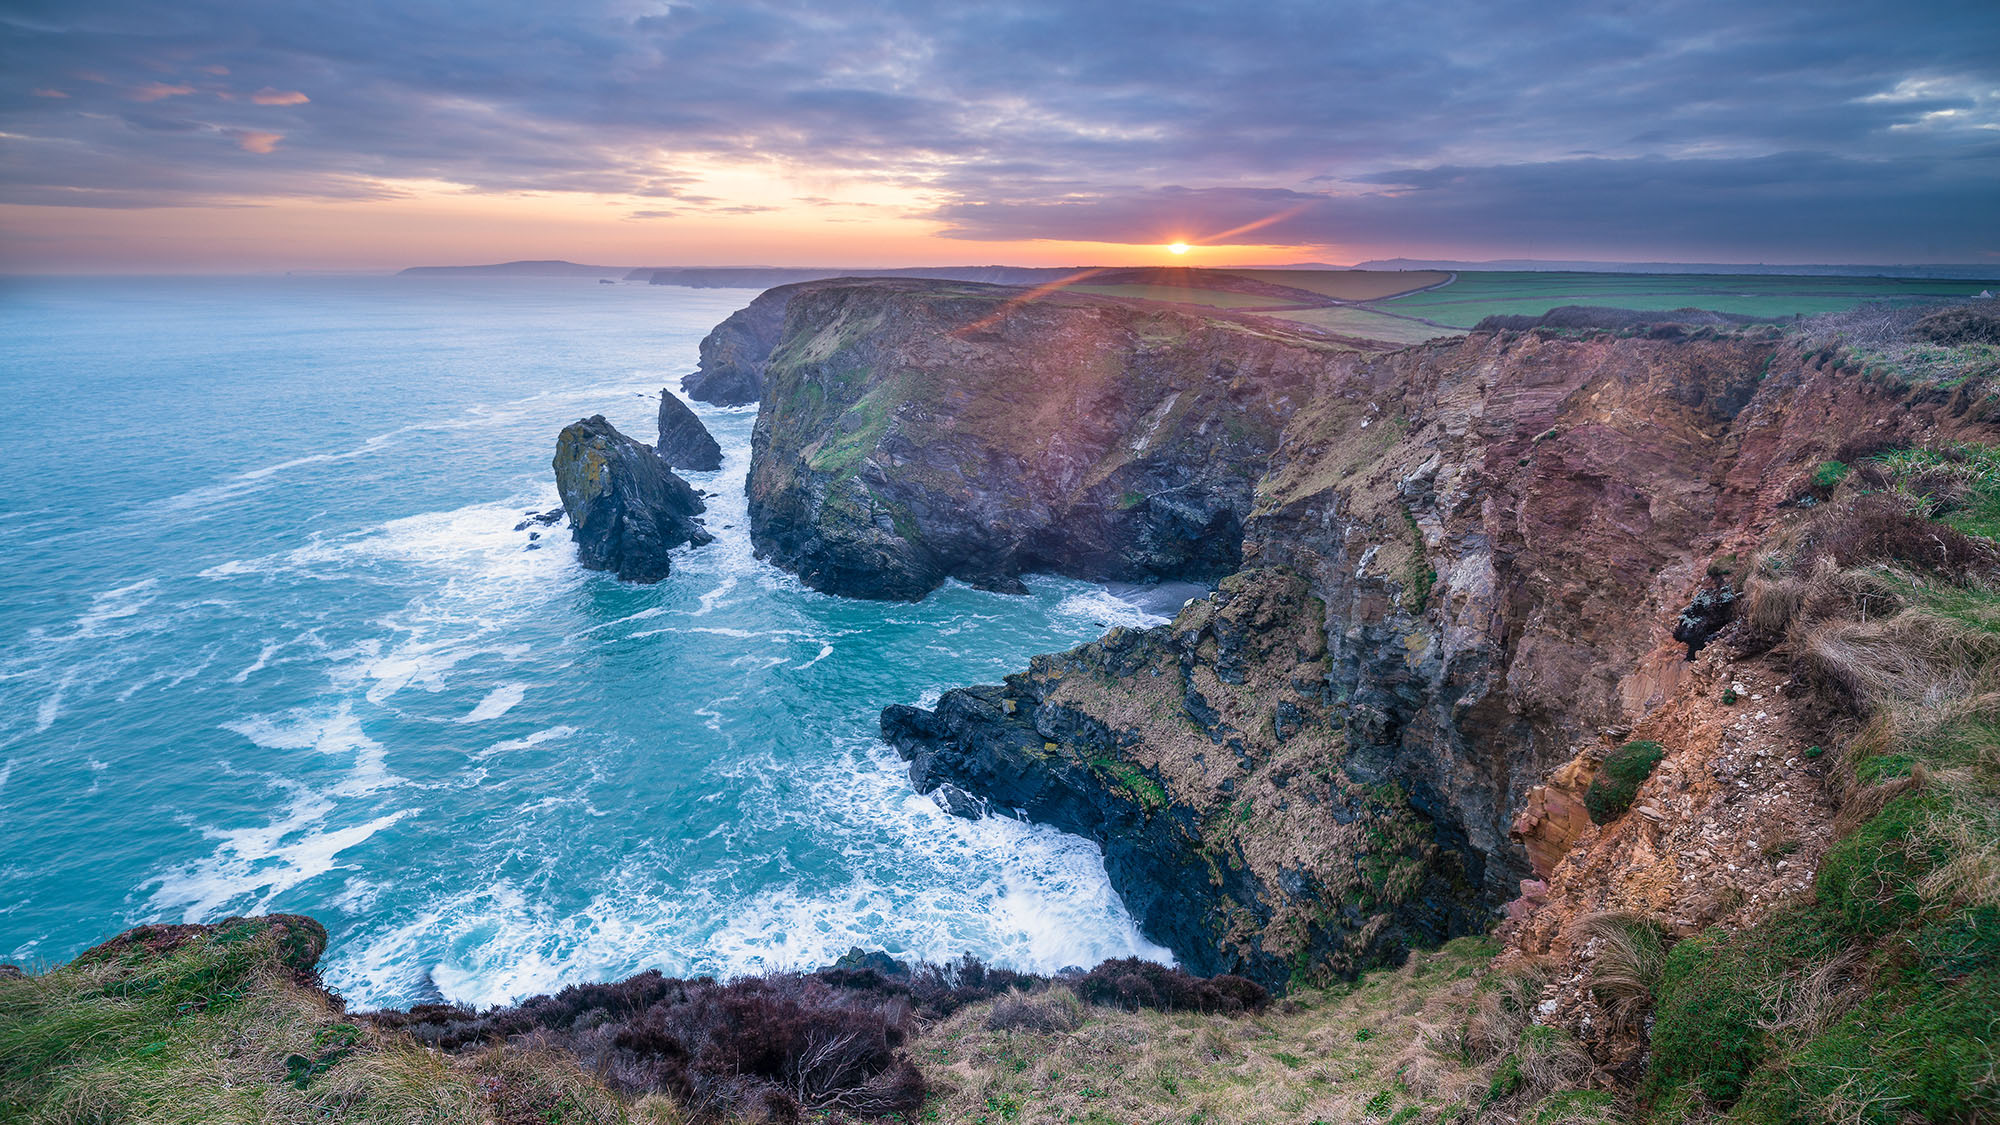
7. Use an ND filter
The best neutral density filters are light-blocking lens attachments that allow you to shoot at longer shutter speeds. This is useful if you want to capture long exposures, introducing motion blur to moving objects such as waterfalls, lapping waves, or a spinning windmill. There are different strengths of ND filter, but the most popular block out three, six, and 10 stops of light. You can use various apps to calculate what shutter speed to use to achieve the correct exposure (or this handy photography cheat sheet), but the best mirrorless cameras have made ND filters incredibly simple to use, since you can often eyeball the exposure via live view or the electronic viewfinder. Make sure you learn how to use ND filters properly before heading out with them on a shoot.
8. Where to focus
Landscape photographers often aim to capture as much of the scene in focus as possible. A neat trick when using wider lenses is to simply focus a third of the way into the scene to approximate the hyperfocal distance. An alternative is double-distance focusing, whereby you locate the closest object that you want in focus, this might be a rock in the foreground for example. You then approximate the distance between your camera and the rock and focus roughly double that distance into the frame. If you’re using a telephoto lens then the depth of field will be inherently shallower and you’ll likely want to focus in and around your intended subject to make sure it’s sharp. I always zoom into live view to check that my image is sharp, where intended, so I don’t get any nasty surprises when I blow the images up to 100% on my monitor at home.
9. Shoot Raw
I always recommend shooting Raw no matter what you’re shooting, but it’s particularly important when capturing landscapes. This is because you’re often working with high-contrast scenes thanks to the bright sky and dark ground. Unless it’s an overcast day or you’re using the best ND grad filter, you’ll struggle to balance your exposure in a single shot. That’s why many landscape photographers will underexpose their images slightly so they retain more detail in the highlights. They will then lift the shadows in post-production to bring back detail. By shooting Raw you’ll preserve more image data allowing you to lift the shadows, while retaining more detail. Another trick to retain as much image data as possible is to shoot an exposure bracket.
You may also like...
Want more landscape photography content? Check out the best travel tripods and the best cameras for hiking and backpacking. Also, here's how to capture luscious landscape lighting.