
The best way to create an exciting track with the OP-1 Field “all depends on taste,” its creators say. There is no right way to go about it; it depends on the workflow of the user, whether they are using the Field to sample songs, or to lay down a drum part.
Whatever the desired use, it can be a bit overwhelming to fathom just how much is possible on such a small machine. It’s definitely worth breaking things down and focusing on creating one thing at a time...
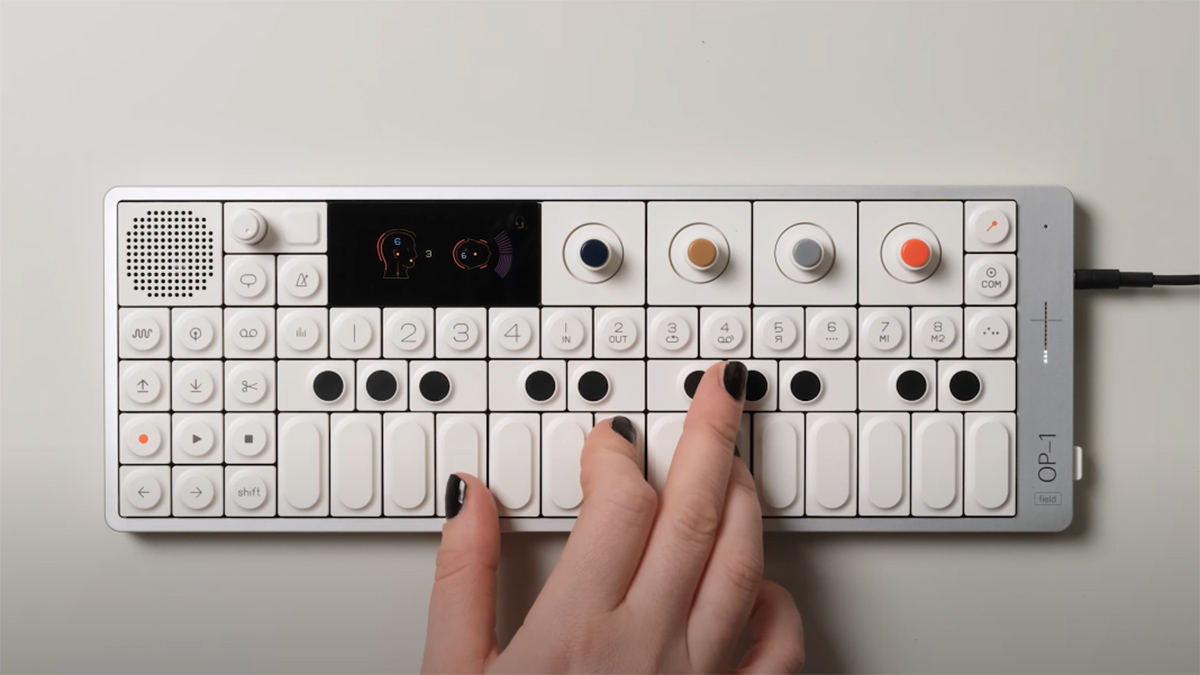
The original OP-1 was released in 2011, and producers everywhere were amazed by it at the time. It has now been reincarnated in the OP-1 Field. As Jonas Åberg at TE mentioned when we spoke with him, “keeping a product alive for a long period is always a challenge in terms of components and manufacturing”. This new version is allowing them to future-proof the production. “We had never done a reincarnation of any of our products, so it was an exciting challenge for us to figure out what could be added and improved.”
OP-1 Field’s creators say they don’t do market research, but that they aim to make products they would use themselves and “trust that others feel the same”.
When we asked them about the best way to use the company’s products, their advice was to “make sure that you have fun while playing; other than that use the best workflow to suit your needs.’”
The major advantages of the OP-1 Field over the original OP-1 are the updated sound engine, better quality screen and speaker design, extended battery life and new effects. On-board mastering and mixing are very useful, while tape record mode is a fun way to make tracks. All this, plus the recent firmware updates (velocity sensitivity and vocoder) make it even worth the controversially high price (£1,999).
We chose a few operations worth getting to know…
1. Record with an external mic
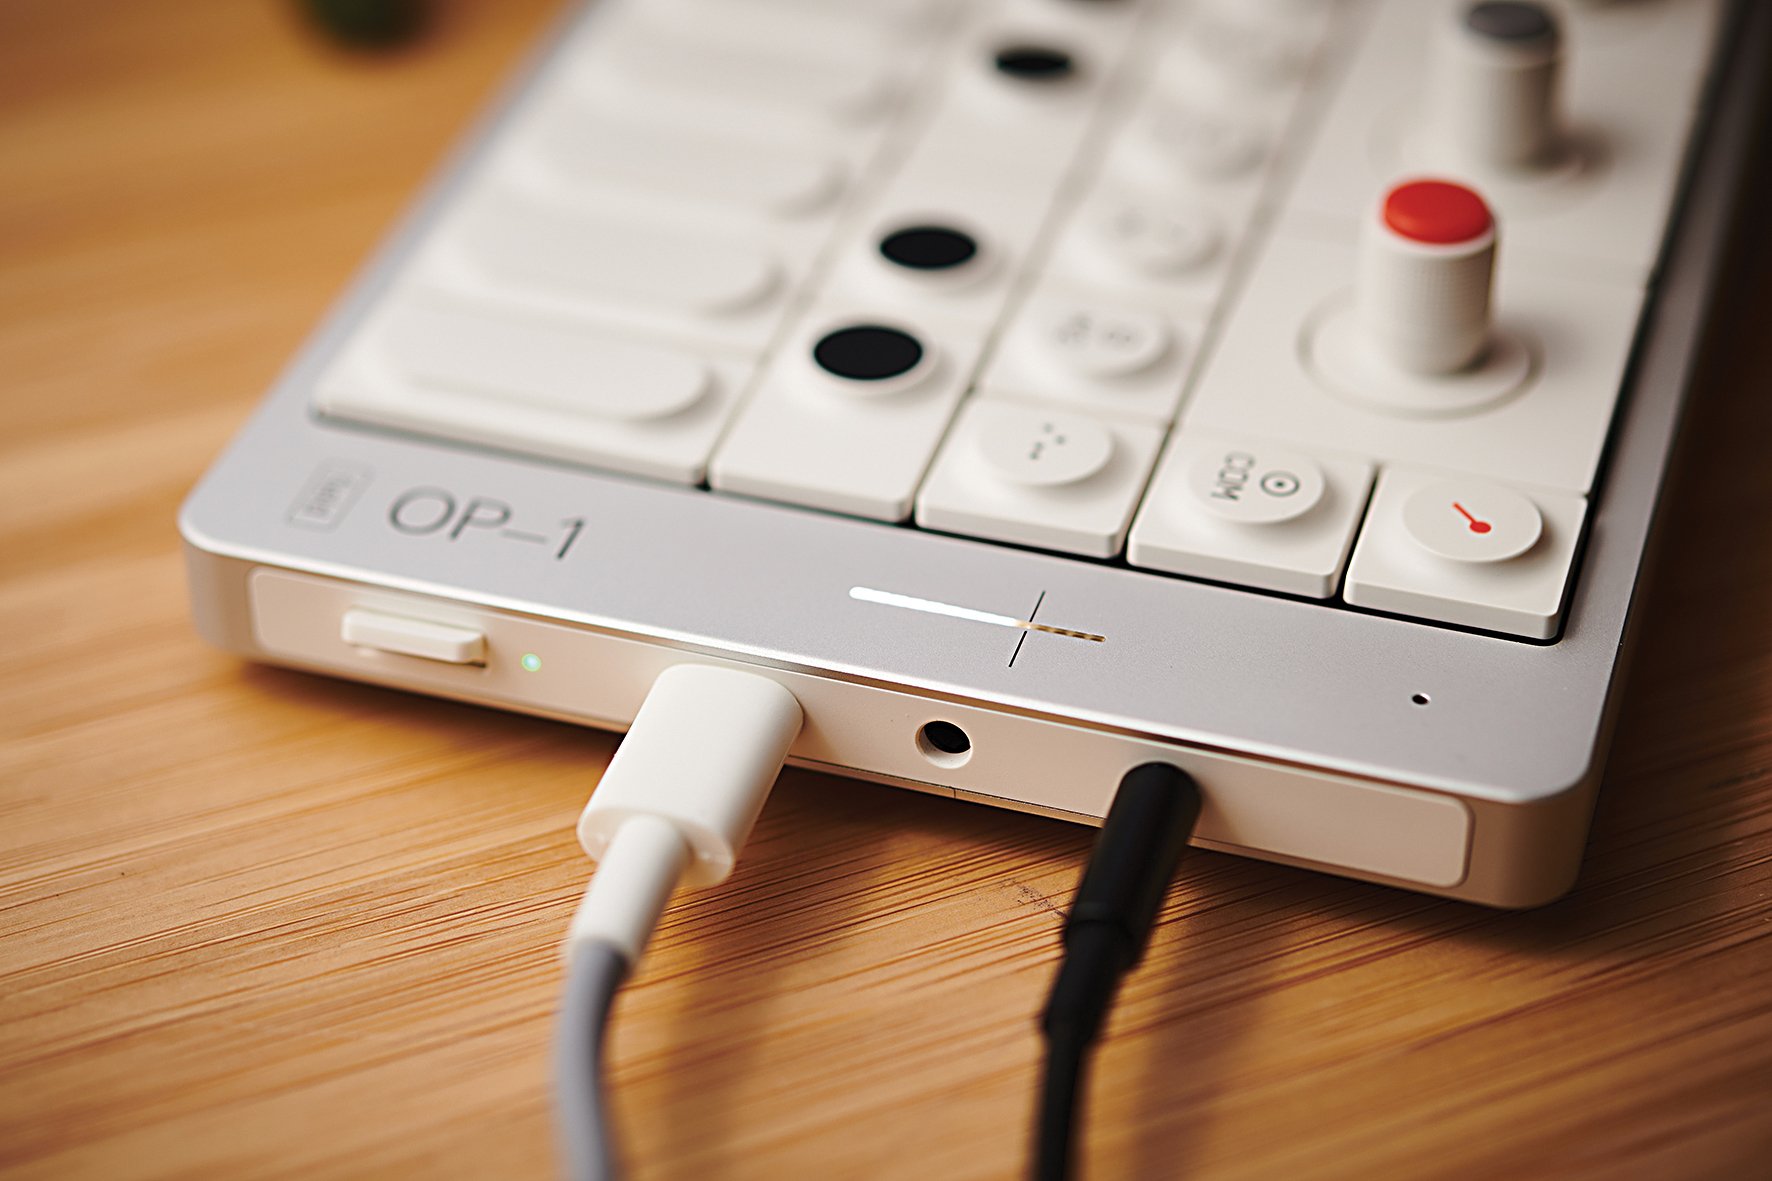
We asked Teenage Engineering’s experts how best to record samples on the OP-1 Field: “The built-in mic is super handy,” say TE. “Some people use the OP–Z as a mic with the OP–1 Field. The interface of choice might be the TX–6, which has been field tested a lot.”
The TX-6 is a channel mixer with on-board effects such as EQ, filters, compressor and other sound tools. The built-in mic also gives options for a low res voice recording. This is good quality but takes in the room sounds and is beneath the surface of the instrument, so sounds are directed in through the body rather than directly to the mic itself. TE also created the OP-Z; a synth programming tool which can be connected to the OP-1 Field and includes an extra sensitive microphone on board.
2. Try the Tombola Sequencer
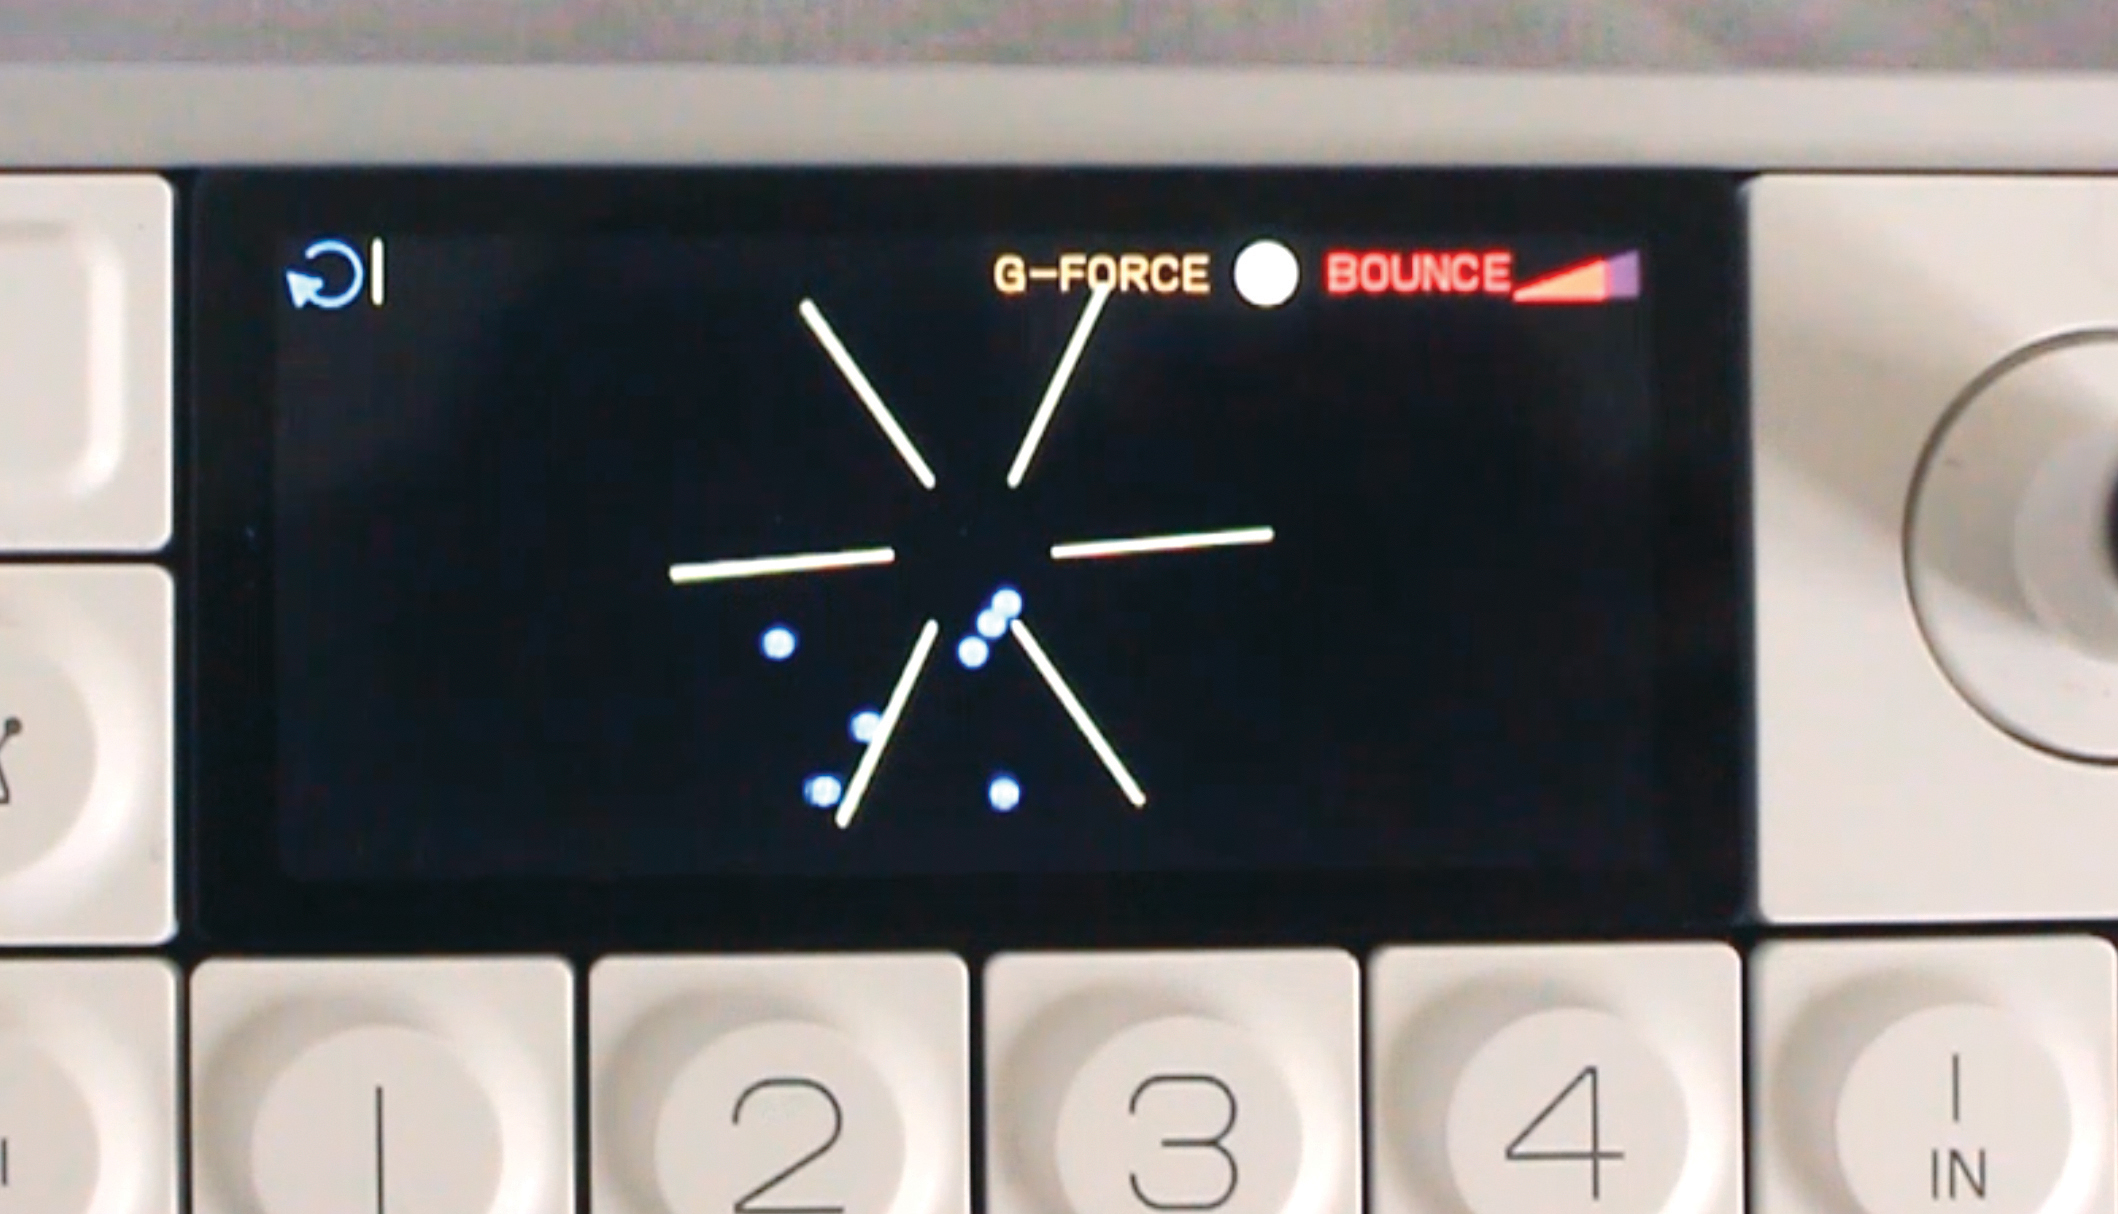
Tombola sequencer is a really fun way to create sequences. Here, a hexagon rotates according to the speed defined by the blue knob. Playing a note releases a ball into this hexagon, which sounds every time it hits the hexagon’s wall. This is modelled on the ball falling freely inside the rotating hexagon, so is fairly random in nature although timed according to the speed of the rotation.
The effect is of an apparently unordered but evolving pattern based on the notes tumbling around in the hexagon, which can create interesting sonic effects. The grey knob opens the walls of the hexagon so that notes fly out as soon as they hit a gap, meaning that notes don’t accumulate as much. This allows us to key in patterns in a more traditional way, but with the hexagon effect still in play.
3. Experiment with Tape Record Mode
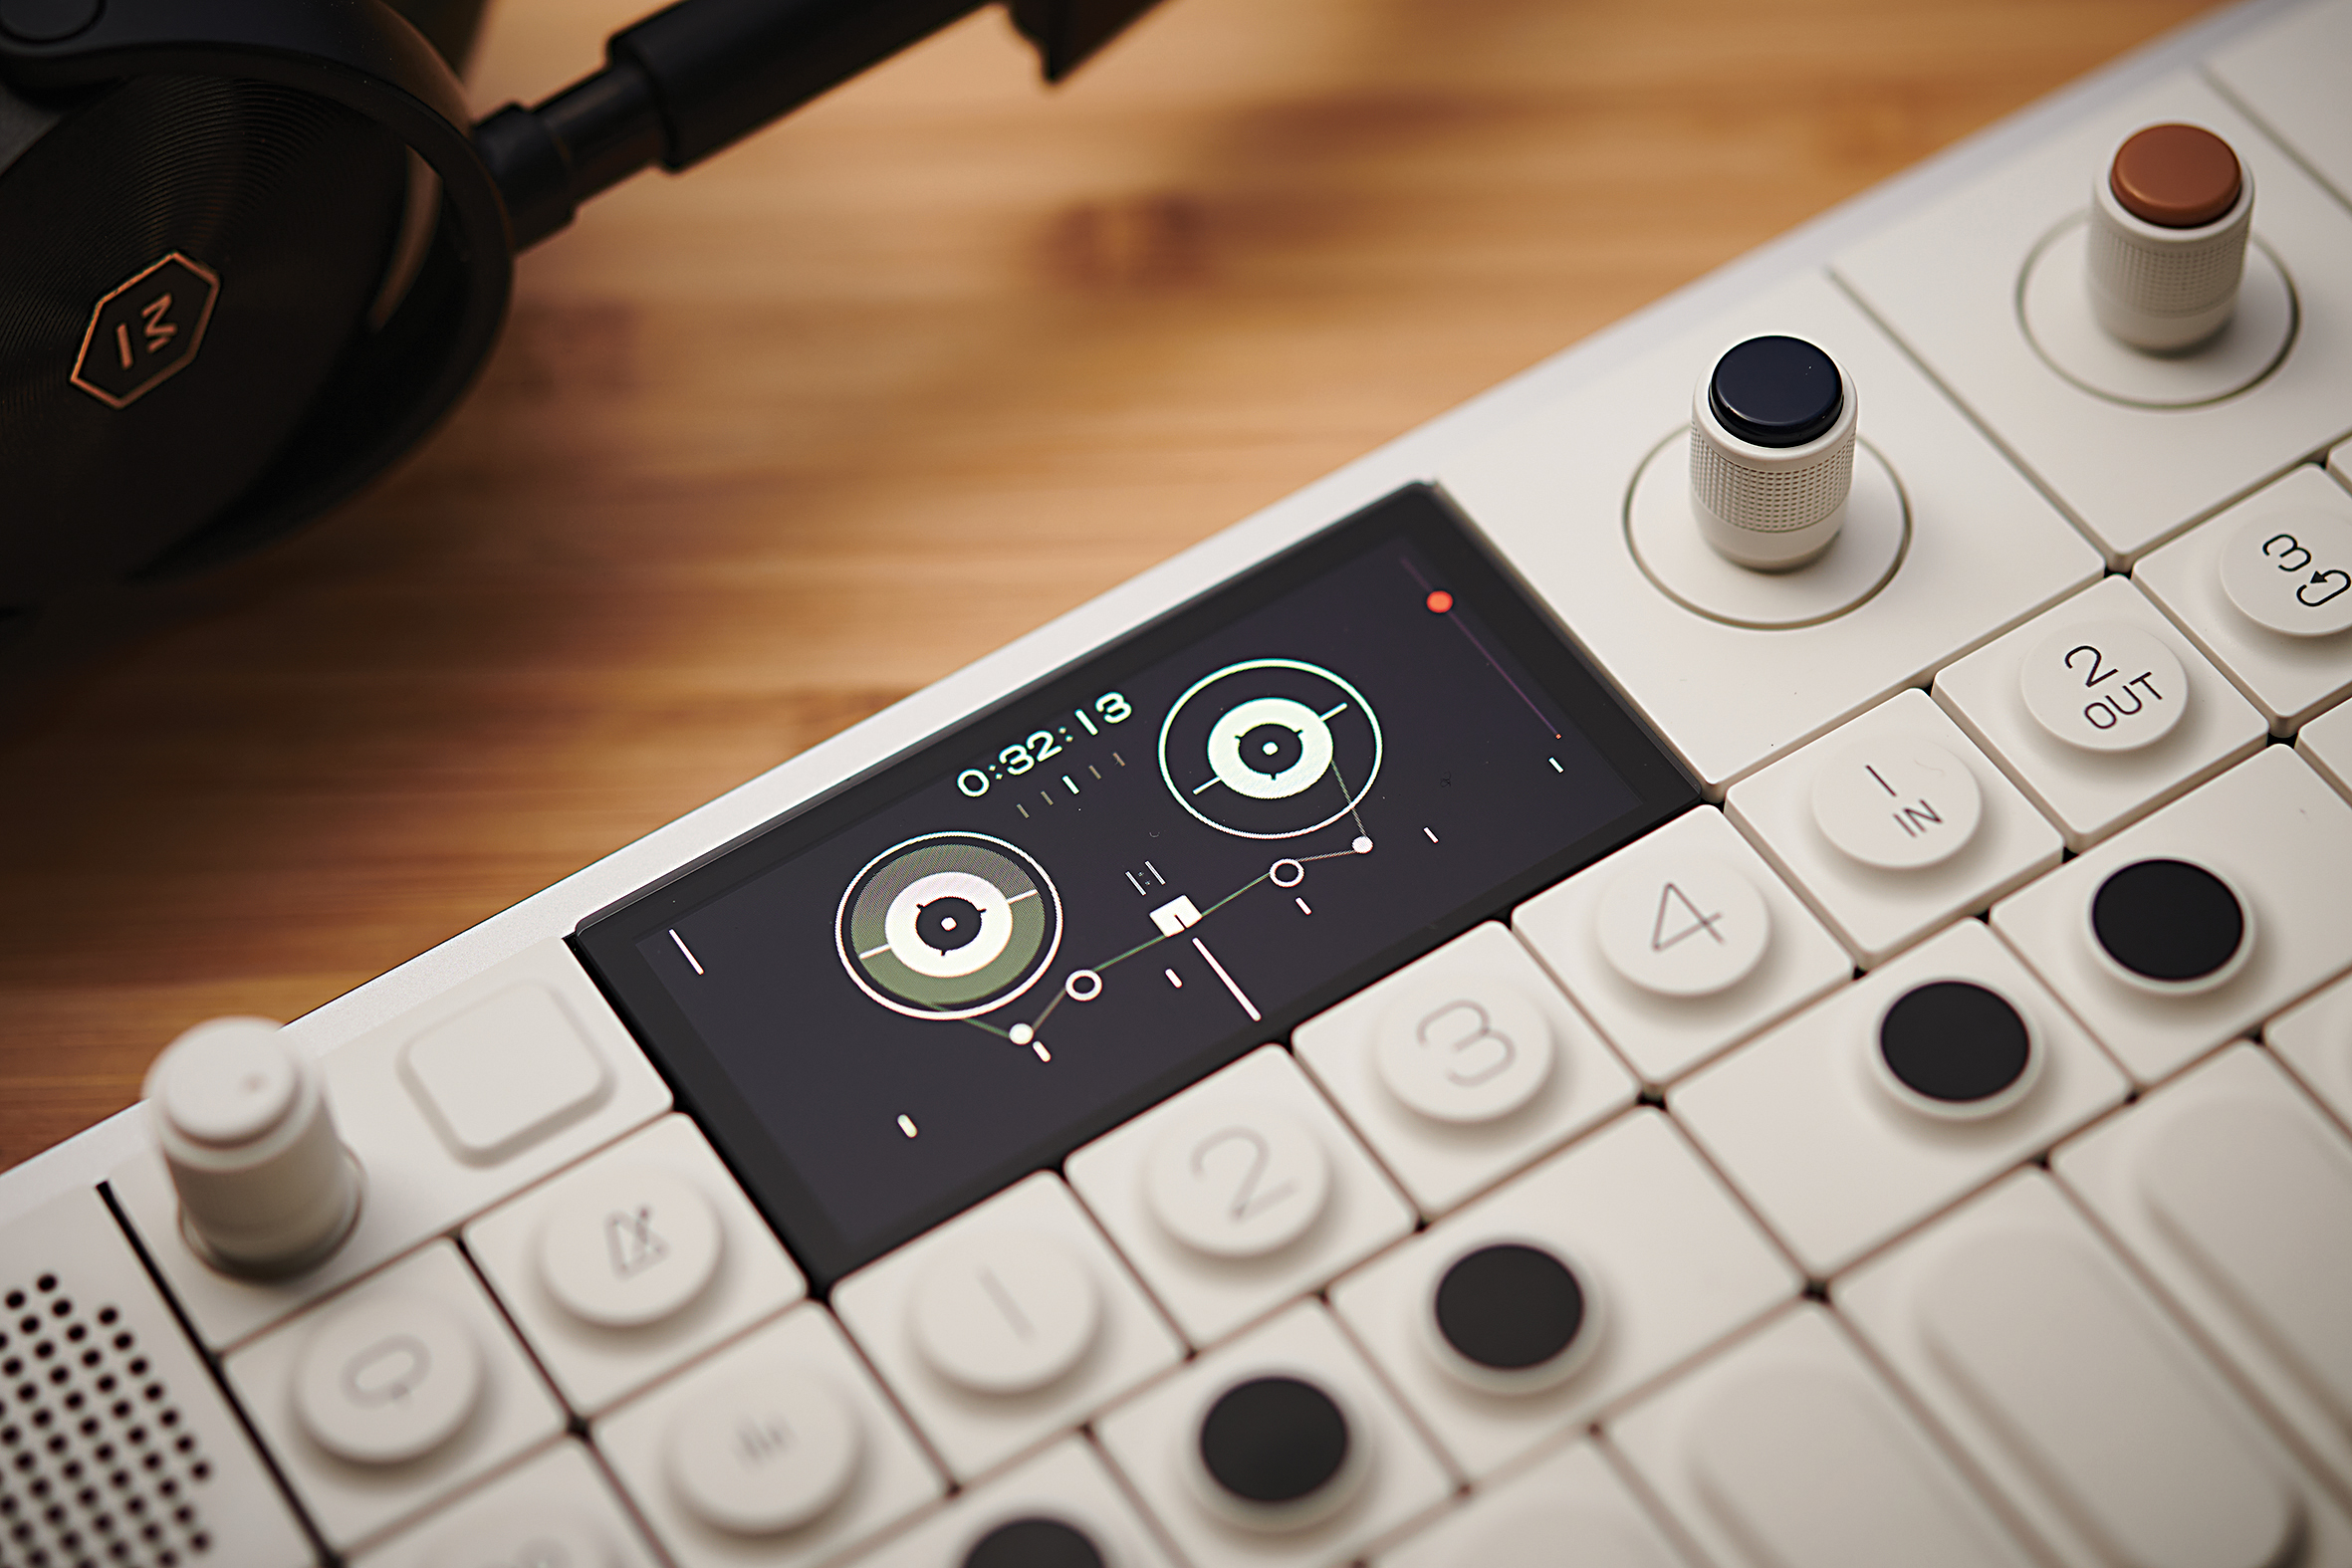
Tape record mode offers an interesting workflow for creating complex loops. Four tracks are layered on top of each other, with a maximum recording length of six minutes. Recording and layering parts feels a bit like recording onto real tape, there’s even the sound of a tape reel squeaking when moving through the tracks with the selector. It can be a little tricky trying to work out which of the parts is which when you’re trying to delete one.
We’d recommend getting used to the keys and shortcuts before experimenting on a complex track that has just taken you 50 takes to get right. Recording parts in correct time is made easier by the metronome – it could be worthwhile doing a few takes first in order to make sure you get this right, before moving on to other parts in the mix.
4. Test out the new Mother Reverb
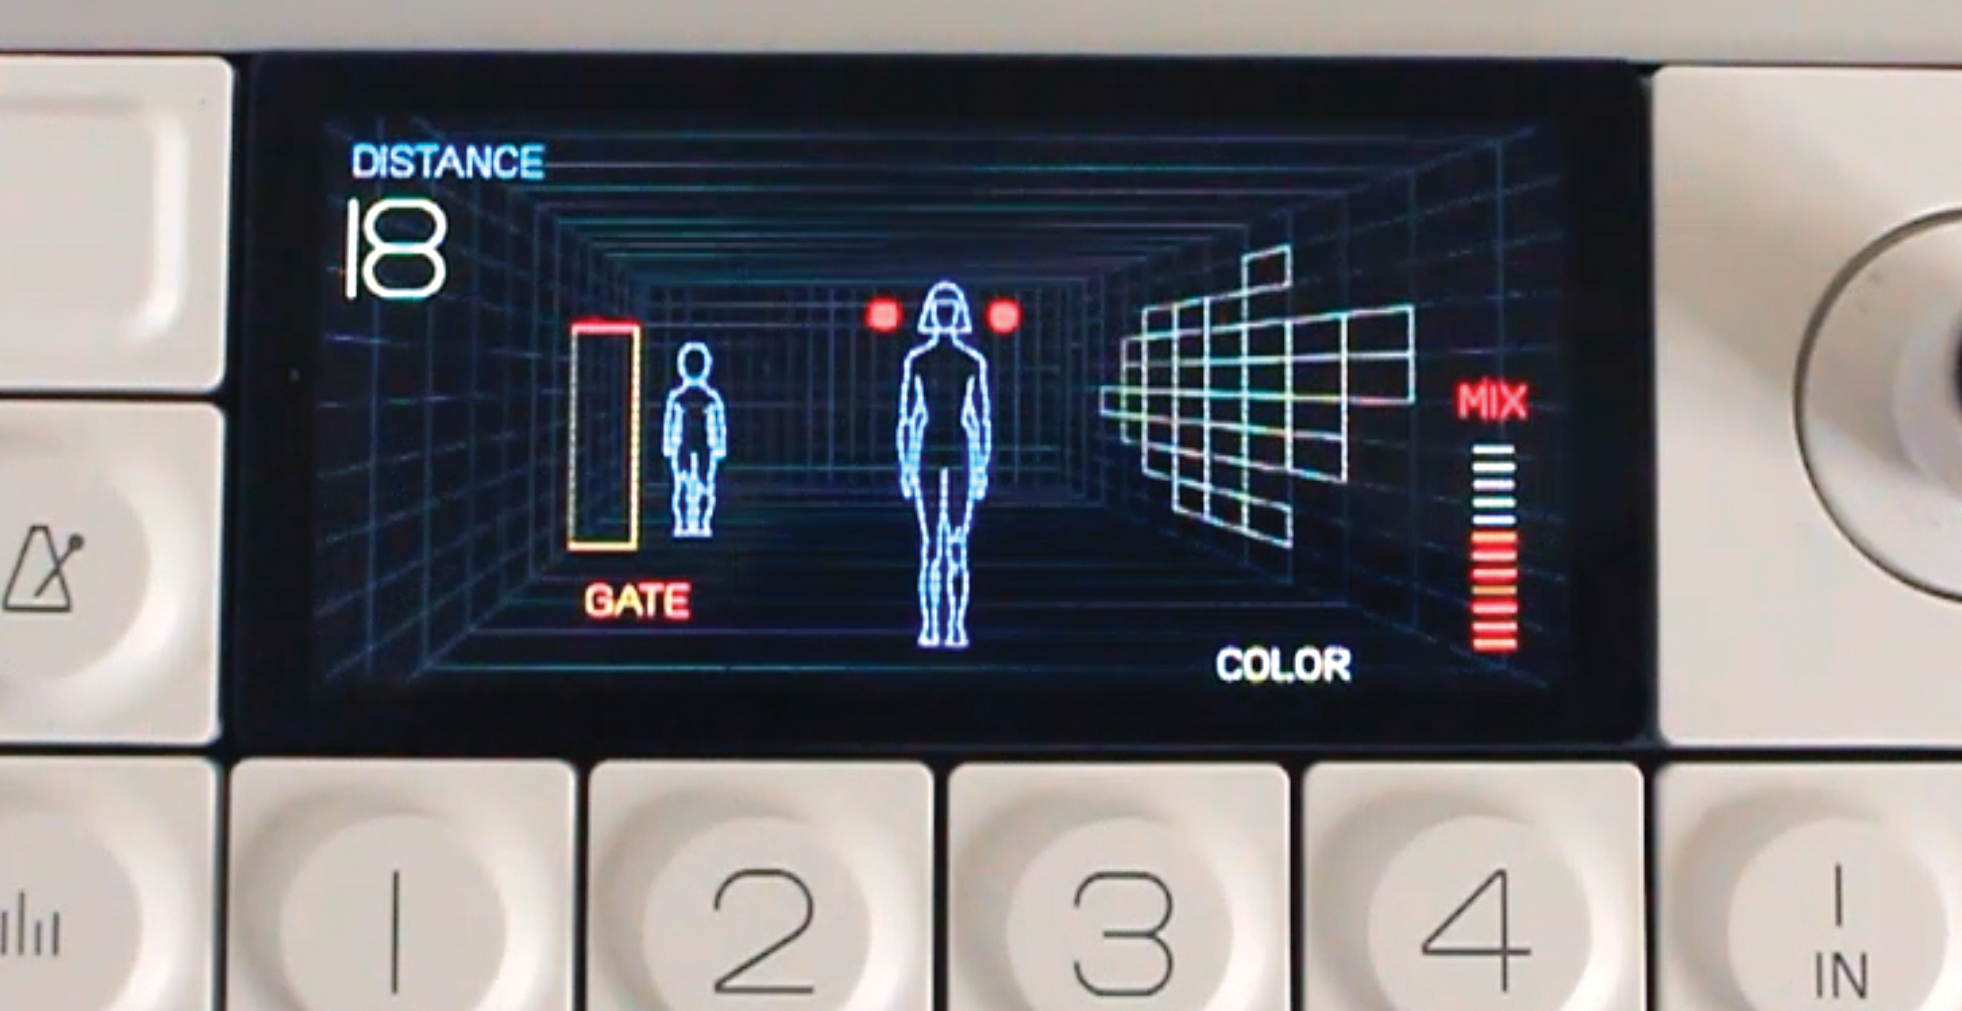
Mother is the new reverb effects engine in the OP-1 Field. The Distance parameter dictates how close the sound is from the listener. At zero, it sounds like a small studio proximity, while at 99 it sounds as though it is in a much larger space.
The Gate parameter simulates the sound passing through a door before reaching the listener. Using these options provides an easy way to visualise your reverb sound.
5. Update your firmware to get velocity sensitivity
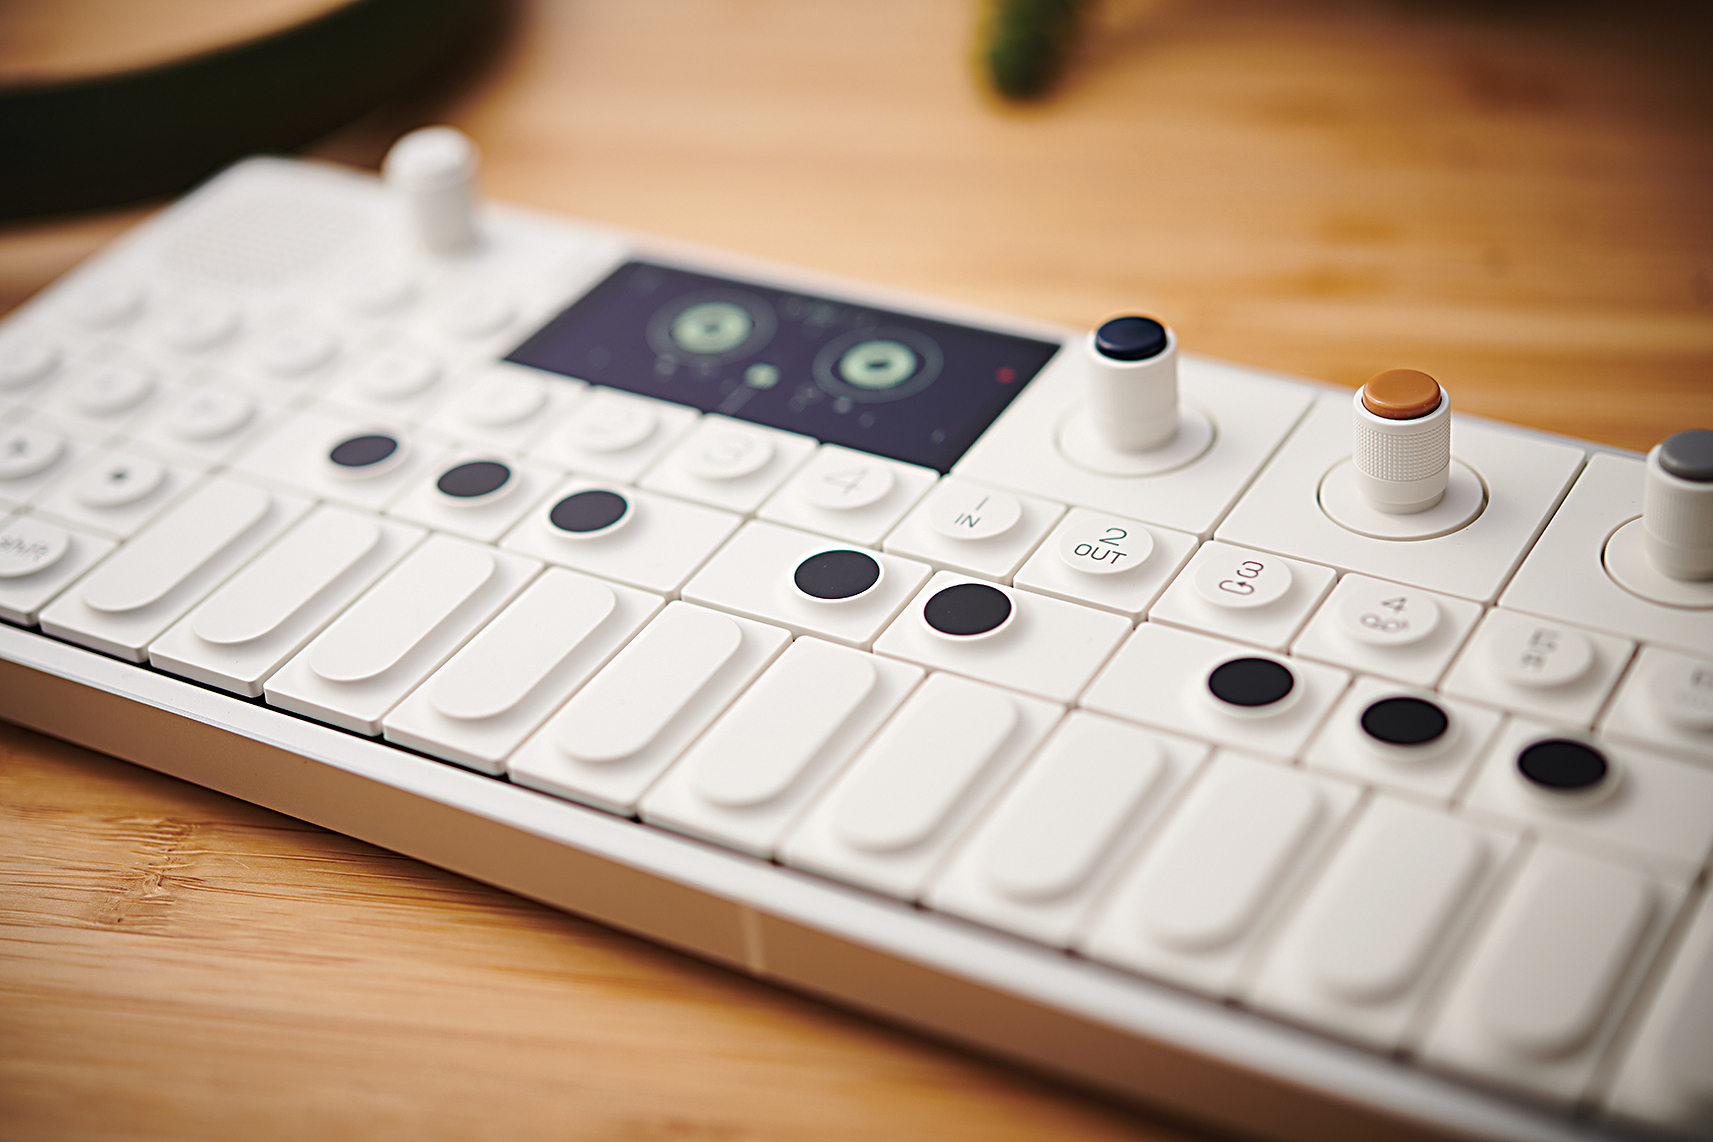
Following the Field’s release, developers added velocity sensitivity via a firmware update. Downloading the velocity sensitivity firmware is done on the TE website: follow the commands to enter ‘te boot’ (which allows the OP-1 Field to be recognised as an external hard drive on a computer), then adding the software to the OP-1 Field.
The instrument reconfigures itself with the new hardware, after which use can recommence, this time with velocity sensitive keys. This makes a huge difference to the playability and means it can be used standalone, rather than with another keyboard.
6. Think outside the Drumbox
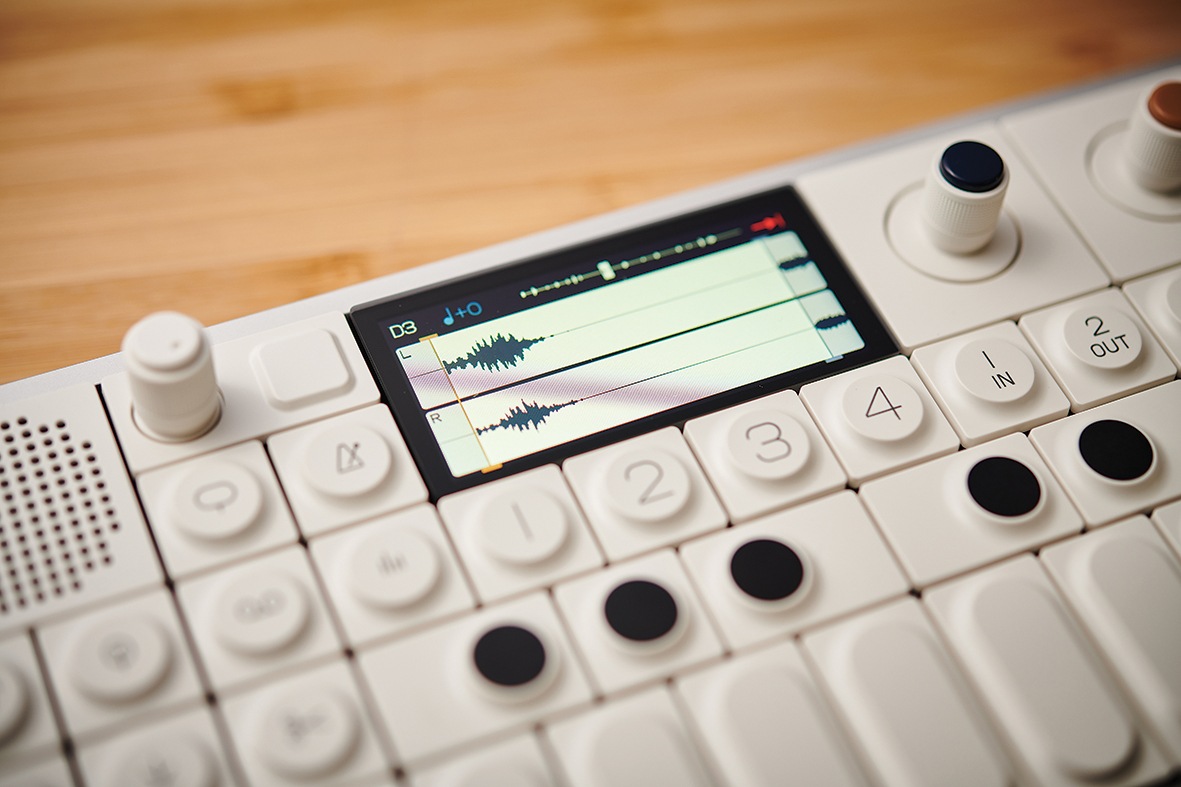
In the drum machine, drum kits are selected using shift + 1-8 keys. Drumbox is a dual oscillator drum synth, with the second oscillator accessed using the shift key.
Loading drums with a slightly different sample on the right and left side of the stereo field is an interesting place to start. After this, a number of parameters can be changed, from waveform to decay length, allowing for a vast range of percussion sounds to be created.
7. Use the Pattern Sequencer and toggle resolution for beat markers
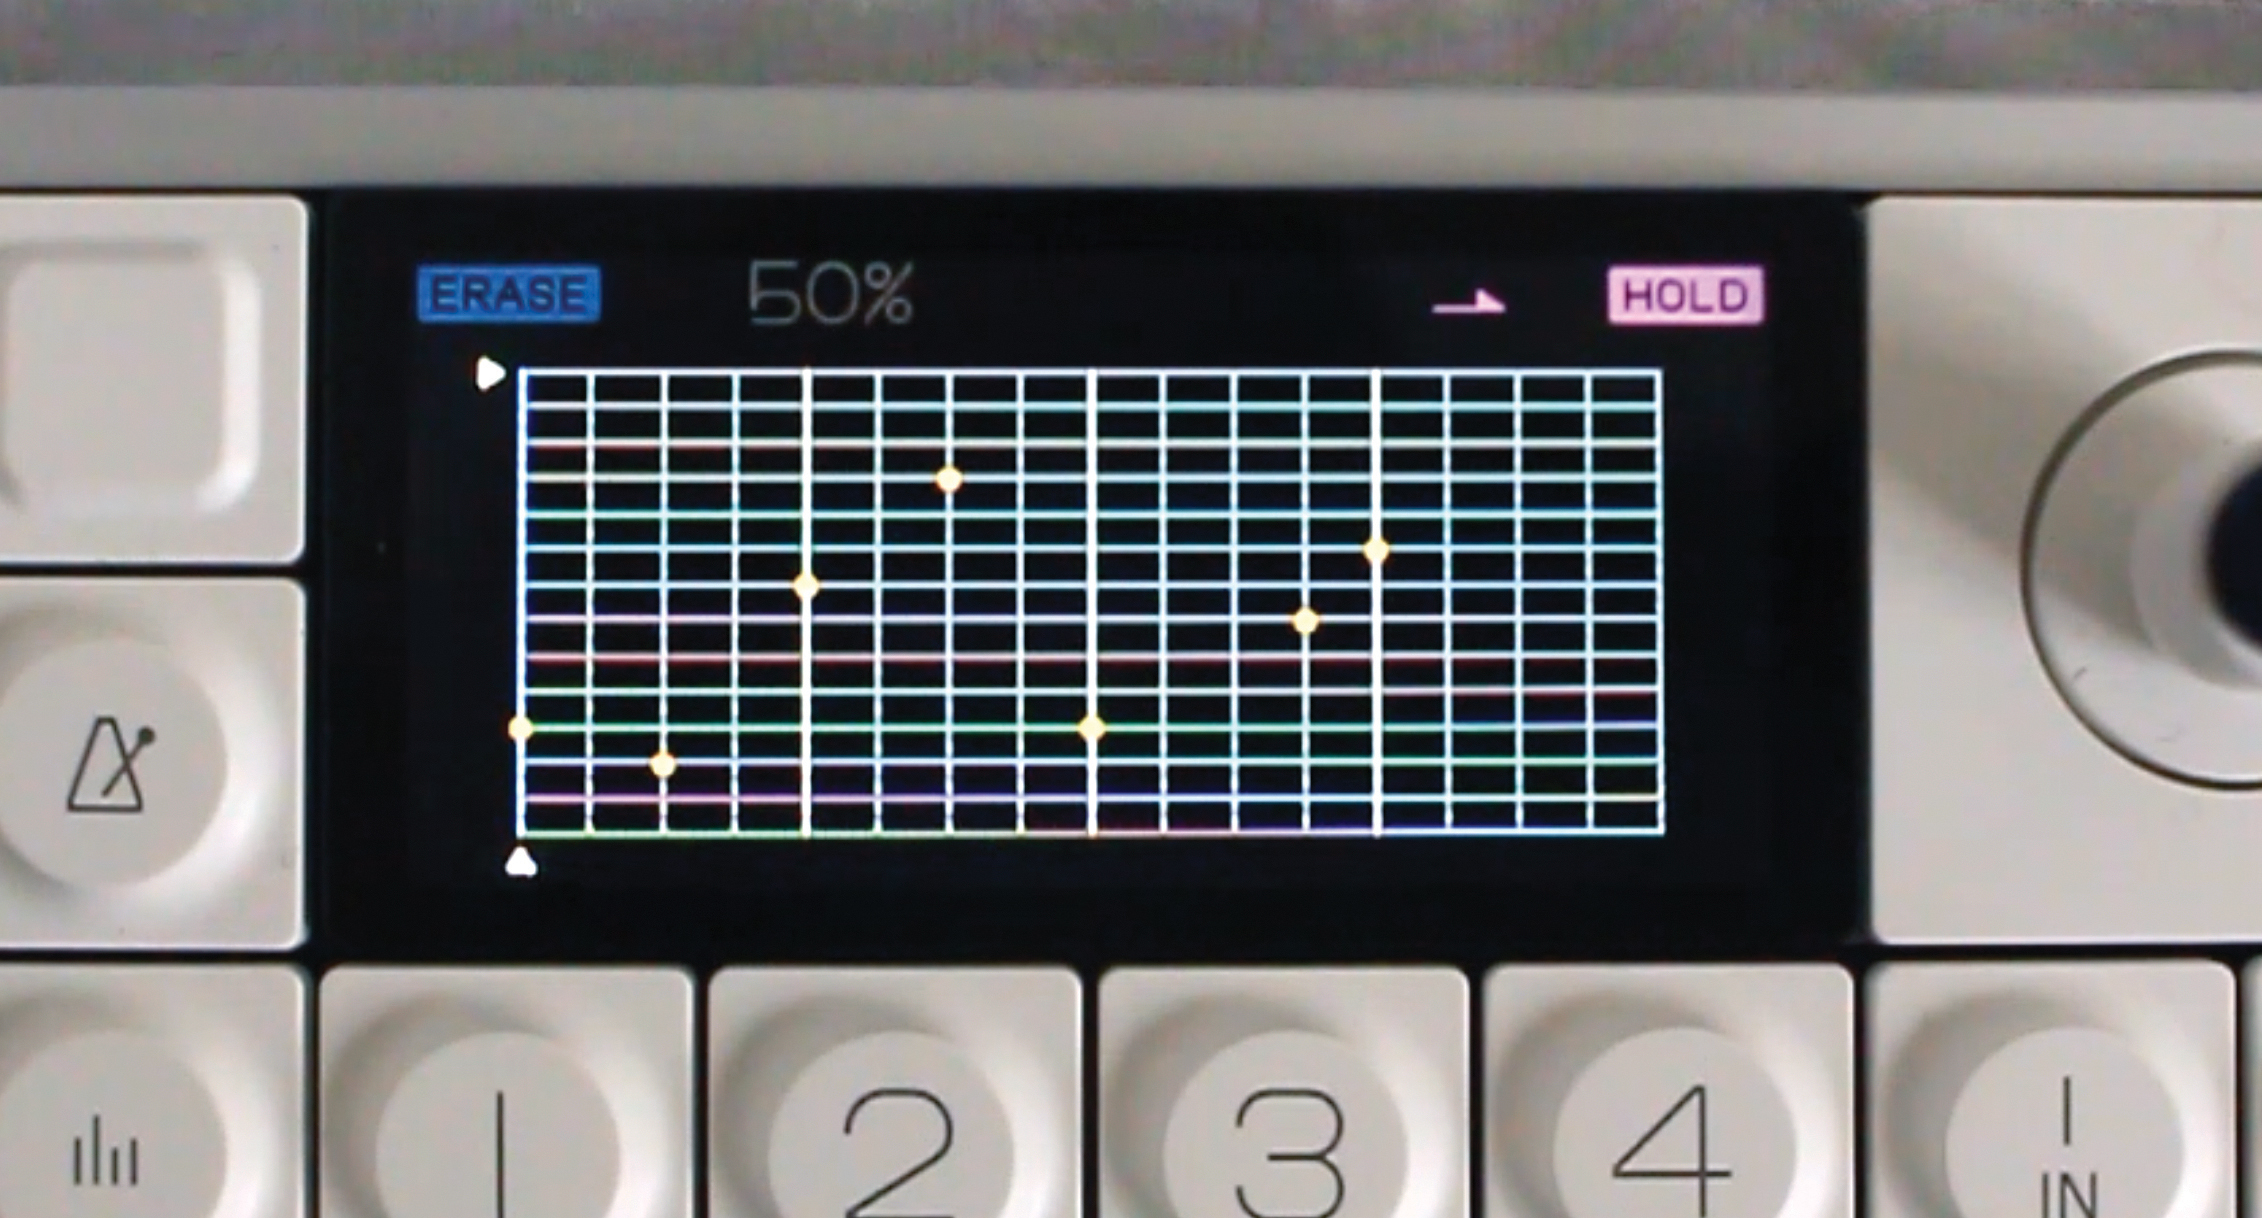
Another tip from Tobias: “First we find an empty track and set the tempo at 120, then set the in point and the length of, say, a two-bar loop. While there is then no metronome, whenever Stop is pressed will be the first count. To record some drums, the pattern sequencer can be used. Once the pattern is prepared, we can go to record mode and lay this down in our loop on the correct beat.”
8. Use stereo drums to get a stacked sound
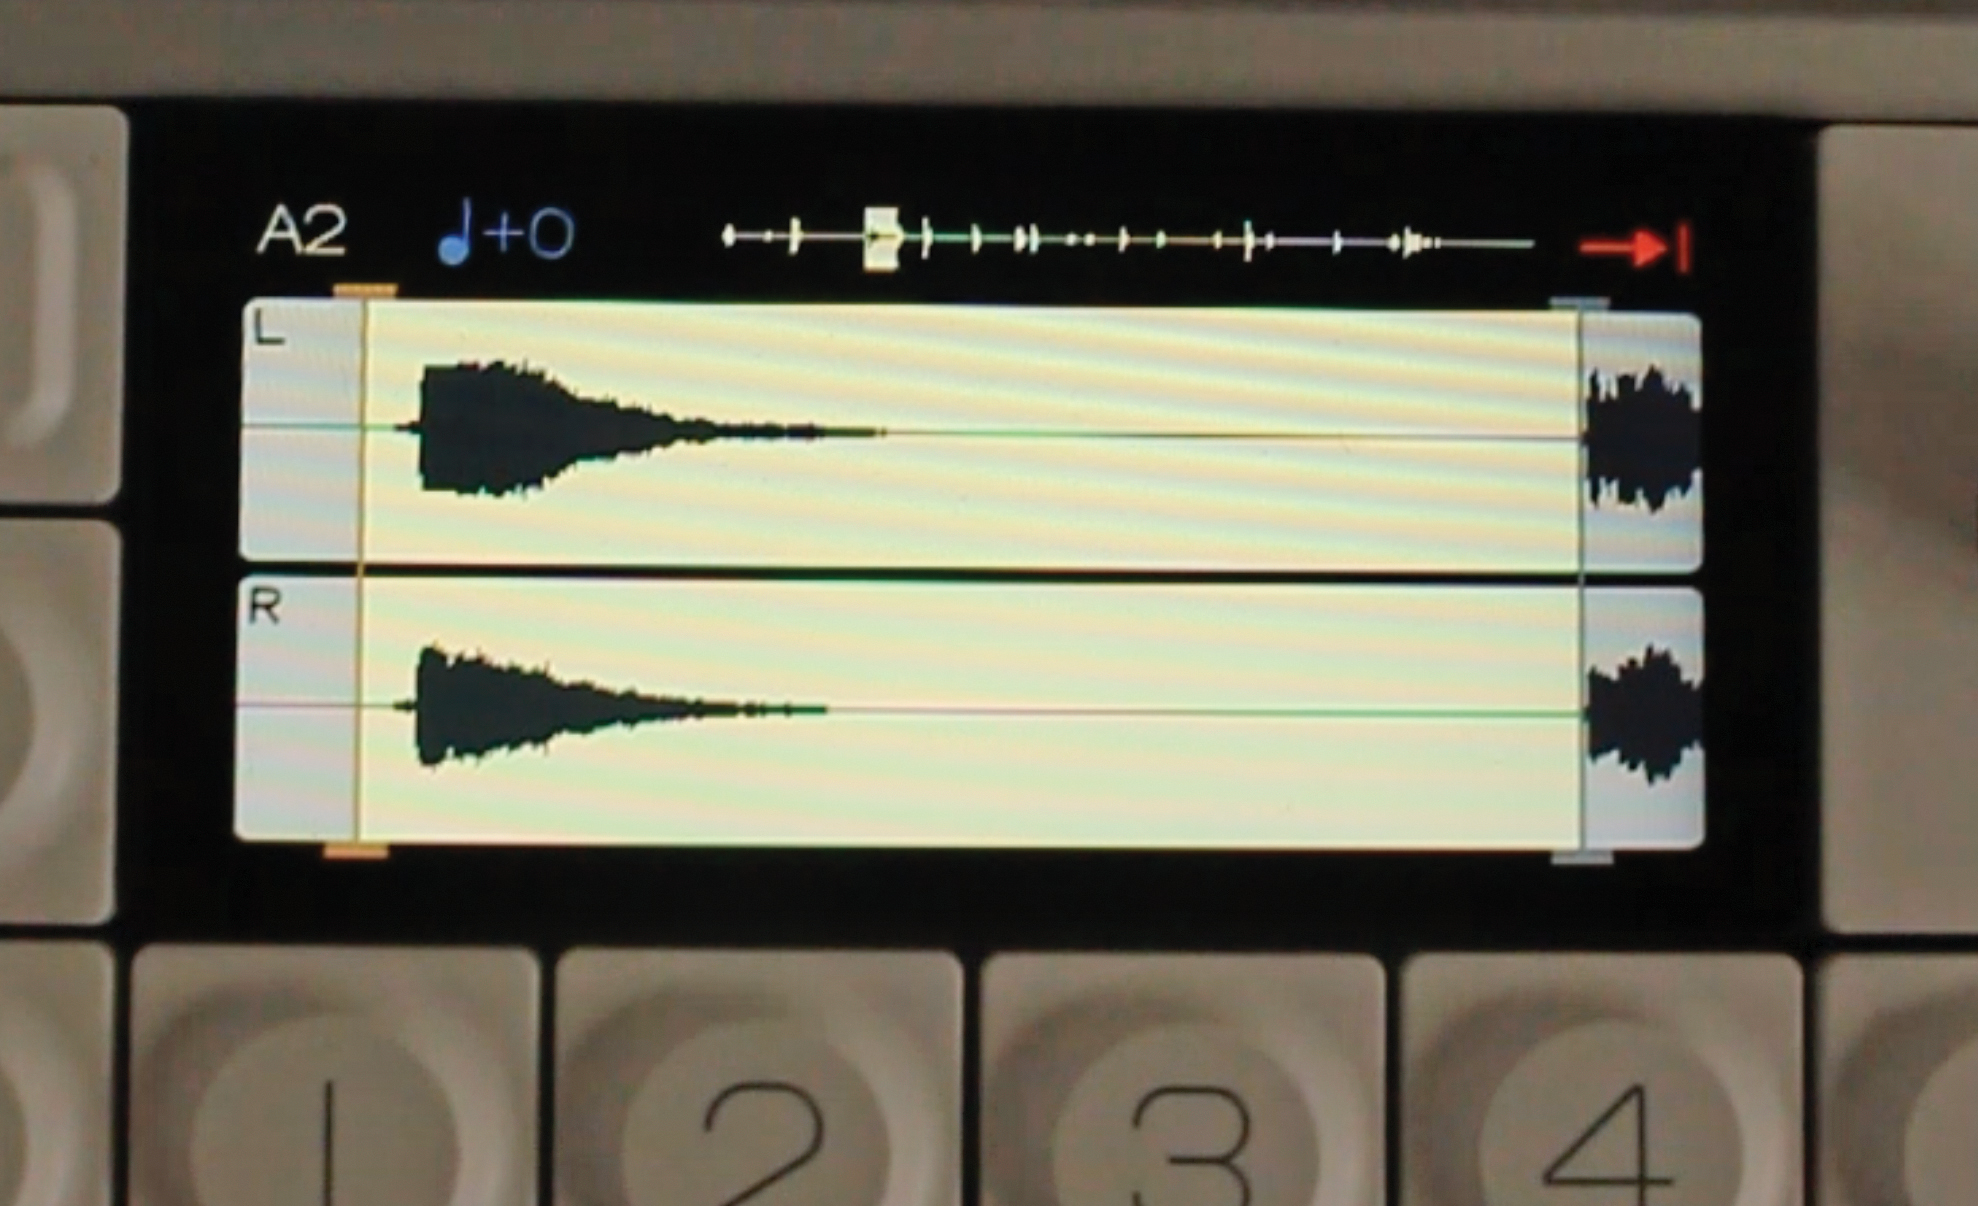
Tobias von Hofsten from Teenage Engineering gives some tips on how to maximise the creative use of the stereo drum kit in the OP-1 Field: “When using stereo drums, we can have the two channels either as left and right (normal stereo) or as two stacked channels; A and B. We access the stacked channels by pressing shift and the ochre-coloured key. We can then mix the two sounds individually.
”We can also tweak how much reverb we want on each one. We can also load our own samples on to these channels, from two different drum machines – for example an 808 and 909 – and then stack these together to create our own stacked drum machine effect.”


