
In this fast-paced modern world, it can be easy to discard broken items, but there are some things you should repair instead of replace. Not only is it more cost-effective to fix things yourself, but it’s better for the environment, too.
I’ve asked home improvement pros for the functional items and furniture pieces that they recommend learning how to mend, as well as the necessary steps for doing just that. From leaky faucets to clay pots, there are plenty of items around the house worth salvaging.
Having a range of DIY skills in your repertoire is important for every homeowner – after all, you never know when you might end up in a bind.
7 things you should always repair instead of replace
1. Damaged wood furniture
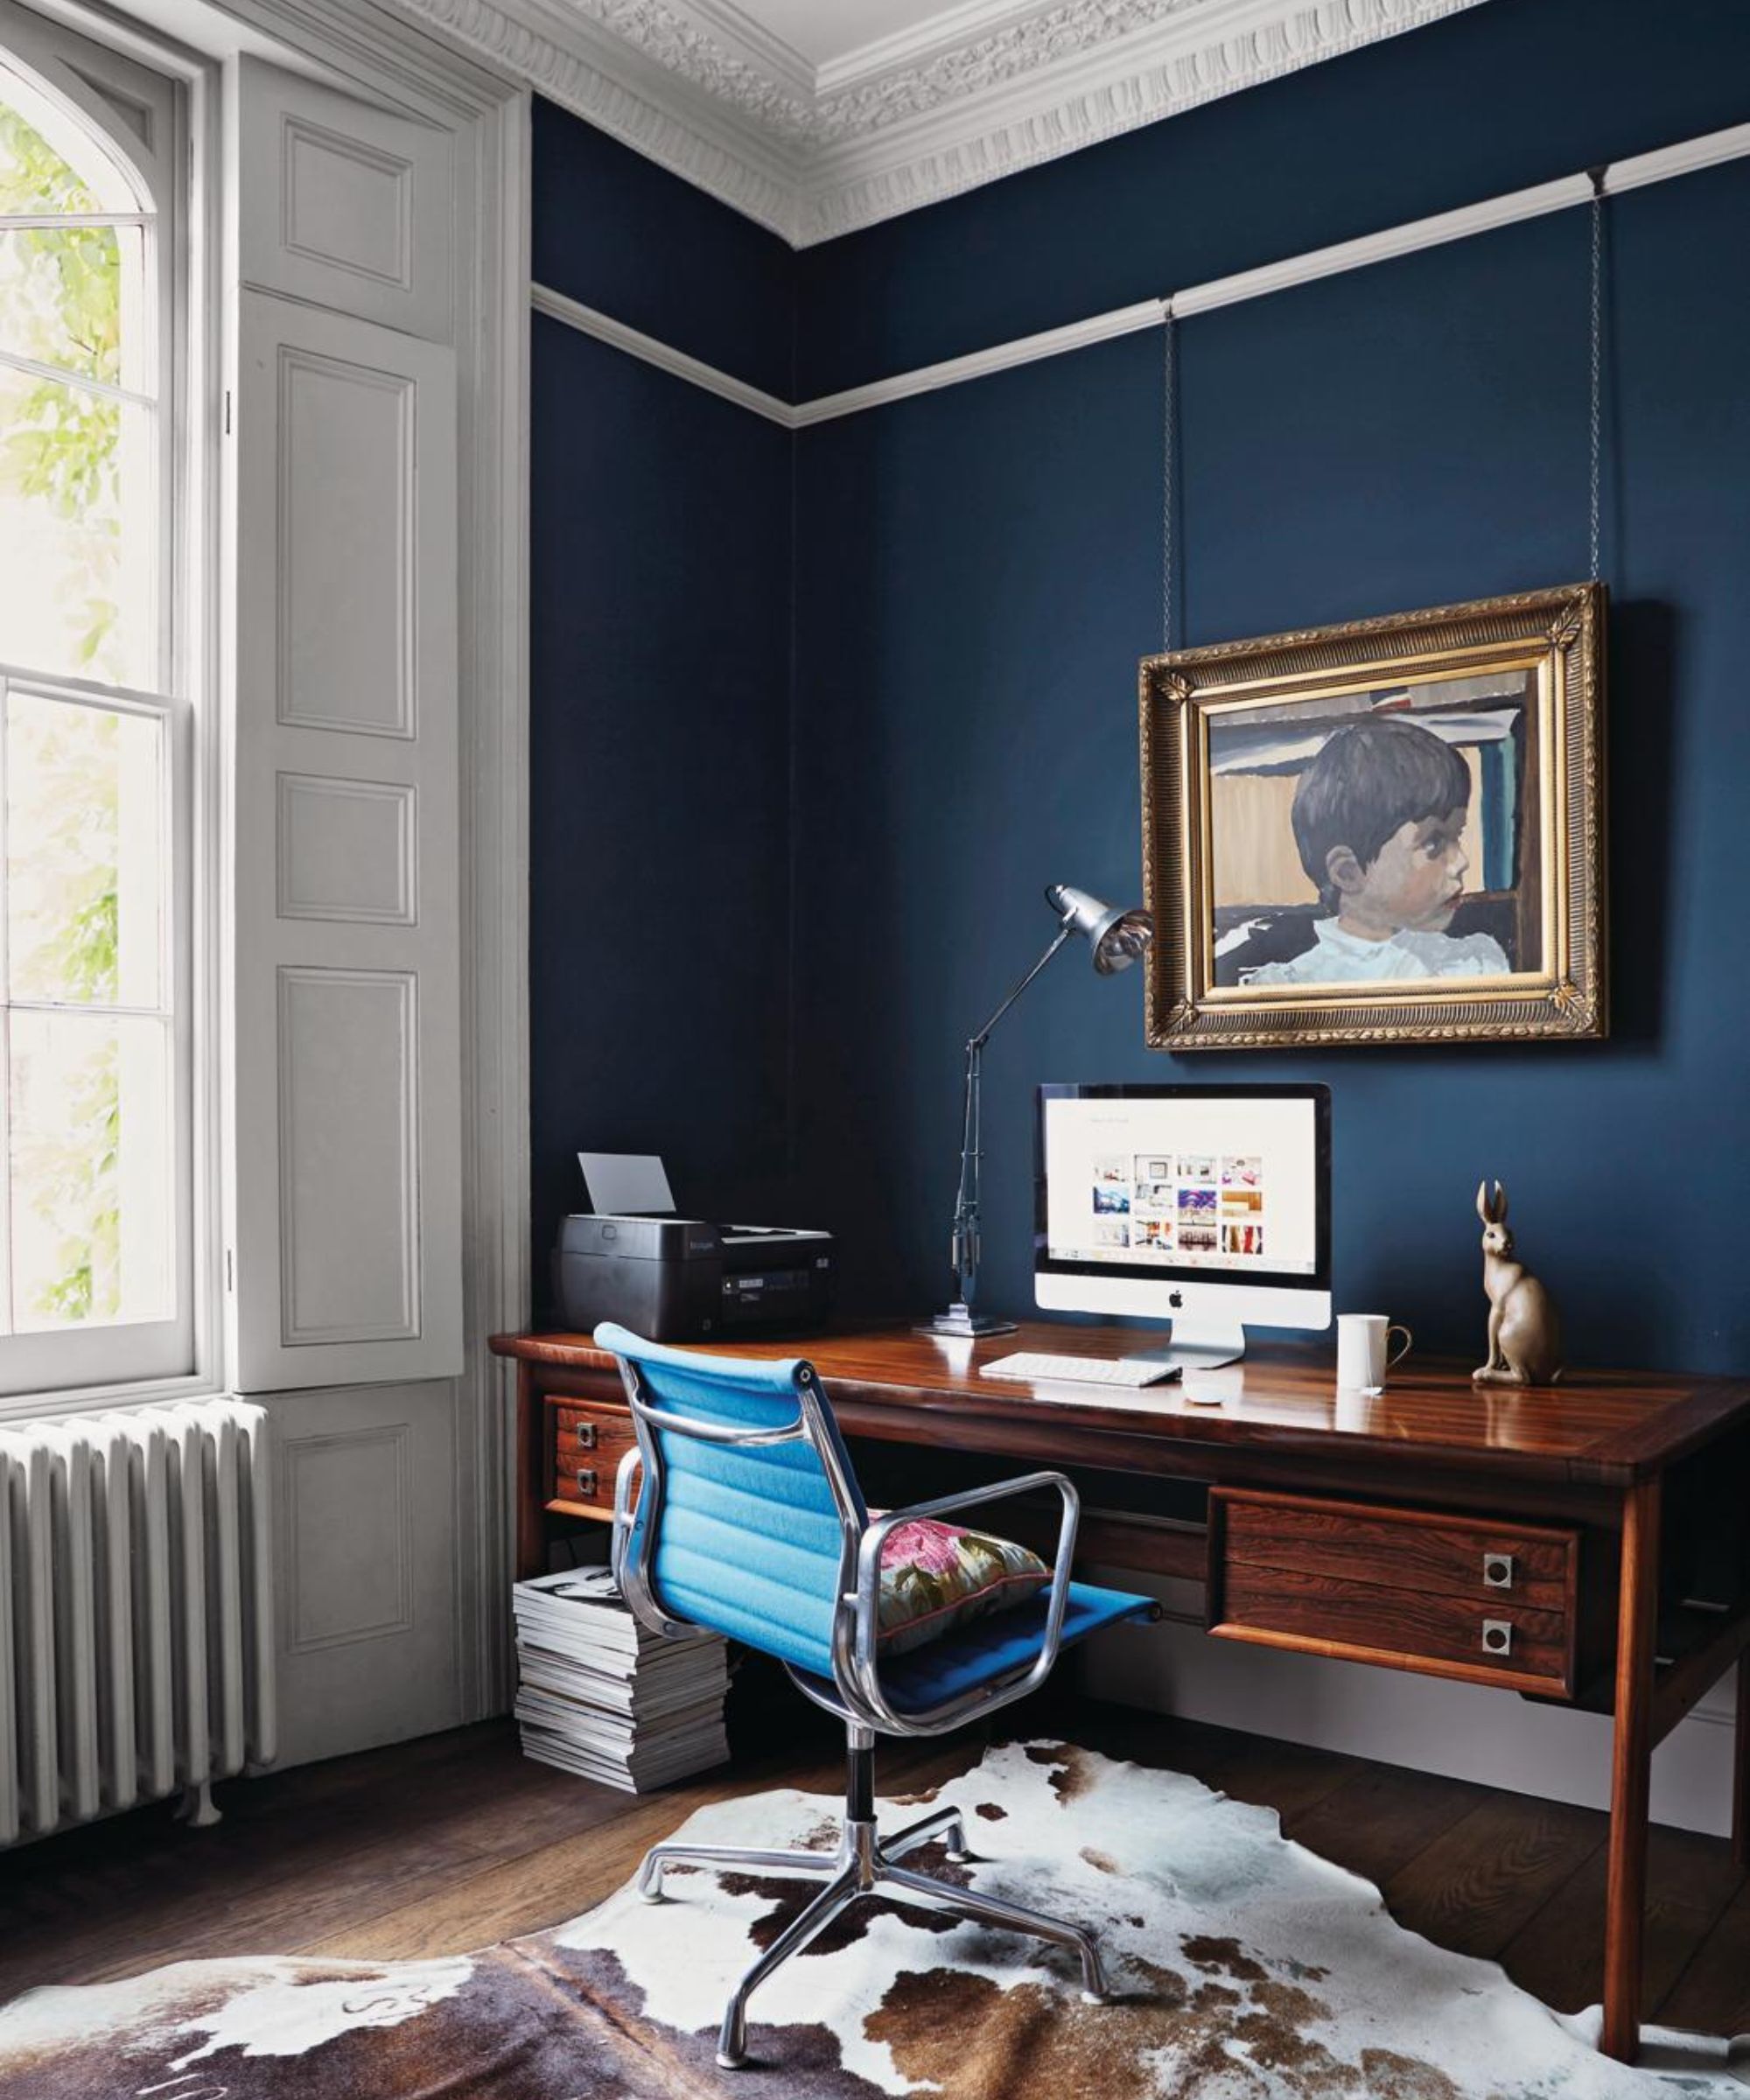
Beautiful solid wood furniture is worth treasuring and keeping for as long as possible. ‘Any type of this is better to repair versus replace – especially if it’s a nice piece that has lasted you many years,’ explains Carr Lanphier, CEO of Improovy.
He continues, ‘In my experience, it can be difficult to find furniture pieces these days with this type of quality craftsmanship, with the rise of cheap wood and materials that break down faster and just don’t look as good.’
Most of the issues Carr has seen with furniture like this is a stain or finish wearing off, or a painted piece having chipping or flaking paint. ‘I’ve spruced up coffee tables, dressers, rocking chairs, and more by painting wood furniture or varnishing them,’ he adds.
To easily repair damaged wood furniture:
- Step 1: Sand down the old paint – you can either use a sanding tool or coarse sandpaper.
- Step 2: Give it a new coat of paint or varnish – the Varathane wood stain from Walmart is fast-drying and long-lasting.
- Step 3: Leave it to dry – either 24 hours for one coat or 12 hours if you’re planning to go over it again.
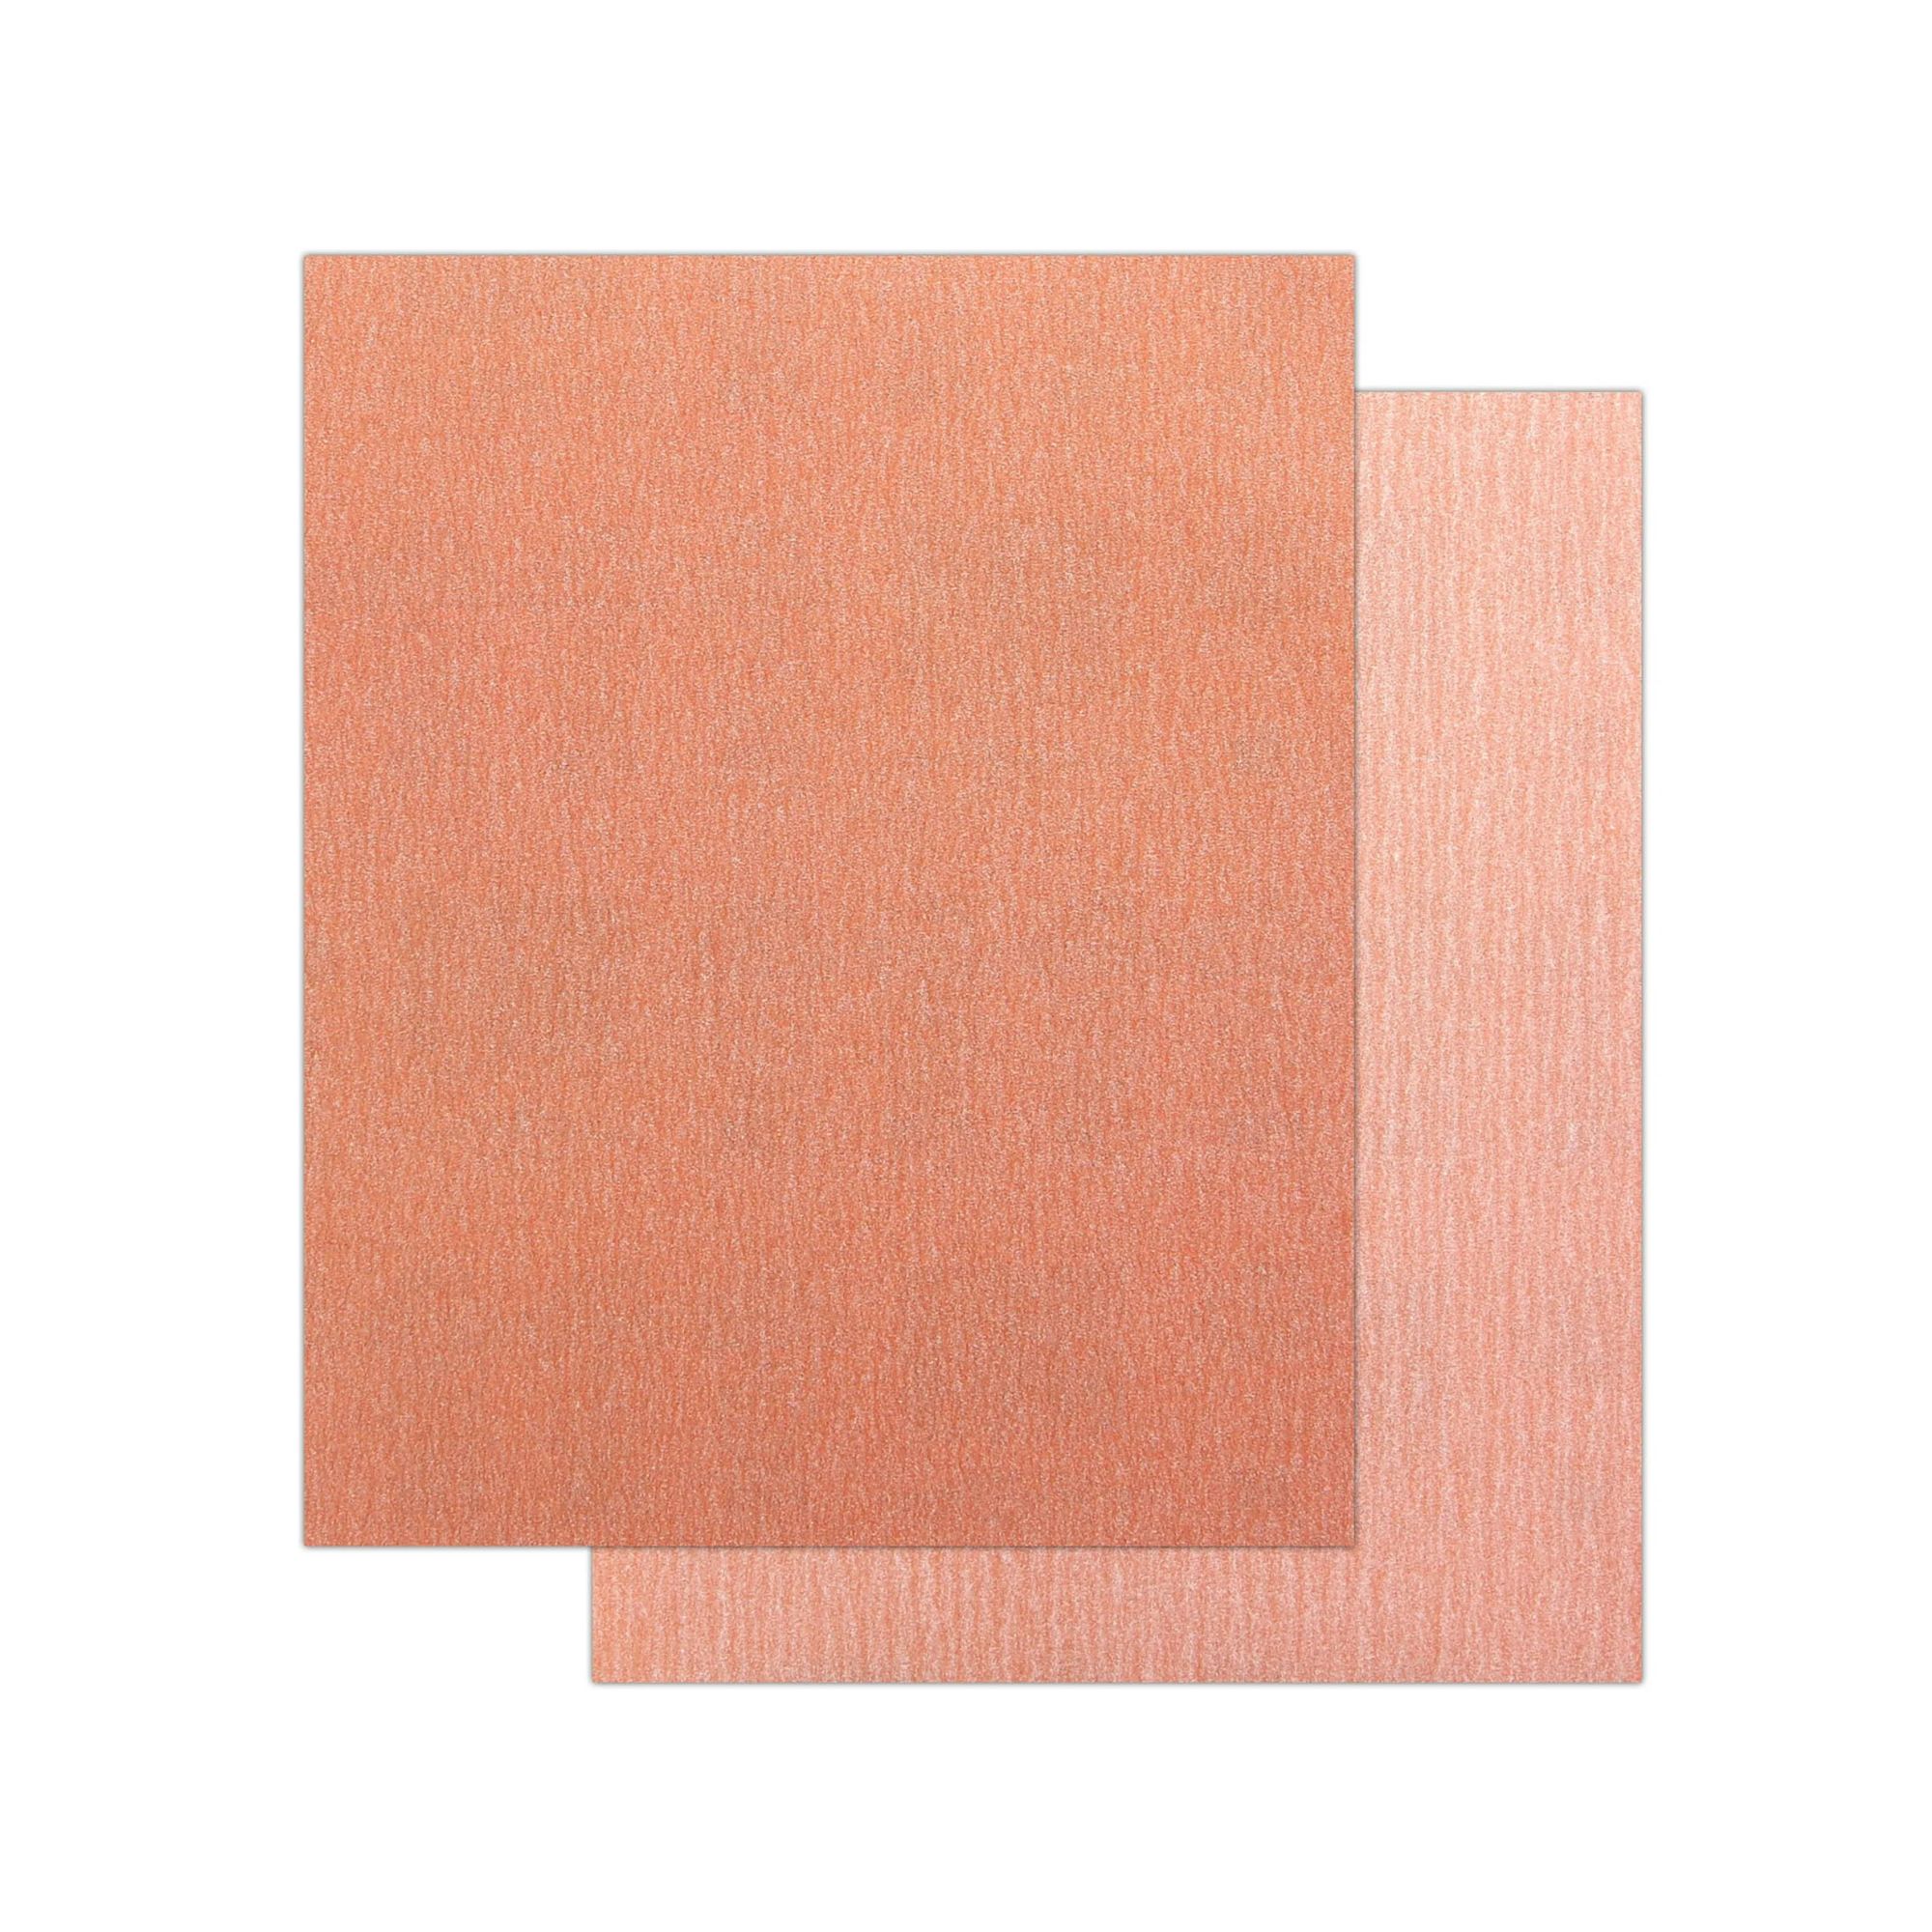
Long-life and heavy-duty, these sandpaper sheets are useful to have in your tool bag. The sheets have an anti-clog coating to reduce build-up and latex backing to allow flexibility.
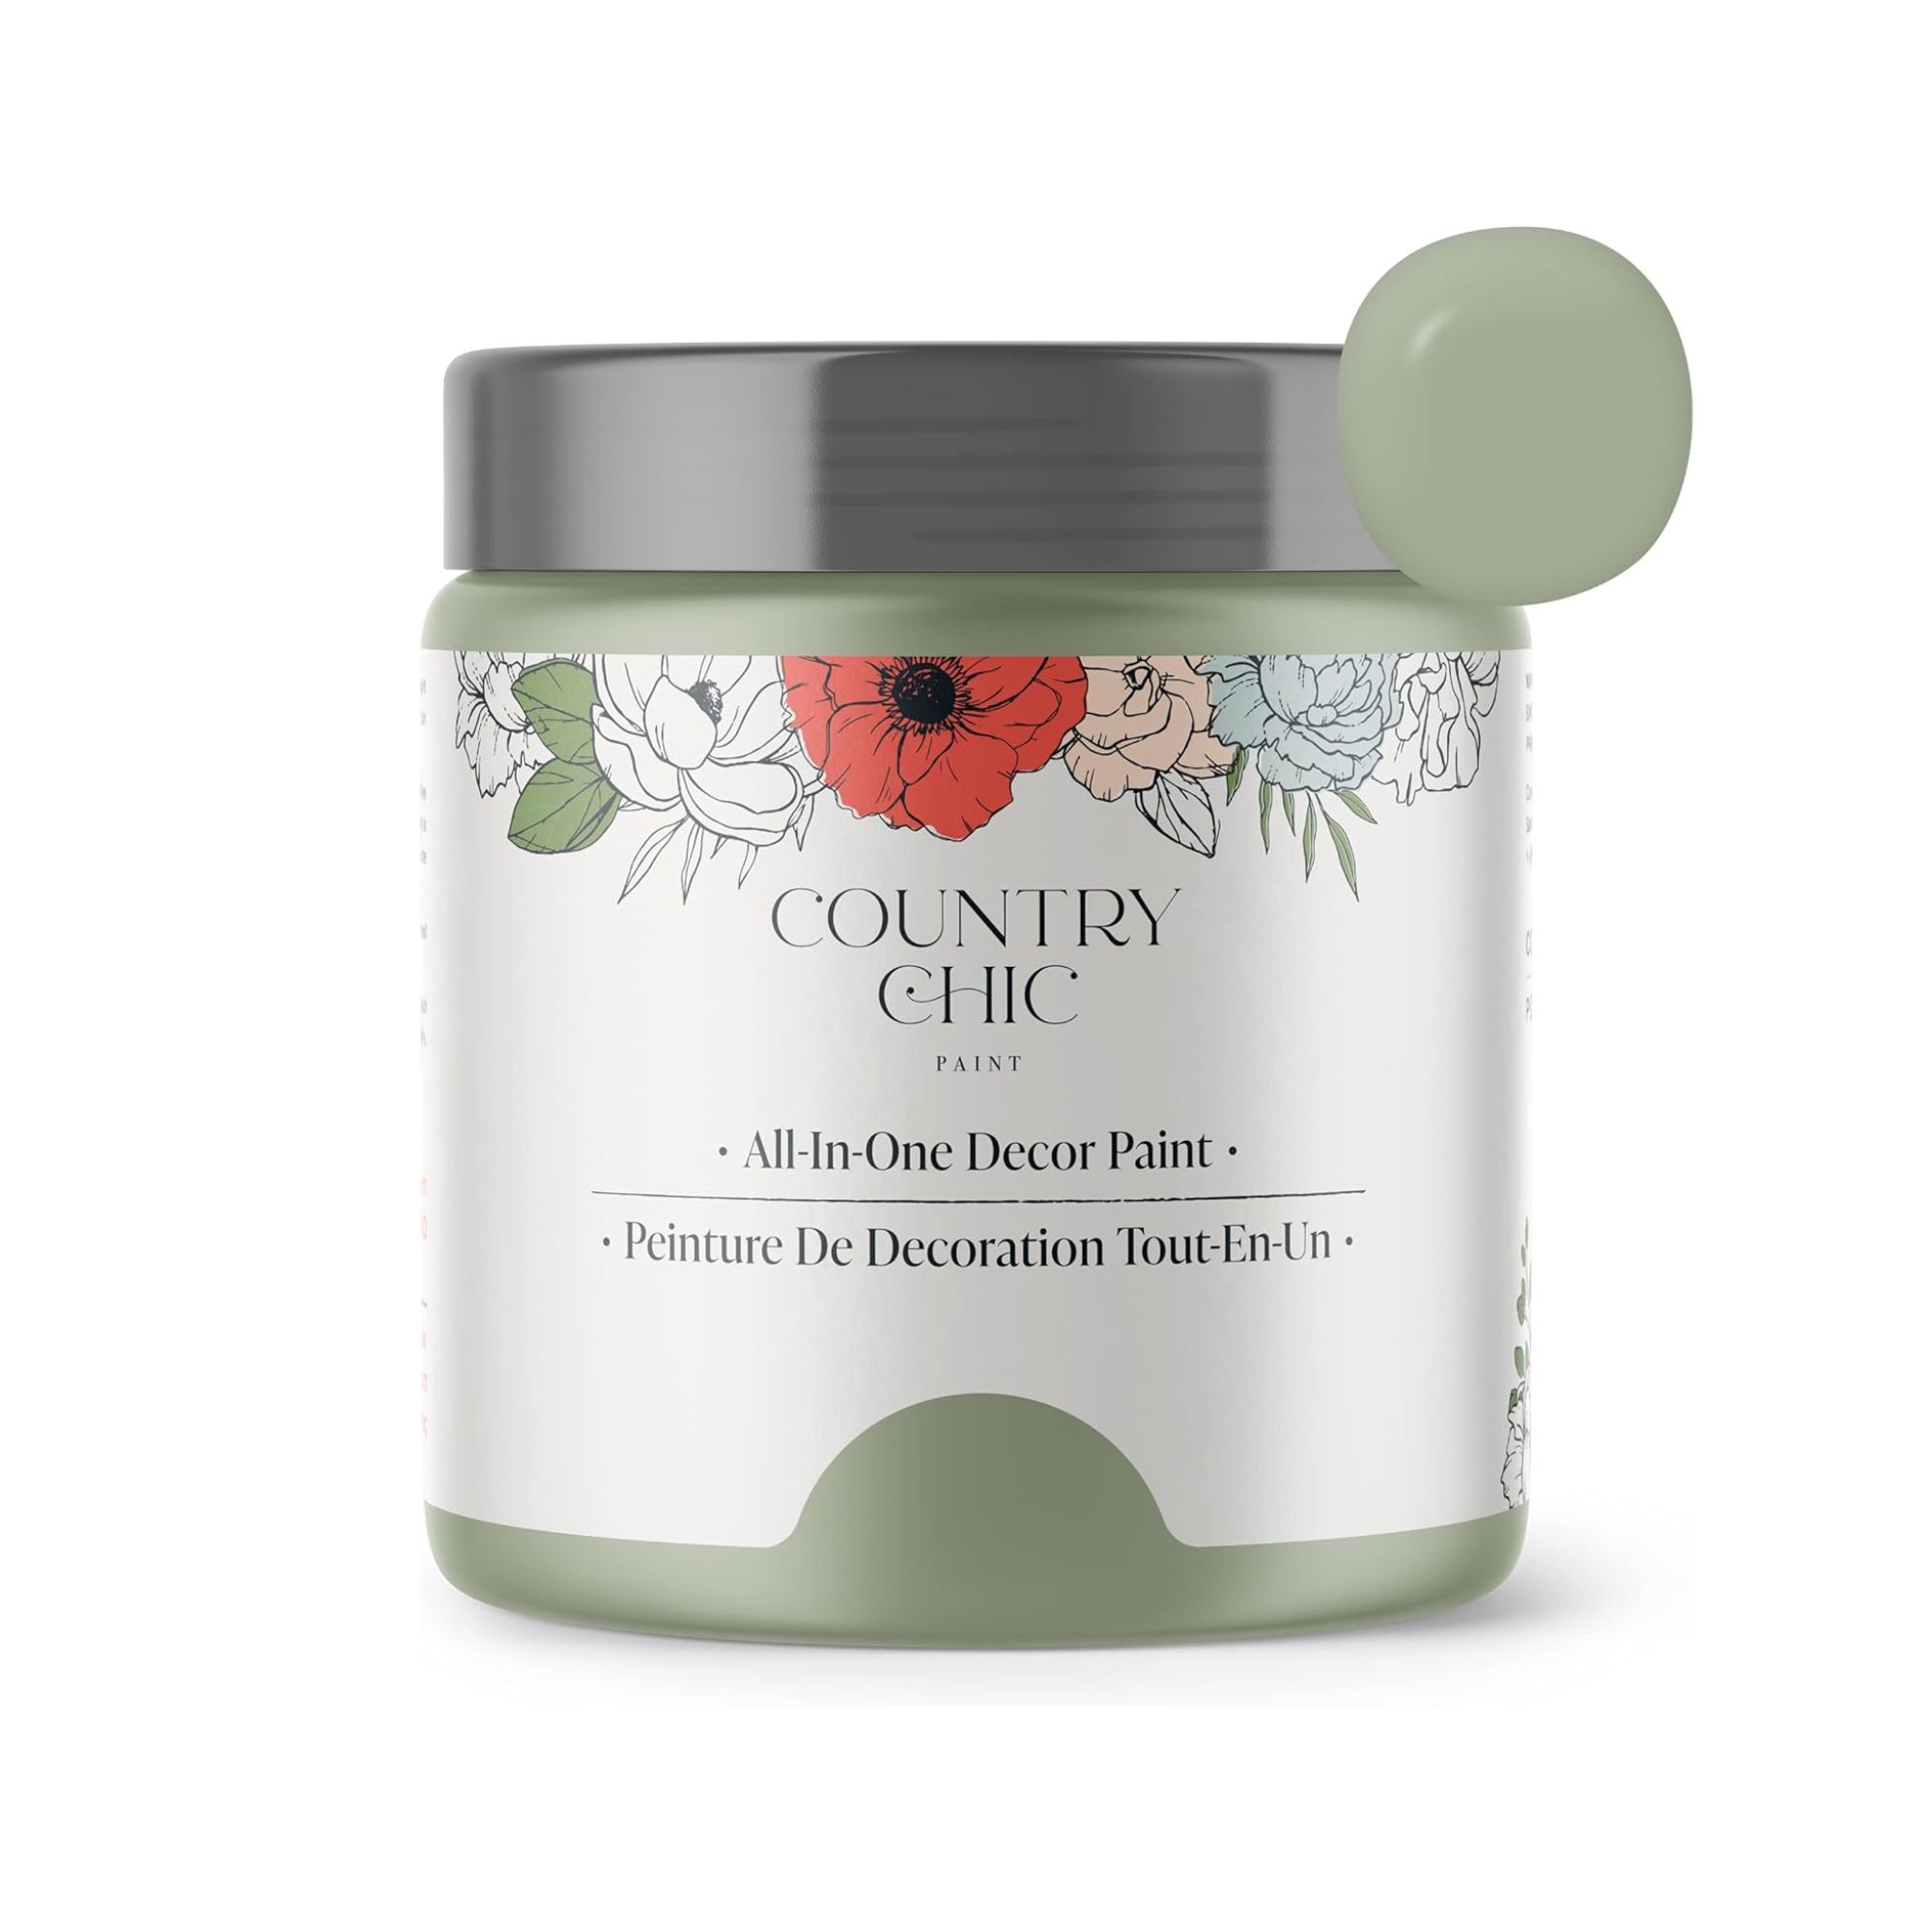
Give your wooden furniture a pop of color by painting it this lovely sage green shade. It has an all-in-one formula, including a built-in primer and a top coat, providing a seamless and smooth application.
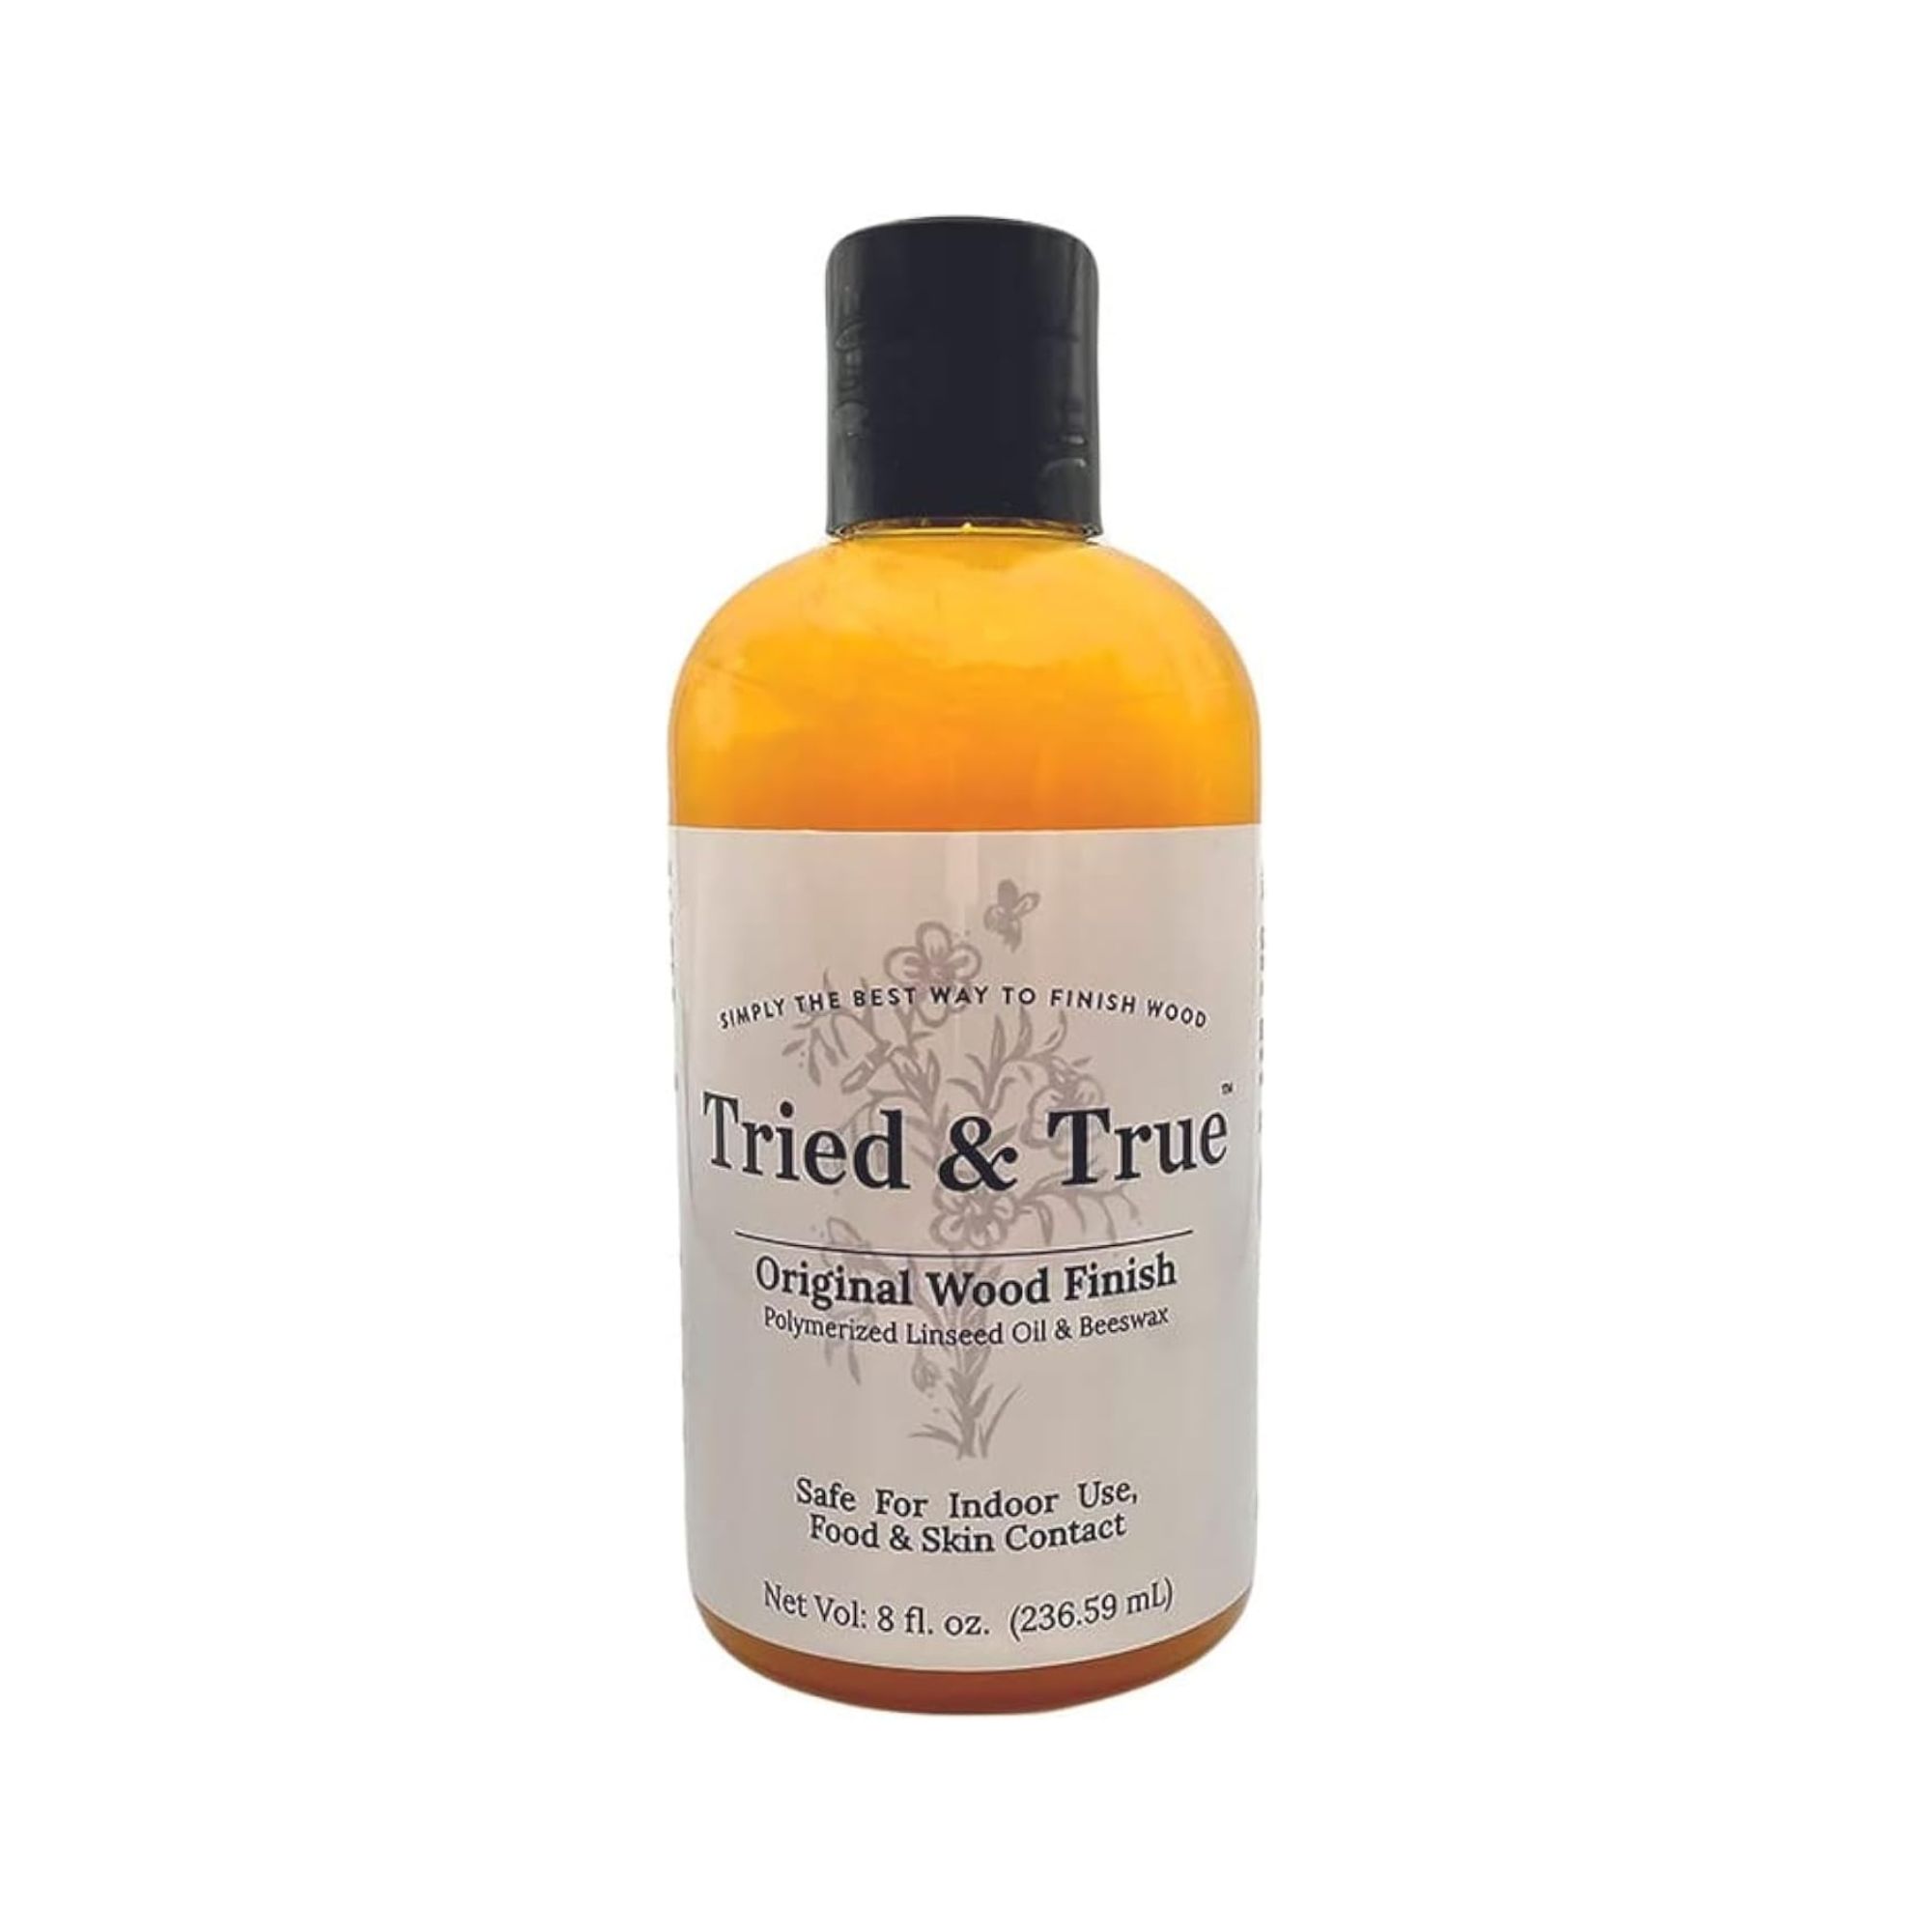
Add a glossy finish to your wooden furniture with this sealer, which is made with linseed oil and beeswax. This gives a warm appearance, as well as protecting against water, liquids, and daily use.
2. Leaky faucets
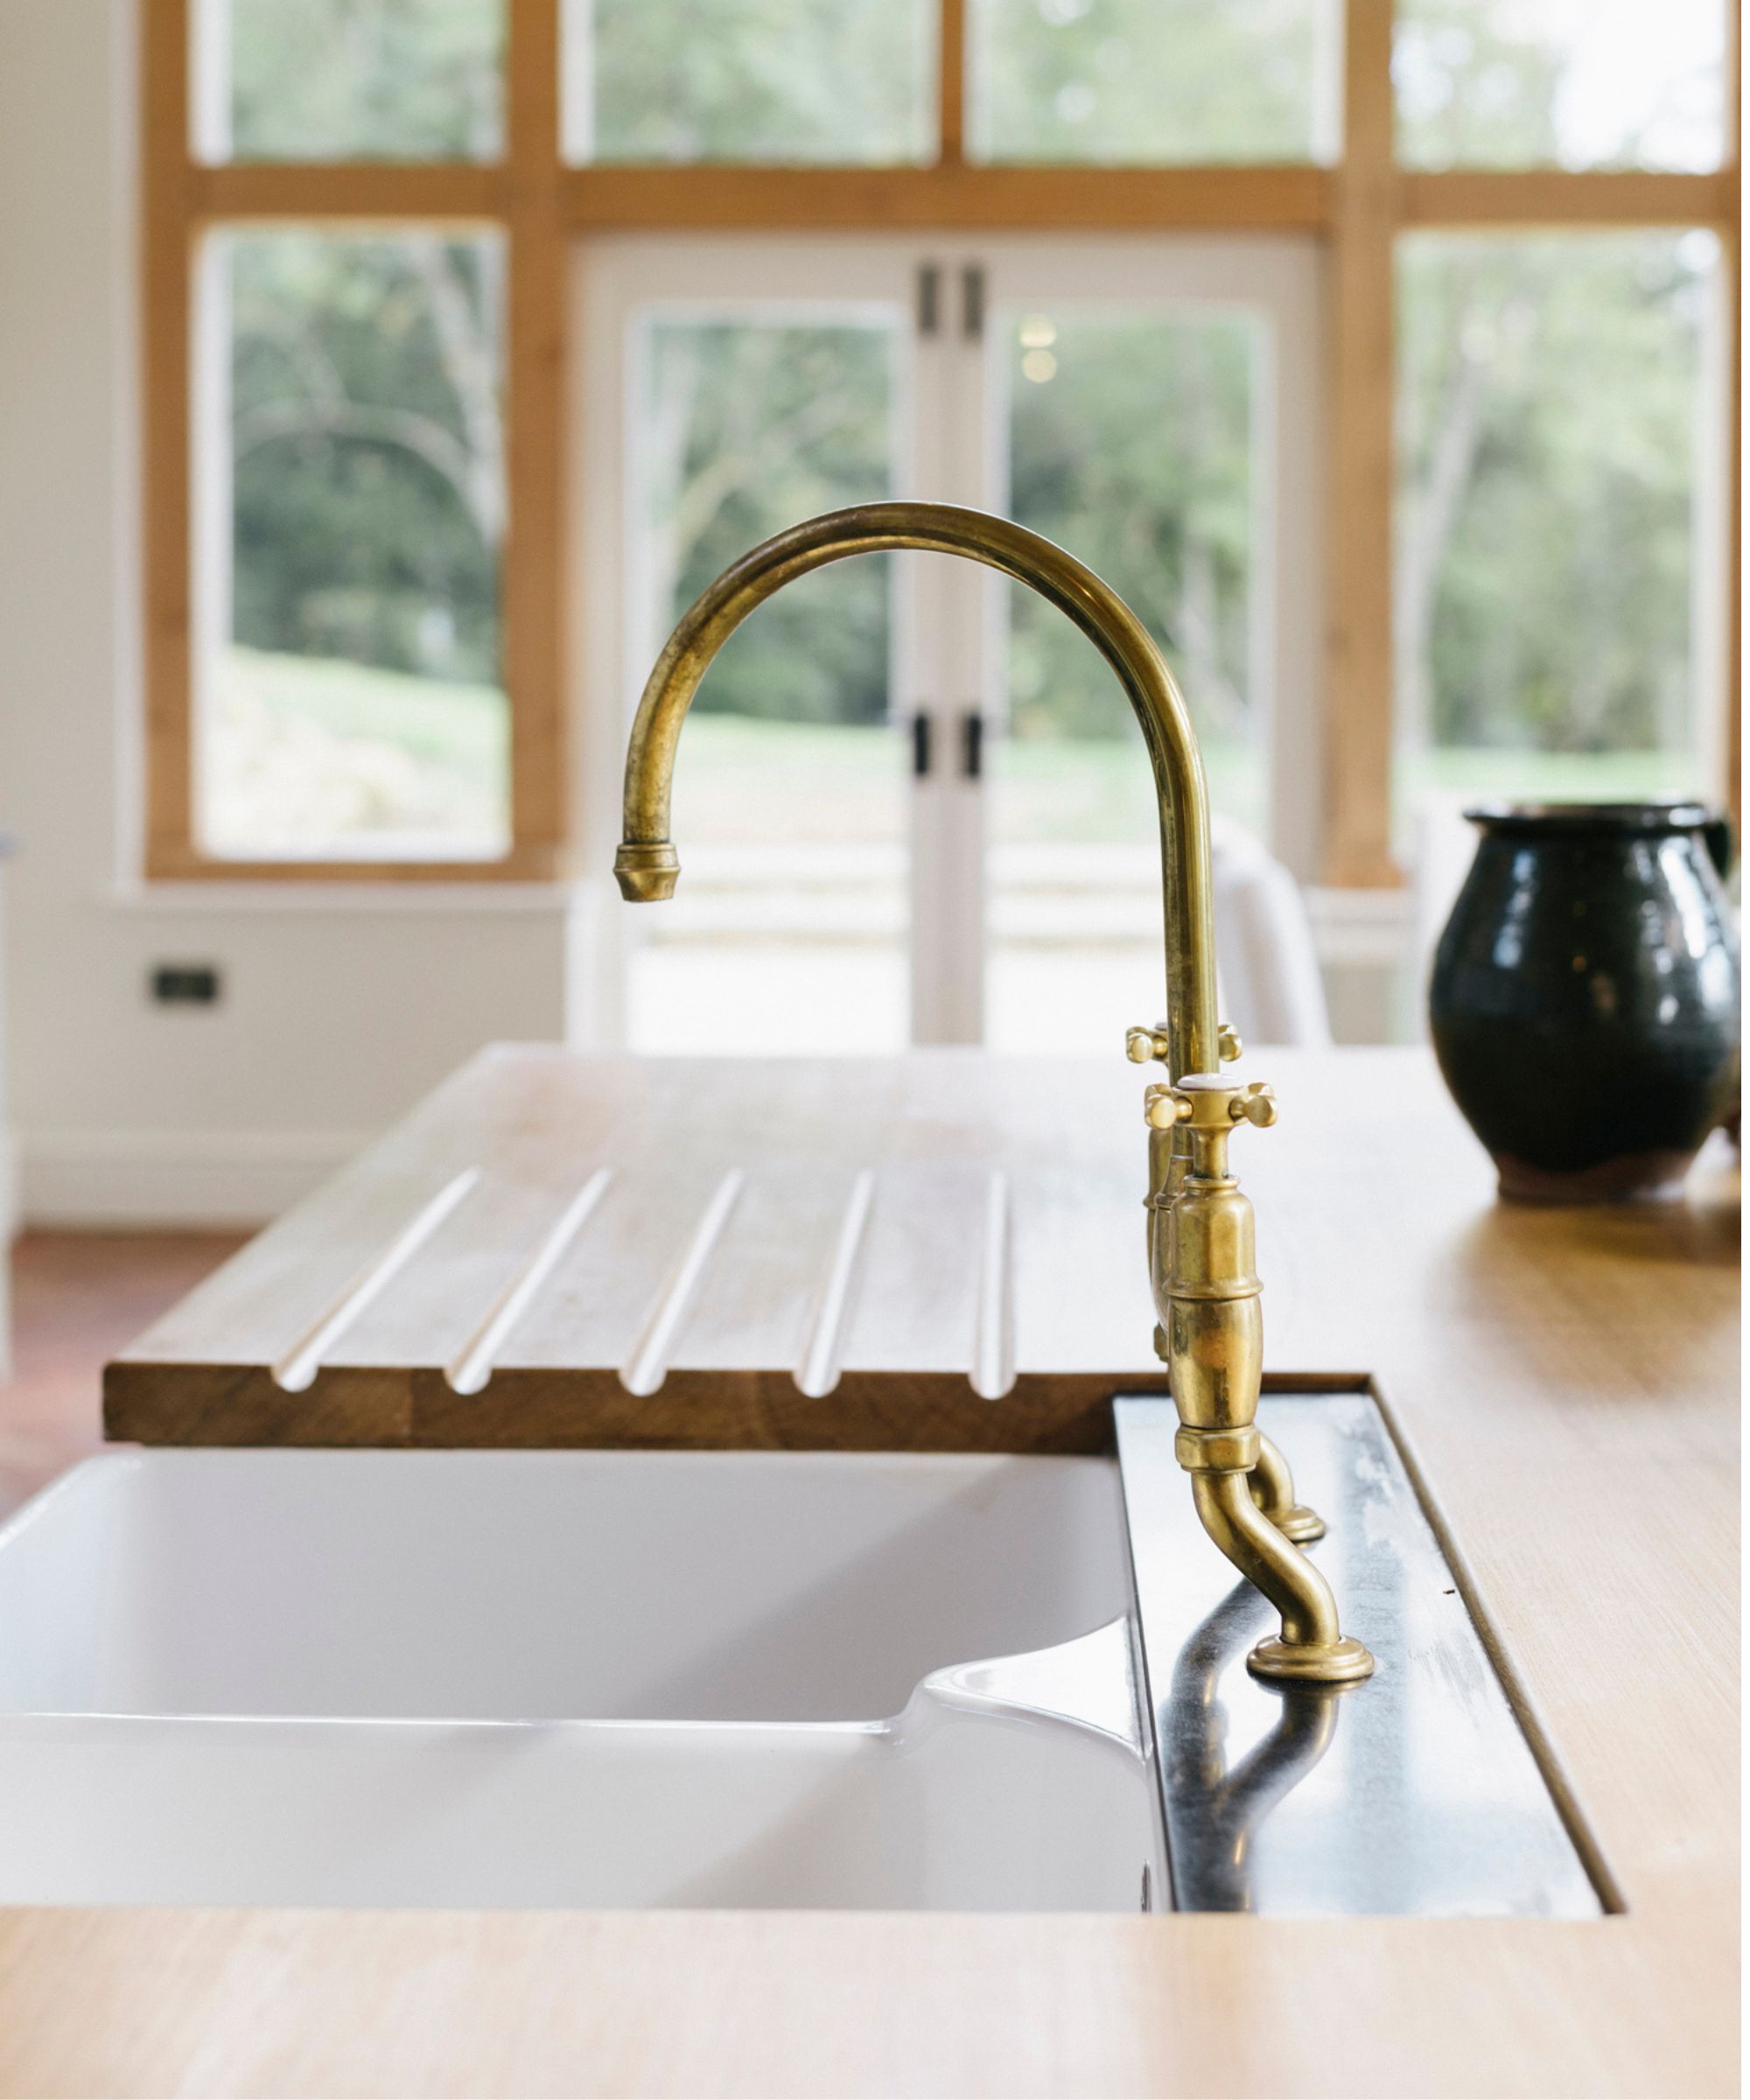
Having a faucet that drips out water is slightly irritating sound-wise – and can lead to you spending more than you need to turning it off. ‘A leaky faucet wastes water and can lead to higher utility bills,’ says Ron Shimek, president of Mr. Handyman, a Neighborly company.
It will take you around an hour or so to fix a leaky faucet, provided that there aren’t any more serious issues at play.
To repair your leaky faucet:
- Step 1: Turn off the water supply under the sink and remove the faucet handle with a screwdriver.
- Step 2: ‘Check the worn-out washer or O-ring, as these are often the cause of leaks,’ says Ron. If you need a new one, you can grab a pack of XBVV O-rings from Amazon.
- Step 3: ‘Before reassembling, check for corrosion or mineral buildup, which can affect water flow,’ Ron says. To remove any build-up, clean with white vinegar, scrubbing and then rinsing thoroughly.
- Step 4: Turn the water on and check for any remaining leaks.
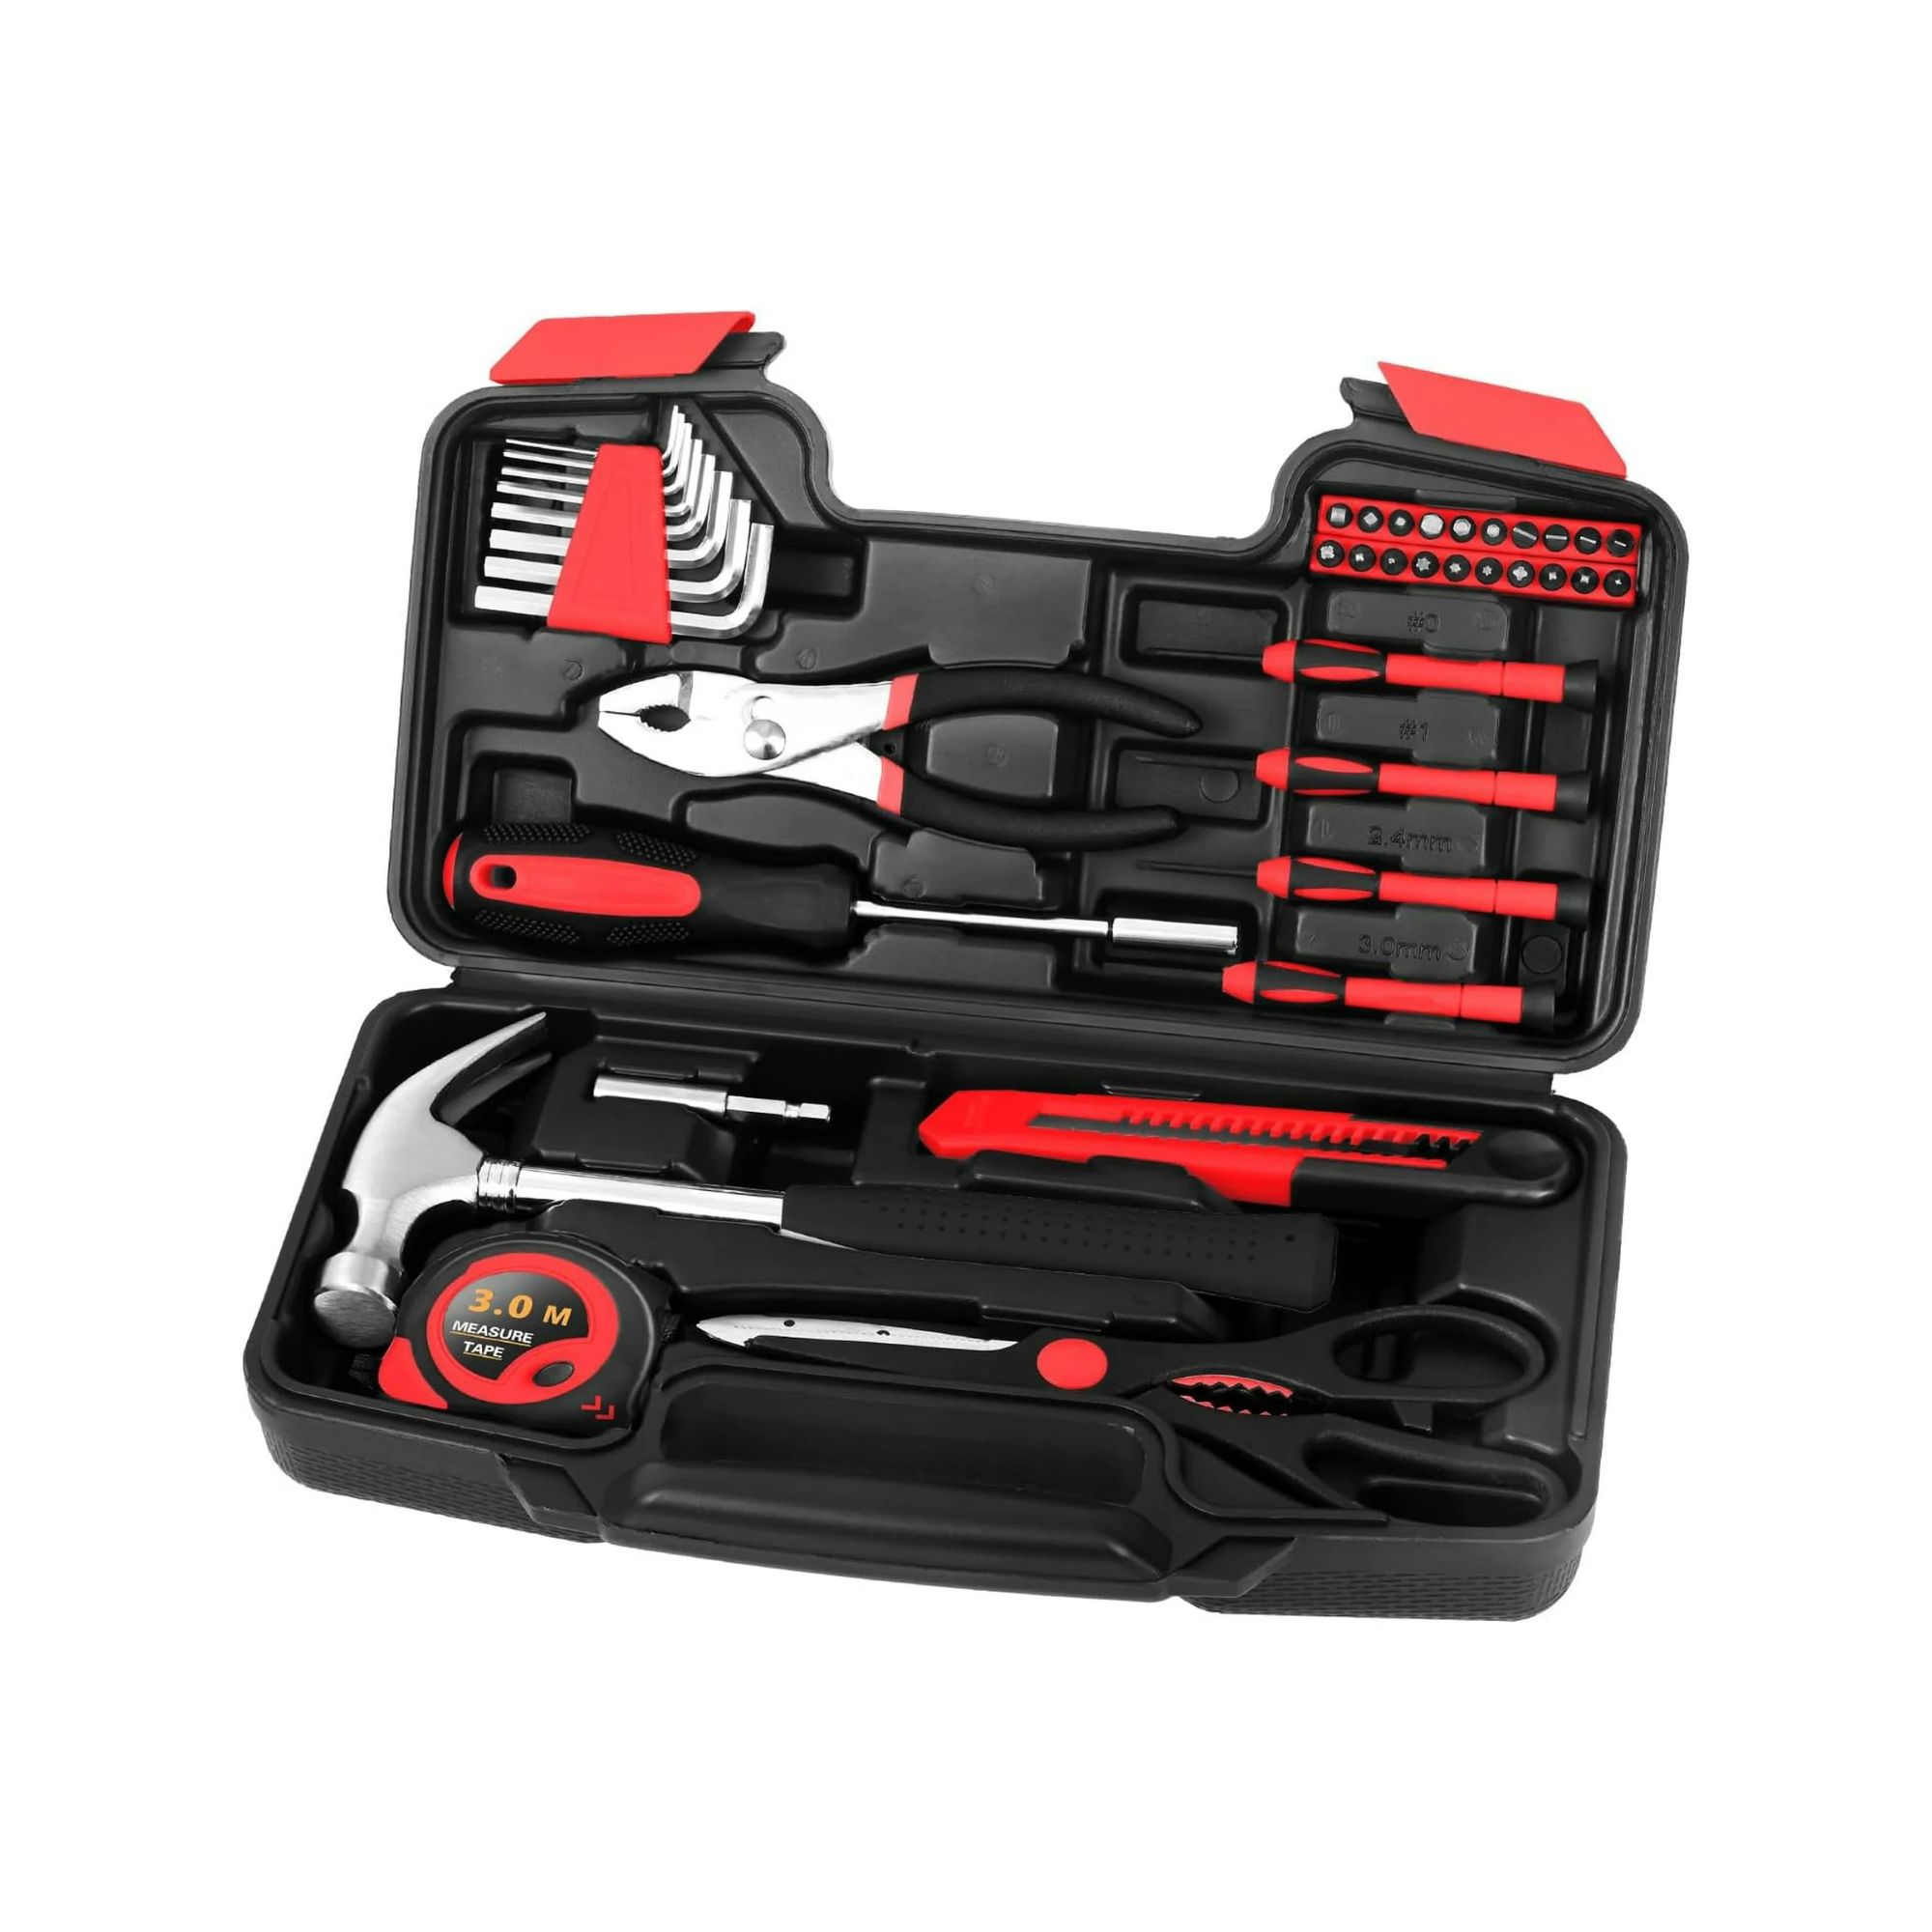
Having a good quality tool kit will ensure you're always prepared to fix things if needs be. This comes with screwdrivers, a claw hammer, pliers, and more.
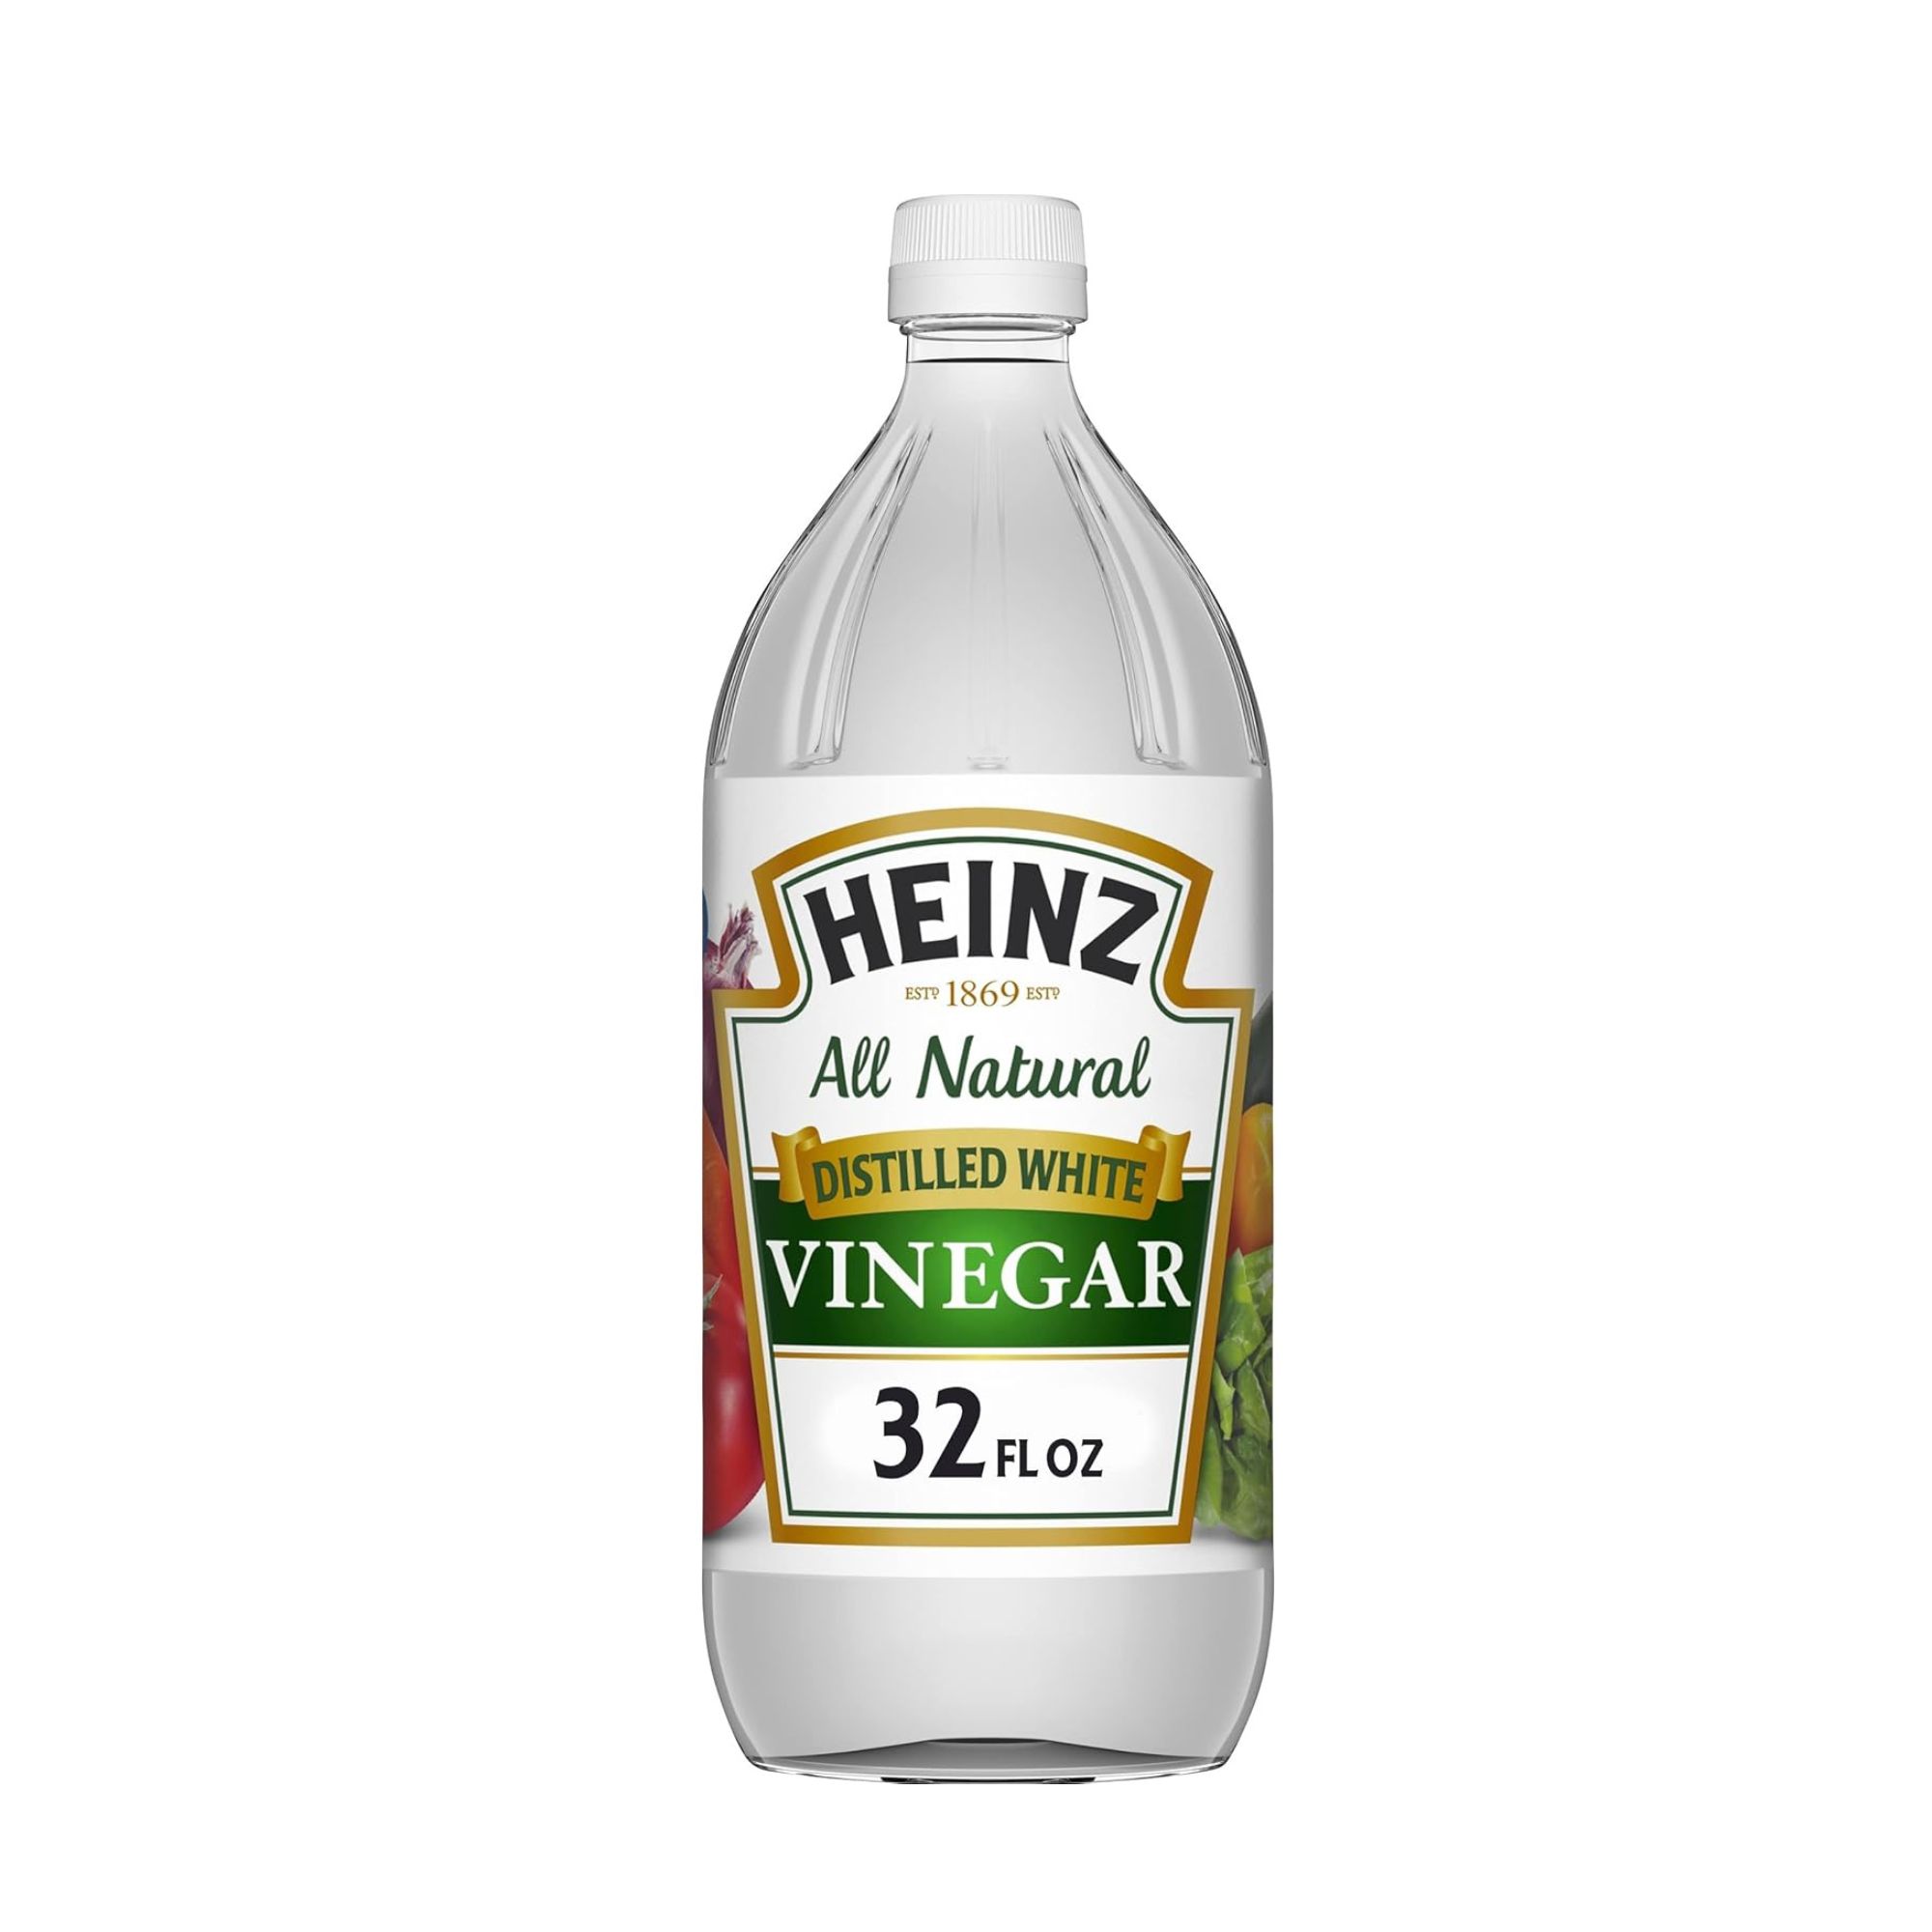
White vinegar is one of the best eco-friendly cleaning products out there. I like to mix it up with water and essential oils to create a mixture that is strong and has a lovely fragrance.
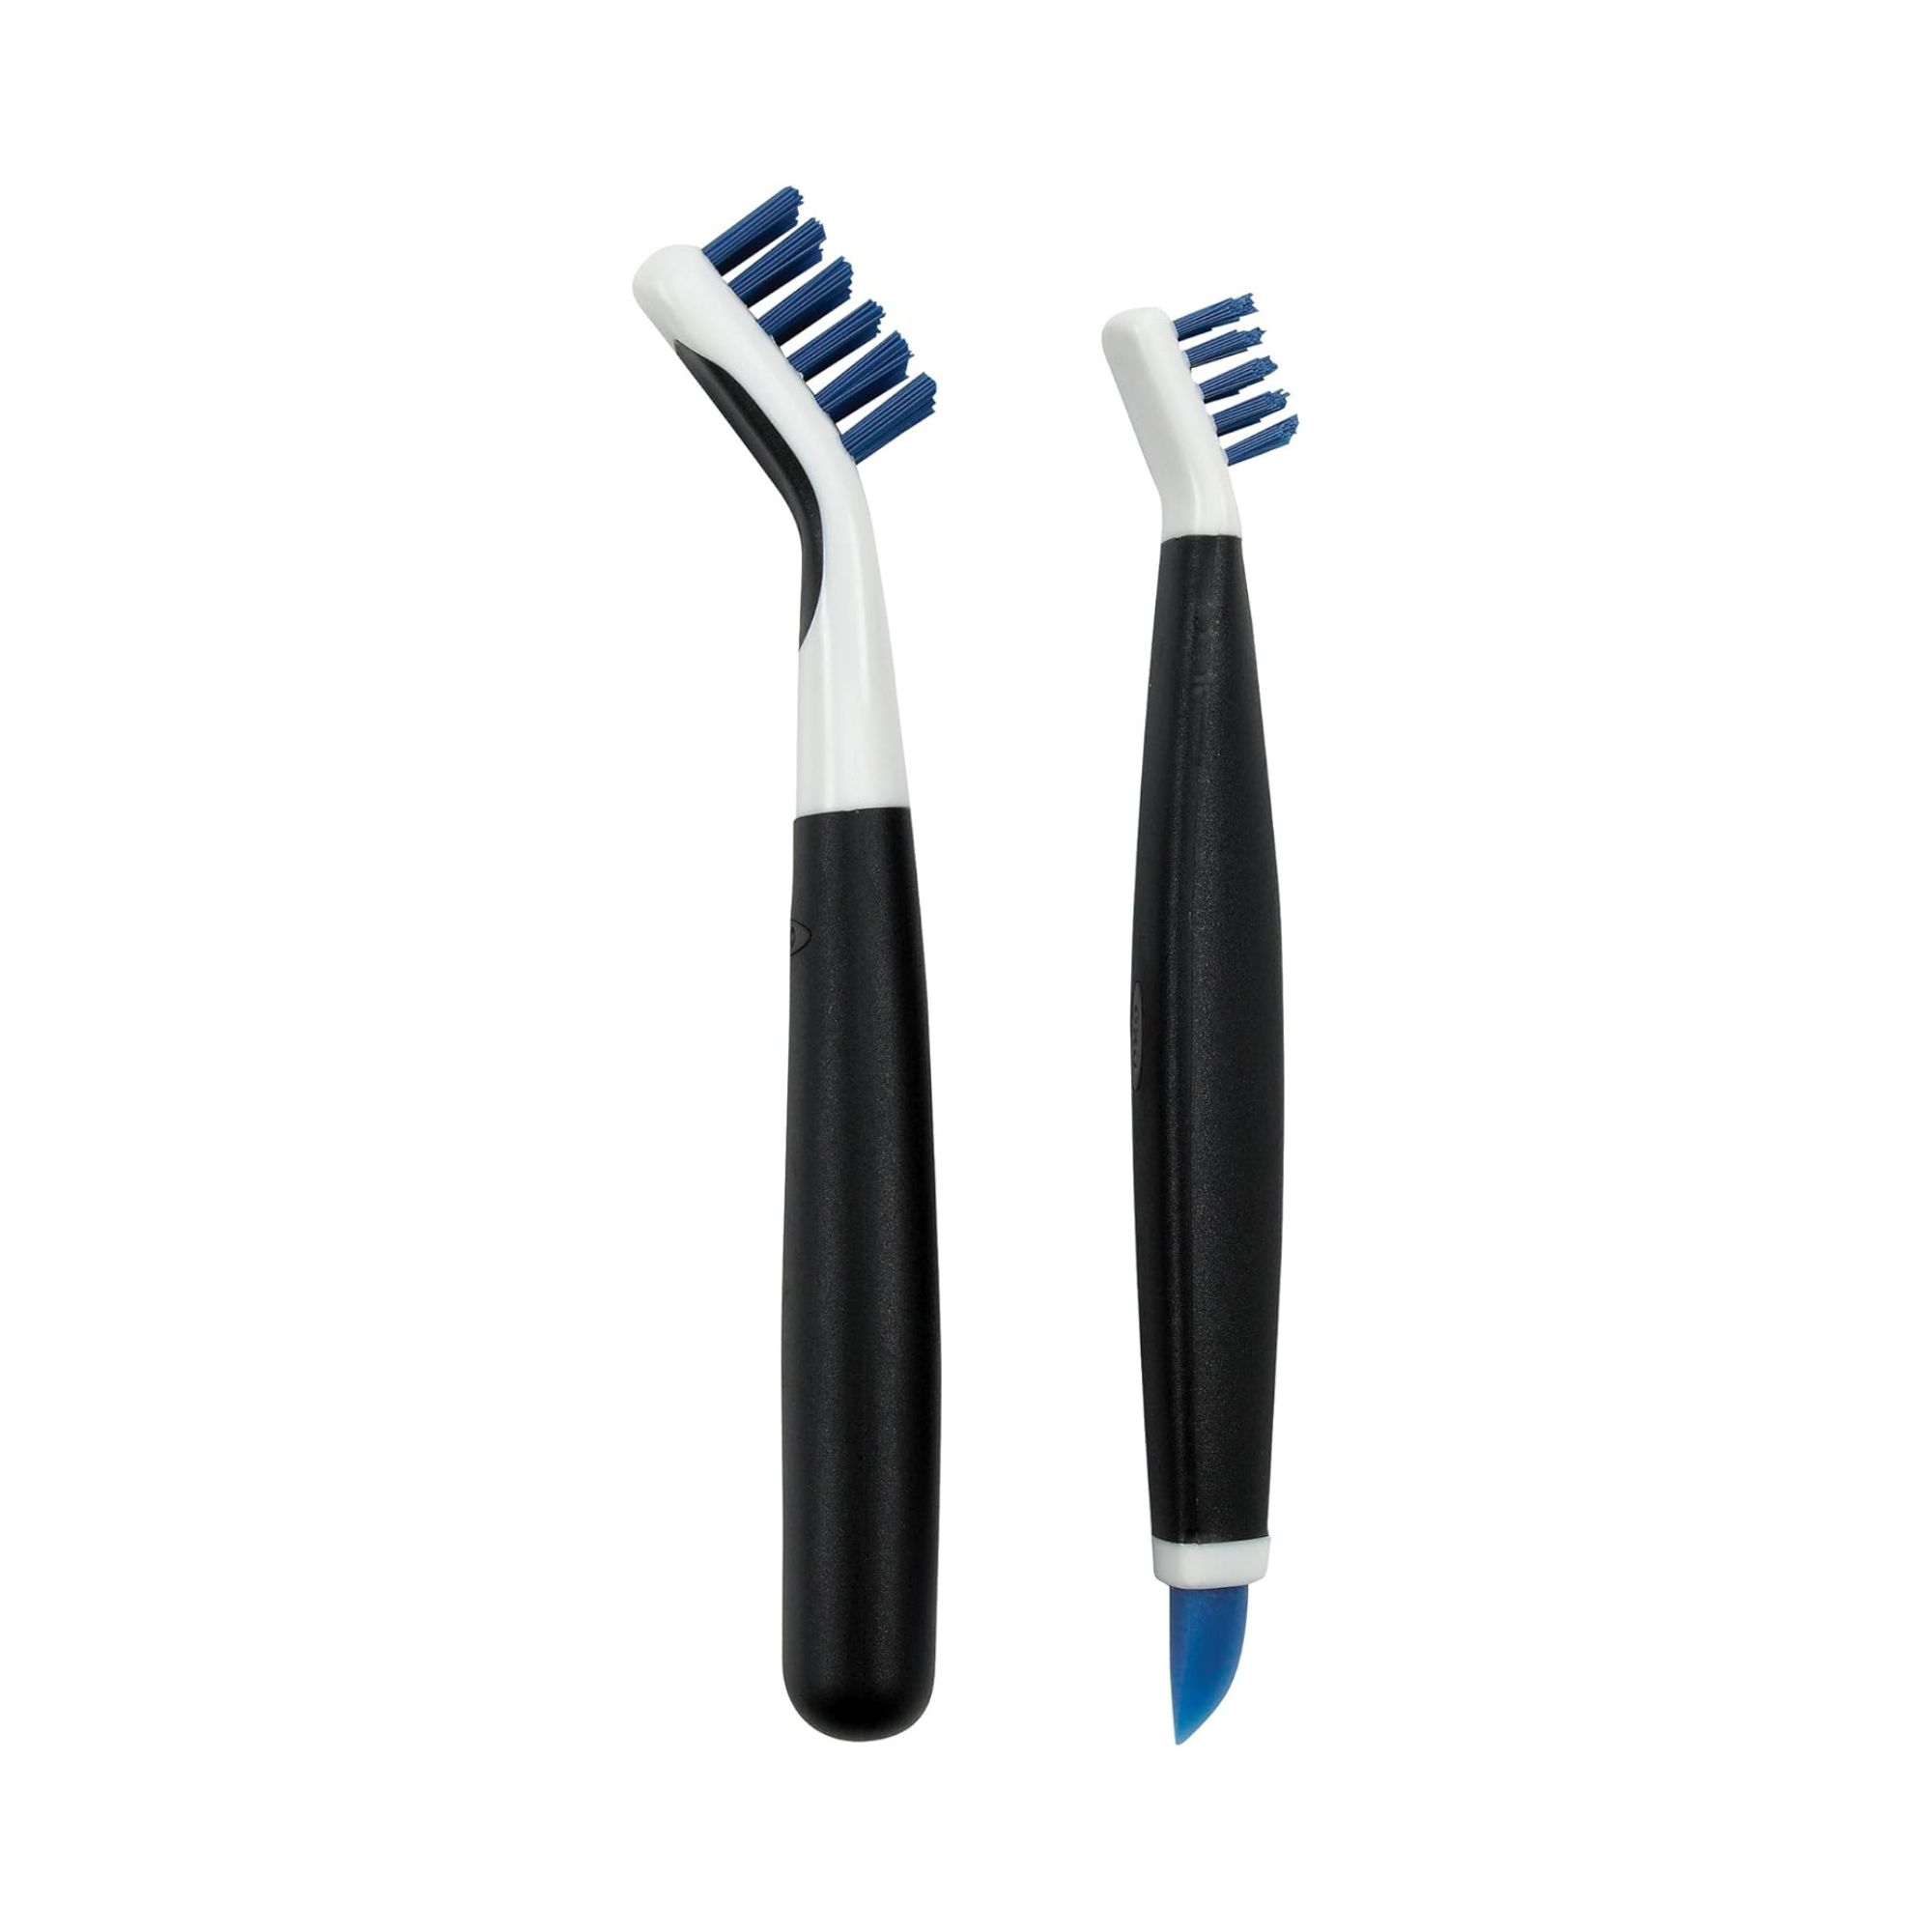
These scrubbing brushes are handy for cleaning smaller fixtures like faucets. They have durable bristles and soft handles, meaning you can comfortably scrub away and remove plenty of debris.
3. Uneven chair legs

Whether you have them in the dining room or the living room, chairs are a must-have furniture item that can easily get worn down with use over time.
‘If you have a chair that rocks back and forth due to its legs being uneven, you don’t have to get rid of the chair and buy a new one,’ explains Steve Schwab, CEO of Casago.
There are a couple of different ways that you can remedy this – thankfully, they are both simple to do.
To quickly fix uneven chair legs:
- Option 1: ‘You can buy levelers and secure one of these to the bottom of the leg,’ Steve says. The CSFMC furniture levelers from Amazon are just the right shape for chair legs and can be adjusted to the exact height you need.
- Option 2: ‘You can also sand down the longer leg(s) until they are all even,’ he suggests.
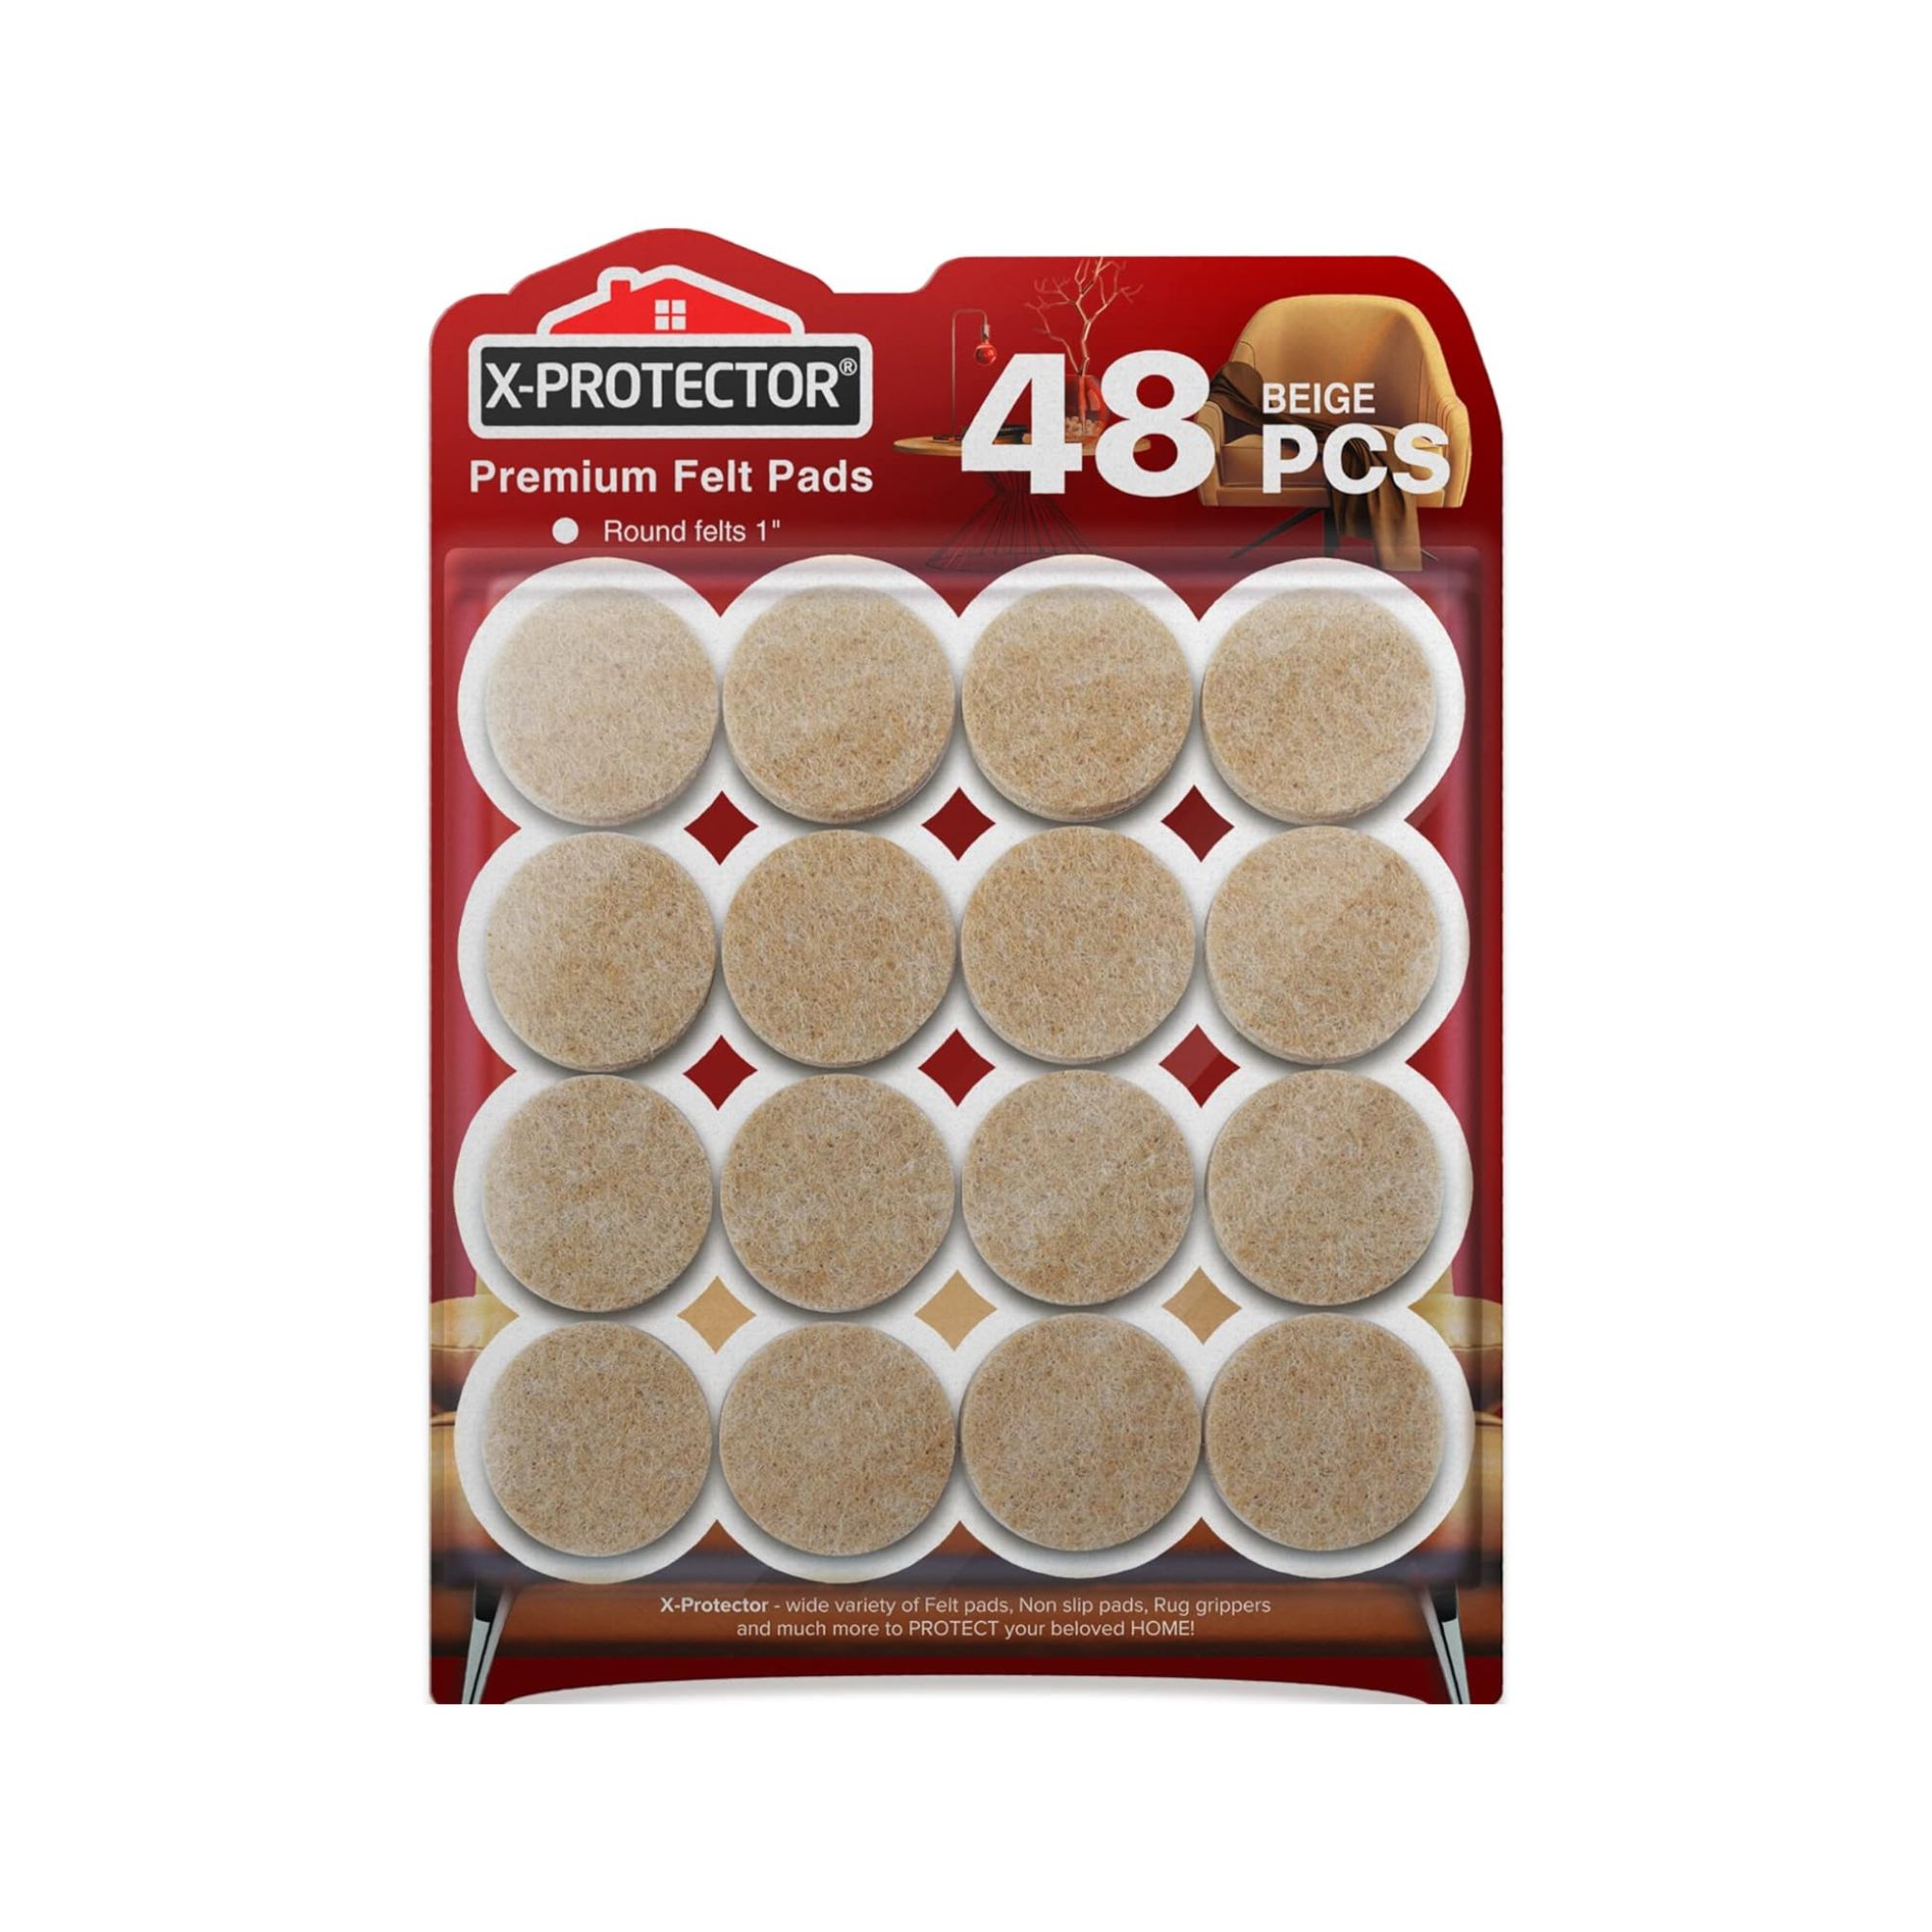
You can layer these felt pads on your chair legs to make them the height that you need. As a bonus, the soft pads will also ensure that you don't scratch your floor when moving them.
4. Loose or squeaky hinges
Whether you’re renovating a house or have just lived in yours for a while, squeaky doors are one of those household problems that affect all of us at some point. ‘Loose or squeaky door hinges can often be repaired without replacing the door,’ says Ron.
He continues, ‘Addressing hinge issues promptly prevents further damage to the door and the door frame.’ It’s also super speedy to do, taking under 10 minutes with the right tools in hand.
To fix loose or squeaky hinges:
- Step 1: Check for any rust. ‘If there is a significant amount present, replacing the hinge may be necessary,’ Ron adds.
- Step 2: If you have a manageable amount of rust, you can simply add lubrication to free any nuts and bolts. Ron recommends using WD-40 (available from Amazon), as it’s low-odor, fast-acting and leaves a protective layer. If you don't have any, olive oil will work, too.
- Step 3: ‘Tighten the screws using a screwdriver rather than a drill to avoid stripping them,’ explains Ron. ‘If the screw holes are already stripped, use three-inch screws to secure the hinge to the framing.’
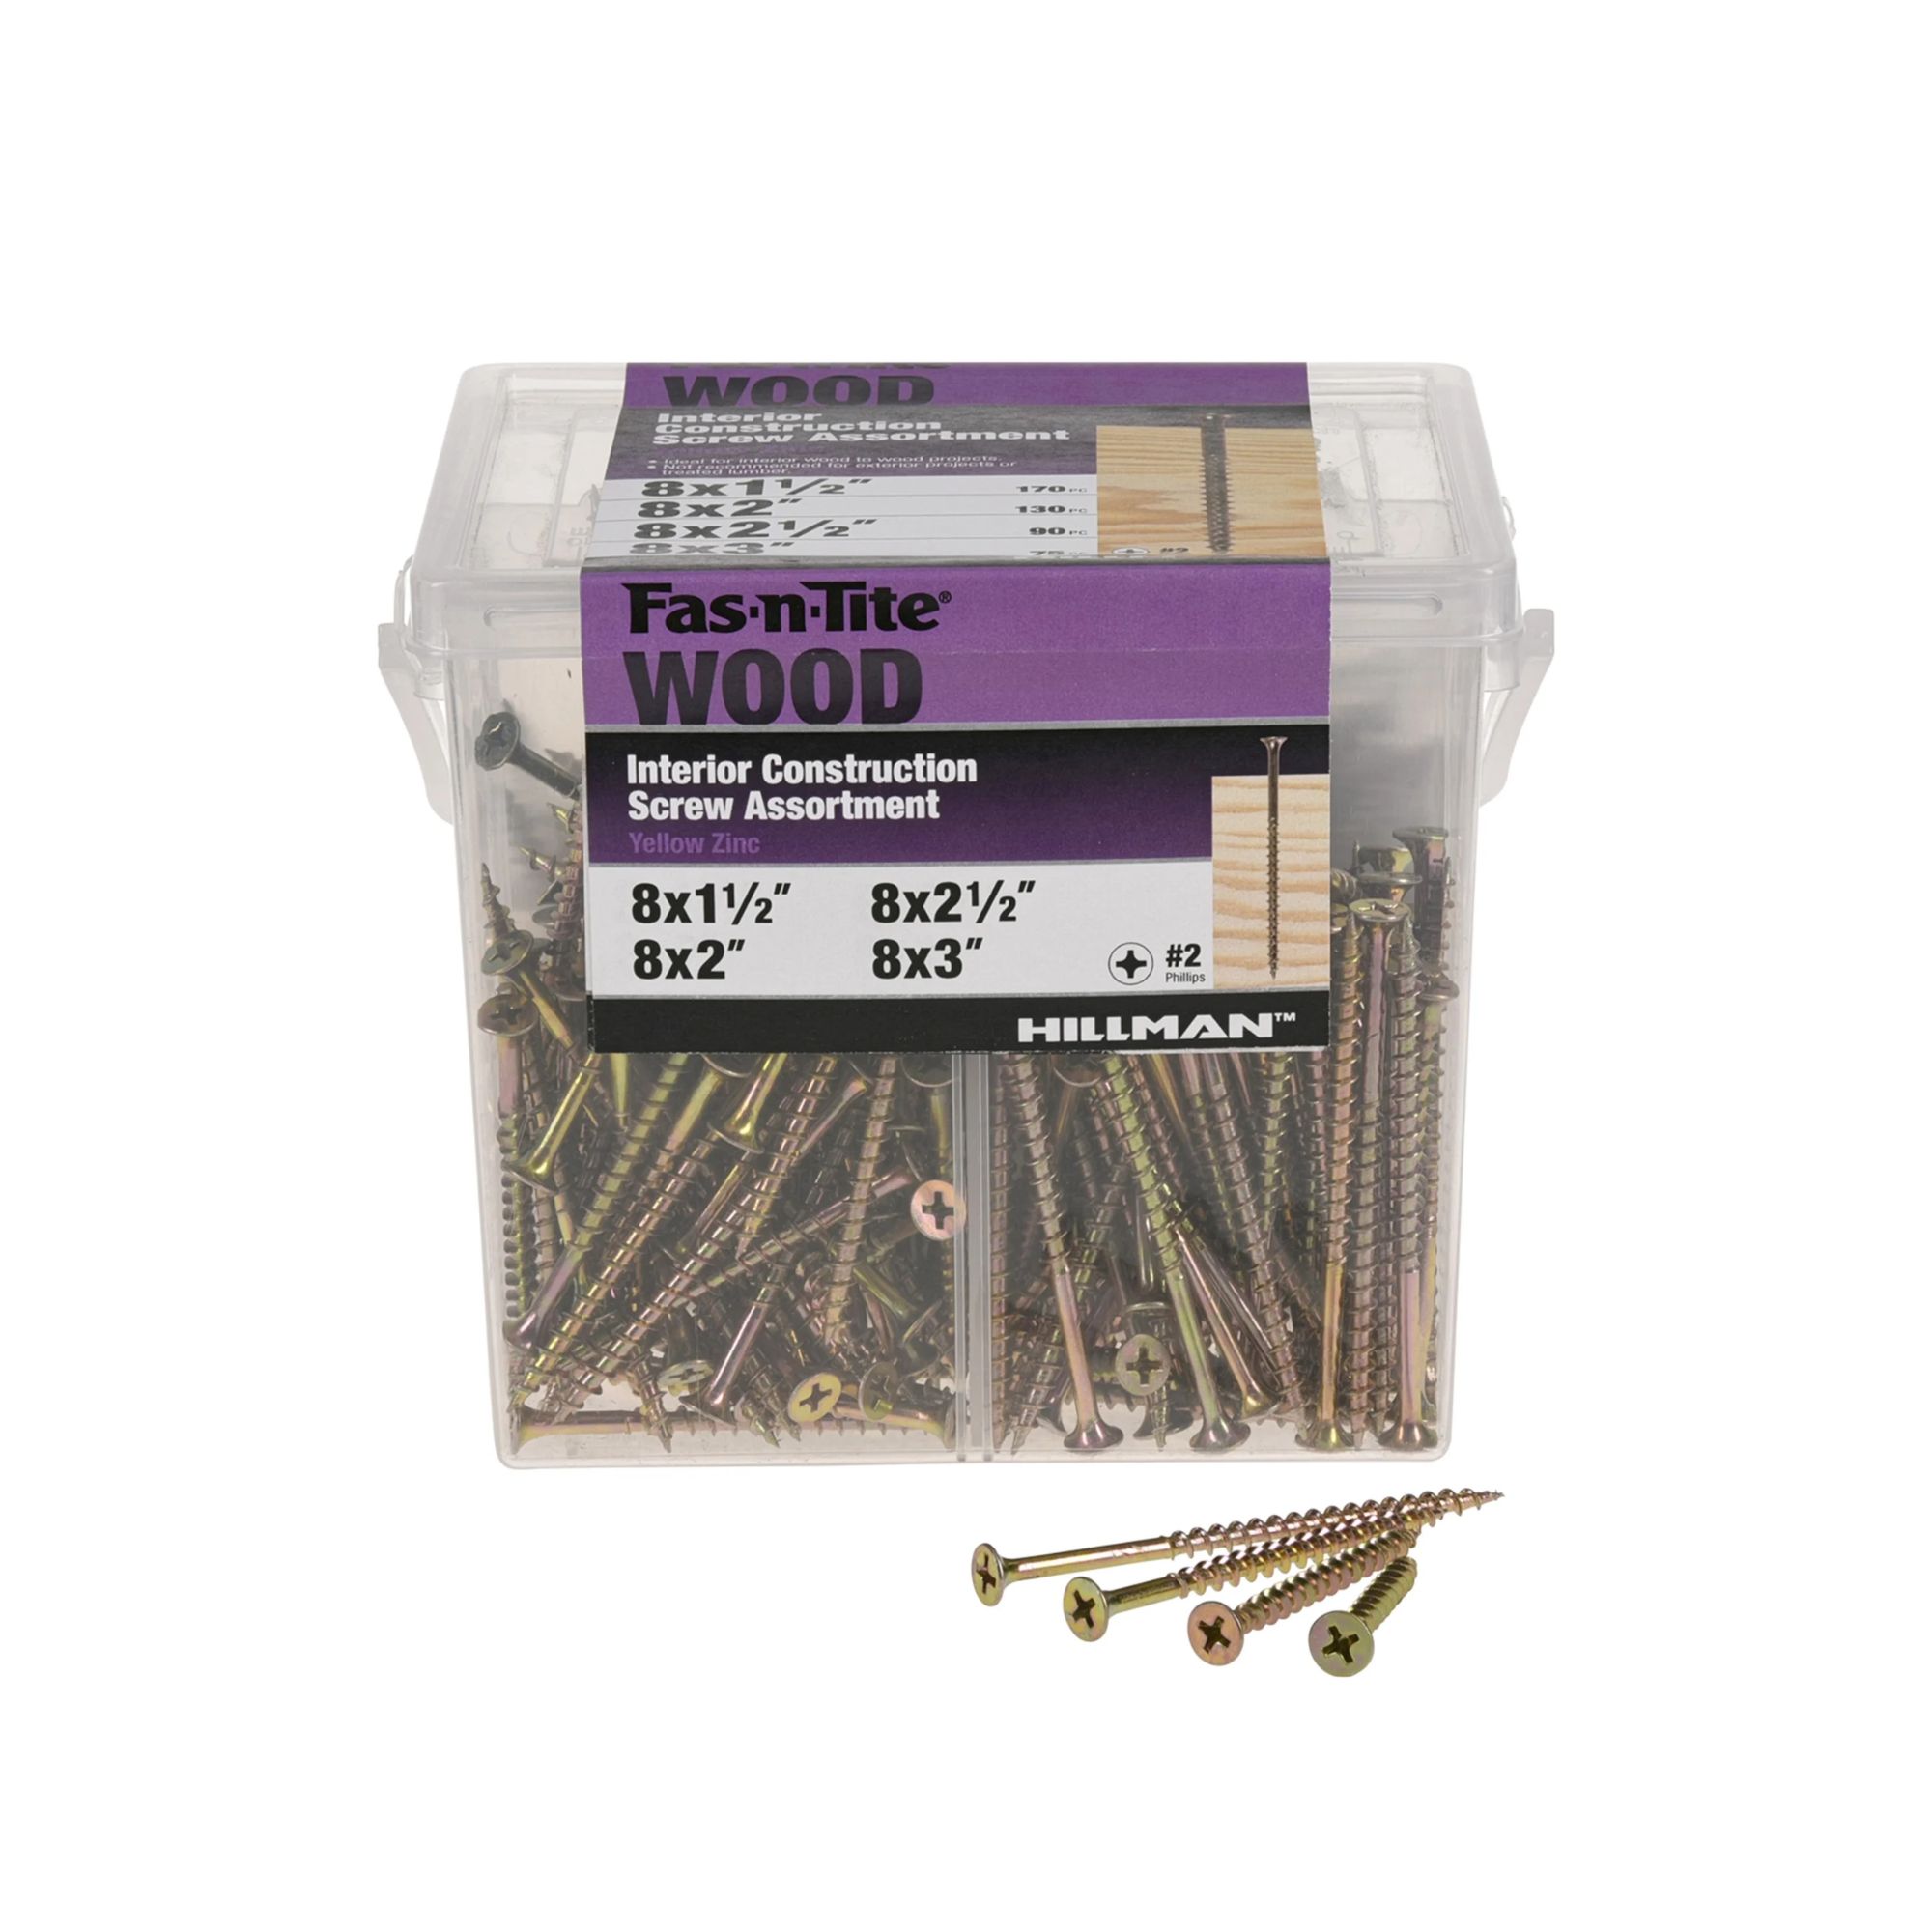
Make sure that you're never scrambling around trying to find screws by having a variety of ones to hand. This box comes with four different sizes – and, as a bonus, the box can be reused when it's empty.
5. Worn upholstered furniture
Curling up with a book on a cozy chair or couch is such a simple pleasure at the end of a long day. But what do you do when your favorite spot becomes uncomfortable and worn out?
‘Reupholstering furniture is great for when you have a treasured seat armchair or sofa that’s really close to your heart,’ explains Mike Handelsman, owner of FoamOrder.
‘You don’t need to toss it out though – as long as the wood is structurally sound, you just need to replace the foam or change the upholstery,’ he adds.
To simply repair worn upholstered furniture:
- Step 1: Remove the old fabric and assess the foam. ‘If it's compressed or damaged in places, consider replacing just the foam layer,’ says Mike. Go for a firm one for longevity, such as the GoTo Foam cushioning from Walmart.
- Step 2: Clean and repair the frame. ‘At this point, you can tighten any loose joints or add extra support if needed,’ he continues.
- Step 3: Cut your new fabric to size, leaving extra for seams. ‘After this, you can use a staple gun to secure it neatly,’ he adds.
- Step 4: ‘Trim any excess fabric and add decorative trim if desired for a polished look,’ Mike suggests.
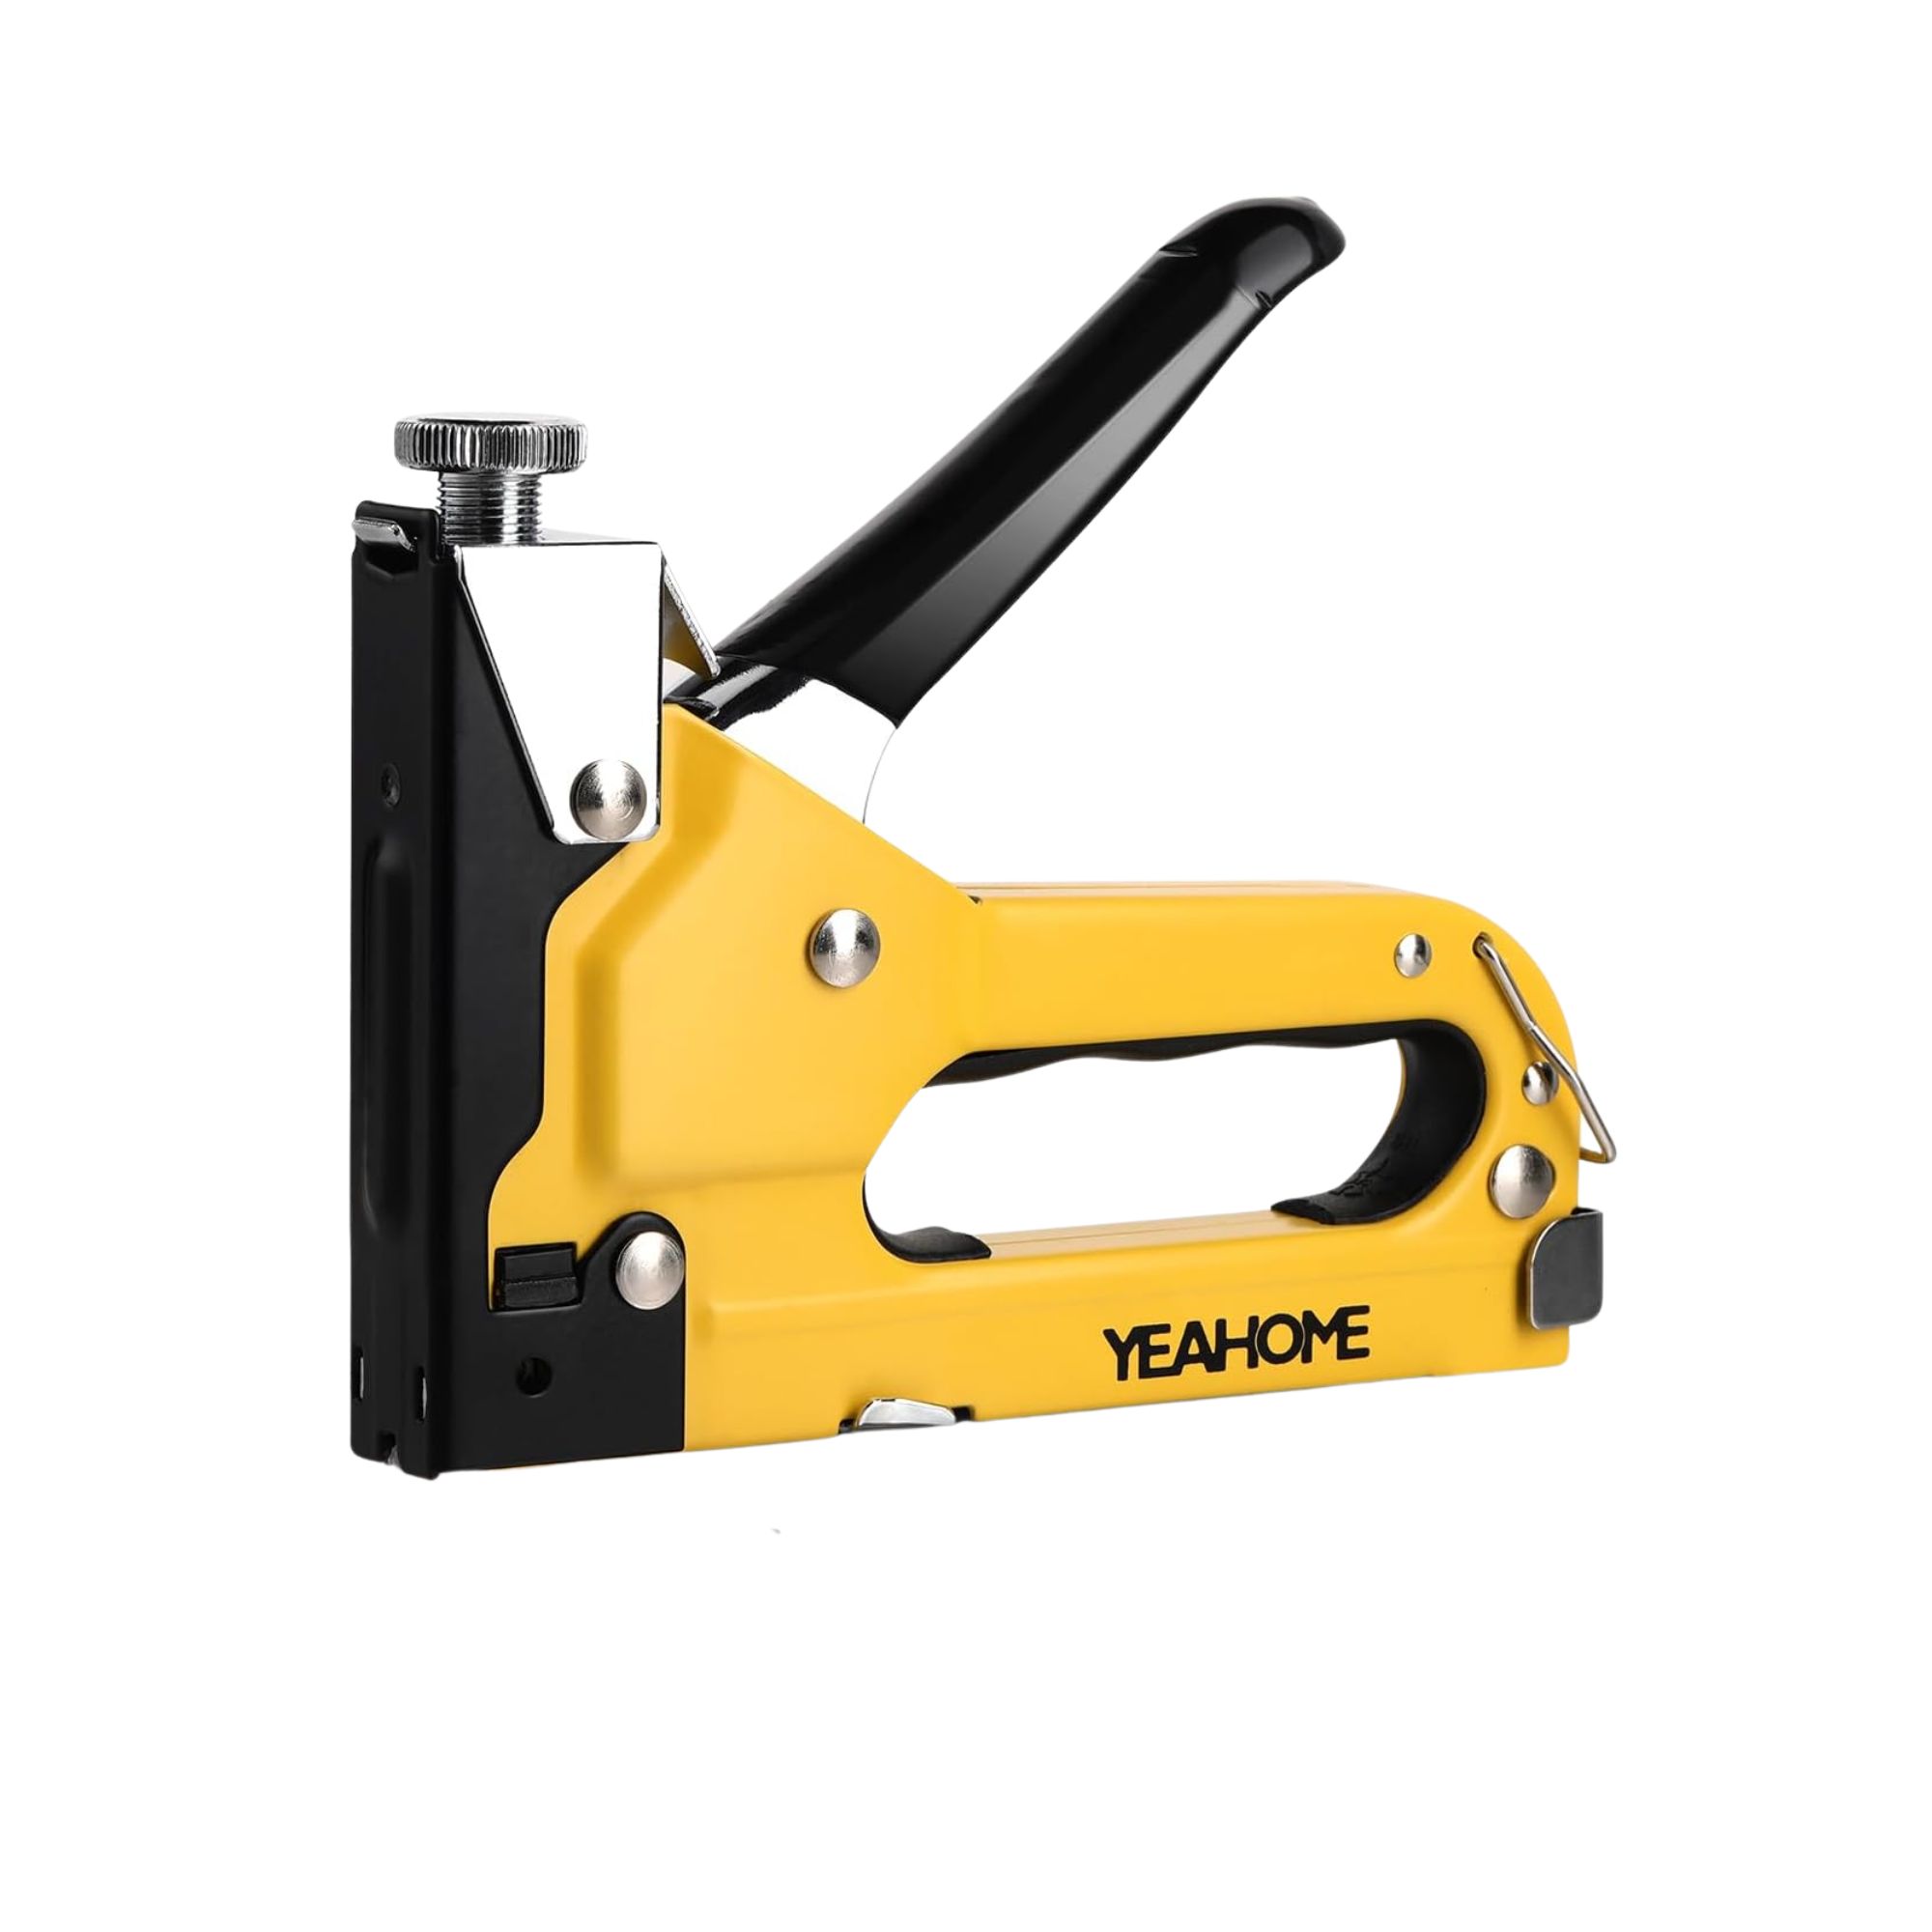
This is the number one best-selling staple gun on Amazon, with over 10,000 shoppers giving it five-star reviews. They say it works well on different materials and is great value for money. It's perfect when re-upholstering loved furniture pieces.
6. Broken clay pots
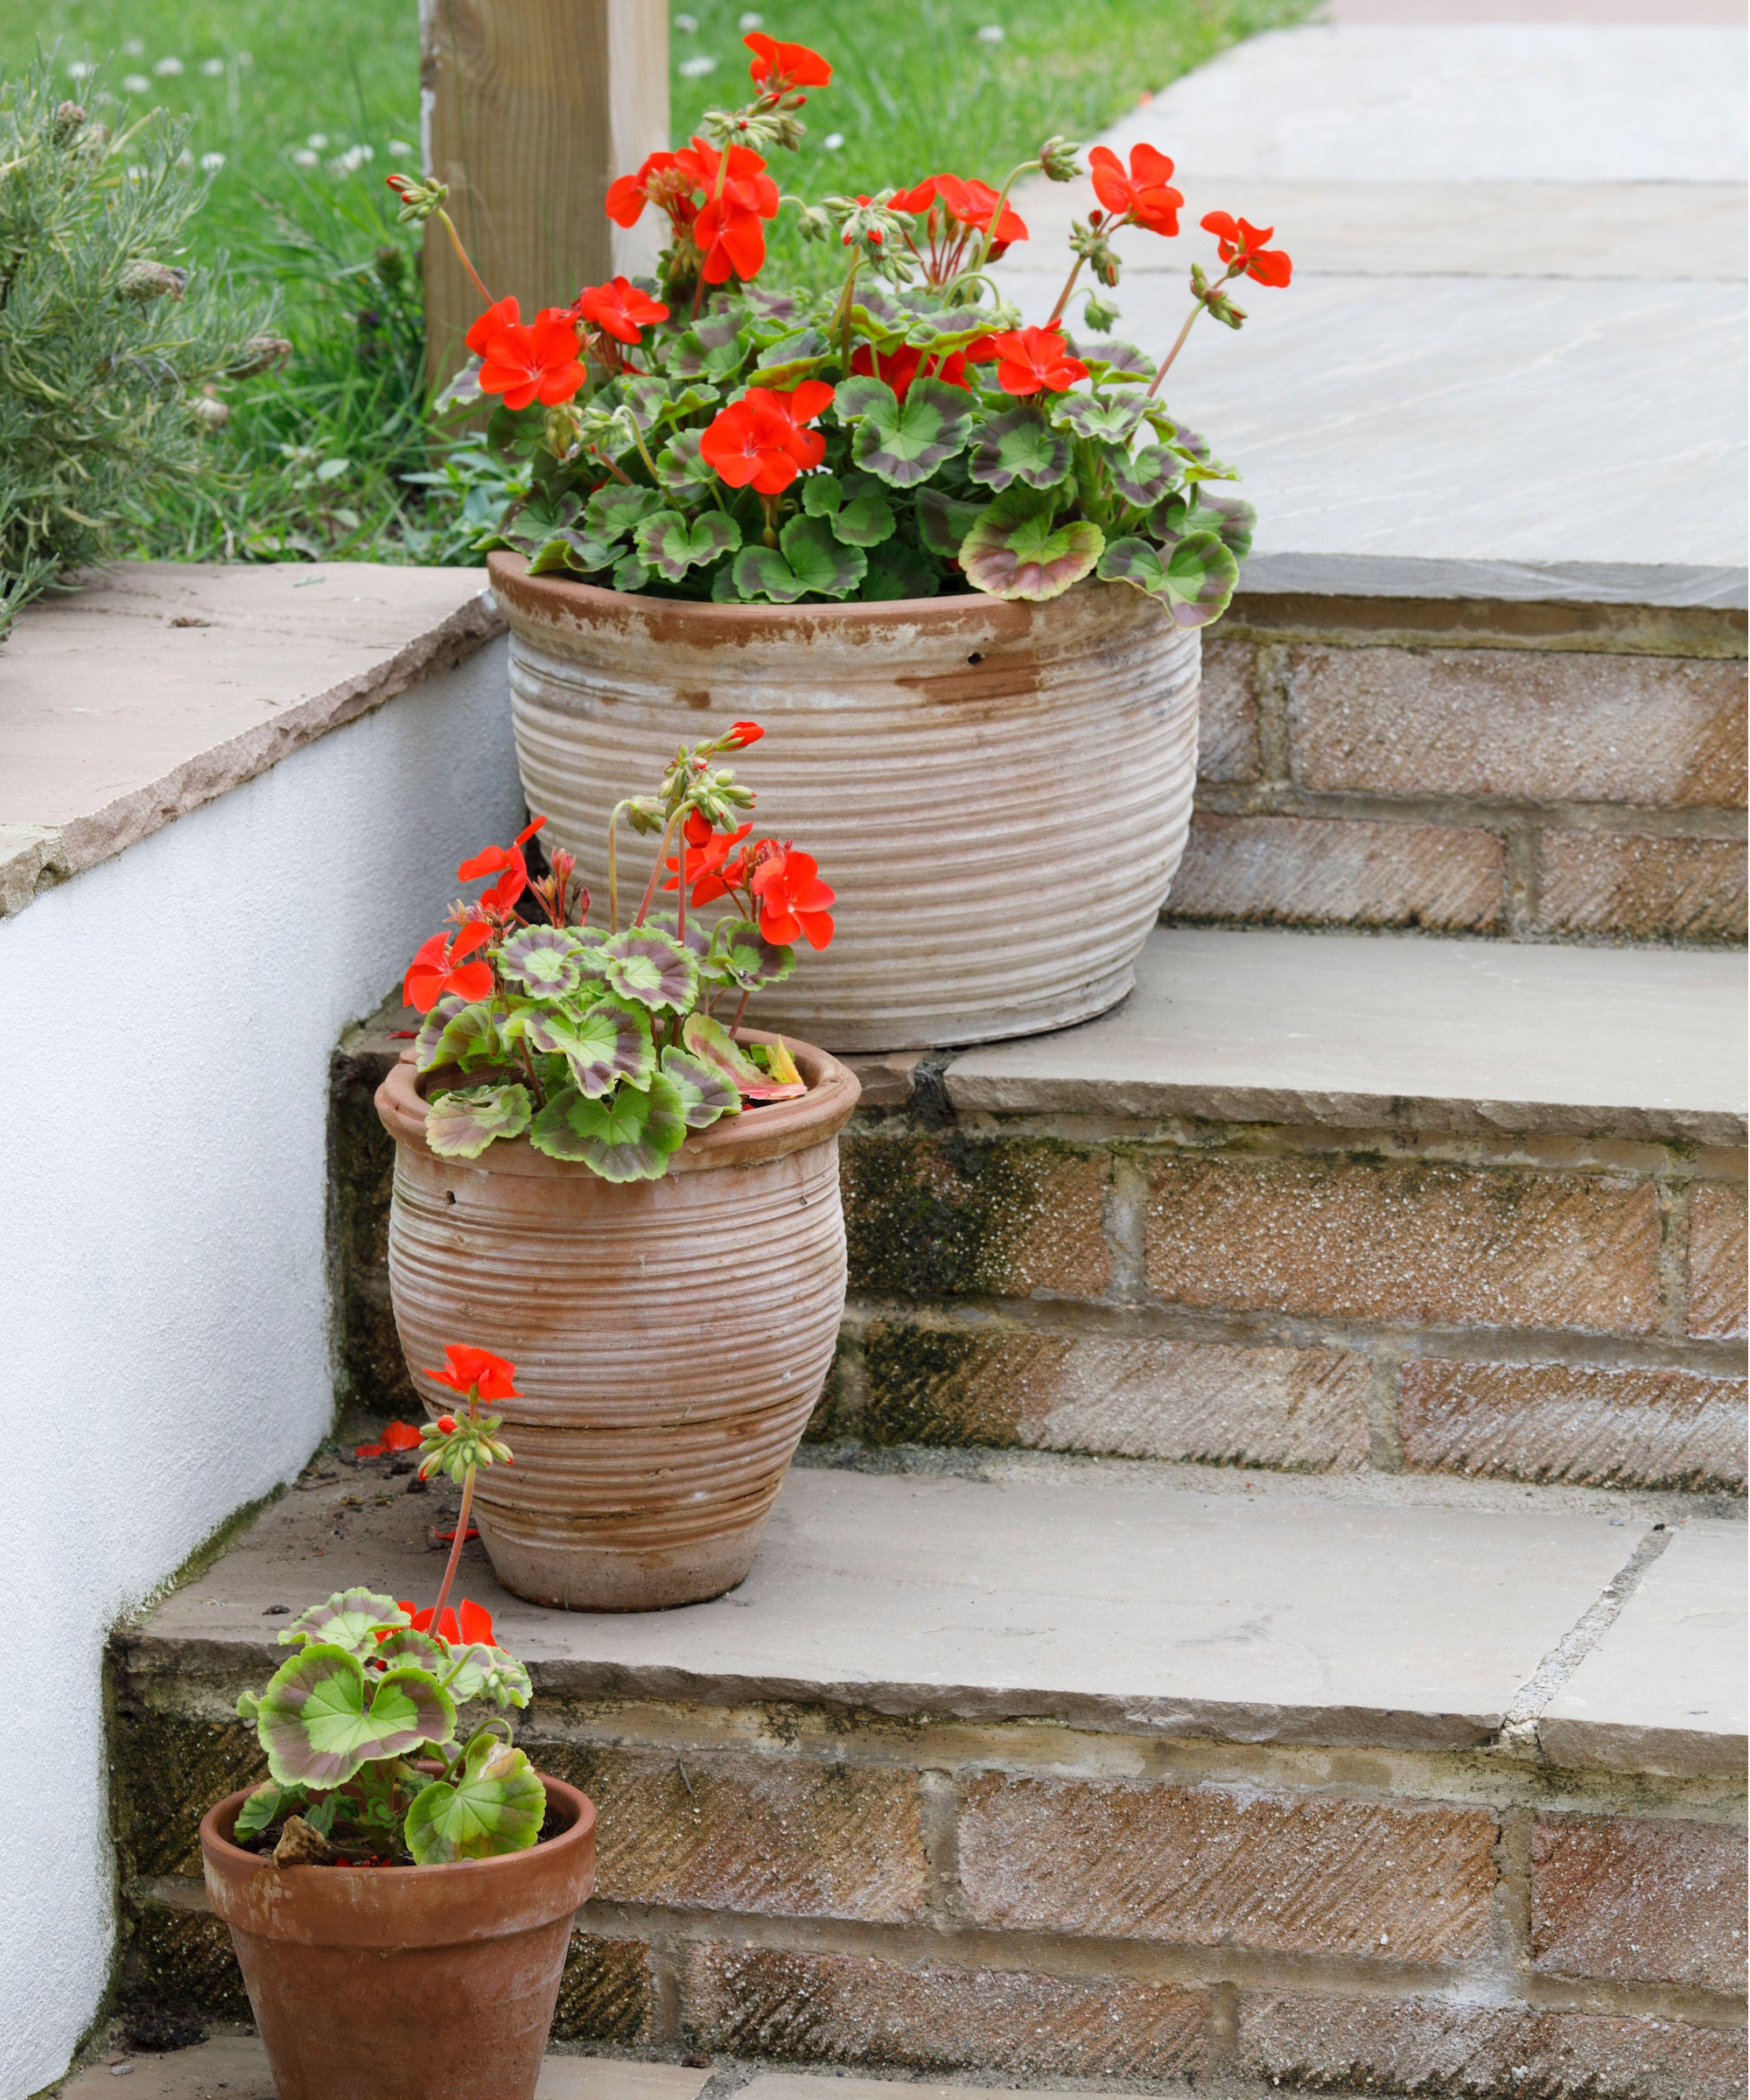
Using clay pots to plant flowers and shrubs in is one of my favorite backyard ideas. However, as pretty and practical as they are, they are also prone to breakages – particularly when placed on hard surfaces.
‘While you can certainly buy new ones from time to time, it’s generally a good idea to try to repair your clay pots rather than replace them,’ explains Steven Corcoran, CEO of Lawn Love.
He continues, ‘It doesn’t take much for clay pots to crack – and it doesn’t take much to repair them either.’ This will take you around half an hour to do, including drying time for the adhesive.
To fix a broken clay pot:
- Step 1: Clean the pot first – you can do this with warm water and a scrubbing brush. Don’t use soap, as this can be harmful to plants.
- Step 2: Apply an epoxy adhesive and let it dry. ‘You can even use superglue if that’s all you have in,’ says Steven. The Locite Super Glue from Walmart is budget-friendly and easy to find in-store.
- Step 3: Sand it down to make the surface flat.
- Step 4: ‘Finish the job by applying a sealant,’ Steve adds. If you don’t have one at home, the Flex Seal sealant from Walmart is a bestseller on the site and has over 1,700 five-star reviews.
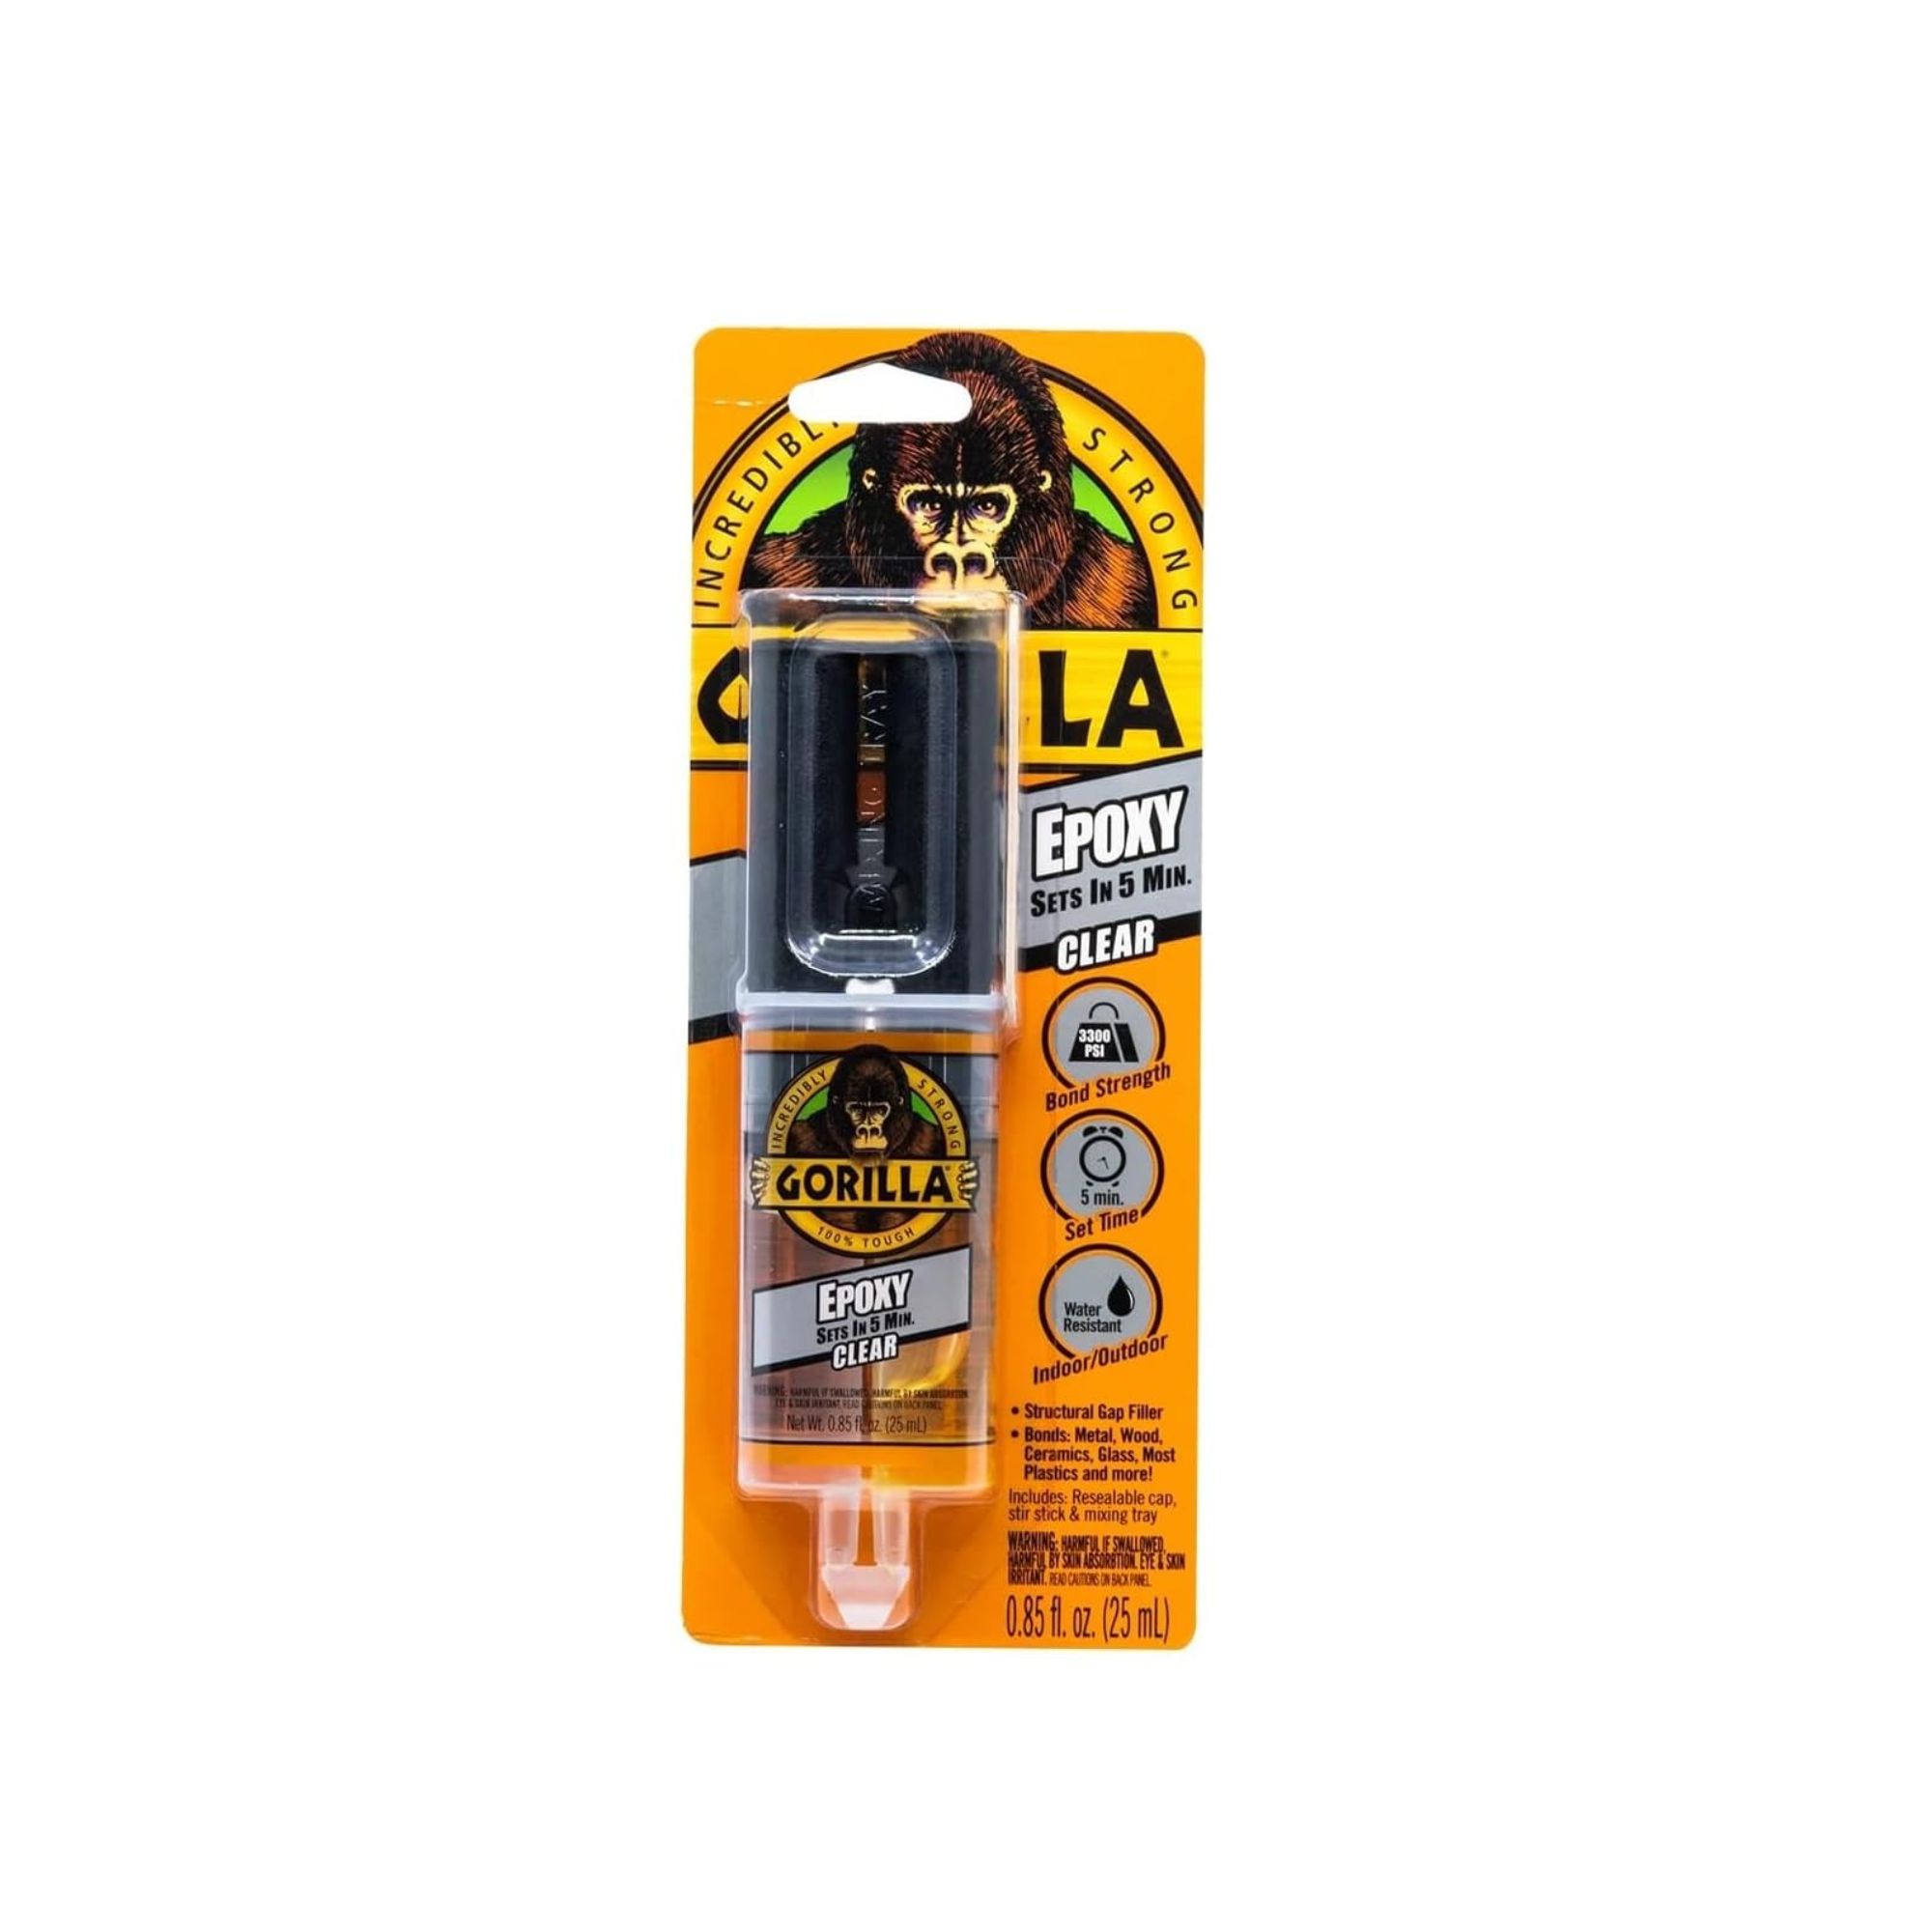
This epoxy dries clear, so you can use it on your most patterned pot without ruining the design. It also has impact resistance, so it will protect the crack from future damage.
7. Running toilets
This is another pesky bathroom problem that can seriously increase water usage and pump up your utility bills if you don’t repair it. Toilets can also be a hassle to replace, so it’s much better to just fix them – even if they aren’t the most glamorous DIY job.
Ron says, ‘Before you begin trying to fix it, open the tank lid and inspect the flapper valve – if it is worn out or misaligned, you’ll need to change this.’ After this, you can proceed with repairing it. Set aside a couple of hours to do this, as it is quite a fiddly job.
Sorting this issue out will reduce water bills. To fix your running toilet:
- Step 1: Ensure the float is not set too high. ‘This can cause excess water flow,’ Ron says.
- Step 2: ‘Adjust the fill tube so it properly directs water into the overflow pipe,’ he continues.
- Step 3: Check for mineral build-up. ‘This can also interfere with flushing.’ Ron says. Similarly to the leaky faucet, you can clean this with white vinegar and soak any parts with a large build-up.
Meet the experts
Now you know how to repair these items around the house, you’ll be clued up for whenever these breakages and problems arise.
If you want to carry on honing your skills, learning the DIY projects that will elevate your home will help you create chic touches that will impress guests.