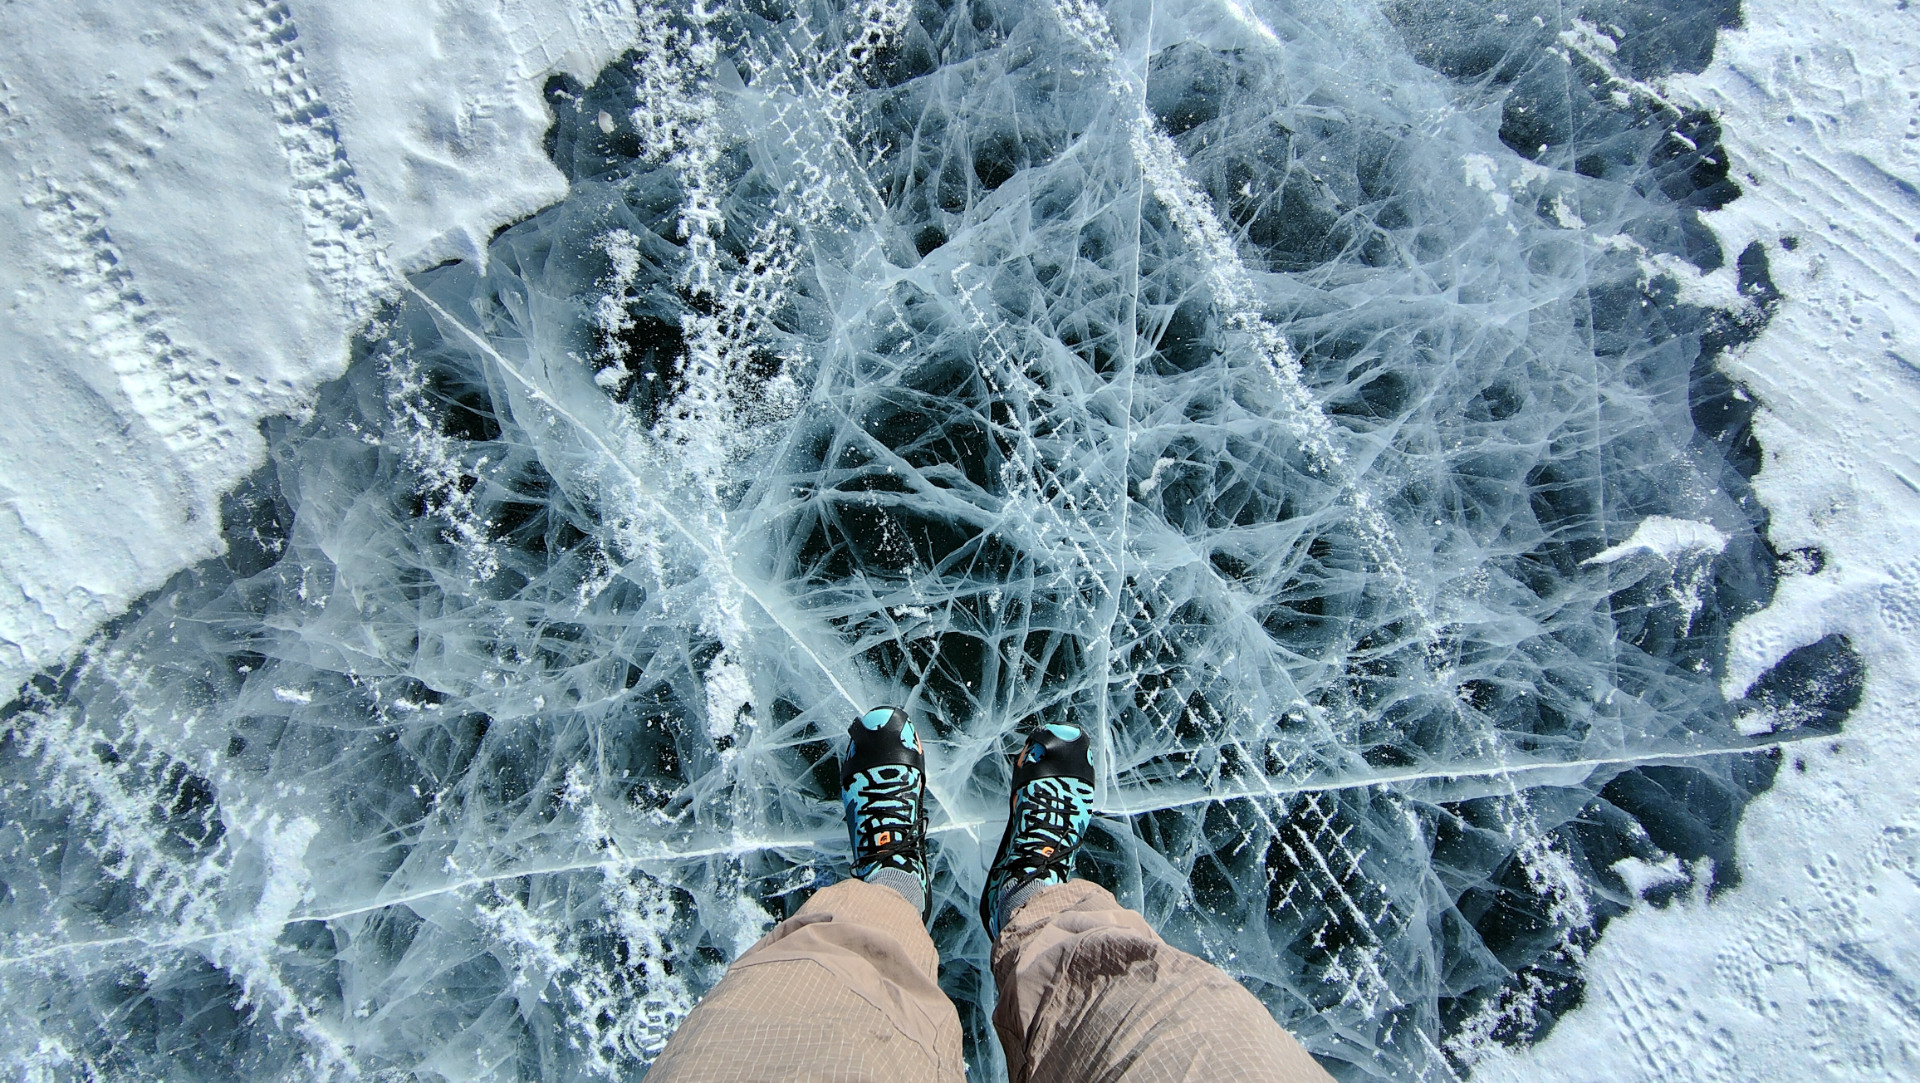
At -22°C, your morning coffee freezes in your hand as you drink it. Your food goes cold after one bite. Your gaiter freezes onto your face as you inhale. "Why would anyone want to go through this willingly?" was my exact thought on day two of my 100-mile ultra run in Mongolia, but looking back now, I learned a lot from this experience, especially about how to camp like a pro when you’re exposed to such harsh conditions.
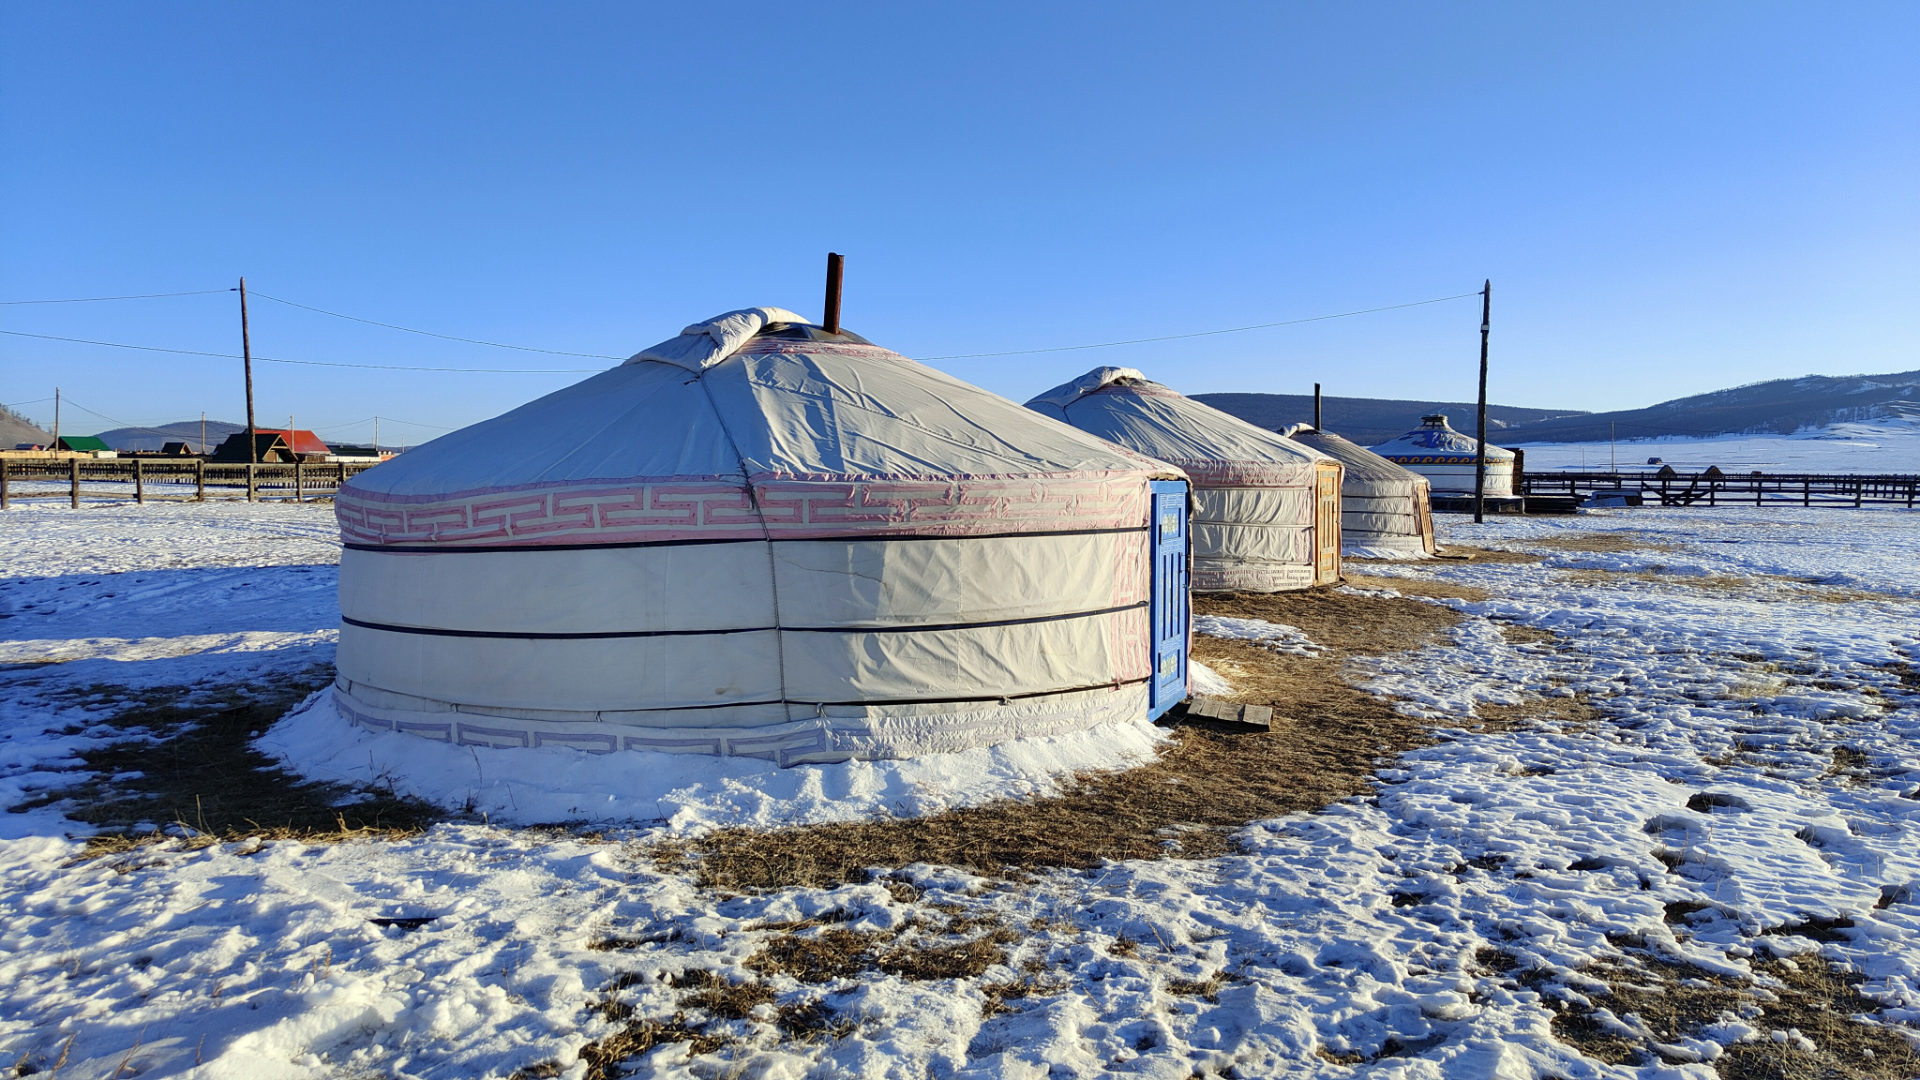
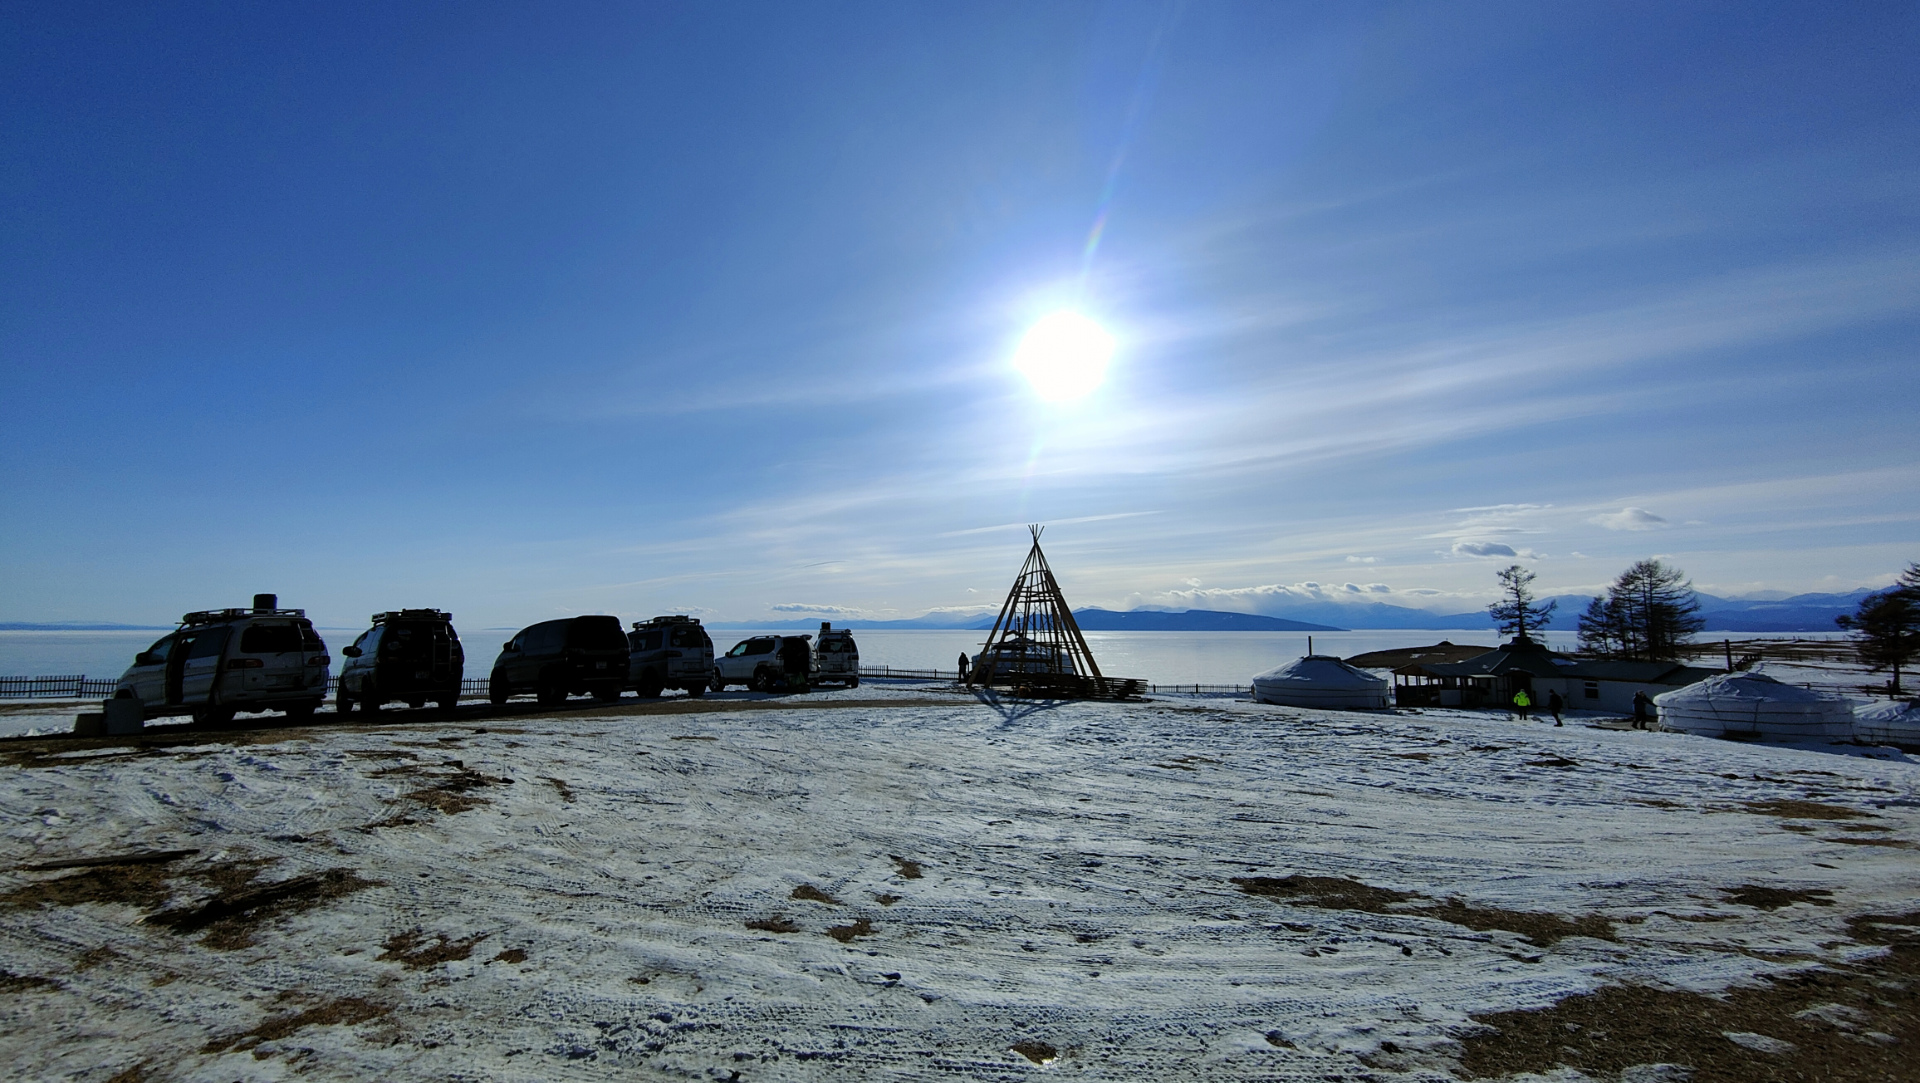
Rat Race’s Mongol 100 is a one-of-a-kind adventure. The challenge sees participants traverse the entirety of Lake Khovsgol, a huge body of fresh water in northern Mongolia, on foot, skates or bike, covering around 100 miles in four days. When you aren’t moving, you sleep in traditional Mongolian gers, round tents covered with comparatively thick material such as animal skin or felt.
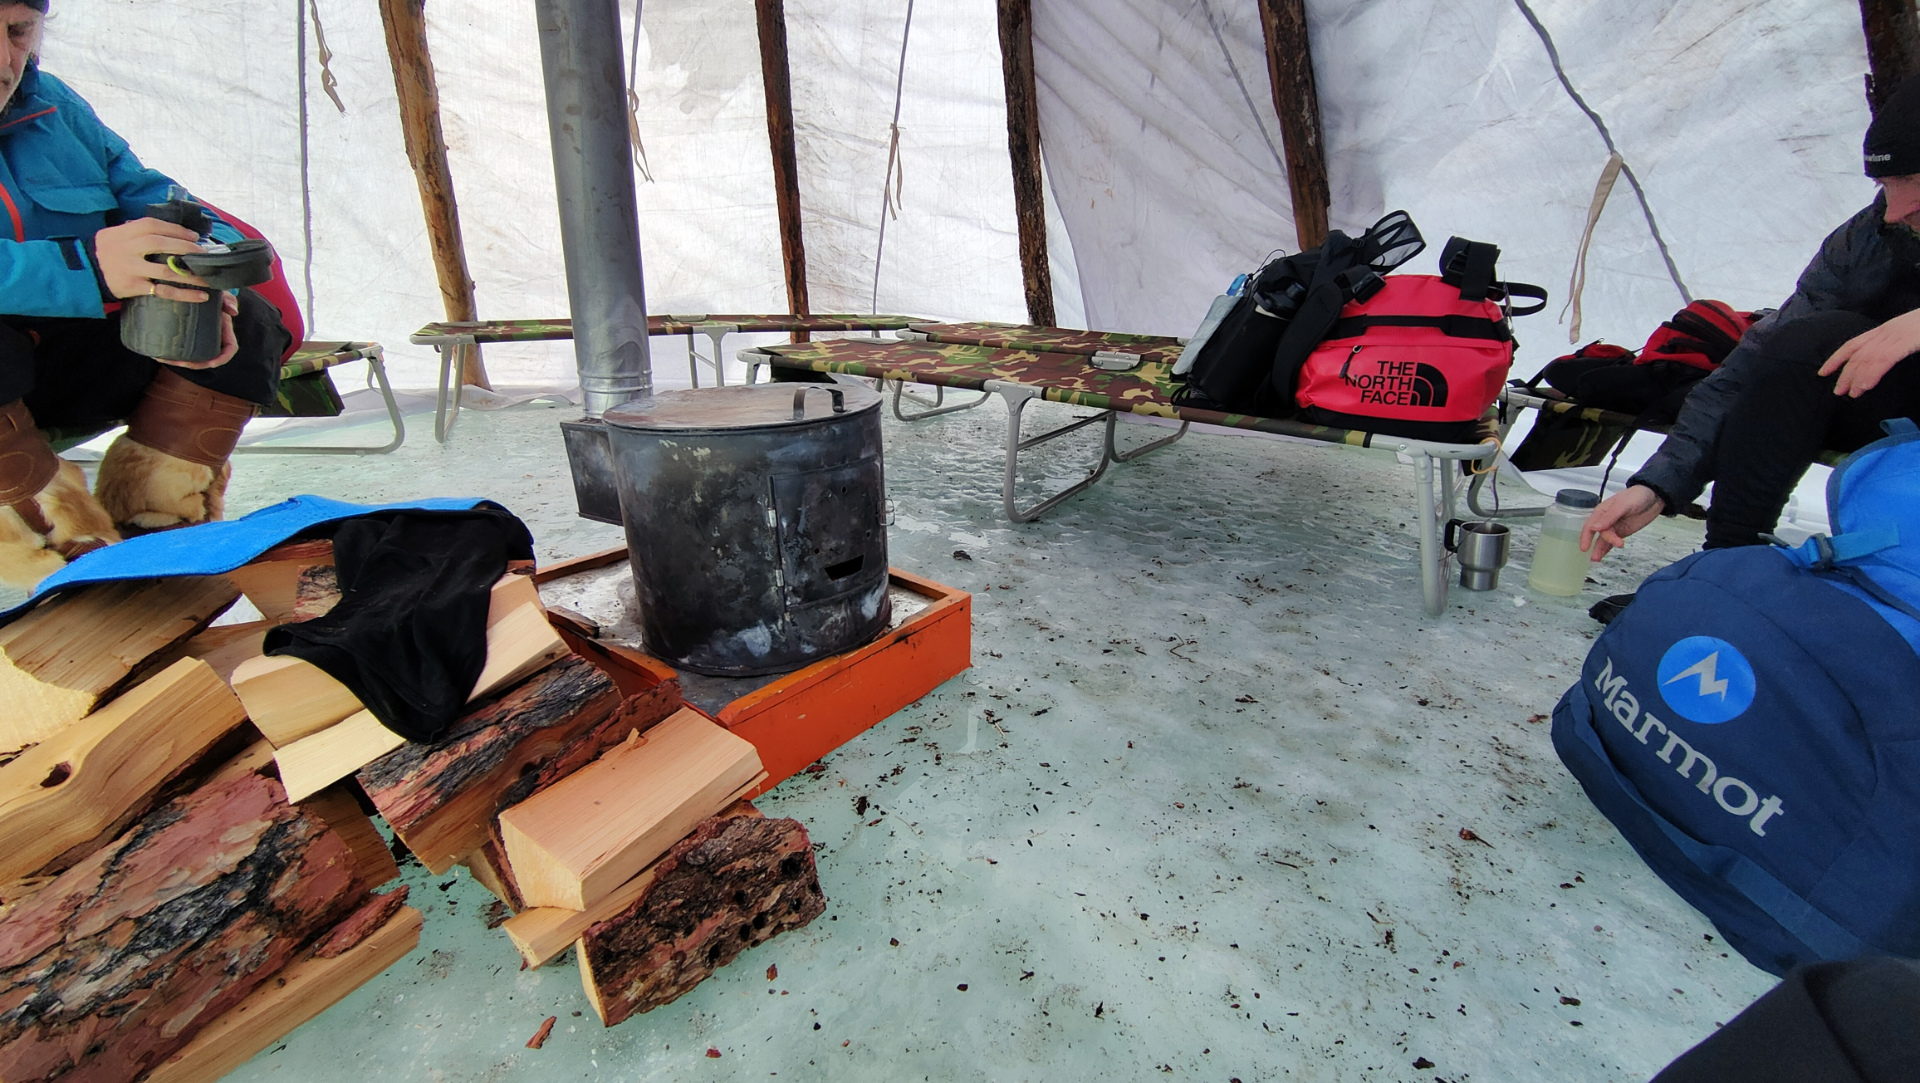
Make no mistake; sleeping in a ger is pretty intense. Although the ones we stayed in had a little wood burner in the middle – which made the inside of the tent pretty toasty – it could get pretty chilly inside the ger when the fire went out. Plus, sleeping with five strangers in a tiny space meant there was little to no room to have all your stuff out, and you also had to accommodate other people snoring/fidgeting around you throughout the night.
During the 11-day trip, I had to come up with clever ways to ensure I didn’t get massively sleep deprived or freeze to death. To give you an example – and this isn’t something you’ll have to deal with – we had the incentive to finish among the top five men every day, as the majority of those were non-snorers. Below, you’ll find a few more (actually) helpful tips on how to camp like a champ in cold environments.
The right gear is everything
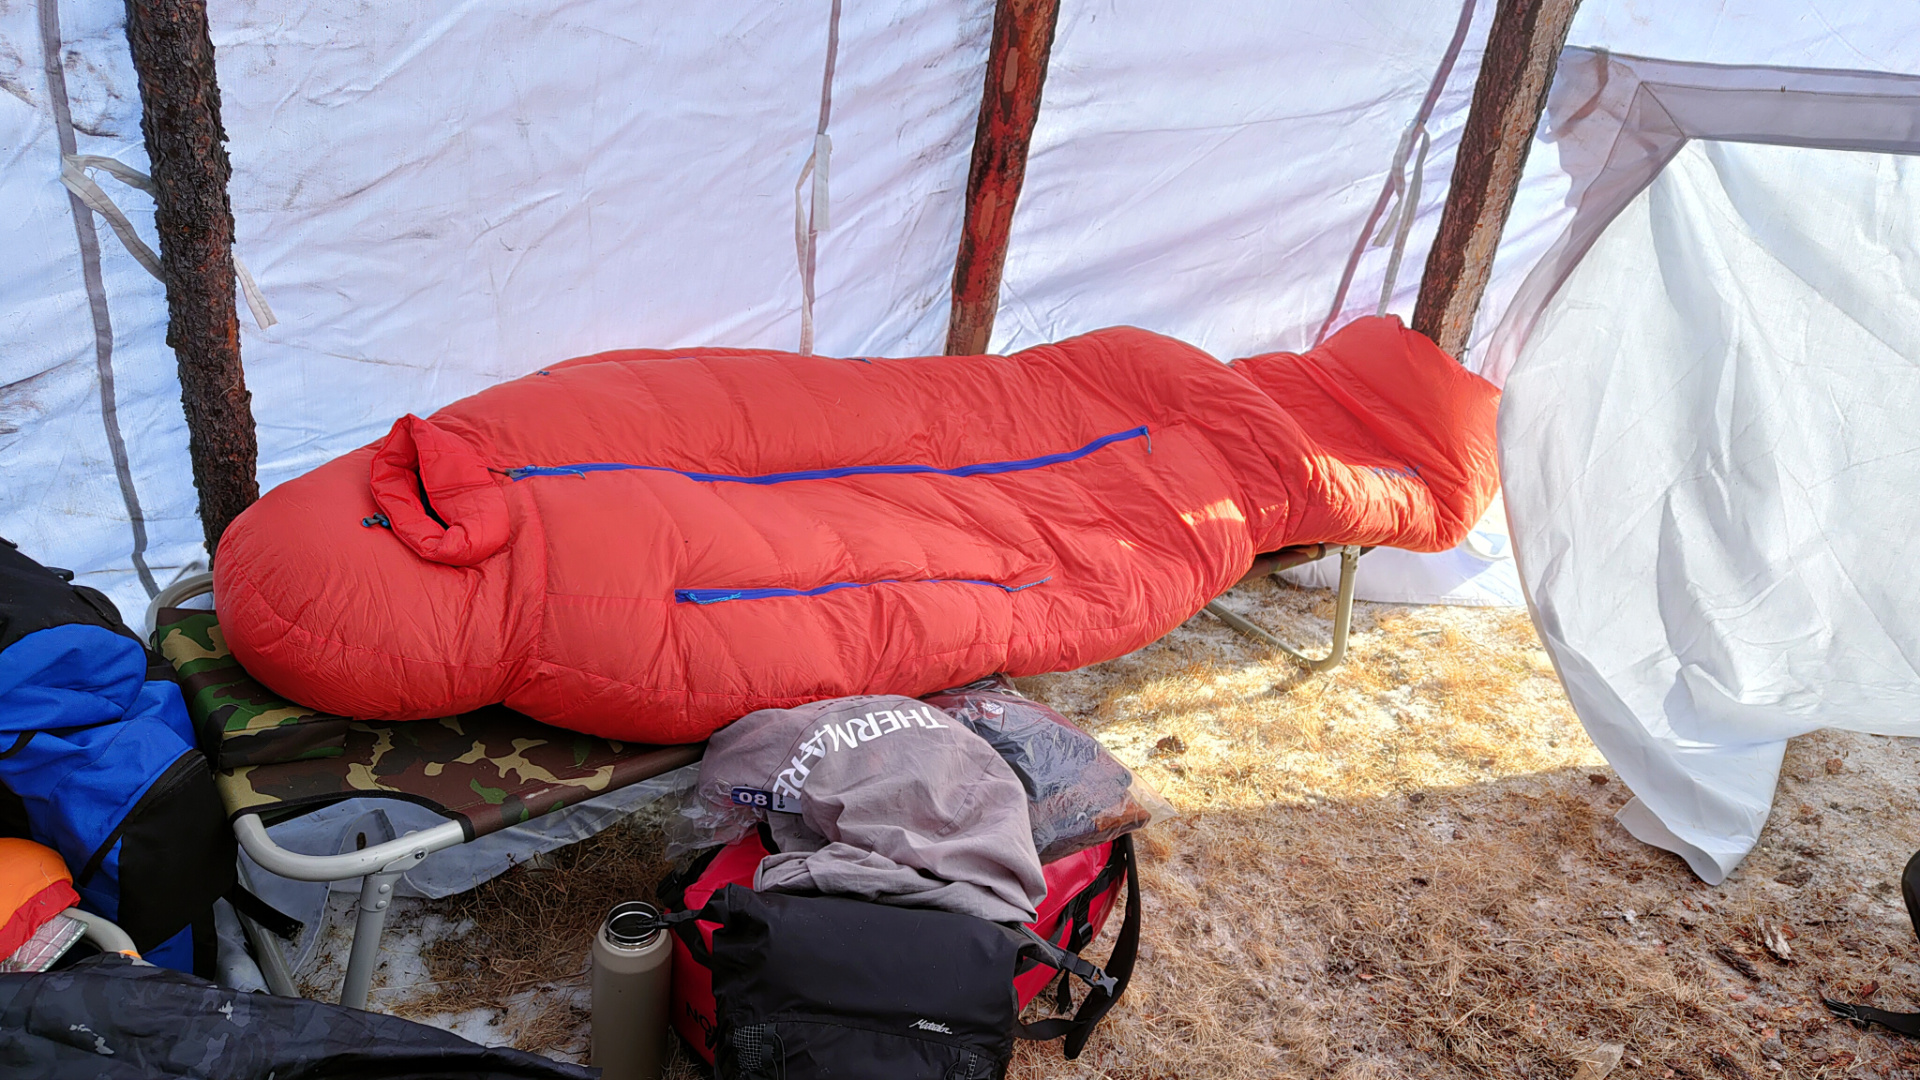
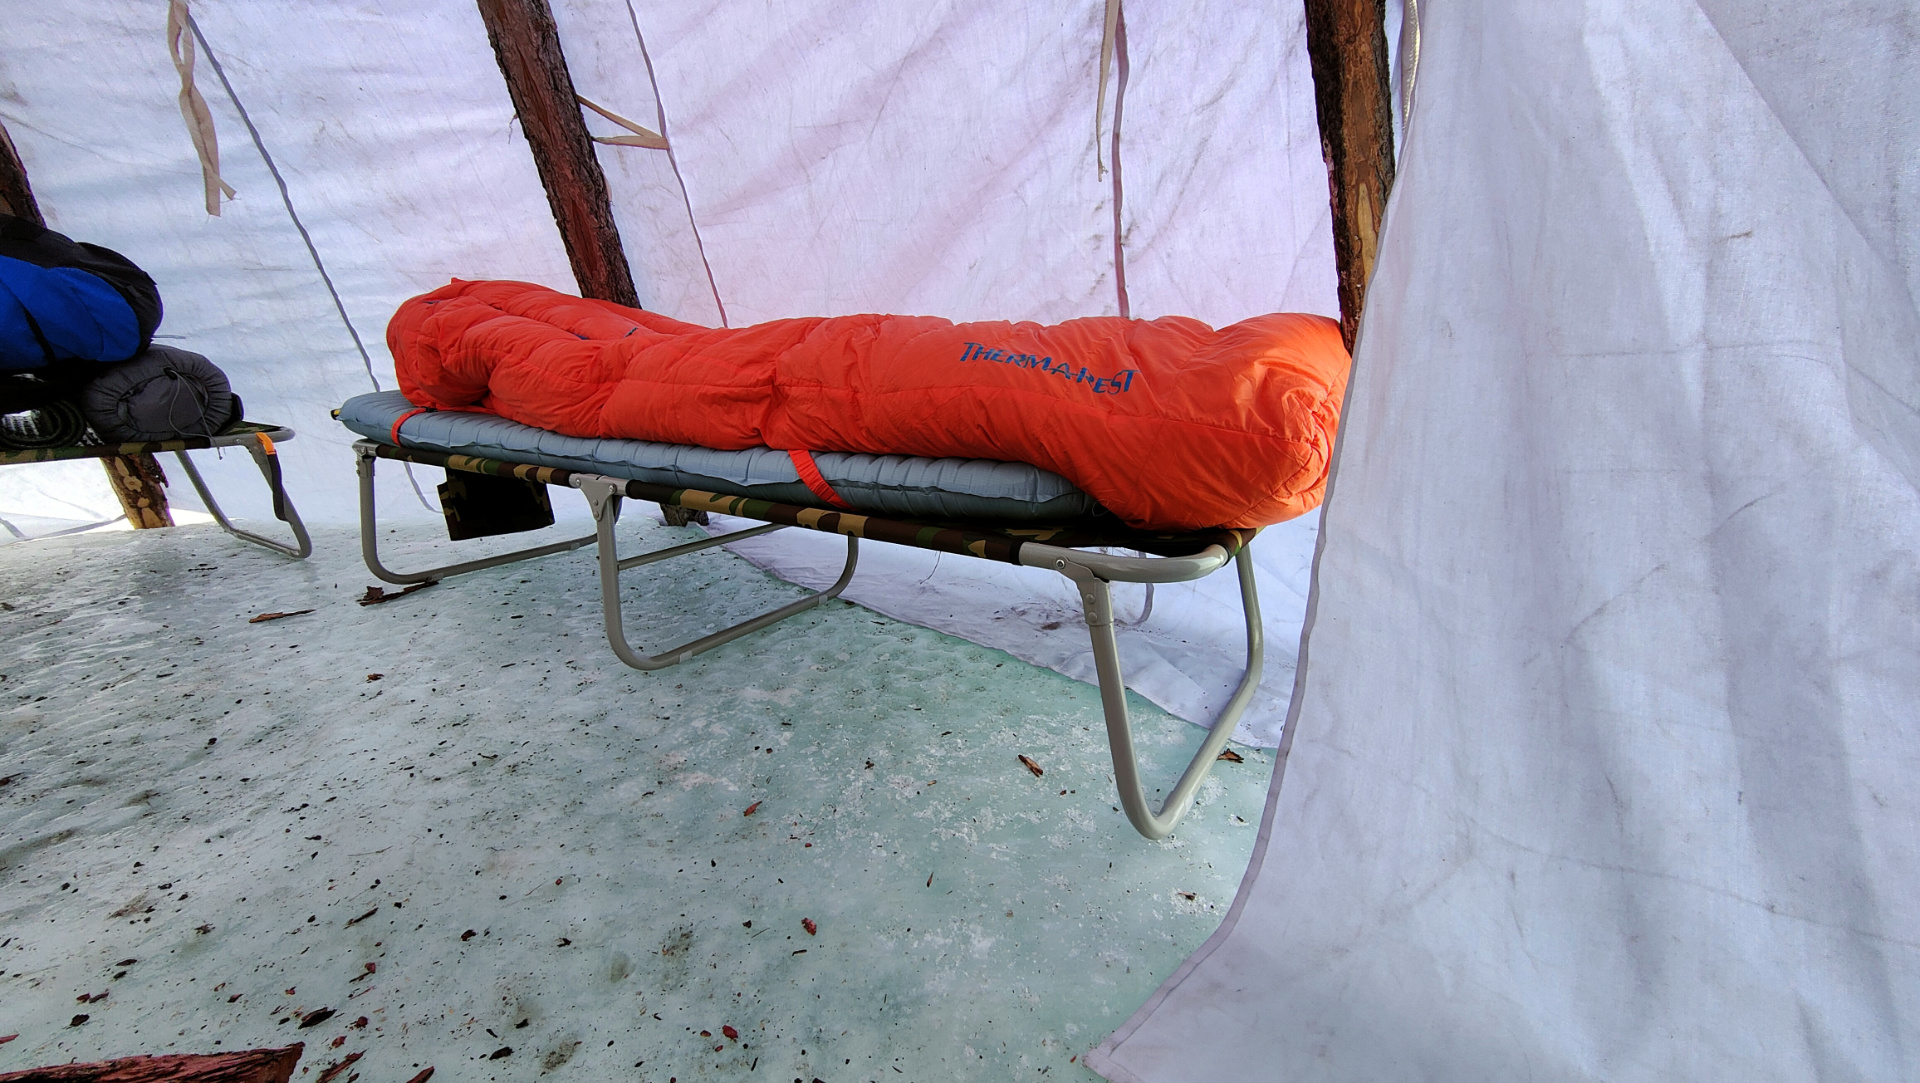
Let’s start with the obvious: you need the correct equipment to ensure you’re able to cope with the extreme cold. This includes an appropriate sleeping bag, liners, sleep kit and more. I used the Thermarest Polar Ranger sleeping bag, which is a fantastic piece of kit. Even though on some nights my feet were hanging out of the tent, I never for a second felt cold, especially my feet, thanks to the Toe-asis Foot Warmer feature, which is a baffled pocket of insulation that helps rapidly warm cold feet inside the foot box.
I had one of the best sleeping pads on the market, the Thermarest NeoAir XTherm NXT, which made minimal sound and provided loads of insulation underneath. Just to be safe, I also took the Sea to Summit Thermolite Reactor liner with me, so even if things got really cold, I had extra insulation (the Reactor adds up to 8°C of warmth to a sleeping bag).
Layering isn't just for clothing
I generally don’t mind the cold, so my biggest concern before the trip was how to manage the situation if I got hot in the gers. As I mentioned above, I didn’t need to use the Reactor liner inside the sleeping bag, but when it was boiling in the tent, I used it as a blanket (with the Polar Ranger zipped all the way down). This way, I could control the temperature better and had more options for managing heat loss.
Pick the right position in the tent
If this is an option, pick a bed in the tent that’s close/further away from the heat source. I had real troubles in the first few nights, trying to sleep right in front of the wood burner. It was so hot I ended up climbing out of my sleeping bag to cool down, just to wake up because I was freezing again. Later on the trip, I moved away from the fire to the rear of the tent, which made all the difference.
Keep it tidy
If you’ve ever been on a multi-day camping trip, you know that anything you need will always end up at the bottom of your bag. I found that packing cubes and some pre-trip organization helped alleviate this situation. I not only portioned out the base layers and labeled the food in advance – so I didn’t have to think about what to wear/eat on the day – but the cubes also helped me unpack and re-pack my bag more effortlessly. Thankfully, I didn’t lose a single item using this technique.
Think ahead
Putting on ice-cold base layers and cleaning yourself with baby wipes in -20°C weather isn’t fun. If you have enough room in your sleeping bag, this isn’t an issue; simply pop all the gear you want to use the day after in there with you so that it will be nice and warm in the morning. Socks, hats, gloves, etc, can be kept toasty this way. I was lucky enough that the Thermarest Polar Ranger had an oversize-construction, so there was loads of space around me.
You don't have to dry things if they don't get wet
One night, we slept on the actual ice, and by the morning, there was a massive puddle in the ger around the wood burner (it also sank into the ice a bit). Since we knew this might happen and were aware that there was no chance of precipitation, we used a spare camping bed to store our bags outside the tent for the night (no one was around to steal them). This way, everything stayed dry. You must also make sure that you layer appropriately during the day; although we were running for hours at the time, we also constantly took off/put layers back on as we went along to ensure our clothing stayed as dry as possible.
Travel light
When we arrived in Ulaanbaatar, I quickly noticed that my small The North Face duffel bag was a quarter the size of other participants’ bags. Initially, this made me slightly concerned, even though I knew I had everything in there from the recommended kit list, And, surprise surprise, I didn’t have to ask other people for any gear throughout the trip, but had the luxury of having my bag with me most of the time as it fit under my bed. Preparation is everything, as always!
- The best men's winter boots: tested and rated in tough conditions


