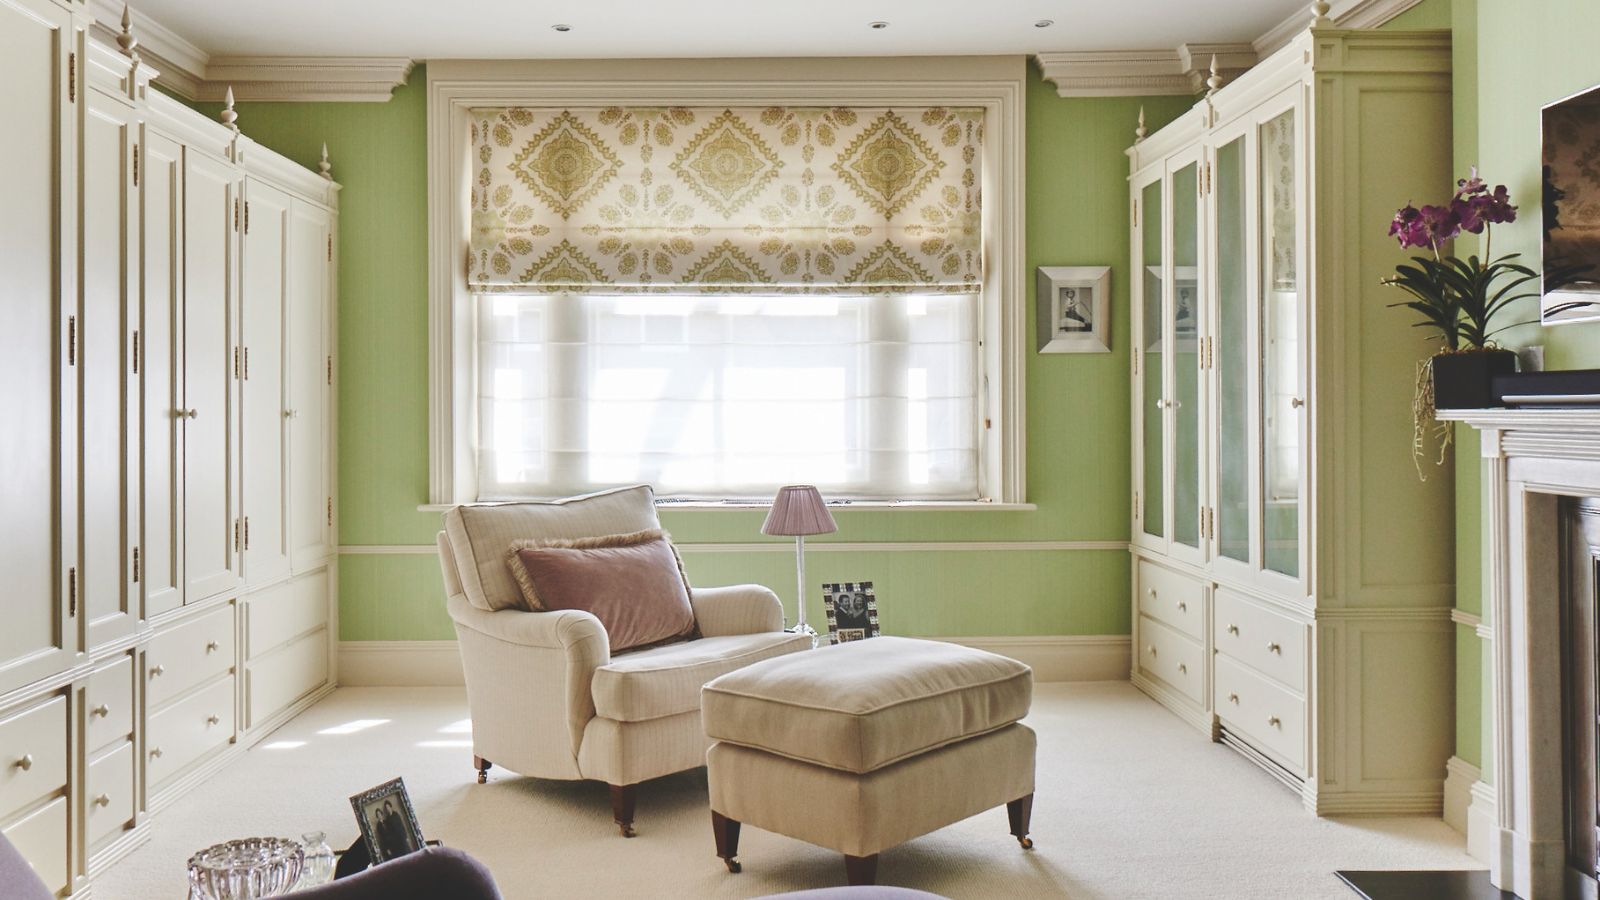
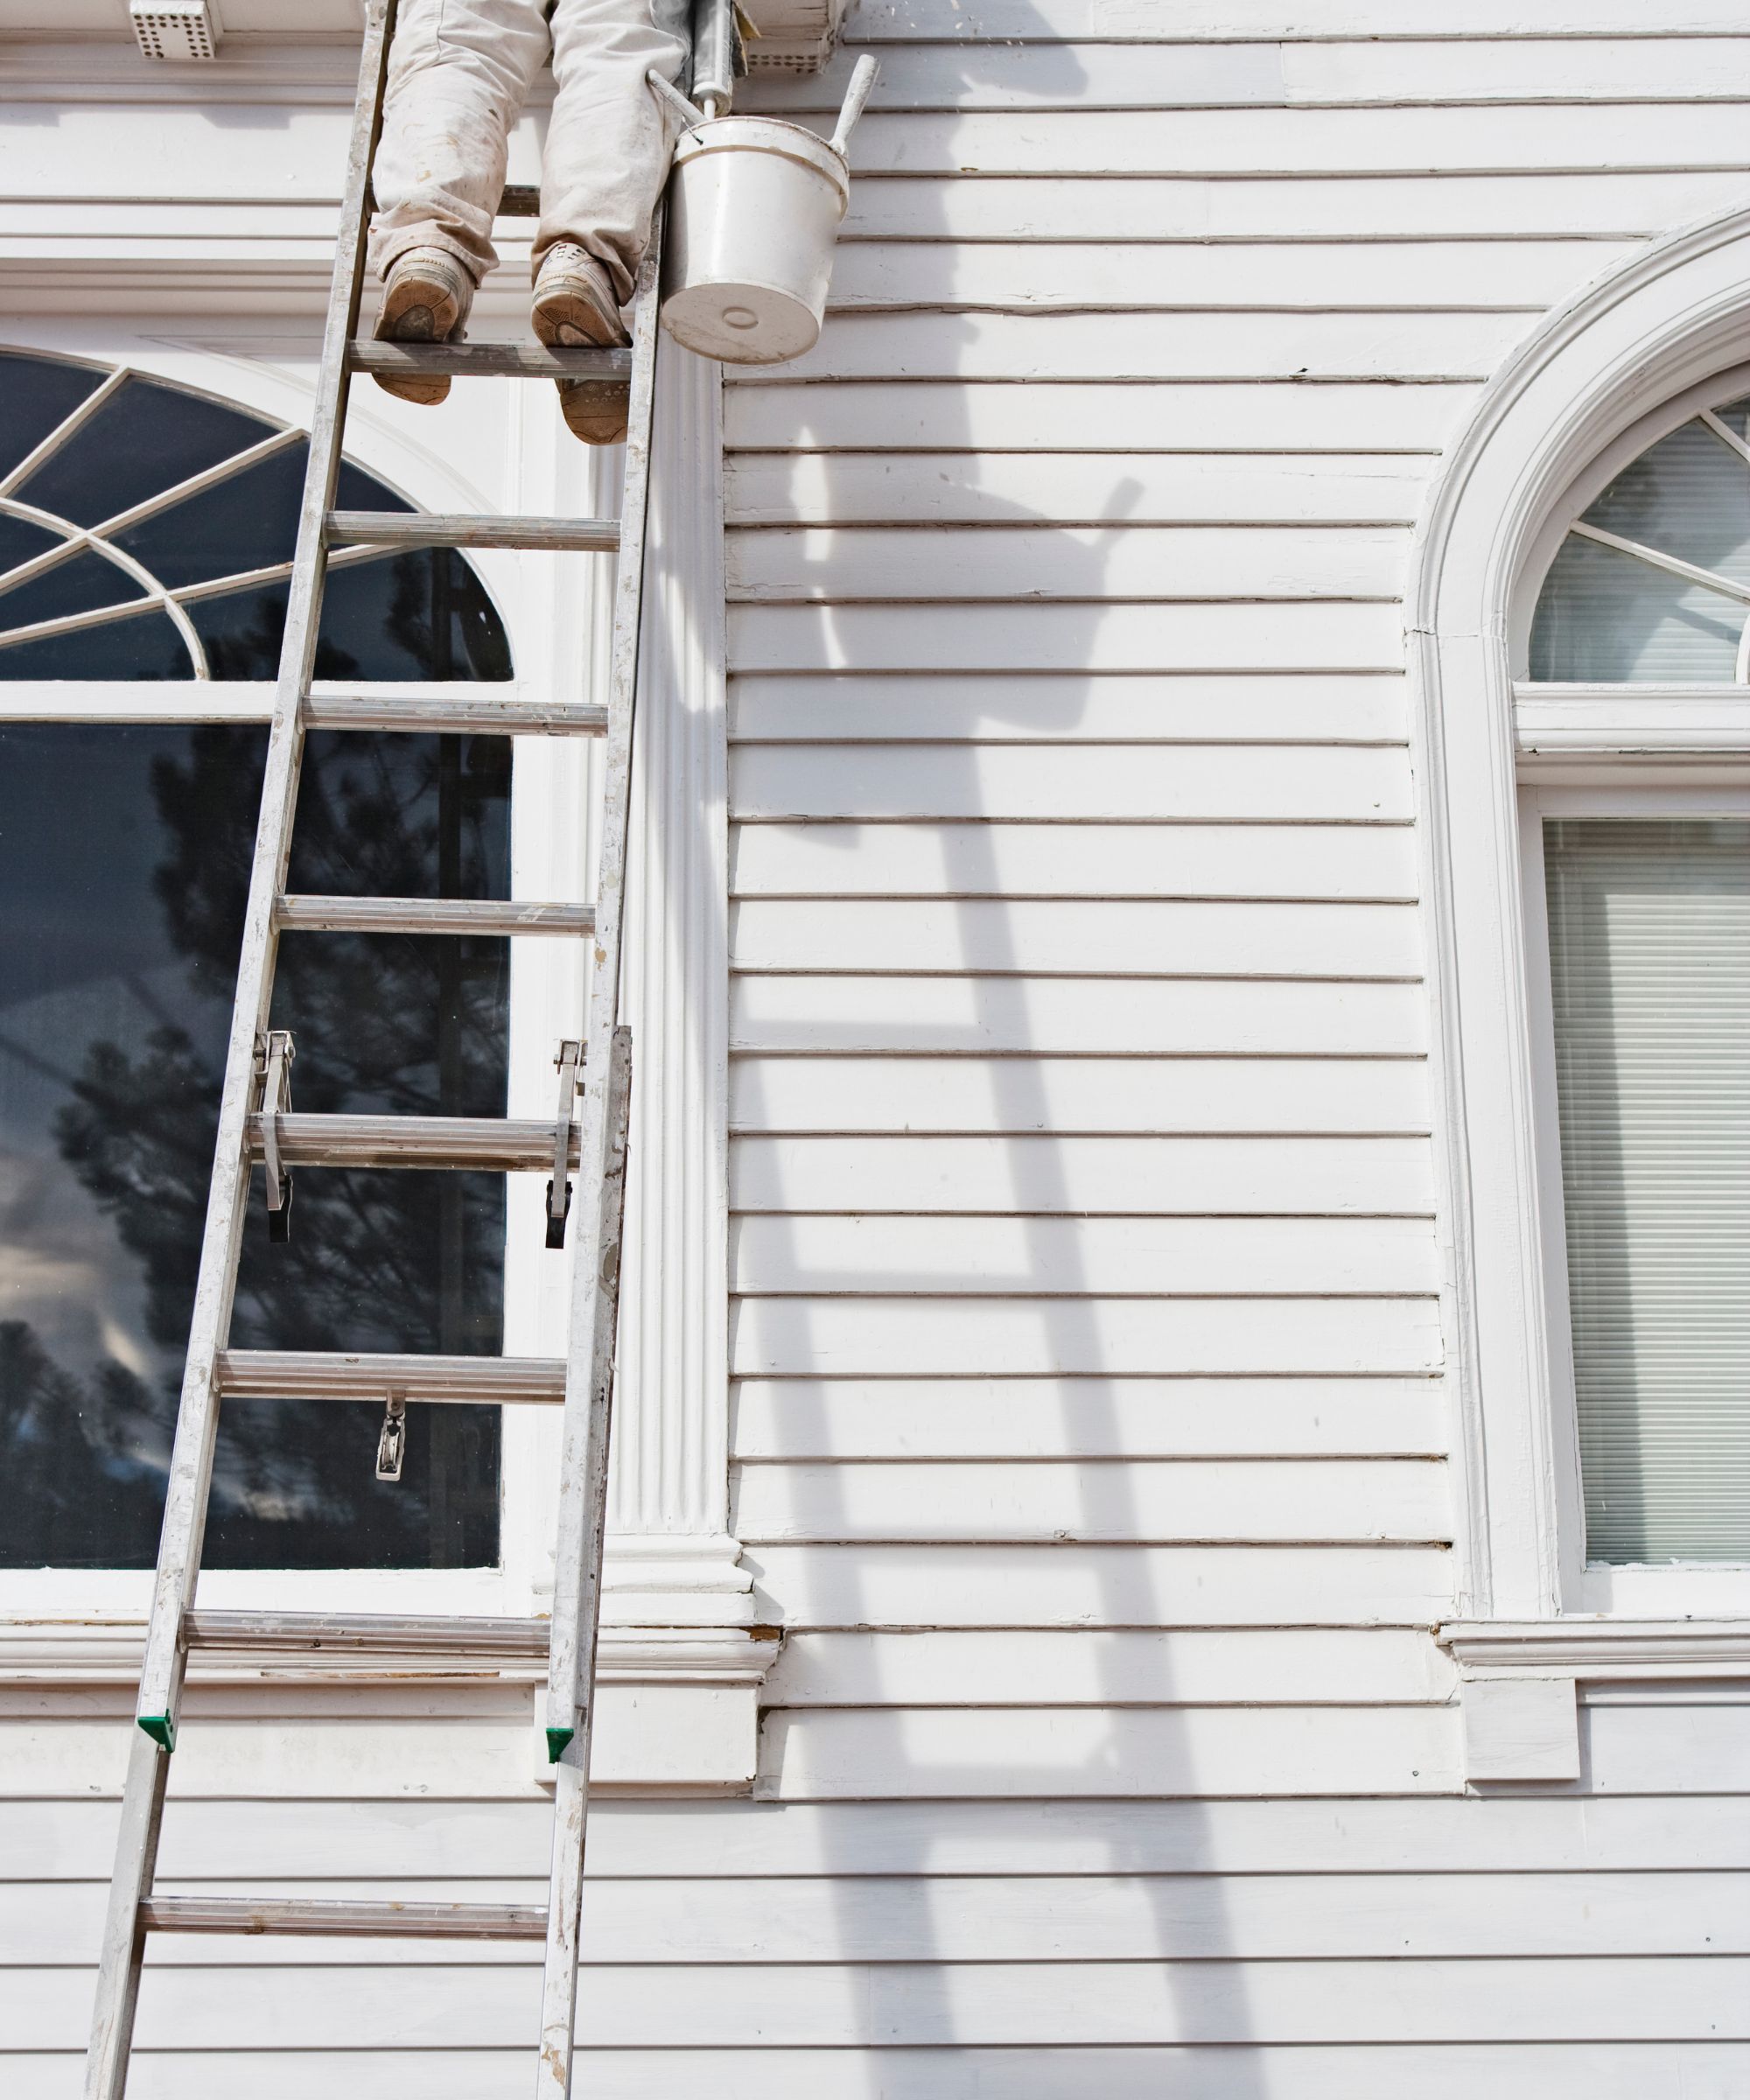
Sprucing up the paintwork in your home can be an exciting time, especially if you are renovating your dream home. However, it can also be an exhausting task if you are doing it yourself.
That’s why it always pays to follow expert painting hacks to help minimize clean-up; they can help you to minimize the workload and make this, quite frankly, messy task, that little bit easier.
Here, contractors and DIY experts have shared their top interior painting tips to minimize mess when painting for a smoother transition between DIY and decorating.
Painting hacks to minimize clean-up
It helps to put things in place when preparing walls for painting to make the clean-up process after painting a room easier. Planning ahead can save you time and energy in the long run.
1. Layer up drop cloths
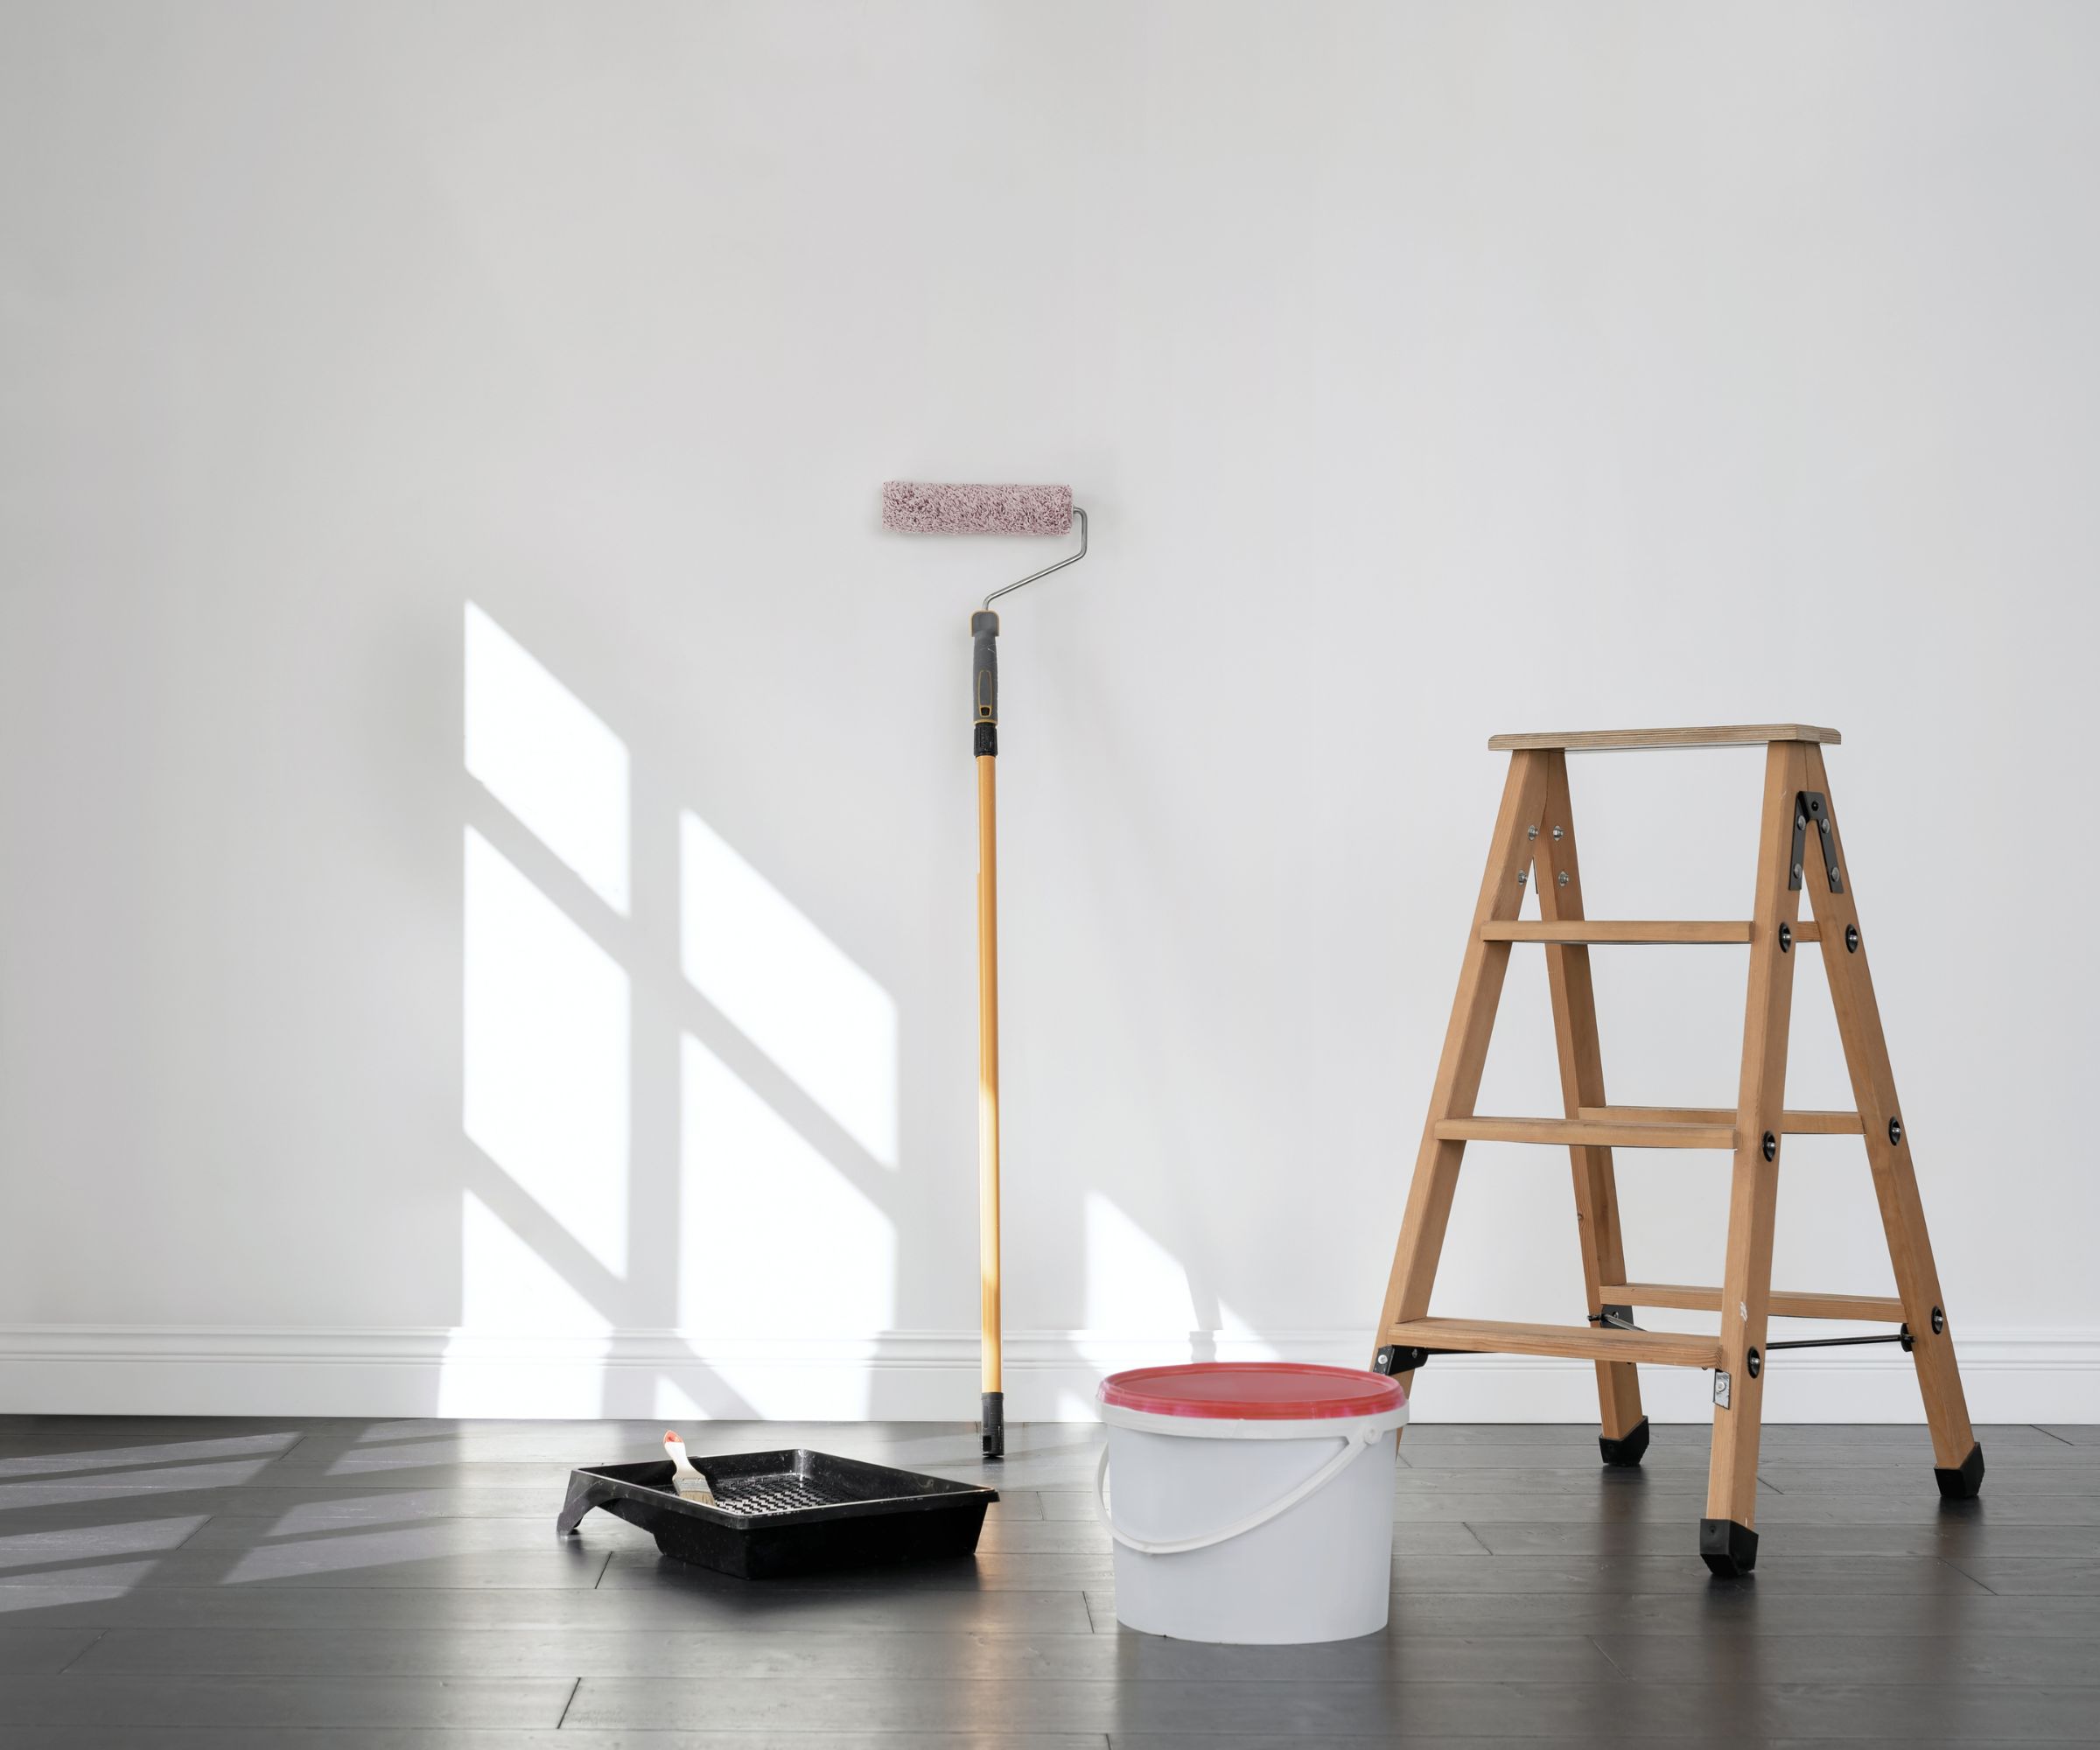
Drop cloths are one of the most essential tools for painting a house, helping to protect your floors from staining and reducing cleanup. Bar Zakheim, contractor and owner of Better Place Design & Build begins, ‘Drop cloths are cheap. There's no reason not to put them just about anywhere. I love to tape them over windows to protect the glass as well as the trim in one go.’
You can buy extra large drop cloths from Walmart for less than $30.
However, drop cloths can be awkward when painting baseboards as they get in the way and don't fully protect the flooring up close. To get around this, Brian Kemnitz, contractor and owner of Pearl Painters suggests, ‘Put brown paper down under your baseboards when you are putting in the new base. You can use playing cards to help ease the paper under the trim and avoid pinching the paper. No tape, no bleed – perfect!’
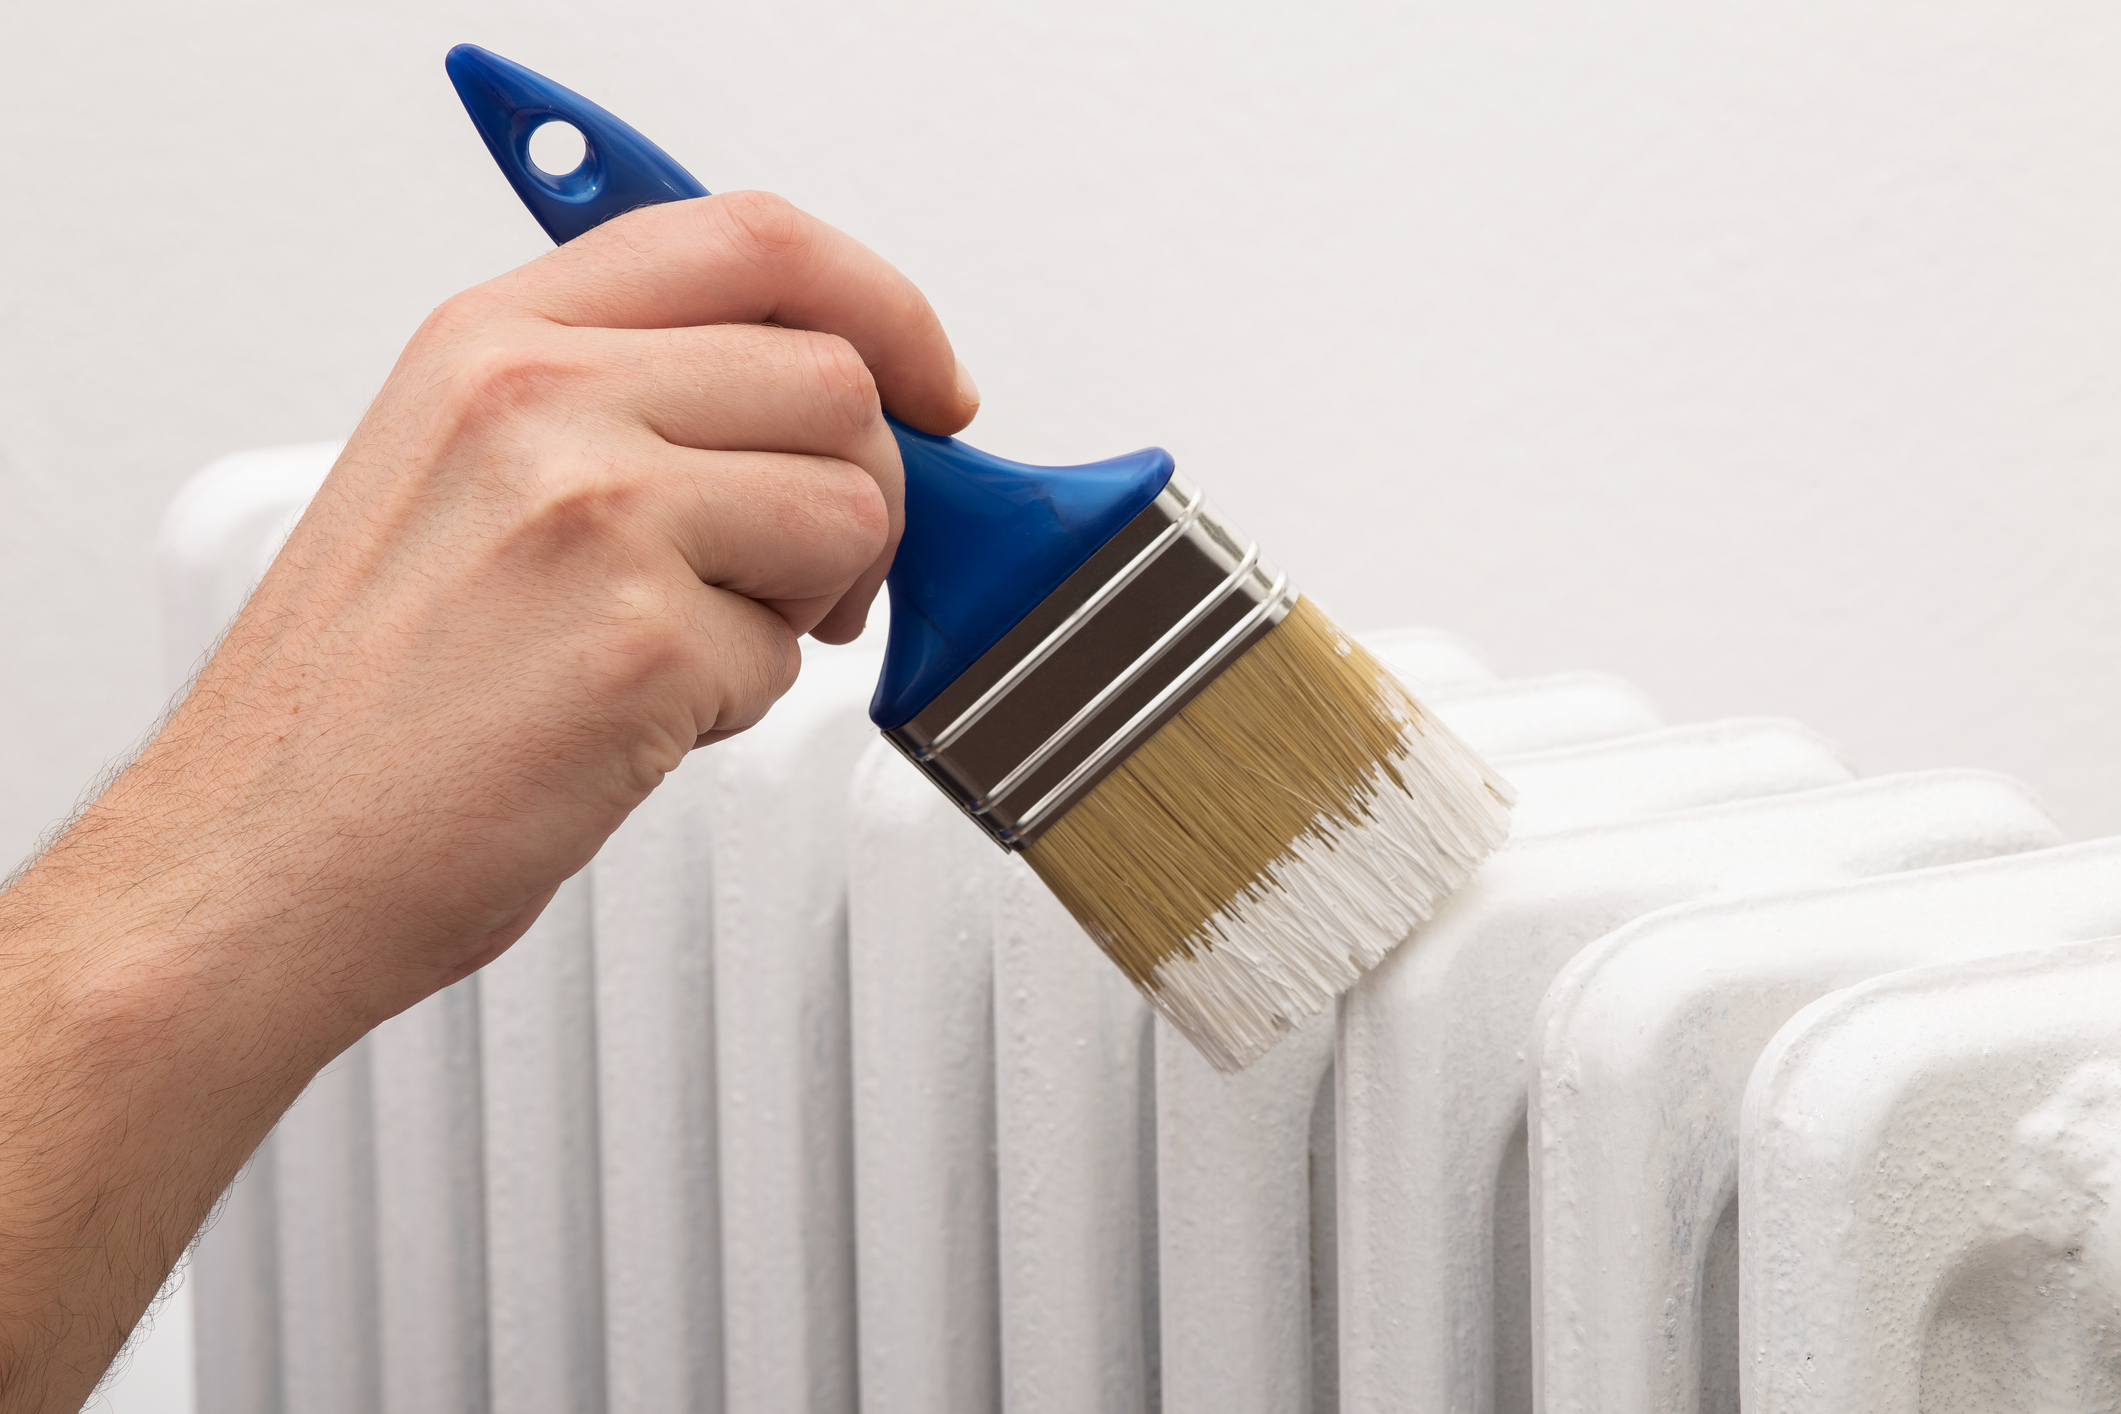
2. Use quality tools

When shopping for DIY tools, you should always go for the most premium option you can afford Brian continues. He says, ‘Use a lambswool roller [availible at The Home Depot] – it is worth spending the extra. These higher quality tools mean there is less splatter on you and everything else, plus they hold more paint meaning fewer re-loads.
‘When tacking ceilings and painting with a roller, roll side to side, not overhead to keep paint off your face.’
3. Work in large, continuous sections

It is beneficial to try and complete as much as you can in one session (without rushing). This not only ensures you finish your home DIY projects but minimizes clean-up, too.
Bar points out, ‘Every time you stop, you need to clean up – so plan your work accordingly. Try to get whole sections done in a single day, whether that's a whole wall, a whole room, all of the trim, etc. This will mean less time on cleanup.’
If you do have to split up the work, don’t fret. Brian adds, ‘You can wrap your brushes and rollers in plastic while you have a break, so there is no need to clean while you pause painting. Then, you can bag your paint bucket, screen, and roller for storage for up to 10 days. Then, when you are ready to start again it's ready to go, no cleaning until you are done!’
Standard Reynolds Plastic Wrap, from Walmart, is ideal for this task.
4. Use disposable for small projects
When tackling smaller jobs in a larger project, or finishing some quick weekend DIY home projects, it sometimes pays to use disposable tools. Jonathan Palley, CEO of Clever Tiny Homes suggests, ‘Use disposable brushes for small projects. Washing out, drying, and storing your paintbrushes takes a lot of time and effort. Sometimes, a simple sponge brush you can just throw away when you're done is a better option.’
5. Work one color at a time
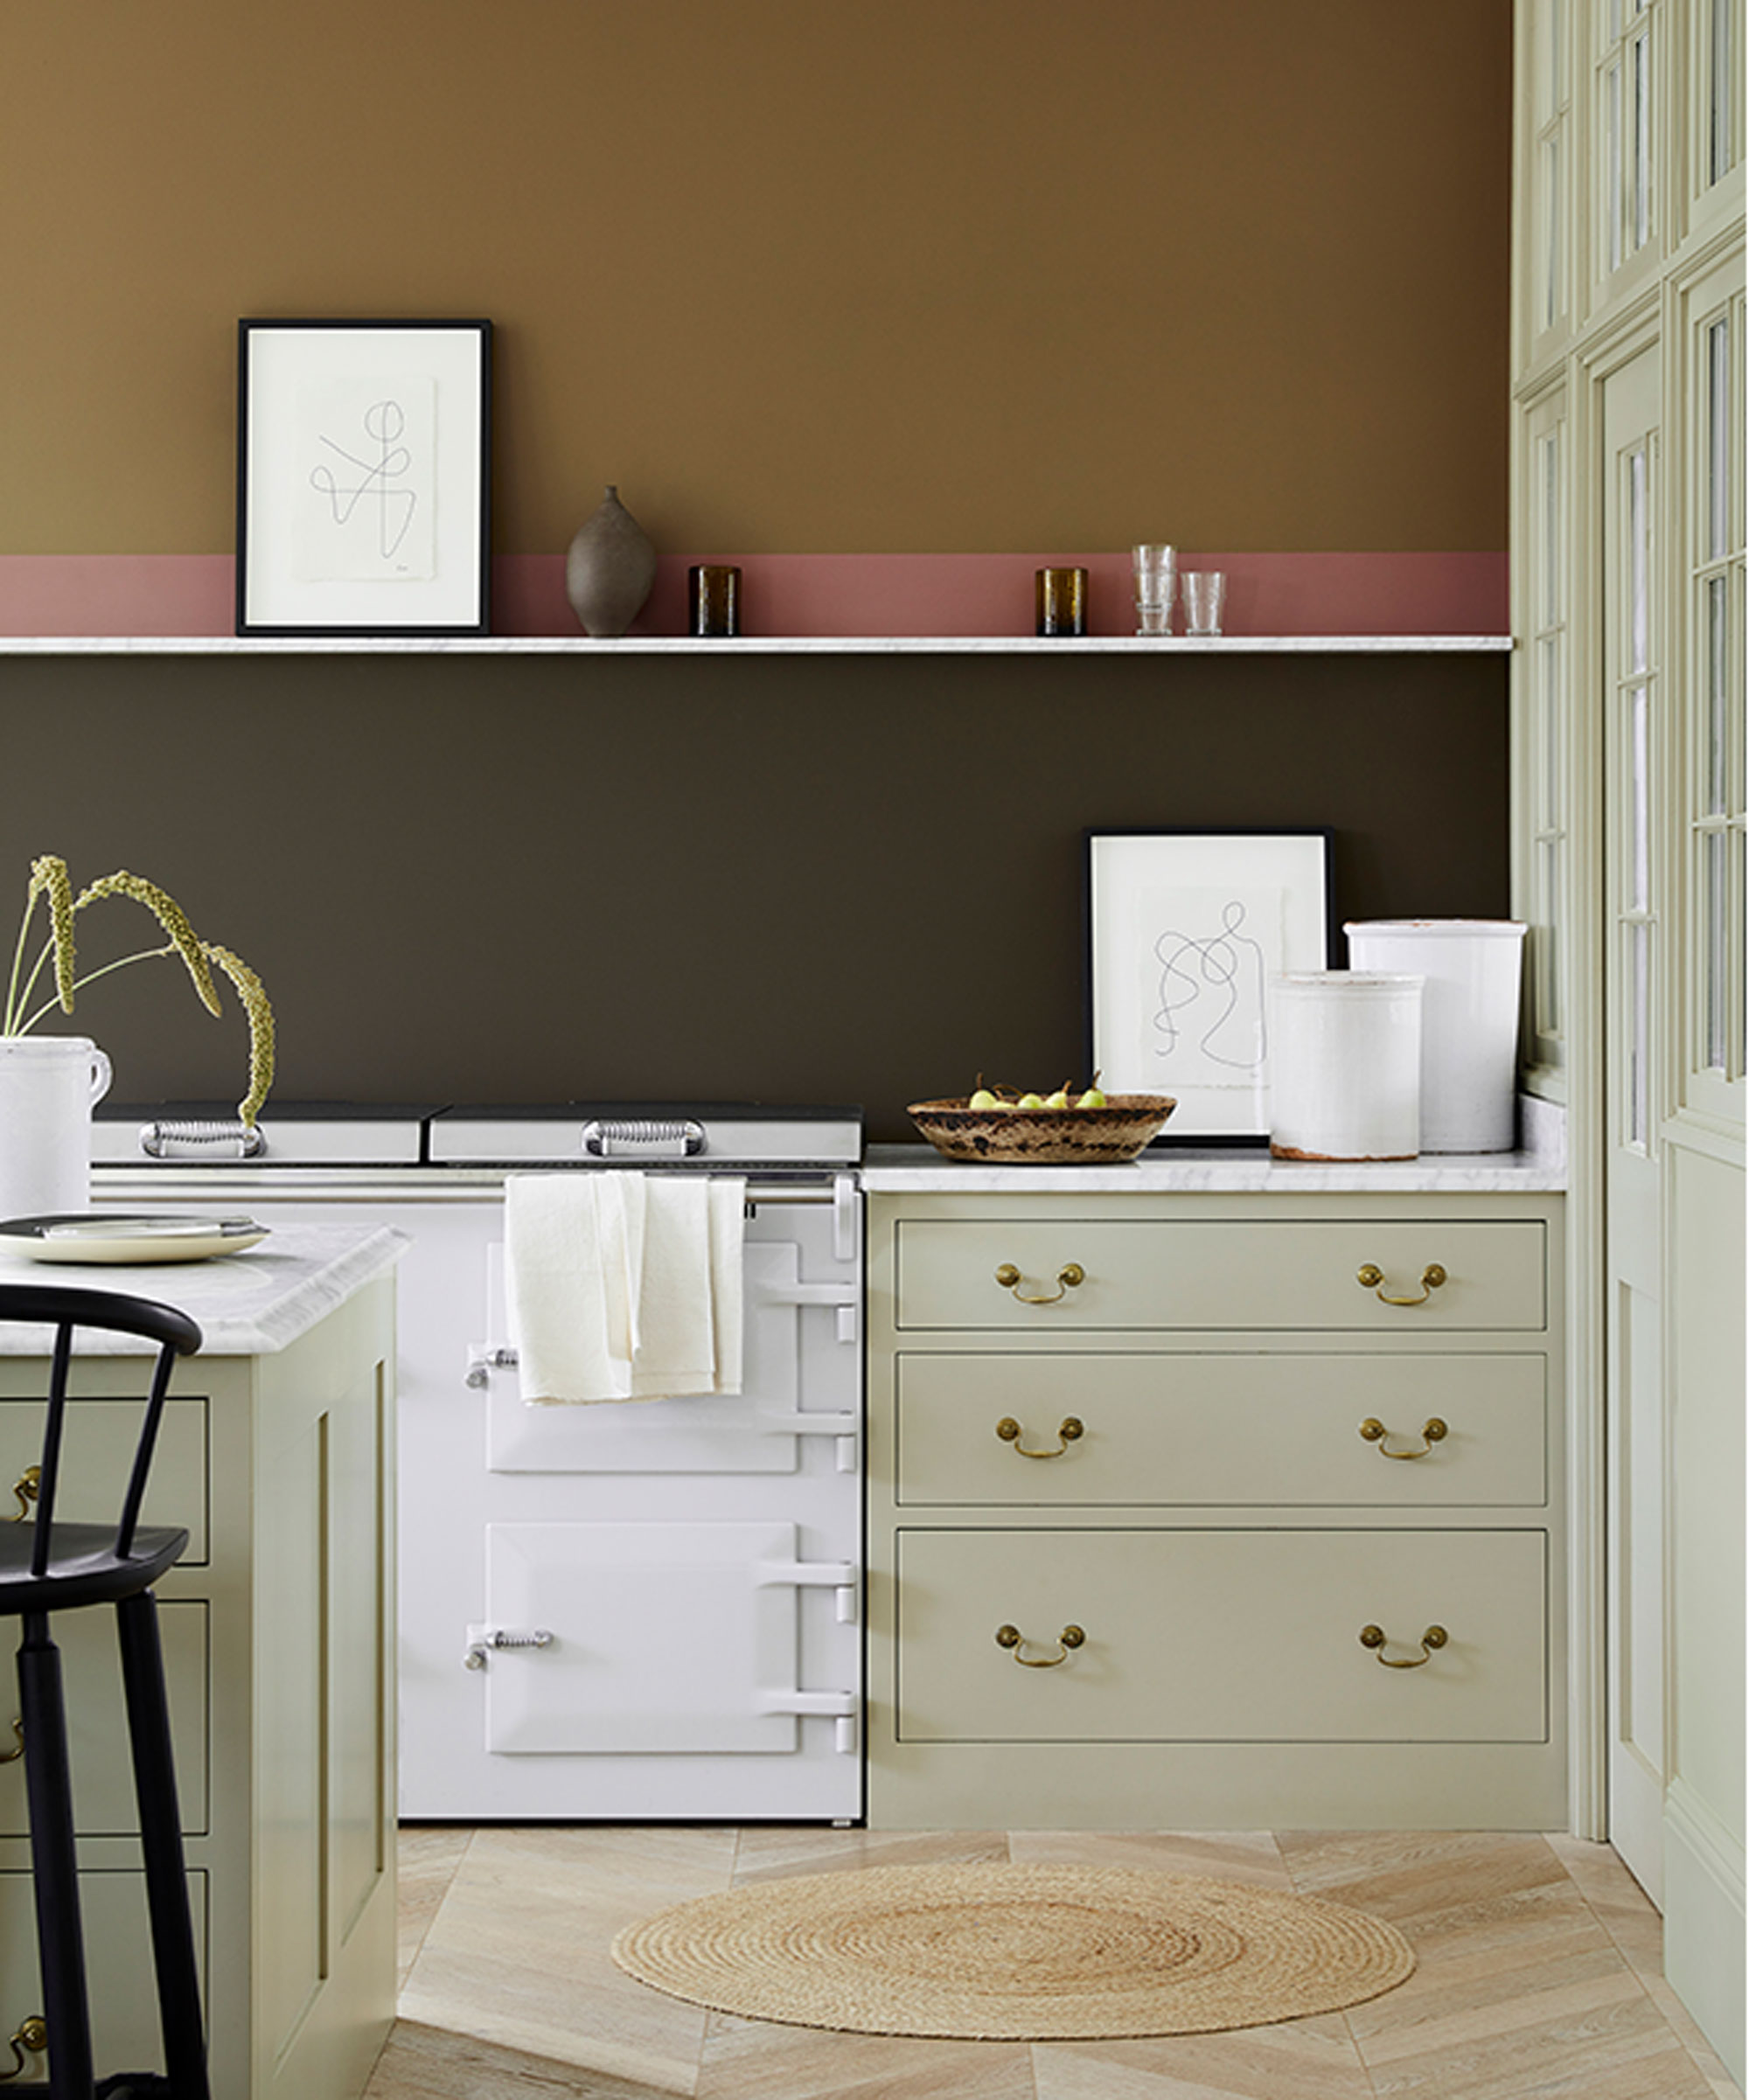
When you have picked the right paint for a job, work one color and finish at a time to minimize mess. This reduces how many rollers and trays you have out at a time, making your painting area easier to navigate, less overwhelming, and easier to clean.
Alternatively, Jonathan suggests using a few colors full stop. ‘Every time you add another color to the mix, you've got one more can, one more tray, and at least one more brush to keep track of,’ he explains. ‘If you want to use multiple colors on a single job, handle one at a time.’
6. Use Liquid Mask
To avoid having to get paint off glass when working around windows, Brian recommends using a liquid mask, such as Jasco Mask and Peel, available at The Home Depot. This handy, paint-on product forms a tight seal over the glass once dry, allowing you to paint somewhat haphazardly and simply peel off the mess afterward. No more scrubbing and scraping and praying you don’t damage the surface beneath.
7. Soak brushes in vinegar
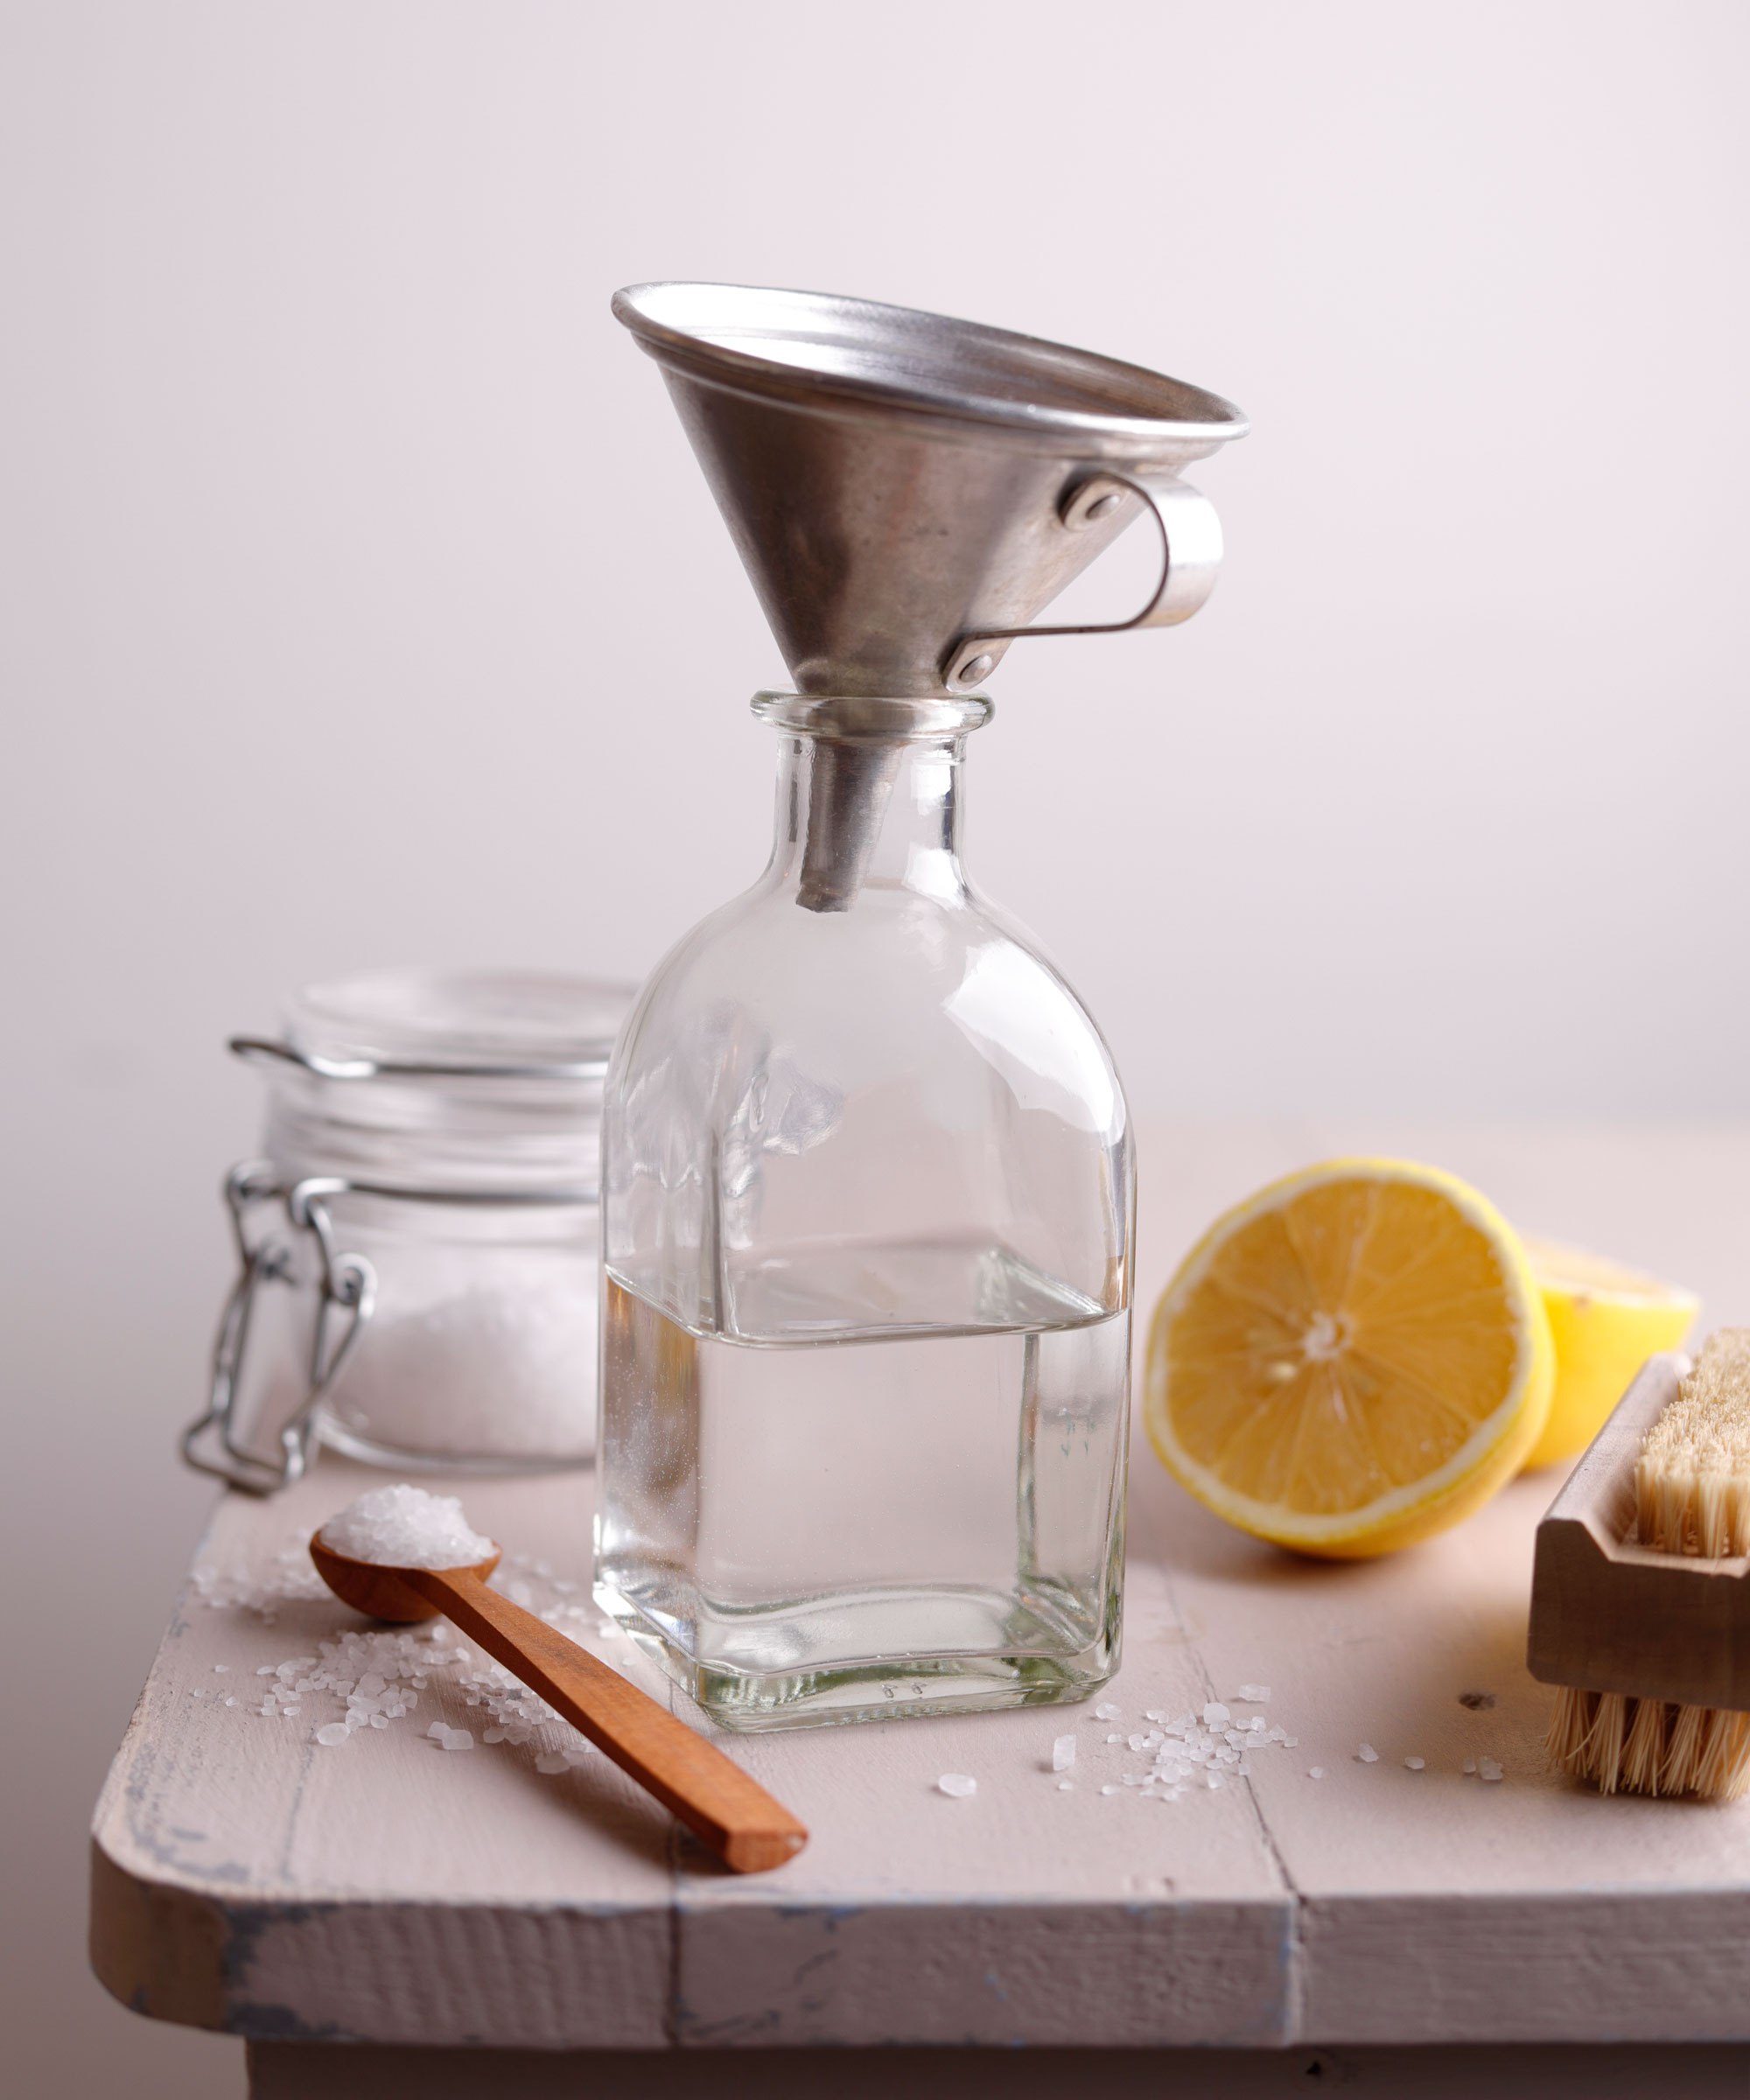
Make cleaning paintbrushes easier and less toxic by cleaning with vinegar. When working with water-based interior paints, Andrew Cohn, DIY expert and founder of COHn Acrylics explains, ‘Soaking your brushes in plain white vinegar [available at Target] is the easiest way to clean the brushes after using them and will help keep them lasting longer for future paints.’
What to shop
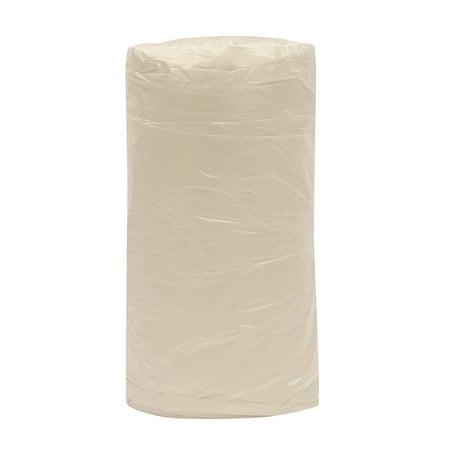
For more robust protection than a fabric drop cloth, consider plastic sheeting for your floors. They prevent paint seeping through to carpets or furniture should you spill a large amount.
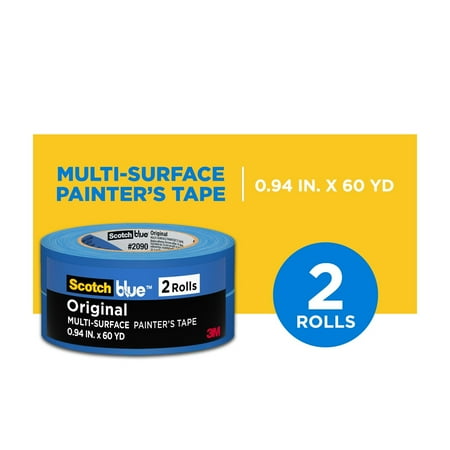
cotch removable tape can stay on surfaces for up to 14 days, and it removes easily without leaving a sticky residue behind while creating sharp paint lines.

White vinegar breaks down water-based paint to help refresh brushes. Pair with baking soda when cleaning brushes with dried paint for extra fizzing power.
Meet the experts
Once you have finished painting and you start clearing things away, it is important to research how to dispose of paint safely in your local area, as leftover paint and empty paint cans are two items you should never throw in the trash to avoid contaminating the environment.