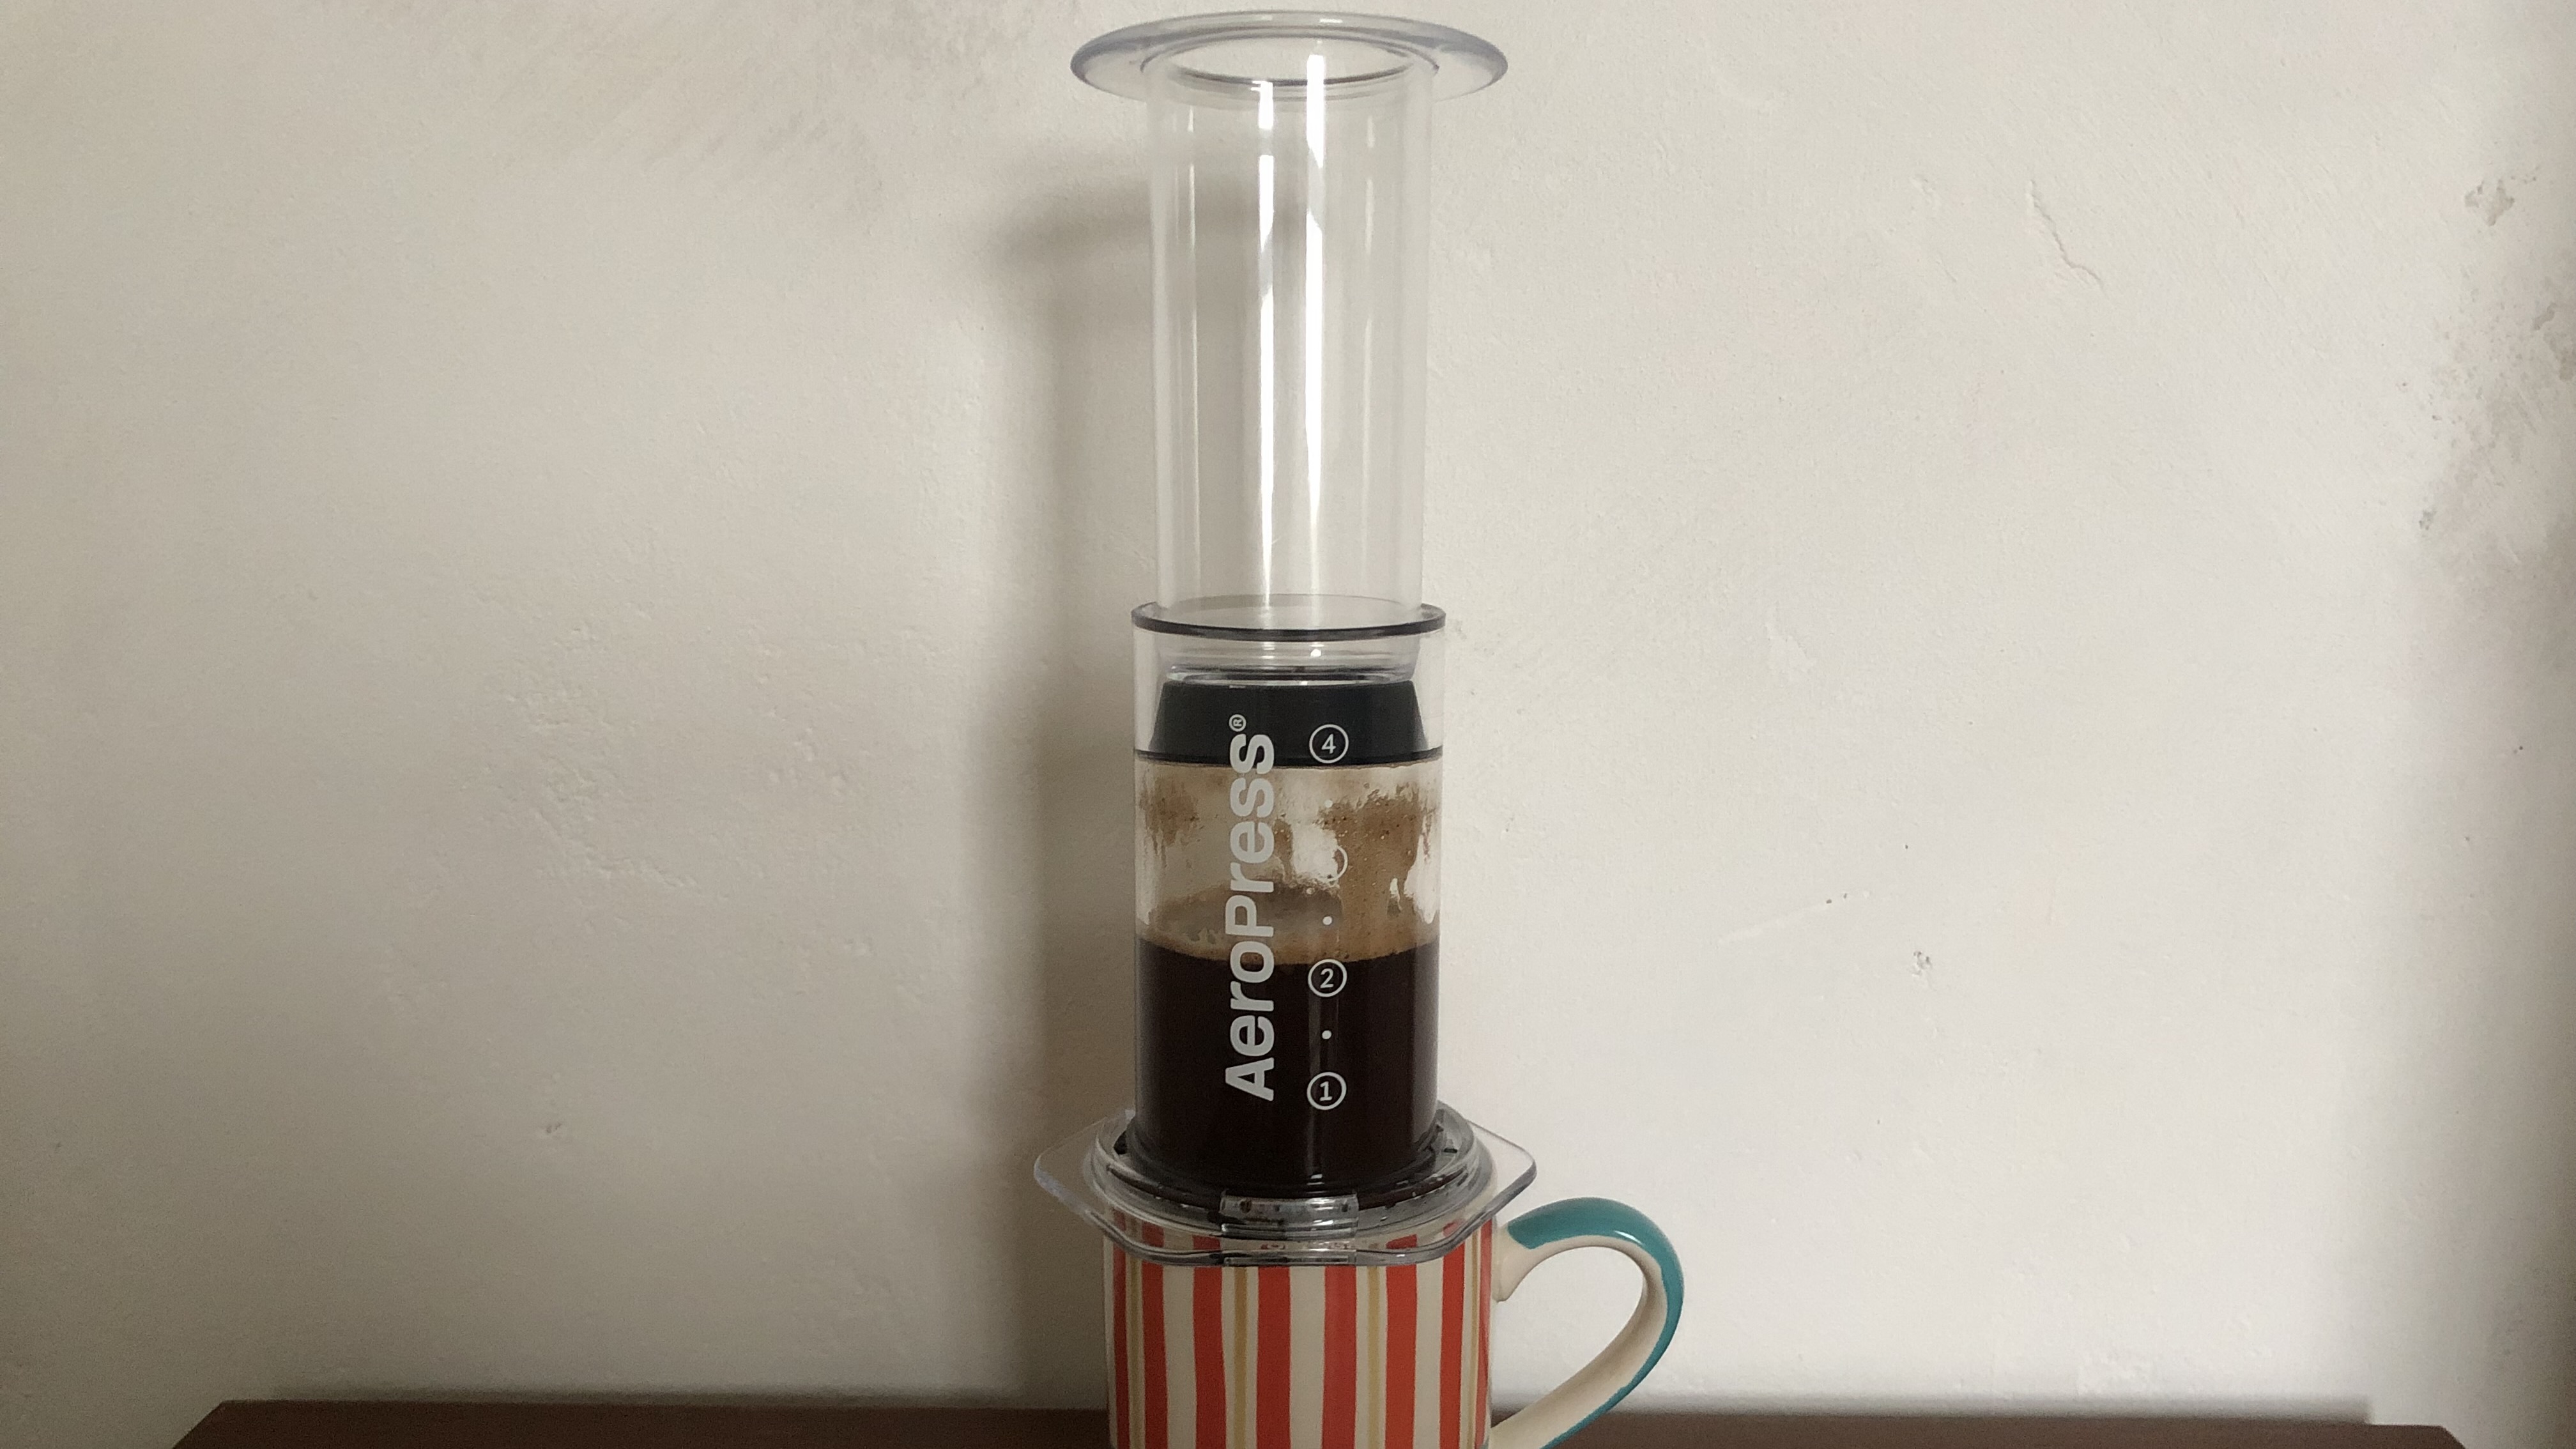
Looking to liven up your daily cup of joe? We've curated a list of six simple AeroPress coffee recipes to try with your new coffee gift to excite your taste buds. Whether you're in the mood for a dark, intense hit of espresso or you prefer an indulgent, creamy Mocha, we've got you covered.
If you've decided that you're best coffee maker option is an AeroPress, morning and night, then you'll know all about the versatility that it has to offer. A simple search online reveals hundreds of AeroPress recipes. It can be overwhelming just figuring out where to start. Plus, many of the recipes are super-complicated, which can be off-putting if you're not a barista and simply want to enjoy a delicious drink at home.
AeroPress coffee types
We've selected easy recipes that allow you to dabble in a few experiments with your AeroPress (we used the AeroPress Clear) showcasing the range of what the AeroPress has to offer. We share recipes for every season, from refreshing iced drinks to winter warmers to snuggle up with when you need a boost. Plus, we've included inspiration from around the world, so you can whisk yourself away to a leisurely morning in Havana cradling a Cuban coffee or the tranquility of a Japanese tearoom - all from the comfort of your kitchen.
AeroPress accessories (optional)
If you want to level up your caffeinated concoctions you may want to invest in a couple of additional accessories. The AeroPress Flow Control Filter Cap gives you more control over the brewing time. If you want to create a more robust taste, the AeroPress Metal Filter lets through more of the flavorful oils. These accessories are optional except for the Cuban coffee recipe for which you'll need those two additional parts.
Recipe 1 - Espresso: The intense one
Intense, dark, and aromatic. The espresso is hard to beat if you're craving a strong, flavorful coffee. This little drink is so fiercely loved that the search for a true espresso sparks heated debate. While the AeroPress replicates some of the pressure of an espresso machine, it technically doesn't reach the level needed for a true espresso. But it gets pretty close.
Espresso fiends rave about the crema - that frothy layer on top that is often hailed as the hallmark of a quality drink. If you're a coffee purist, you may want to upgrade to the AeroPress Flow Control Cap and a Metal Filter to help you nail the perfect crema. The cap gives you greater control, stopping drip-through and the metal filter allows those flavorful oils to pass through. If you're searching for that holy grail of the crema, opt for freshly roasted and ground beans.
What you need
- An AeroPress Original or an AeroPress Clear with the supplied parts (a chamber, plunger, cap, stirrer, coffee scoop, and paper filters)
- A kettle
- 30g of freshly roasted medium-fine coffee grounds. Opt for a dark roast for a more authentic flavor
- A mug
- Optional: An AeroPress Flow Control Filter Cap
- Optional: An AeroPress Metal Filter
Recipe
Step 1: Boil the water using the kettle. If you have a temperature-controlled device, choose a setting between 195-205 degrees Fahrenheit. Otherwise, wait for about 30 seconds after the kettle has boiled.
Step 2: Secure your filter. If you're using a paper filter, wet it before placing it into the cap. If you're using a metal filter, simply put it in the cap.
Step 3: Attach the cap. Securely attach the cap to the AeroPress main chamber and place it over a cup.
Step 4: Add the coffee. Pour a generous scoop of coffee into the chamber then, give it a gentle shake so that the coffee is level.
Step 5: Add water. Pour in hot water to the number one mark on the chamber, and stir for ten seconds until the coffee is fully immersed in the water.
Let the coffee brew for 30 seconds.
Step 6: Plunge. Insert the plunger and slowly but firmly press it down. Push it down faster when you hear a hiss.
Your espresso awaits. It's best enjoyed slowly so you can savor the complex flavors.

Recipe 2 - Cold drip: The laidback cool one
Cold drip coffee often graces the menus of trendy cafes, but did you know it's possible to create your own version at home?
Traditionally, cold drip coffee is made using a tall glass tower where the water slowly flows through and extracts the coffee. It has a different flavor profile from immersion methods where the coffee meets the water at once, bringing out the bright, clear, sweet flavors. This DIY version mimics the glass tower with the use of a humble plastic bottle. While it requires more patience than the other recipes, the results are worth it.
What you need
- An AeroPress Original or an AeroPress Clear with the supplied parts (a chamber, plunger, cap, stirrer, coffee scoop, and paper filters)
- A glass
- A 500ml plastic bottle
- A safety pin
- Water to fill the 500ml plastic bottle
- 32g of medium-fine coffee grounds
- Ice to serve
Recipe
Step one: Wet a paper filter. Wet a paper filter and place it in the cap.
Then, securely attach the cap to the AeroPress main chamber and place it over a cup.
Step two: Add the coffee to the chamber.
Step three: Wet another filter. Wet a second paper filter and put it on top of the coffee.
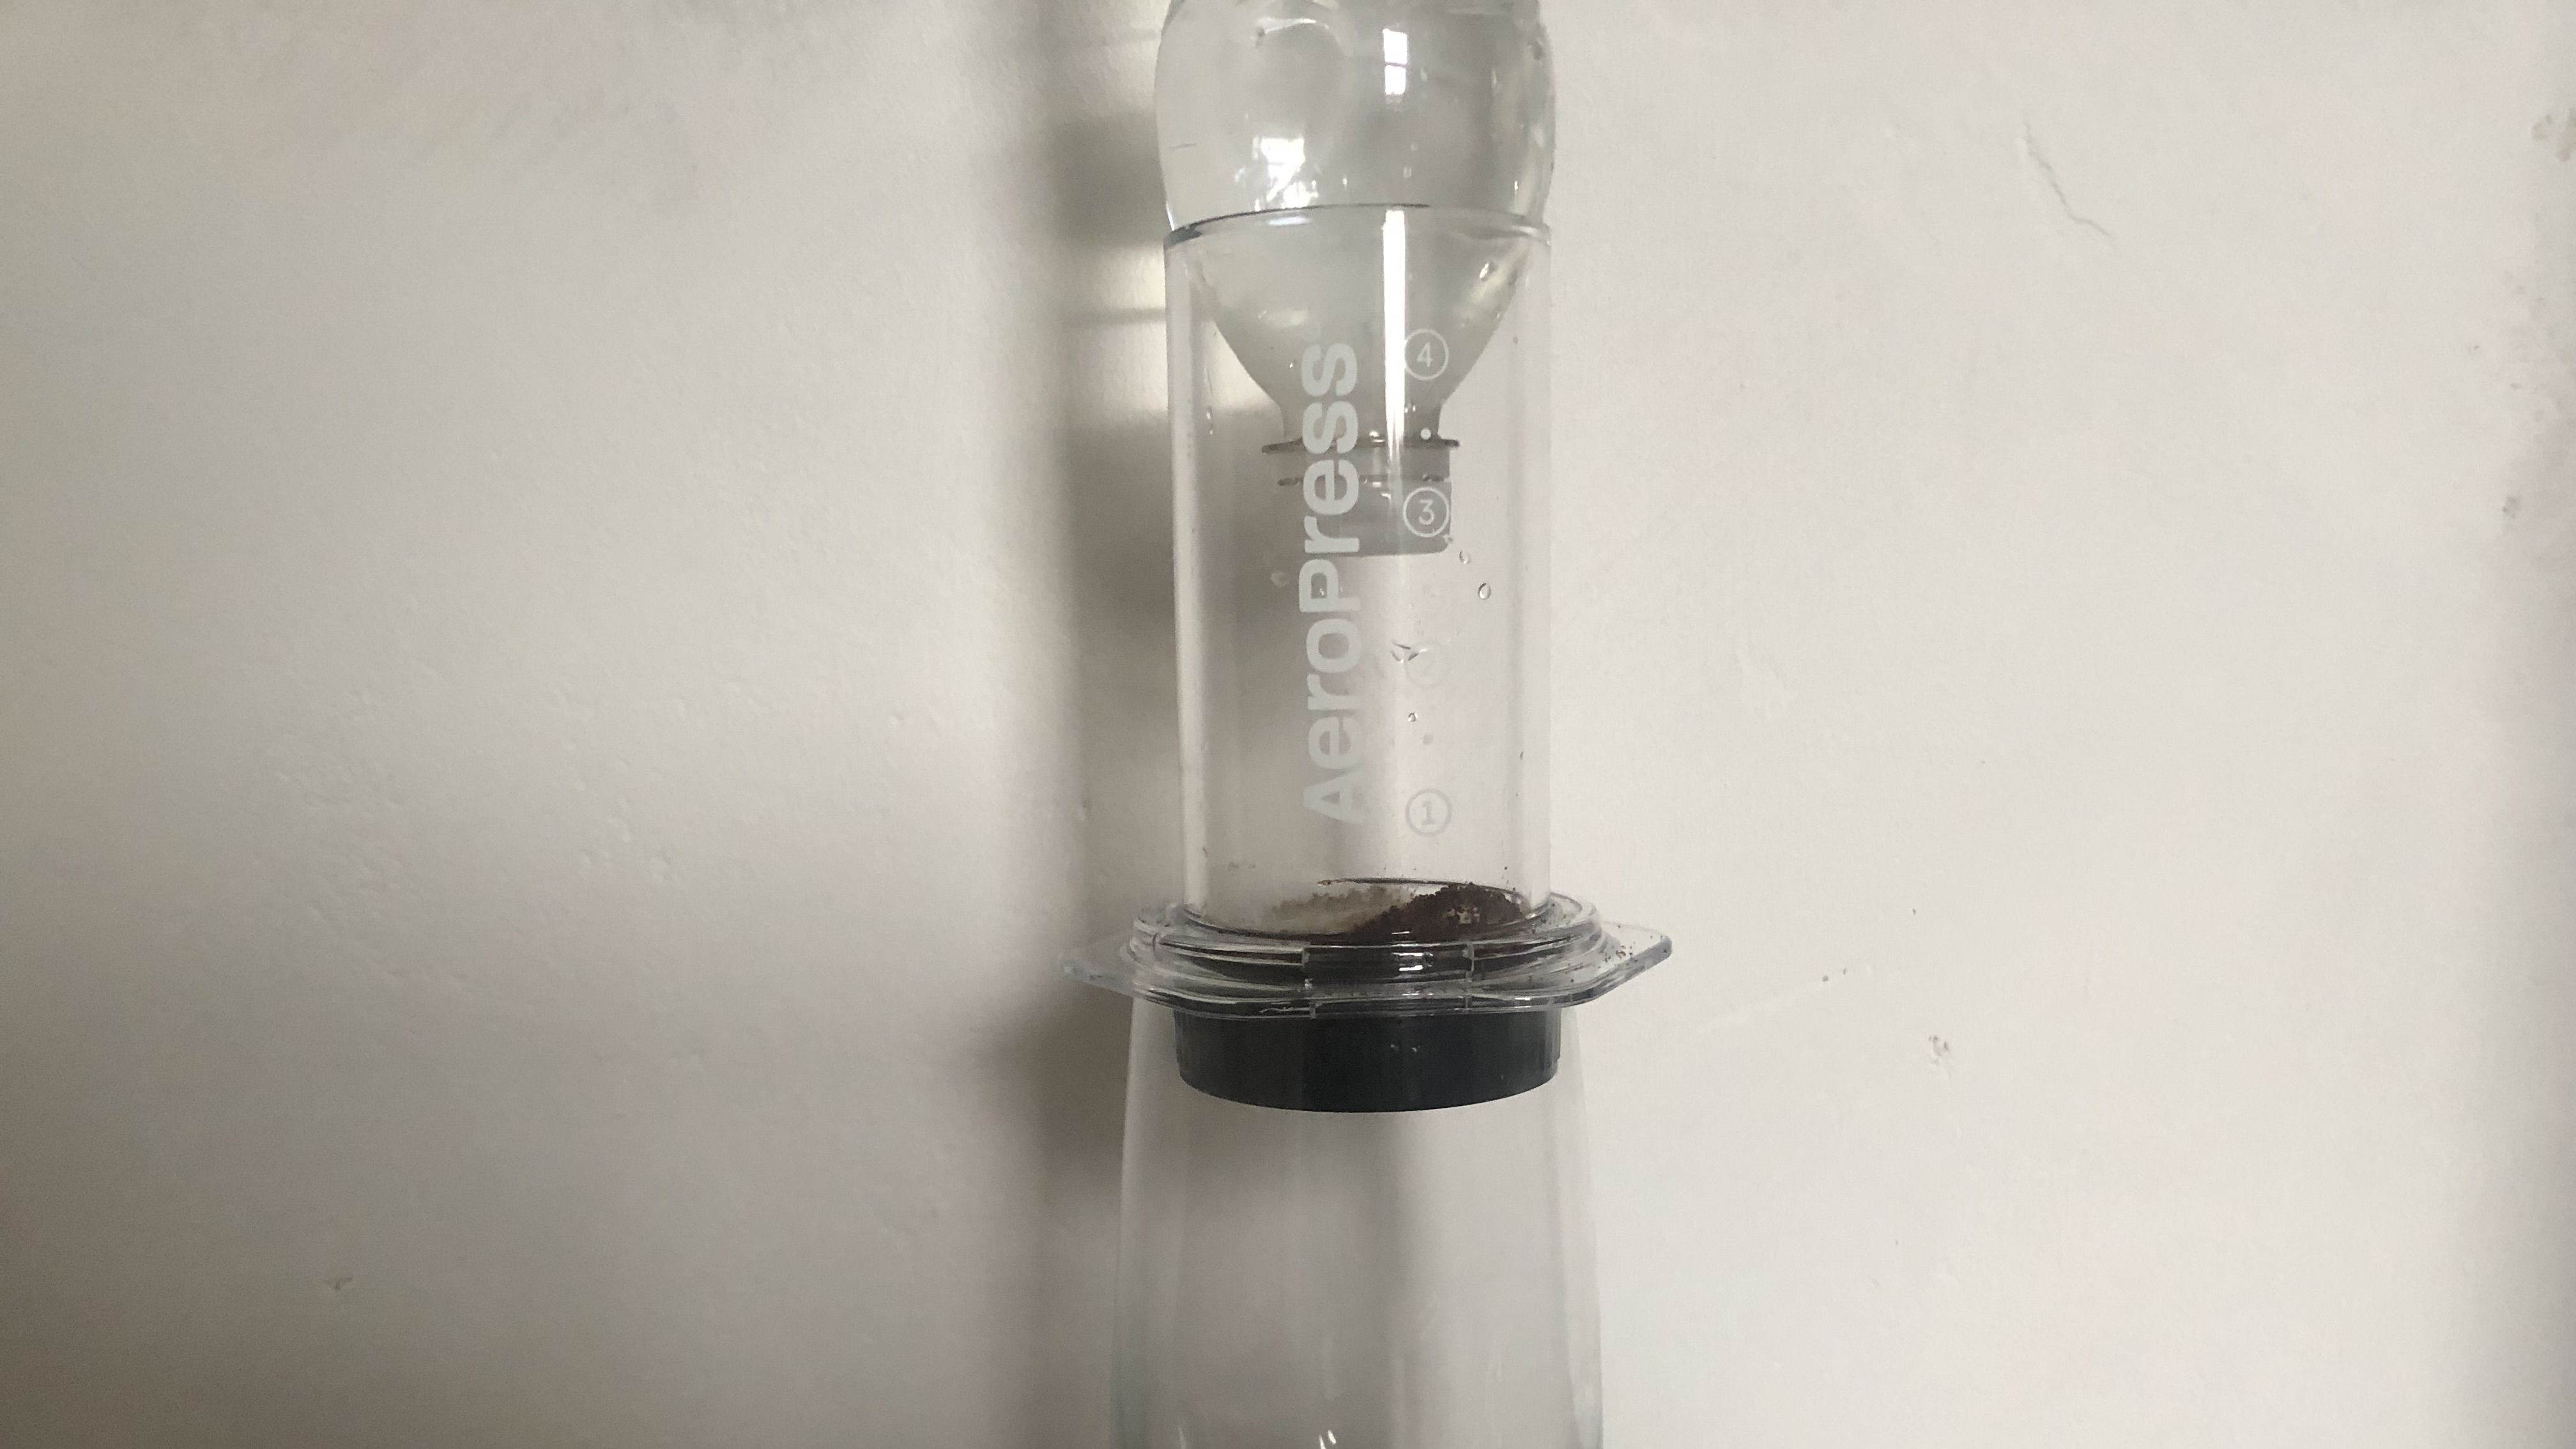
Step four: Add the AeroPress. Place the AeroPress on top of a glass.
Step five: Create a hole in the lid. Carefully poke a very small hole in the cap of your plastic bottle using the safety pin. Alternatively, you could try opening the cap a fraction to let the water slowly drip out.
Step six: Stack the bottle. Stack your plastic bottle on top of the AeroPress. Fill it with water if it's not full already.
Step seven: Extract the coffee. Allow the water to slowly drip through and extract the coffee.
After a couple of hours or so, all the water should have flowed out of the bottle into the cup. Enjoy your drink with ice.
Recipe 3 - Mocha - the indulgent one
Got a sweet tooth? This rich and decadent mocha will satisfy all your cravings. Coffee and chocolate are the perfect pairing, with the sweetness of the chocolate balancing the coffee. If you're looking to treat yourself, there are plenty of ways to add a little luxury. You may want to top it off with a little whipped cream or warming spices like cinnamon and nutmeg for a pick-me-up.
While you can make this mocha with any coffee beans, you may want to opt for varieties with notes like nuts or chocolate that pair well with the chocolate. On the same theme, you may want to select a nut milk like hazelnut to make that chocolate really sing.
What you need
- An AeroPress Original or an AeroPress Clear with the supplied parts (a chamber, plunger, cap, stirrer, coffee scoop, and paper filters).
- A mug
- A kettle
- 30g of medium-fine coffee grounds
- A saucepan
- A whisk
- 150 ml of milk of your choice.
- 1 teaspoon of cocoa powder
Recipe
Step one: Boil the kettle. Boil the water using the kettle. If you have a temperature-controlled device, choose a setting between 195-205 degrees Fahrenheit. Otherwise, wait for about 30 seconds after the kettle has boiled.
Step two: Heat the milk and cocoa. Heat the milk and cocoa powder together in a saucepan. Use a whisk to get it smooth.
Step three: Simmer. Turn off the heat as soon as it starts to simmer.
Step four: Wet a filter. Wet a paper filter and place it in the AeroPress cap.
Step five: Attach the cap. Attach the cap securely to the AeroPress chamber.
Step six: Add coffee. Add two scoops of coffee to the chamber.
Step seven: Add water. Pour your hot water into the chamber until it reaches number two.
Then, stir the coffee for ten seconds.
Step eight: Plunge. Gently push down the plunger.
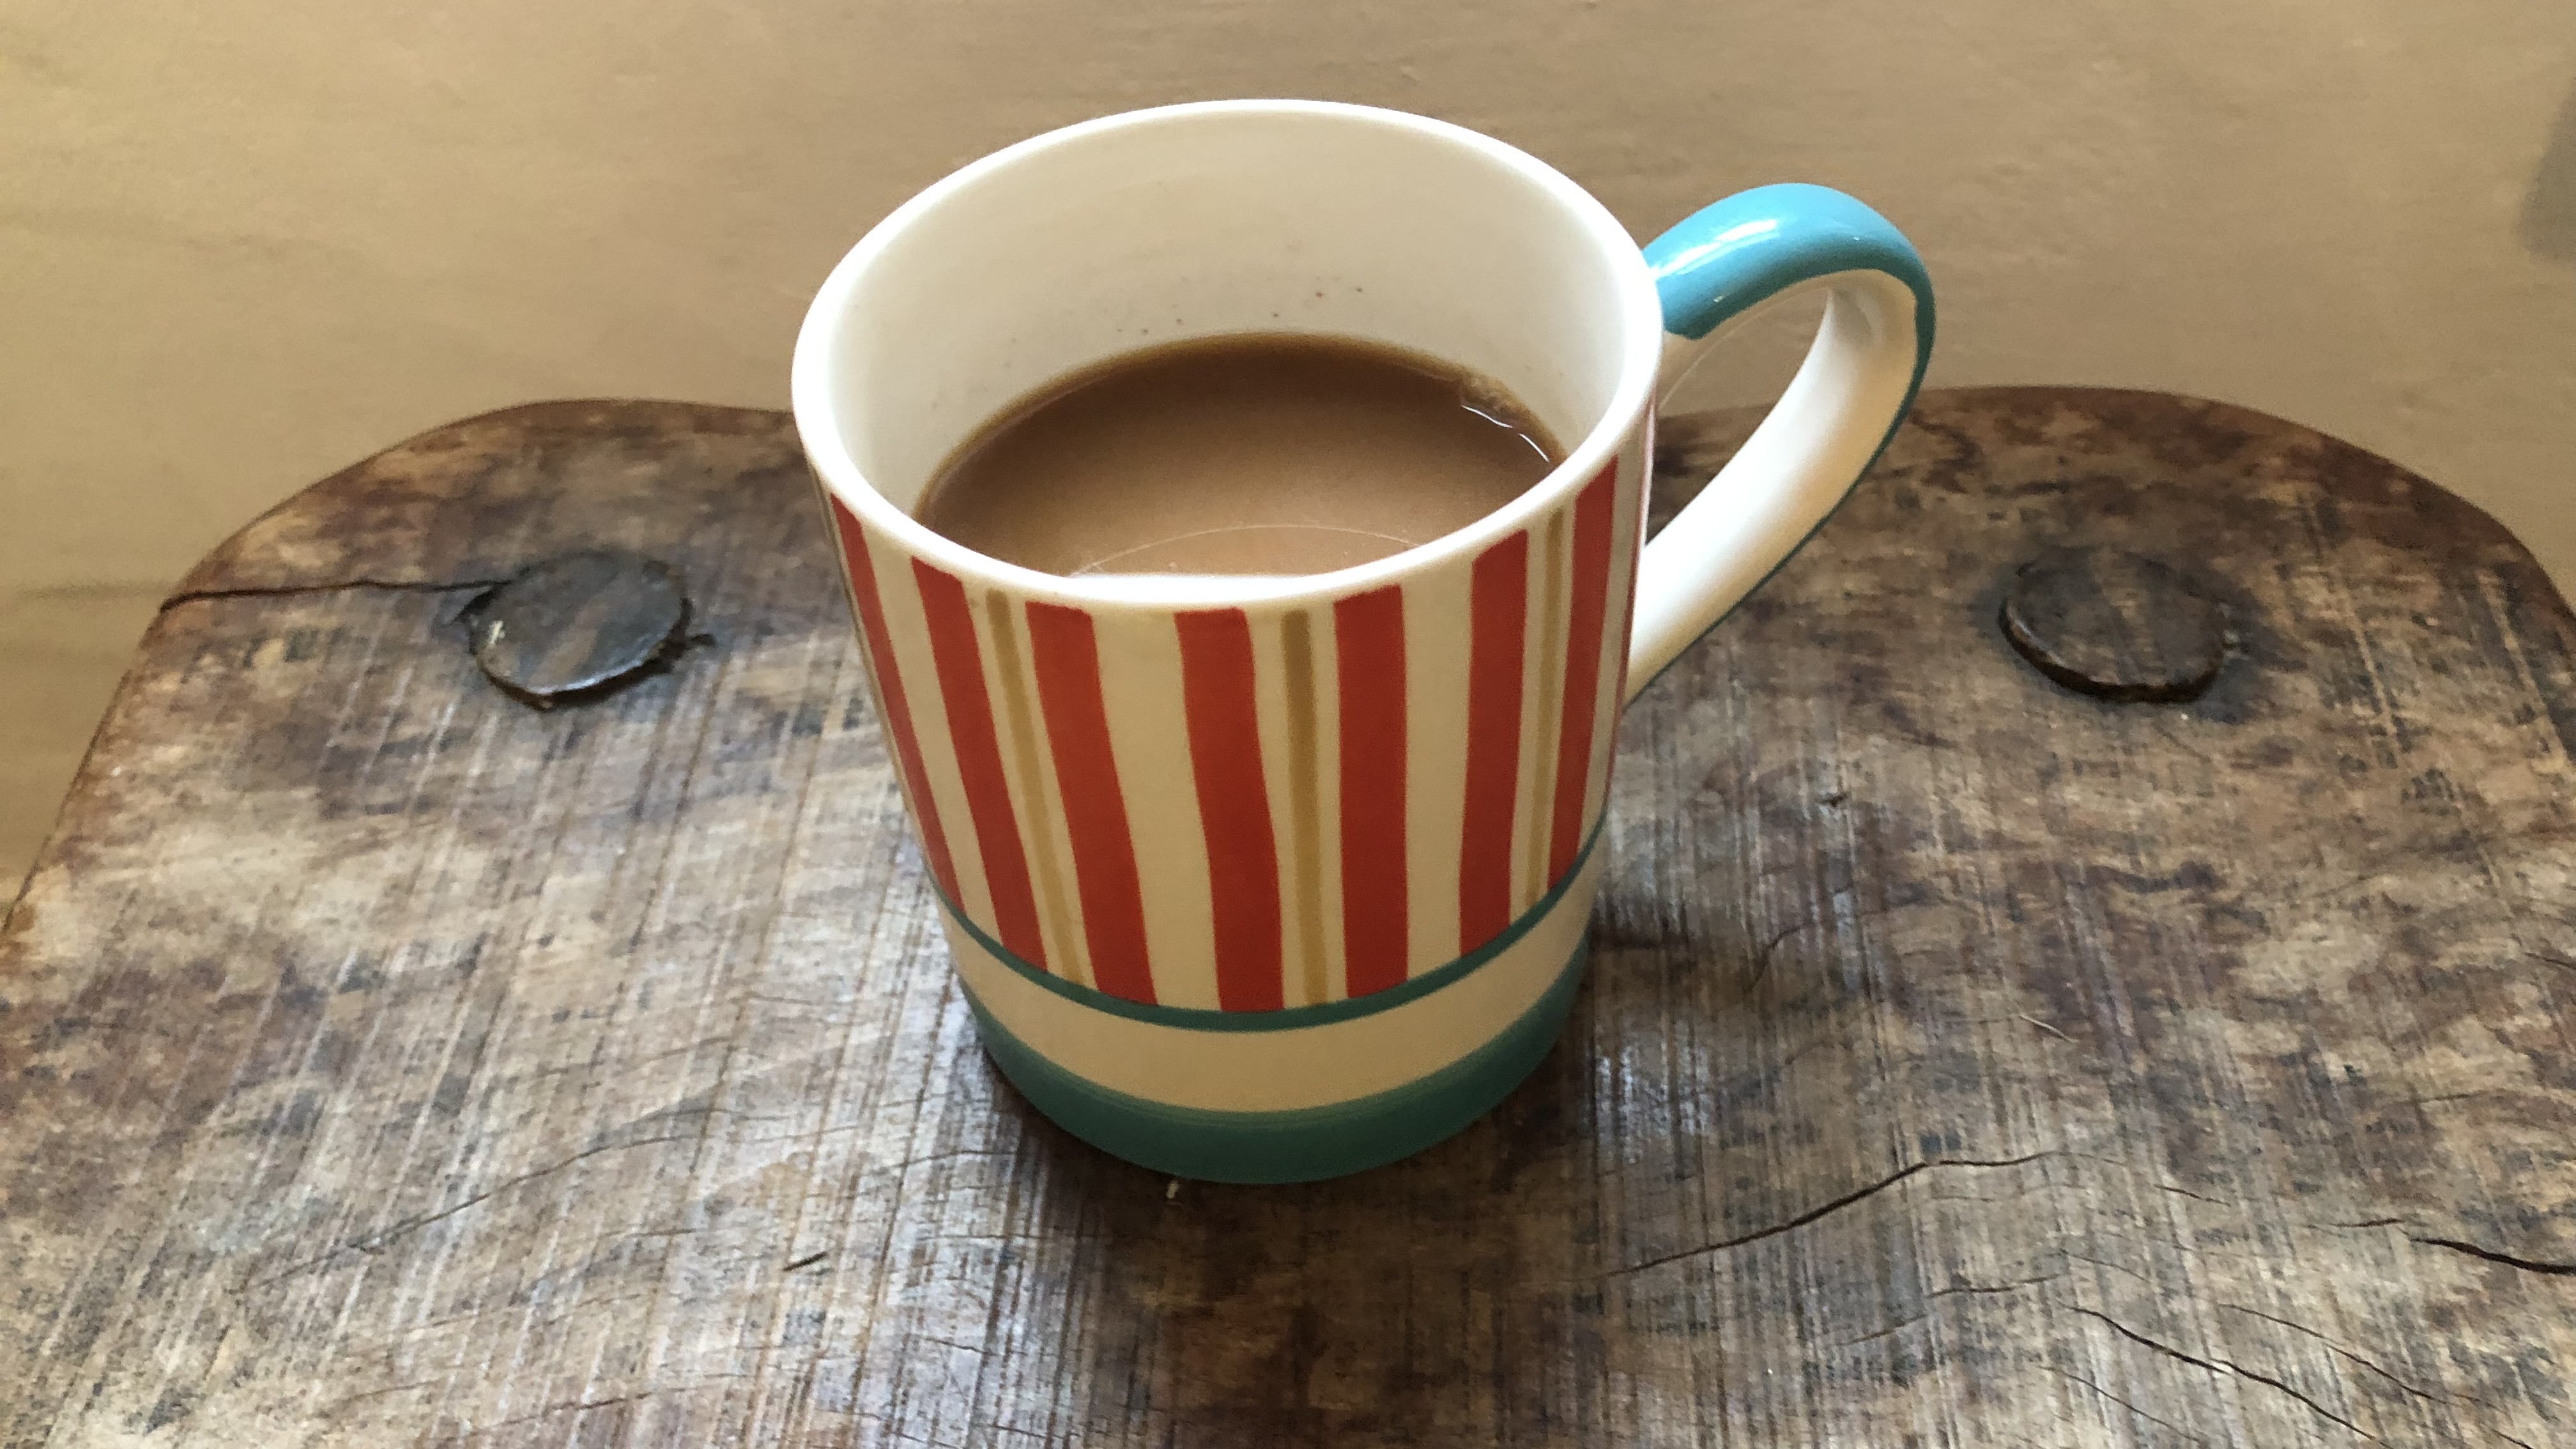
Step nine: Combine. Add the milk and cocoa mixture to your coffee.
Recipe 4 - Cold brew: The speedy one
Want cold brew coffee without the wait? Usually, the process takes hours so you need to plan ahead. One of the best things about the AeroPress is that it can rapidly cut down on the brewing time so you can enjoy a cold brew when the craving strikes.
Curious about the secret to the fast brewing time? It's pretty simple - you extend the stirring time to speed up the extraction. Don't be tempted to skip this step!
Cold brew is a different extraction process that emphasizes a whole new flavor profile. It brings out the sweetness and almost chocolatey notes of the coffee. It's a good choice if you find strong coffee too bitter. It's also a mellow way to appreciate the intricacies of flavor from the AeroPress brewing method.
What you need
- An AeroPress Original or an AeroPress Clear with the supplied parts (a chamber, plunger, cap, stirrer, coffee scoop, and paper filters).
- 30g of medium-fine coffee grounds
- Ice to serve
- Two glasses
Recipe
Step one: Prepare the water. Pour cold water into a glass and allow it to come to room temperature.
Step two: Wet a filter. Wet a paper filter and place it in the cap.
Step three: Attach the cap. Securely attach the cap to the AeroPress cylinder.
Step four: Add coffee. Add 30g of medium-fine coffee grounds to the cylinder.
Step five: Add water. Pour in the room temperature water up to the number two mark.
Then, stir for at least 60 seconds.
Step six: Plunge. Gently and slowly press down the plunger. The whole movement should take about 30-45 seconds.
Step seven: Add ice. Add ice and sip slowly to appreciate the mellow flavors.

Recipe 5 - Japanese flash brew: The ice-cold one
Looking to escape to the serenity of a Japanese tea room? This refreshing recipe helps you create space for a mindful moment, inspired by the version on the AeroPress website.
Flash brewing involves you brewing the coffee hot and immediately pouring it over ice. It gives you the best of both worlds - the intense flavor of hot coffee and the refreshing addition of ice.
What you need
- An AeroPress Original or an AeroPress Clear with the supplied parts (a cylinder, plunger, cap, stirrer, coffee scoop, and paper filters)
- 30g of medium-fine coffee grounds
- A tall glass
- A kettle
- Ice cubes
- Optional: A dash of milk or cream to serve
Recipe
Step one: Boil the kettle. Boil the water using the kettle. If you have a temperature-controlled device, choose a setting between 195-205 degrees Fahrenheit. Otherwise, wait for about 30 seconds after the kettle has boiled.
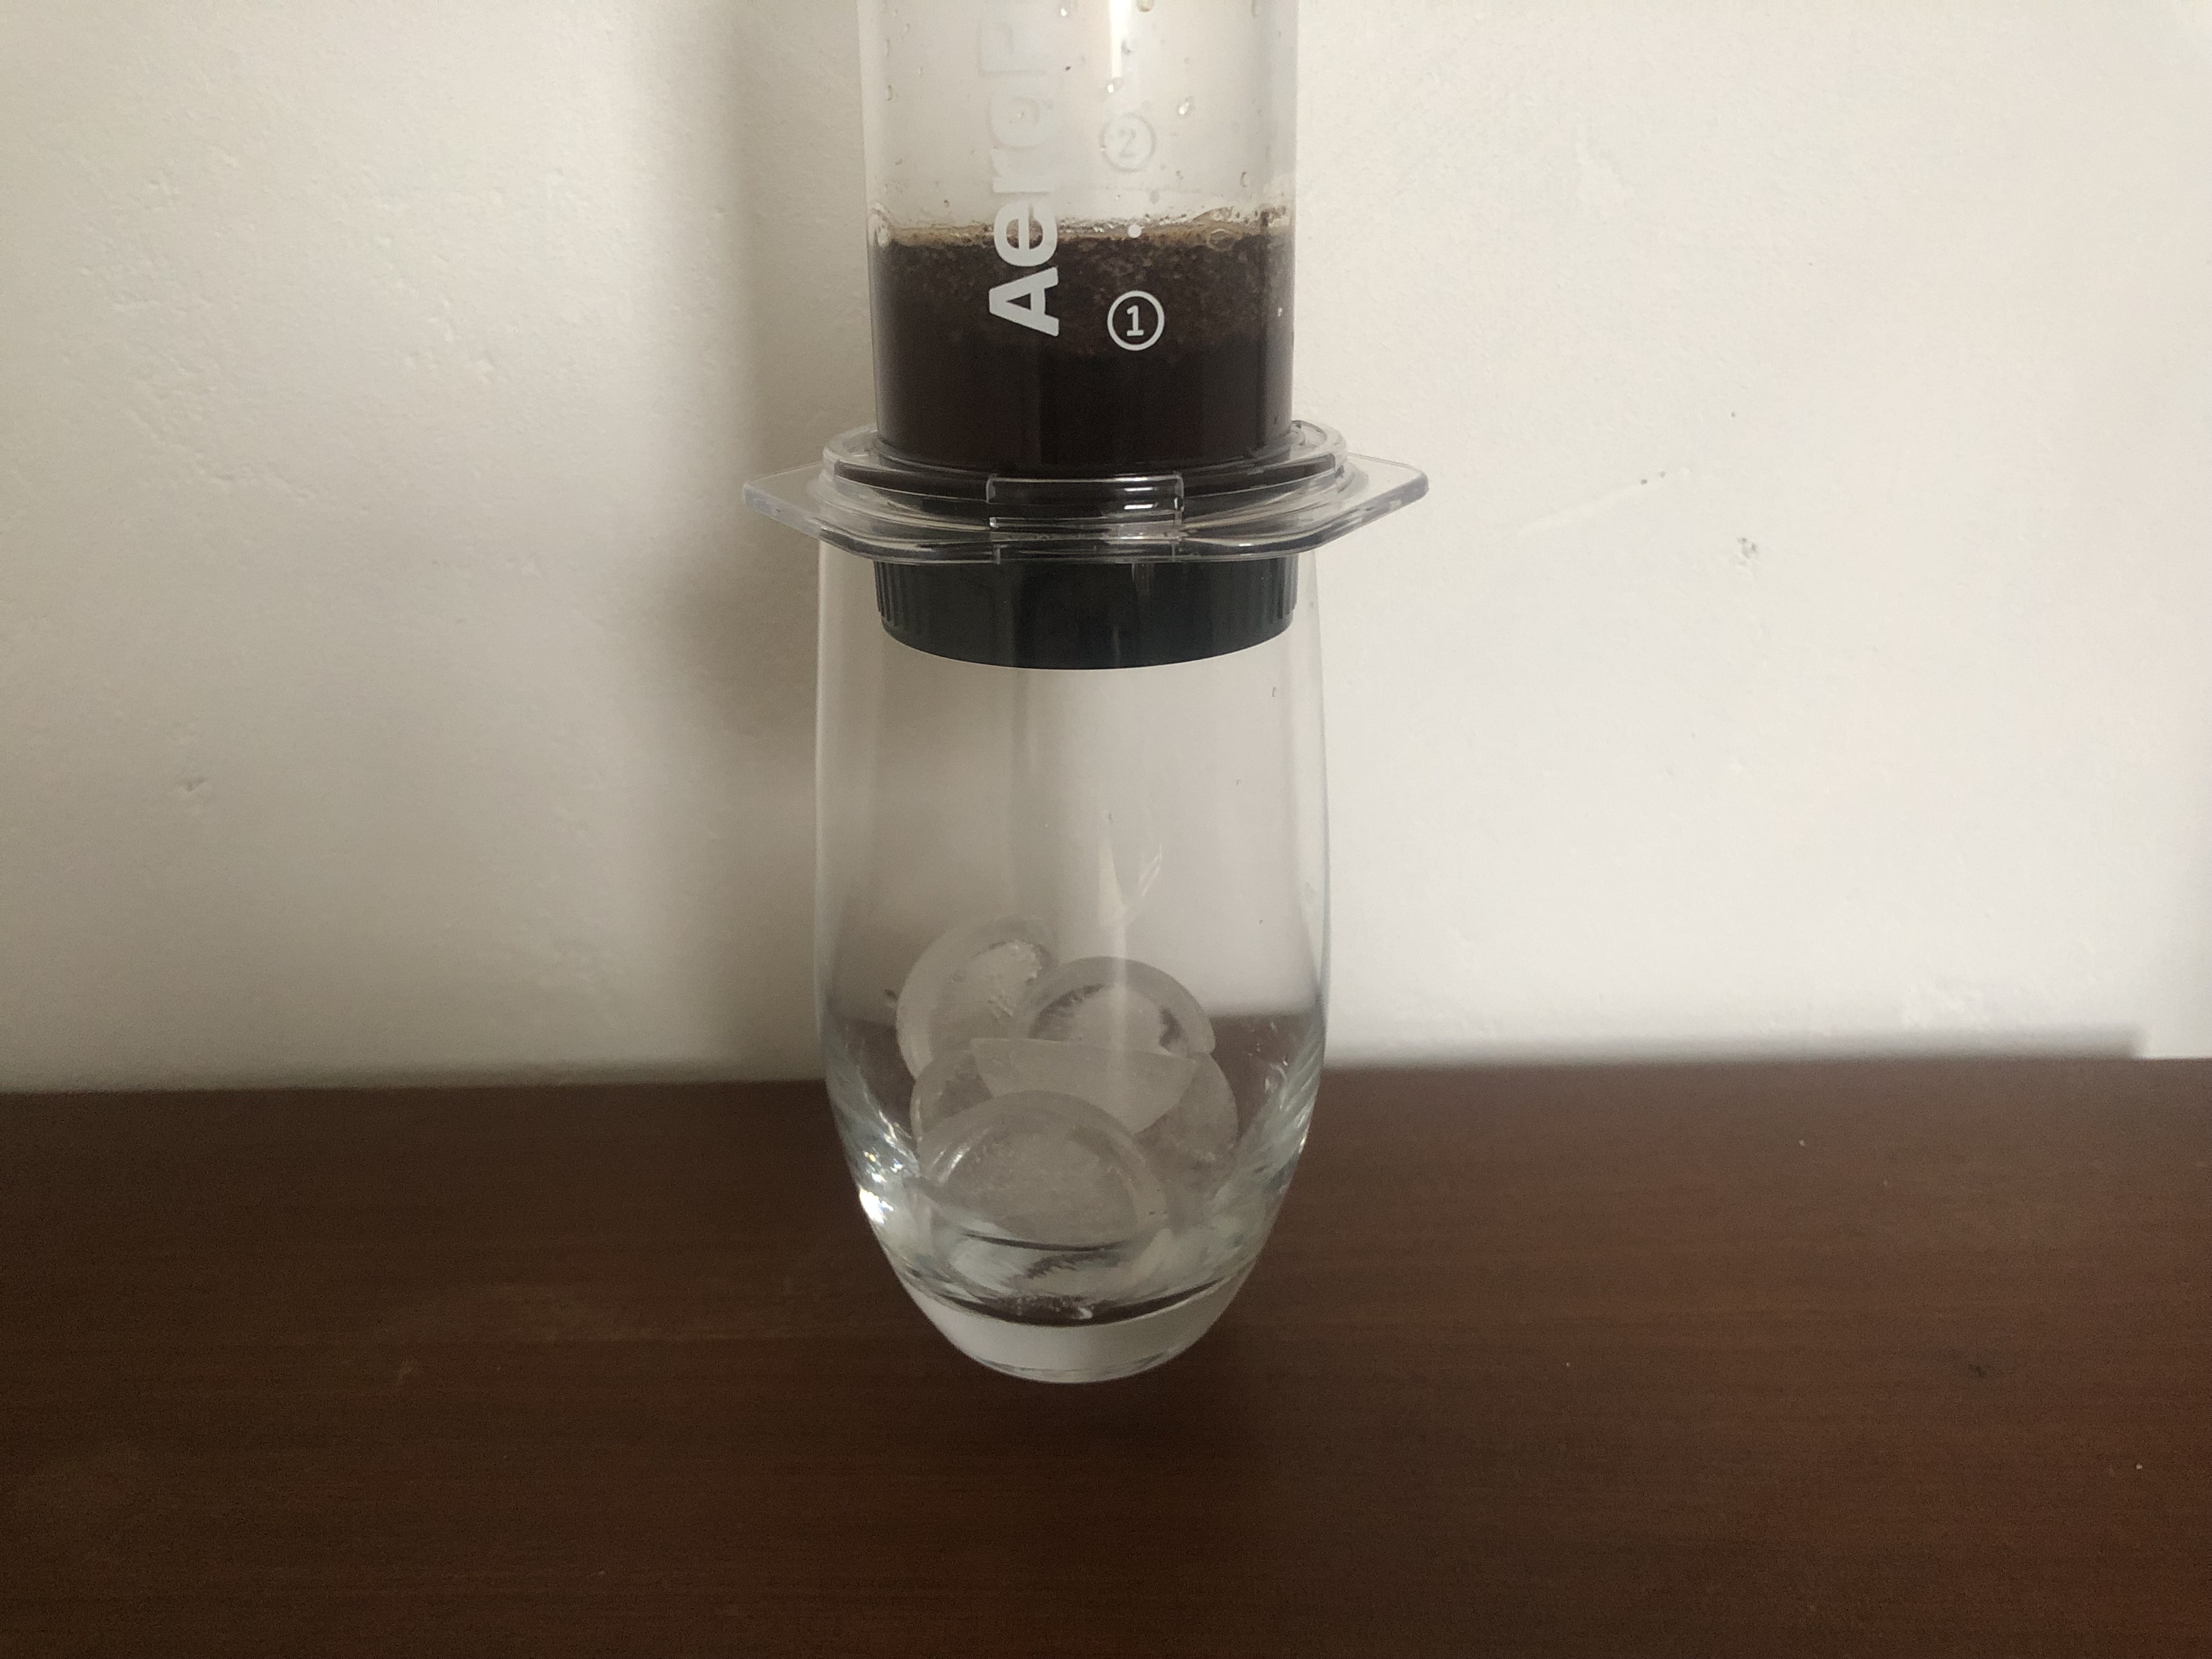
Step two: Add ice. Fill a tall glass with ice up to about 3cm from the top.
Step three: Wet a filter. Wet a paper filter and place it in the AeroPress cap.
Step four: Attach the cap. Securely attach the cap to the AeroPress chamber.
Step five: Add the coffee. Add the coffee grounds to the chamber.
Step six: Add water. Pour in hot water up to the number two mark.
Then, stir the coffee for ten seconds.
Step seven: Plunge. Insert the plunger and gently press it down until you hear a hiss.
Step eight: Add milk to taste. Add a dash of milk or cream to taste.
Recipe 6 - Cuban coffee: The vacation vibes one
Want to recreate that vacation feeling? This Cuban coffee recipe, inspired by the version on the AeroPress website, is just the ticket. It's super strong and super sweet - the perfect treat to get you into the vacation spirit.
This method involves brewing twice. The first brew produces the espumita that characterizes Cuban coffee. This caramel-colored sugary foam tops your drink. Try dark brown sugar to bring out that rich, molasses flavor for extra indulgence.
We recommend you use the AeroPress Flow Control Filter Cap for this recipe to give you added control. The AeroPress Metal Filter helps recreate the taste of coffee made in a moka pot.
What you need
- An AeroPress Original or an AeroPress Clear with the supplied parts (a chamber, plunger, cap, stirrer, coffee scoop, and paper filters).
- An AeroPress Flow Control Filter Cap
- An AeroPress Metal Filter
- A kettle
- 30g of medium-fine coffee grounds
- 2 tablespoons of dark brown sugar
- A fork
- Two mugs
Recipe
Step one: Boil the kettle. Boil the water using the kettle. If you have a thermometer like this one on Amazon, look for a setting between 195-205 degrees Fahrenheit. Otherwise, wait for about 30 seconds after the kettle has boiled.
Step two: Add sugar. Add two tablespoons of dark brown sugar to one of the mugs.
Step three: Wet a filter. Wet a paper filter and place it in the AeroPress Flow Control Filter Cap.
Step four: Add the metal filter. Add the AeroPress Metal Filter on top of the paper filter.
Step five: Attach the cap. Securely attach the cap to the AeroPress chamber.
Step six: Stack the chamber. Place the cap and chamber on top of the mug with sugar in it. The cap should sit directly on top of the mug.
Step seven: Add coffee. Add ground coffee to the chamber.
Step eight: add water. Fill the chamber with 3 fluid ounces of water.
Then, stir for ten seconds.
Step nine: Plunge. After thirty seconds, gently press the plunger to the bottom.
Then, remove the plunger by pulling the plunger out of the cylinder.
Step ten: Put the mug to one side. Place this coffee and sugar mixture to one side.
Step eleven: Add water. Add 4 fluid ounces of hot water to the chamber and place the AeroPress on top of your second mug. Allow it to brew for 30 seconds.
Step tweleve: Whisk the coffee and sugar. Meanwhile, vigorously whisk the coffee and sugar together until you get a caramel-colored foam - this is the espumita.
Step thirteen: Plunge. Press the plunger to the bottom and put the AeroPress to one side.
Add the espumita on top of your coffee, if you want, and enjoy the taste of vacation.
Frequently asked questions about the AeroPress
What else can you do with an AeroPress?
A major draw of the AeroPress is its versatility. While you may start off with espressos, lattes, and americanos, you really start to see its potential when you try out other recipes.
You can experiment with everything from hot drinks to iced coffees. Thanks to the clever design, slight variations in the process make a huge difference to the taste. The possibilities are almost endless - you can change up the beans, the brewing time, and the ratio of coffee to water. And that's before you start adding extras like sugar, cocoa, or cream.
In fact, there are so many possibilities that AeroPress has an annual competition for fans to show off their recipes and battle it out for the title of world champion.
What is an AeroPress good for?
An AeroPress stands out for serving up exceptional coffee, fast. It makes great-tasting coffee much more accessible - no need to invest in a fancy machine. As it's so versatile, it offers lots of possibilities for tweaking and toying with recipes to fine-tune them to your tastes.
The AeroPress is also incredibly practical thanks to its lightweight but robust design. You can pop it in your bag and take it with you to work and it can even survive traveling, making it the perfect companion for outdoor adventures.
Is it worth getting an AeroPress?
The decision about whether to buy an AeroPress really boils down to personal taste and your lifestyle. If you consider yourself a coffee enthusiast and love tinkering with different recipes, it's a brilliant choice. It's much more rewarding to make discoveries with a manual coffee maker rather than pressing a button on a machine. If that appeals, you'll get your money's worth. The lightweight, portable design makes it particularly attractive to busy people who are always on the go.
On the other hand, it may not be the best buy if you like to enjoy coffee with friends or family. The AeroPress Original only serves the equivalent of three espressos or one tall drink so may not be the best choice in this scenario.
Is AeroPress good for beginners?
If you're just getting started on your coffee journey, the AeroPress is simple and accessible enough for beginners. It also delivers a cleaner brew, which is less of an acquired taste than more bitter brewing methods like French press coffee.
But the AeroPress really comes into its own with coffee lovers who are looking to experiment with different recipes. It's particularly well suited to connoisseurs who want to fine-tune drinks to their tastes.


