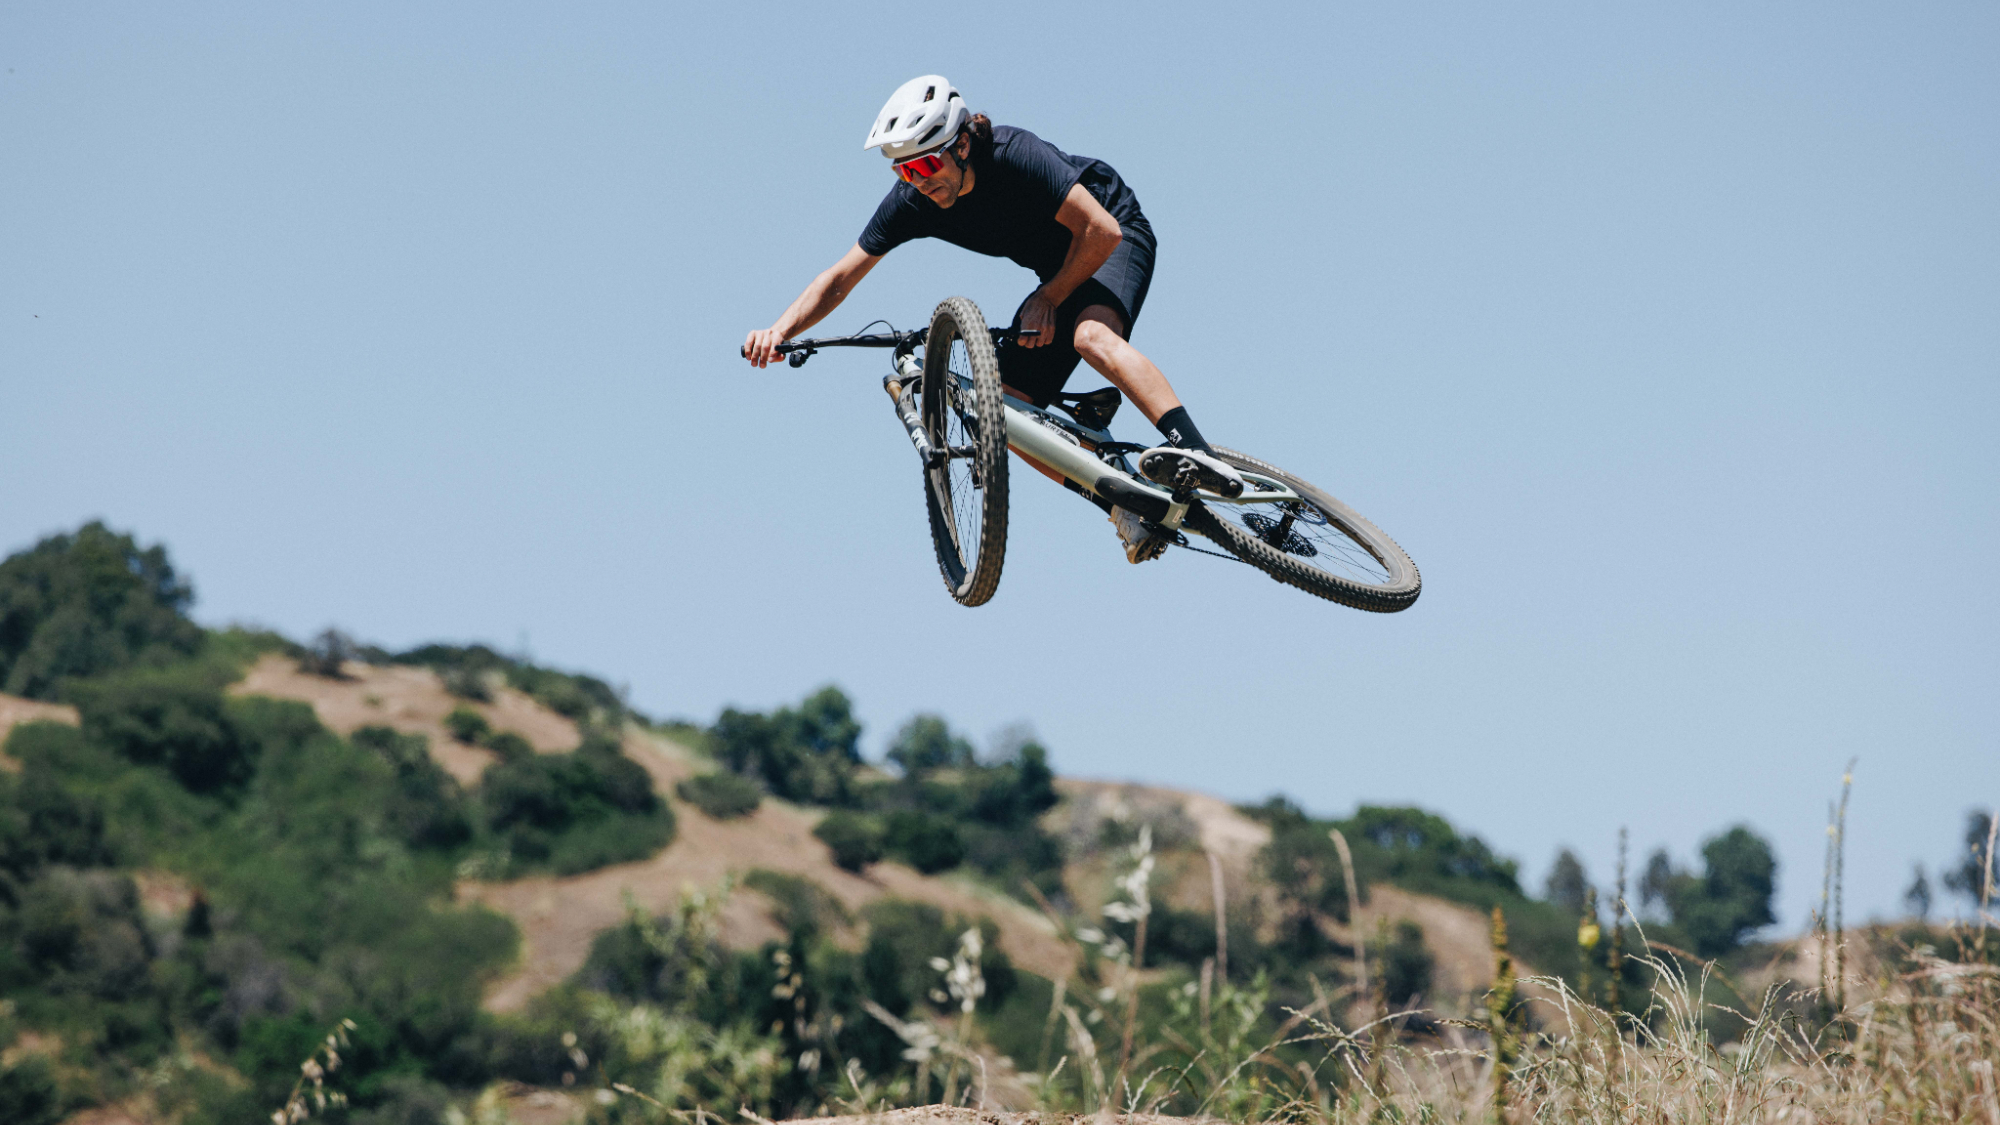
He's tested a ton of kit that could turn your current mountain bike into your dream ride, but how do you decide which kit to buy, or whether you even need it all? Here’s what forty years of riding over a quarter of a century of professional kit testing has taught our reviewer-in-chief, Guy Kesteven, about MTB upgrading.
1. Do you really need new?
Before you start shopping, do you really need new stuff? Refreshing existing parts is much cheaper than replacing them and of course, it's far less harmful to the environment too. Here are the key areas where a refresh can work wonders...
- Wheels: That stiff and sticky suspension and those sluggish wheels might be just a set of fresh, premium bearings away from feeling fantastic again.
- Brakes: Lots of people waste money replacing brakes that could feel brand new with a simple service. Or be powered up with bigger rotors or different pads for a fraction of the cost of a complete new bike.
- Suspension: Getting a suspension service with a custom tune will often make your fork and shock work better than brand new too.
- Set up: Be sure you’ve tried all the possible adjustments with suspension, tire pressure, handlebar and saddle position. I often find that what seems like core component problems can actually be solved by twiddling damper dial, playing with PSI, or shifting contact points slightly.
2. See the whole system
Still convinced you need to upgrade? OK, then make sure you look at the whole system that’s creating the symptoms you’re trying to fix.
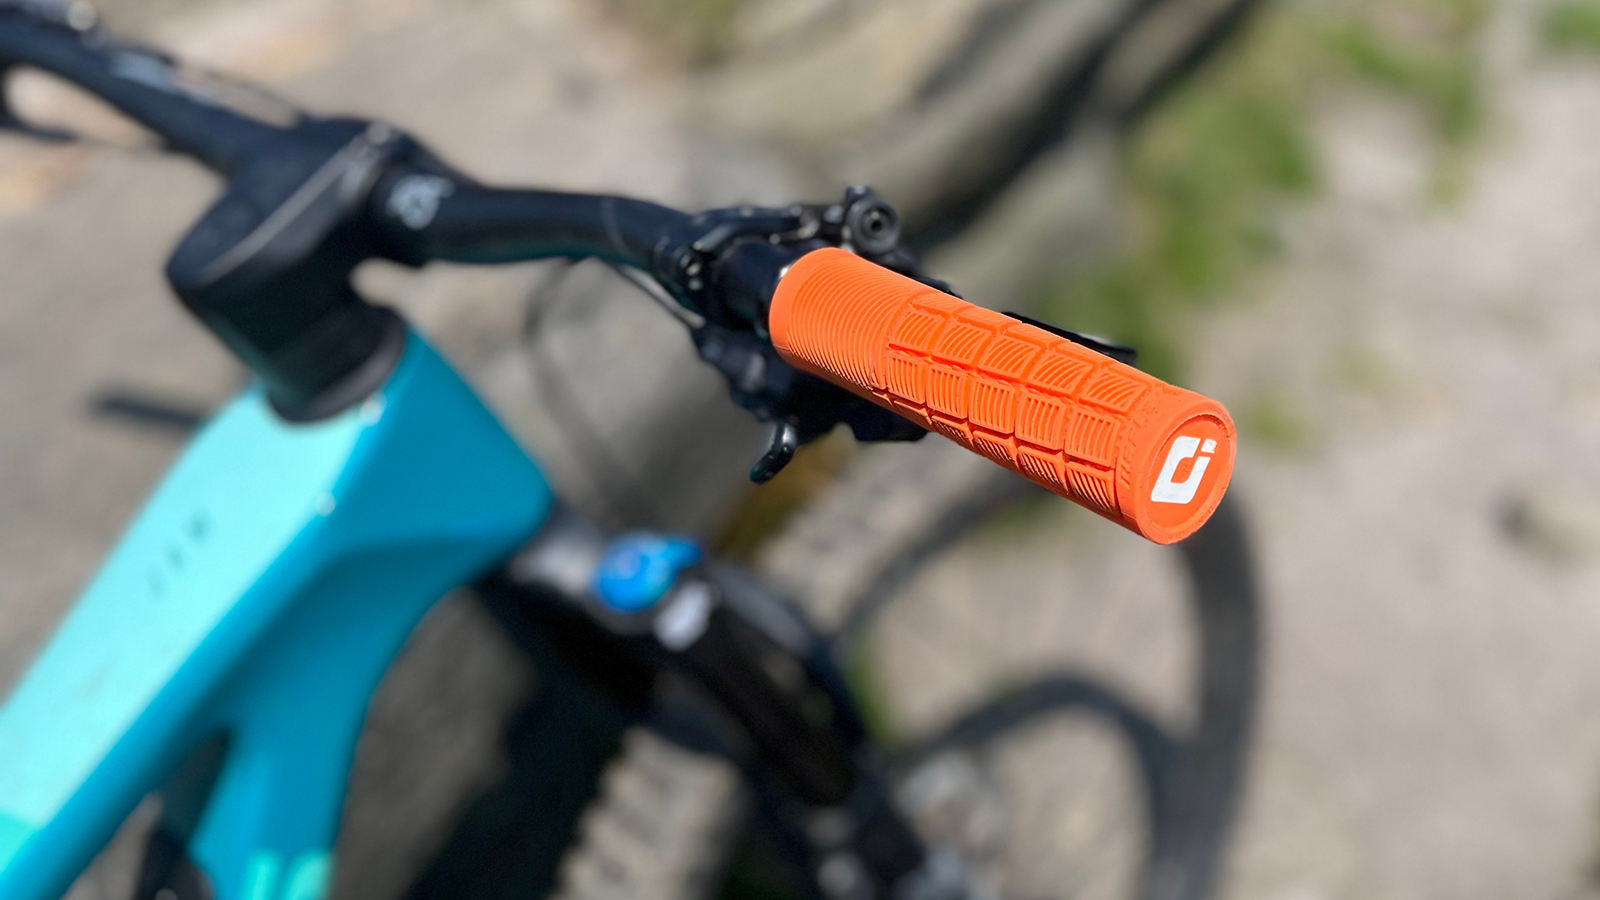
- Painful hands or spikey sensations as usually a grip or suspension issue. They could come from tire pressure, tire carcass, wheel stiffness, or suspension settings.
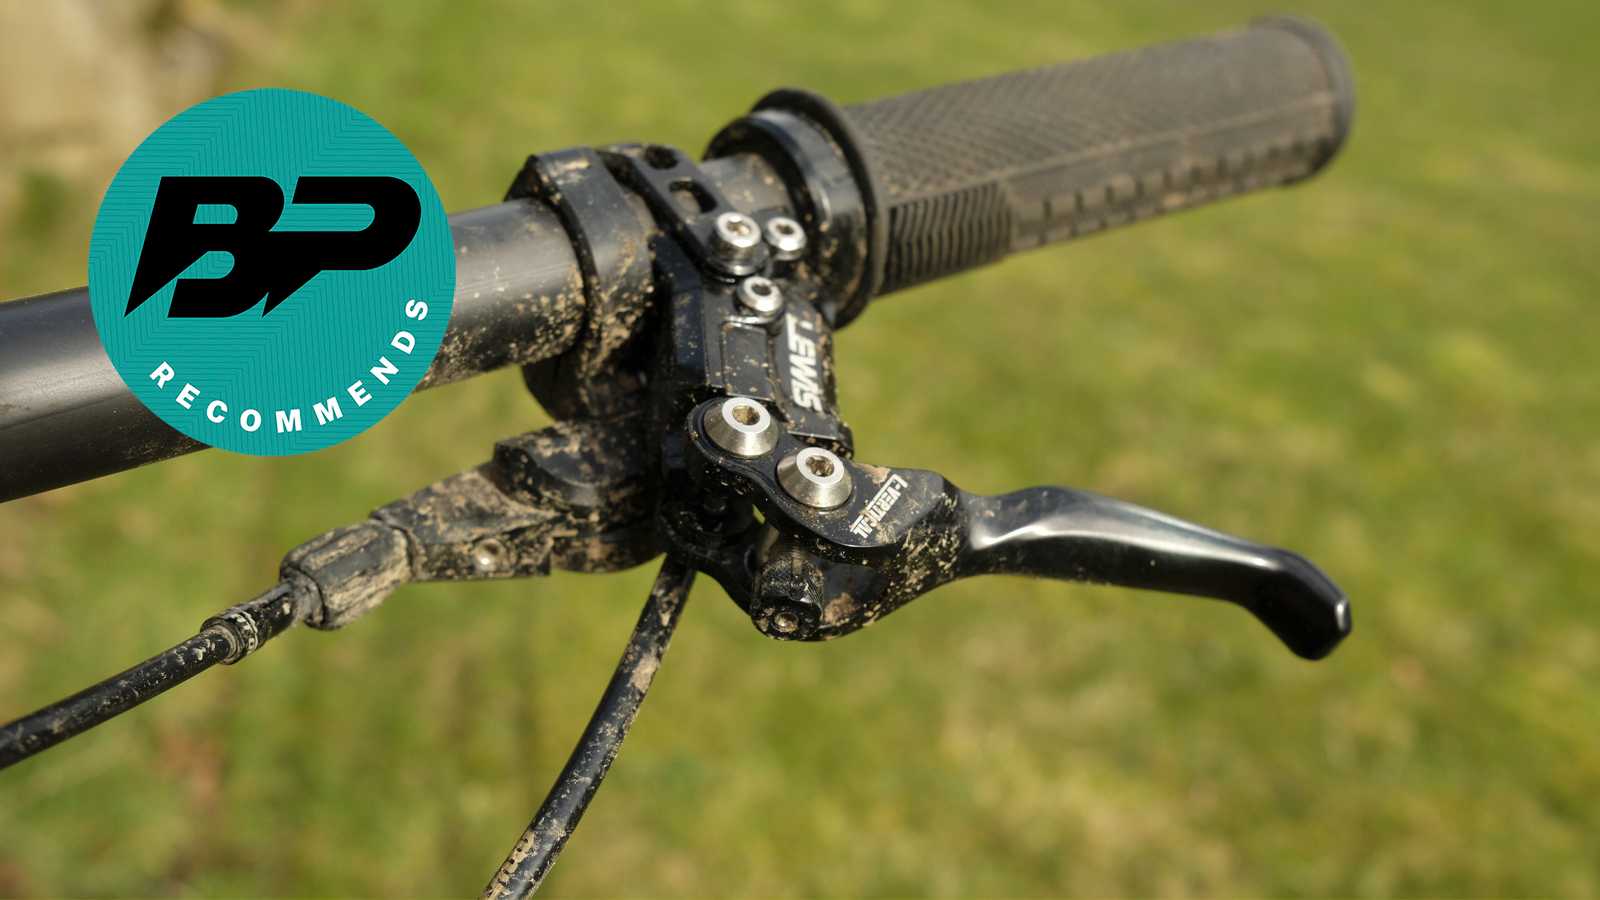
- I’ve had horrible rigid handlebars (cheap and expensive ones) ruin an otherwise brilliant bike in a test before.
- I’ve lost track of the number of times unsuitable – too heavy/sticky/fragile/sketchy, etc. – tires have ruined the ride of a bike too.
- Most of all, be honest about the riding you’re really doing and the riding you’re going to do. Buy the kit you actually need, not what your heroes ride. To be sure, read our reviews for recommendations of what gear will or won’t suit you rather than just skim reading the ratings.
3. Try before you buy
Even if you start cheap, switching every part of the ‘system’ to see what makes a difference is going to get expensive quickly. Especially if a change actually makes things worse rather than better.
That’s when swapping parts with friends or friendly local shops with demo parts can be a super useful way to try different options without paying for them.
- Demo days are also a great way to try different gear and brake systems back to back while pretending you’re interested in buying a new bike. I didn’t tell you to do that though.
- Trial potential upgrades on your own bike if you can though, as otherwise their individual performance will get lost in the overall experience of a different ride.
- If putting your bike on a diet is part of the upgrade plan, then (wherever possible) weigh the components you were thinking of upgrading to. Or find reviews with actual weights not claimed weights or ones that just so happen to be the same as manufacturer's numbers. Comparing those numbers to the self-weighed weights of the kit you already have might well be a surprise. While the scales never lie, marketing departments and lazy reviews often do.
4. Start cheap
Nobody is arguing that those new all-gold Fox Factory forks look as fancy as hell – and that’s valid enough reason to upgrade for some riders. However, if you want increased function for your financial investment don’t waste money you don’t have to by leapfrogging cheap fixes.
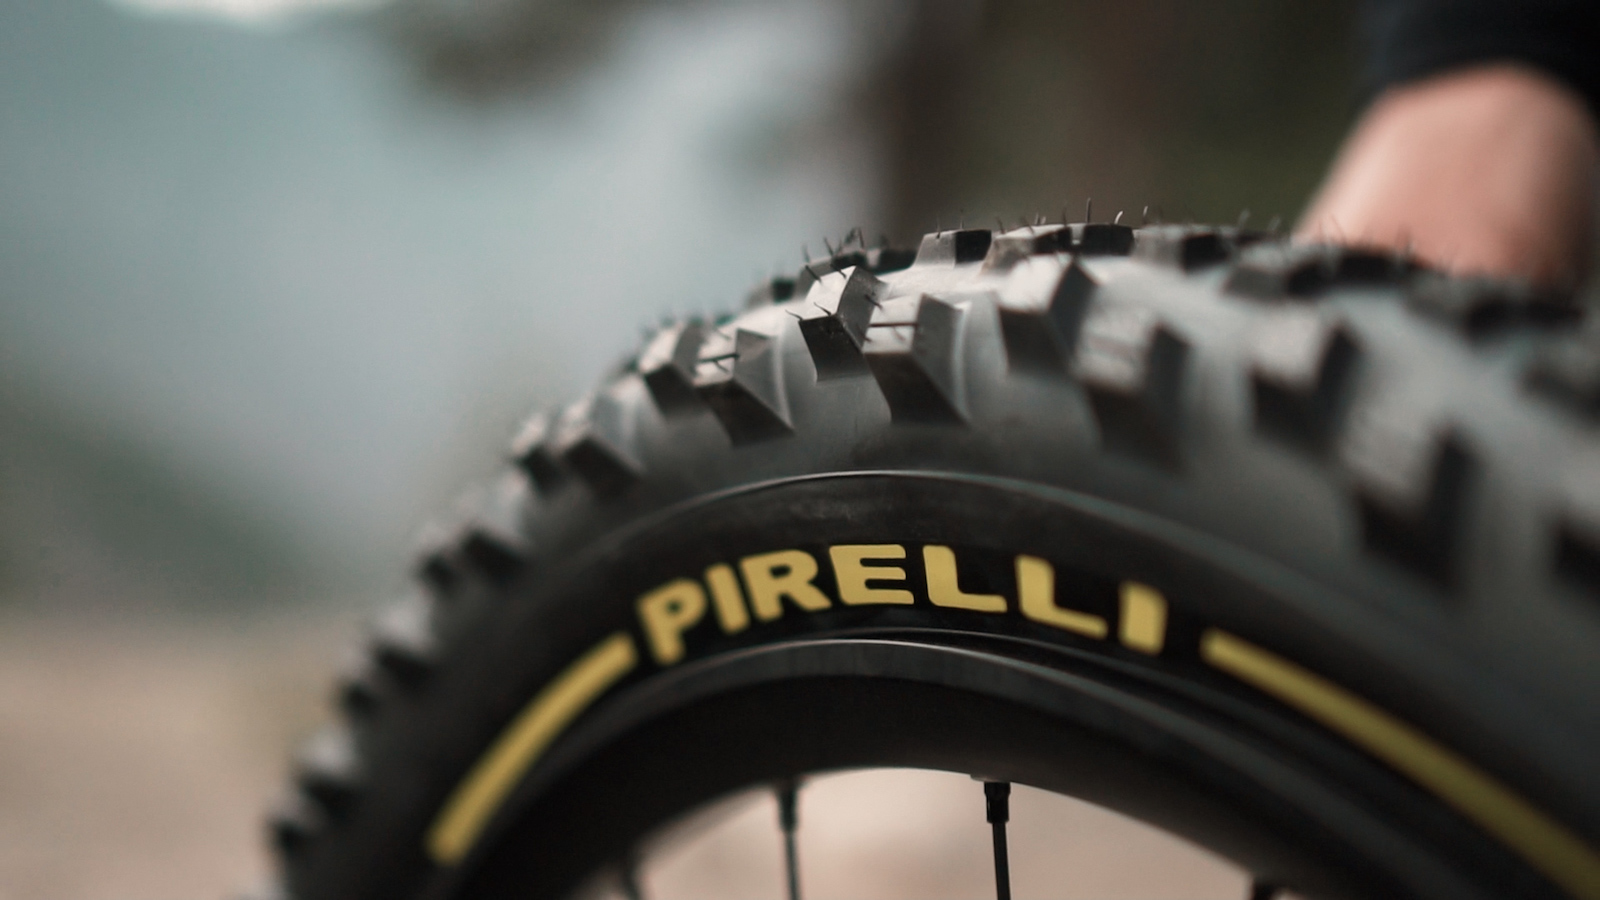
- I’m not just talking about functionally buying identical Fox Performance Elite forks for less money either. While premium tires can seem expensive, the difference they can make to overall performance and ride character is incredible. At which point an $80 Pirelli suddenly seems a bargain compared to dropping a $1,339 on a Fox 36 Grip X2 and then choking it with the wrong rubber.
- Talking of rubber, turning your existing tires tubeless if they – and the rims – are compatible is almost certainly the best value upgrade in terms of ride improvement and survival.
- Grips, brake pads and even the chain lube you use can also make a genuine difference to performance for comparative pocket money compared to headline components.
5. Measure twice, buy once
Before you press the 'buy' button on anything, be sure that you’re buying the right sized or right fitment part for your bike. Especially if there are loads of potential options or you’re buying sale stock when the biggest discounts are generally on the freakiest shapes and sizes.
- Seatpost, stem and handlebar diameters are the obvious dimensions of doom. Don’t forget to check the maximum insertion depth or stroke length of dropper you can fit between your butt and the bike though.
- Don’t assume all SRAM cassettes will fit on all SRAM-compatible freehubs or Shimano on Shimano as there are actually three types of freehubs. To really confuse matters, cheap cassettes from both brands sit on the same freehub, but neither of the brand's expensive options play nicely together.
- Before you think an extra long fork will make you into the next Loic Bruni, check that your frame warranty can handle more travel than it came fitted with. And even if does, don’t forget you might be about to ruin the handling of your bike by messing with all the angles.
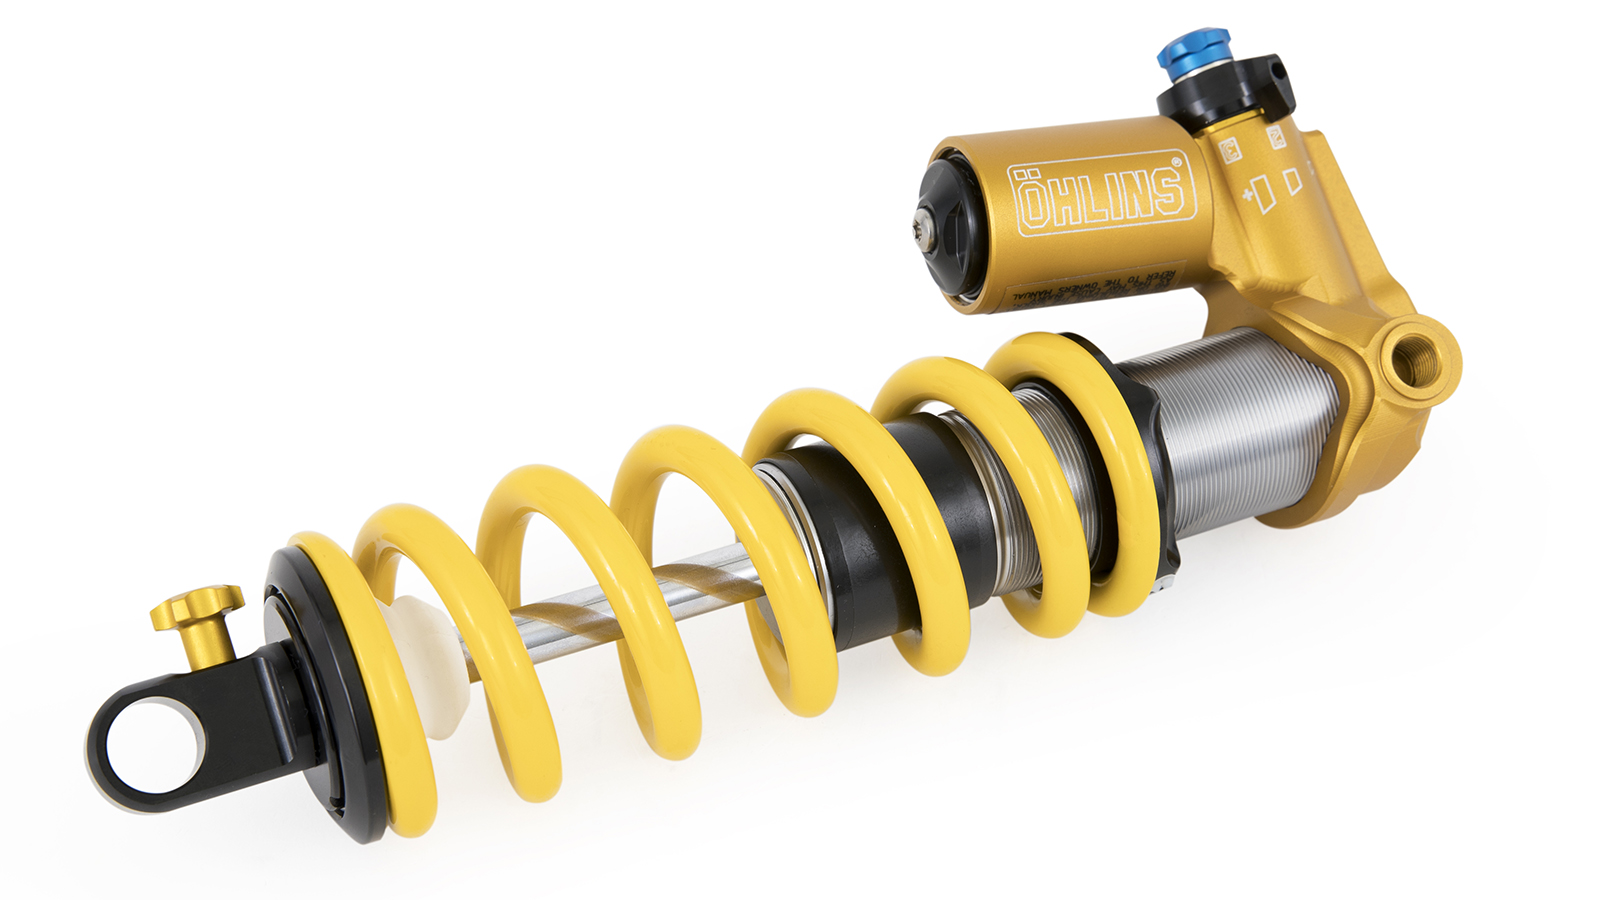
- If it's a shock you’re switching then it’s even more complex. Not only are dimensions and stroke length, which come in imperial and metric options crucial. Conventional or trunnion mounting style, air or coil spring, inline, or piggyback, or just the adjuster and/or fill valve position can all make a shock incompatible with your bike. Some bikes need very specific damping tunes to work well with their ‘kinematics’ (basically the suspension geometry) too.
- Be careful listening to ‘experts’ on MTB forums about ‘overstroking’ bikes with longer shocks or fitting aftermarket linkages either as I’ve seen more frames broken that way than any other.


