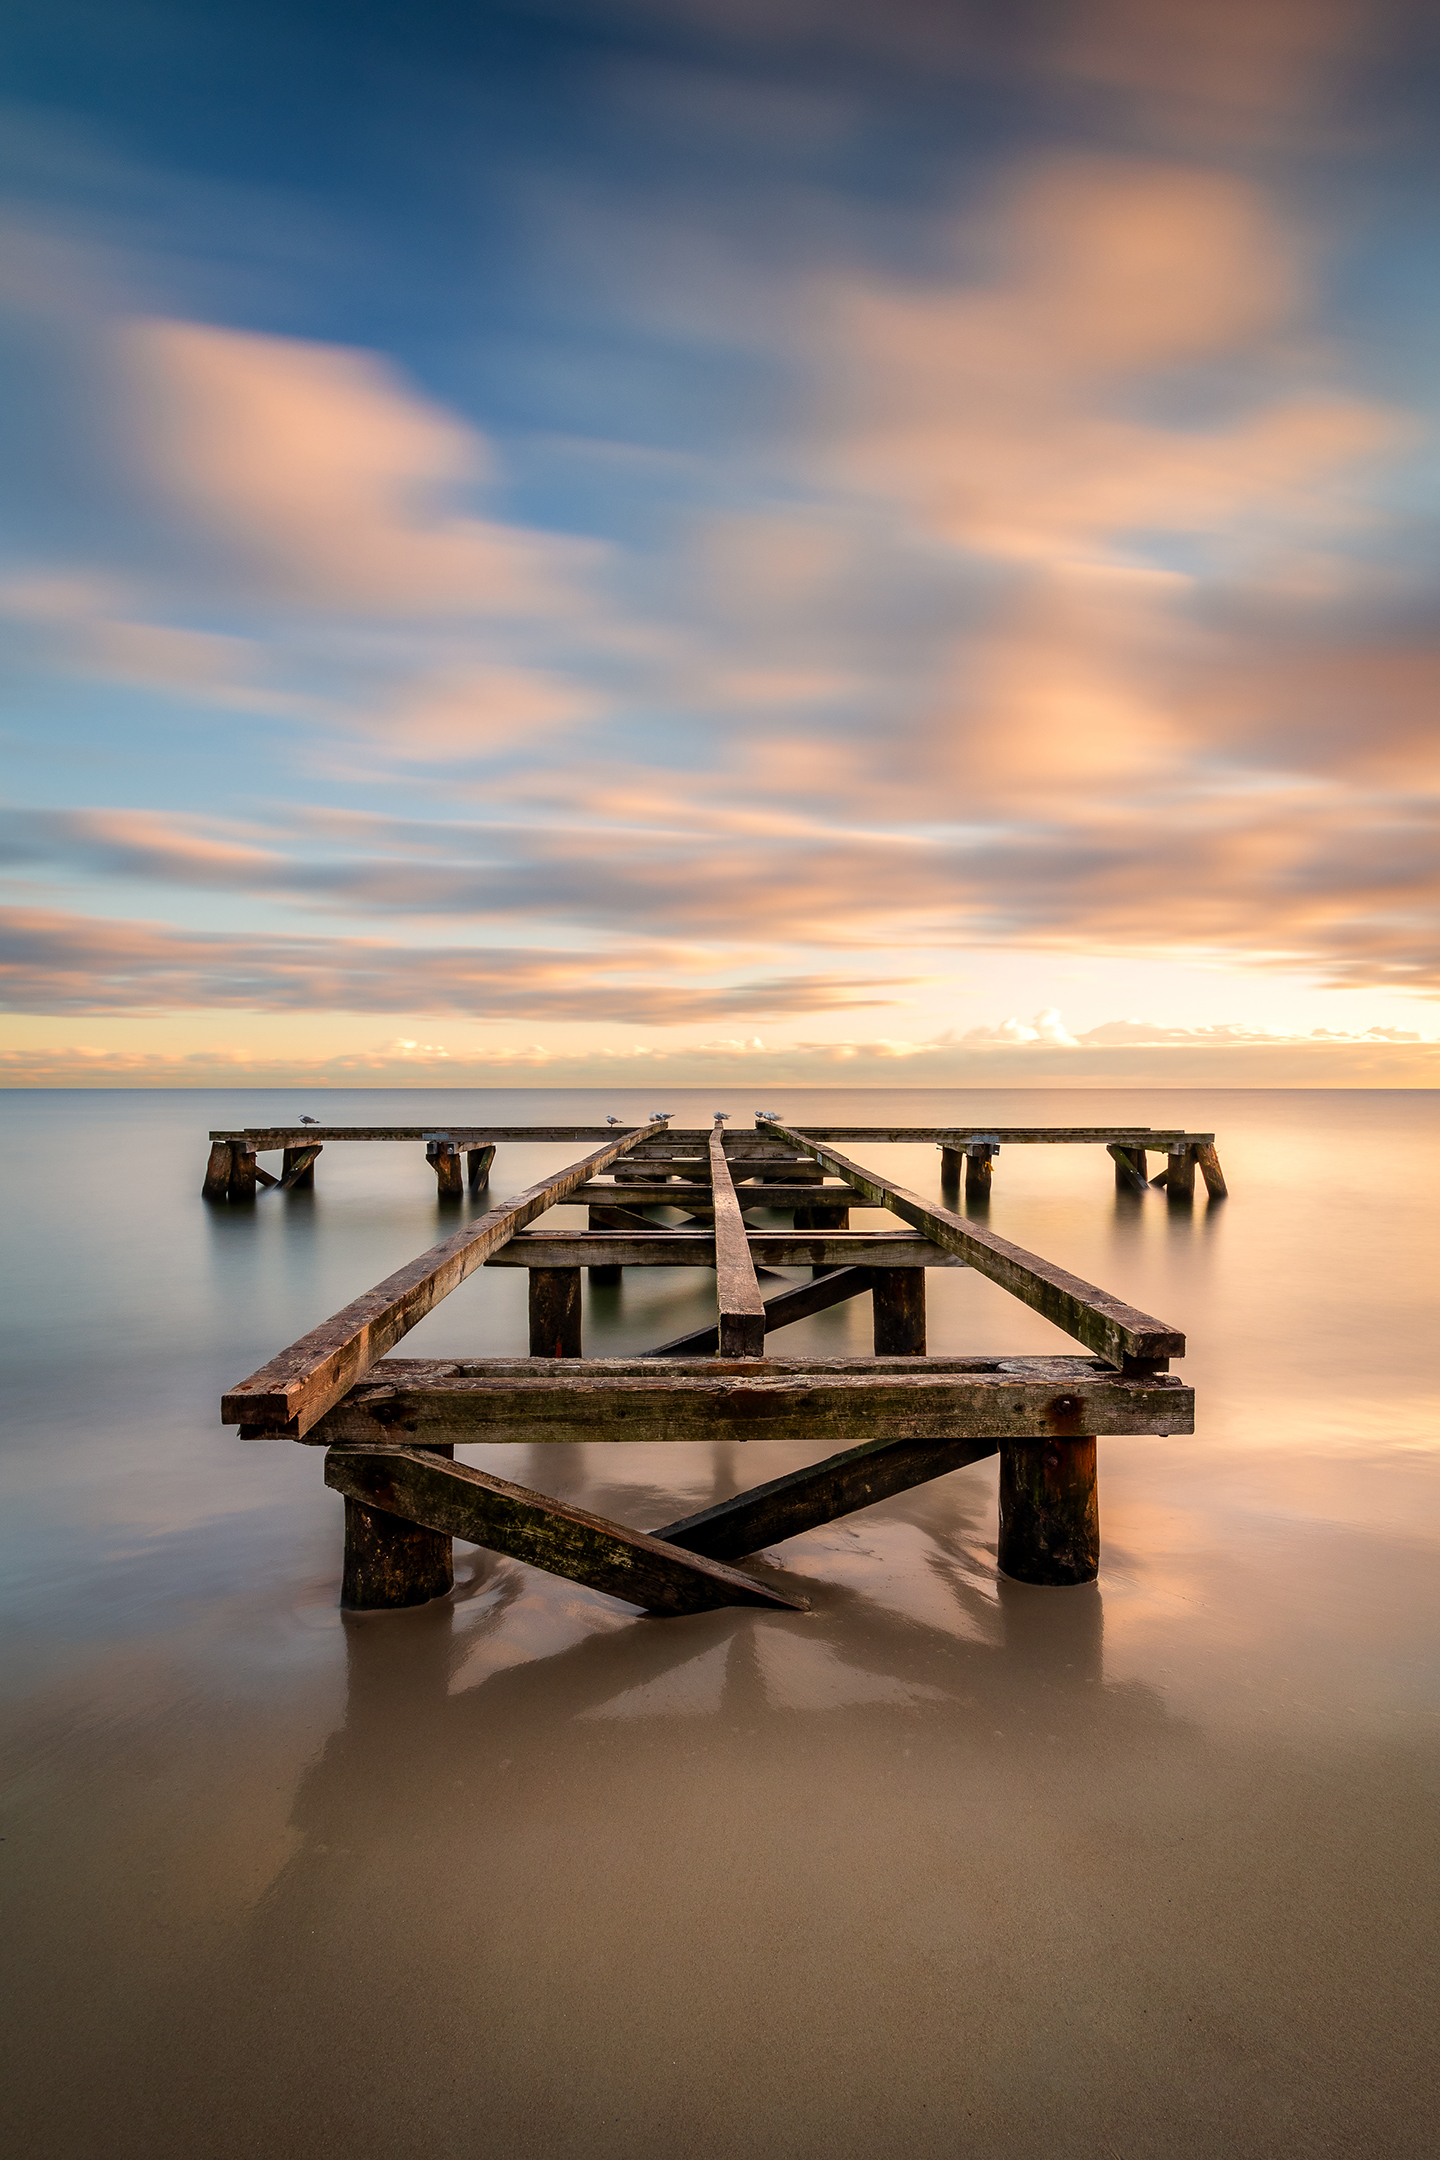
Neutral density filters are like sunglasses for your camera, reducing the total amount of light that reaches the camera sensor through the lens, without affecting the color rendering. Incorporating the best ND filters into your workflow has the advantage that you can capture moving elements, such as clouds or waves, with a longer exposure time to highlight the movement smoothly without overexposing the shot.
If I had to choose one favorite filter, it would be the Marumi GND 0.9 Soft filter, which is versatile for landscape photography, whether it is the sea or mountains. It beautifully highlights the sky while preserving the details of the foreground. However, for me, the perfect solution is to combine the GND 0.9 Soft filter with an ND1000 filter, which allows me to extend the exposure time further and capture the movement of water and the blur of clouds
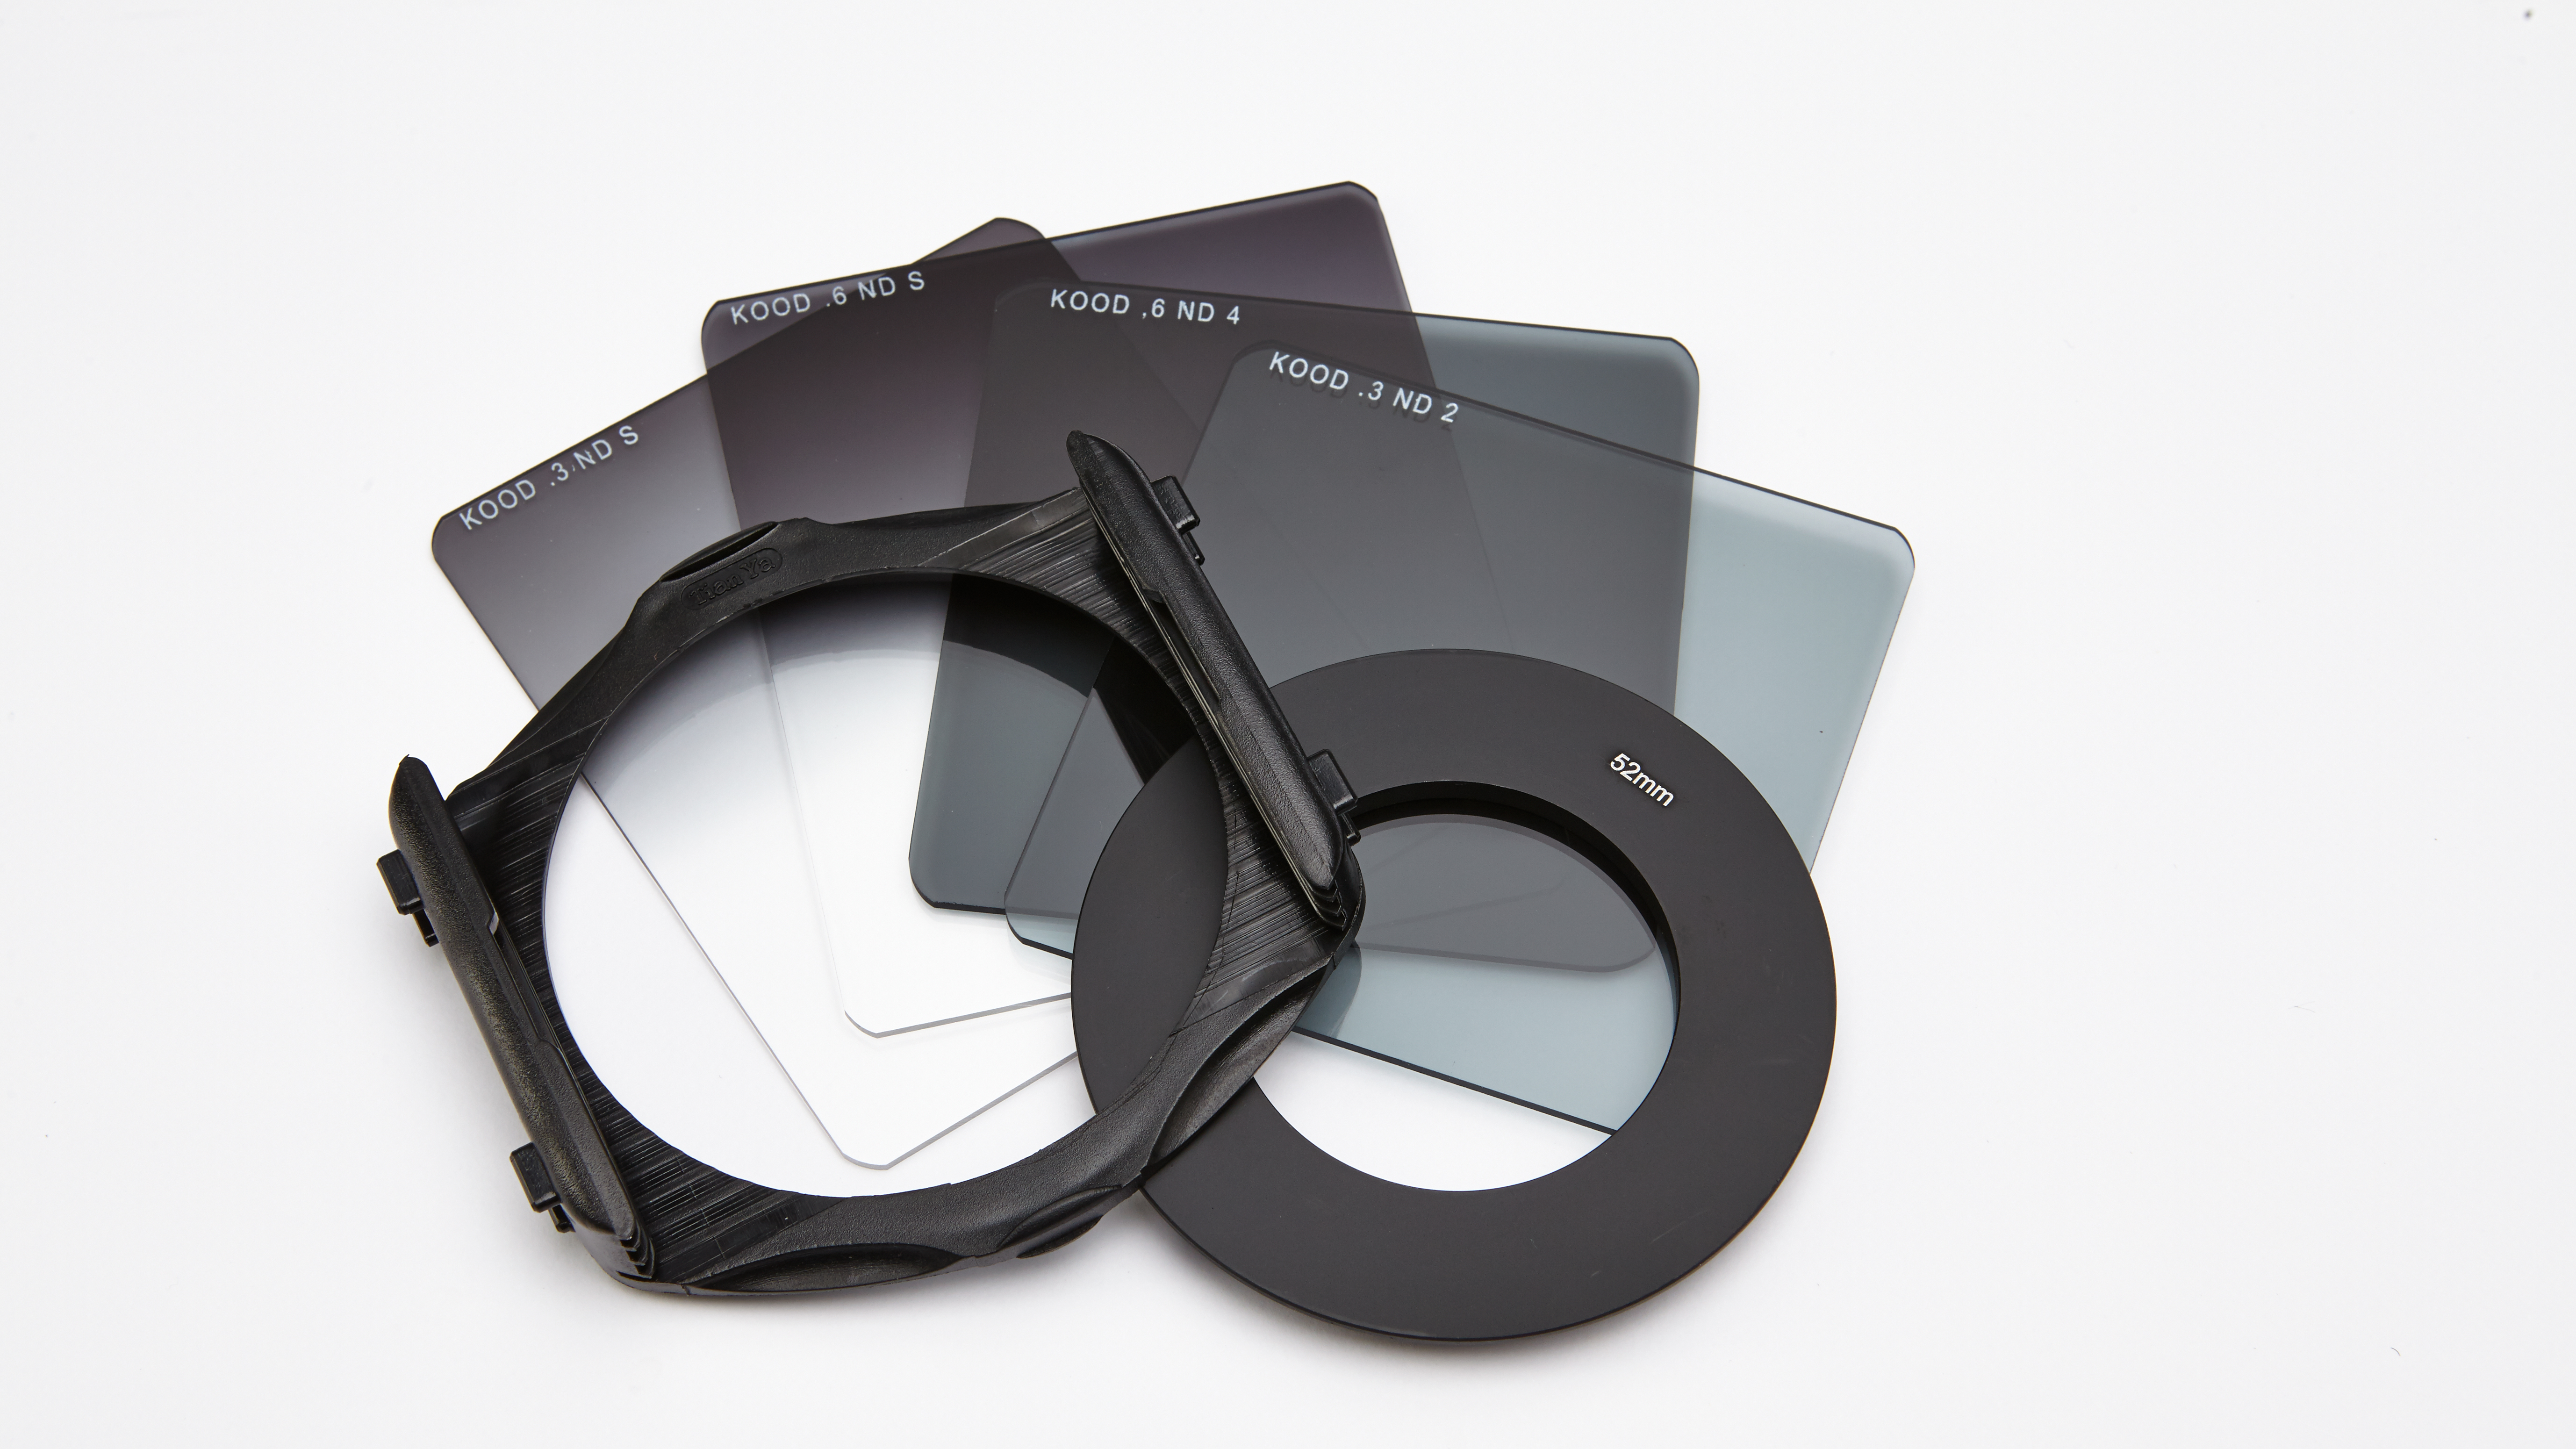
ND filters are available in various stops, such as ND2, ND8, or ND1000, which determine the degree of light reduction and each one serves a specific purpose. ND filters are complemented by the so-called Graduated Neutral Density (GND) filters, which darken only part of the frame, while the other part remains transparent, creating a precise gradient transition. This gradient is particularly useful in landscape photography, where the sky is often significantly brighter than the foreground.
By darkening the sky while leaving the foreground untouched, the best ND grad filters help balance the exposure, resulting in a more evenly lit image. These filters are characterized not only by different densities but also by different types of gradation transitions, including soft, medium and hard.
The choice between an ND filter and a GND filter depends on the scene and the effect to be achieved. ND filters are great for reducing light evenly across the frame, while GND filters are great for scenarios where there are noticeable differences in brightness between the sky and the foreground.
Use a filter
1. Stay steady
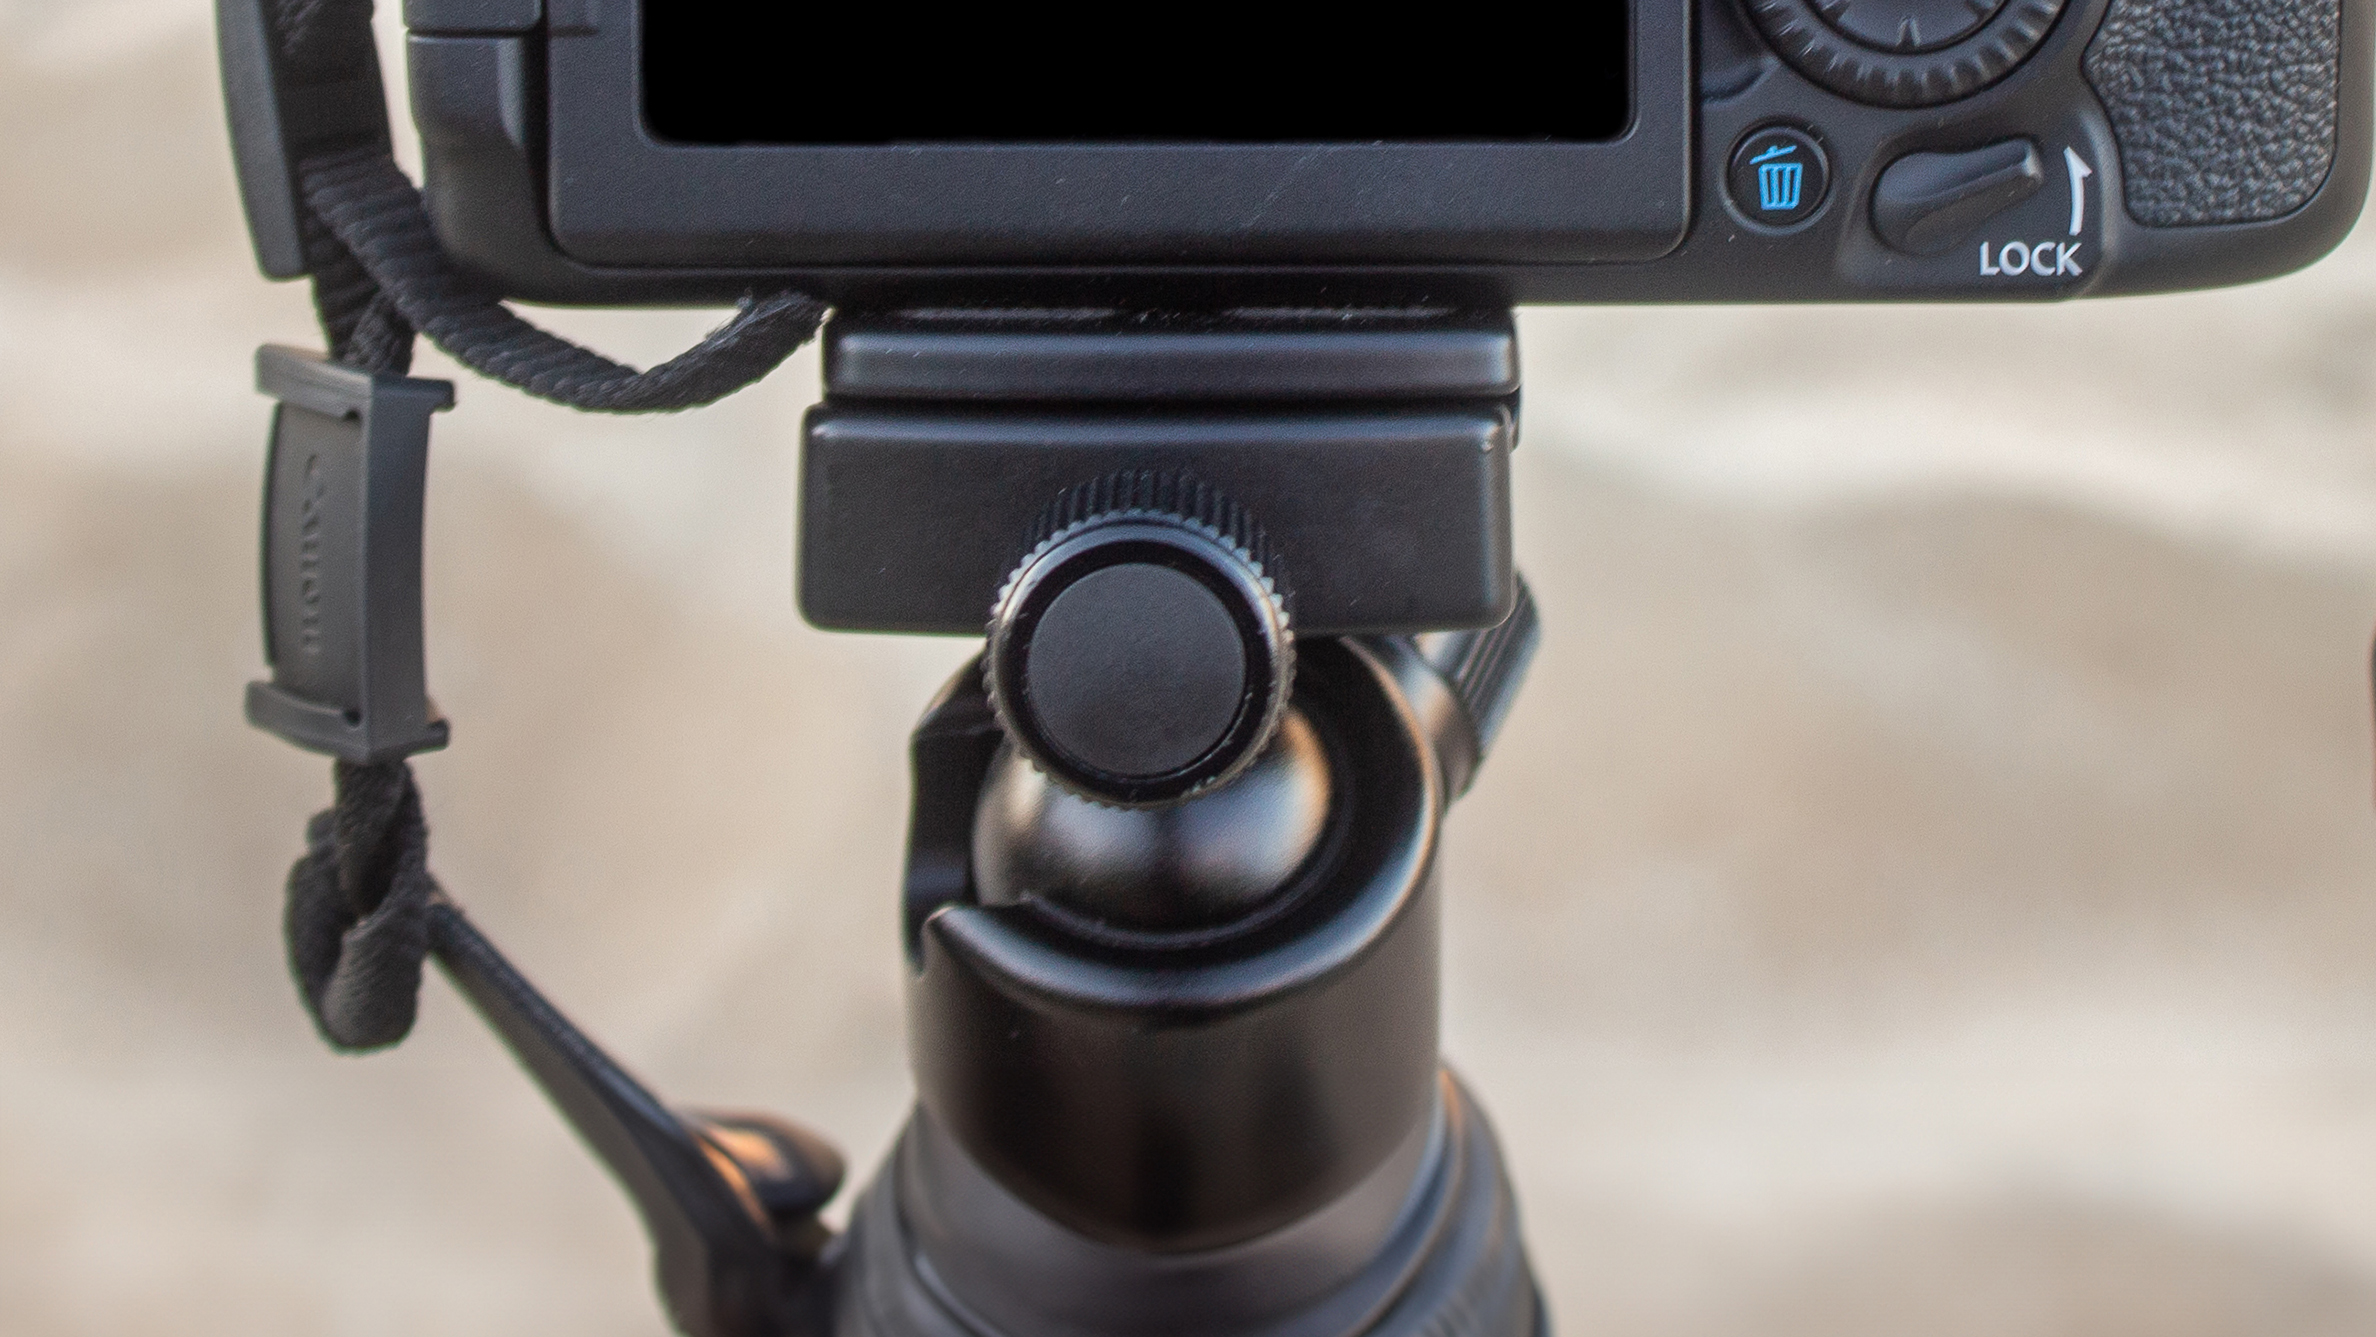
As we are working with long exposures, mount your camera on a sturdy tripod to ensure stability and reduce the risk of motion blur. This helps deal with demanding angles and allows you to handle long exposures effectively.
2. Turn off VR/IS
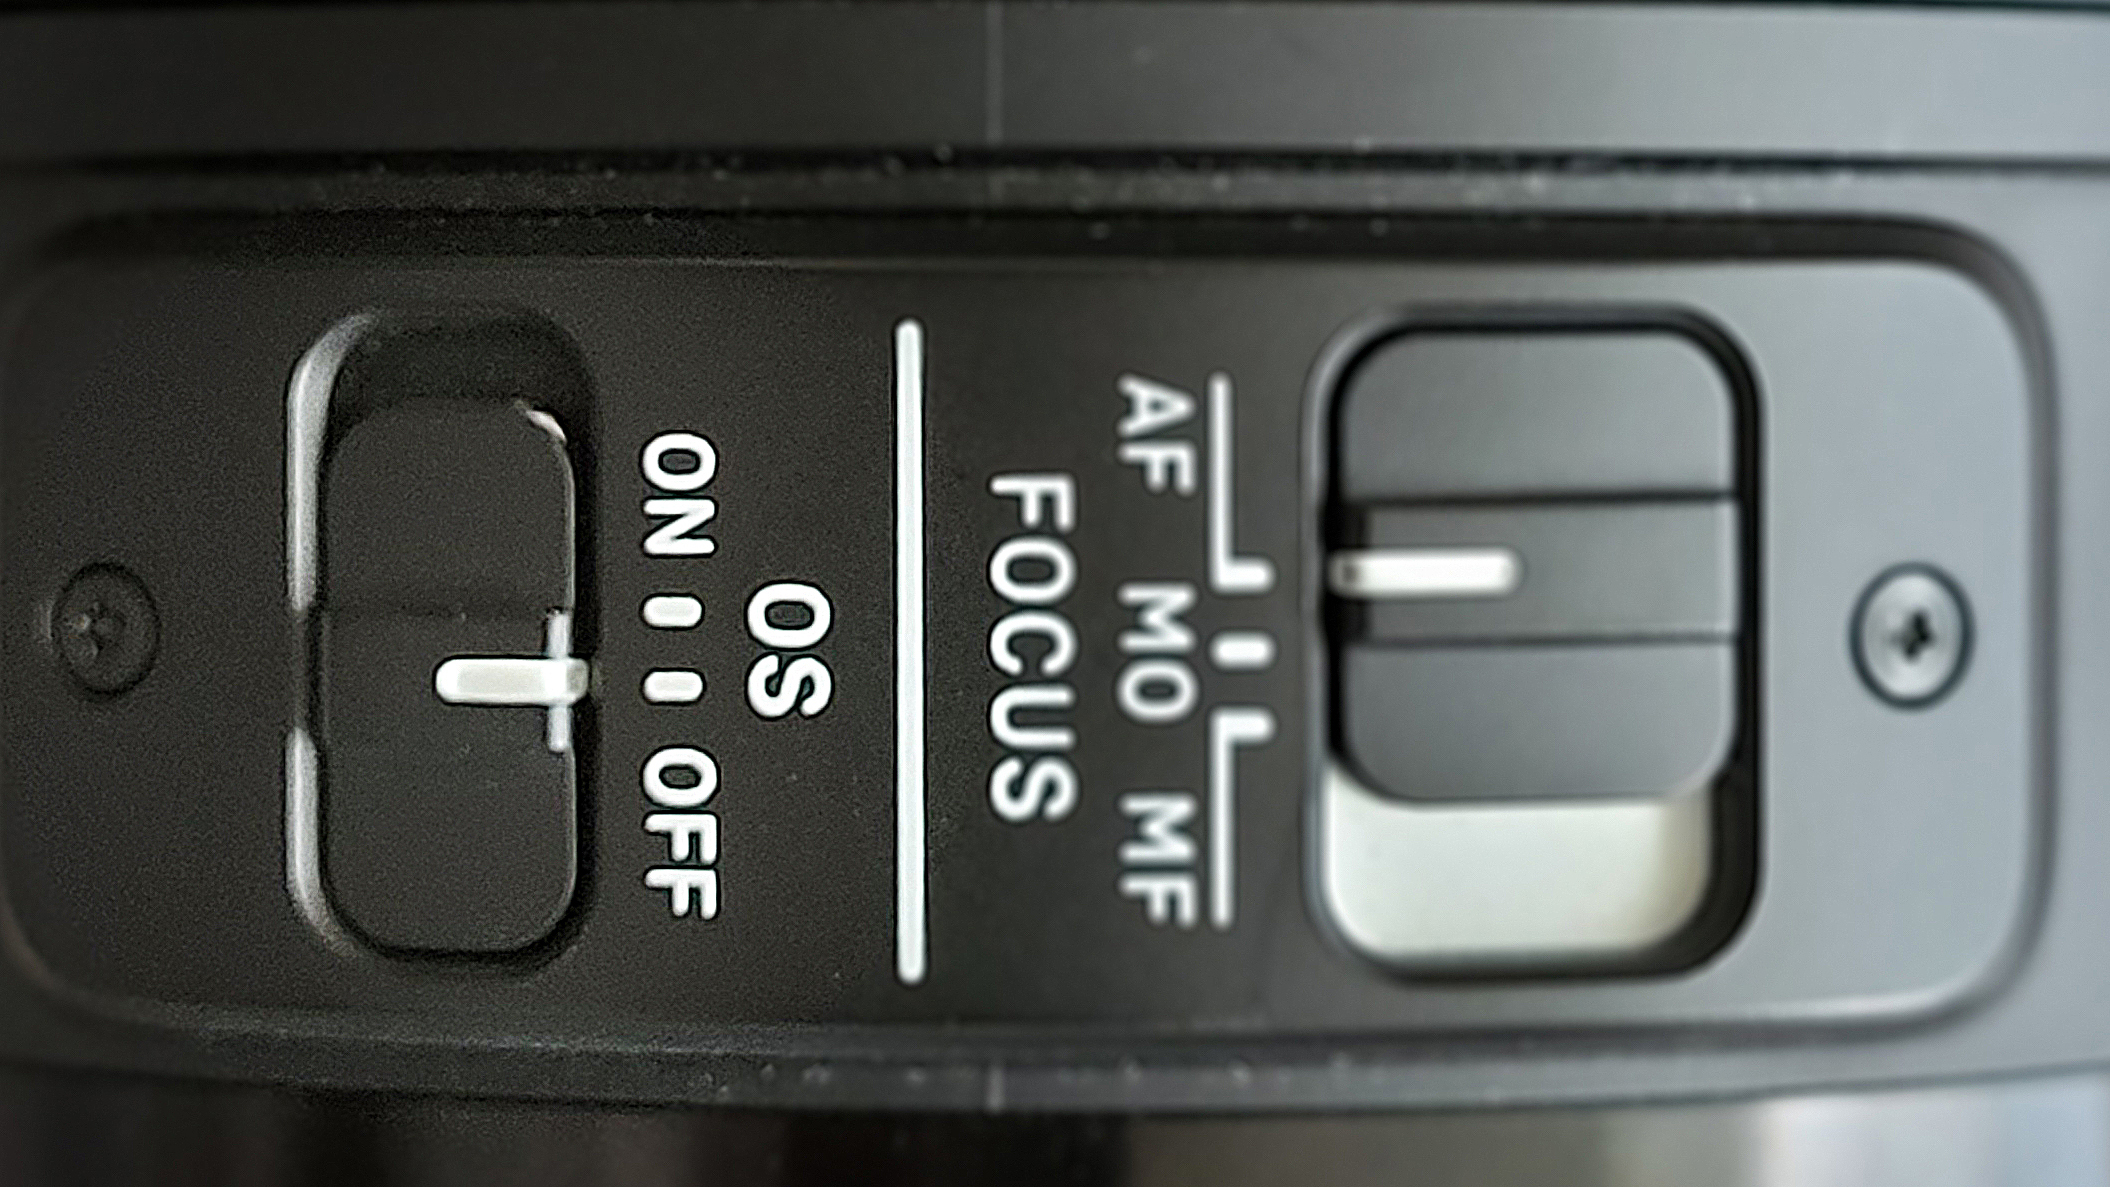
To ensure sharp results, deactivate VR/IS (Vibration Reduction/Image Stabilisation) on the lens and body. This is to prevent image distortion caused by movement, otherwise, the stabilizer may introduce vibrations, leading to blurry images.
3. Select Manual
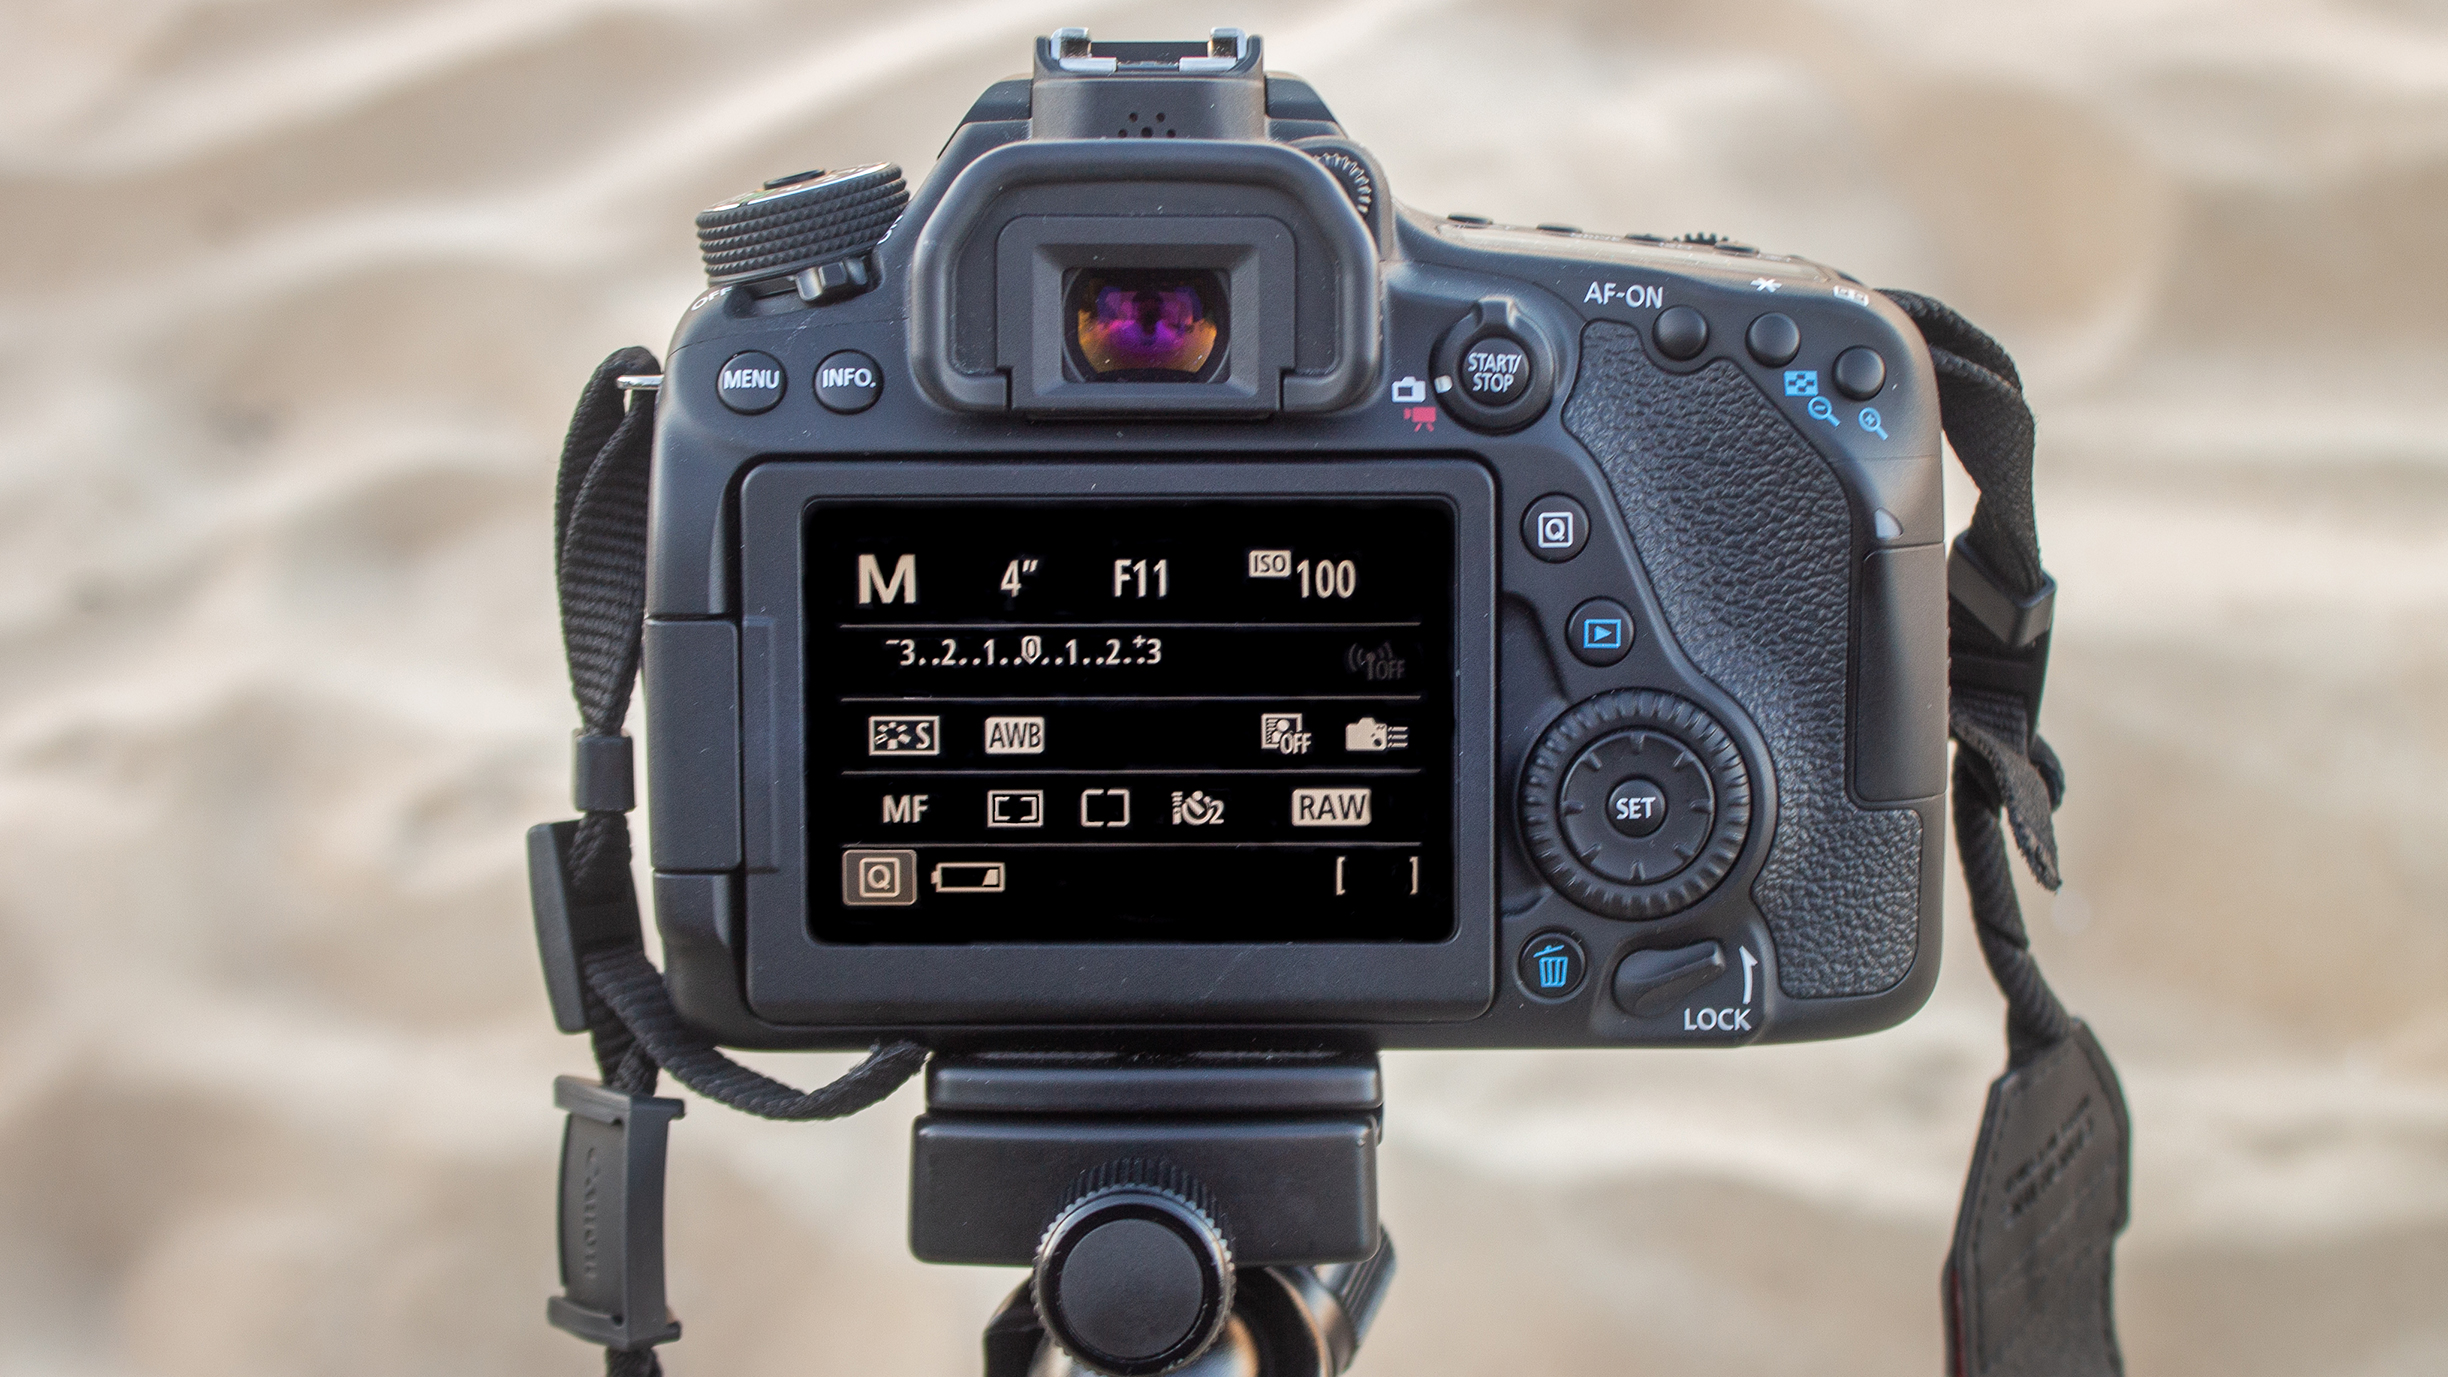
Switch to M mode for precise exposure control. Use a higher f/stop to widen the depth of field, keeping more in focus. Select low ISO as enough light will enter the sensor during the long exposure for clear images.
4. Add the filter
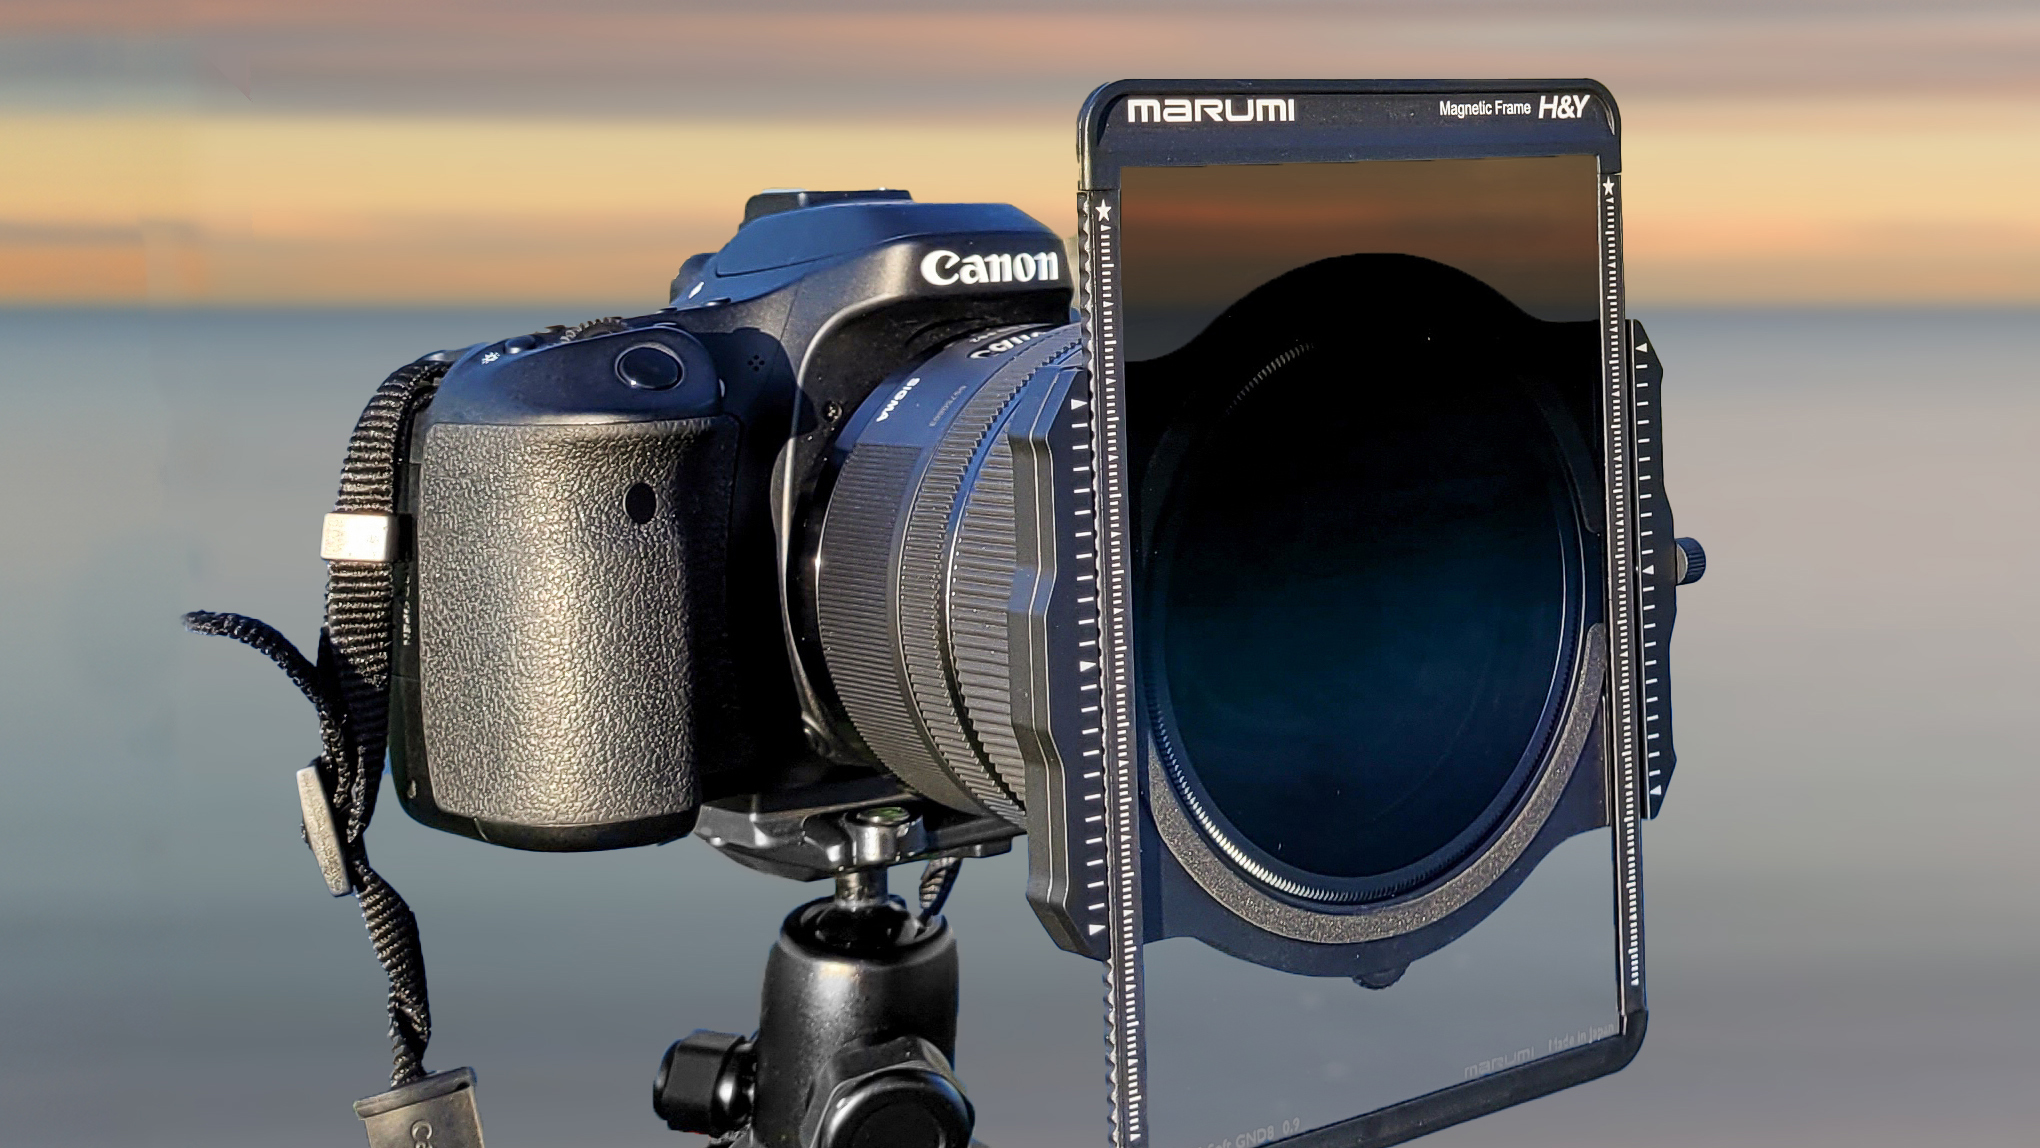
Attach the ND filter to the lens. To reference exposure times at different filter strengths, use an app with immediate results rather than a conversion table. Or use this formula: new exposure time = base exposure time x 2^ (number of stops).
5. Fire the shutter
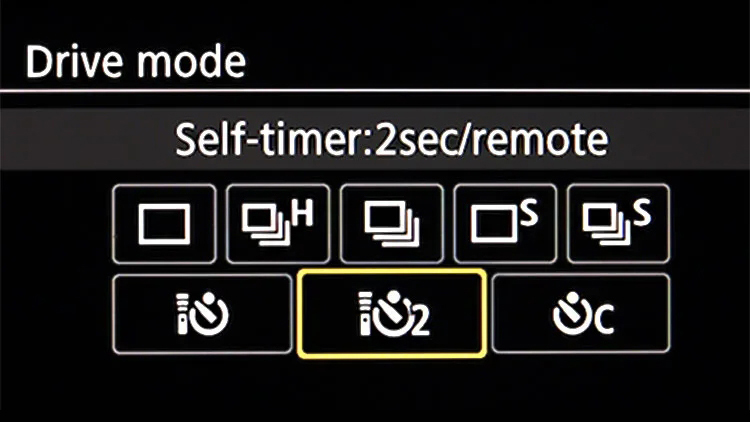
Activate the two-second self-timer in your camera menu and use a remote shutter release. Both techniques reduce the risk of movement, so the photos remain sharp. These simple steps maintain the integrity of the composition.
Digital Filters
When there is no ND filter available or you simply forgot it at home, why not make use of Photoshop’s features? To simulate the exposure balance of a GND/ND filter, make a copy of your RAW file and edit one frame focusing on the appearance of elements in the upper half of the frame, while editing the second file with a focus on the lower part of the image, then blend both layers. The long-exposure effect of clouds can be mimicked by applying a Radial Blur filter, found under Filter > Blur. As this filter will affect the entire frame, masking or blending needs to be taken into account again.
You might be interested in our video explaining what is the rule of thirds, as well as our explainer on what is exposure in photography.