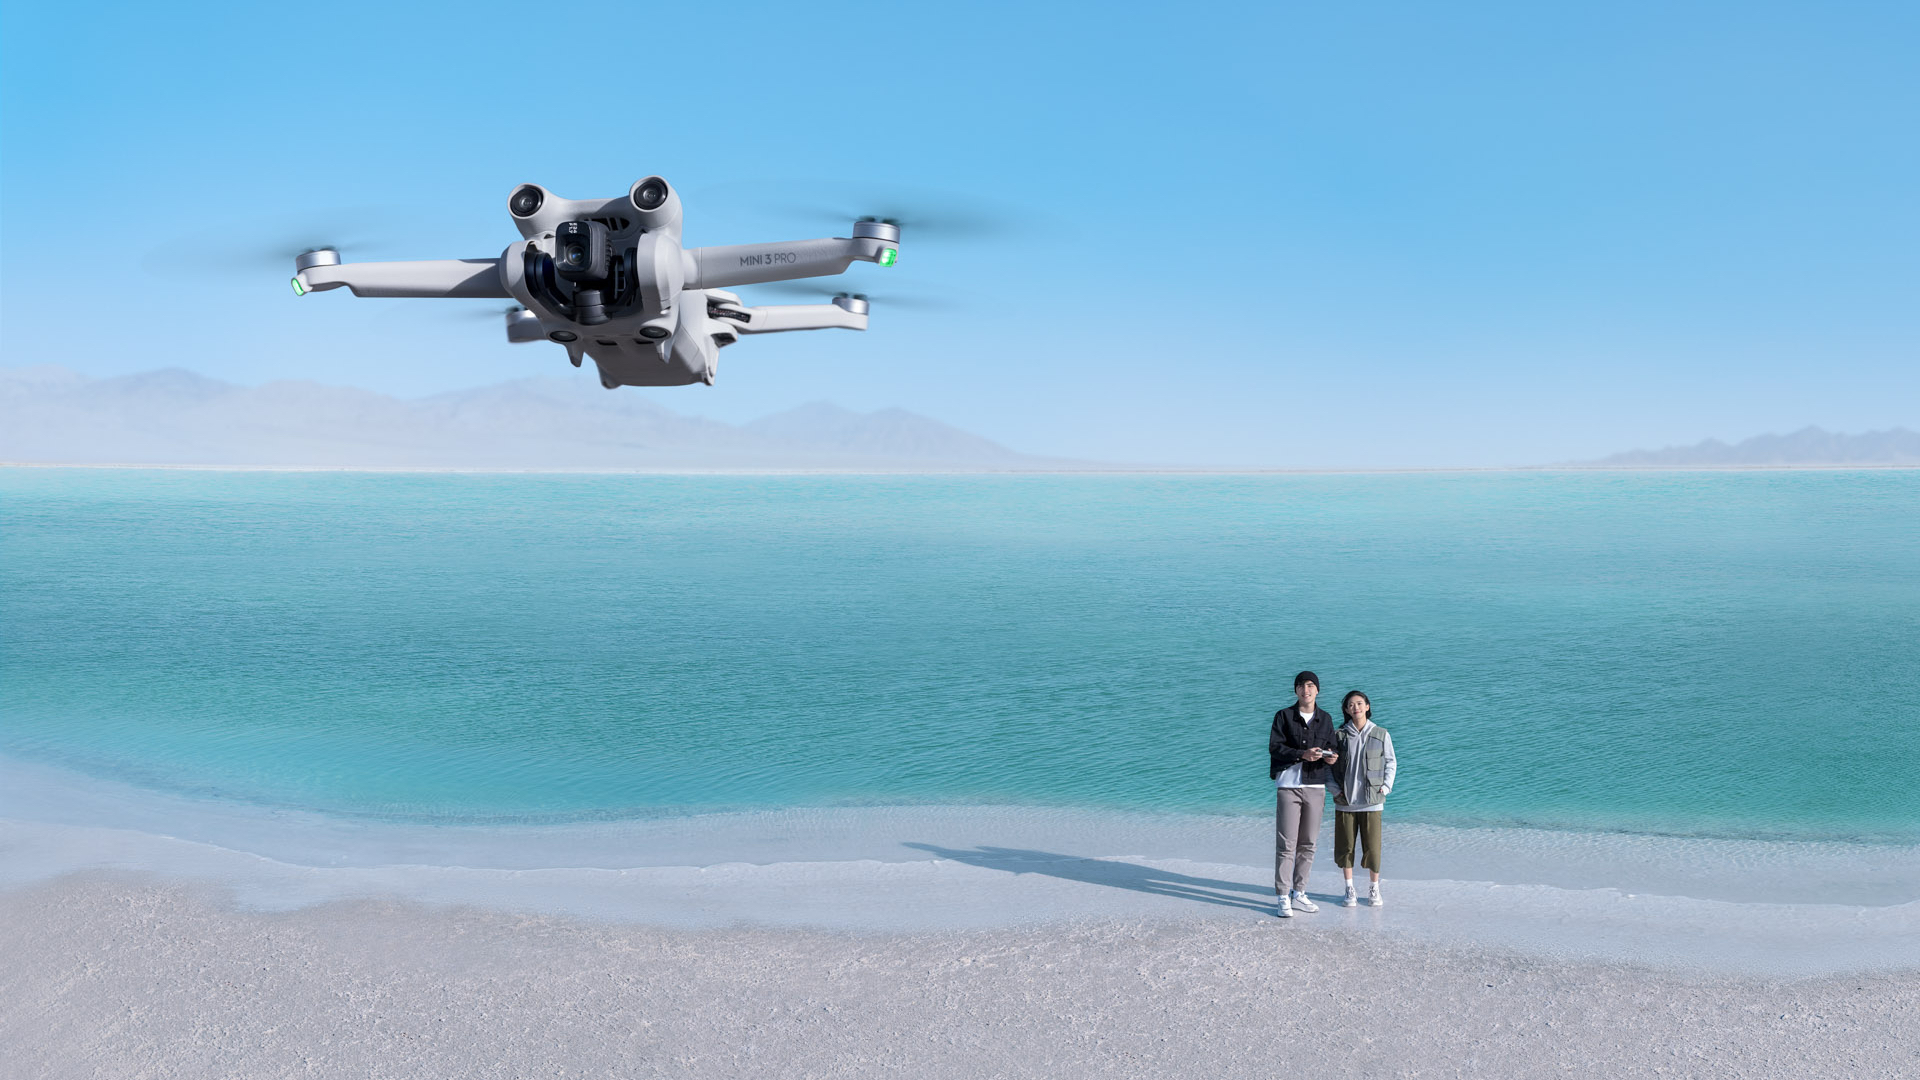
DJI's Mini series is not only the best drone for beginners but the best drone overall, thanks to its low weight and easy-to-learn features. Aside from being able to shoot high-resolution 4K video and amazing aerial images, its magic 249-gram weight is the most obvious deciding factor since it means the Mini – in all its variants – is exempt from most CAA drone regulations and that means it can be flown in more places than the larger Mavic series. It also folds down into such a tiny package you're more likely to take it with you wherever you go.
The DJI Mini series' comes with an impressive lineup of flying features, but there are quite a few 'hidden' functions buried within the interface – including some convenient ones that you may not have noticed in the manual – that help produce better-framed videos, improve safety during takeoffs from rough terrain and generally help the Mini stay safe in the sky.
To make the most of your DJI drone, read our 10 drone flying tips for beginners and these 5 tips to improve your drone video footage. You might also want to check out T3's DJI Mini 3 Pro review and, if you're on a tight budget, the affordable DJI Mini 2 SE review. Without further ado, let's look at those hidden DJI features you must know about!
1. Nudge to take off
Taking off from rough terrain and especially pebbles and grass, is very tricky with any of the Minis. This is because their legs are so short the props are often obstructed, meaning the drone will either refuse to take off or crash as soon as it’s left the ground. Uneven terrain and tall grass may also damage the camera’s motorised gimbal.
A good way to get around this is to grip the drone in your hand – taking care to keep your fingers away from the props – and with the other hand, bring both joysticks down and inwards as you would normally do to start the motors.
Once the props are spinning, simply nudge the drone up or down, and the speed of the props will automatically increase. All being well, the drone will lift off from your hand and hover in a static position a few metres above in readiness for its flight.
2. Subject tracking in Circle mode
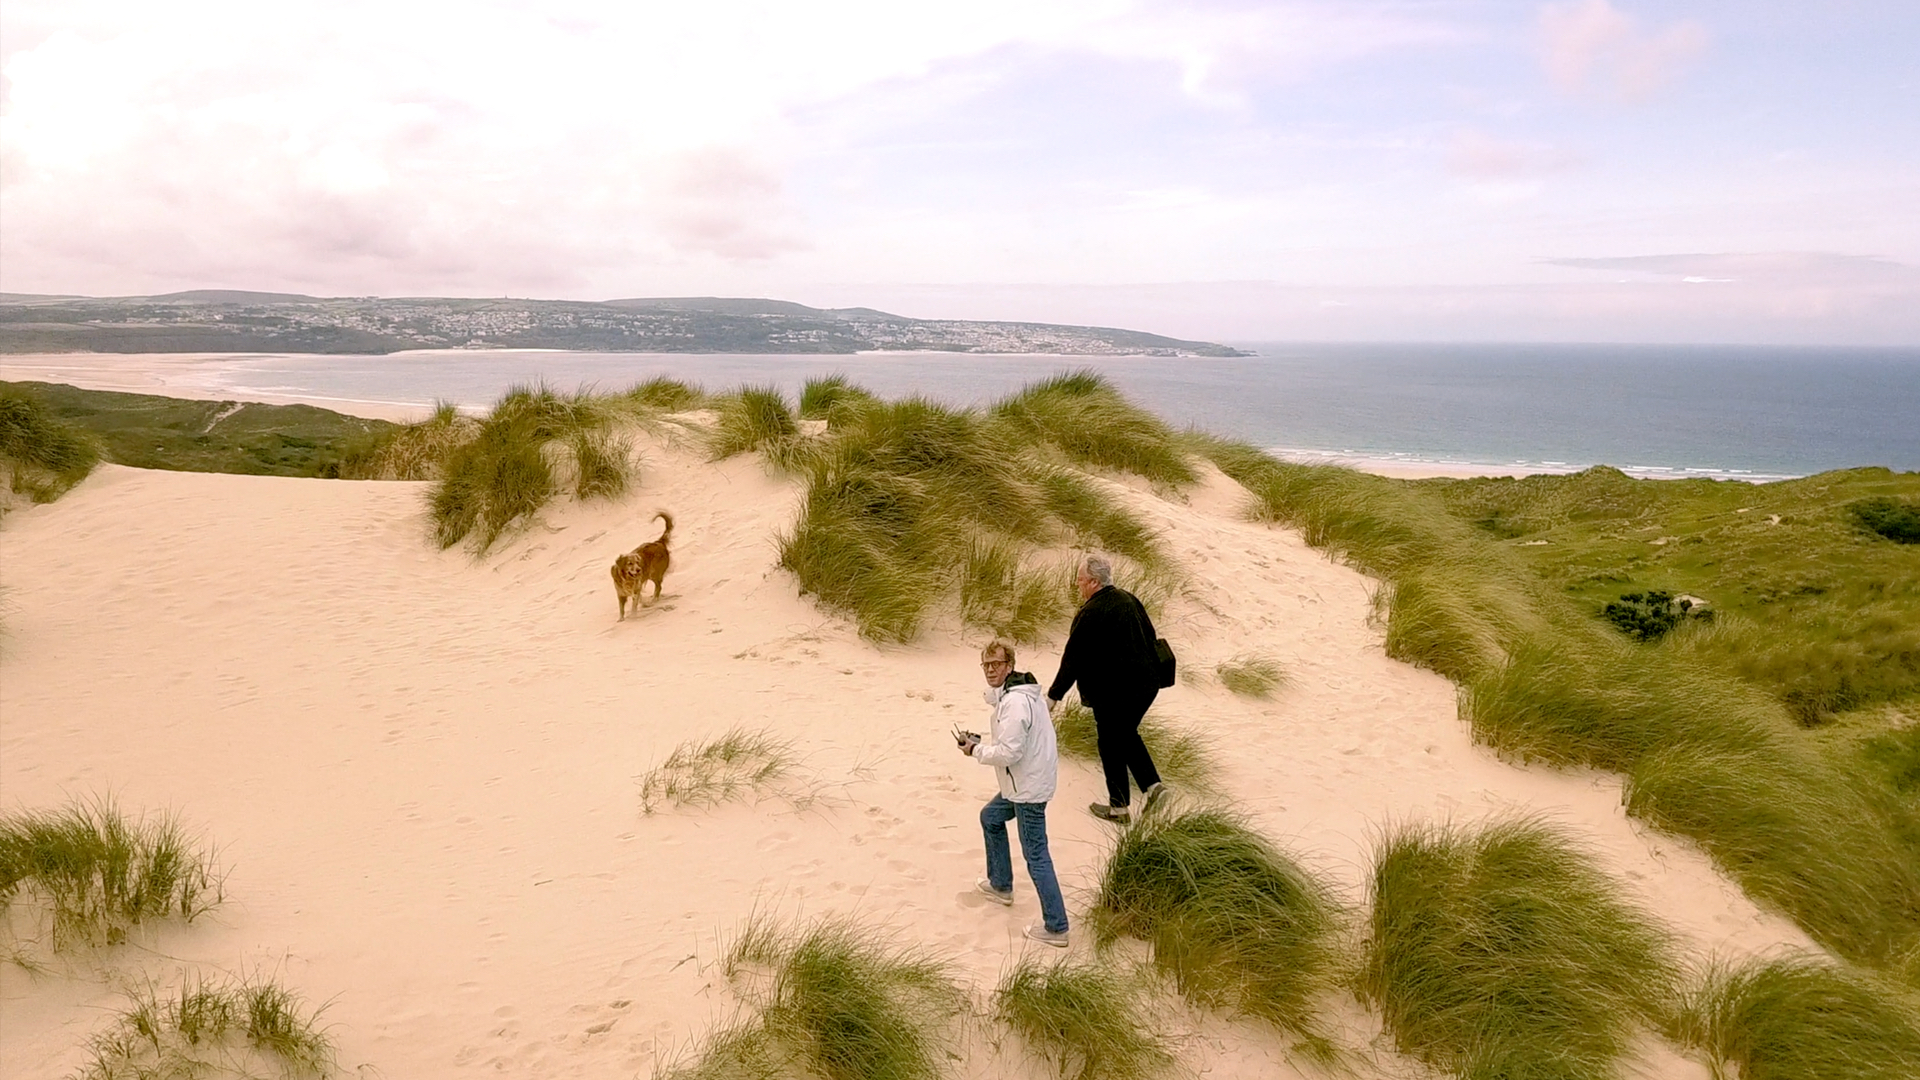
One of the great things about the newer Mini 3 is that it features Active Track which allows the drone to follow a moving subject. Sadly the Mini 2 doesn’t support Active Track, but you can emulate the effect to some degree by going into Quick Shots and selecting ‘Circle’. Simply position the drone slightly behind and to the left or right of you, draw a rectangle around yourself on the screen and start walking.
In circle mode, the drone would normally fly around you in a full circumference, but if you’re moving in the same direction, the drone can’t get in front of you to start the circumnavigation so it essentially stays on the same trajectory, thereby creating a perfectly good tracking shot.
3. Using offline maps in areas with no mobile signal
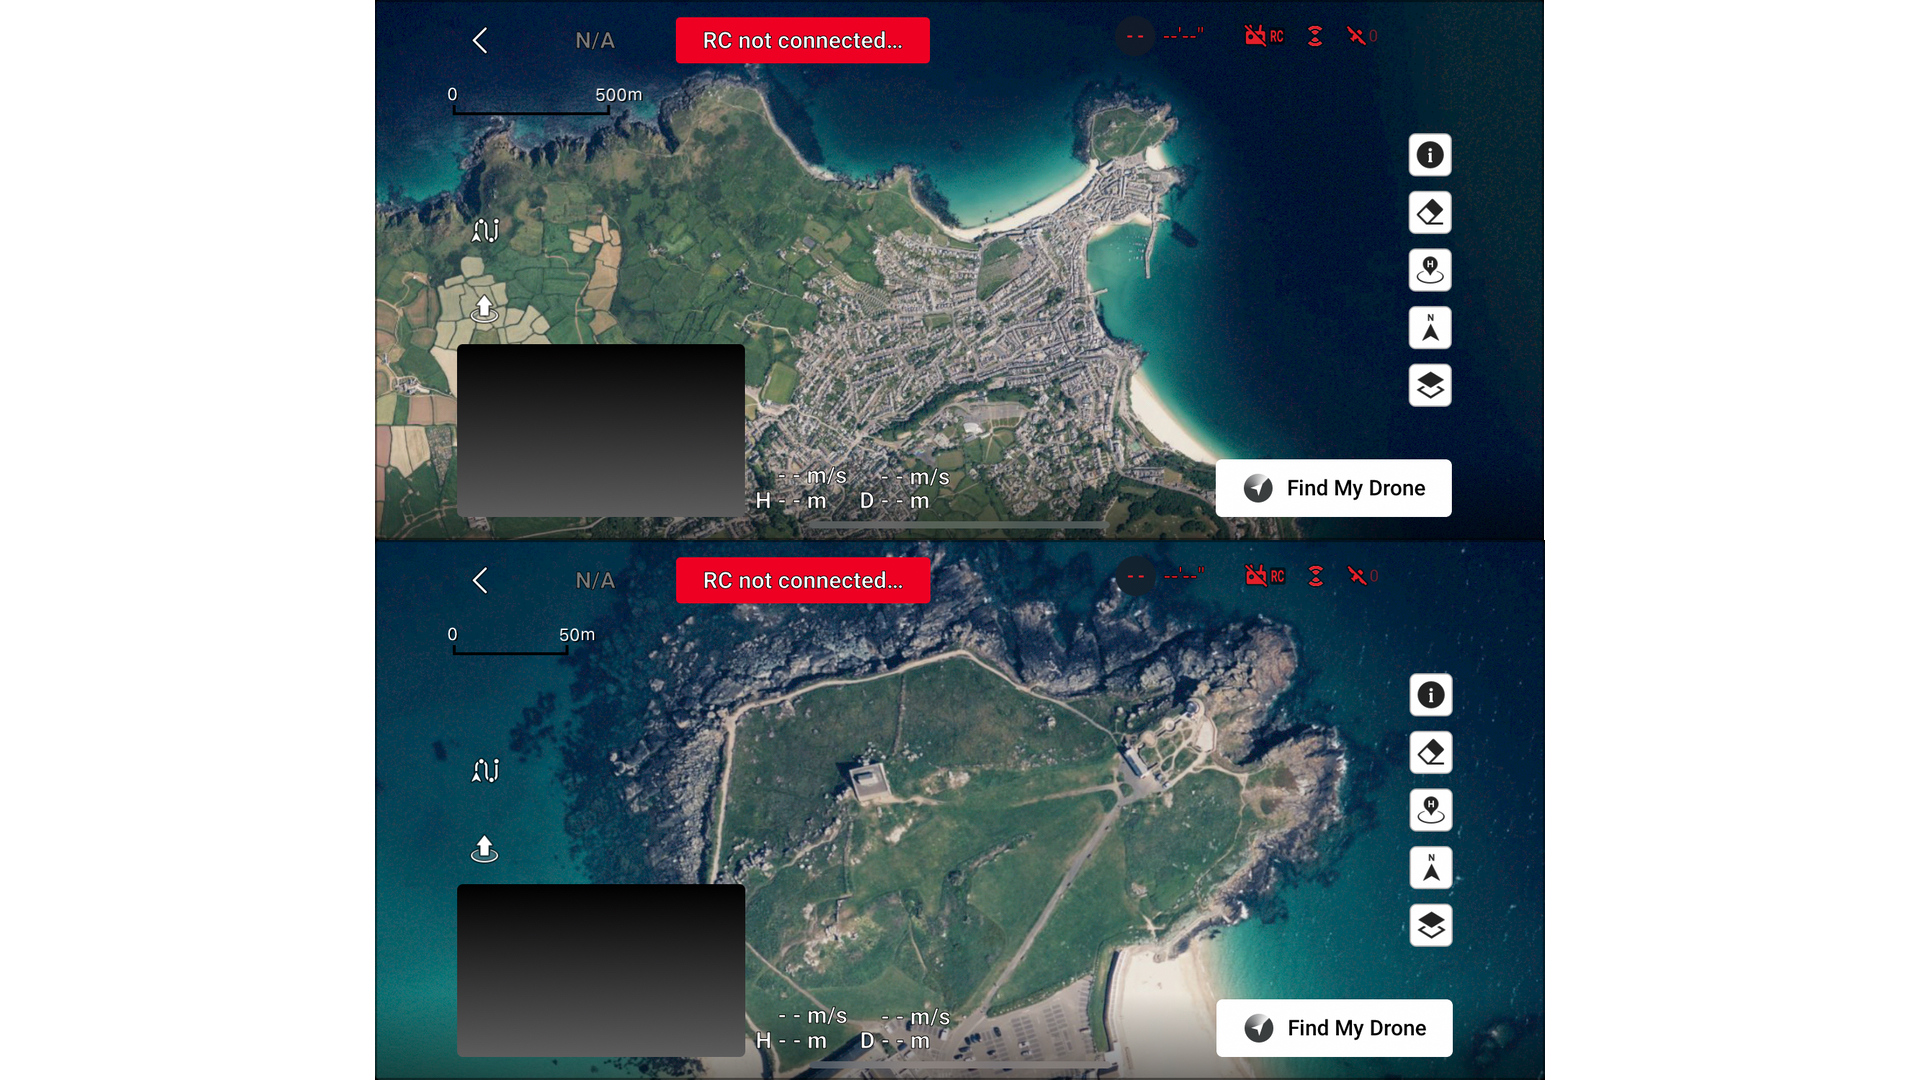
If flying in areas without a mobile signal or in a country where roaming tariffs are sky-high, it’s possible to use the map cache in the DJI Fly app. Why would you need this? Well, without a mobile signal, the map in the DJI Fly app will be very basic, with no road markings, no landmarks or indeed anything to tell you where your drone is while flying it. Perhaps you’ve lost sight of the drone, and it’s crashed somewhere, and you need to find it using the Find My Drone feature. Without a detailed map, it will be very difficult to navigate to its location. But there is a simple answer – use the map cache system before heading off.
To keep roaming costs to a minimum, use the wifi in your hotel or a coffee shop and launch the DJI Fly app (you won’t need the drone or controller in this instance). Once the app is launched, tap ‘Connection Guide’ followed by ‘Camera View’. This will lead to a blank screen with the words ‘RC not connected’. However, in the bottom left-hand corner, you’ll see a map of where you are. Tap on it, and it will enlarge to full screen.
Using the phone’s swipe feature, navigate over to the area you plan to fly in and zoom in and out on it. If, say, you plan to fly in an area of a few square miles, be sure to zoom in on the map to capture as much detail as possible. Hence, if it’s an area with street names, zoom in so you can read them and move the map around in that area. If you don’t zoom in close enough, that area won’t be captured in full detail.
Now you can head out to your predetermined flight spot armed with the knowledge that the area you’re planning to visit will have been recorded into the app’s map cache. You can pre-test this handy feature by switching your phone to aeroplane mode and turning off wifi.
4. Flight pause
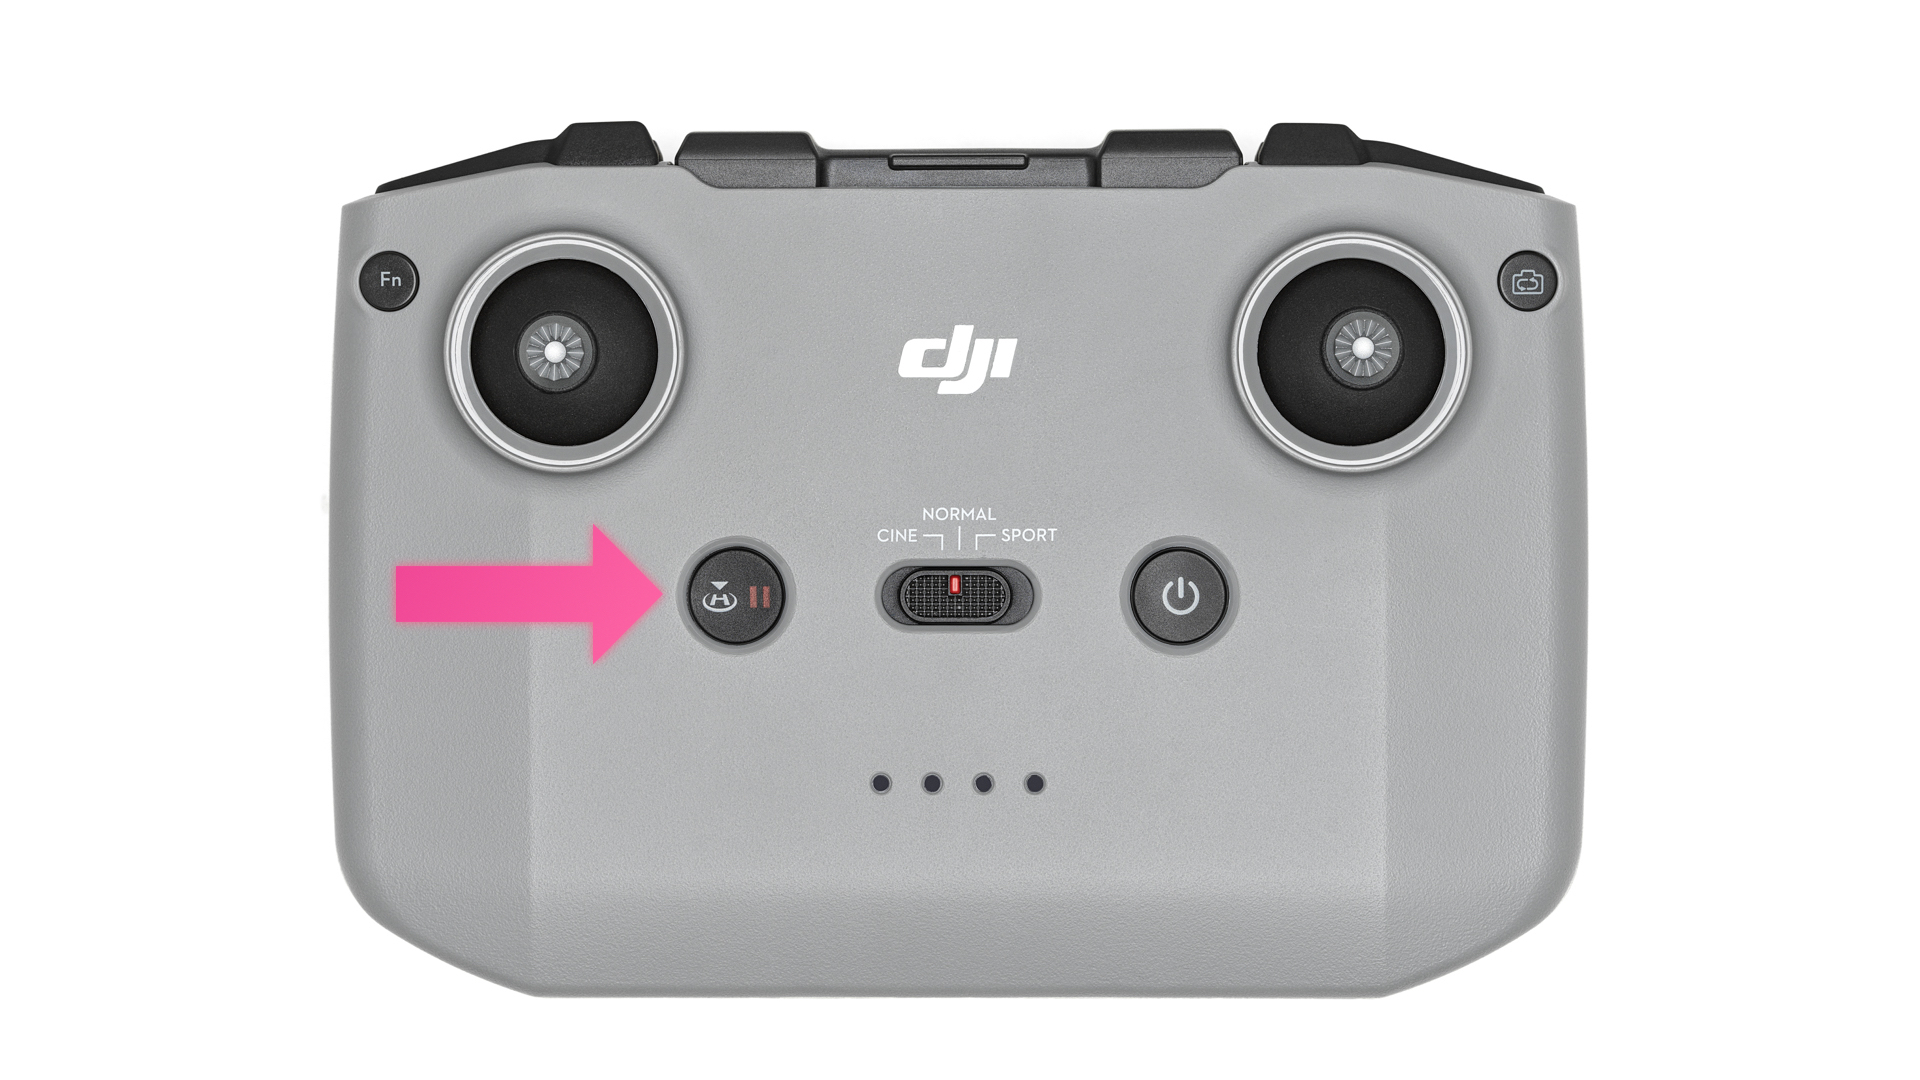
Not all users know about the pause button on the controller, but this function can be a lifesaver in any emergency. Of course, just letting go of the sticks will perform a similar function, but it won’t bring the drone to as quick a stop.
Flight pause is especially handy when in the middle of a Quick Shot, and it looks like the drone may be heading towards a tree. A quick tap of the pause button will stop the drone in its tracks and give you time to make adjustments.
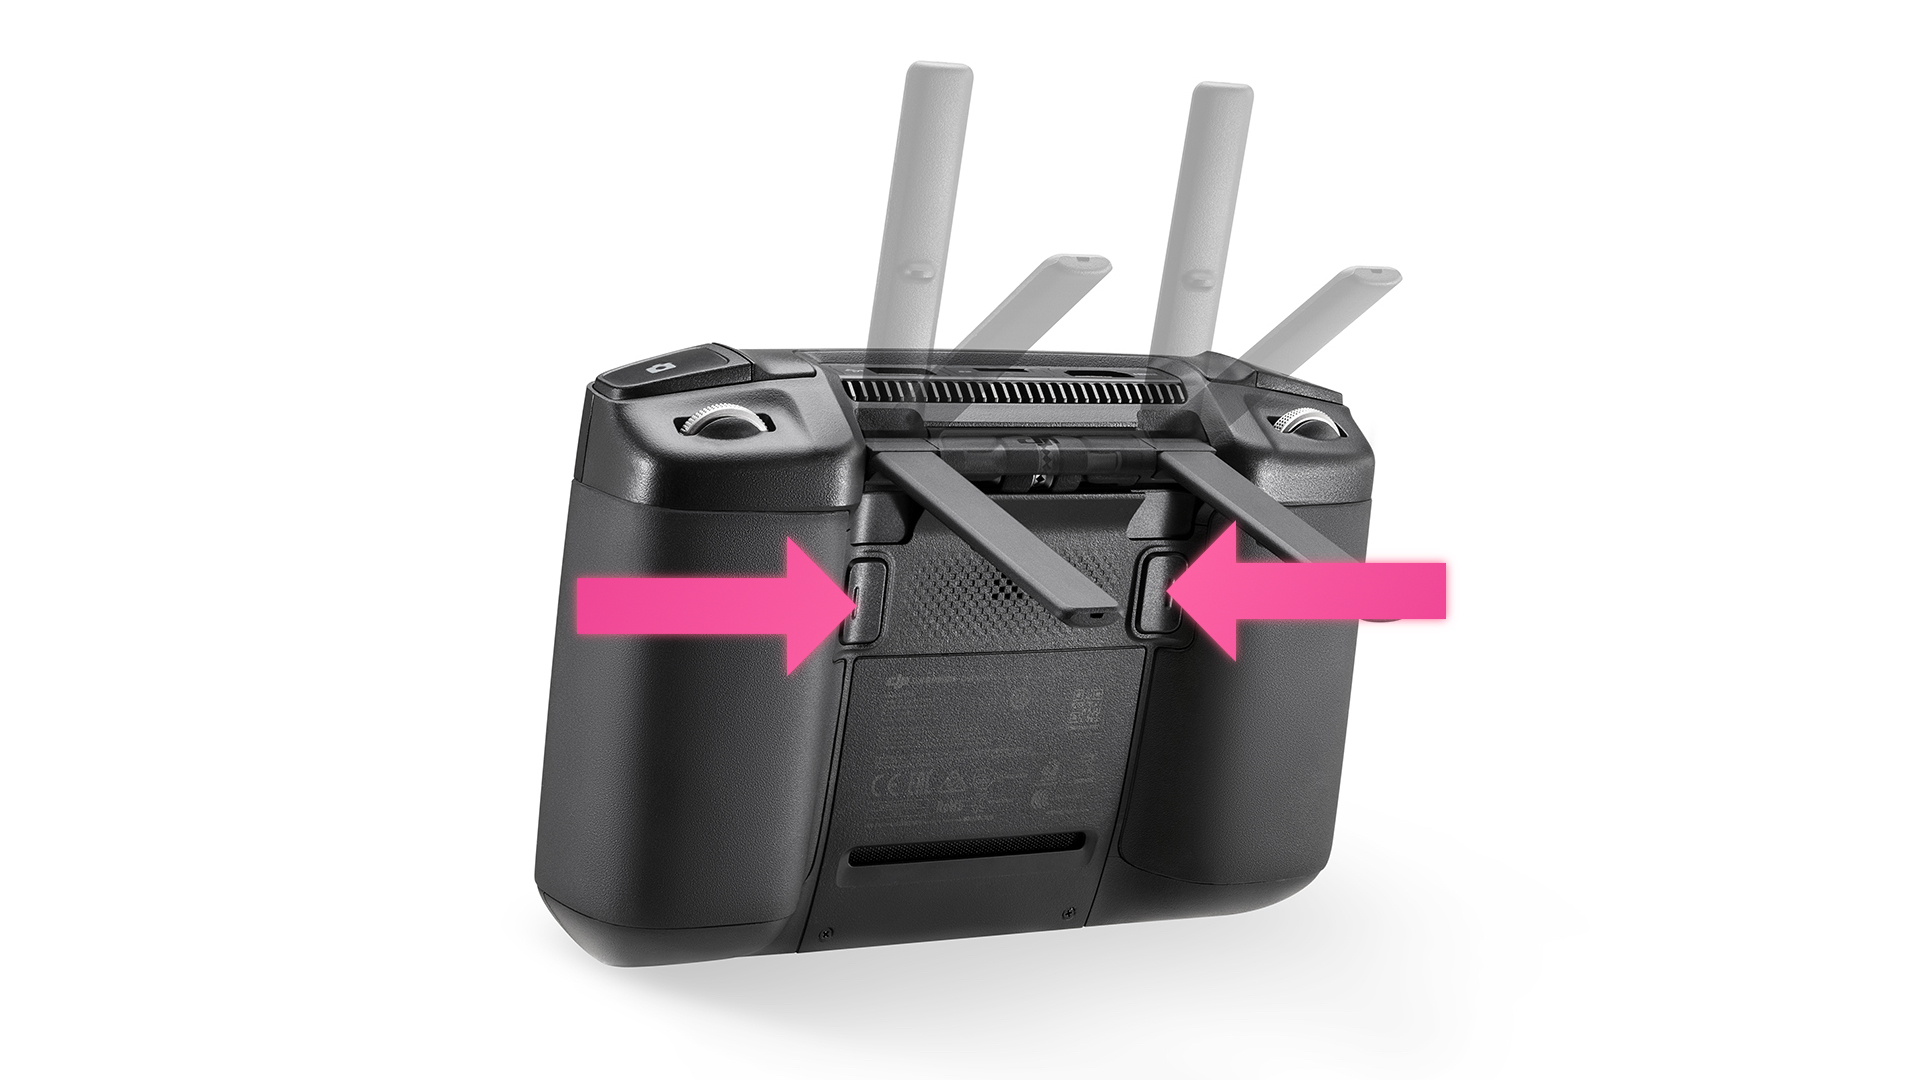
5. DJI RC Controller customisation
If you use the DJI RC Controller with a built-in screen, you’ll notice two grey custom buttons on the rear. These can be programmed to initiate a series of preferred shortcuts for both the drone’s gimbal and the camera. I would suggest you assign one of the buttons to Recenter/Tilt Down Gimbal since this is the shortcut you will likely use most. A single tap of the button will command the gimbal to switch 90˚ from horizontal to downward instantaneously, and vice versa.
There are a number of reasons why you would want to change gimbal orientation quickly, but the most common is when landing, and you suddenly remember that the camera is pointing downwards and in danger of the lens being damaged.
For quick camera settings, perhaps opt to customise the second shortcut button to AE Lock On/Off, as this will allow you to lock the current exposure so the camera doesn’t keep changing it during the flight. After all, nothing is more irritating when watching an aerial video than a scene that constantly changes from dark to light and vice versa.


