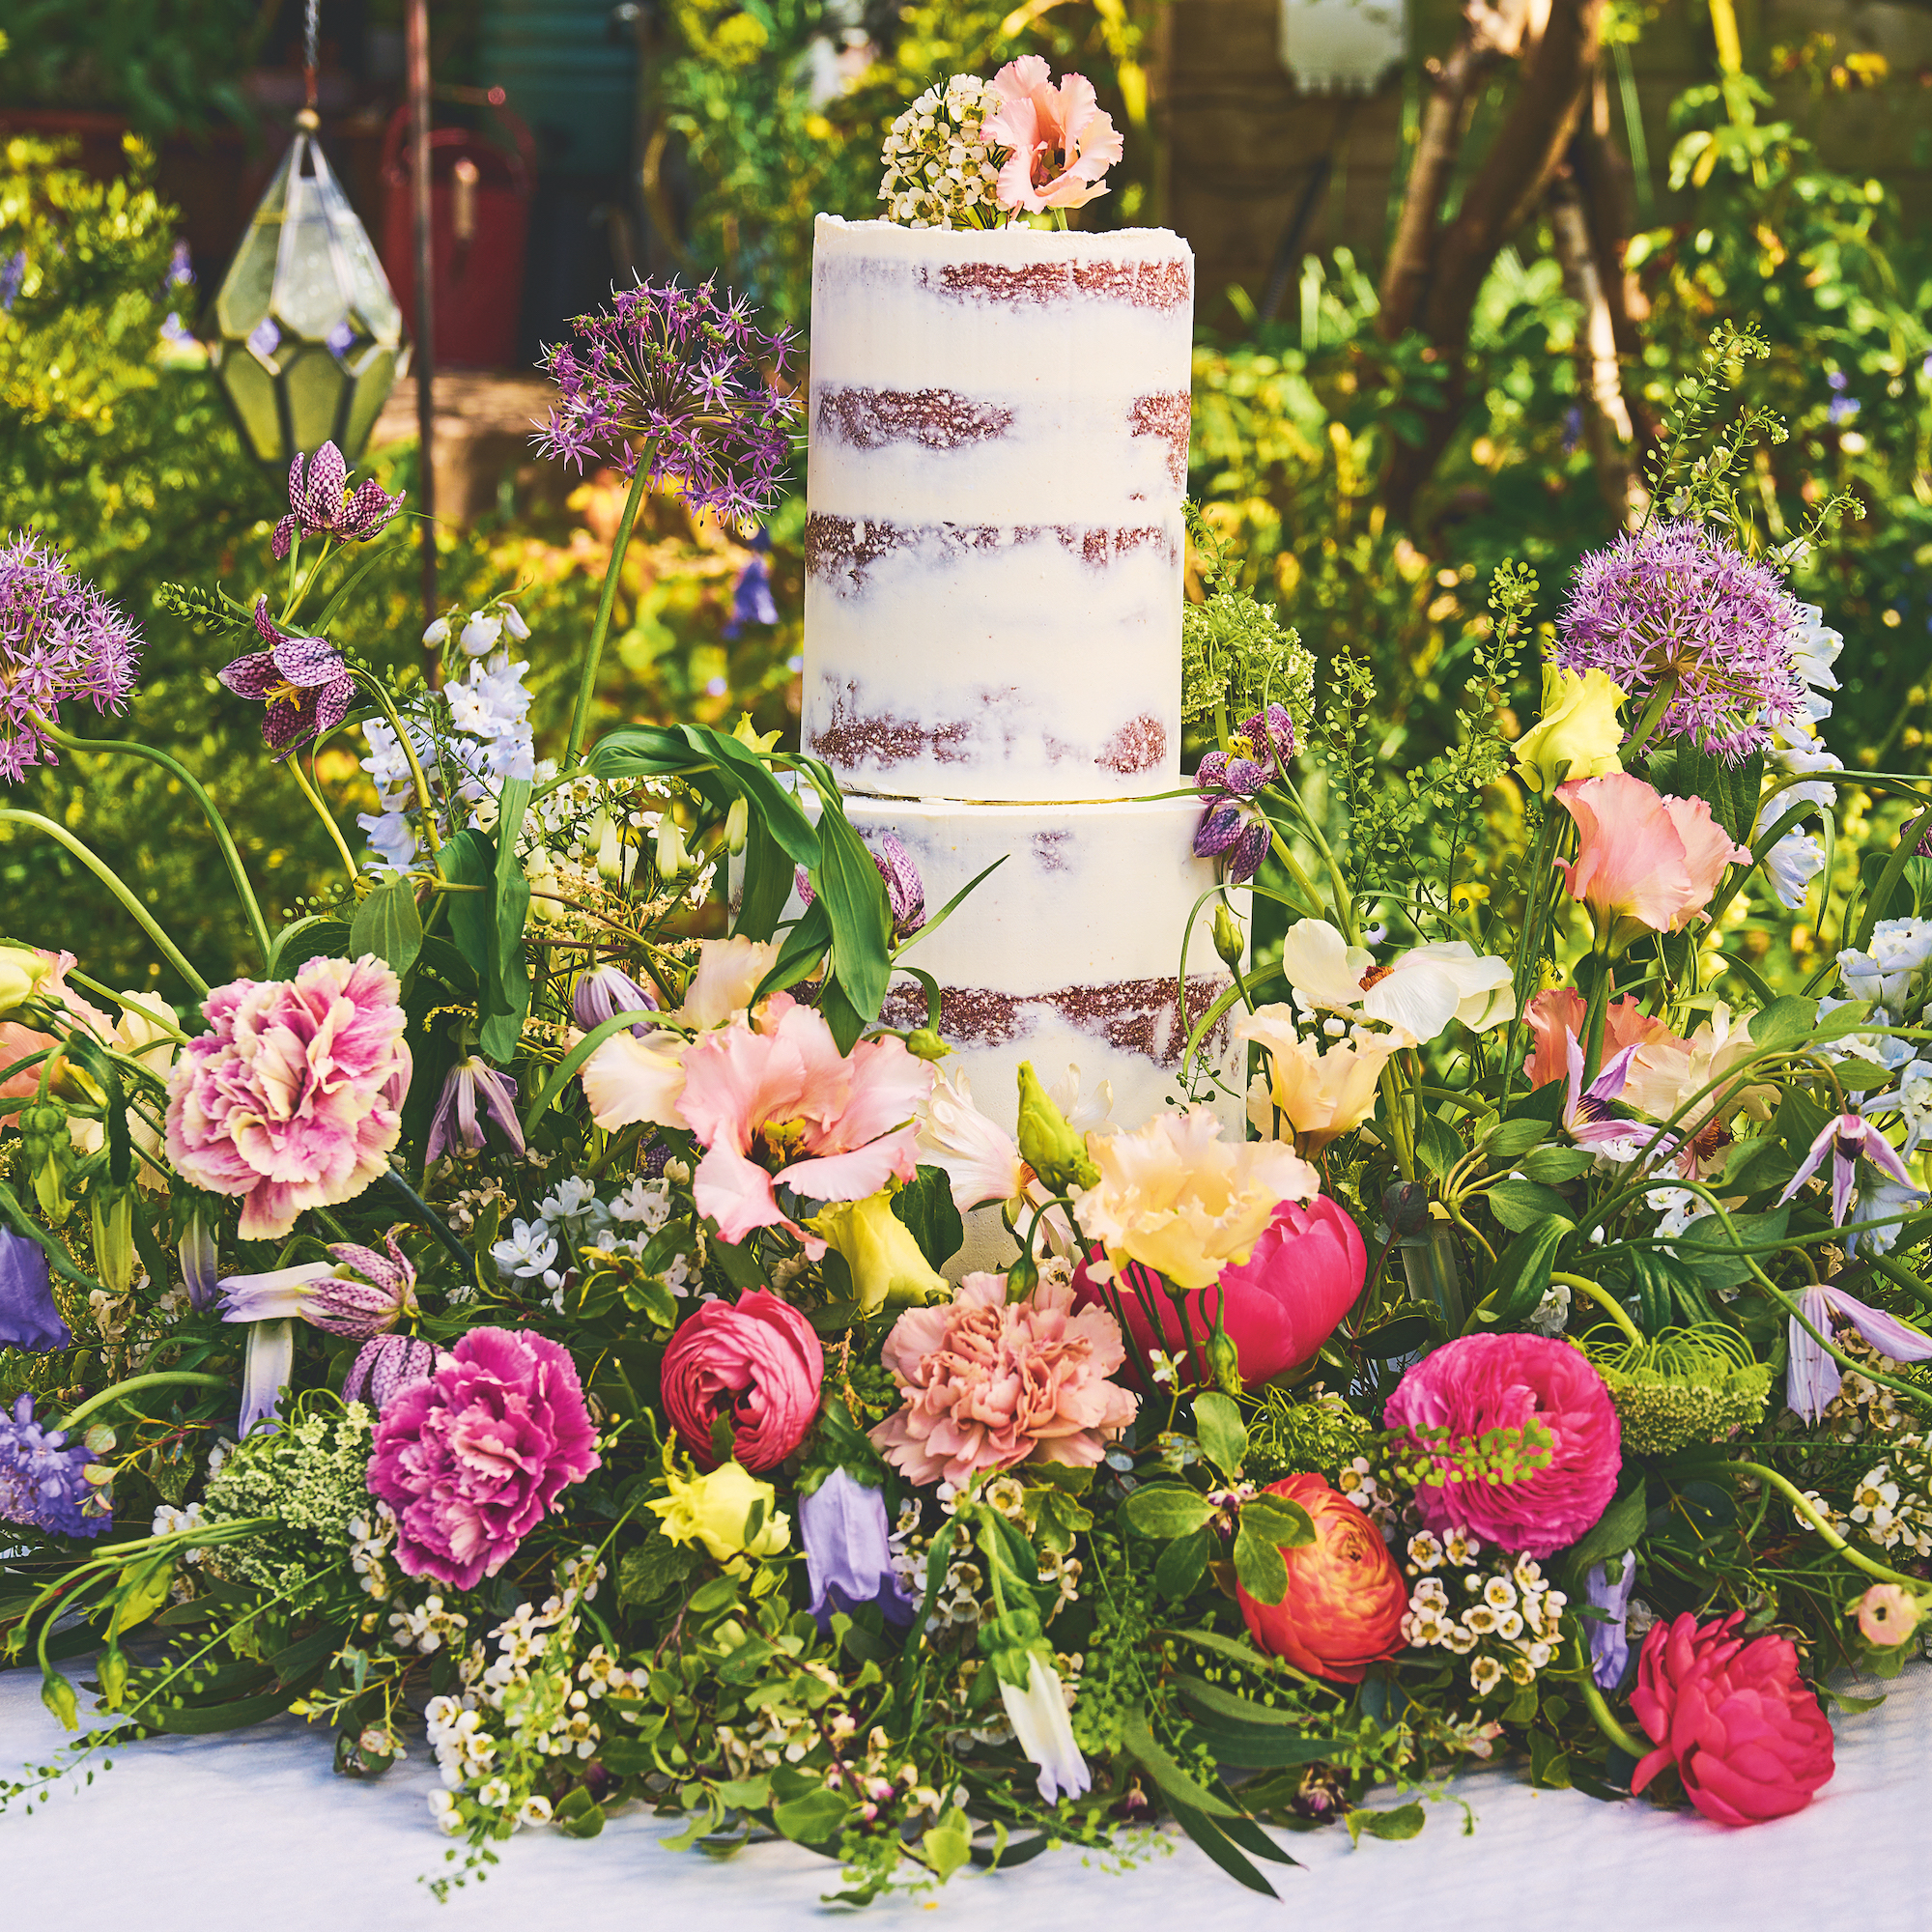
Ready to add even more blooms to your garden? Flowers are the perfect decoration for summer garden parties, whether you're hosting a mini at-home festival, a special event like a wedding or birthday, or just want to dress up a picnic on a sunny day.
But what makes these ideas even more special is that some of them can double up as floral styling ideas for yourself, too! Floral artist Sarah Crosier of Sea Poppy Flowers has designed a floral napkin ring that can double be worn as bracelet and a chair decoration that can be pinned on a dress as corsage.
These beautiful displays are surprisingly simple to make but for the best results, you'll need to condition your flowers so the blooms last throughout your party.
How to condition flowers
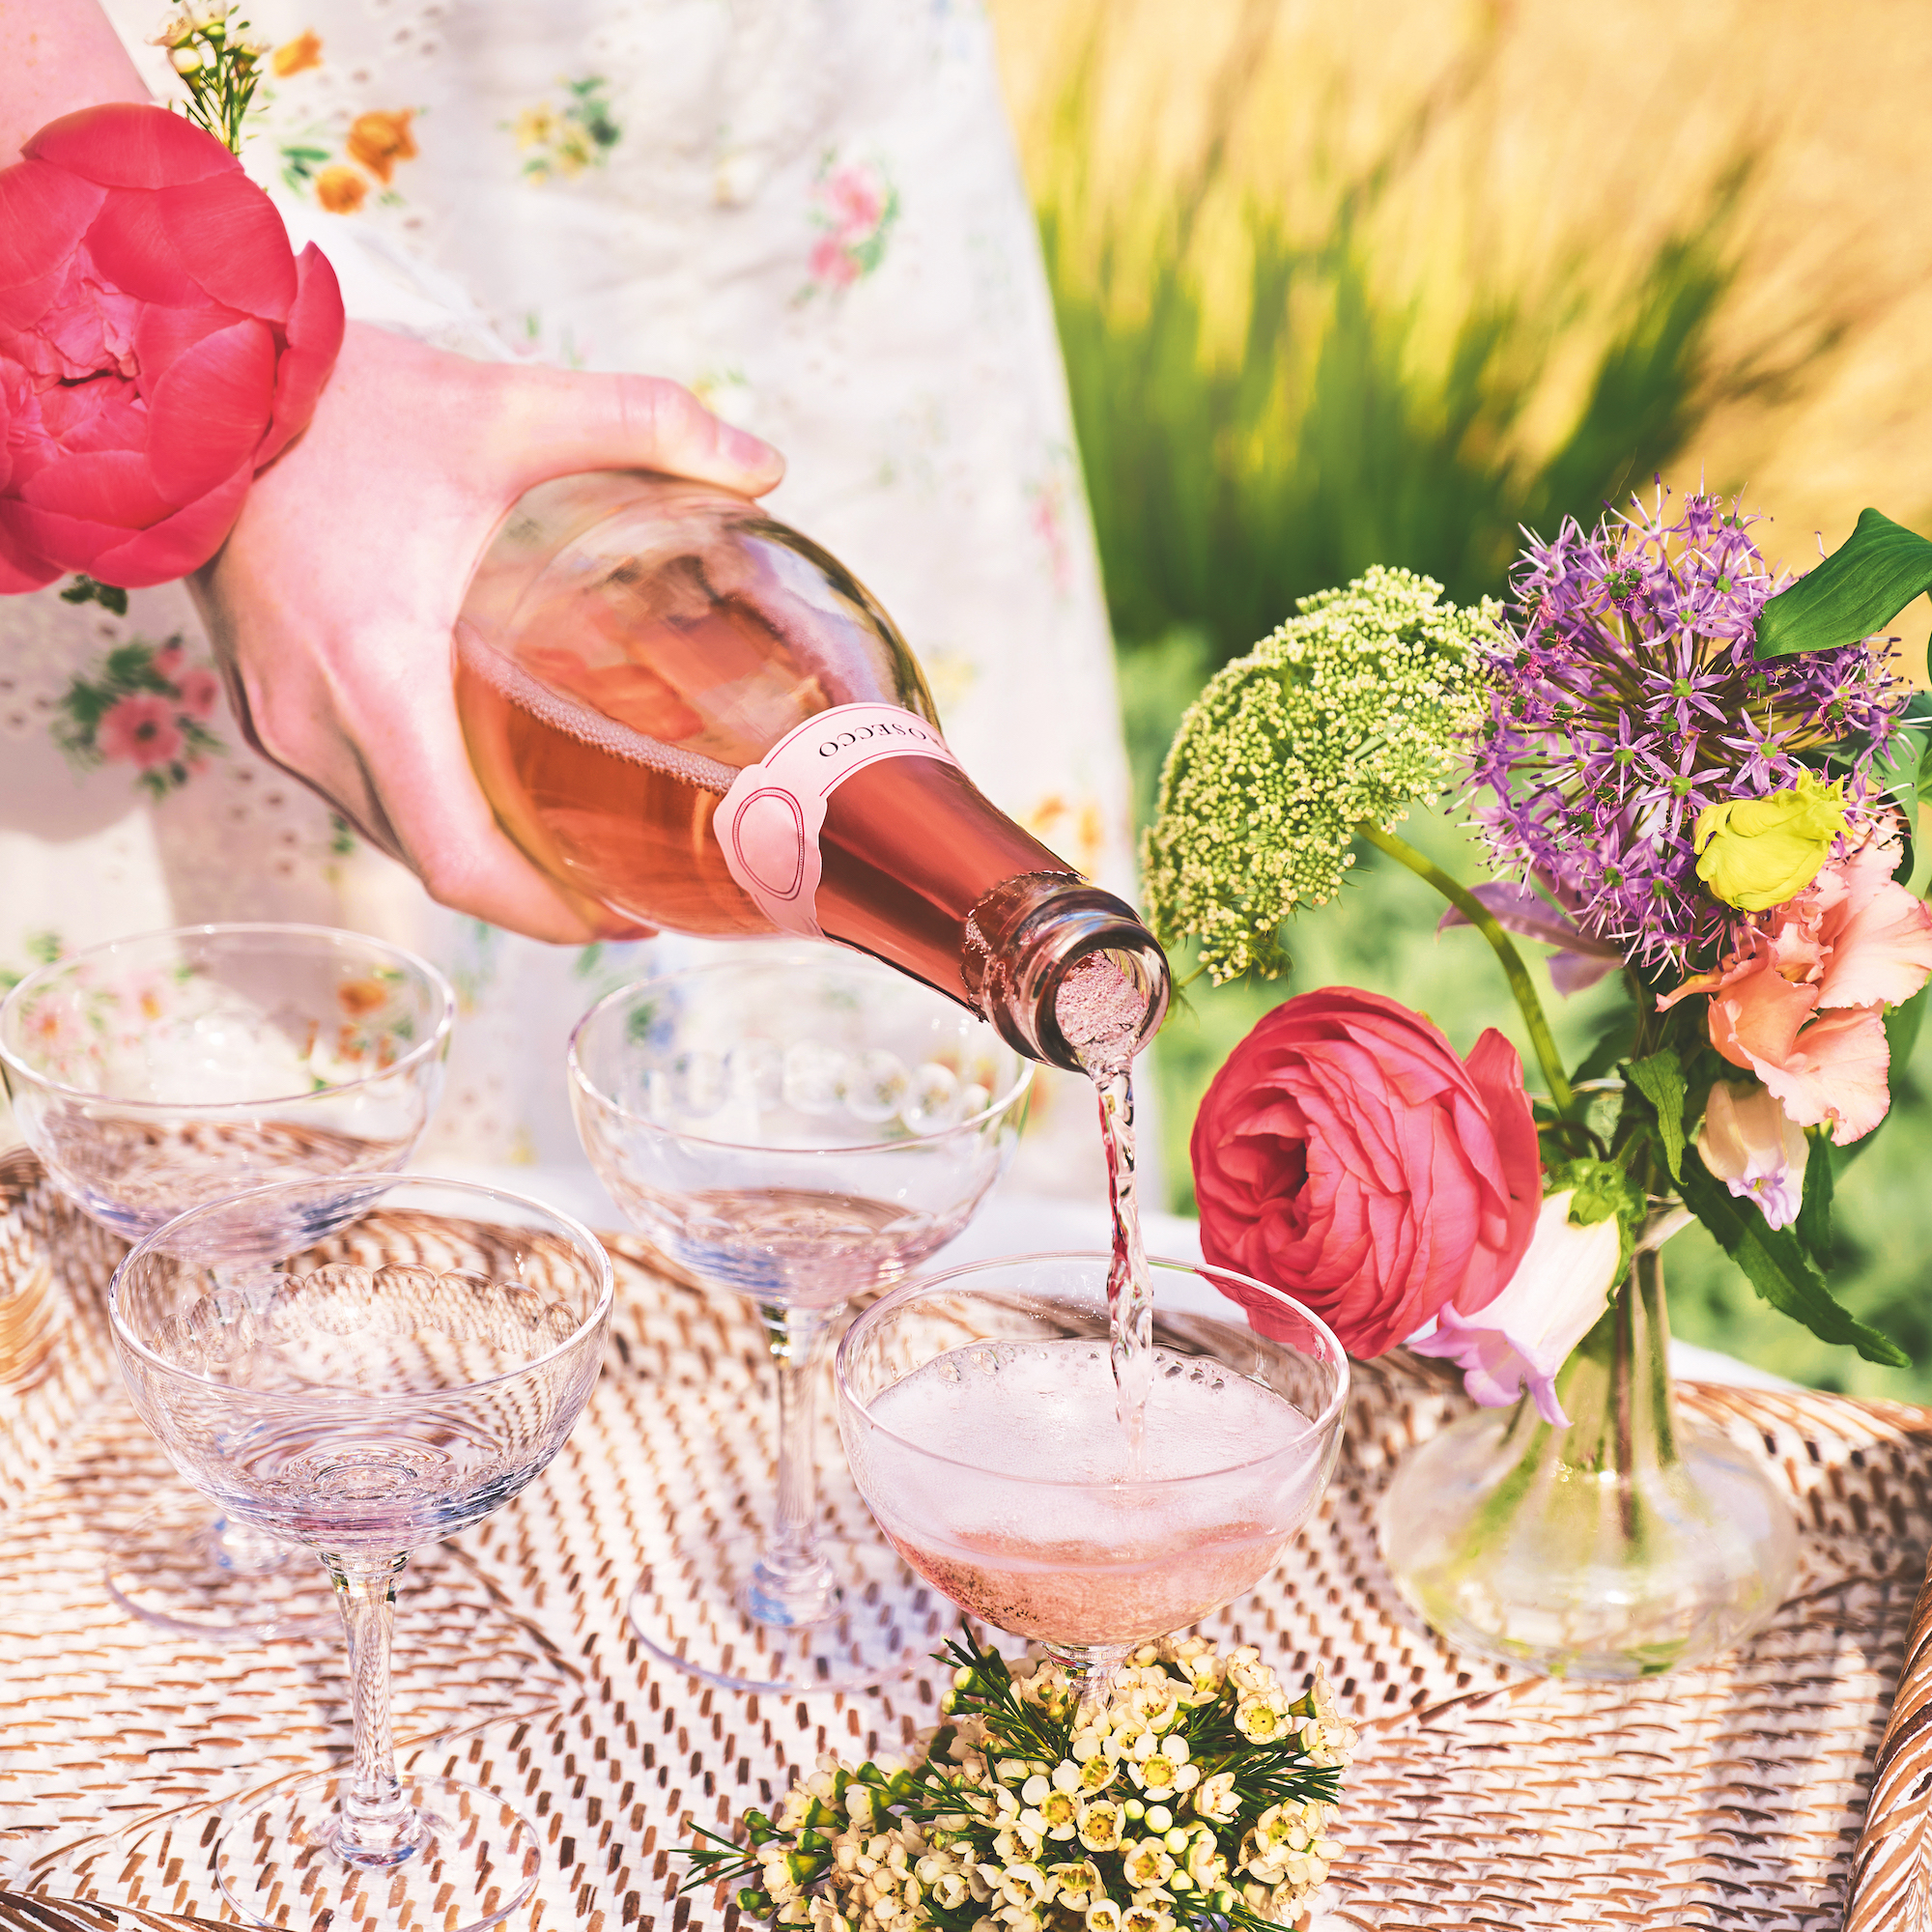
Conditioning your flowers will keep them fresh for as long as possible. Remove any low leaves, then cut an inch from the base of the stem, snipping at an angle. Put the flowers in clean containers with water, ensuring there aren’t any submerged leaves. Replace the water every couple of days.
If your flowers are in tight buds and you want to speed up their opening, put the stems in warm water and place the flowers in sunlight. We did this with our peonies. Otherwise, keep the flowers in a cool place out of direct sunlight.
Ideally, order freshly cut flowers from a flower farm. They can be bought/delivered two to three days before your party. See flowersfromthefarm.co.uk for a list of British flower growers where you can visit to choose your flowers, or order deliveries.
You will need…
Focal flowers: peonies and alliums, delphinium
Secondary flowers: carnations, eustoma, ranuncula
Filler flowers: wax flower
'Salt and pepper' flowers: thiaspi, scabiosa
Additional materials: Fishing line, darning needle, scissors, floral glue, floral wire, floral tubes, chicken wire, moss, balloons, cable ties, sport tape (such as Rocktape), cardboard, silk ribbon.
1. Cake meadow

Cake meadows are a trend we're seeing a lot of for weddings and other celebrations. The bank of flowers make a wonderful contrast to a simple cake, like this raspberry and white chocolate semi-nude layer cake from Butterbee Cakes.
A mossage, made from chicken wire shaped into a cylinder and packed densely with moss, will help to secure your blooms and keep them fresh, and is more sustainable than floral foam.
Make a mossage about 1 metre long. Line the base with recycled plastic bags (this keeps the tablecloth dry), top with moss, and use cable ties to hold it together. Submerge the mossage water so the moss becomes damp but not too wet. Shape into a crescent.
Began by adding your foliage, sticking it into the moss and placing it to cover up the polythene and cable ties. Next, add your flowers. Blooms with woody stems can be pushed directly into the moss. For softer stemmed flowers, use a floral tube filled with water. Push the tube into the mossage and use a wire to secure if necessary.
Frame the cake by putting the lower focal flowers at the front and centre, and the taller blooms towards the ends. Add in filler flowers (we used wax flower) where you see any gaps. Finish with a sprinkle of ‘salt and pepper’ flowers that add the final flourish.
Once the flowers are in place, place the cake on the table, shape the meadow around and secure the back with cable ties. Raise the cake on a stand if necessary.
2. Chair decoration

This is created in a similar way to the cake meadow, using a mossage made from chicken wire and moss as a base. Use the shape and size of your chair back to decide the dimensions of your mossage. Start by inserting foliage into the moss, then add sturdier stems, plus more fragile blooms in floral tubes. Secure to the chair back with cable ties, arranging the foliage and flowers to hide the fixings.
You could also pin this decoration to a dress or jacket as a corsage.
3. Dressed chandelier
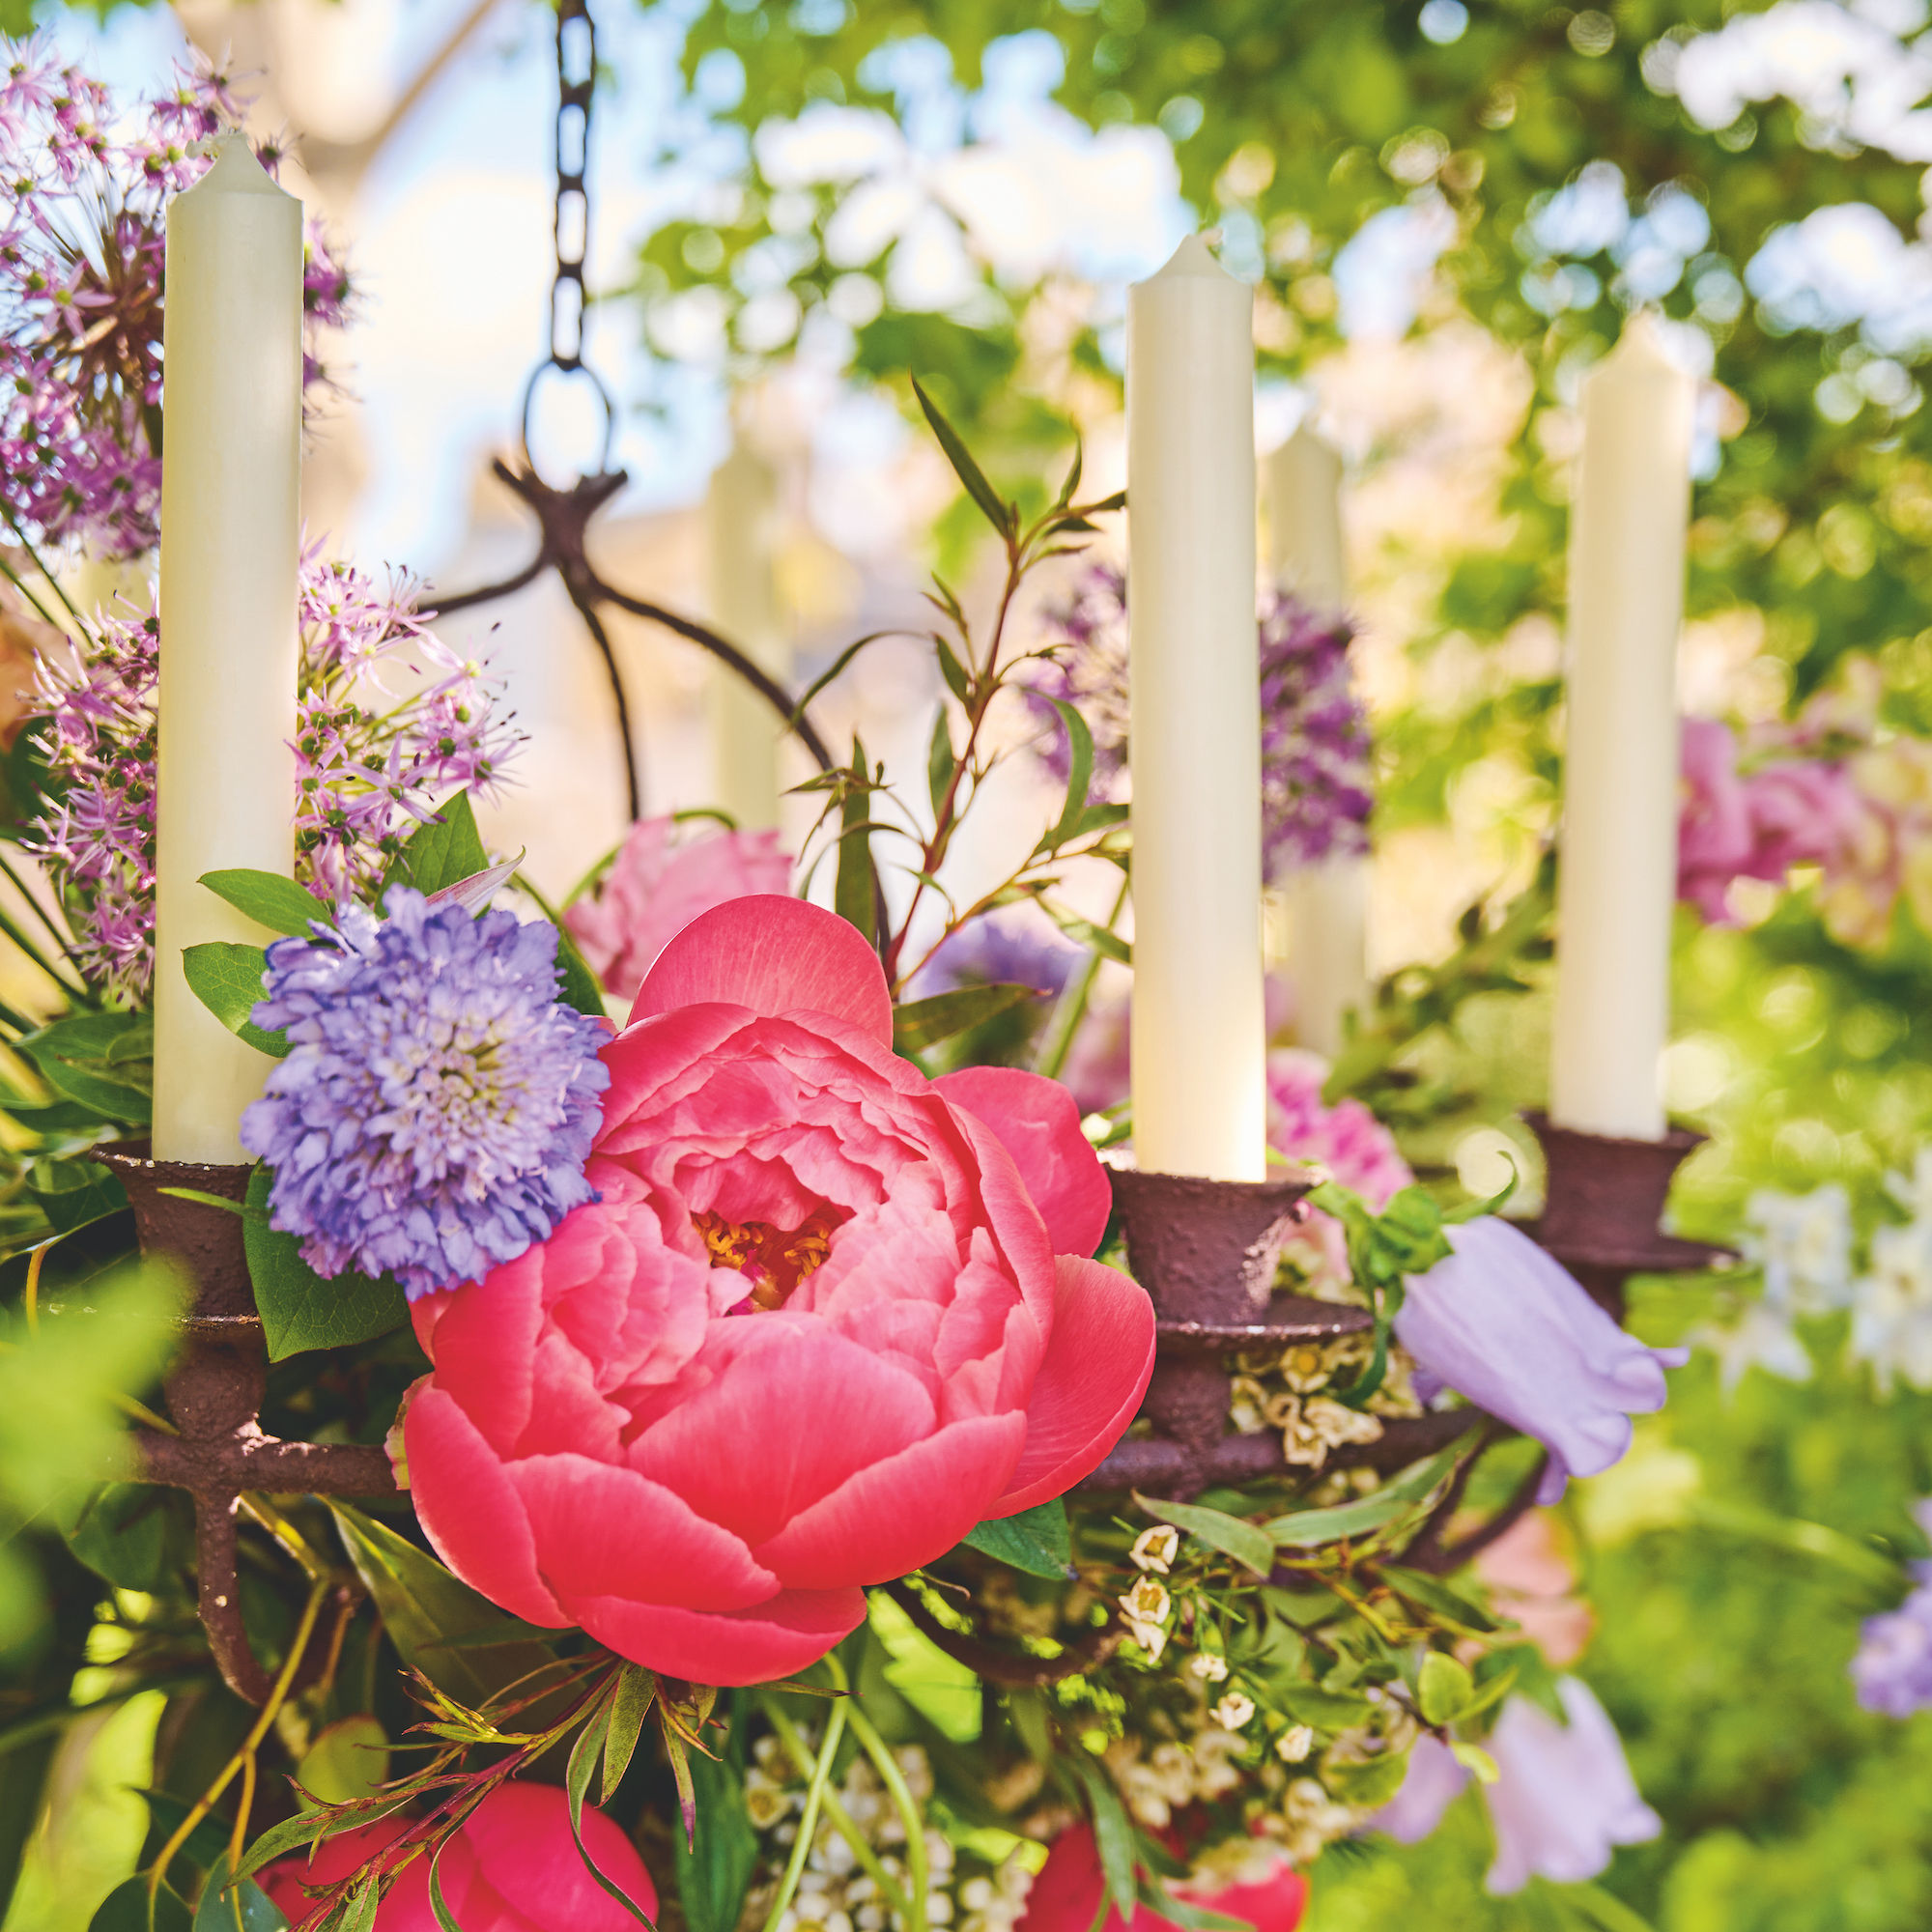
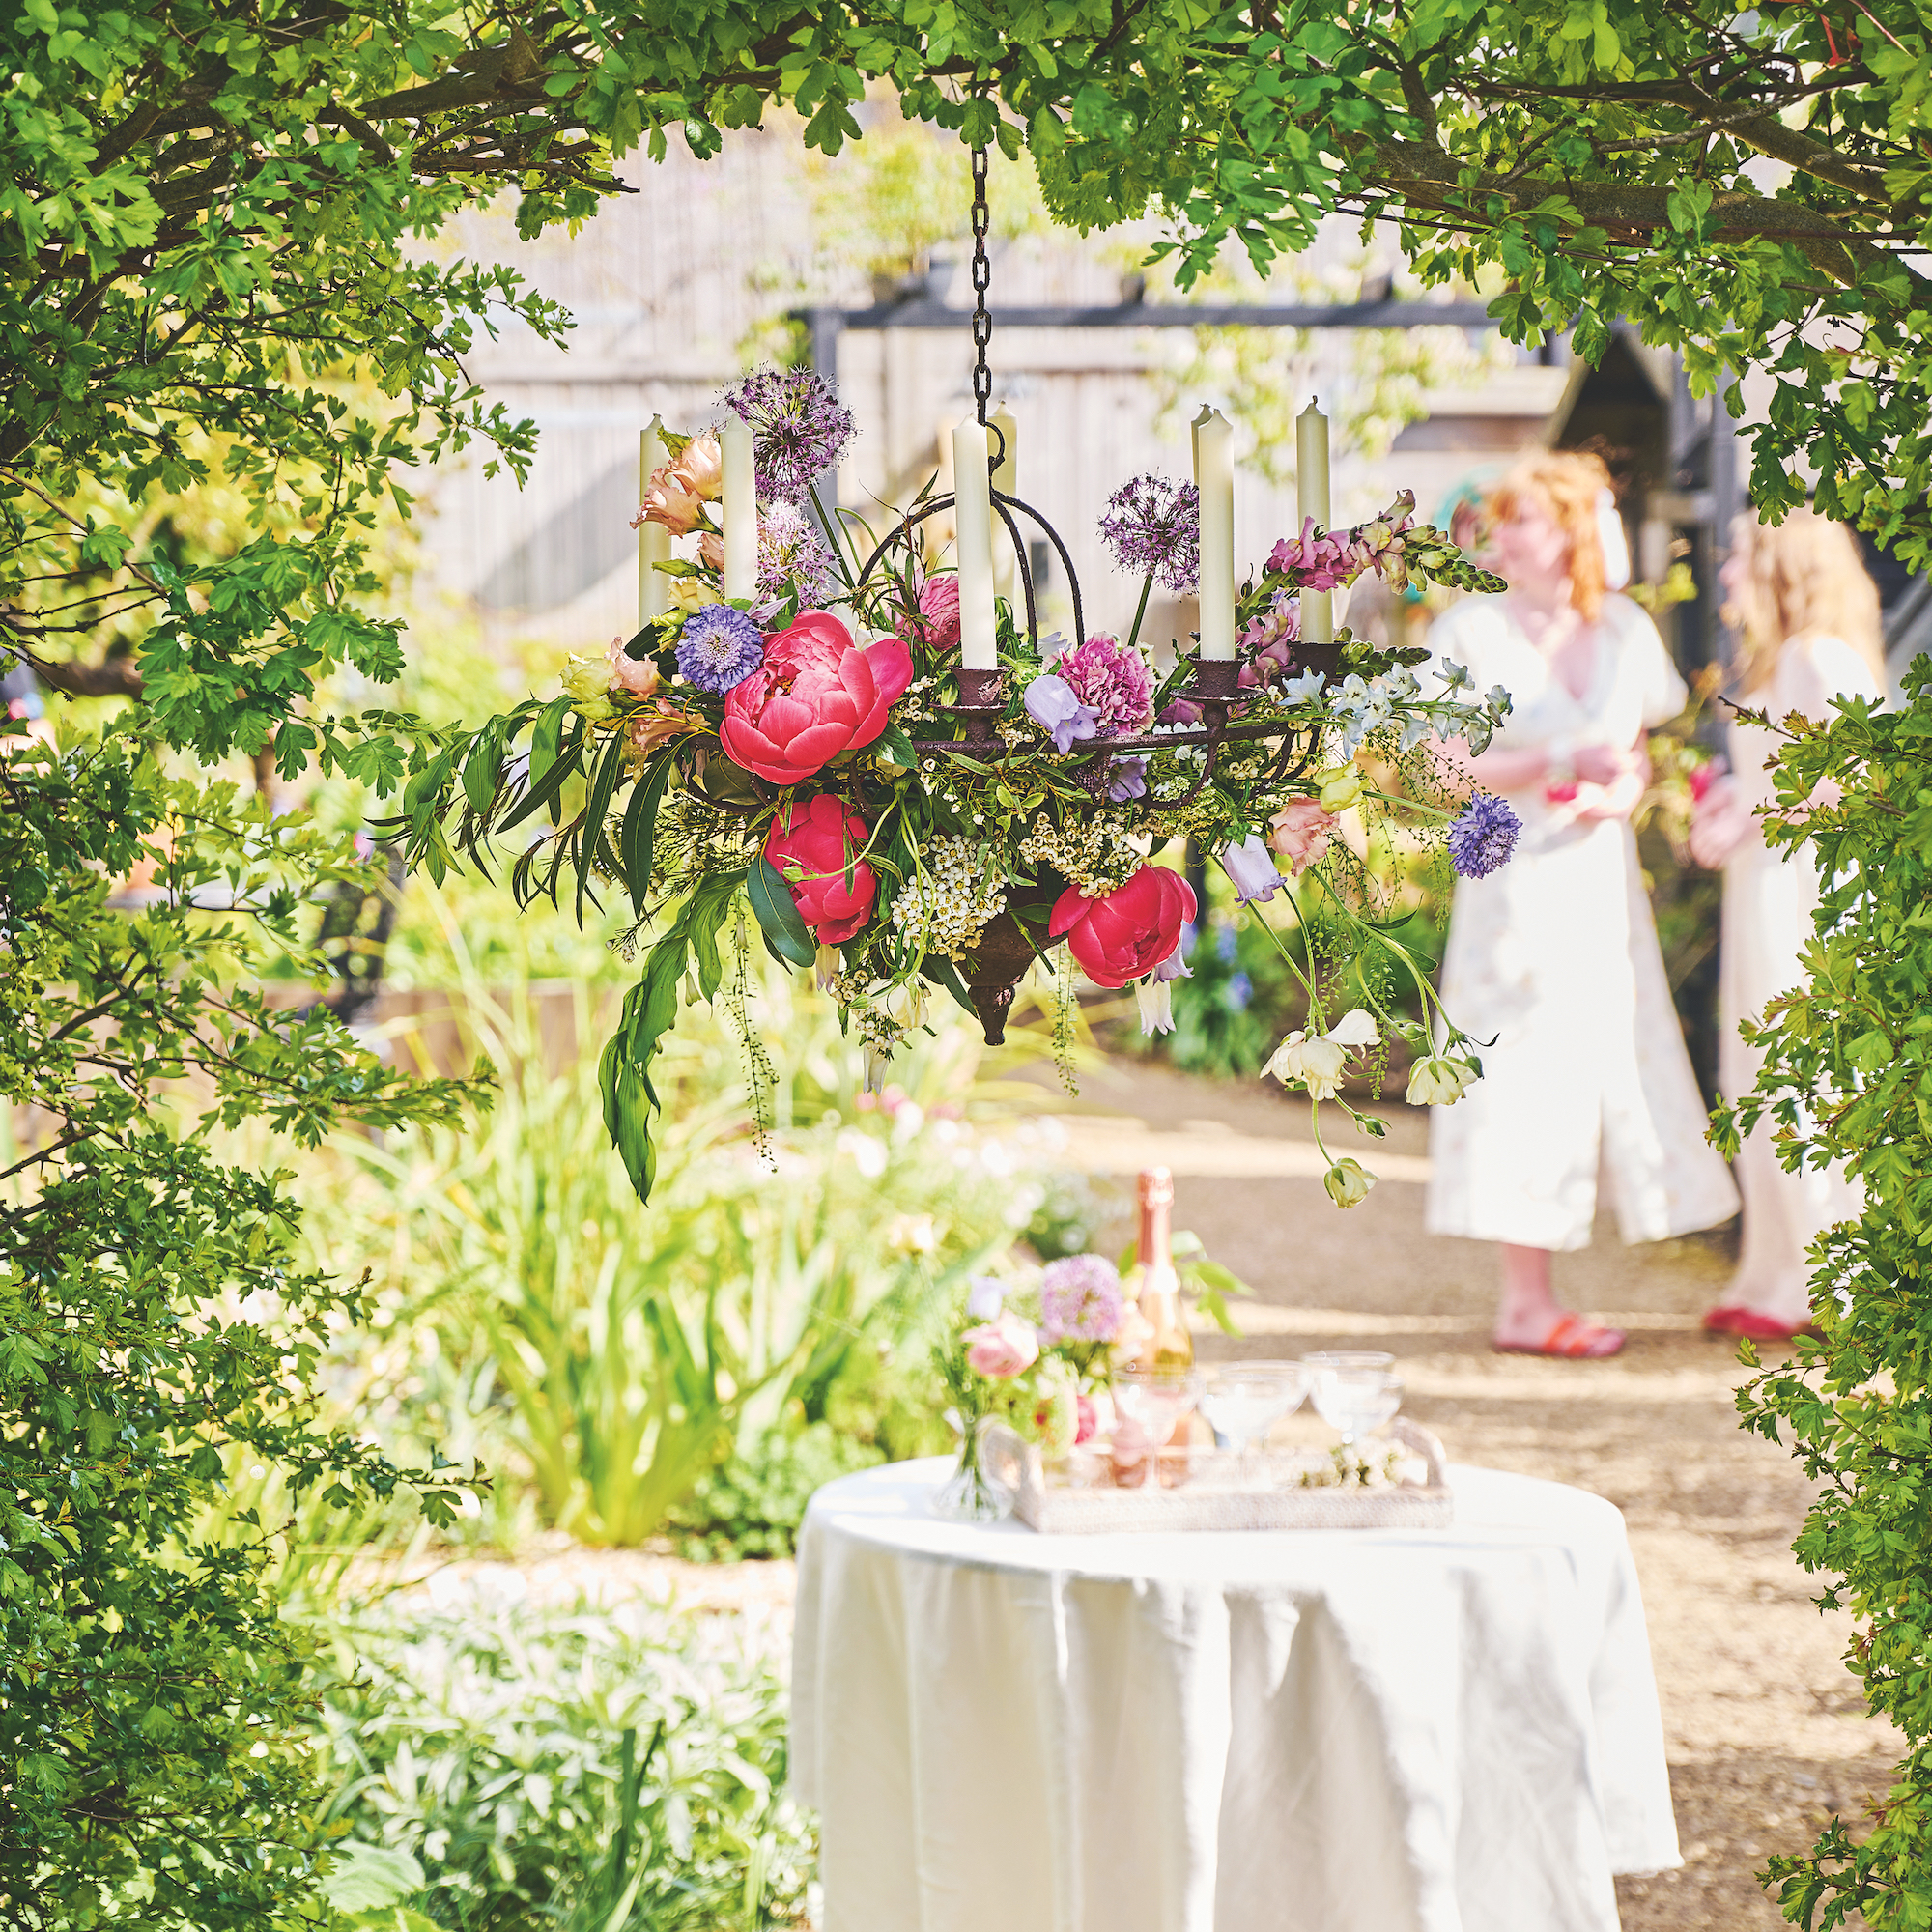
Our chandelier had a hollow cup at the centre that we filled with a mossage of chicken wire and damp moss to create a base for the flowers to be set into. If your chandelier doesn’t have this, you can dress it on the day; the flowers should last a few hours without water, as long as the chandelier isn’t put in full sun.
Start by adding foliage to fill the spaces between the arms of the chandelier. Next, arrange the flowers to create a balance of heights, uprights and trailing flowers. View the chandelier from different angles to check it looks beautiful from all sides. The flowers should ‘talk’ to each other, for example, a group of three peonies, interspersed with filler flowers.
4. Floral ice balls
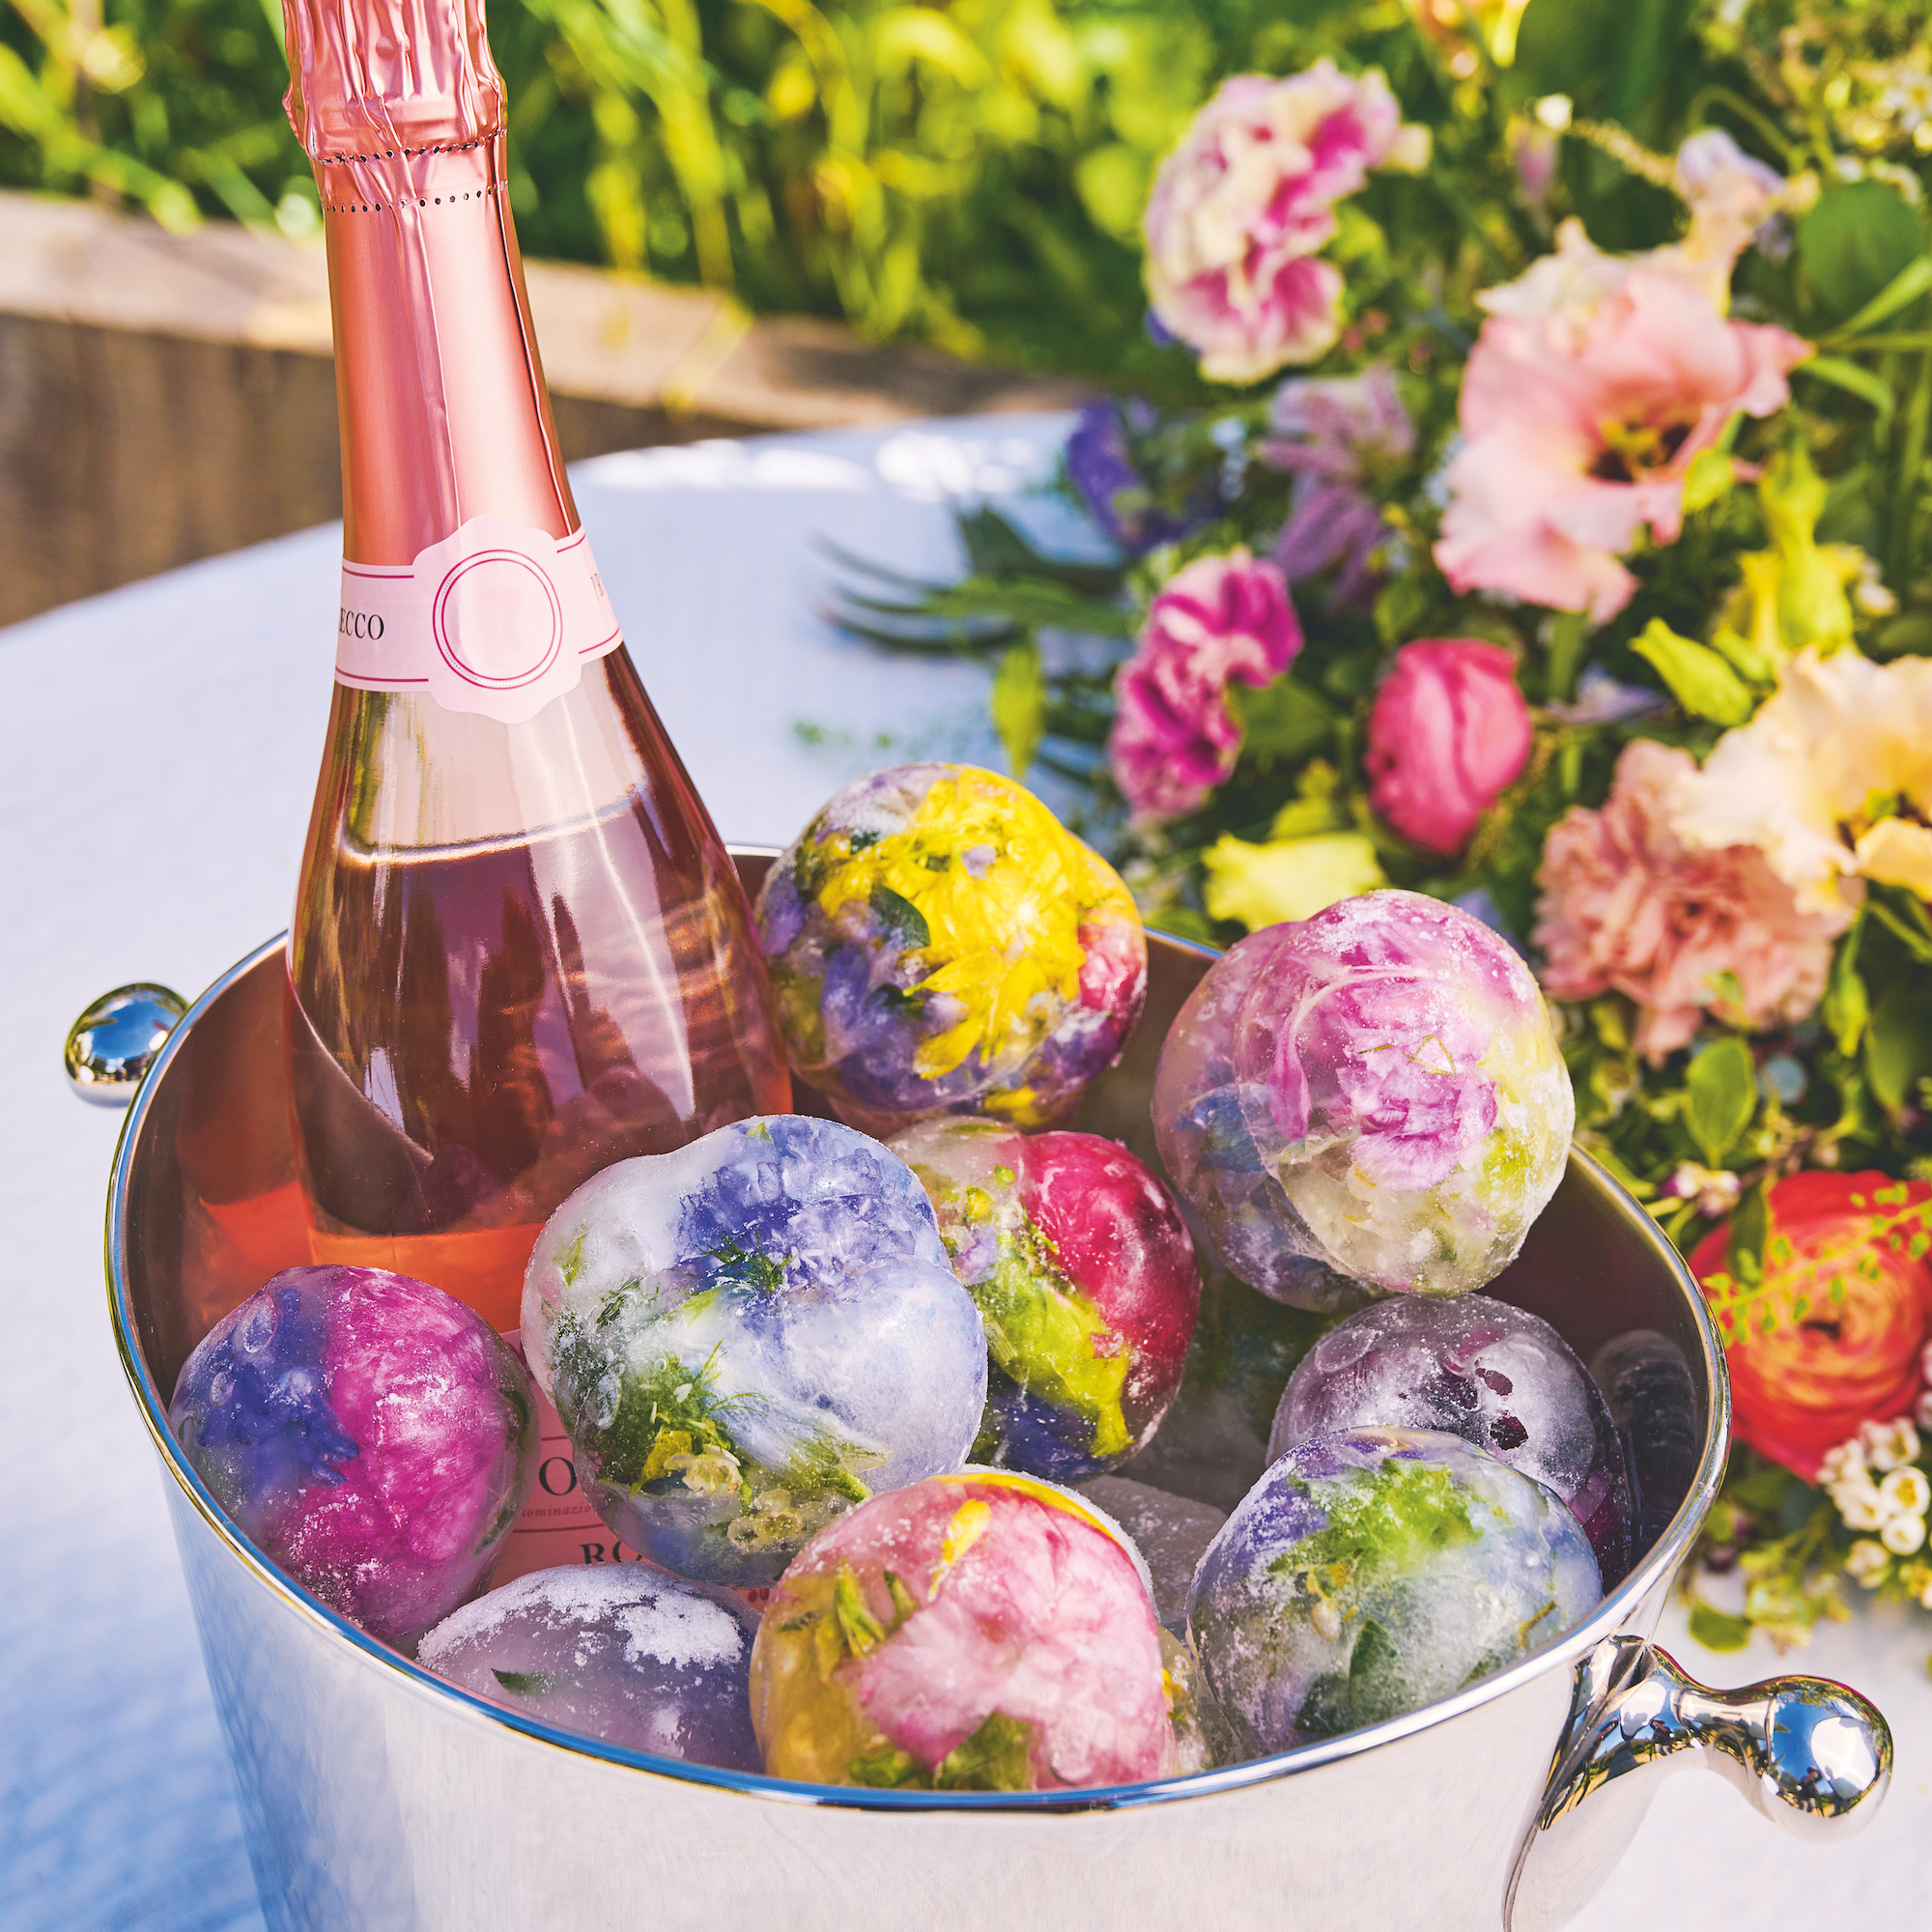
Dense flowers such as roses and zinnias are best for these pretty ice balls.
Take a balloon, stretch open the neck, and push two or three flowers inside, then add some sprigs of foliage such as dill and mint.
Put the neck of the balloon over a tap, fill with water and tie to secure.
Make sure all the balloons are the same size, then place in a freezer until solid.
When you’re ready to fill your ice bucket, cut the top off each balloon and peel away from the ice balls. Run the ball under the tap if the balloon sticks.
Tip: use distilled water to prevent the ice from clouding.
5. Napkin tie
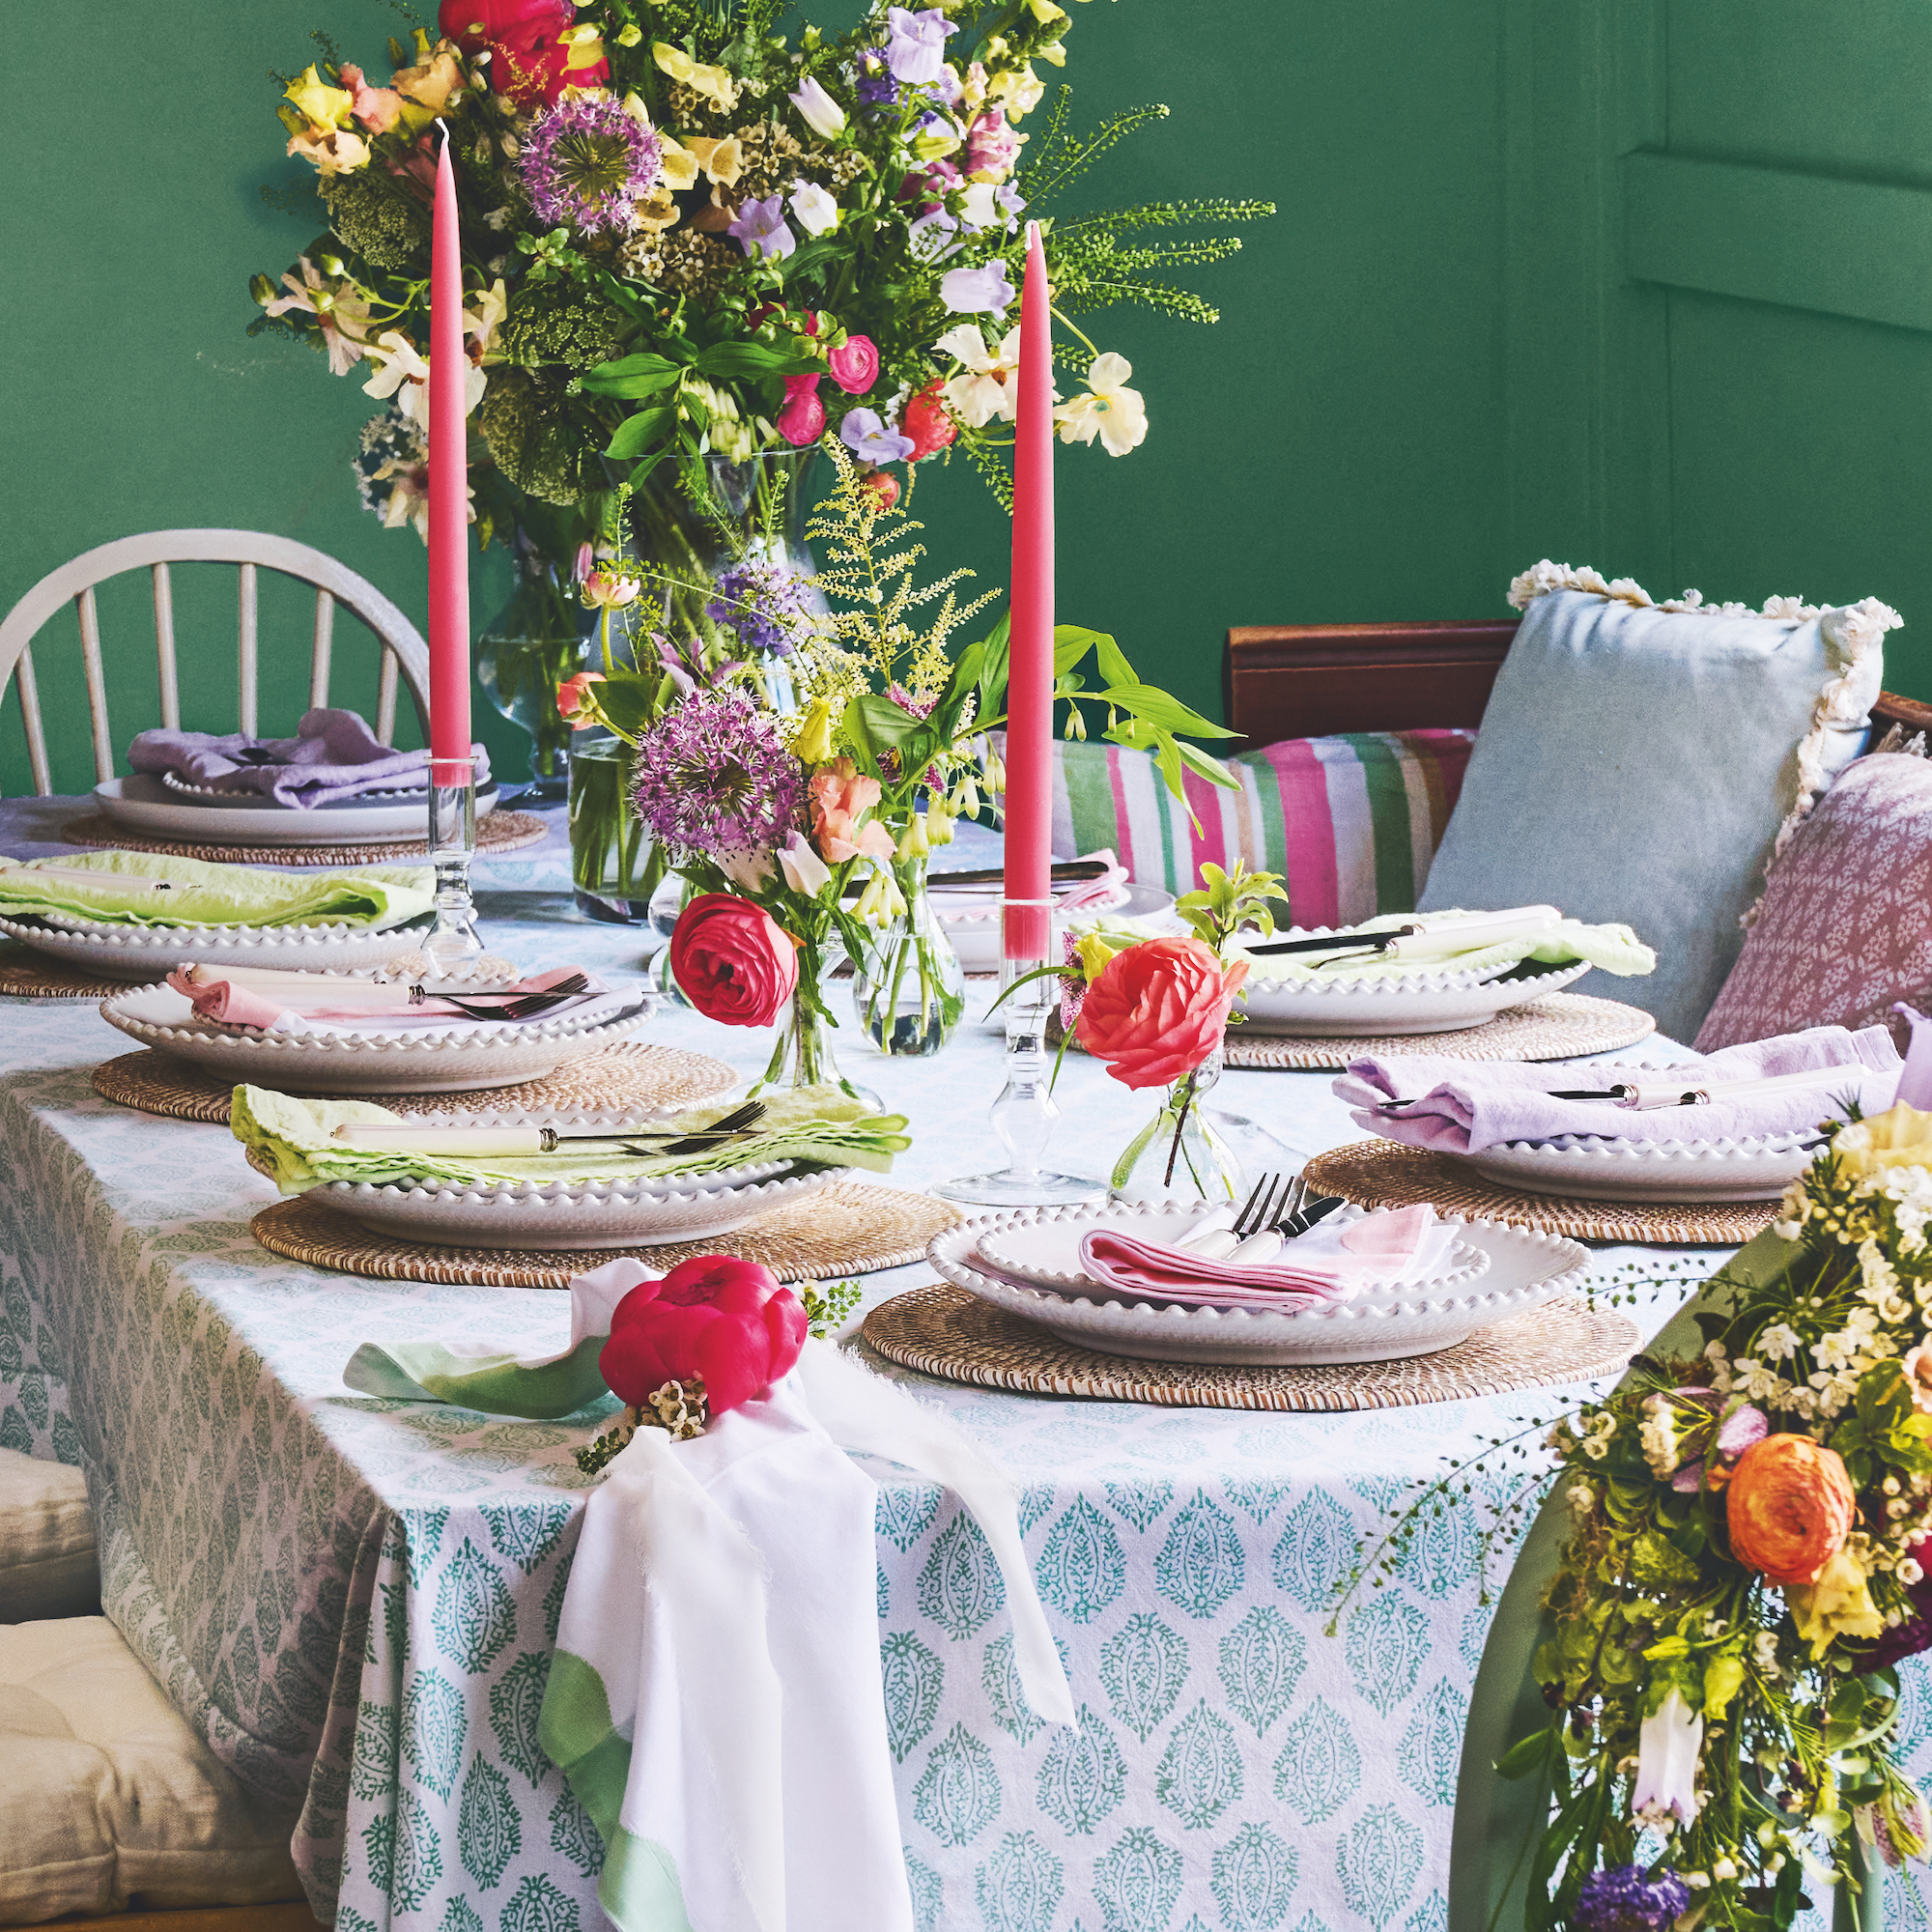
This pretty napkin tie could also be wrapped around the wrist as a bracelet.
Cut a strip of ribbon long enough to tie around the wrist or napkin. Choose a focal flower and cut the bloom from the stem. Put a spot of floral glue in the centre of the fabric strip and another on the base of the flower. Wait a moment until the glue becomes tacky, then stick together. Stick some leaves and filler flowers around the outside to finish.


