Oeksound is best known for its dynamic resonance suppressor plugin Soothe. Its latest plugin Bloom arrived earlier this year, and like Soothe it’s designed to offer some smart tone-shaping tricks within an easy-to-use interface.
Where Soothe addresses problem frequencies, Bloom is all about bringing out the best in your instruments and audio sources, as well as adding warmth and character. Oeksound describes Bloom as an ‘adaptive tone shaper’. In practice, that means it combines elements of both EQ and compression.
The key differences between Bloom and basic EQs and compressors though, is that Bloom combines multiple types of process and is adaptive. This means that not only can it target specific frequencies to either bring them out or reign them in, but it also works in a dynamic manner, meaning it responds to the changing nature of the audio that you feed into it.
You might use Bloom in a project in place of a dynamic EQ, multiband compressor, or instead of a saturator to bring warmth and colour.
Bloom’s four bands let us apply boosts and cuts targeted across the frequency spectrum. These can operate in linked, stereo split and mid-side modes.
The attack and release controls adjust the timing of the processing. While, at the bottom of the UI, the Processing Graph lets the user apply low or high-pass filters to the output, and gives us really handy real-time visual feedback of what Bloom is doing.
To the left of the interface, the Amount control is used to dial in the effect. Past a certain threshold, this also begins to ‘squash’ the signal using a mix of upward and downward compression.
Try Oeksound Bloom with a 20-day free trial
Three ways to use Bloom in a track
In the video above, we explore three ways we can apply Bloom to a downtempo track idea, which uses a mix of acoustic and electronic sounds.
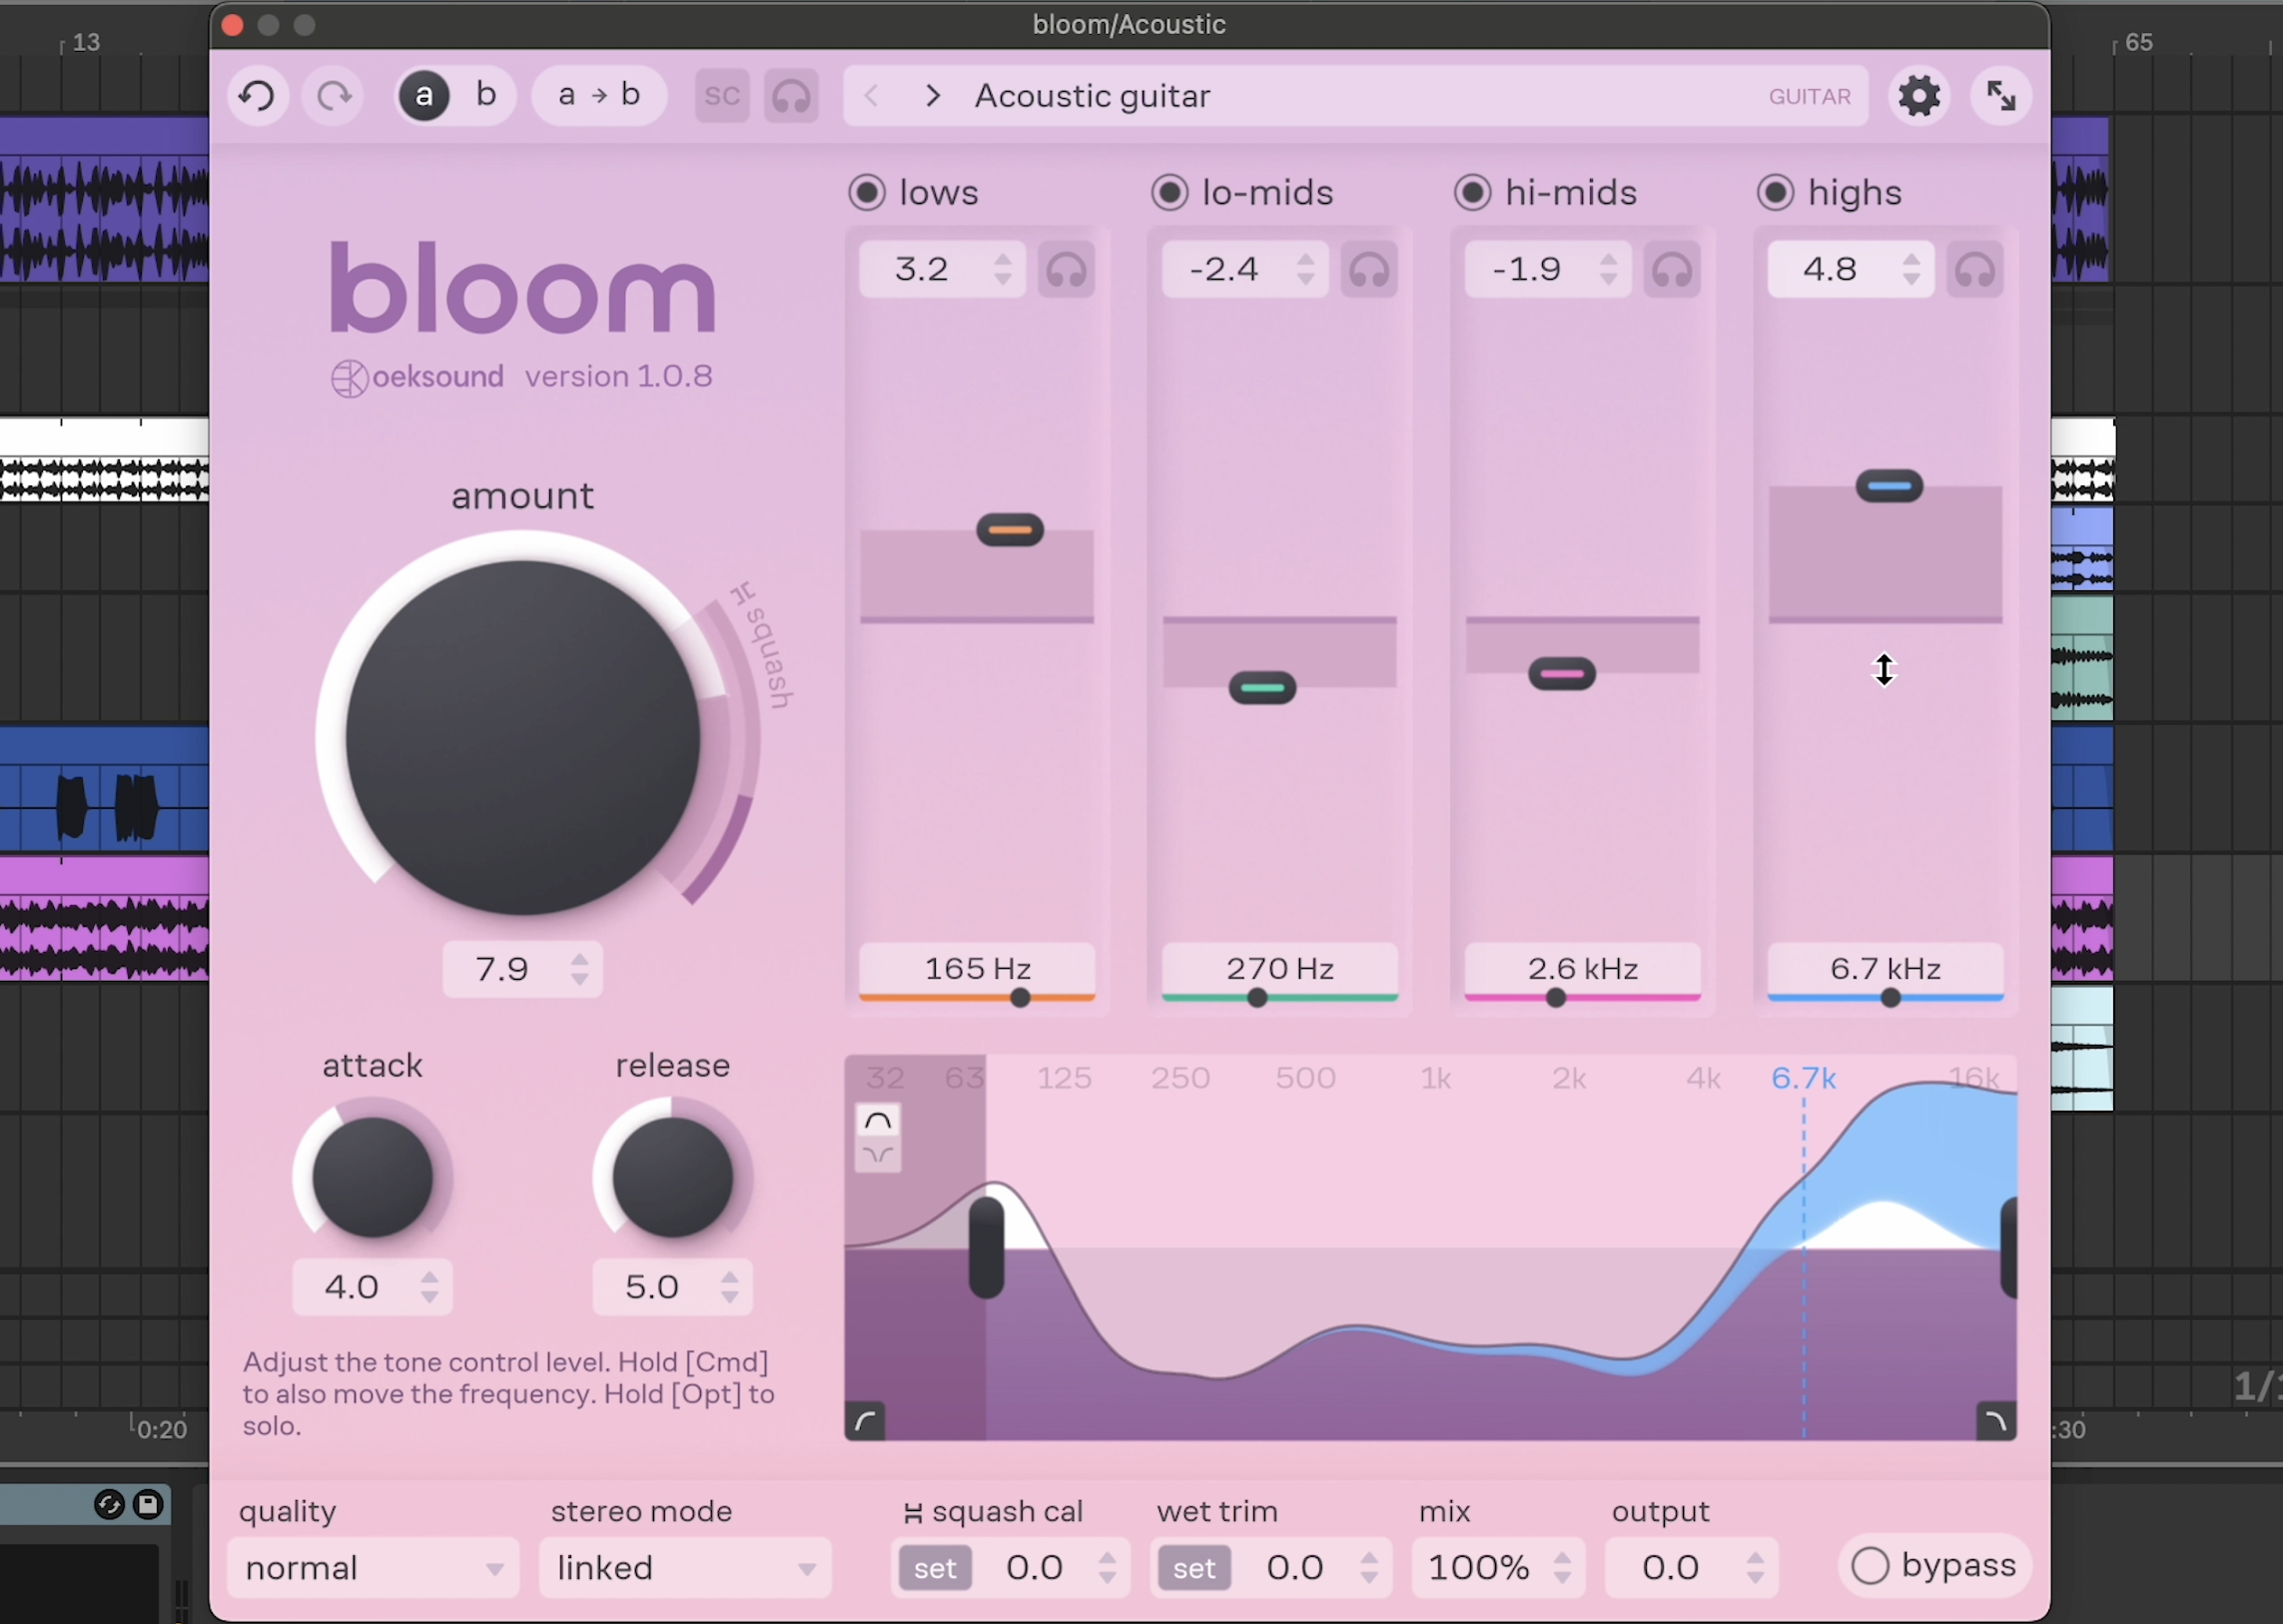
First we apply the effect to an acoustic guitar part, which is providing the main melodic loop. The recording sounds a little flat. We use Bloom’s Acoustic Guitar preset and see how that sounds.
This helps to smooth out the picked guitar part, but we also boost some of these high frequencies in order to add a little presence.

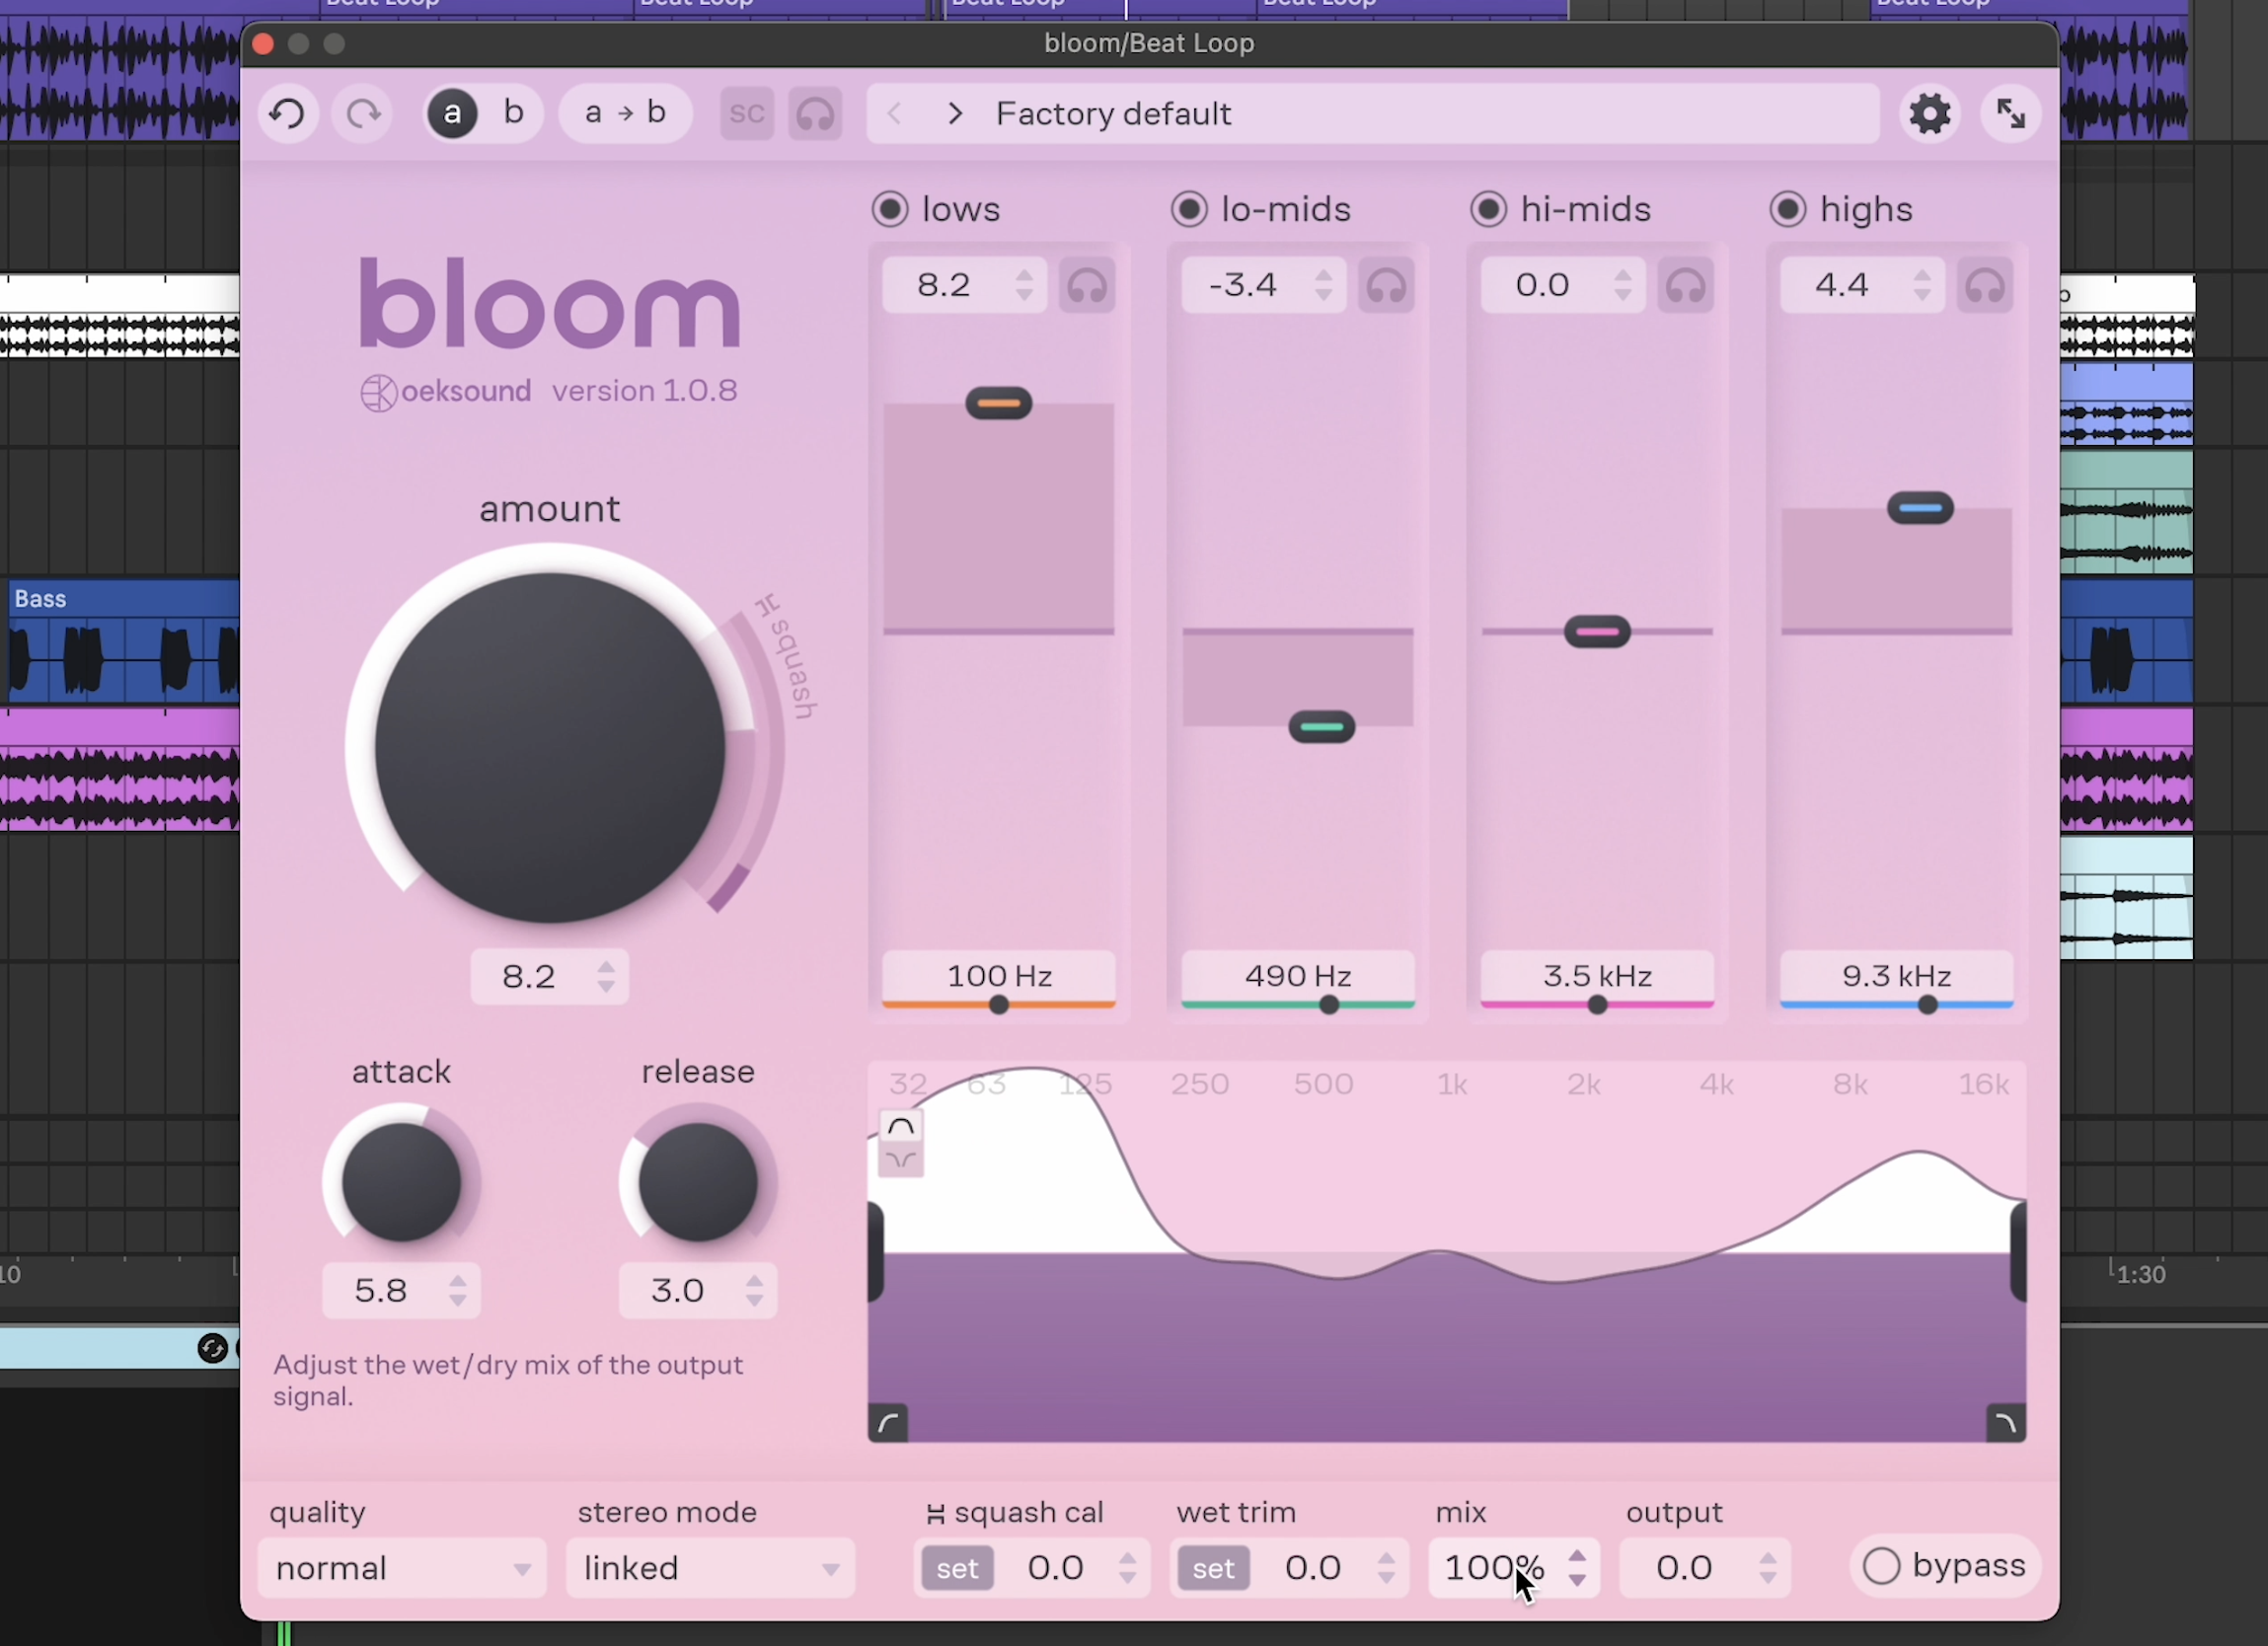
Our track’s drums focus around an acoustic drum loop. The snare and stick parts sound great here, but the kick is a little boxy and could use more power. To address this, we use Bloom’s frequency controls to target the key low frequencies of this kick, and then apply a fairly sizable boost. At the same time, we pull back some of the low mids to address the boxiness.
Since we’re working on drums, we raise the attack time a little so we’re not losing any transient punch. Using the amount control, we also dial in some compression. This sounds nice on our drums, but since this is now a fairly extreme treatment, we use Bloom’s dry/wet mix control to create a parallel treatment.

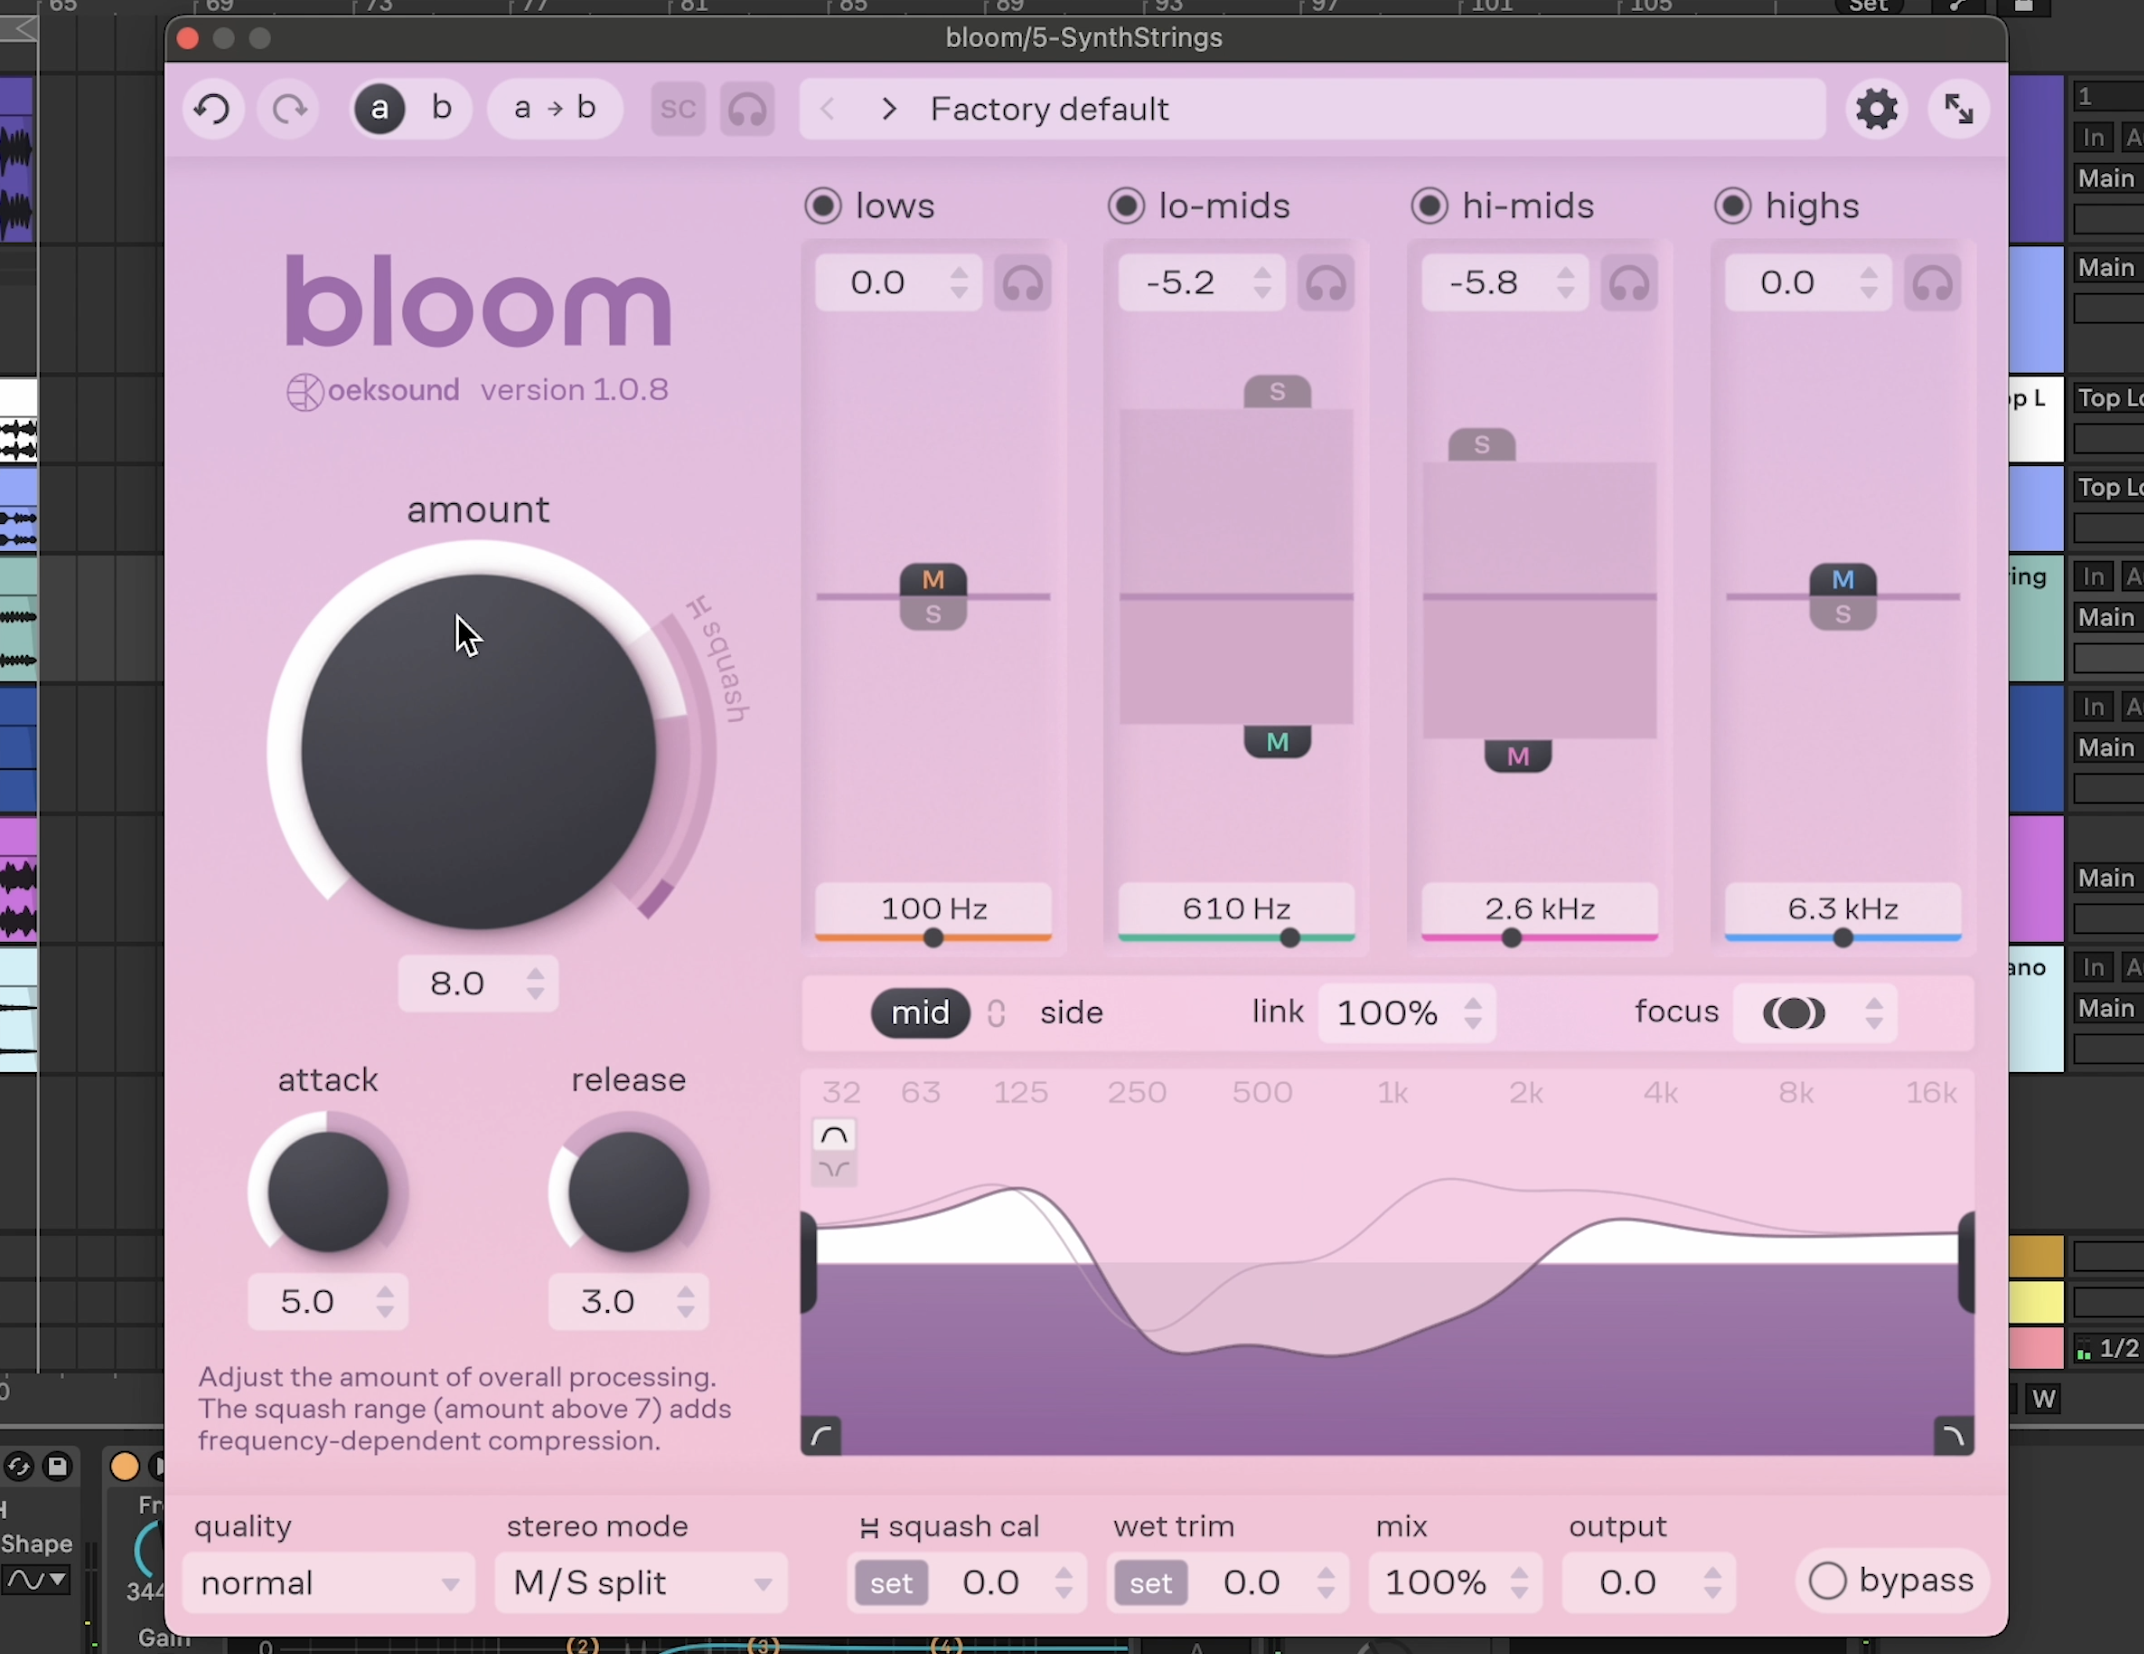
Finally, let’s take a look at this filtered synth part that comes in towards the end of our loop. We want this to sit behind the acoustic guitar, so we use Bloom to add a bit more width and push it out to the sides of the stereo field.
To do this we engage Mid/Side mode. The synth part already has a bit of stereo movement as it filters in and out, so we can apply a little boost in the side signals to emphasise that. We also cut the corresponding frequencies in the Mid feed too.
A dynamic plugin like Bloom works well here. Because we’ve already got a modulated filter on the synth, if we were to boost certain frequencies with a static EQ, it could make it sound uneven as it’s filtering in and out.

If you’re interested in exploring what Bloom can do on one for your own projects, you can grab a 20-day free trial at the Oeksound site.


