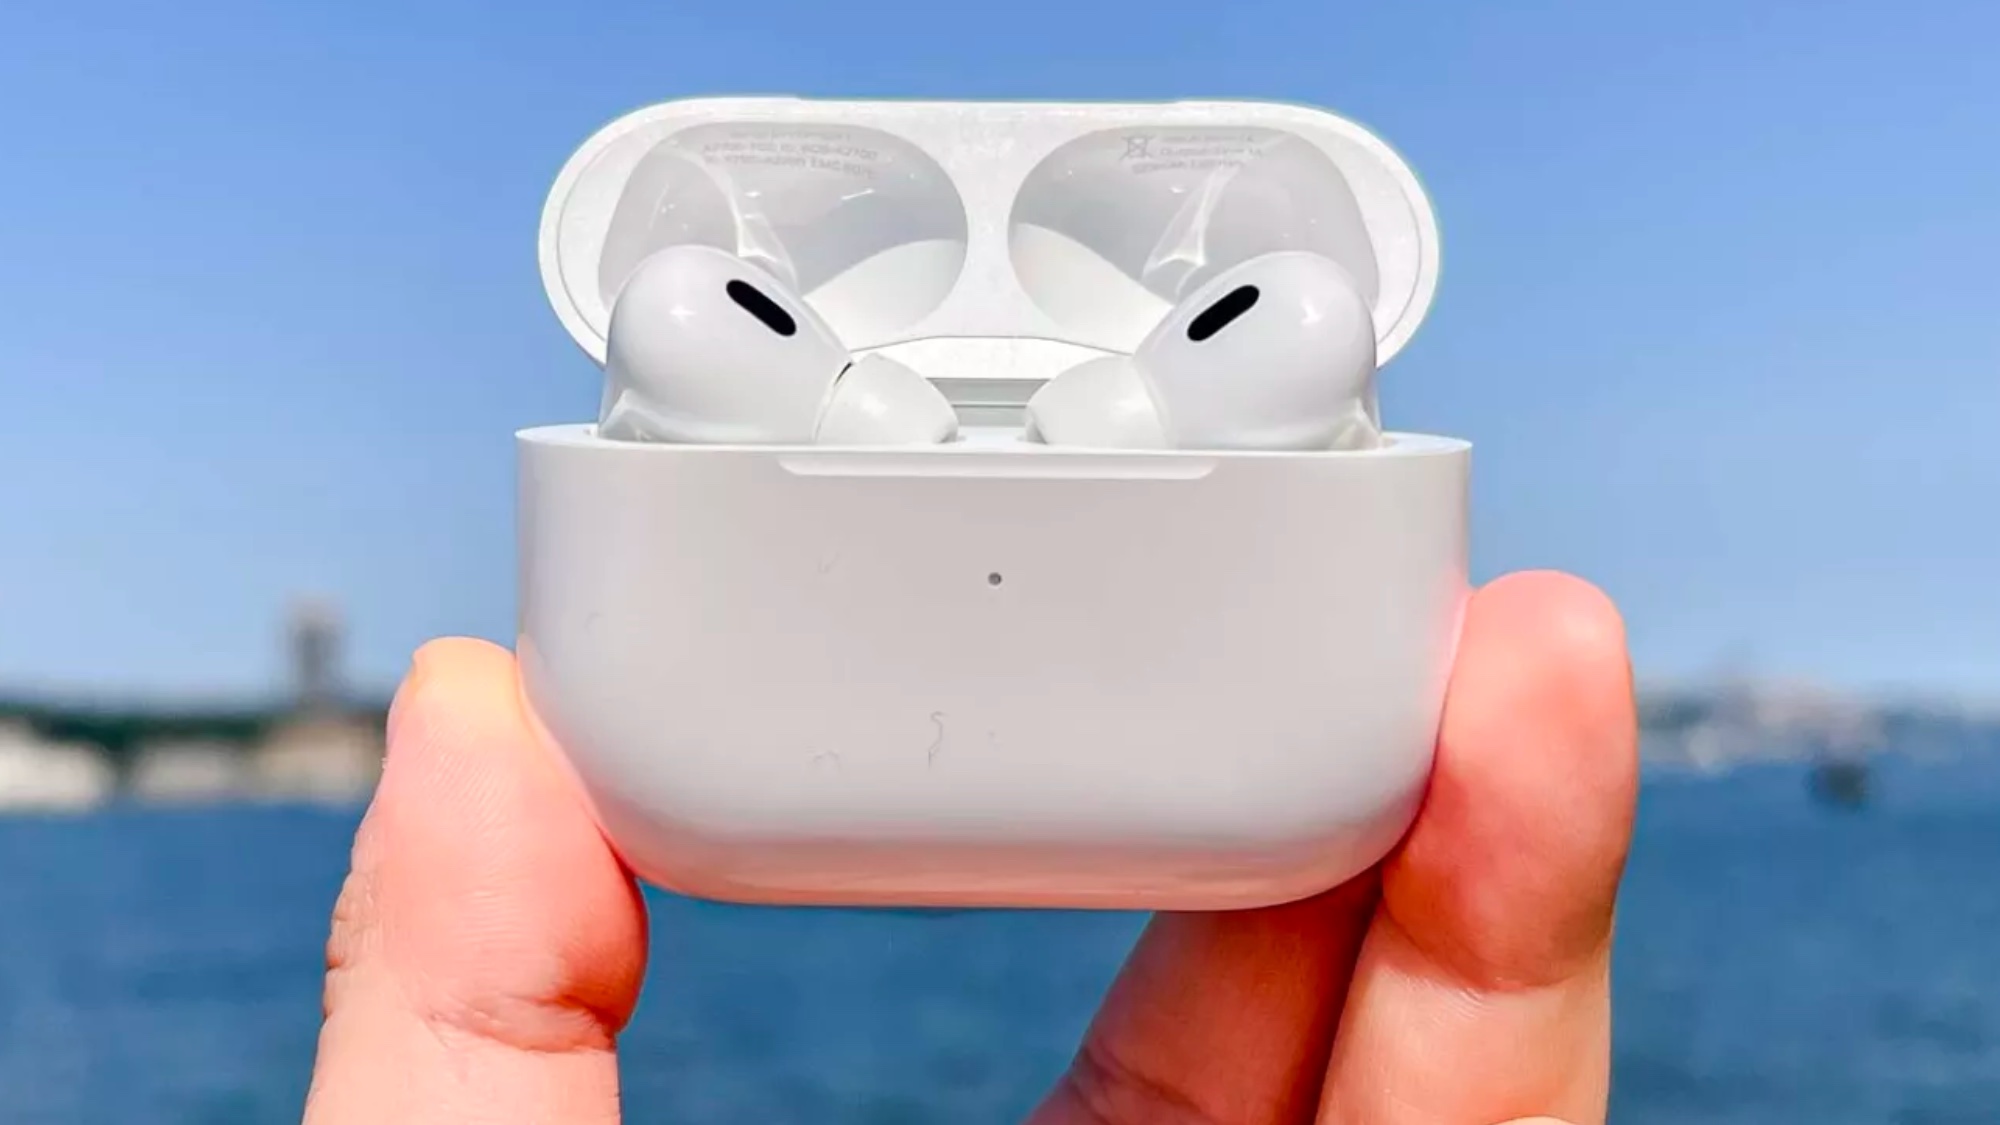
Apple’s AirPods series are among the best headphones and best wireless earbuds we've ever seen. These models remain top sellers because of their immaculate ecosystem integration, solid playback, and user-friendly controls. Sound quality isn’t at the level of sonic juggernauts like the excellent Bowers & Wilkins Px7 S2 or Sony WF-1000XM5, but it’s satisfying to enjoy Apple Music and Apple TV content at home or on the go.
But what if I told you there are ways to upgrade your AirPods’ sound performance from satisfying to superior? All that’s required is some basic audio knowledge and familiarity with iOS/macOS platform.
If you're already an AirPods owner then you're probably aware of the audio enhancements Apple introduced on their latest models. Features like adaptive EQ to automatically adjust frequencies, and Personalized Spatial Audio for immersive 3D sound are already accessible on the AirPods 3, AirPods Pro 2, and AirPods Max, with a host of new adaptive audio features for AirPods Pro 2 on their way with iOS17.
What you may not know is how to optimize them for greater sound performance. Something else you might not know about are the numerous sound features hidden within Apple’s software. AirPods do not come with a dedicated app like most wireless earbuds, but they have a dedicated menu and several shortcuts that make personalizing the buds and headphones simpler.
Make sure your devices are running the latest iOS/macOS version. Once confirmed, apply these tips and tricks to set up your AirPods for the best listening experience possible.
1. Optimize fit for fuller sound output
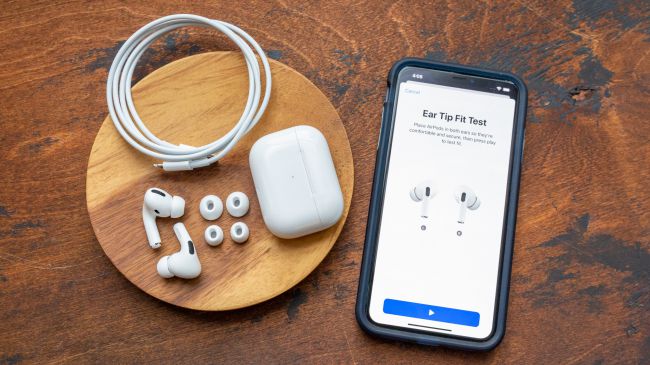
If you thought that Apple created the Ear Tip Fit Test to solely improve comfort and fit, then you’re missing the bigger picture. Learning what tips best suit your ears best and produce the strongest seal will give the AirPods Pro stronger noise isolation. That means external sounds won’t creep onto the soundscape and disrupt your listening sessions.
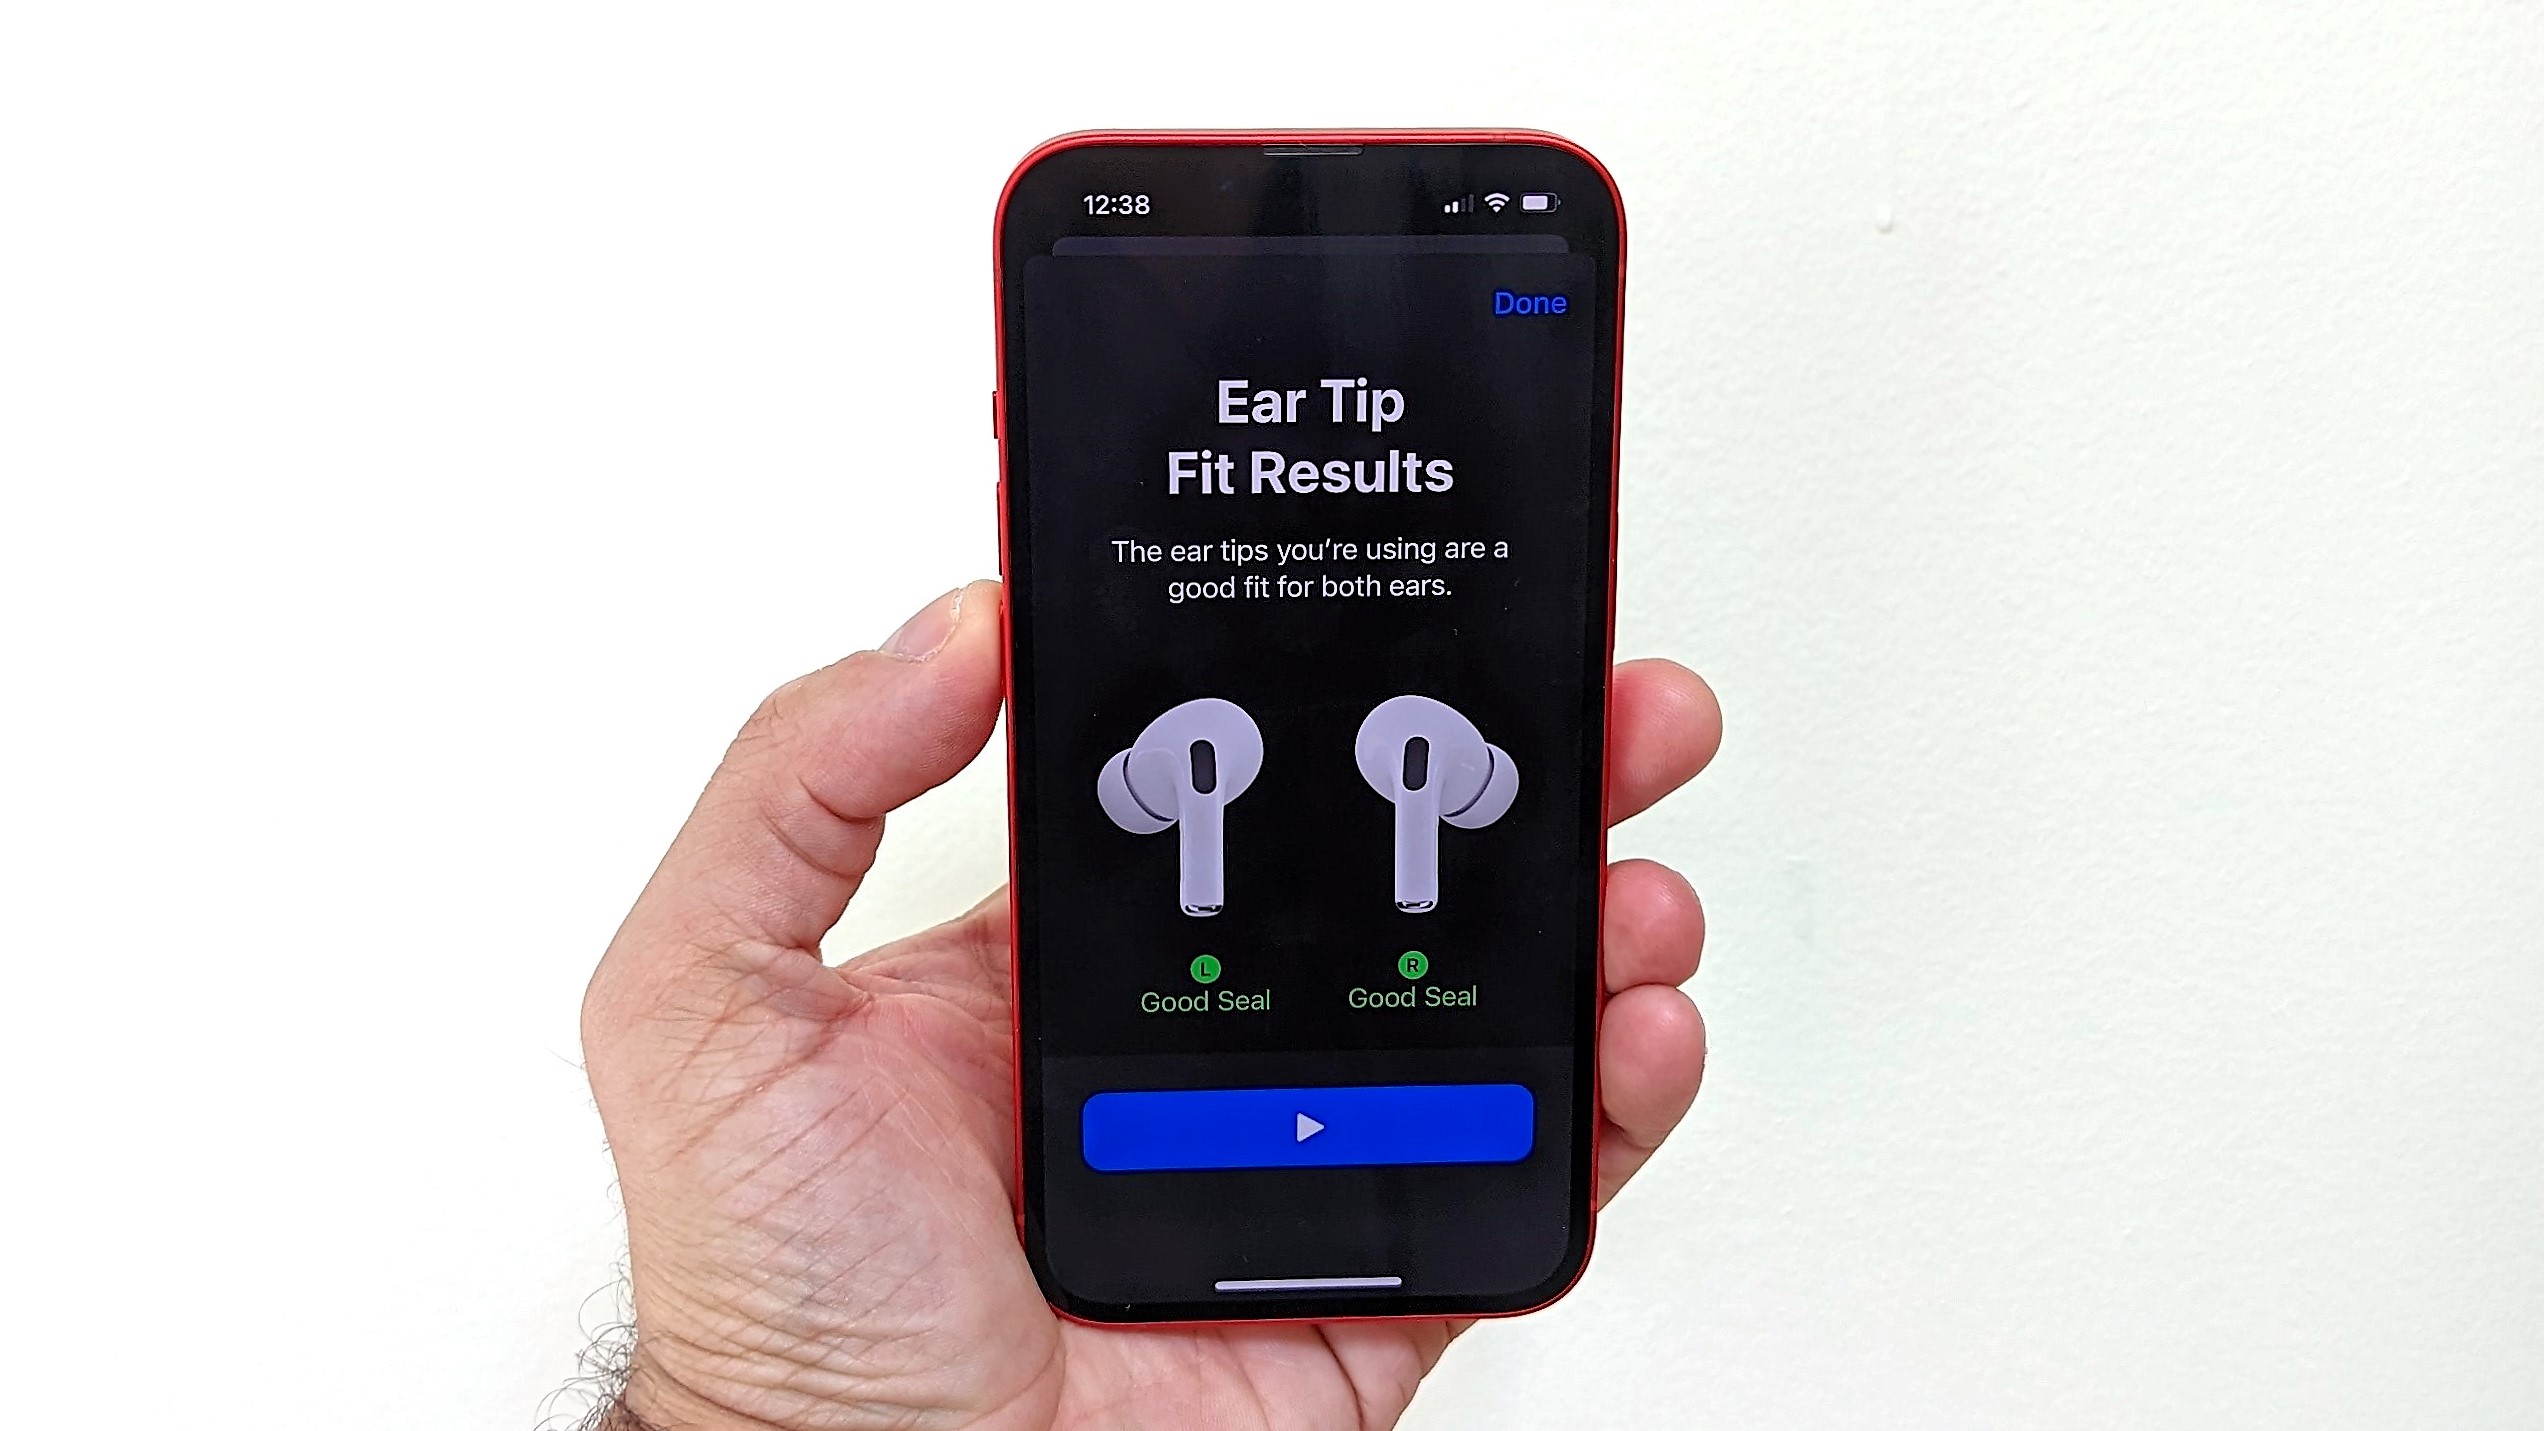
You may be thinking, “what’s the point of ANC then?” Noise cancellation can also be greatly affected by a poor seal. Follow our step-by-step Ear Tip Fit Test guide to achieve optimal fit.
- Settings > AirPods Pro > Info icon > Ear Tip Fit Test
2. Adjust the EQ in iOS or your favorite music app
Apple barely promotes this, but iOS has a built-in equalizer with over 20 presets. Pairing them with the right content or music genre will noticeably boost performance. Apple Music playlists can get a little more oomph (Hip Hop/Increased Bass) from the low end and podcasts can receive greater vocal clarity (Acoustic/Vocal Booster). There are many options to play with.
- Settings > Music > EQ
3. Manually create a sound profile
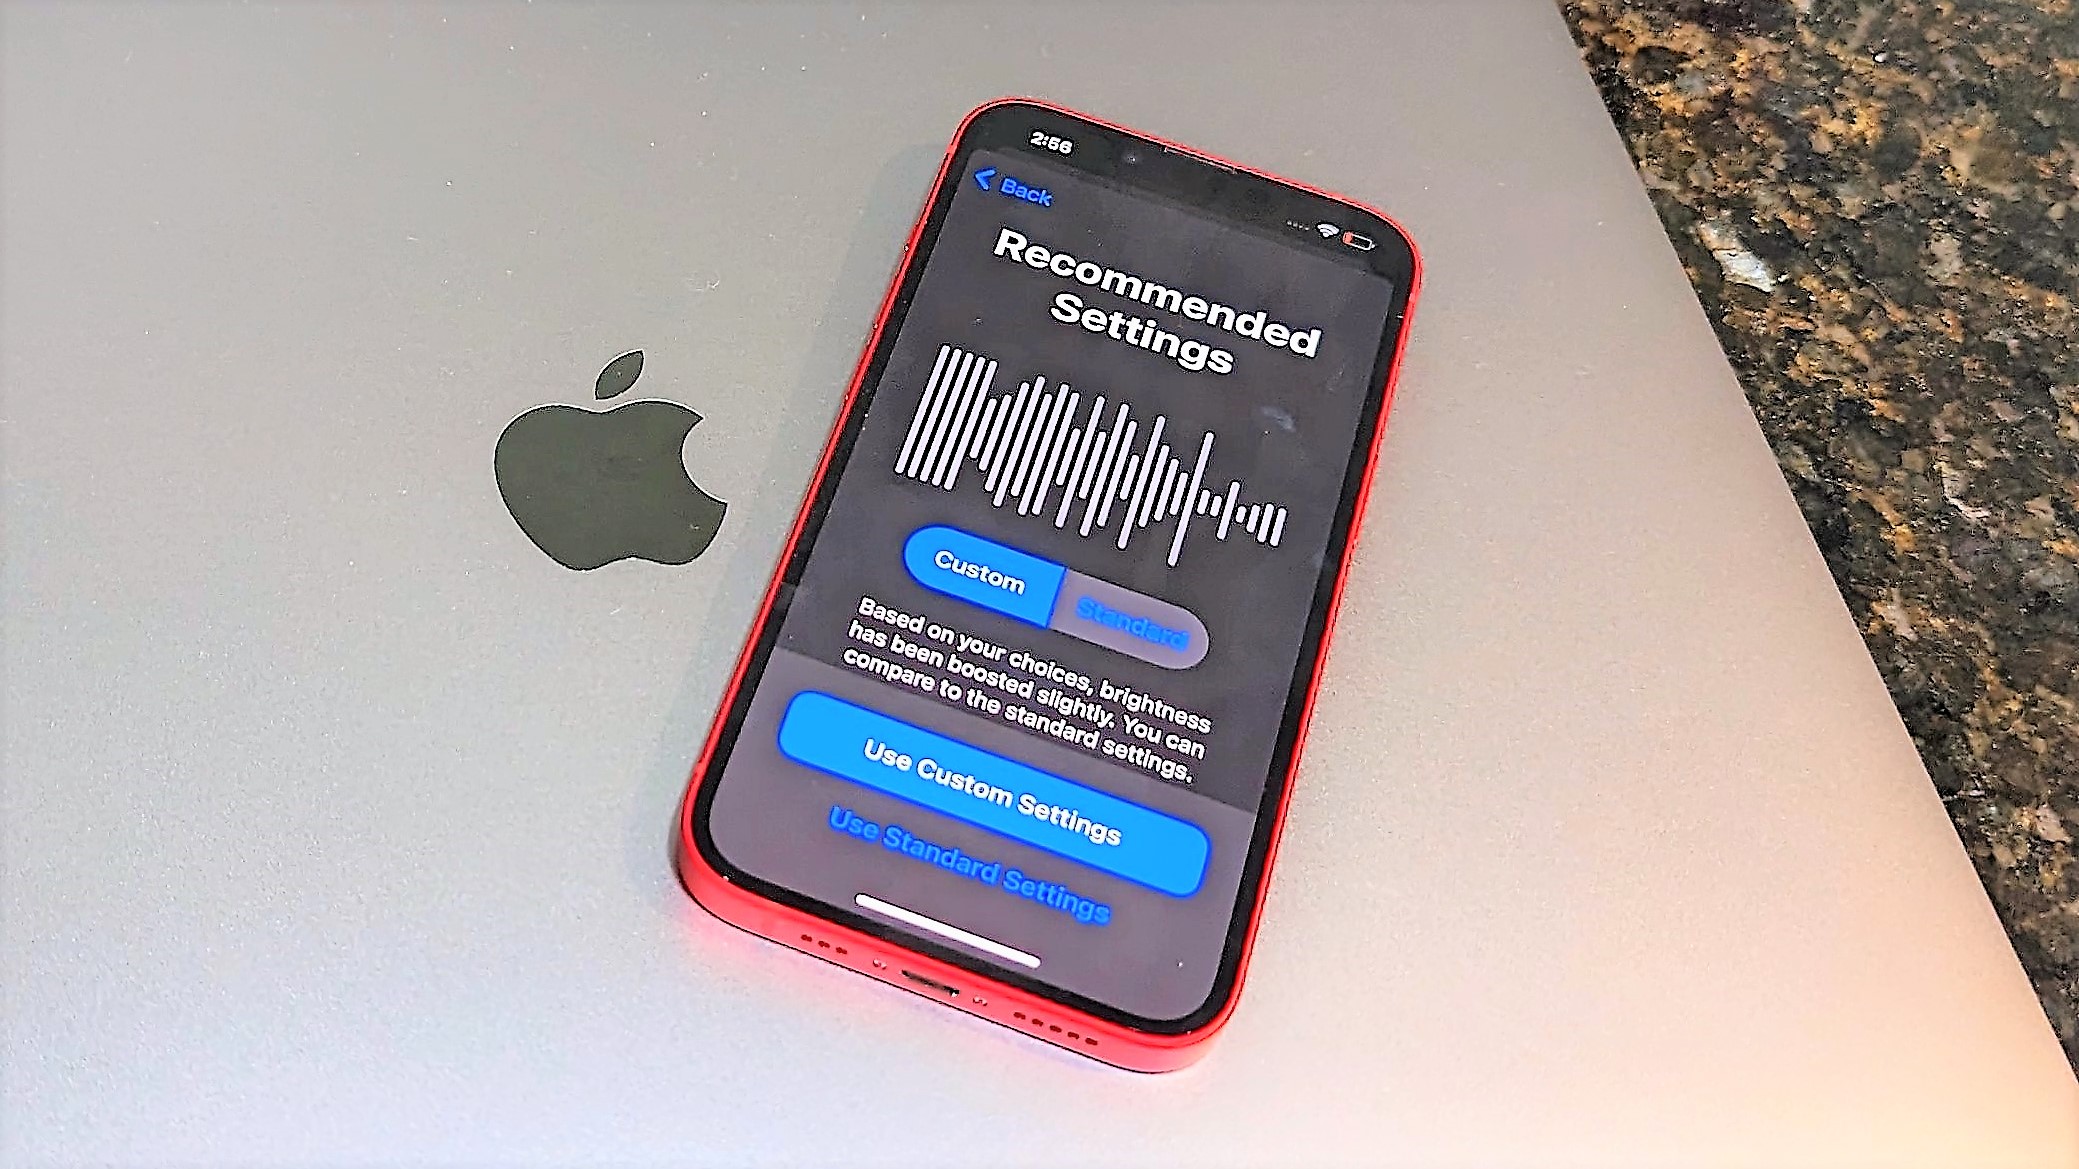
One of the other options for personalizing sound is through Custom Audio Setup via the Headphone Accommodations setting. This creates your own sound profile based on a series of listening tests. We’ve noticed some improvements in mids and highs after using the feature. It’s also worth mentioning some of the other sound-enhancing tools in Headphone Accommodations such as the ability to tune balance, range, and brightness, as well as increase or decrease the presence of soft sounds.
- Settings > Accessibility > Audio/Visual > Headphone Accommodations > Custom Audio Setup
4. Truly personalize Spatial Audio
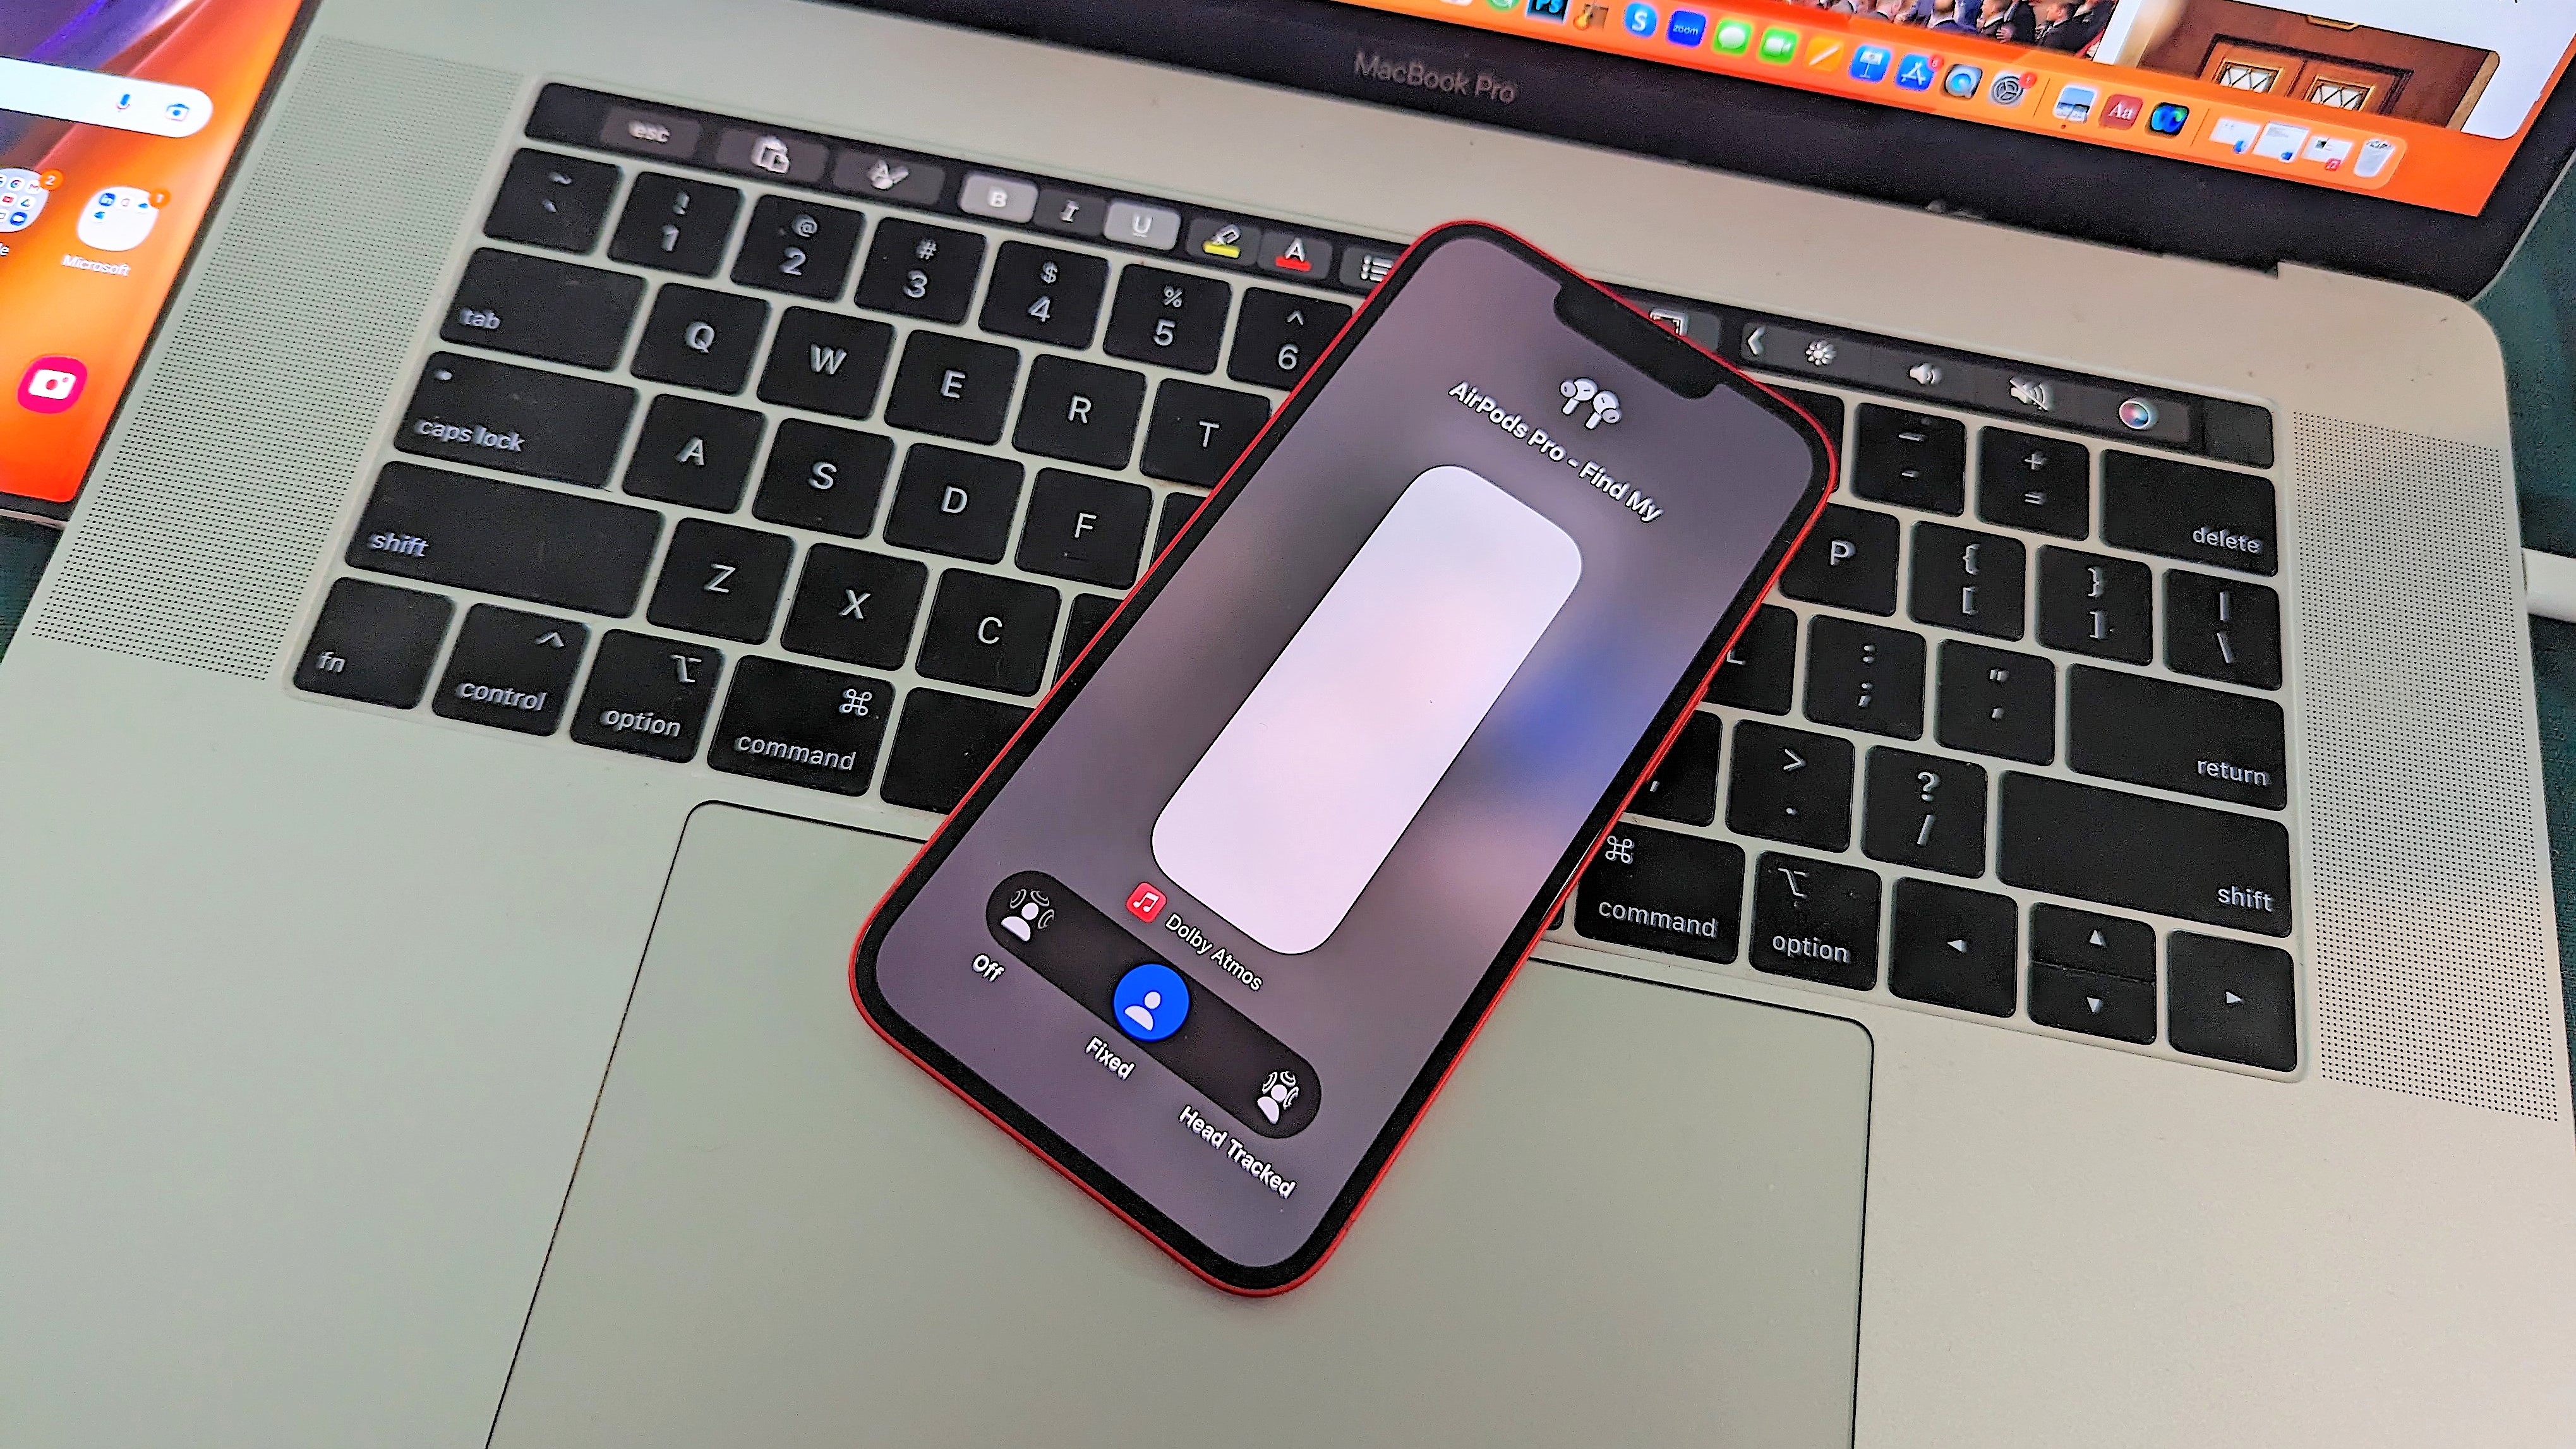
Personalized Spatial Audio does an incredible job of creating an individual 3D sound profile tailored to your hearing, which is saved and secured for use across all Apple media devices. It’s a simple process that uses the iPhone’s TrueDepth camera to scan your head and ears for precise 3D sound.
However, there is one hidden feature that most people are unaware of: centralized Spatial Audio. This keeps 3D sound centralized instead of panning between the left and right channels when turning your head. It’s optional, but just know that Spatial Audio will work exceptionally well no matter which way you choose to consume it.
- Control Panel (perform slide down gesture on the top right of iPhone screen) > Long-press AirPods icon on volume slider > Spatial Audio > Head Tracked
- Control Panel > Long-press AirPods icon on volume slider > Spatial Audio > Centralized
5. Audio Share
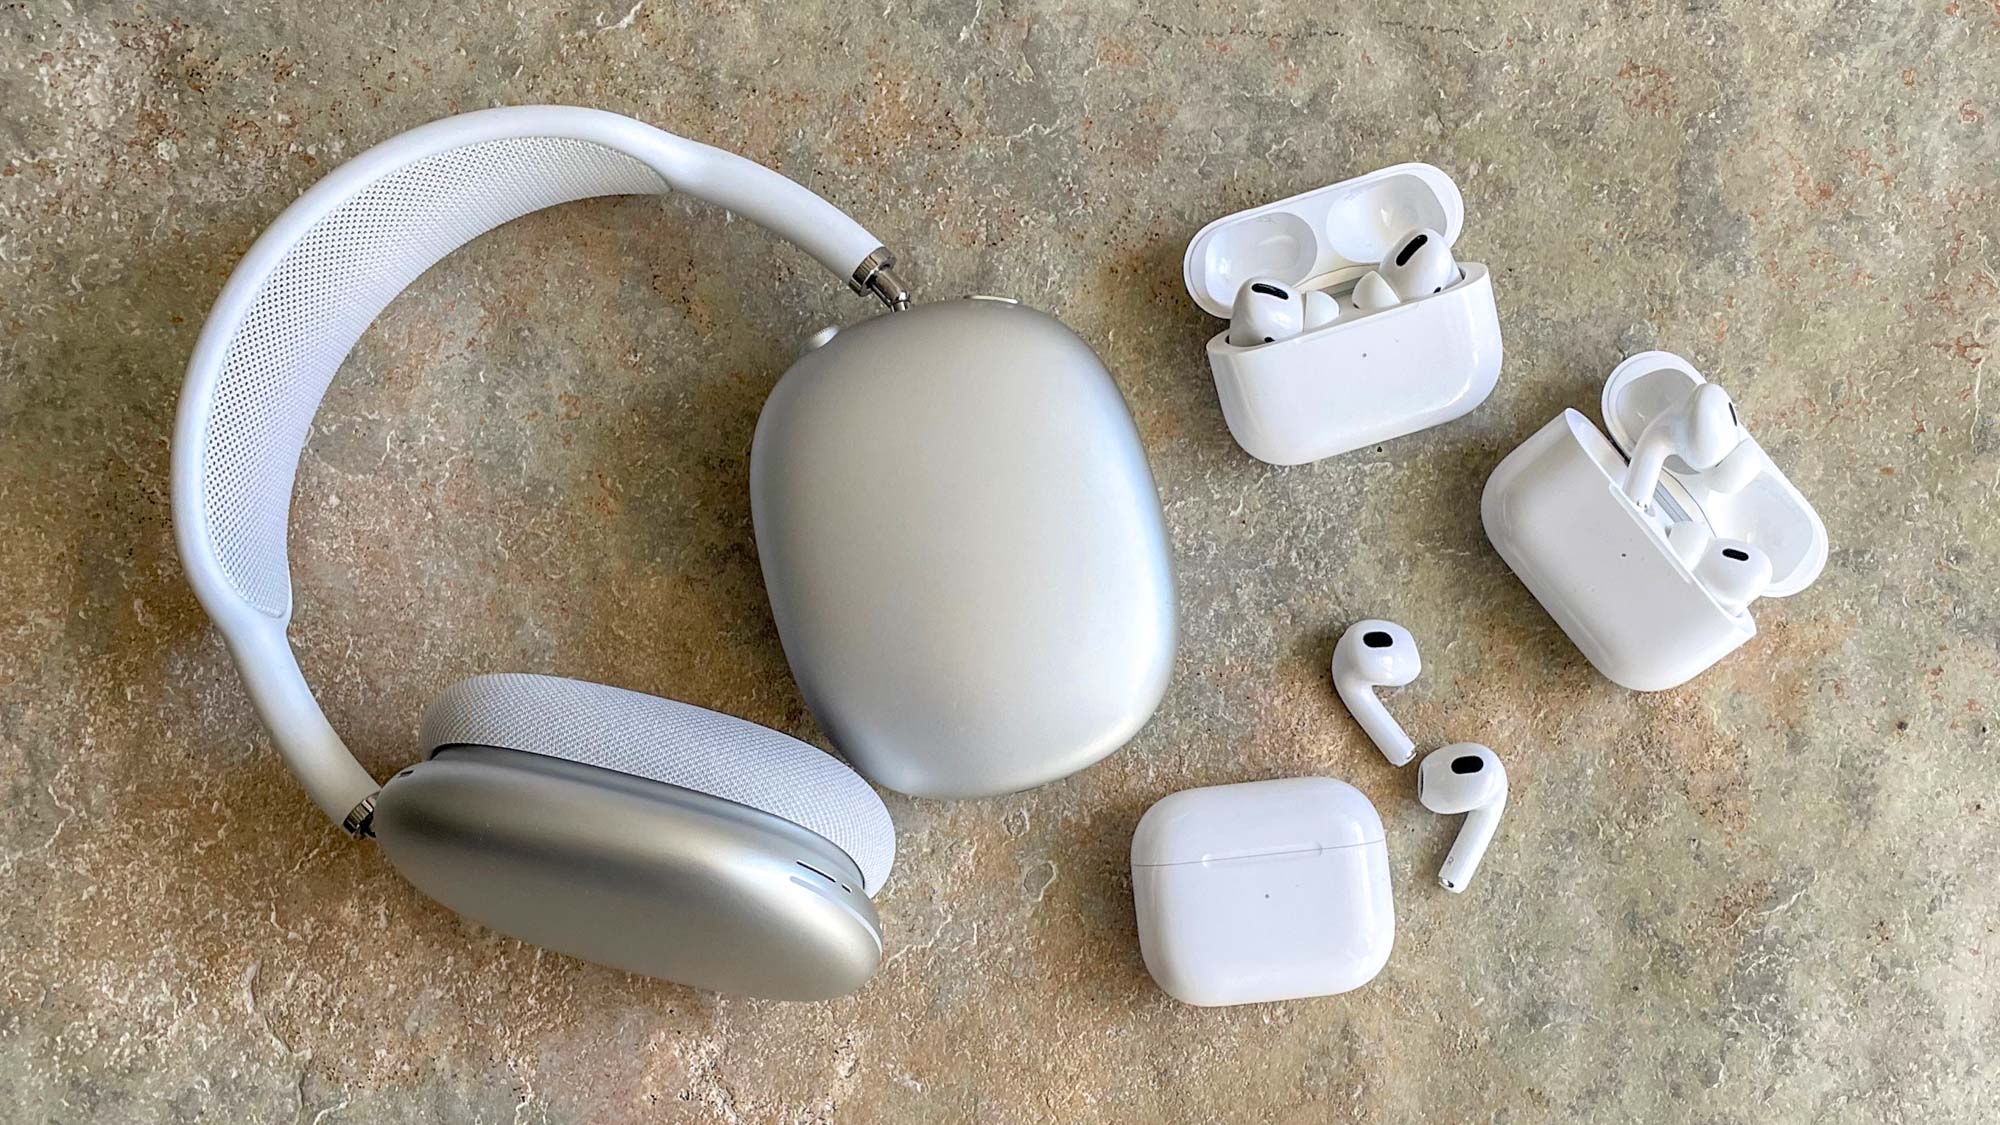
Some AirPods users don’t even know that they can link their Apple or H1-powered Beats earbuds/headphones with a secondary pair to share audio with another listener. It’s a nice feature that makes listening experiences more intimate with besties, spouses, or traveling co-workers on long flights.
You could also invest in some of the best audio accessories for $50 or less like the AirFly Duo, which also has audio share, plus it connects to out-of-date entertainment systems and improves audio and lip synchronization.
- Control Panel > Tap audio icon, Share Audio > choose second set of AirPods
6. Adjust ambient listening
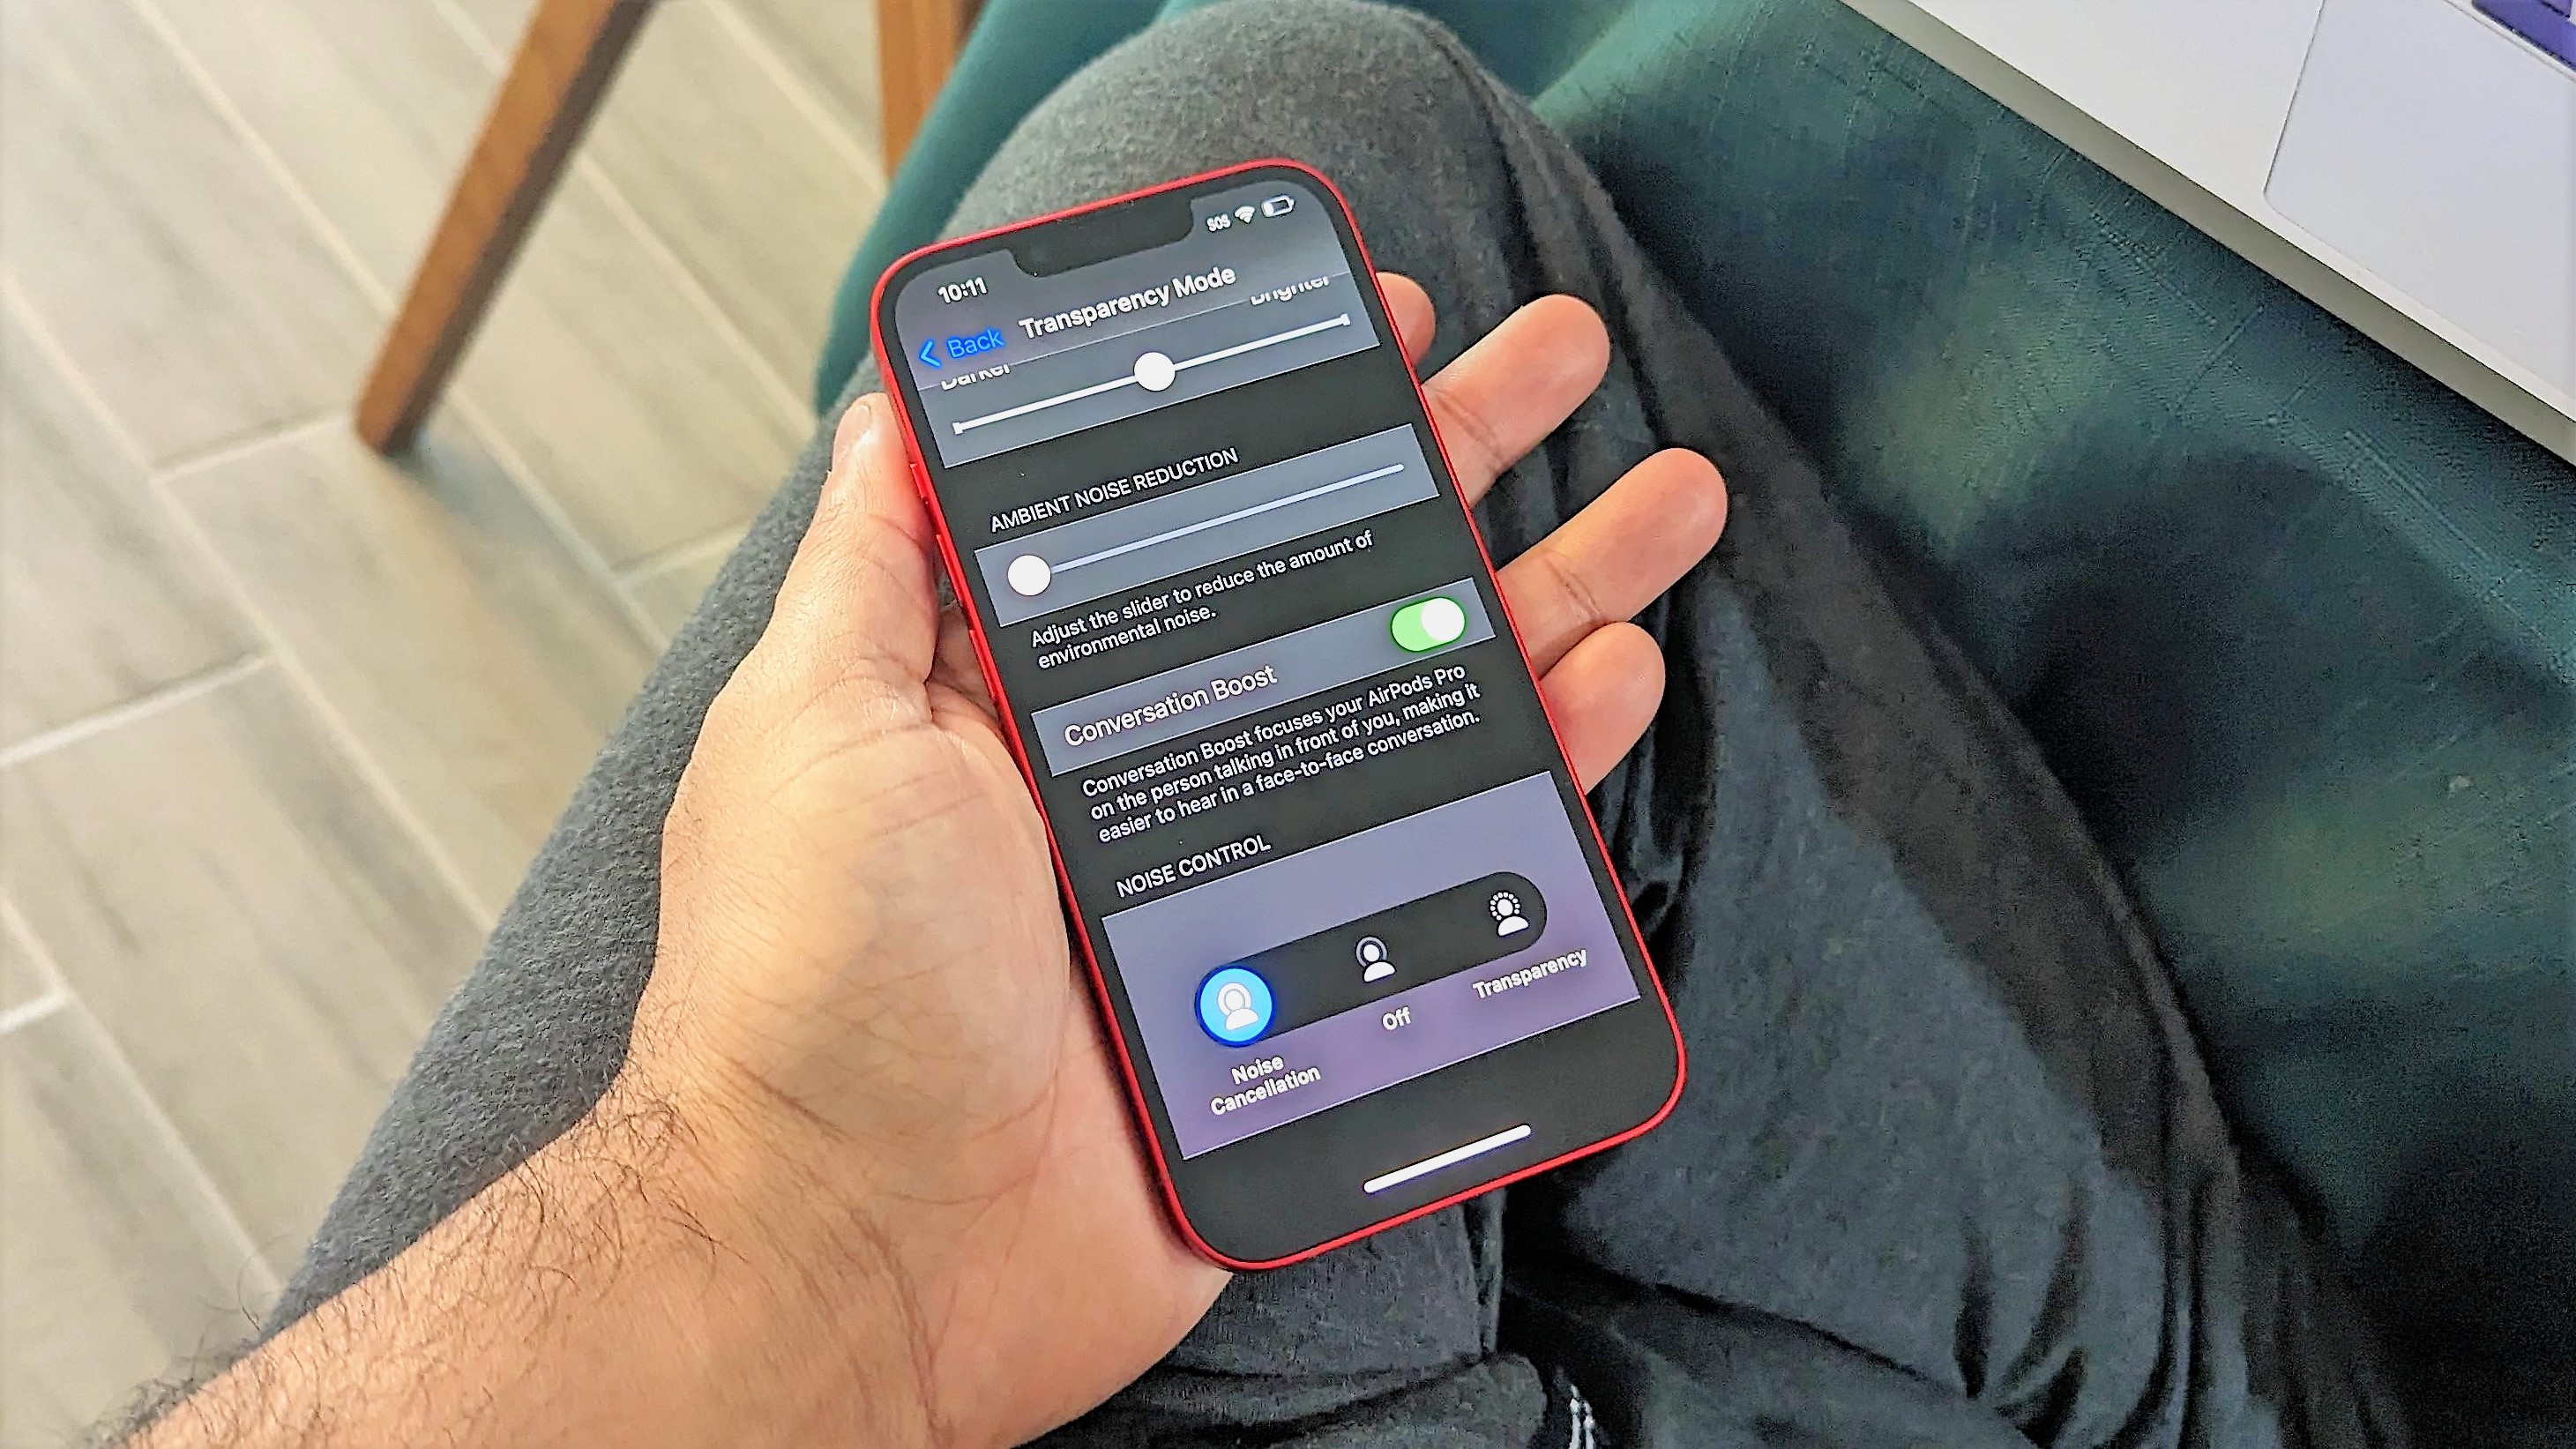
The AirPods Pro 2 introduced an amazing Adaptive Transparency mode that’s more dynamic than the previous version and increases environmental awareness, while reducing harsh noises at the same time. Unfortunately, it’s exclusive to this specific AirPods model.
There is a work around for personalizing transparency on all other noise-canceling AirPods. Access the Transparency Mode setting in iOS and you can adjust amplification, noise reduction, tone, and transparency balance between each channel.
- Settings > Accessibility > Audio/Visual > Headphone Accommodations > Transparency Mode
7. Enable lossless audio
There’s a sad truth to Apple’s lossless audio (24-bit/192kHz) technology. You can experience it, somewhat, but only with the AirPods Max in wired mode. Even then, Apple confirms that playback isn’t completely lossless. The technology is a work in progress. Emphasis on “progress.” That means certain Apple Music tracks can deliver lossless quality. It’s hit or miss depending on the tracks, but the ones that do hit sound amazing. There’s no loss in setting it to default on your audio quality settings.
You can enable Hi-Res Lossless (24-bit/48kHz), but an external DAC is required.
- Settings > Music > Audio Quality > Lossless Audio
8. Create a hearing profile in the Health App
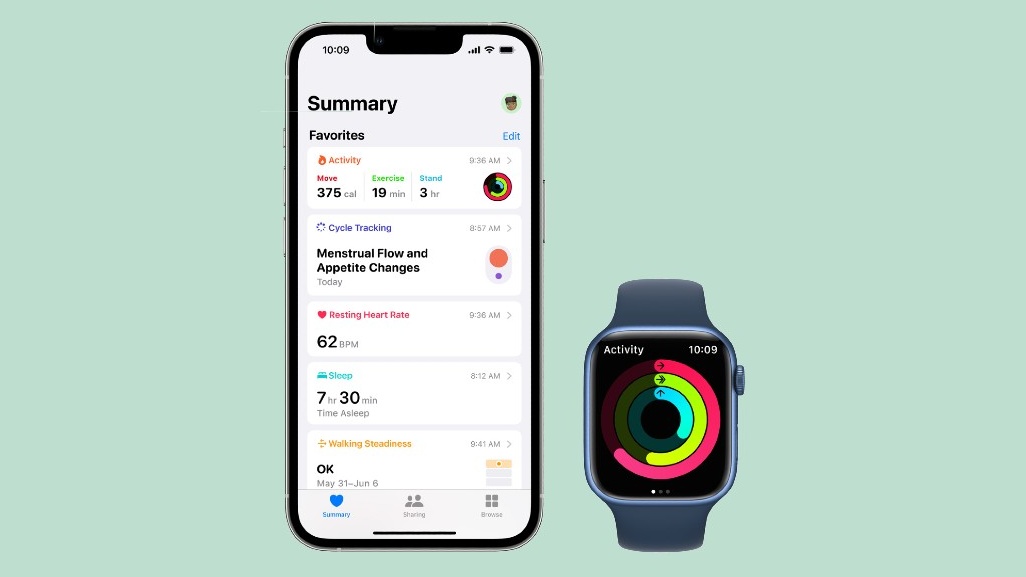
Health app users likely know about this, but for those who don’t use their Apple Watch or iPhone for fitness reasons, you’ll want to keep it in mind. The audiogram data collected from this program can be used to customize audio settings and map them to your AirPods hearing profile.
- Settings > Accessibility > Audio/Visual > Headphone Accommodations > Custom Audio Setup > Headphone Audio Customization > Use Audiogram
9. Boost streaming quality on your favorite music app
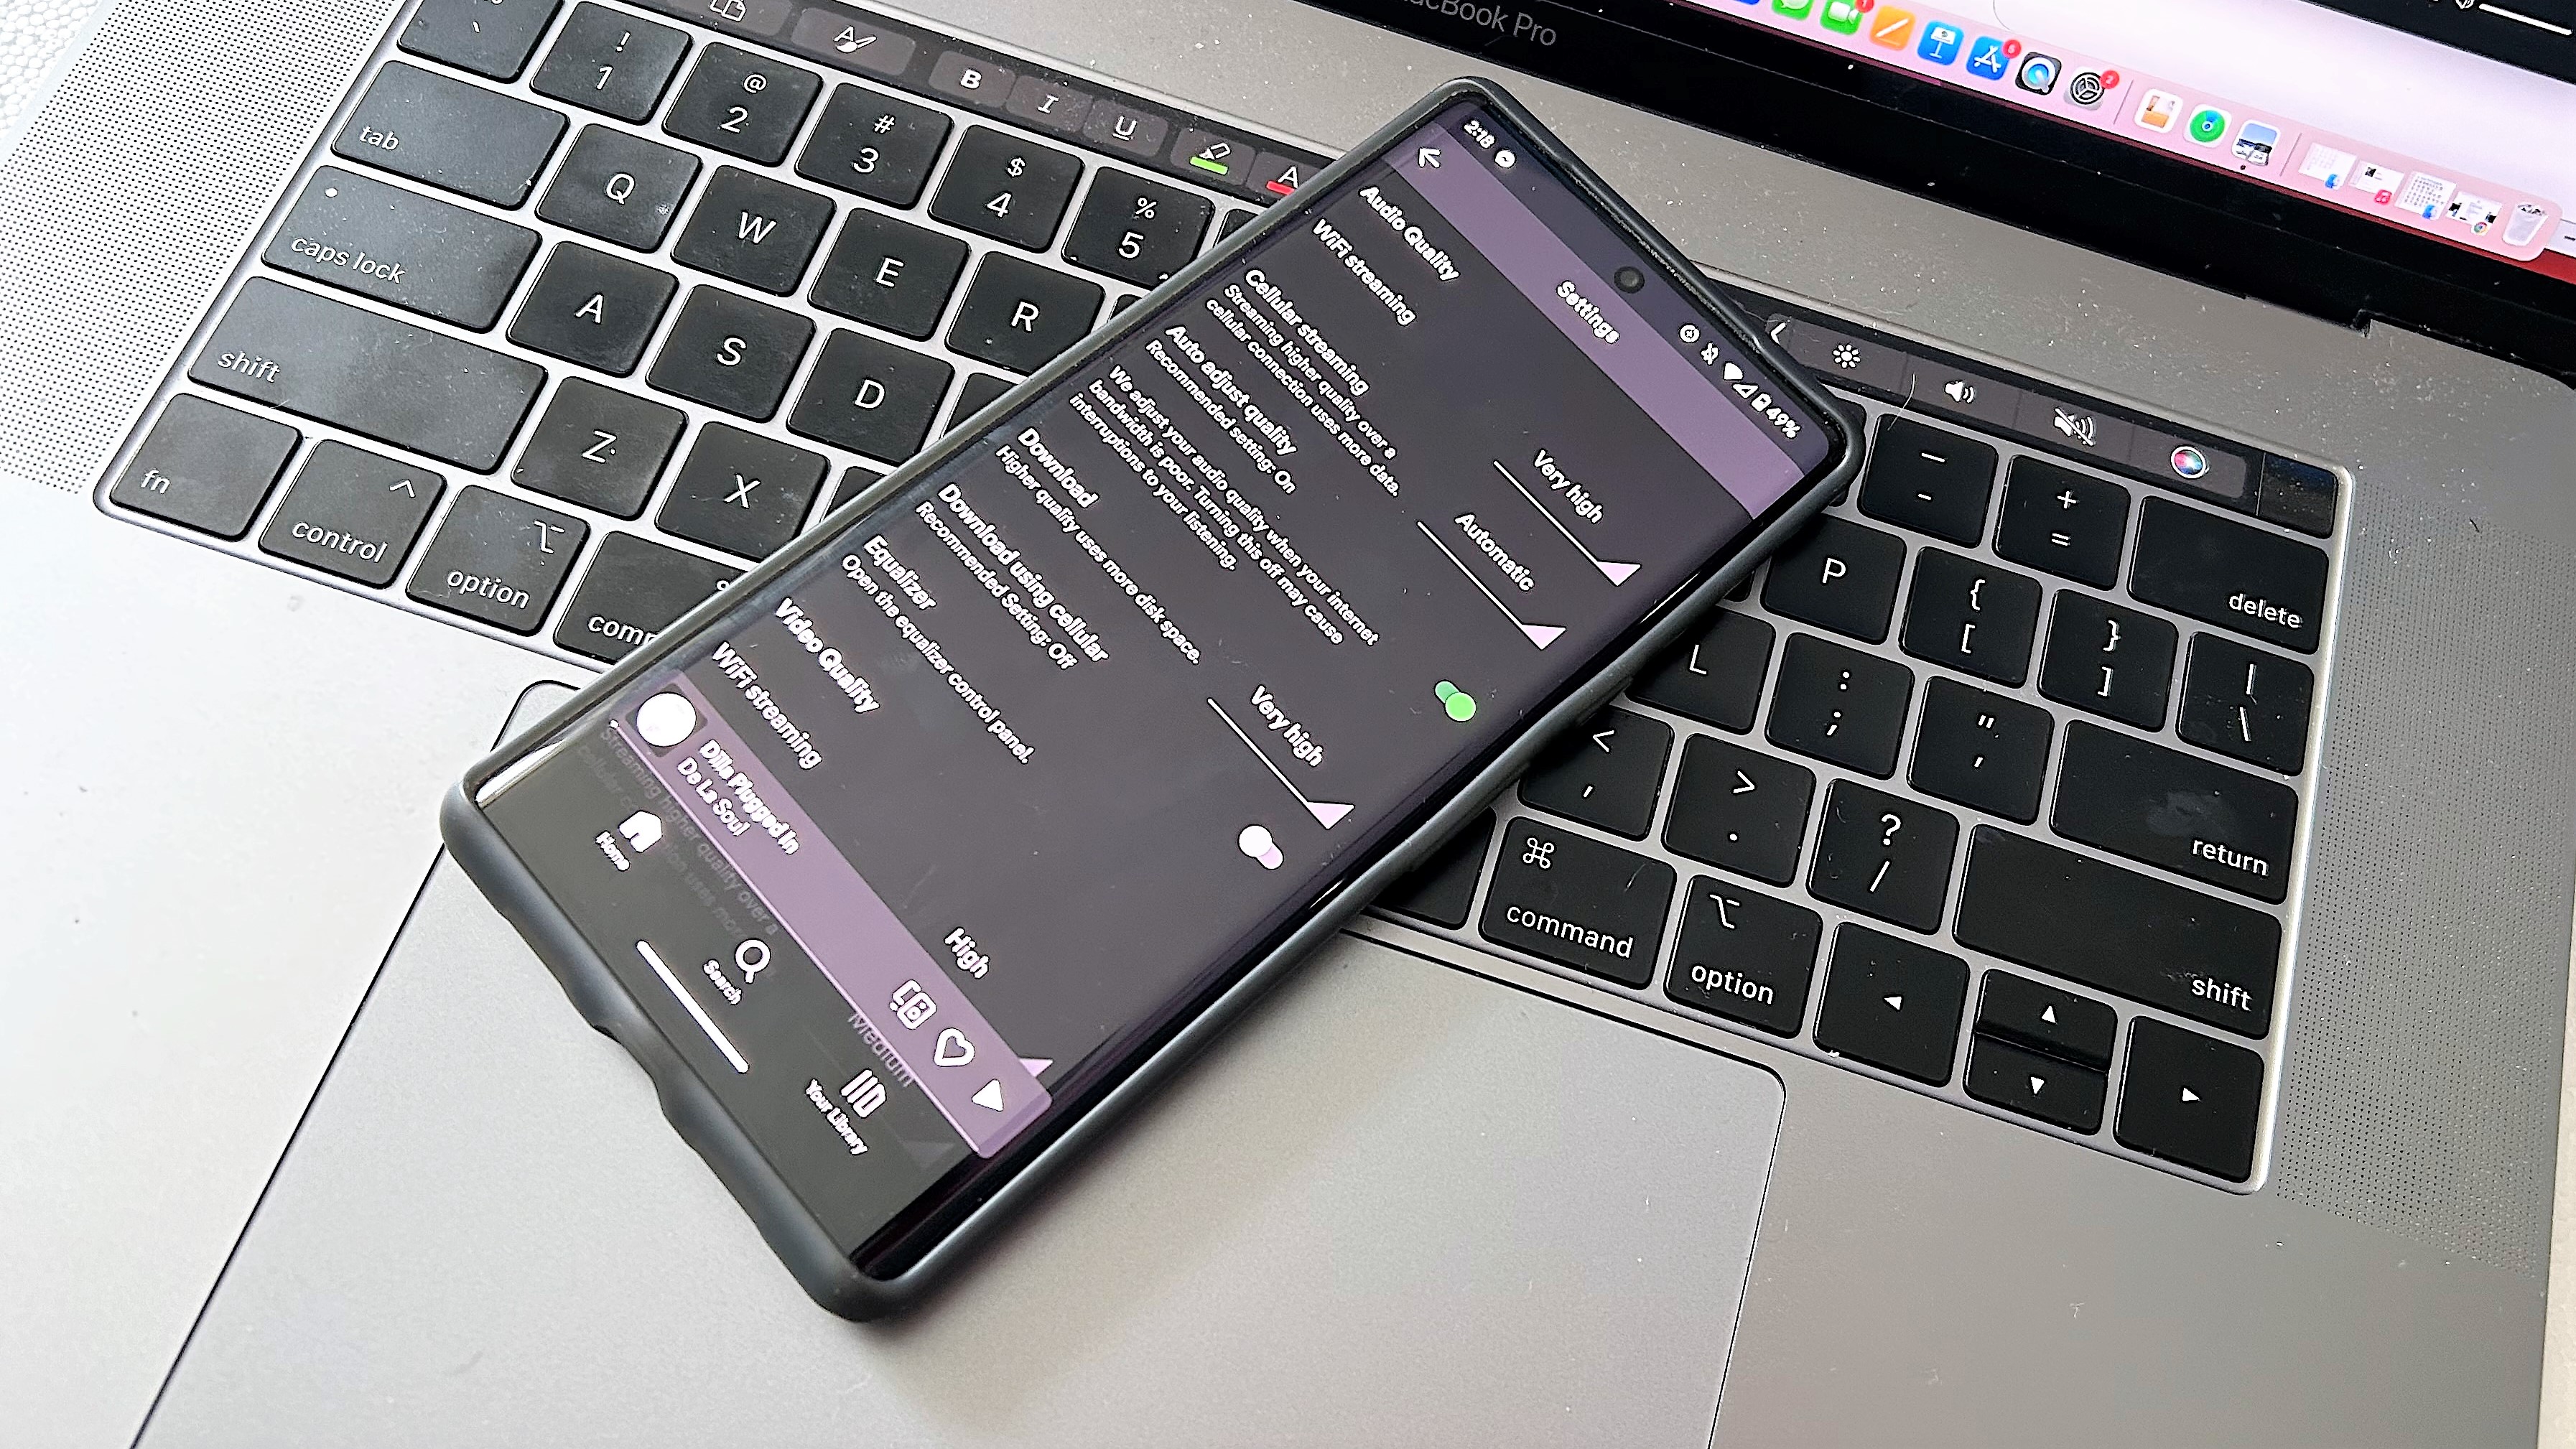
The best music streaming services come loaded with sound features that are hidden throughout their interfaces. Most of them have streaming quality set to normal by default, which means you’re missing out on key sonic details from your favorite tracks. Find the streaming setting and set it to the highest quality available.
- [Apple Music] Settings > Apple Music > Audio Quality > Hi-Res Lossless (ALAC up to 24-bit/192 kHz)
- [Spotify] Settings > Audio Quality > High/Very High
- [Tidal] Settings > Quality > Streaming > Master
10. Turn on Sound Enhancer
Apple desktop and laptop users have their own exclusive sound feature via Apple Music on macOS. Sound Enhancer lets you modify bass and treble response through a slider function that increases or decreases the perceived “wideness” of the stereo effect. It’s very impressive and works well for boosting bass presence on MacBooks.
- Apple Music > Music > Settings > Playback > Sound Enhancer


