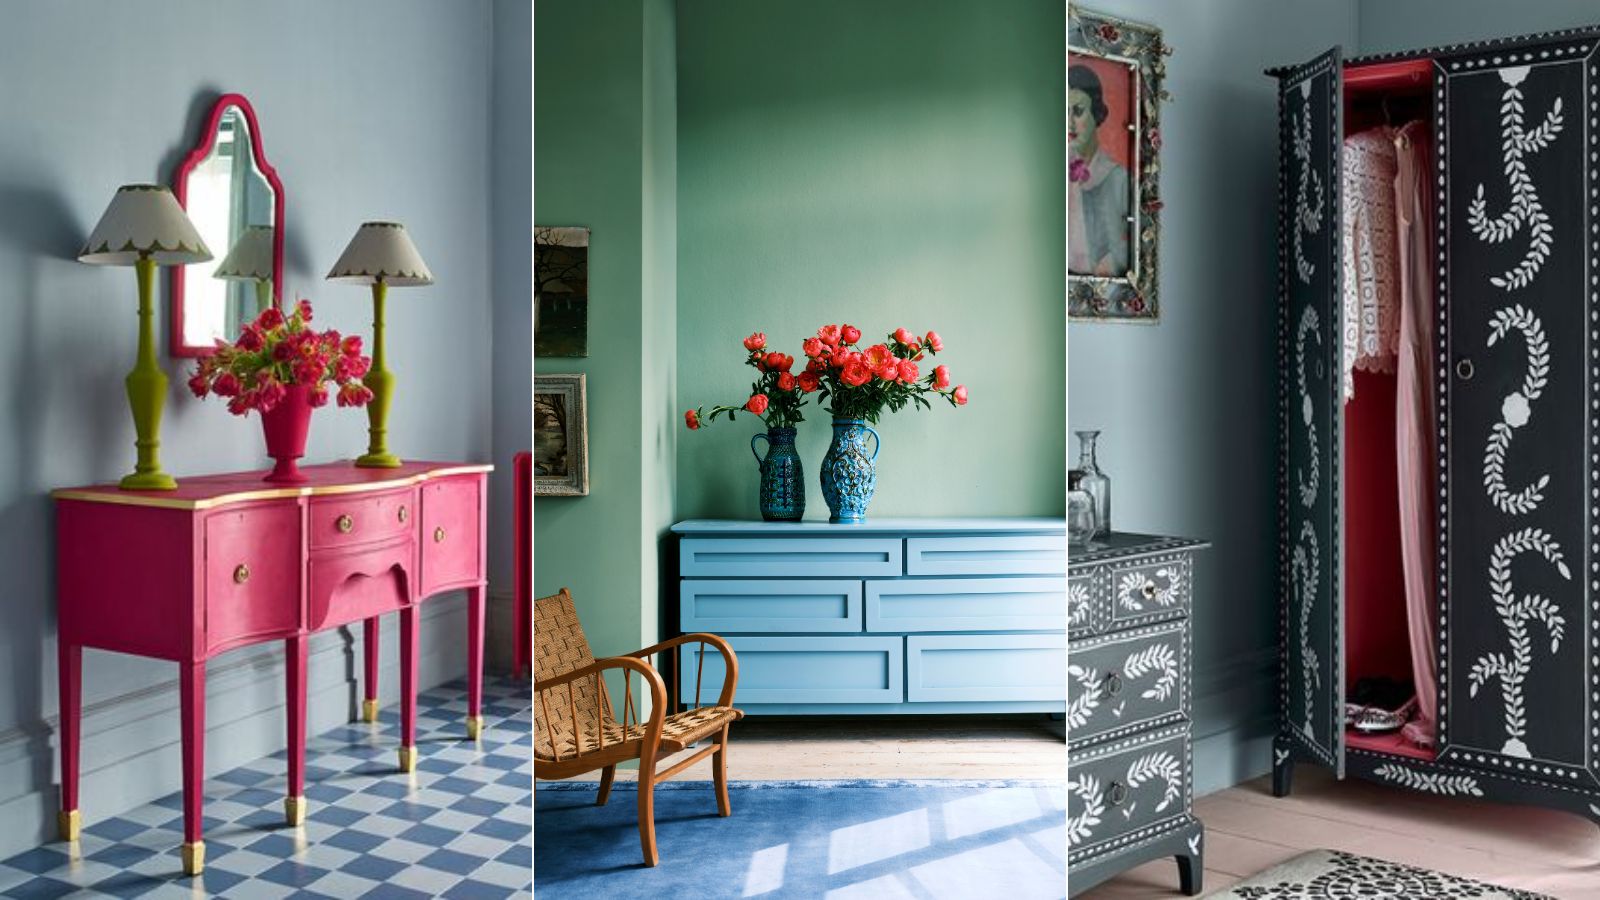
When painting wooden furniture, it's important to avoid certain mistakes to ensure long-lasting and professional-looking results.
Painted furniture can rejuvenate worn-out items and allow you to update your pieces in line with color trends and changing design preferences without purchasing new furniture. So, it's definitely a project worth considering and can be pretty straightforward as long as you steer clear of any common mistakes.
By identifying potential problems and knowing how to correctly paint wood furniture, you can mitigate any issues when attempting this do-it-yourself job, helping save time, money, and effort.
Mistakes to avoid when painting wooden furniture
Proper preparation, suitable product selection, and using correct techniques before, during, and after painting are key to achieving good results when painting furniture, say painting experts.
Before painting
'All projects should start with good preparation – this will ensure that your endeavors pay off,' says Patrick O'Donnell, international brand ambassador of Farrow & Ball.
'Follow the manufacturer's preparation and painting instructions, and this can be achieved easily over a weekend. It’s a lovely way to introduce color into your home.'
1. Ignoring wood acclimatization
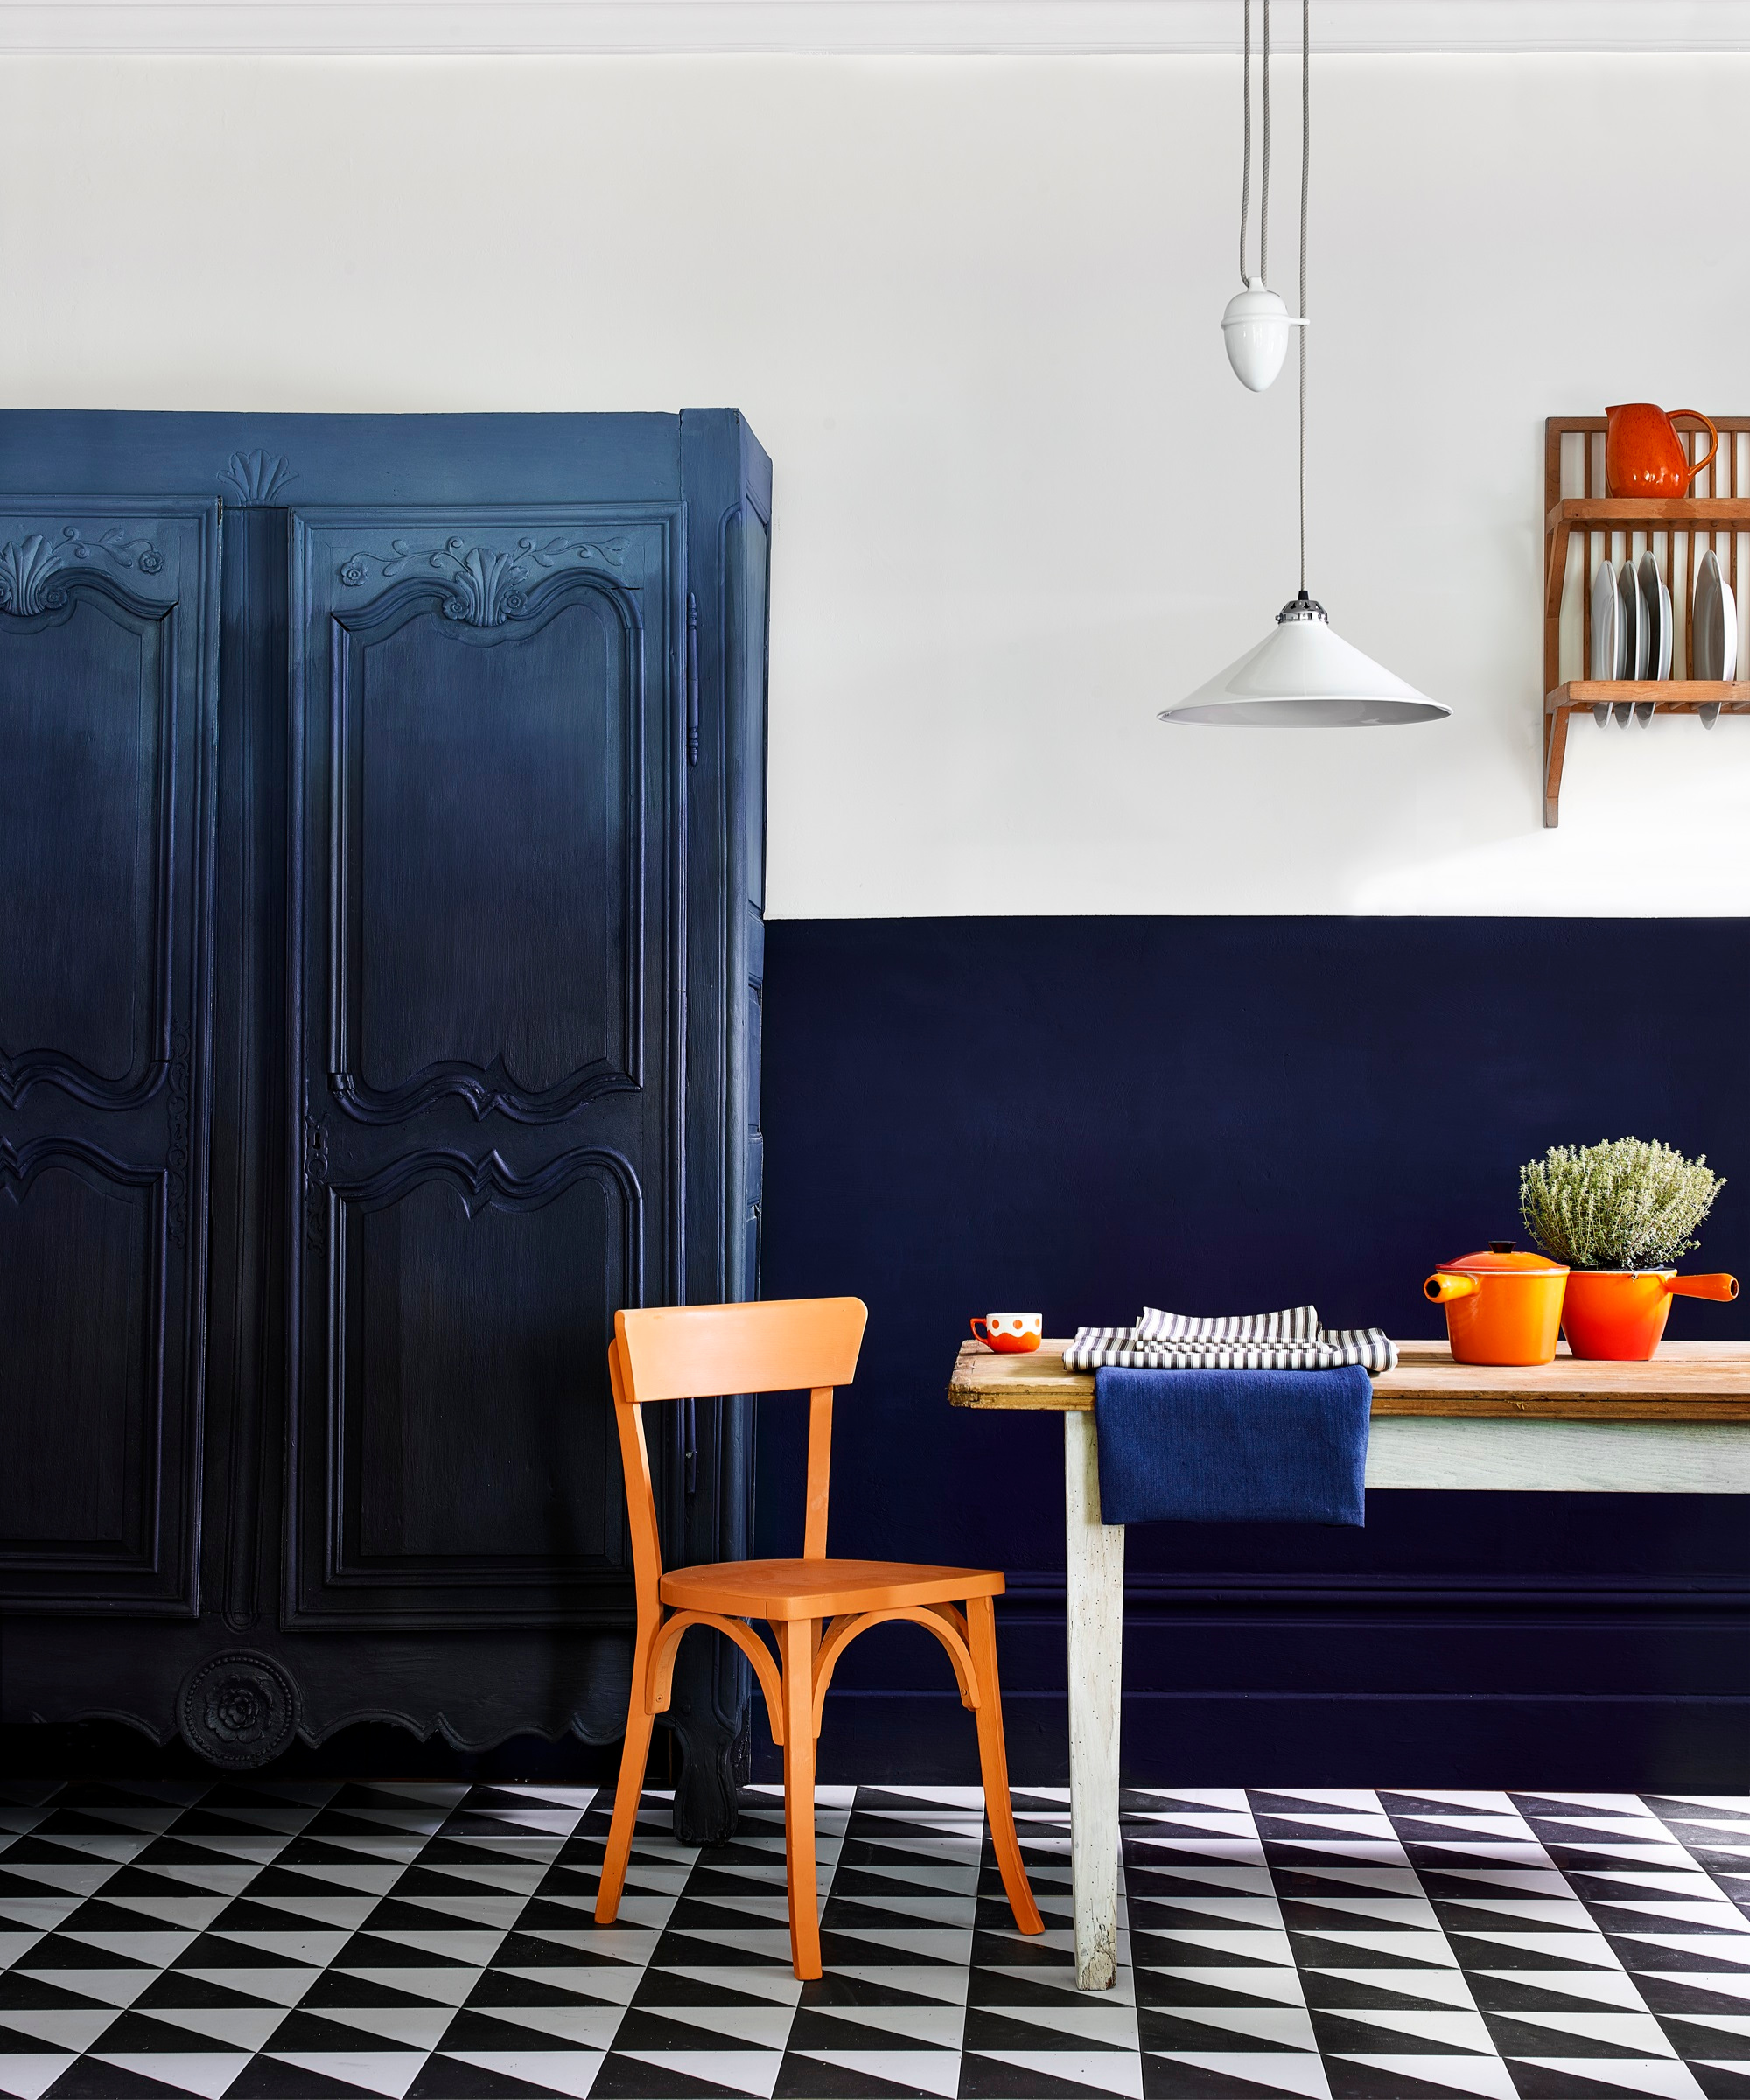
One common error when painting wooden furniture is to do so without giving it enough time to acclimate.
Wood typically expands or contracts in response to changes in humidity, so neglecting this vital step can make it more likely that the wood may crack or peel as the paint dries.
When painting furniture that will be in a new climate (such as bringing an item inside or placing a new piece of furniture outdoors), give the furniture time to adjust to its new surroundings before painting.
2. Failing to prepare the furniture
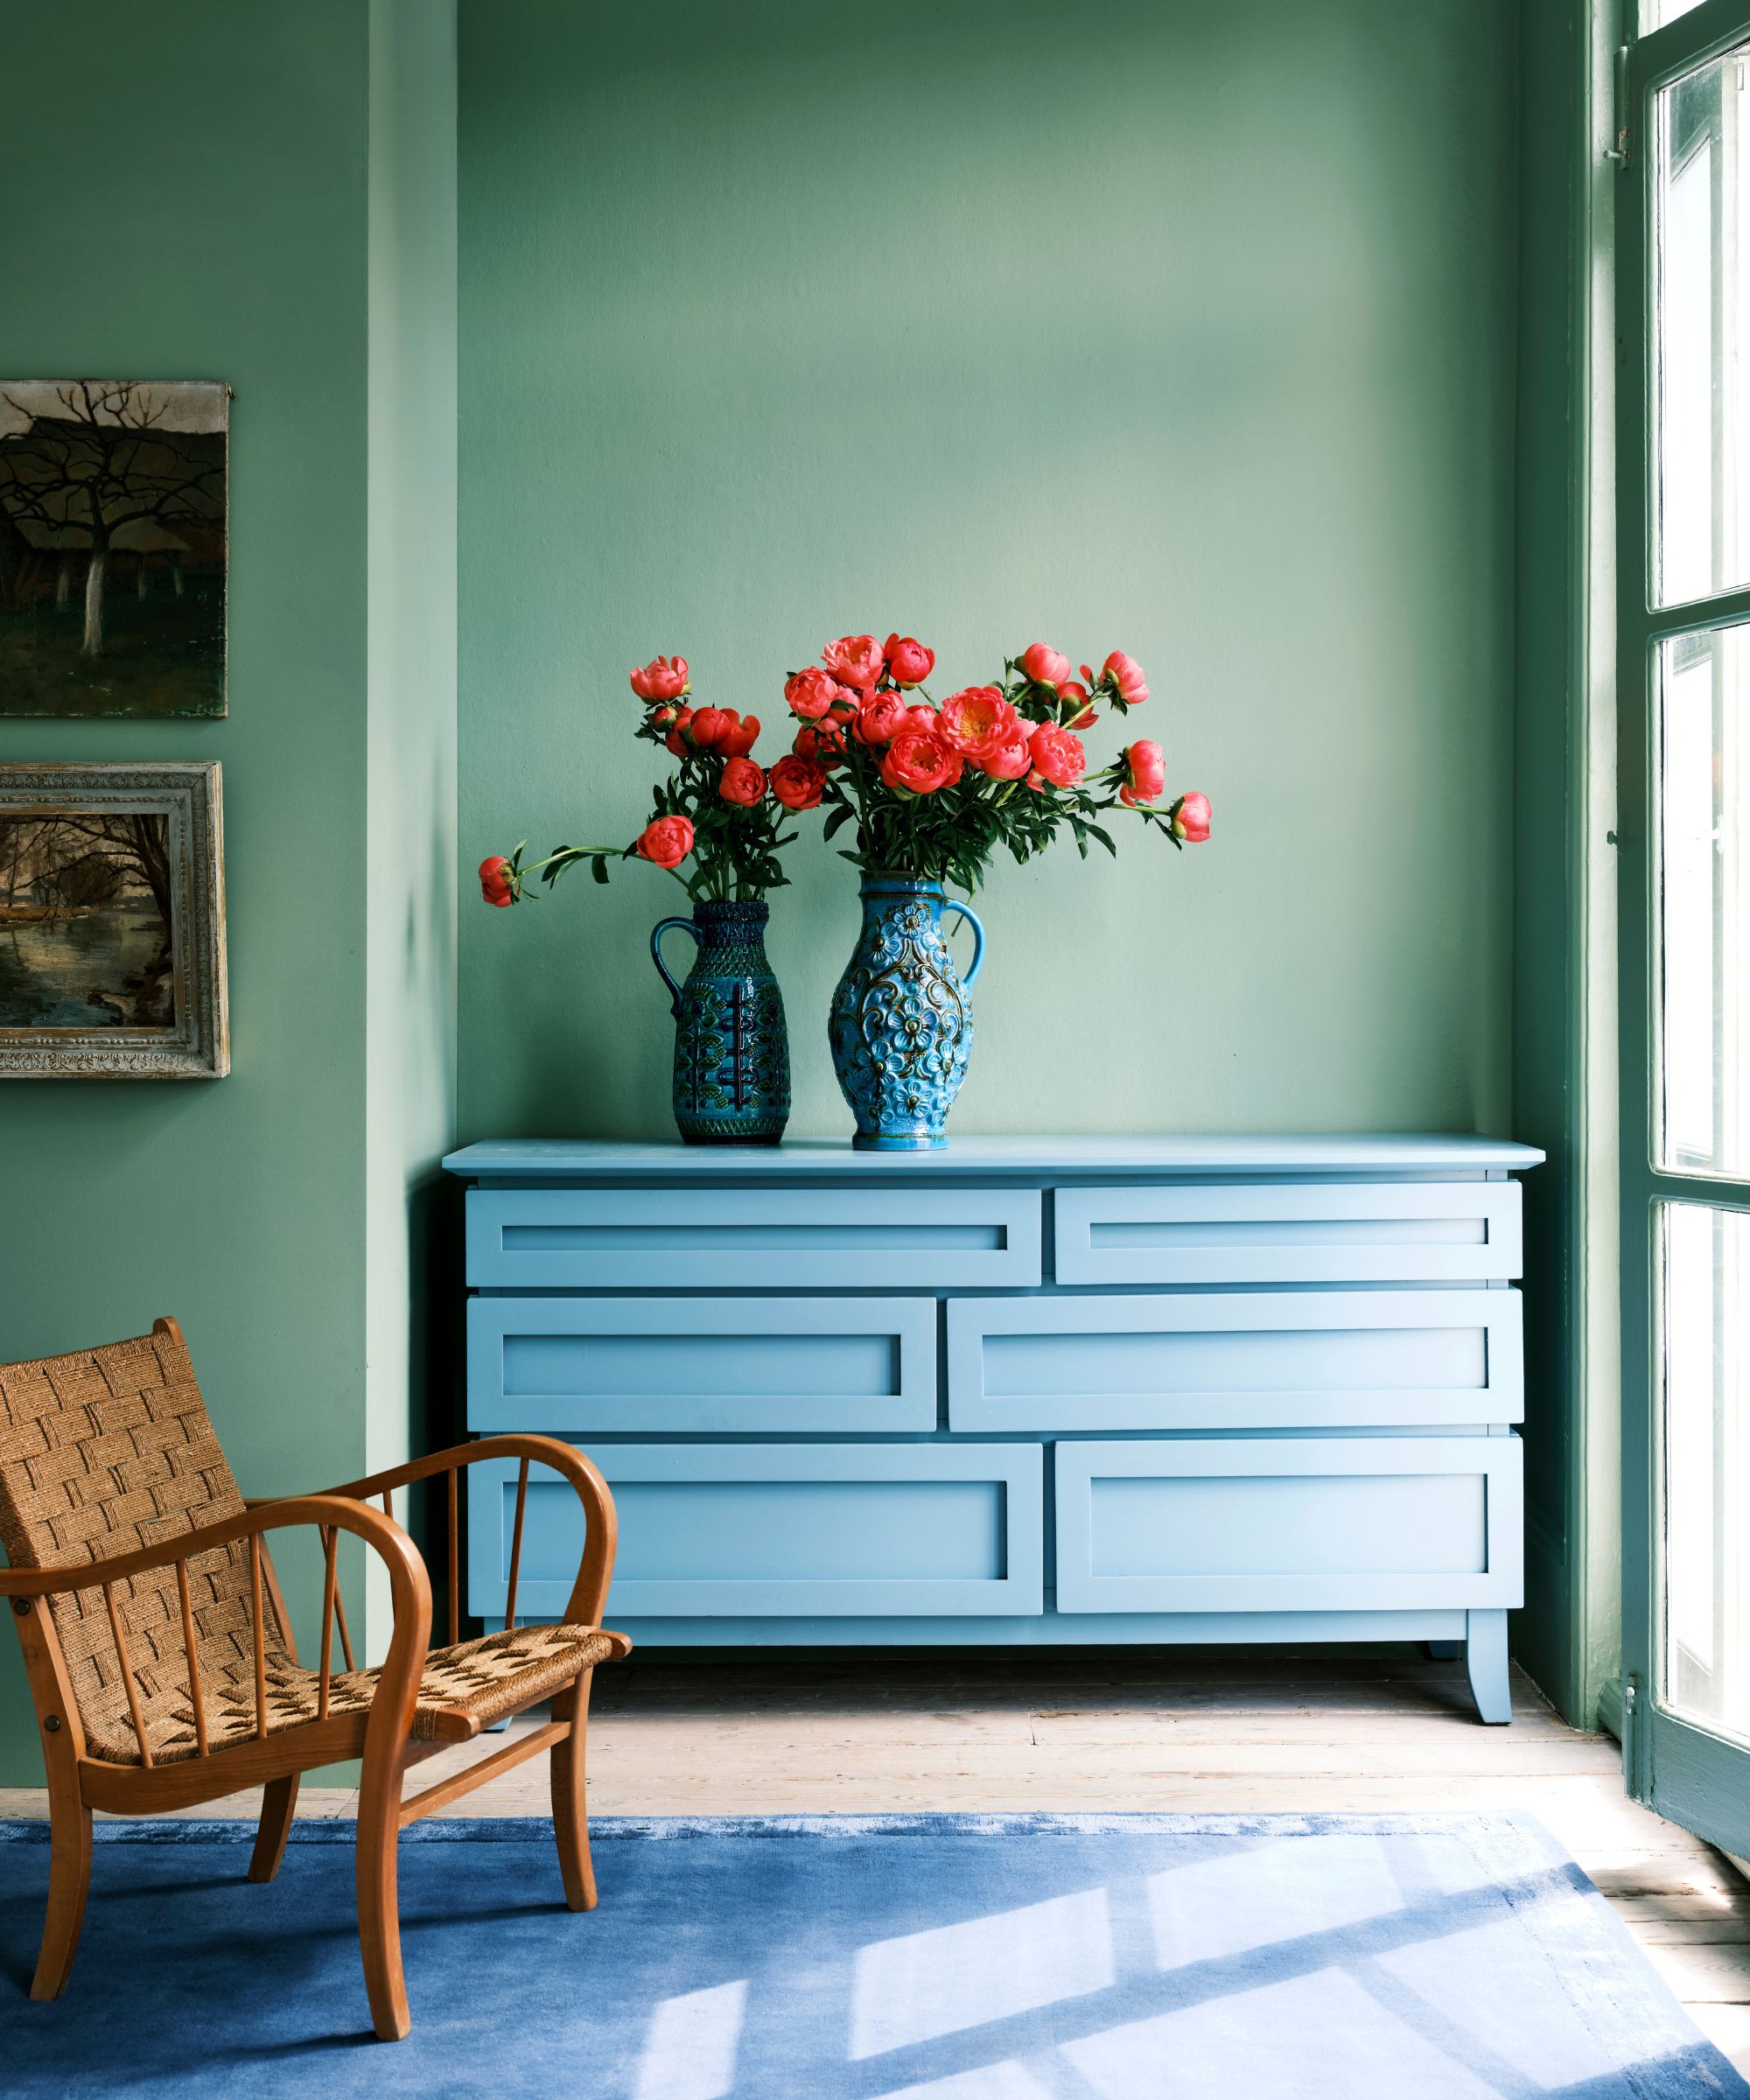
'One of the most common mistakes is skipping the preparation process,' warns Shlomo Cherniak, owner of Cherniak Handyman Services. 'It's important to properly prepare the furniture before painting to ensure good adhesion and a smooth finish.
'Before applying paint, it's crucial to ensure that the surface is clean and free of dust, oil, or any other substances. Failure to do so can prevent the primer or paint from adhering properly.'
This will involve deep cleaning the wooden furniture, especially the surface, removing any existing coatings or oils, repairing damage, and filling any holes.
While this initial step can be labor-intensive, skipping furniture preparation will lead to an ineffective paint job, so it will be worth it in the long run.
3. Overlooking the sanding process

Sanding is the foundation of a successful paint job, and it is a significant mistake not to get this step right.
It's important not to overlook sanding between coats since this helps the new coat of paint adhere better to the surface, and it also smooths out any imperfections or bumps in the previous later. Skipping the sanding steps can lead to paint not adhering well, resulting in a less-than-smooth finish.
Additionally, insufficient or rushed sanding can lead to imperfections such as scratches or uneven surfaces.
Sand lightly but thoroughly before each new coat of paint using a fine-grit sandpaper (220 grit) or this sanding sponge from Amazon, taking your time for a smoother, more polished finish.
4. Not properly priming the surface
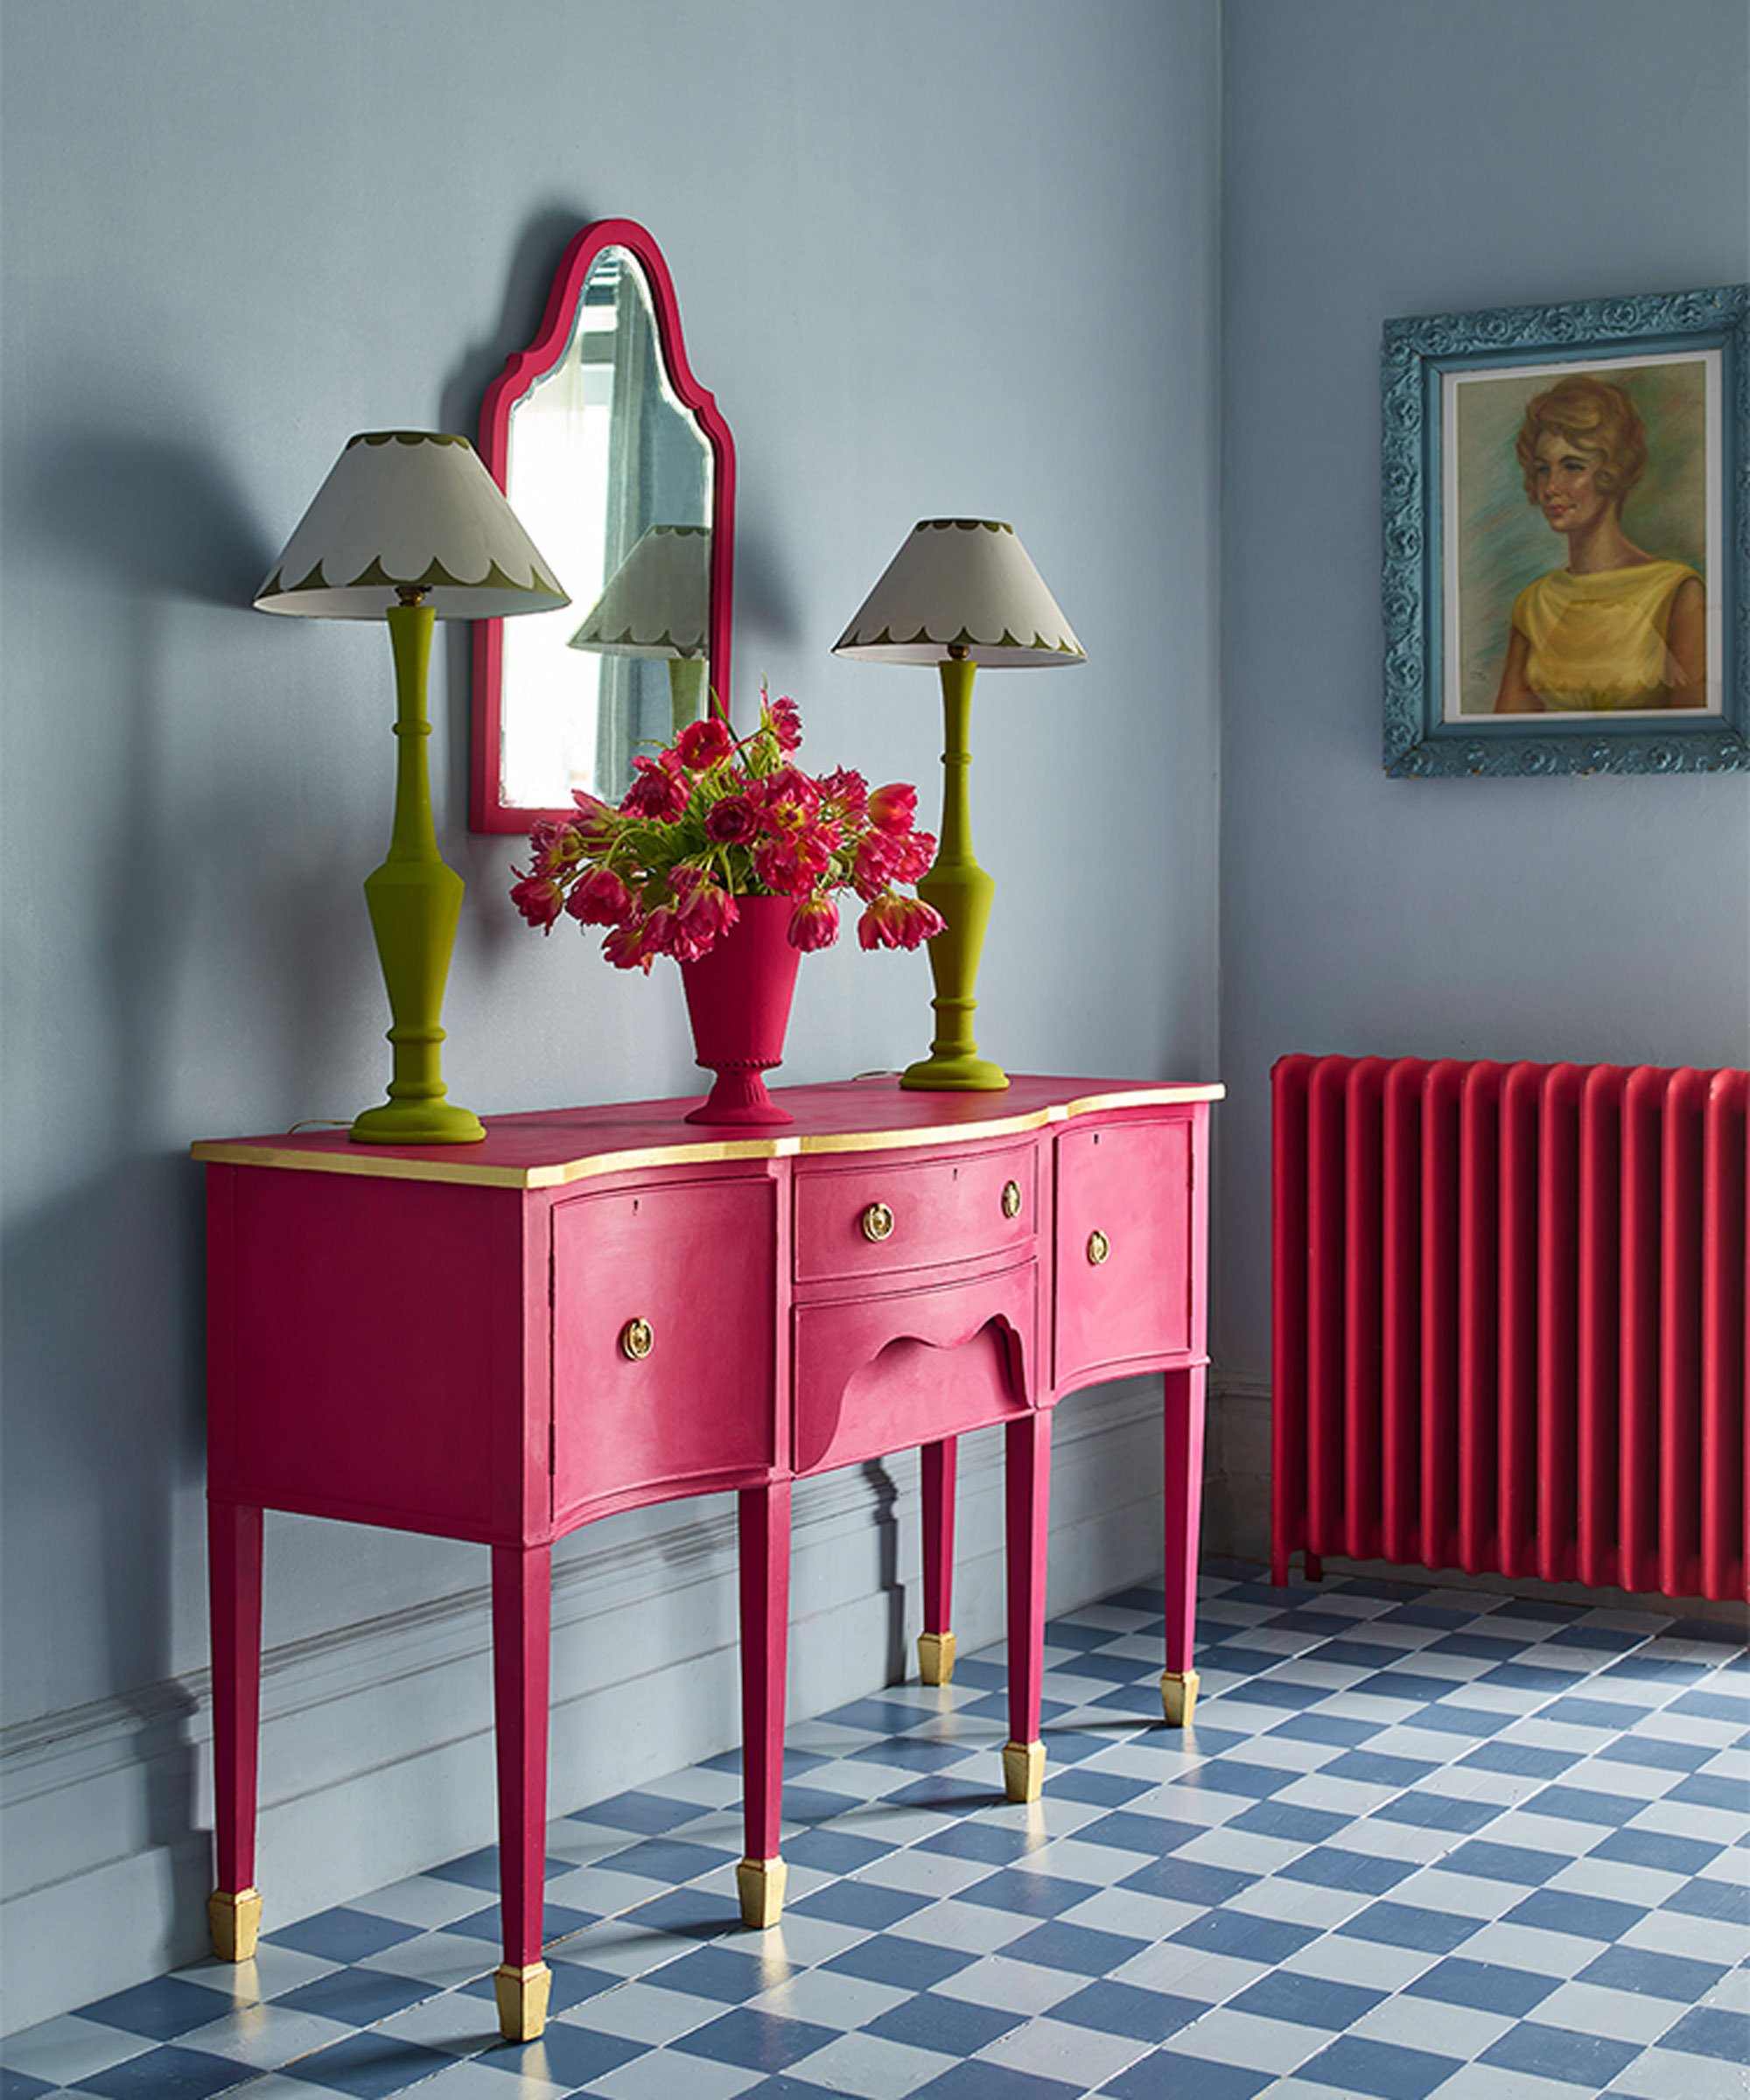
Some people forget the importance of priming before painting and underestimate the significance of a high-quality primer. Paint that chips or peels readily could be the result of selecting the incorrect primer.
'Applying a primer before painting can create a smoother finish and help improve adhesion, especially if you're painting over a darker or previously painted piece,' explains Shlomo Cherniak. 'It's important to choose a primer that is compatible with the type of paint you're using and follow the manufacturer's instructions for application.'
'Try a 750ml tin of Dead Flat and a 750ml tin of interior wood primer/undercoat in the appropriate shade,' recommends Patrick O'Donnell. 'With a little bit of effort, you can transform something such as a dingy and old wooden chest of drawers into something smart!' '
5. Choosing the wrong type of paint
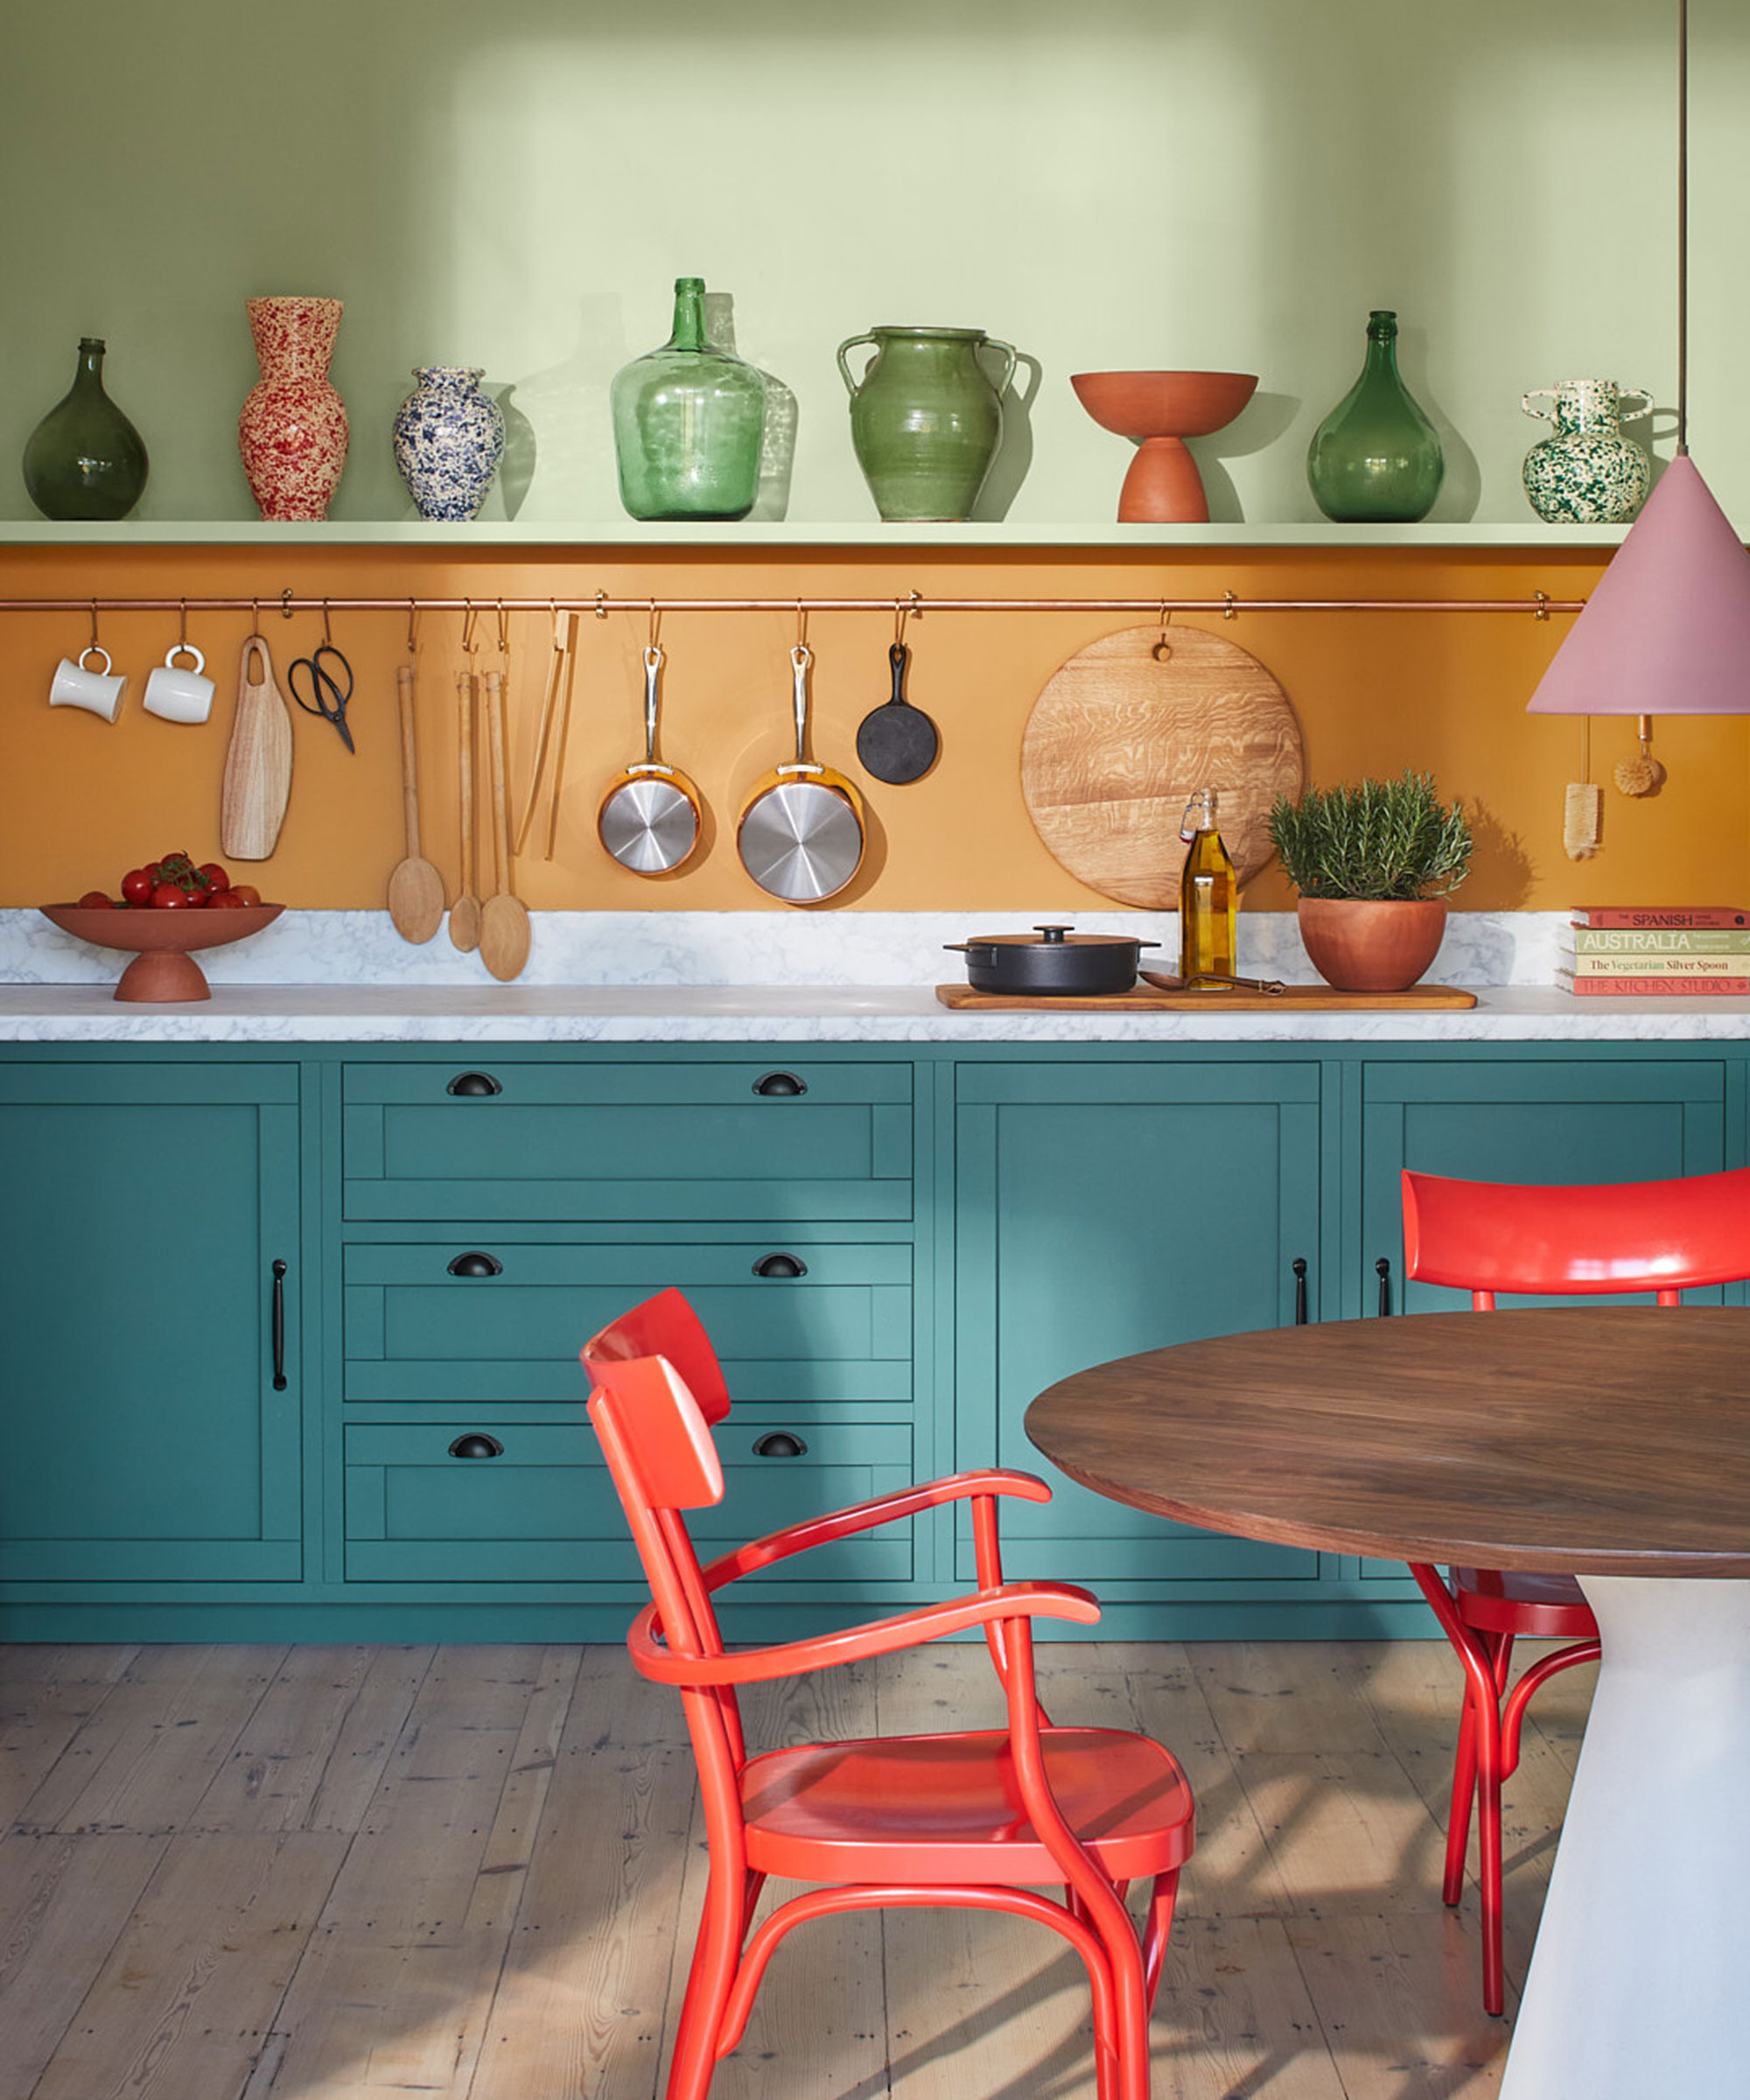
'Selecting paint that is not suitable for wood surfaces can lead to disappointing results and issues such as chipping, peeling, or an uneven finish,' warns Jonathan Warshaw, founder of Simple Woodworker. 'Choose the right paint for the type of furniture you're painting.
'Acrylic, oil-based, or latex paints are commonly used for wood projects. Consider the finish you want (matte, satin, glossy) and the type of wood you're working with when choosing the paint.'
'Choosing the right product for your project is key, and since Chalk Paint applies to wood, metal, glass, linoleum, vinyl, plastic, concrete, terracotta, and even fabrics, there’s a lot of wiggle room,' recommends paint and color expert, Annie Sloan.
'I recommend doing a little research - I have a trove of furniture painting videos on YouTube. This way, you’ll be prepared for the texture and behavior of the paint and this will help hugely with application and how much you enjoy the process.'
One great way to test which types of paint will yield good results is to test paint samples on a discrete area of your furniture before splashing out on a pot of paint. Each paint brand and finish can behave differently on various surfaces, so it's important to test samples before attempting a full paint job.
6. Ignoring hardware removal

Failure to remove hardware prior to painting can result in a finish that is less professional-looking. This may lead to uneven painting around handles, knobs, or hinges, or it could result in damage to the accessories themselves.
For a smoother and more even paint job, remove all hardware carefully from the wooden furniture before painting.
During painting
When painting furniture, using the proper painting techniques to sidestep common pitfalls for a flawless finish is just as important as proper prepping.
7. Overloading the paintbrush
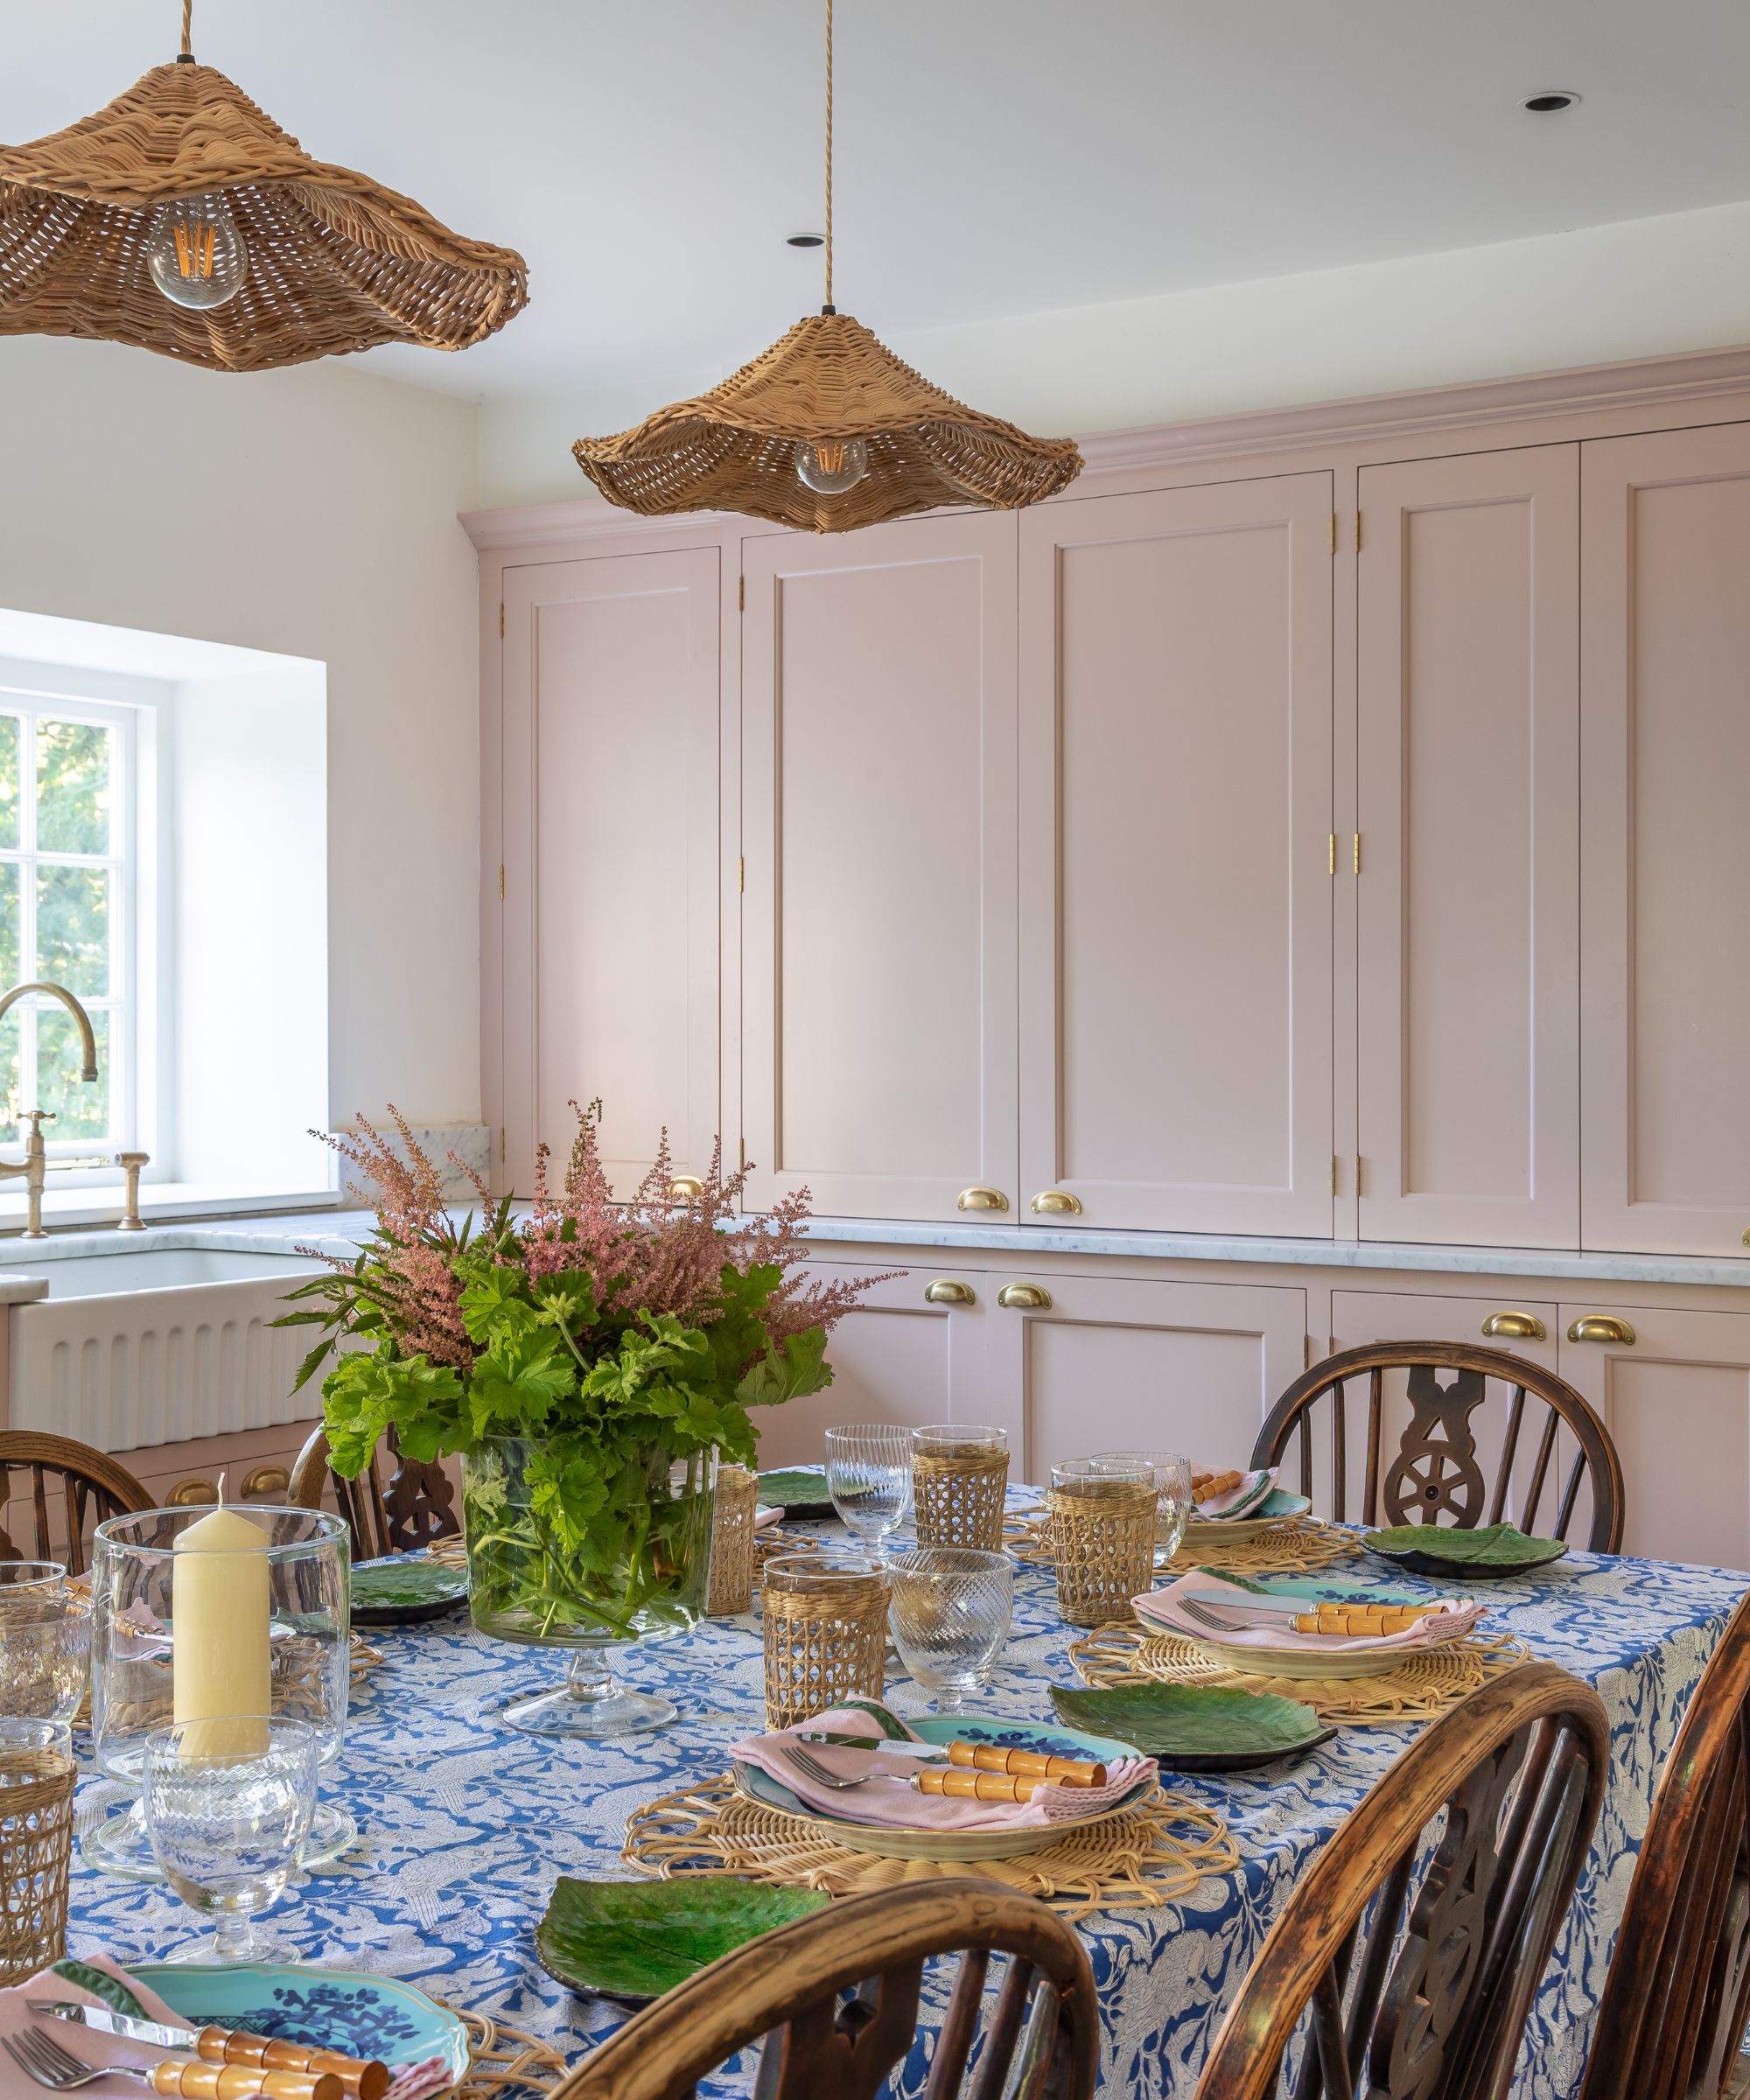
'I have seen many beginners apply thick coats thinking it will speed up the process,' says Jonathan Warshaw, professional woodworker. 'However, this results in drips, uneven coverage, and cracking.
'Instead, apply thin layers and let each layer dry before adding the next.' A sufficient amount of paint must be loaded onto the brush in order to provide a smoother finish and improved control.
8. Ignoring grain direction on raw wood
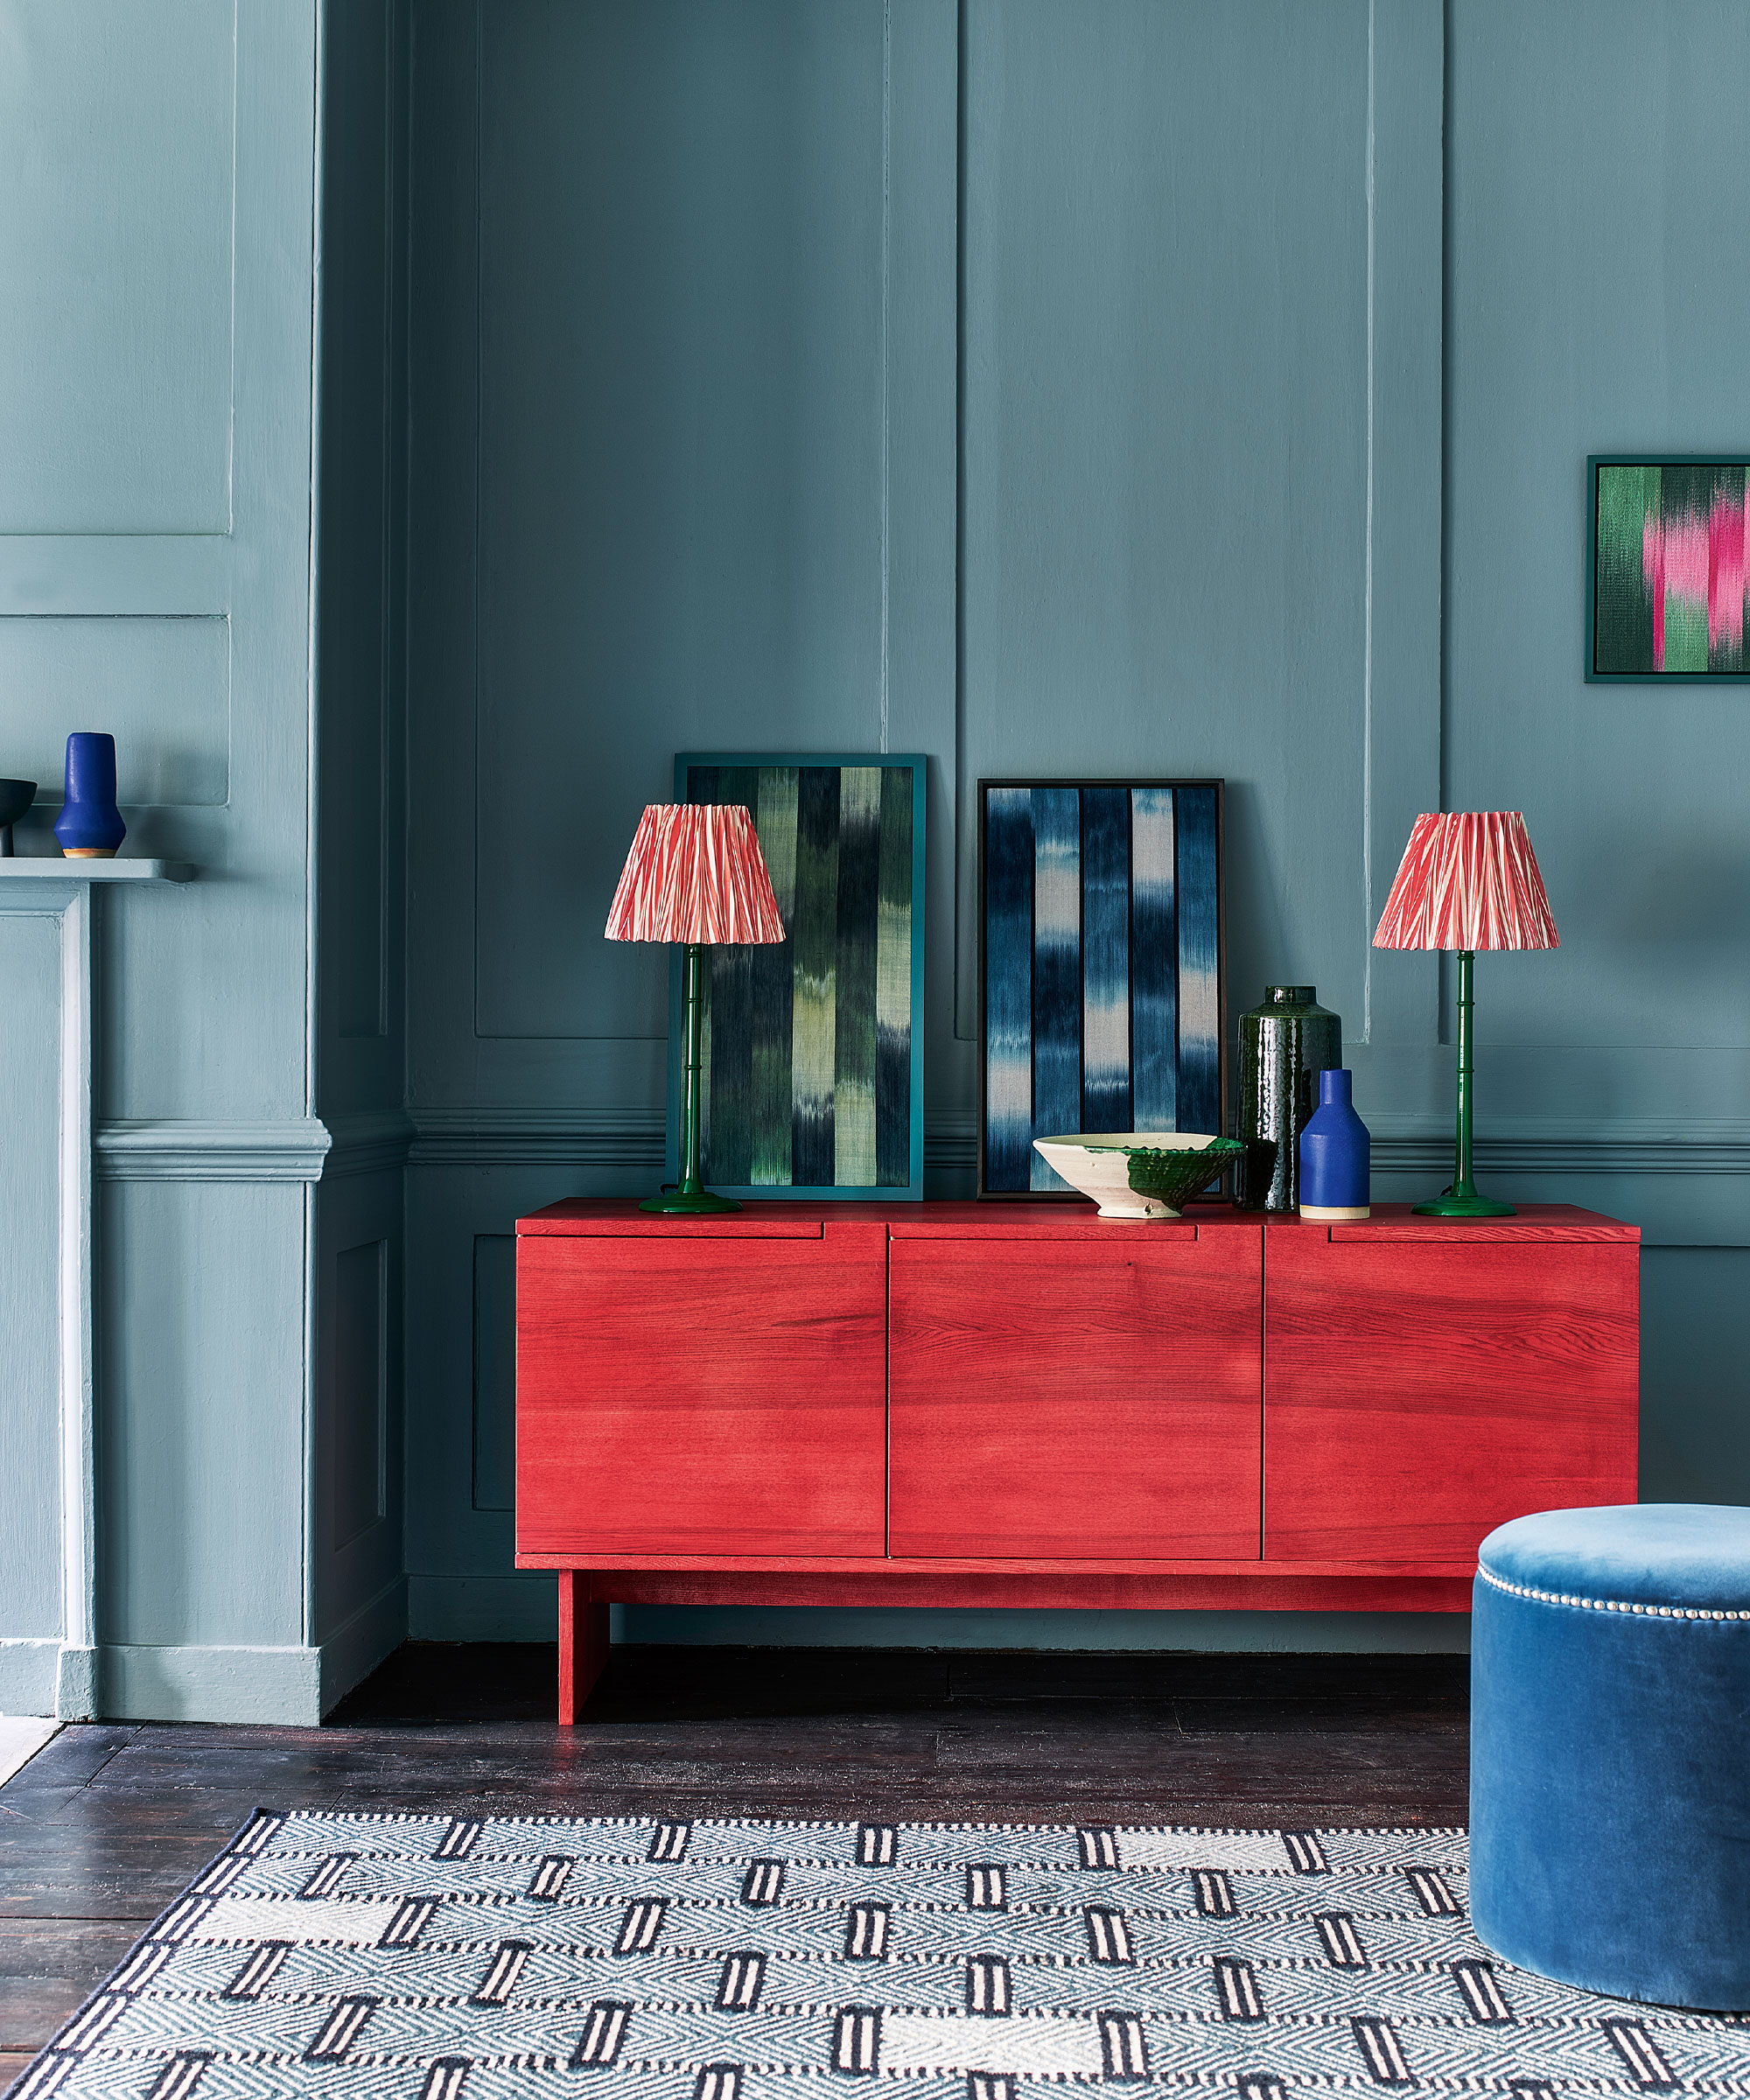
Be sure not to make the mistake of overlooking the grain direction while working with raw wood furniture. Paint that is applied against the natural grain may highlight the wood's texture unevenly, making the finish less desirable.
For an appealing outcome, paint in the direction of the grain at all times. Painting slowly with thin, smooth coats in the direction of the grain will make a big difference.
After painting
Finally, once the painting is done, it is essential to follow a few final steps to protect the painted surface and ensure its longevity. Ignoring these steps can mean a perfectly good paint job goes to waste.
9. Ignoring the drying process

'Rushing the drying process can lead to smudges, smears, or damage to the paint finish,' warns Shlomo Cherniak, professional handyman. 'It's important to allow each coat of paint to dry completely before applying the next coat or handling the furniture.'
'Trust the process. Drying paint goes through an ugly, patchy stage which will resolve once the whole piece is evenly dried. Don’t panic, and definitely don’t try to paint it out or paint over it as this will cause actual problems (such as overworking, dragging the paint, and removing it completely).'
This patience will result in a smooth and durable finish that won't easily chip or peel.
10. Not sealing properly
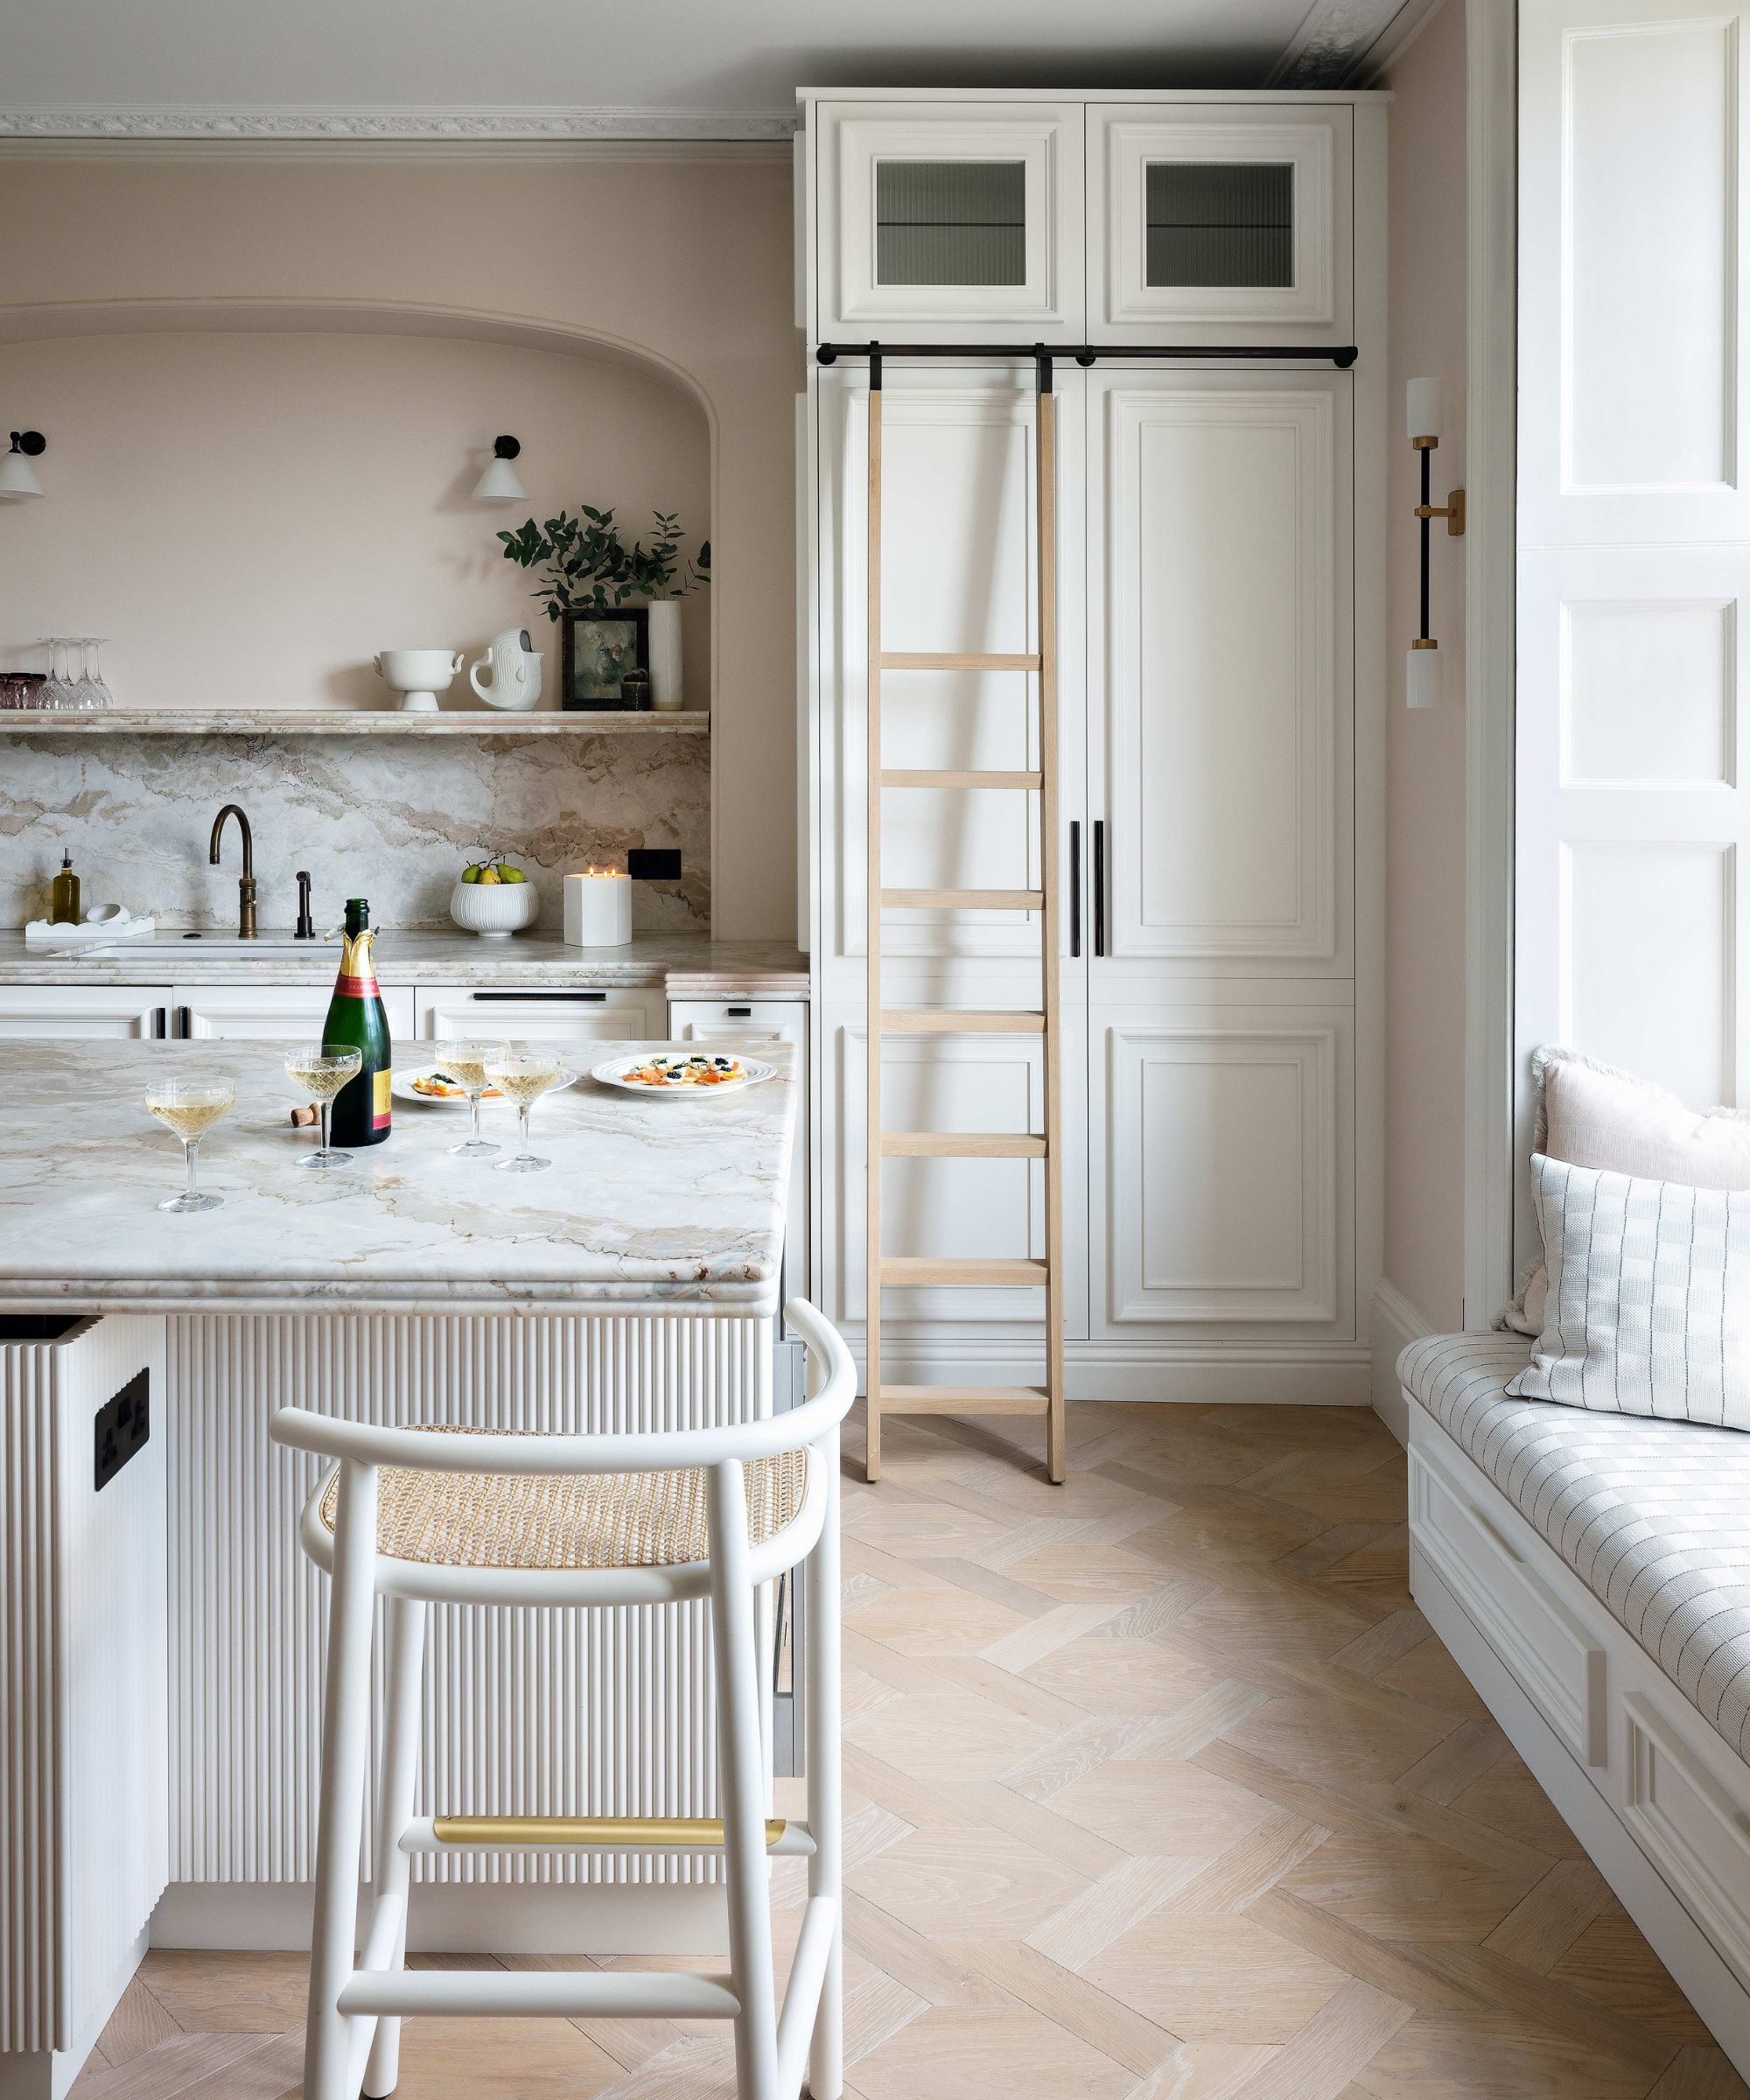
'Applying a clear topcoat or sealant can help protect the paint from scratches, stains, and other damage,' says Shlomo Cherniak.
A clear coat, usually polyurethane, will protect your painted furniture, just be sure to allow the paint and clear coat to dry completely before applying the next layer, or it will still peel.
FAQs
Does it matter what brushes you use when painting furniture?
'Using the wrong tools, such as low-quality brushes or foam rollers, can result in brush strokes or an uneven finish. It's important to use high-quality brushes or rollers that are suitable for the type of paint you're using,' advises Shlomo Cherniak, owner of Cherniak Handyman Services.
Choose brushes suitable for the type of paint you're using and the details of your project. We like this Zibra furniture paint brush set from Amazon.
Should you stir paint before using it?
'Whatever you’re using, please, please stir,' says paint & color specialist, Annie Sloan.
'Paint settles and separates in the tin, especially the higher-end ones like mine, which tend to contain fewer nasty preservatives.
'Giving the tin a jolly good stir when you open it will reawaken and redistribute the pigments through the formula, loosen the texture, and warm the paint up ready for application. It’s also very therapeutic!'
Finally, Frances Bradley, owner of Lelloliving says: 'Just because a piece is old, doesn't mean you need to cling to the old hardware or pay homage to parts that don't serve you now.
'A piece can be given a completely new lease of life if you couple the paint with a good quality hardware upgrade.'


