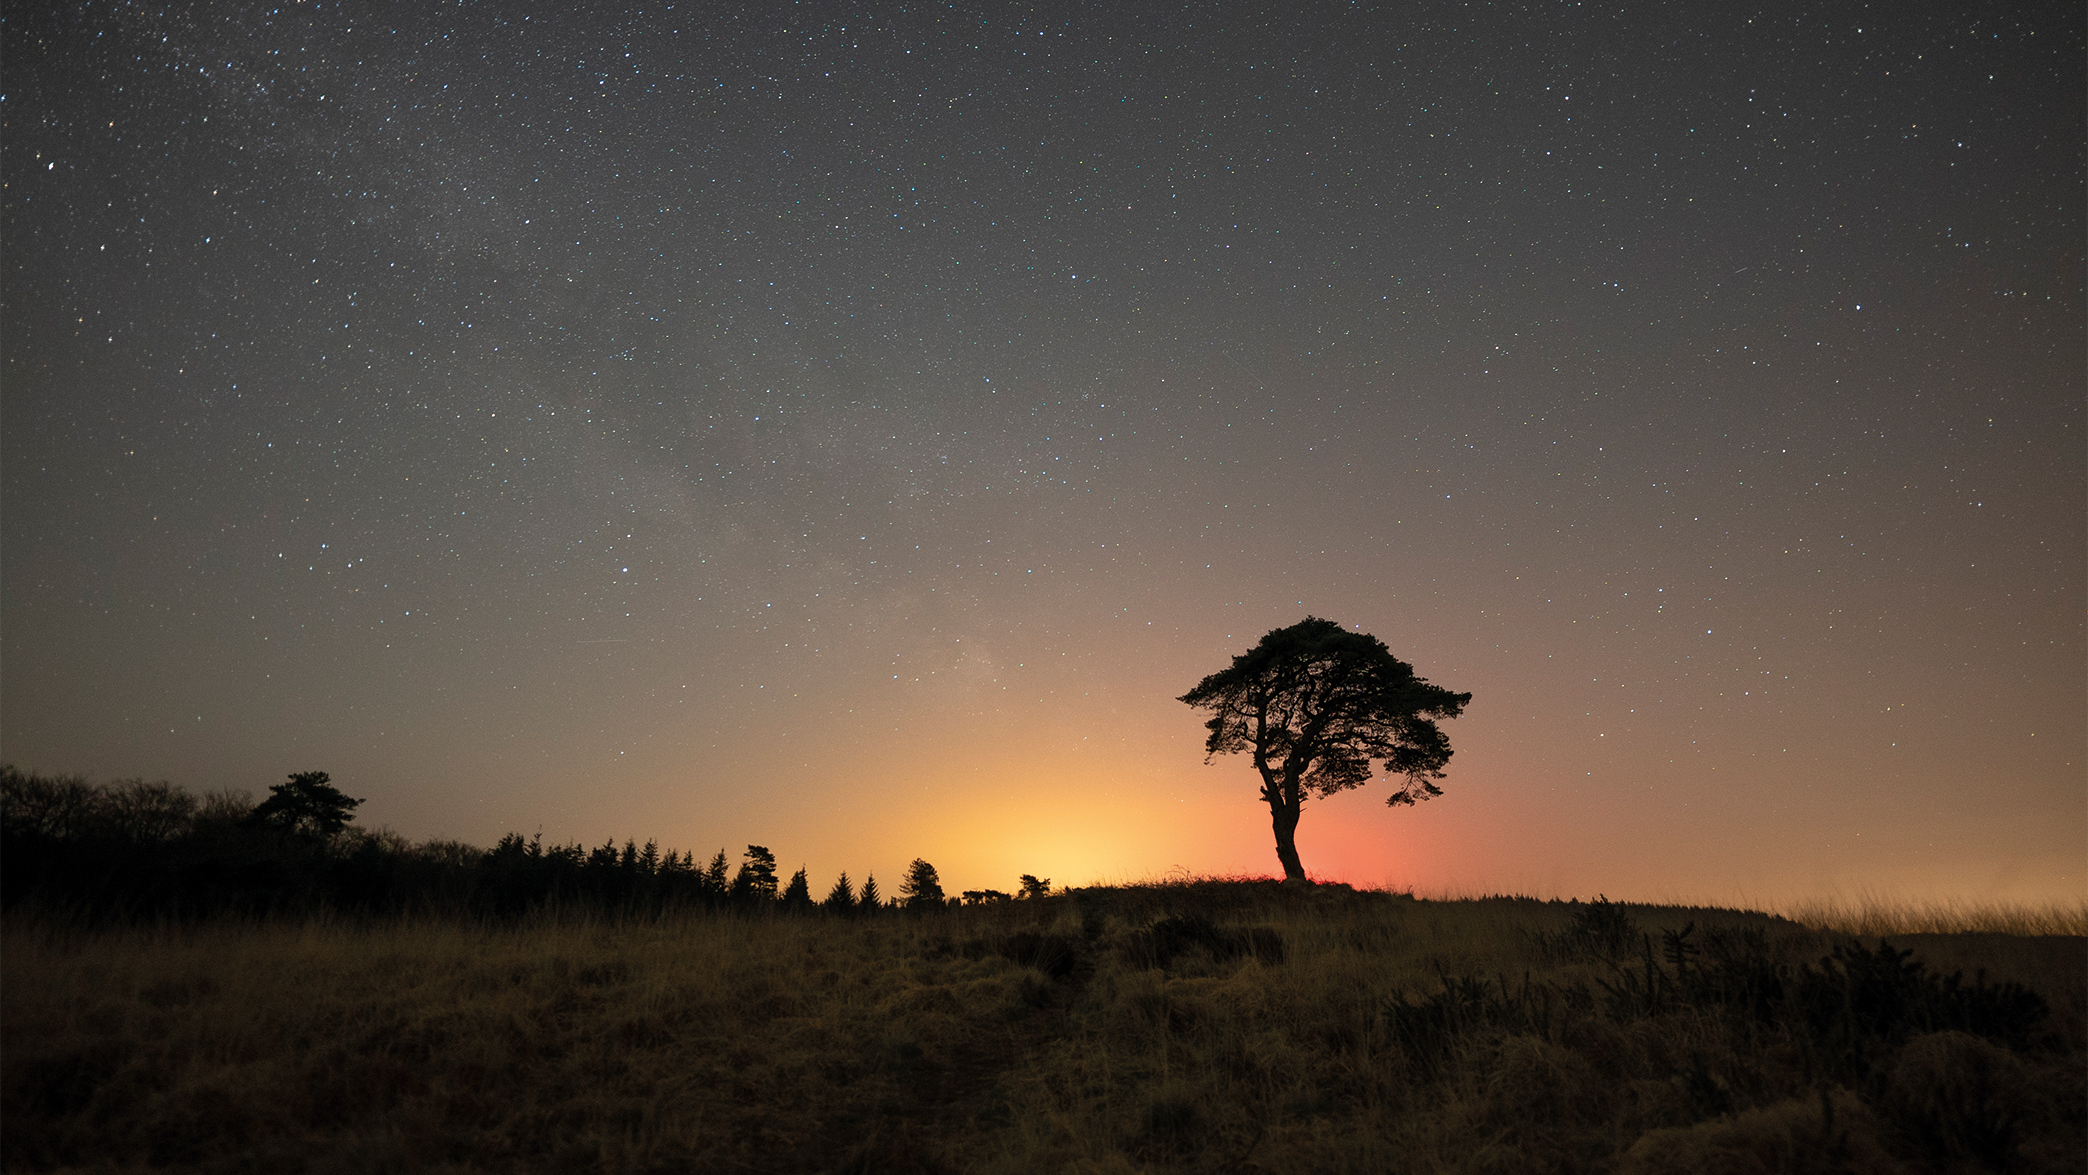
Light pollution is changing the way we see the night sky, how we photograph it and our connection to the stars. When taking astro photos nowadays, it is hard to escape the reality of light pollution from nearby towns and cities, even out at sea or in rural areas. Sometimes, it is necessary to travel to dark-sky places that provide an ‘open window’ to the universe, but it is a battle photographers are often up against.
Luckily, the modern astro photographer can also call upon a series of techniques that lift the curtain of light pollution that prevents us from getting a clear view of our home galaxy, the Milky Way. Capturing images of this spiral system of billions of stars evokes an emotional response, telling the story of our relationship with the environment around us. Let’s look at the process of how we counterbalance the constant battle between light and dark...
Set up
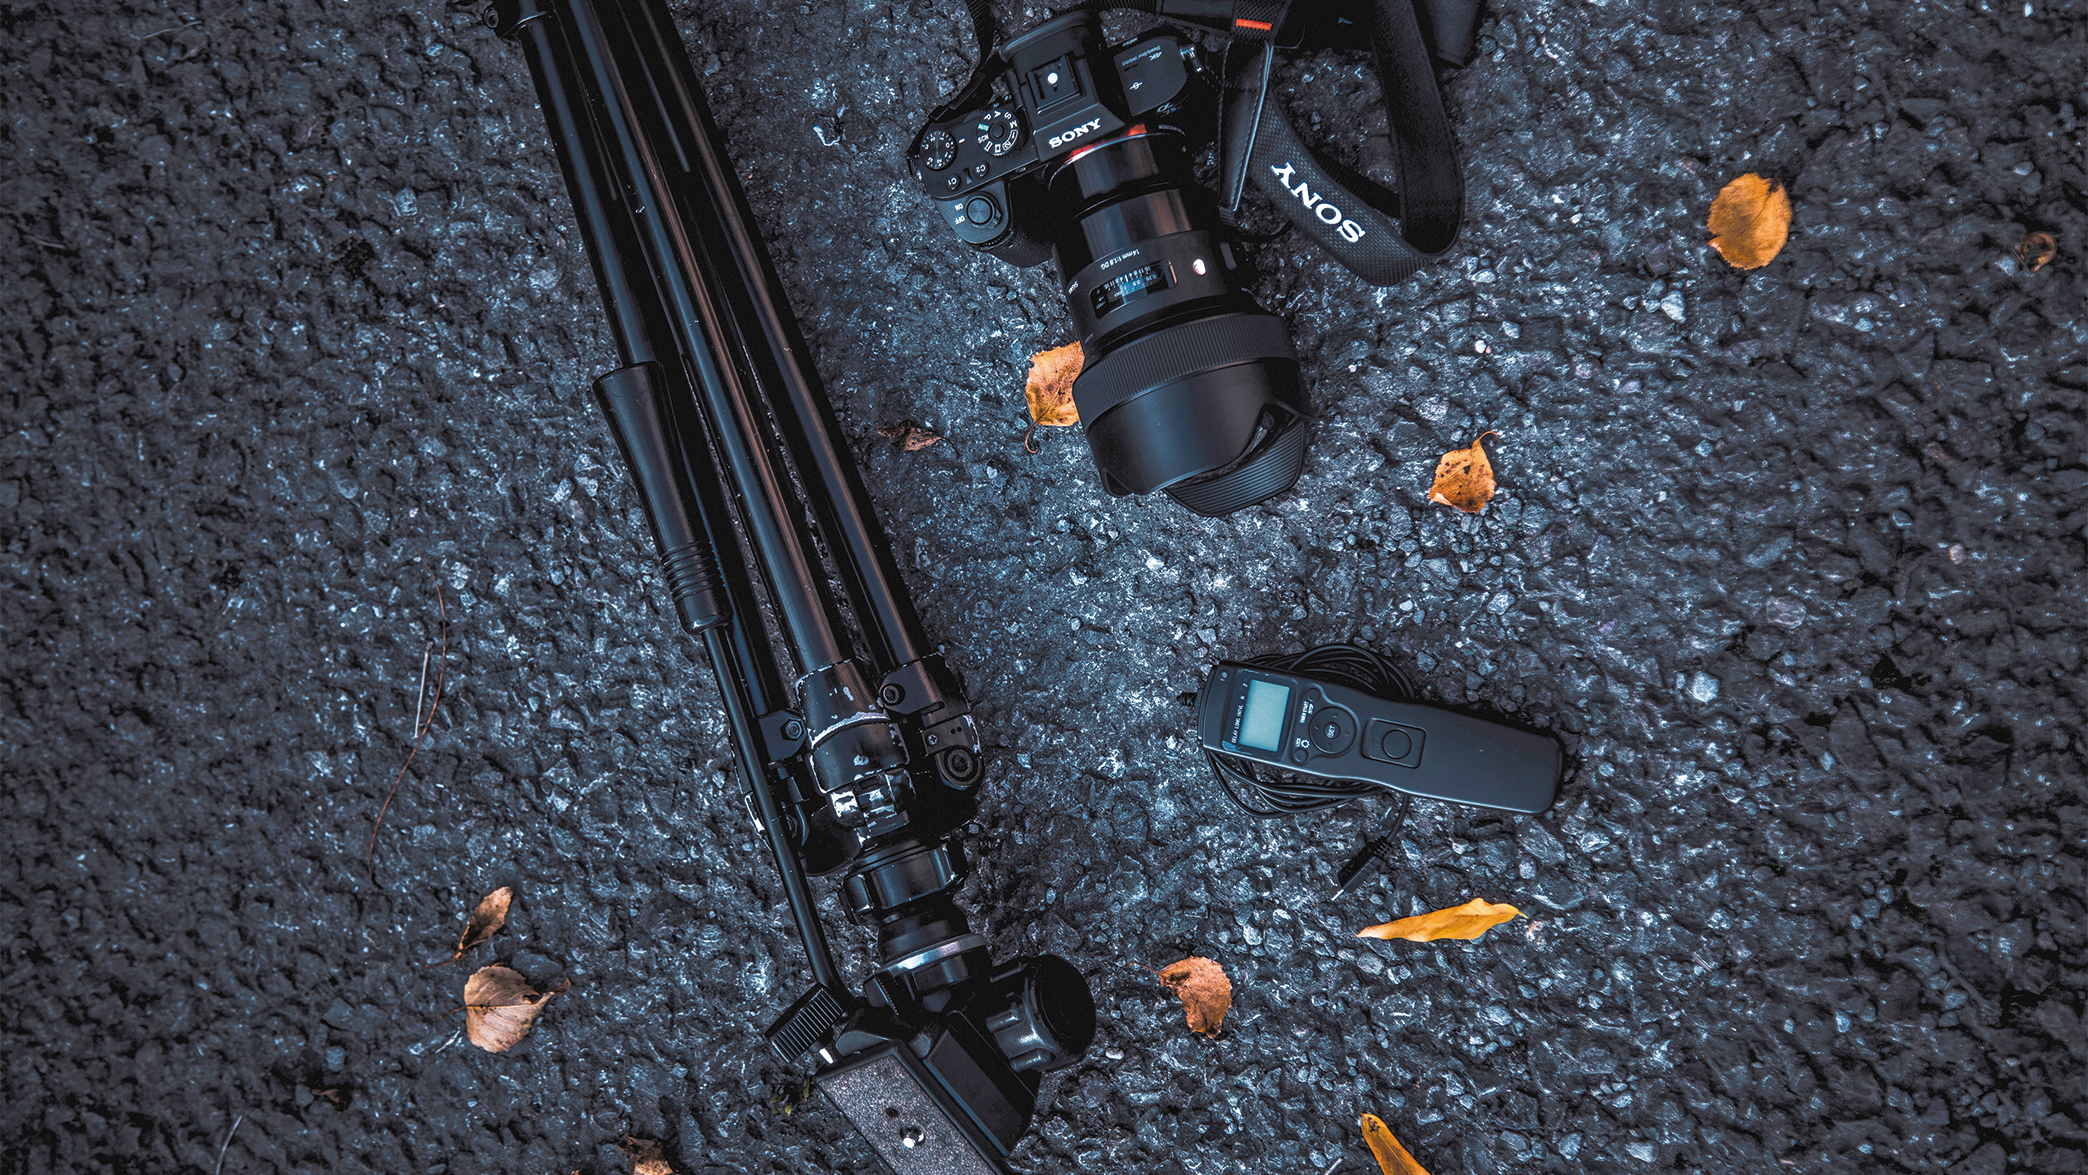
1. Bright lens - An optic with a wide maximum aperture permits more light into the camera, increasing quality
2. Support - A tripod is essential. Choose a sturdy set of legs and use a pan-and-tilt head for easy levelling
3. Remote trigger - At the exposure times needed for astro, any vibration will be visible, so use a cable or remote shutter release
Shooting steps
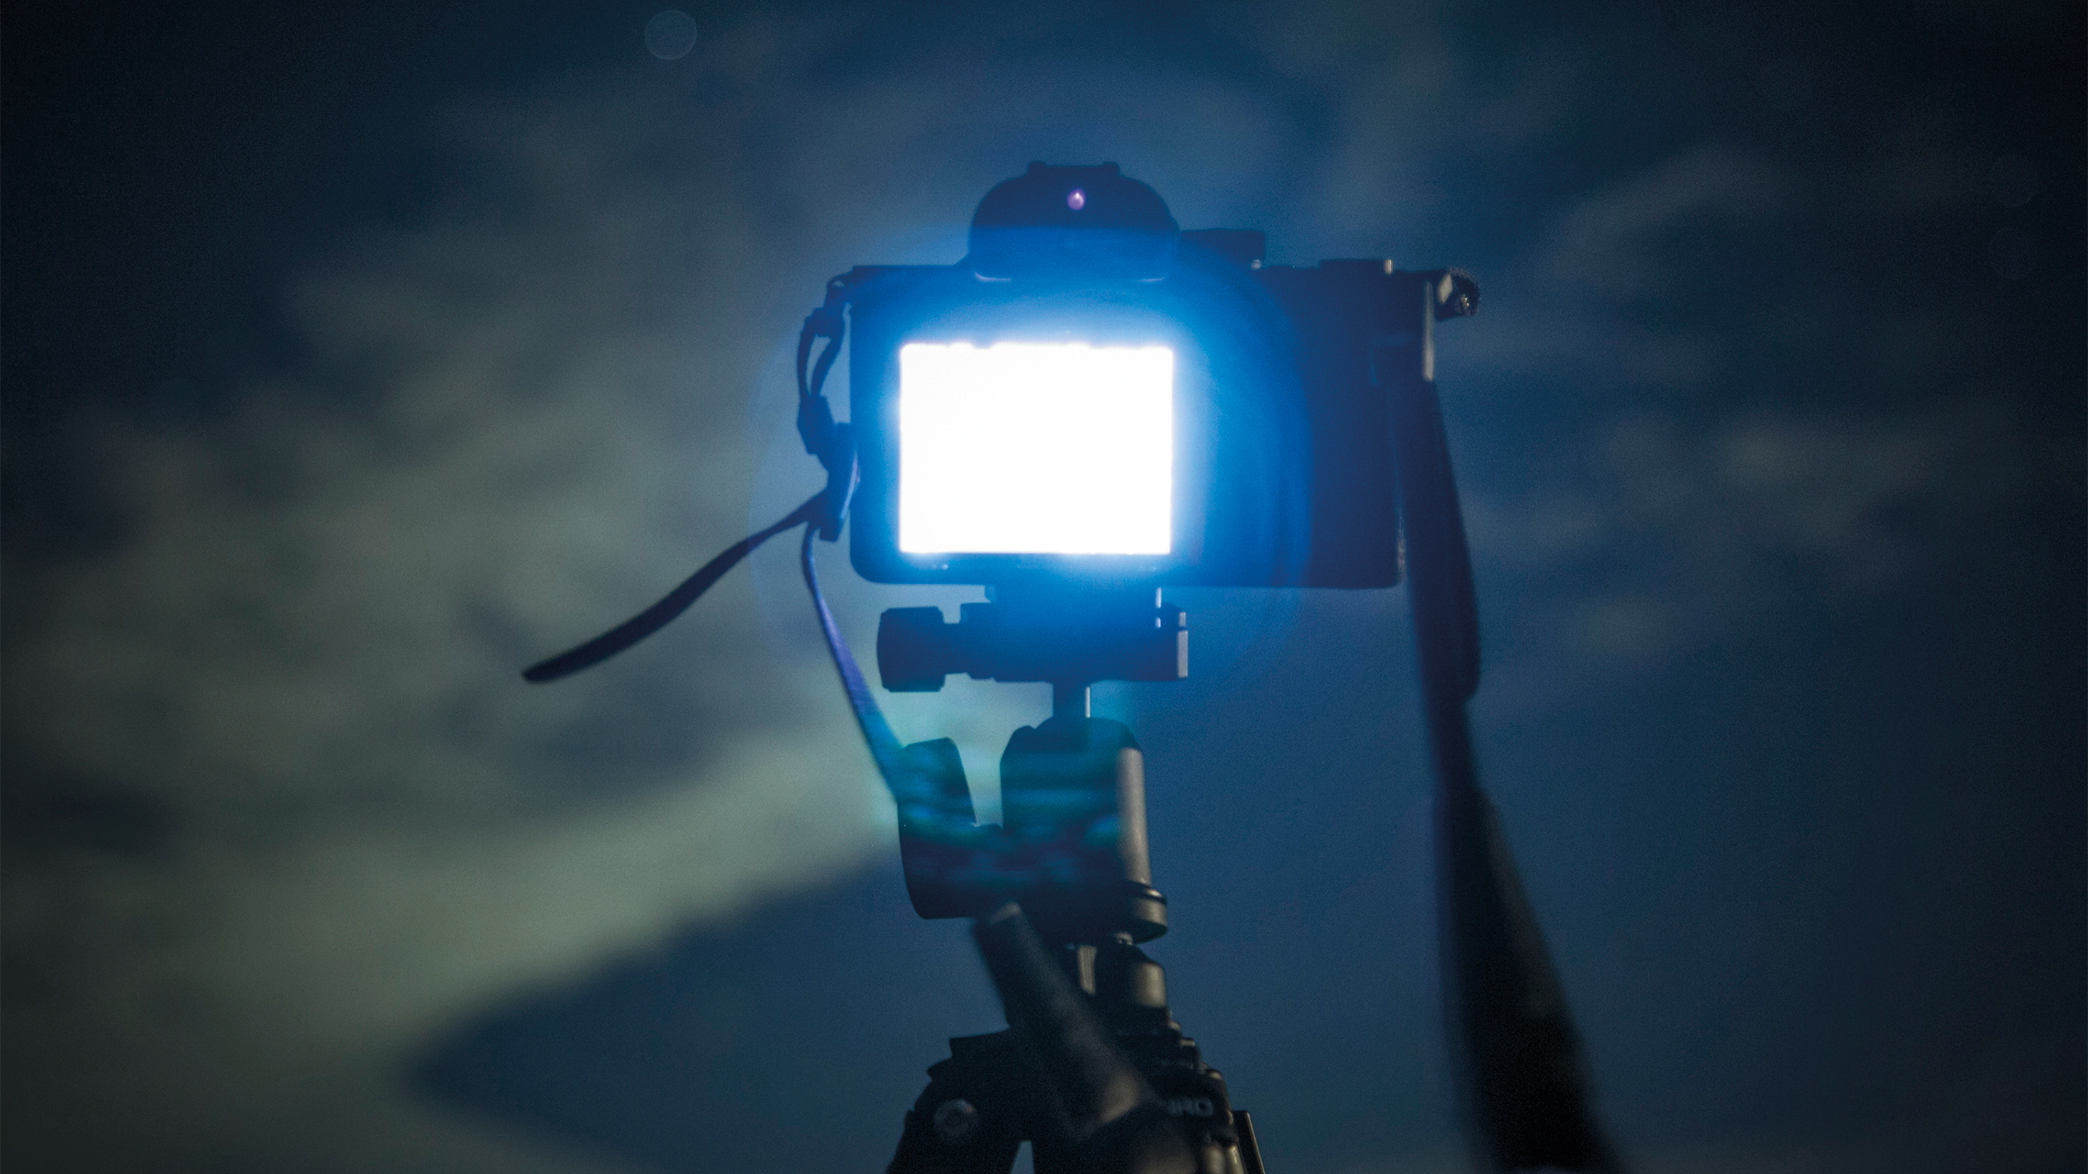
1. Stabilize your tripod
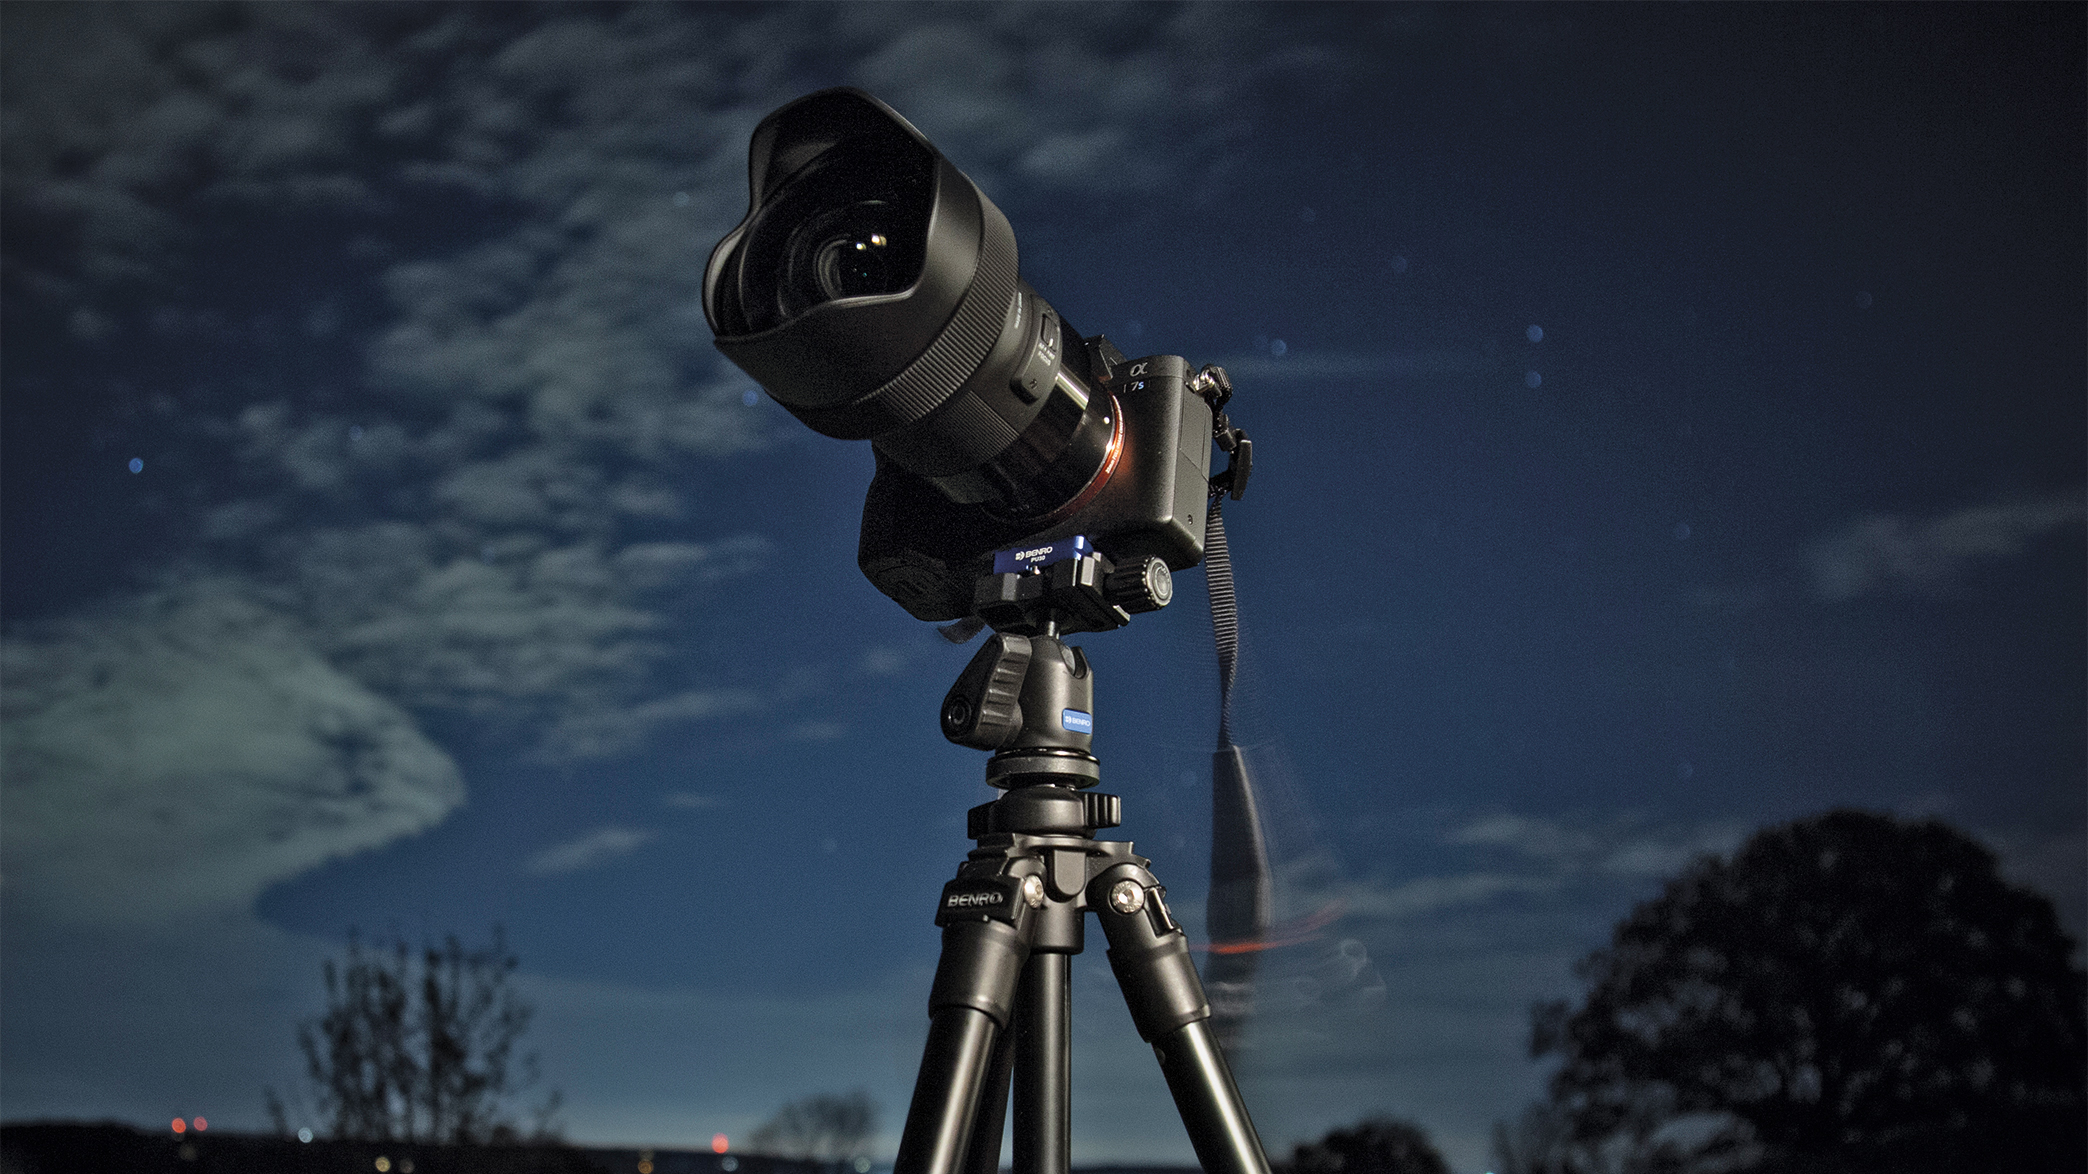
Use a strong and sturdy tripod whenever you take complex night shots. You want to avoid any camera shake while shooting longer exposures to capture faint celestial details. You may need to weigh down your setup if you are in a windy environment.
2. Switch to manual
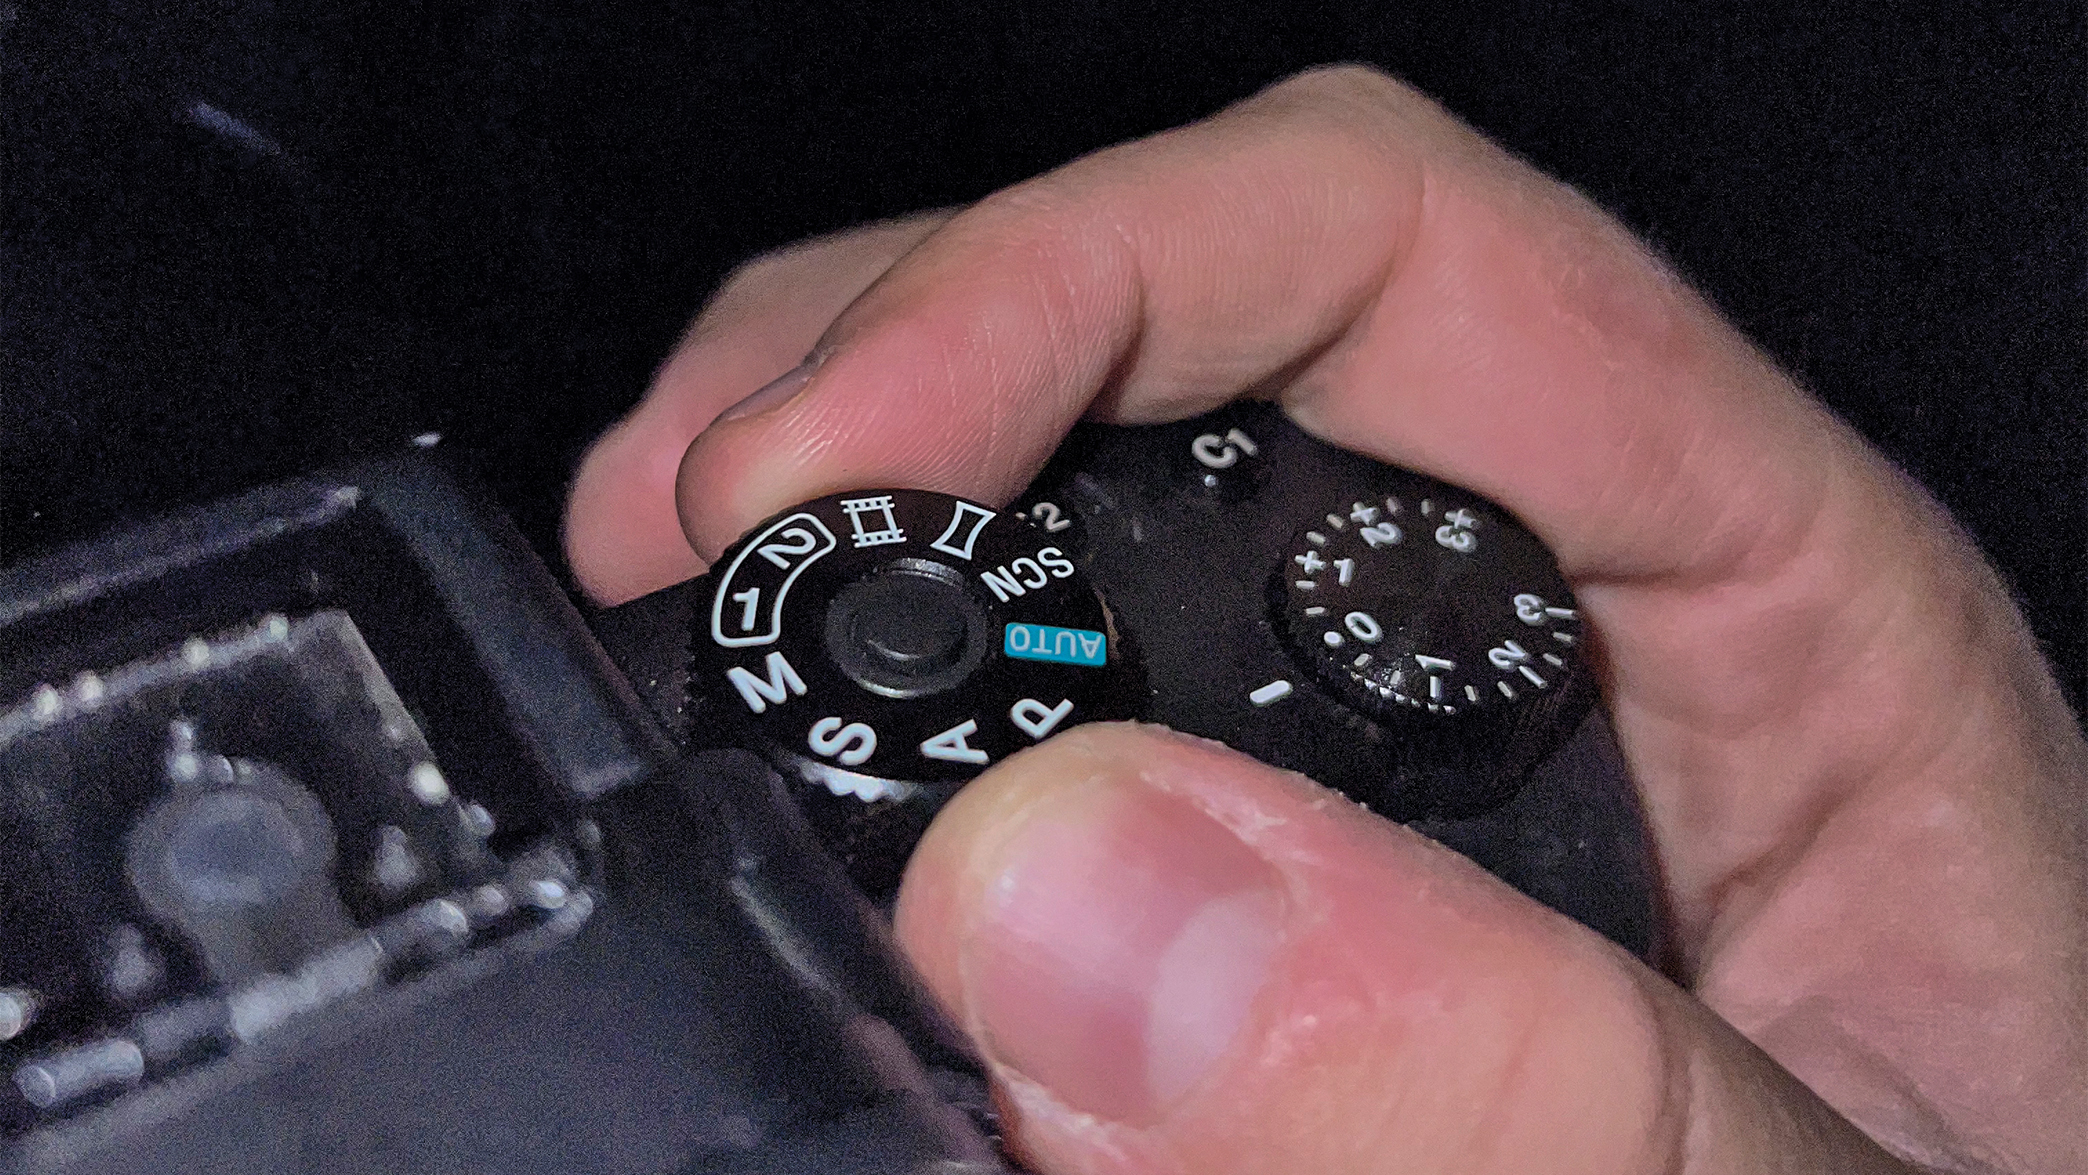
It is important to shoot in Manual exposure mode so you are in control of your camera and how it operates. Your camera needs to be an extension of you, and how you expose fragile starlight as it enters your camera (being mindful of nearby light sources).
3. Shoot wide
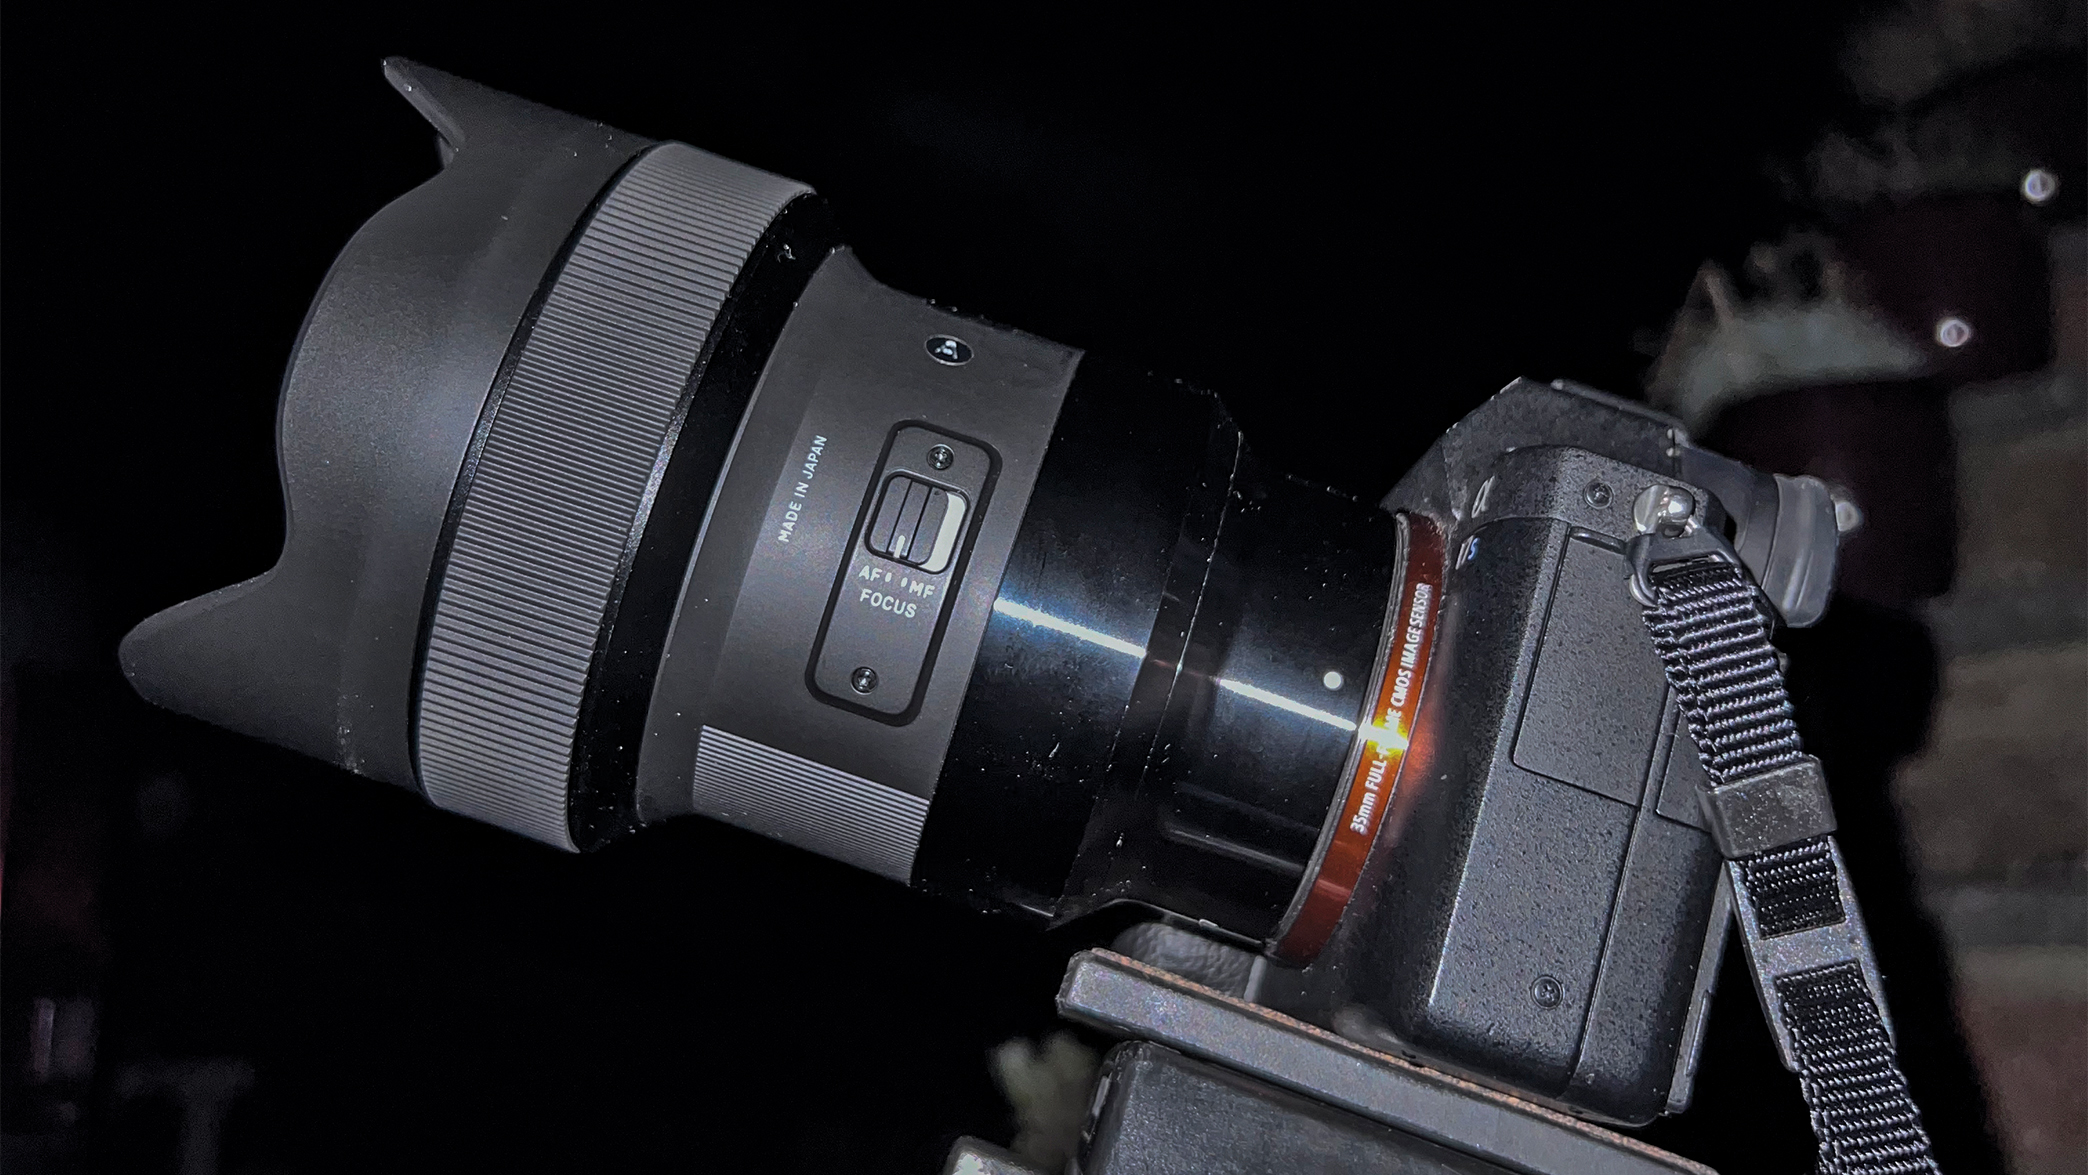
No matter what your equipment setup is, you will need to keep your aperture nice and wide so you can let more light in. However, bear in mind that too harsh an exposure can blow out details. Start at the maximum f/stop to prevent unwanted star-trailing.
4. Compose your subject
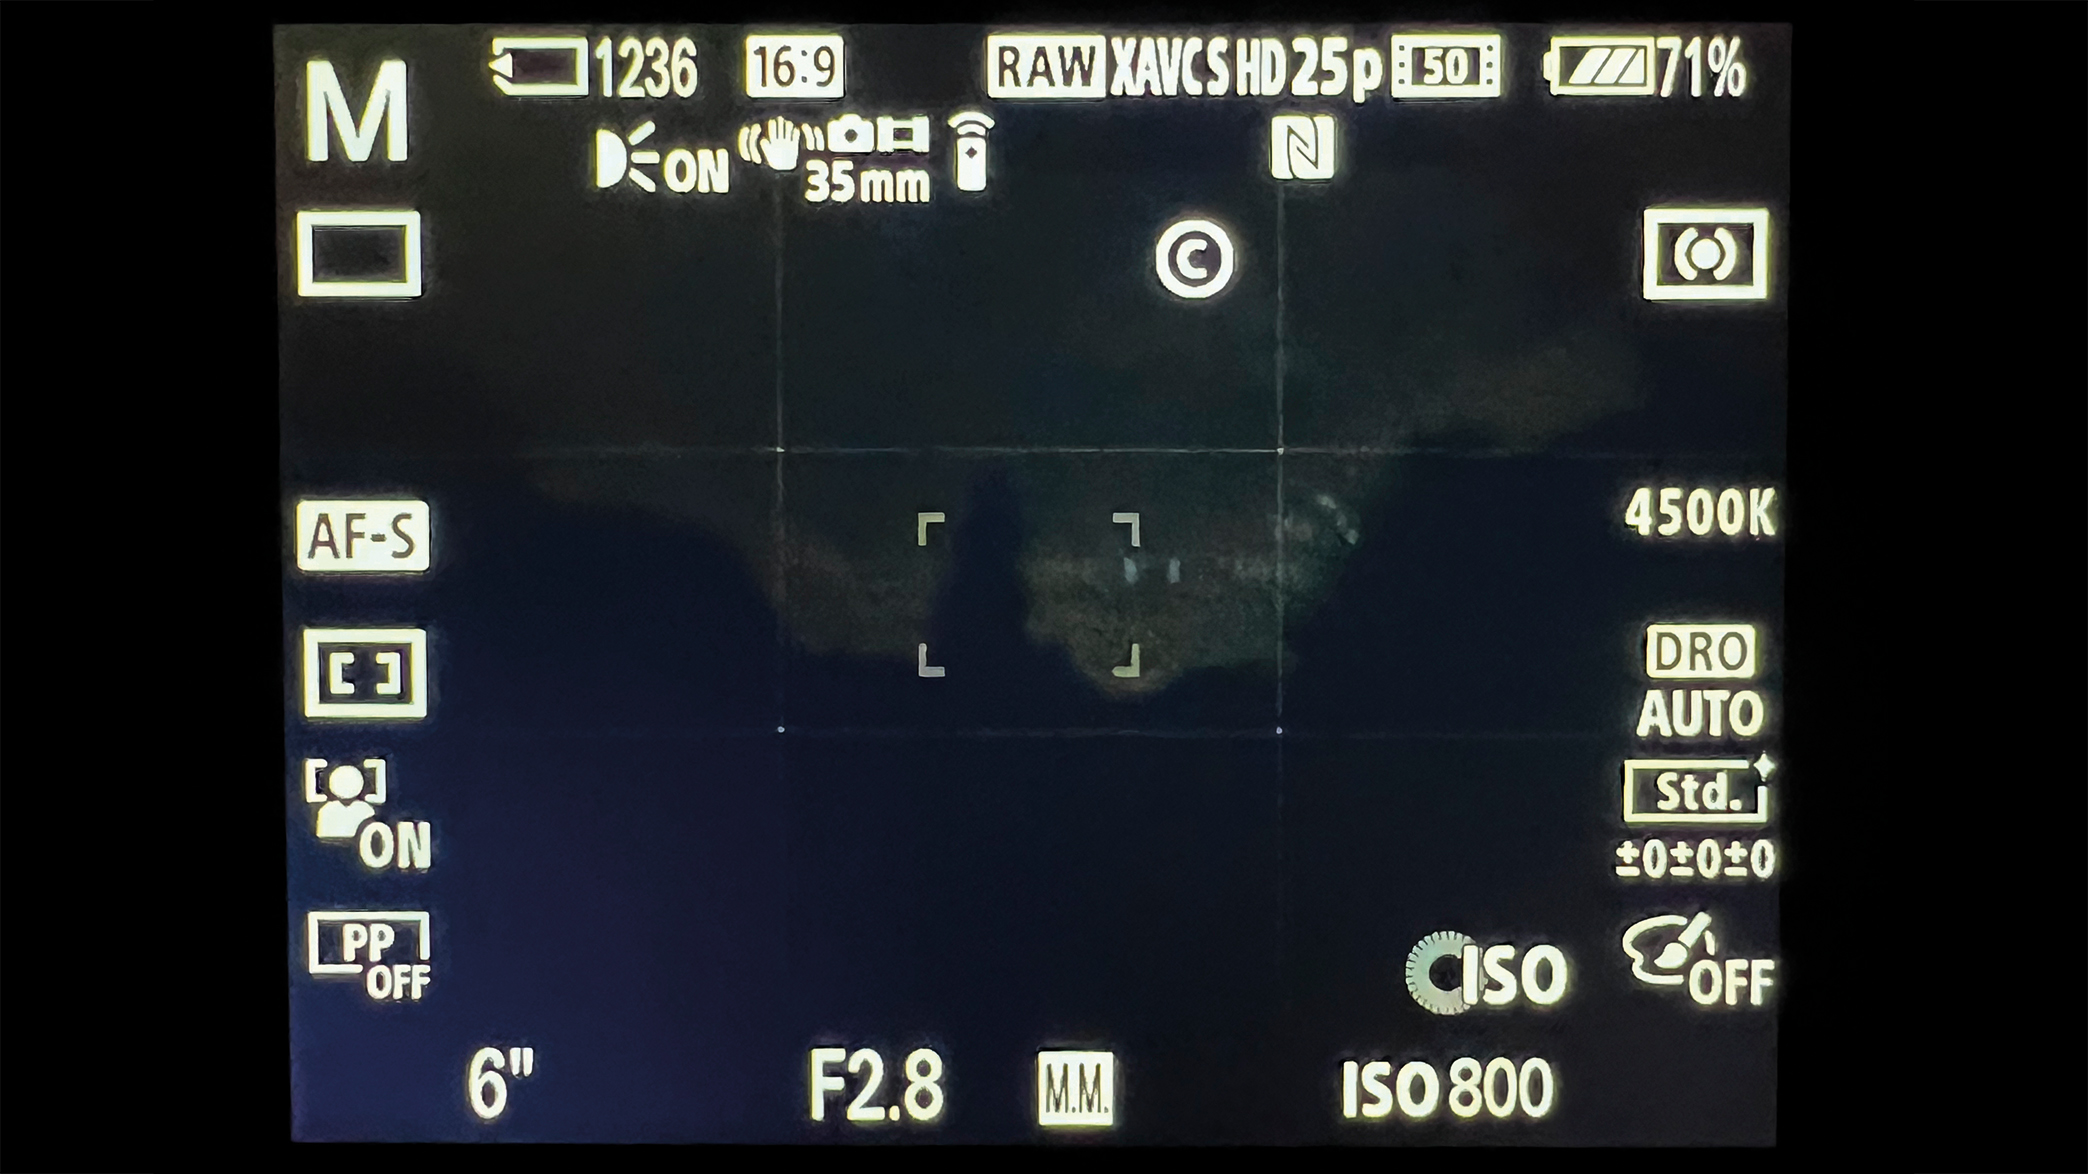
Composition is crucial to telling a story in your photo. Use gridlines and the artificial horizon to ensure the camera is level, which can be a challenge when the lens is pitched up greatly. Use manual focus and a magnified view to prevent AF hunting.
5. Trial and error
There is no right or wrong answer to the question of which camera settings you should use. However, rely on the histogram or clipping alerts to gauge exposure since the LCD itself can impact your eye’s impression of brightness in the dark surroundings.
6. Deploy your shutter
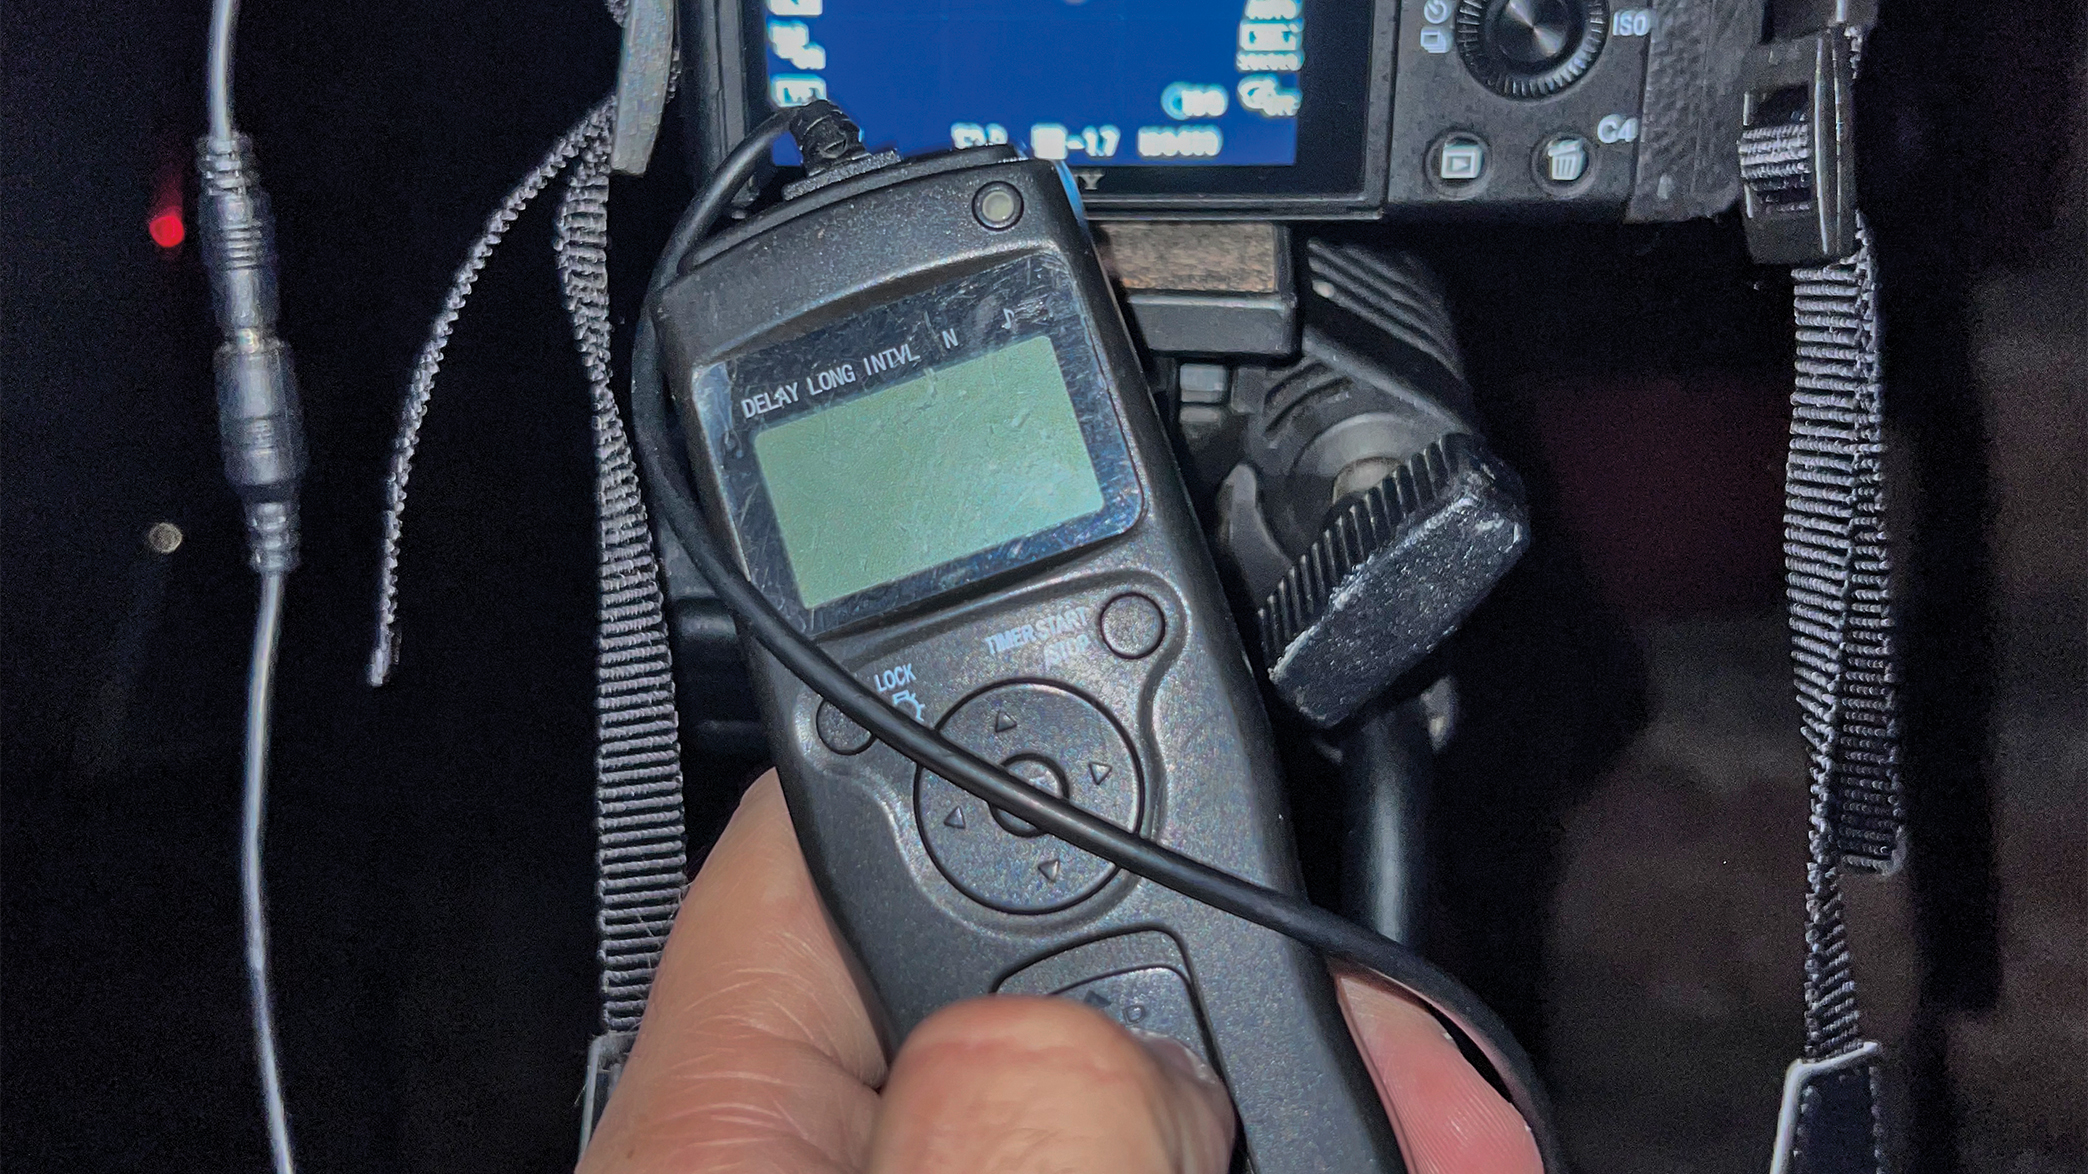
Along with your tripod, a remote shutter release is an essential piece of kit for capturing stable astro images. This helps you avoid any camera shake caused by interactions with your controls. Take a step back, set your shutter intervals, and activate the shutter.
Pro tips
5 top tips for better astro shots

1. Keep it dark As an astrophotographer, it is your decision where to shoot, but try to stay away from light sources if you want to capture the finer details of the Milky Way.
2. Prepare Make sure to prepare yourself each time you go out on a shoot. Take a bottle of water, some snacks and warm clothing. Most importantly, let somebody know where you are going.
3. Keep shooting! The more images you capture, the more you train yourself on what to look out for and how to overcome your personal photography obstacles.
4. Don’t over-do the edit Sometimes, the more natural-looking shots tend to have the most punch. Remember how it was when you saw it.
5. Above all, have fun The night sky is there to be enjoyed – so embrace the experience of being out there, as there is
always a story to tell.
Editing steps
1. Import your images
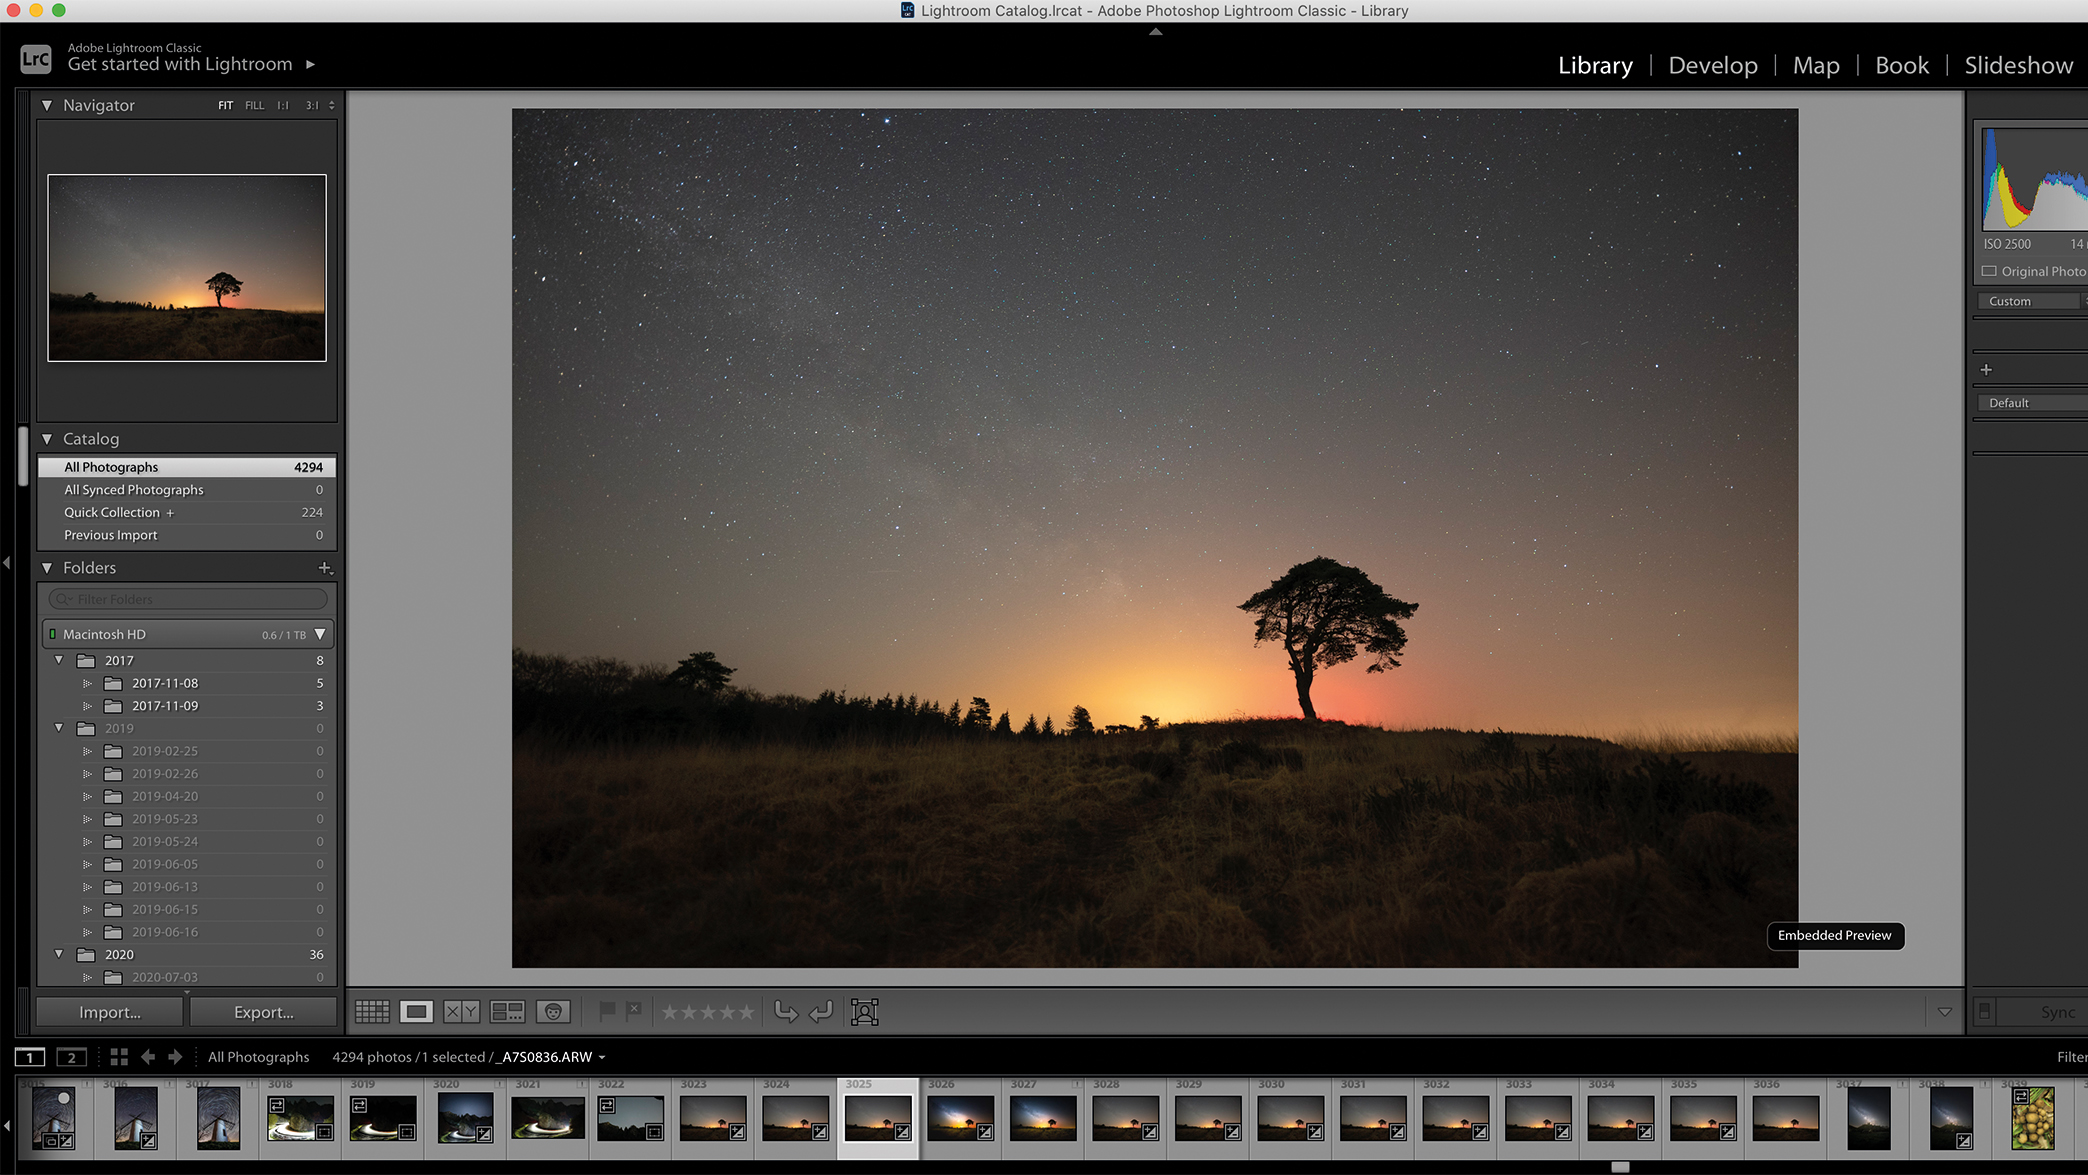
Bring your images into your editing software, such as Lightroom or Photoshop, and have a good look at the images you captured on the night. You may be in for a surprise to find out that even your best shot might have camera shake!
2. Adjust white balance
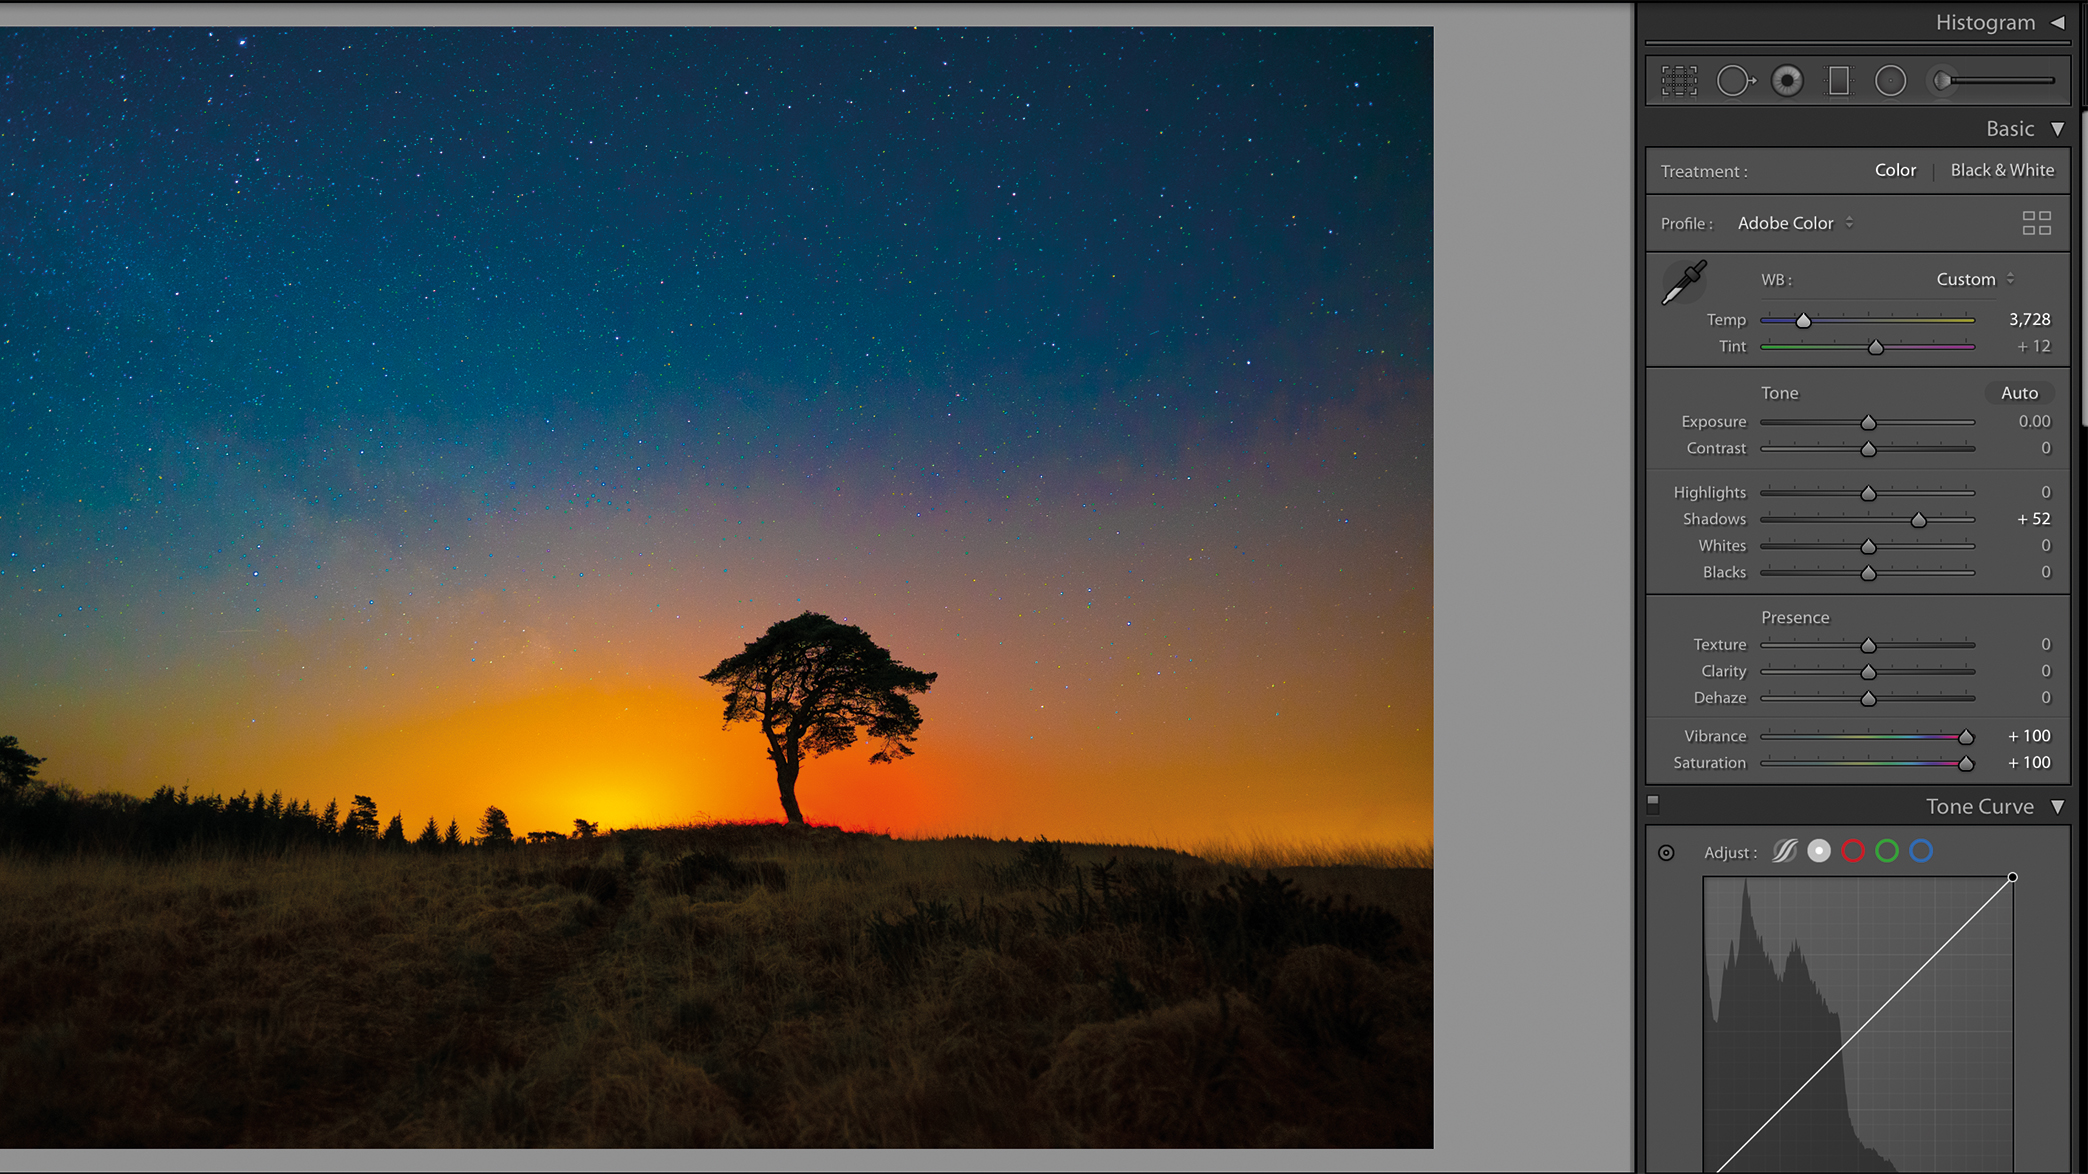
Have a look at the details captured in the night sky and of nearby light polluted subjects. Experiment with the colour temperature and see if you can find a good balance between beautiful astro details and nearby light sources.
3. Adjust highlights
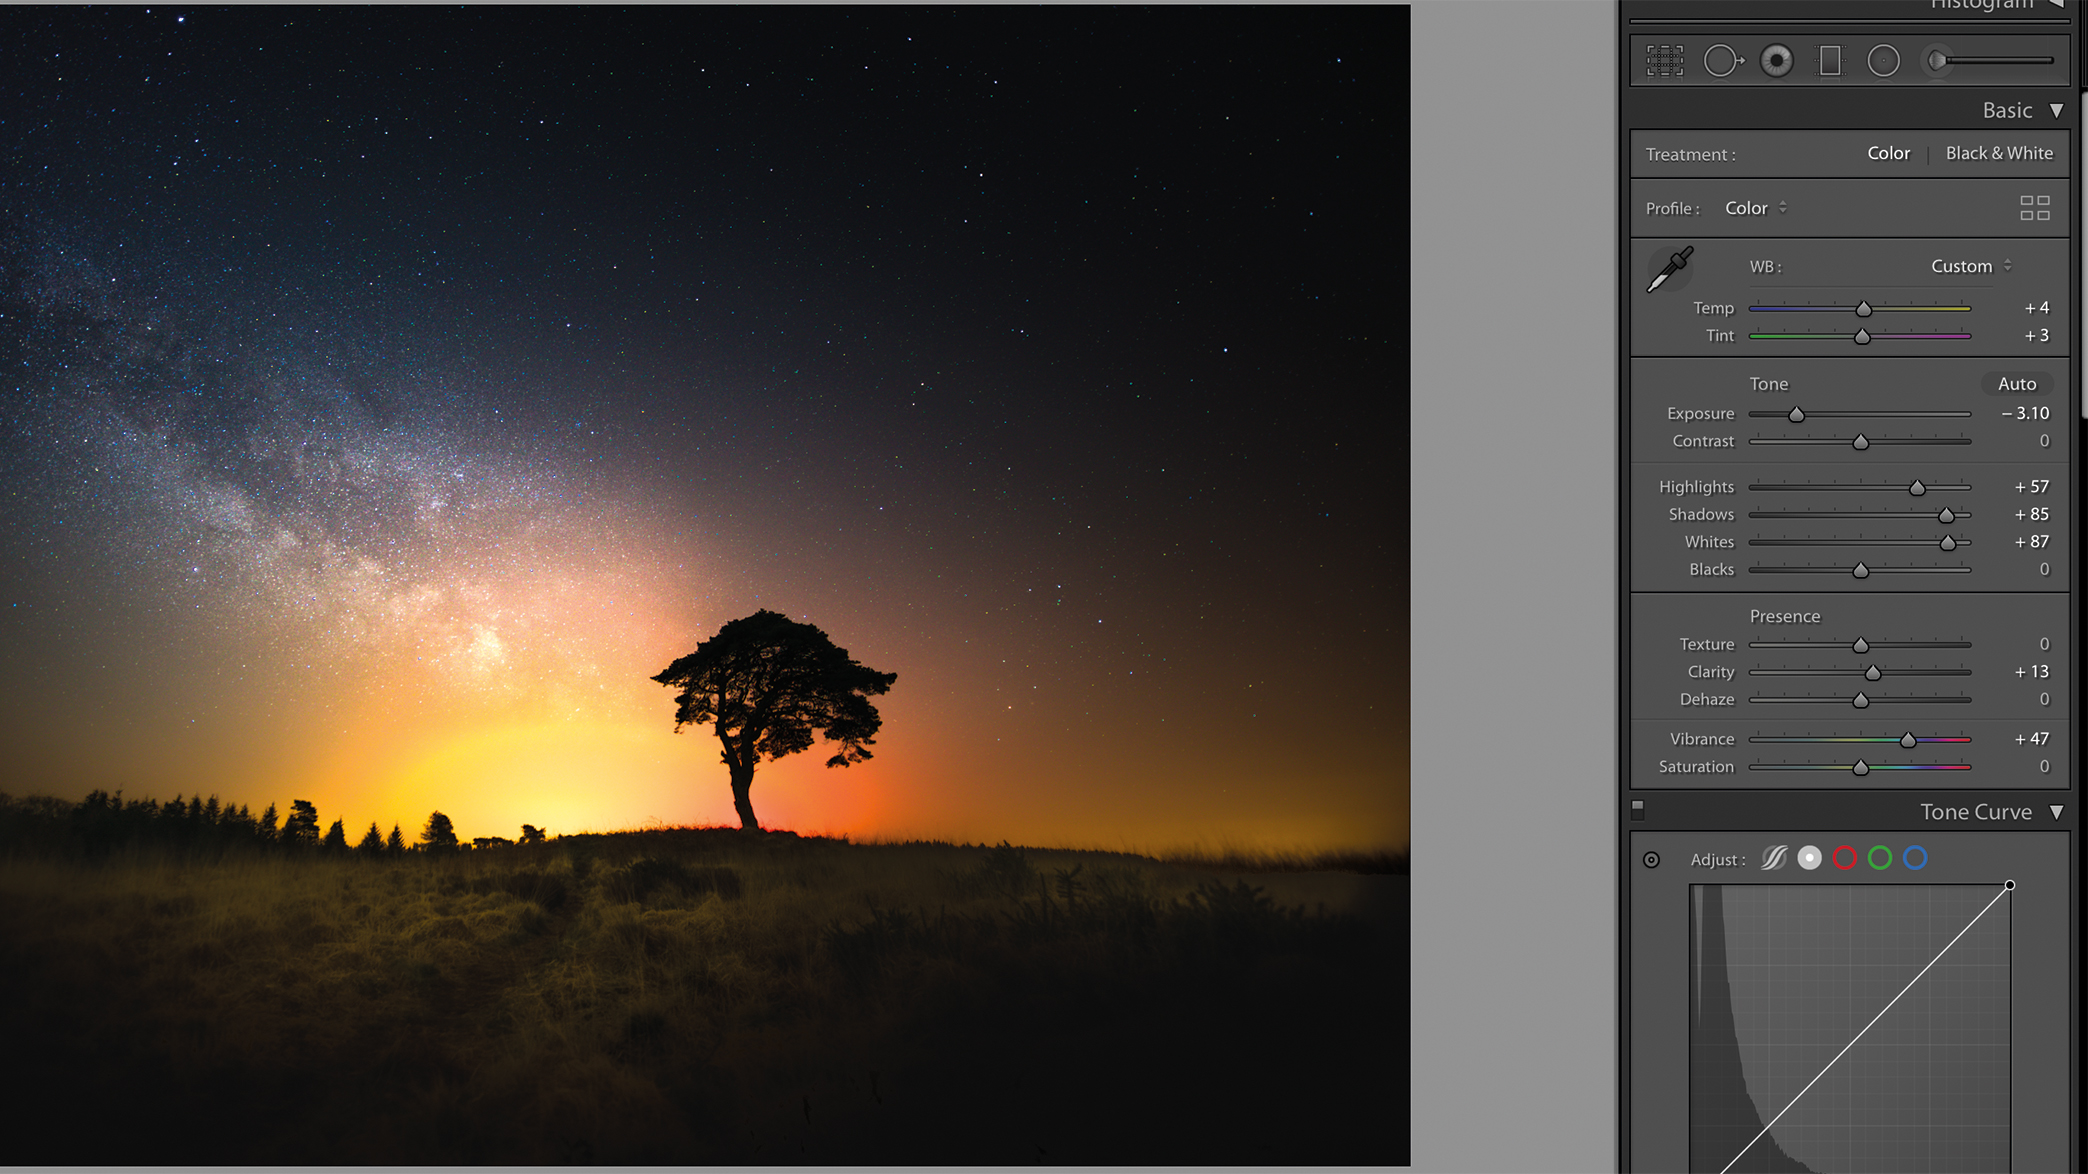
You may notice in some of your images, regardless of the settings you have used, that areas of light pollution might still be too saturated in your shots. Reduce the harshness of these by experimenting with the Highlights slider.
4. Dodge and Burn
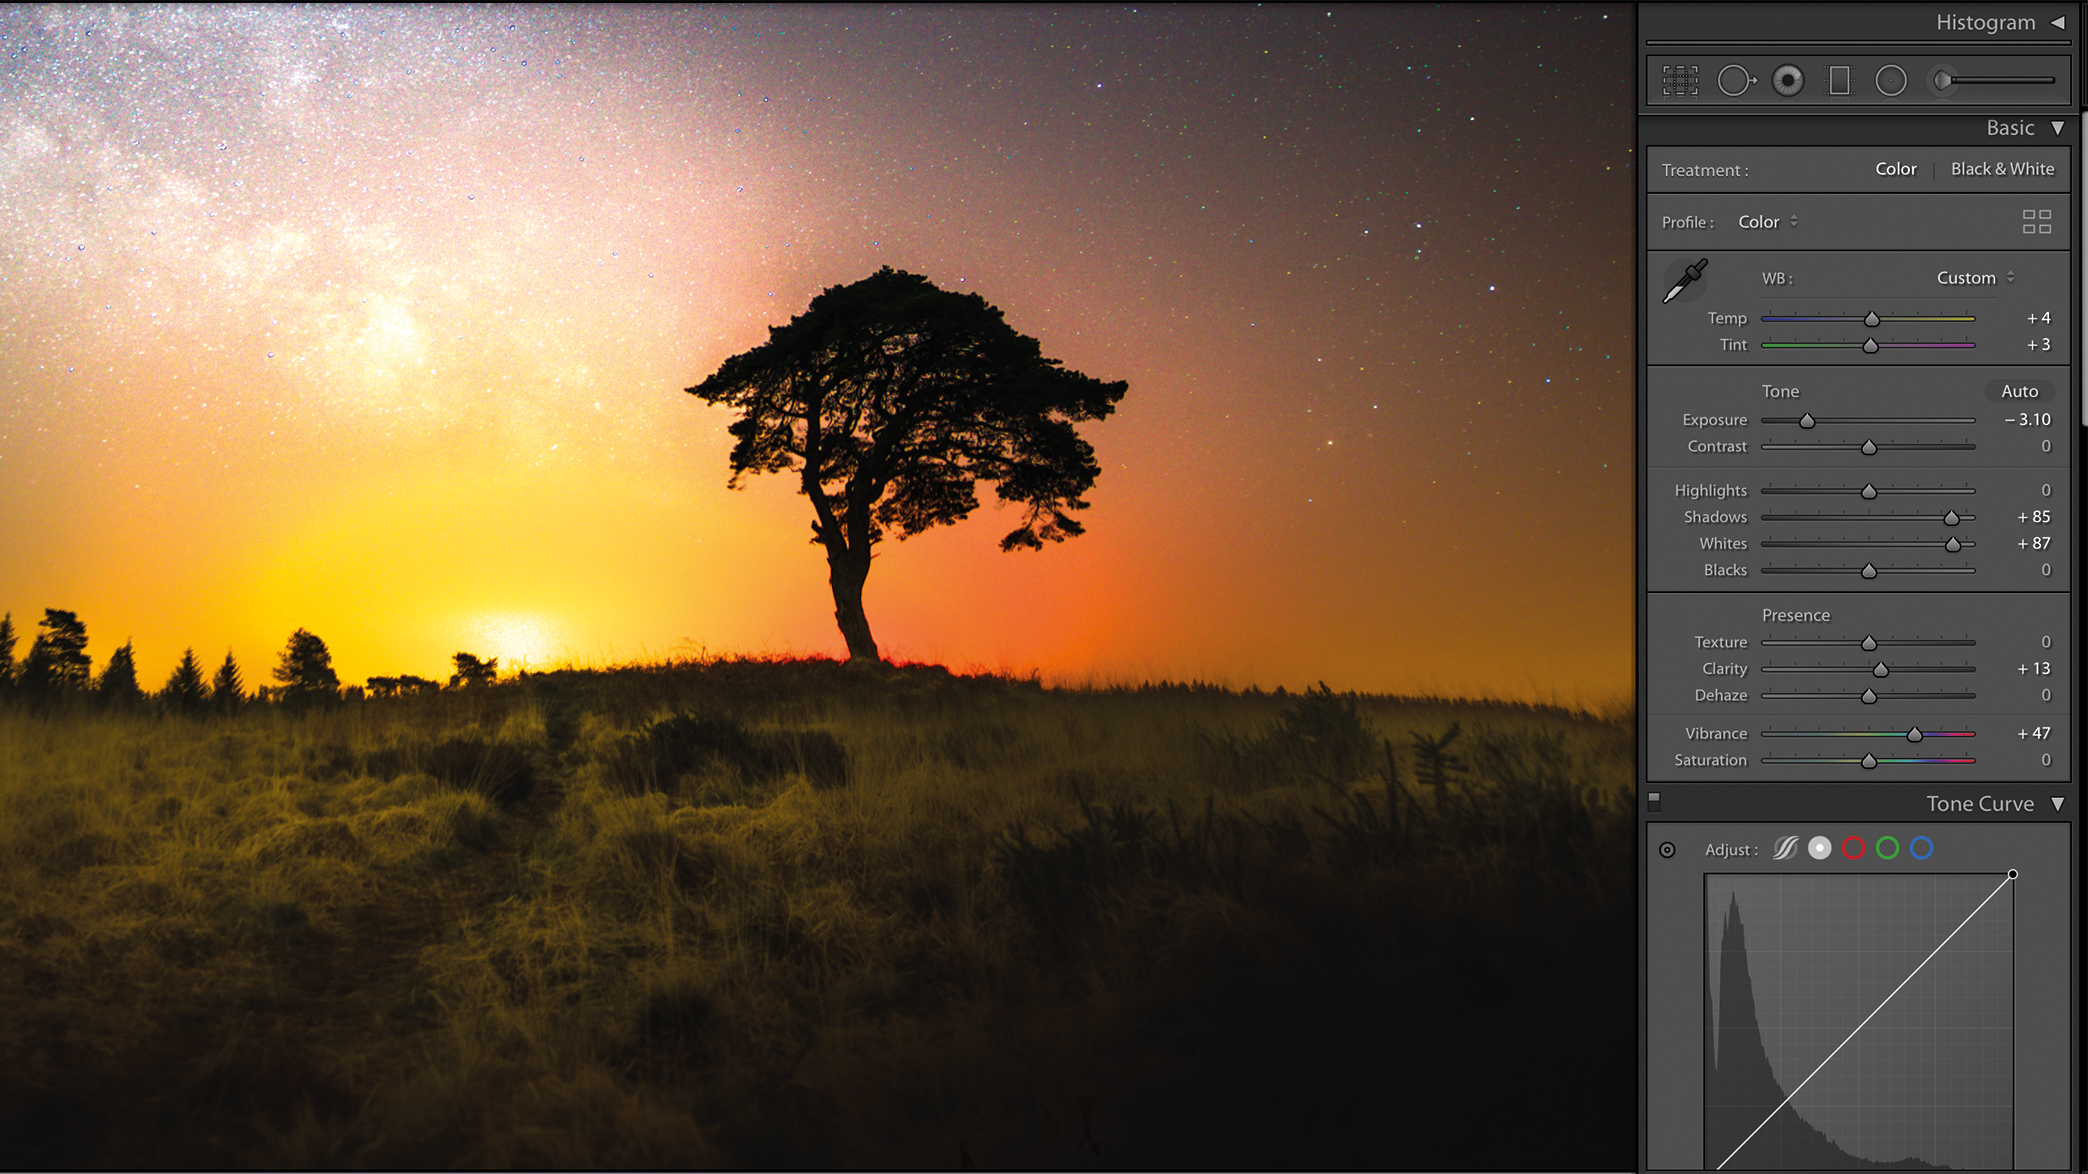
Your camera cannot account for the intensity of some strong areas of light pollution. When necessary, use Dodge and Burn tools over light sources to control the amount of light in your final image and use HSL and Color Grading to control each tonal range.
5. Noise and Despeckle
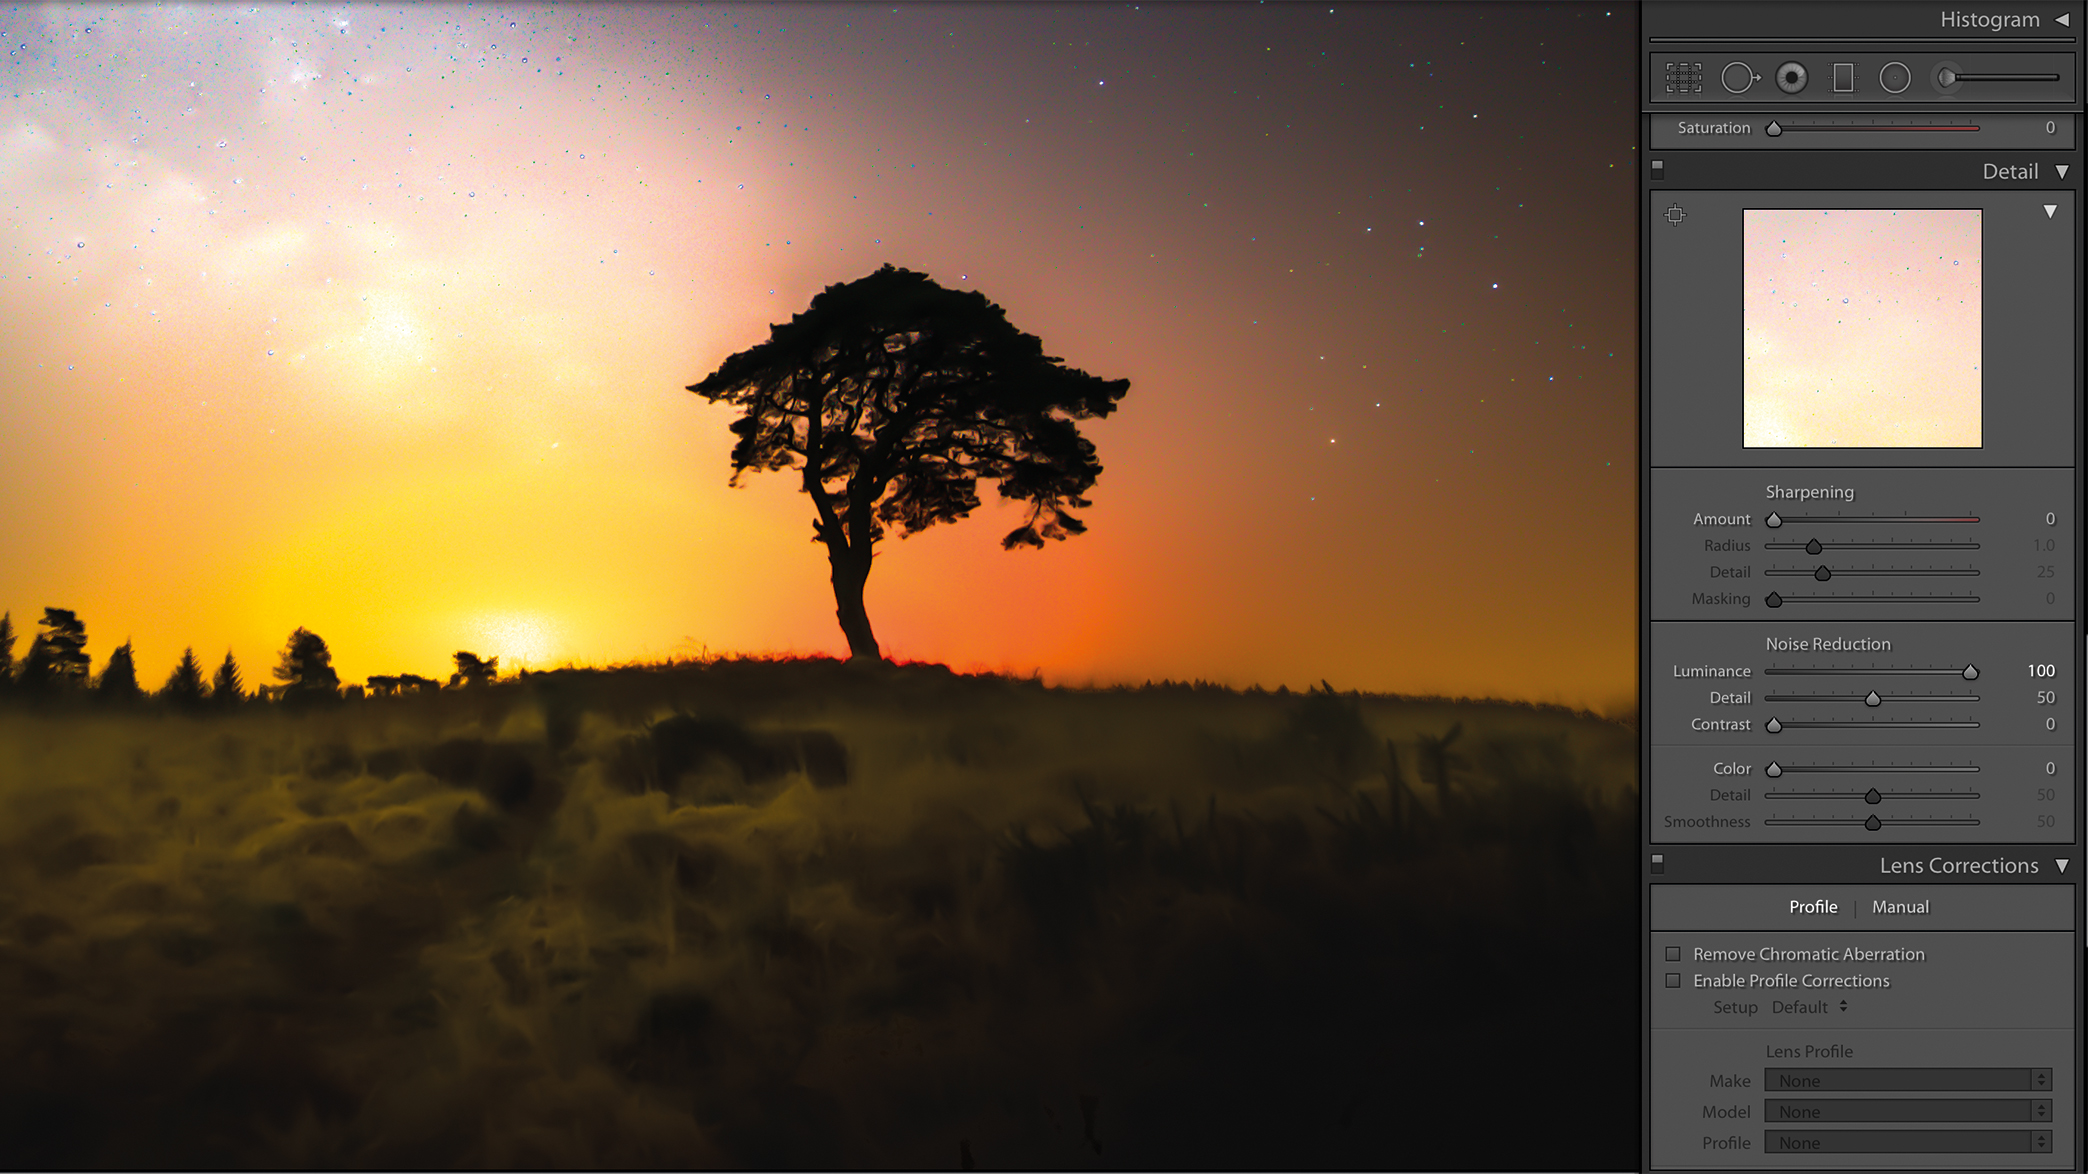
Because you are shooting in low-light environments, you may need to clean up your image. Try reducing the amount of noise in your shot, using tools like Despeckle. However, don’t overdo it, or you might smudge finer details and dimmer stars.
6. Crop the image
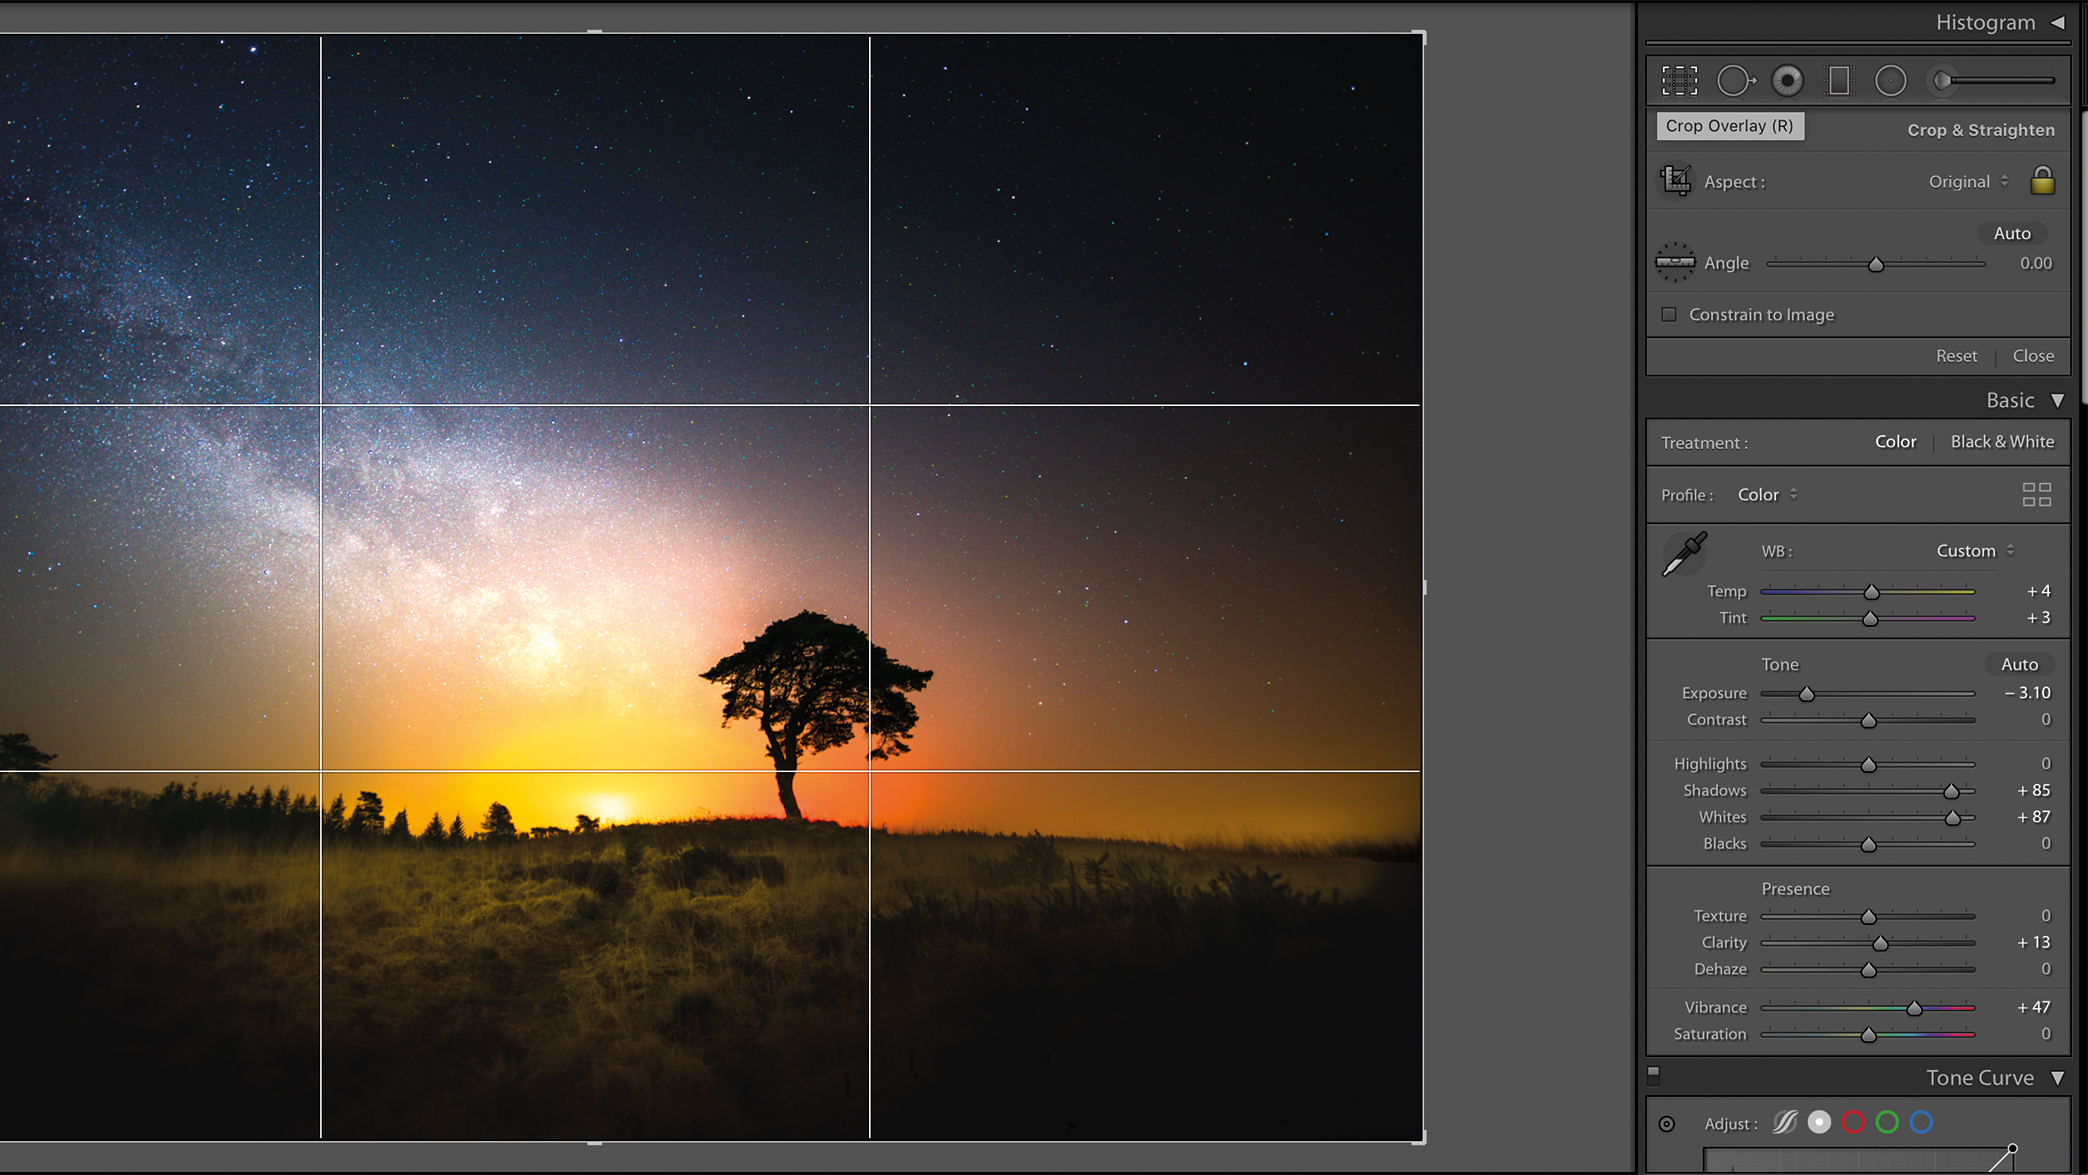
When you shoot your astro photos, you may also capture some unexpected surprises at the corner of your frames. Inspect your image for any anomalies and, if you feel that it is necessary, crop in a little before saving your final result.
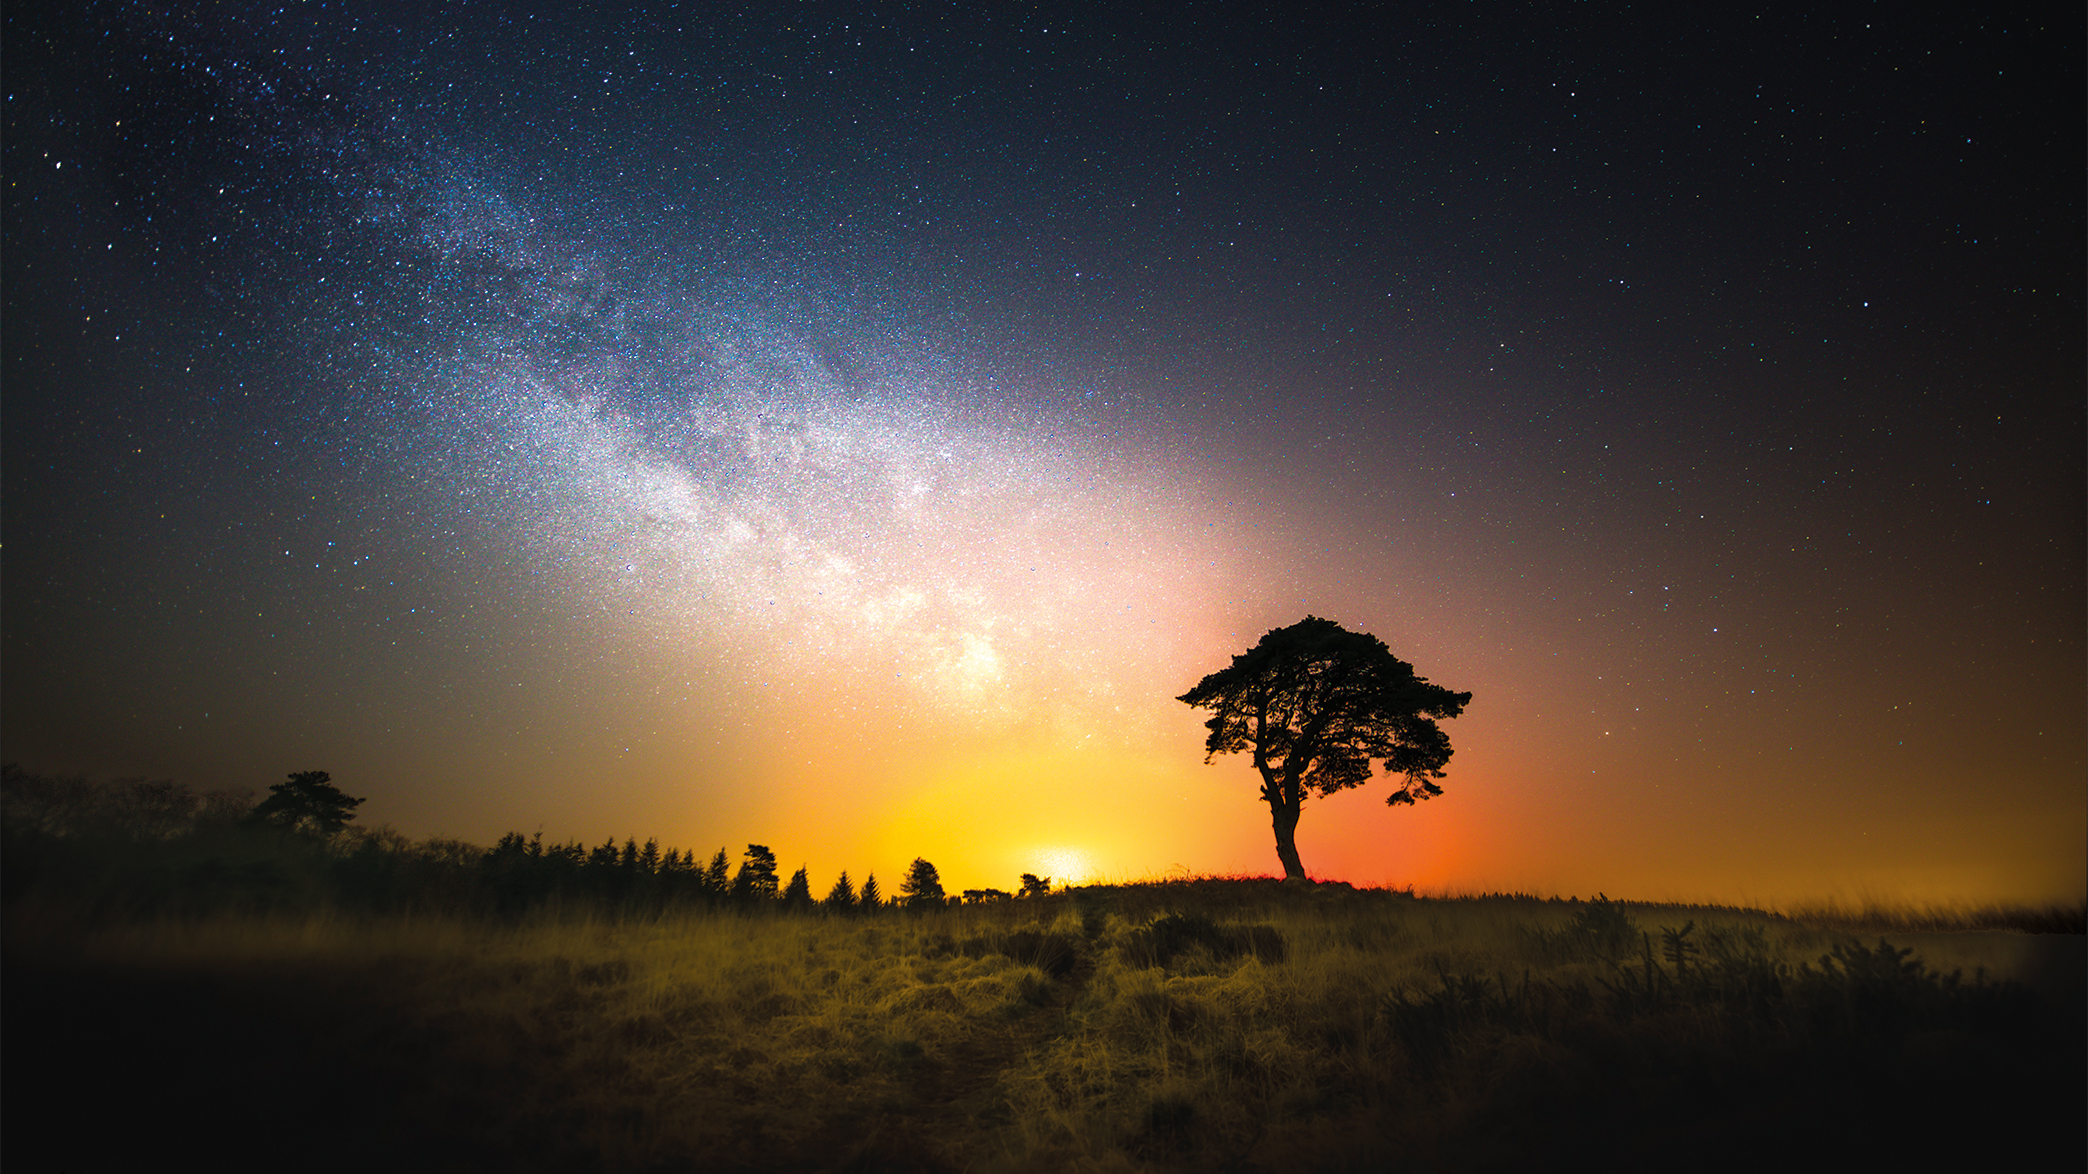
Before/After